
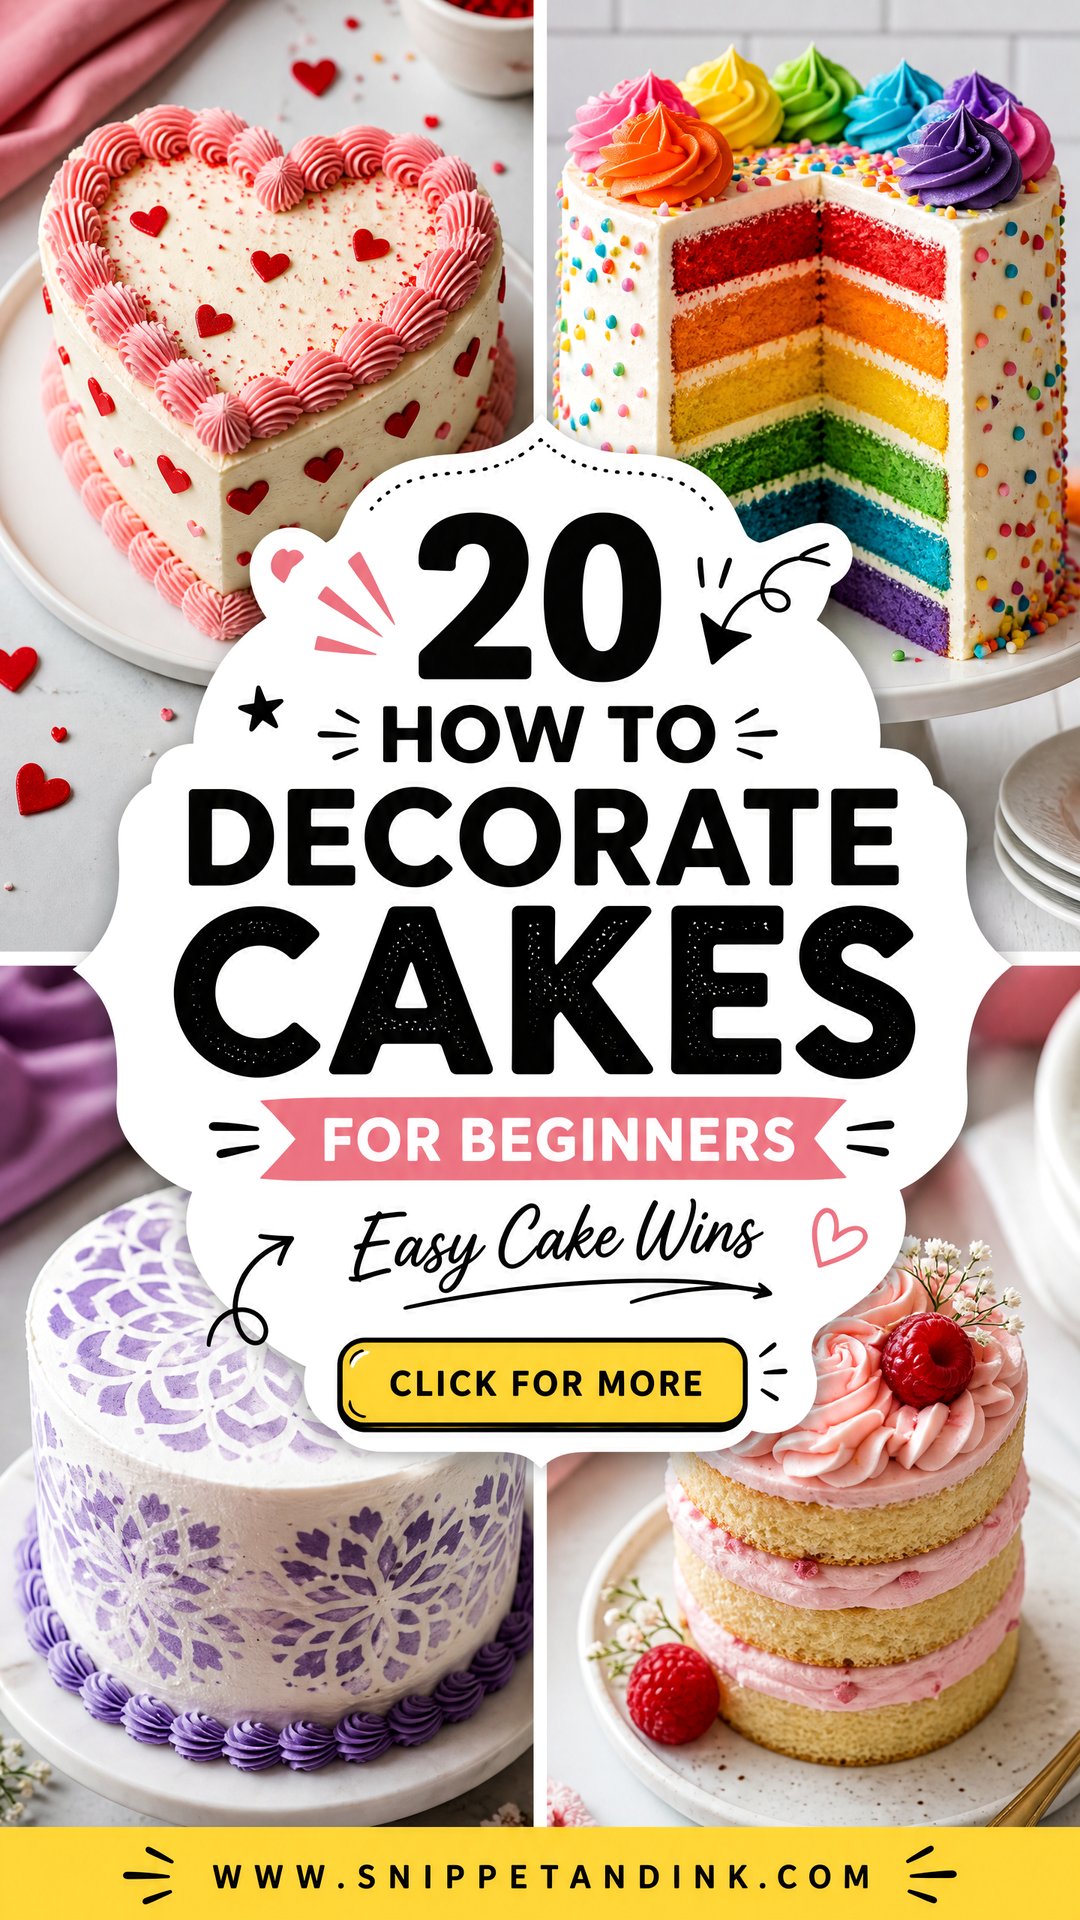
Decorating a cake can feel intimidating when every photo online looks bakery-perfect. The good news is that beginner cakes do not need advanced piping, expensive tools, or flawless hands. The best first projects use simple buttercream, chilled layers, easy textures, sprinkles, fruit, chocolate, and a few repeatable motions. Start with a cool cake, add a thin crumb coat, chill again, then build one clear look instead of trying every technique at once. These beginner-friendly cakes are made to look pretty, photograph well, and teach real decorating skills as you go. Here are 20 How to Decorate Cakes for Beginners.
1. Smooth Buttercream Cake
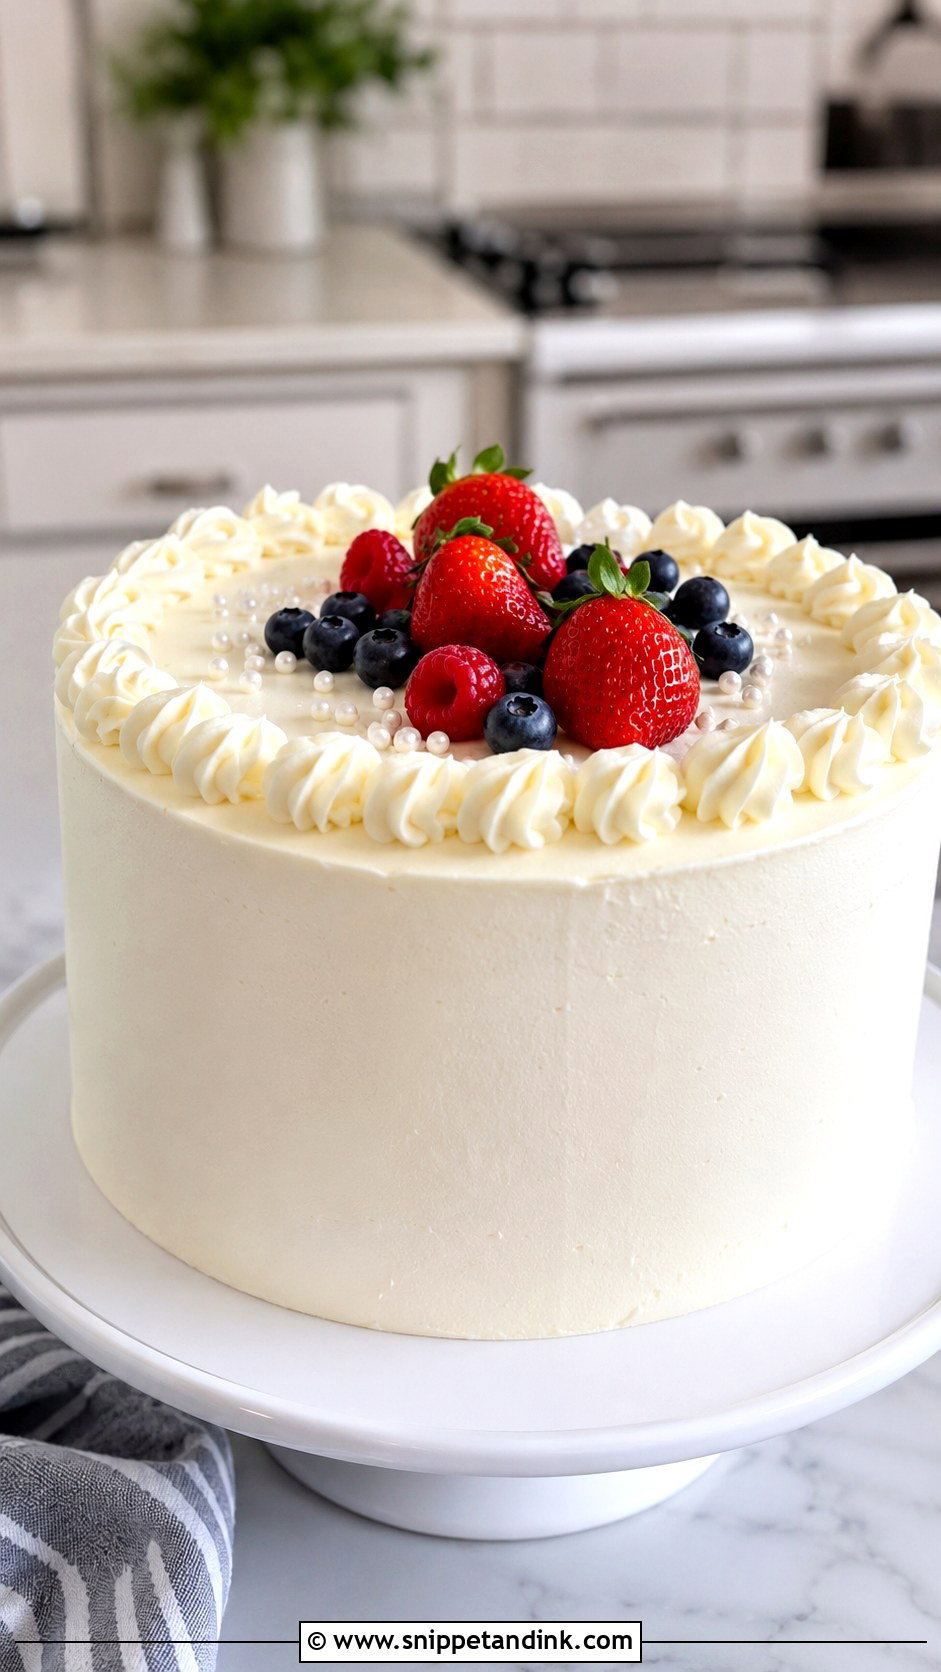
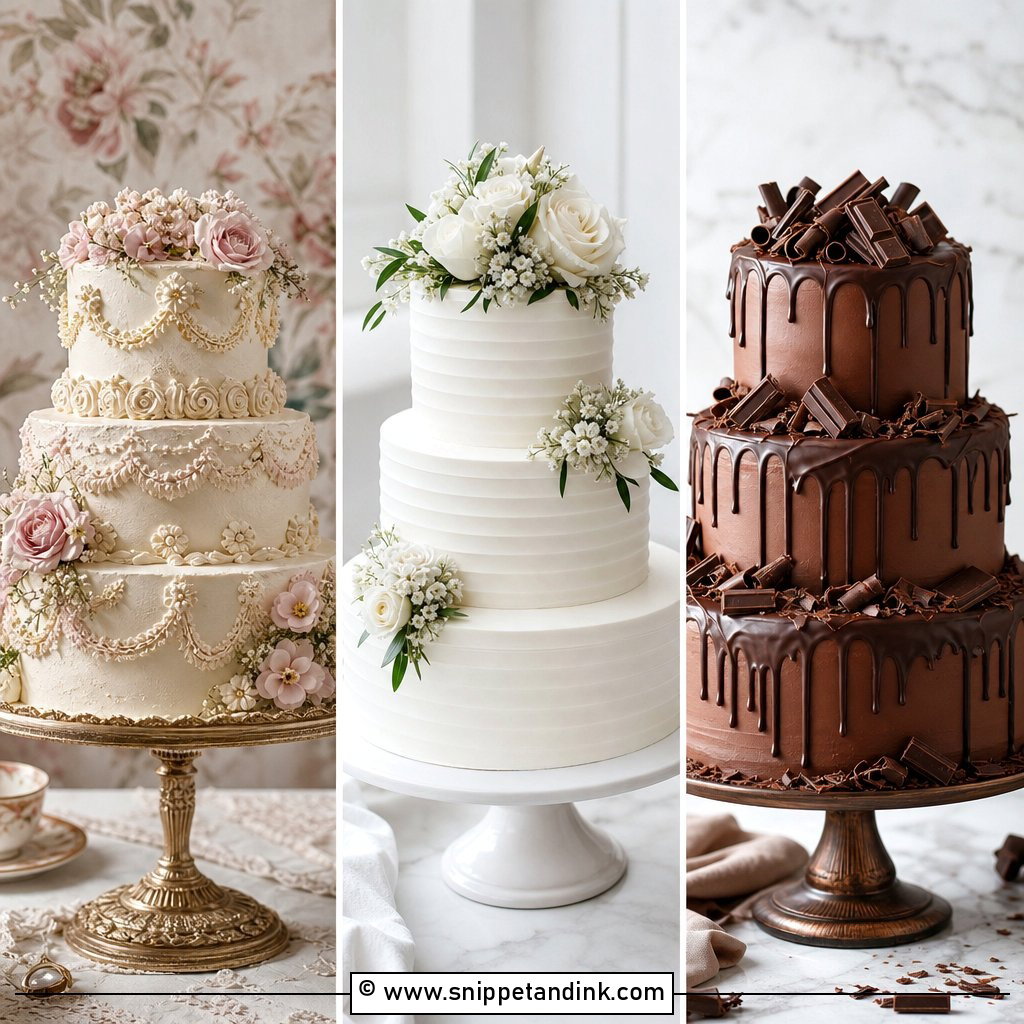
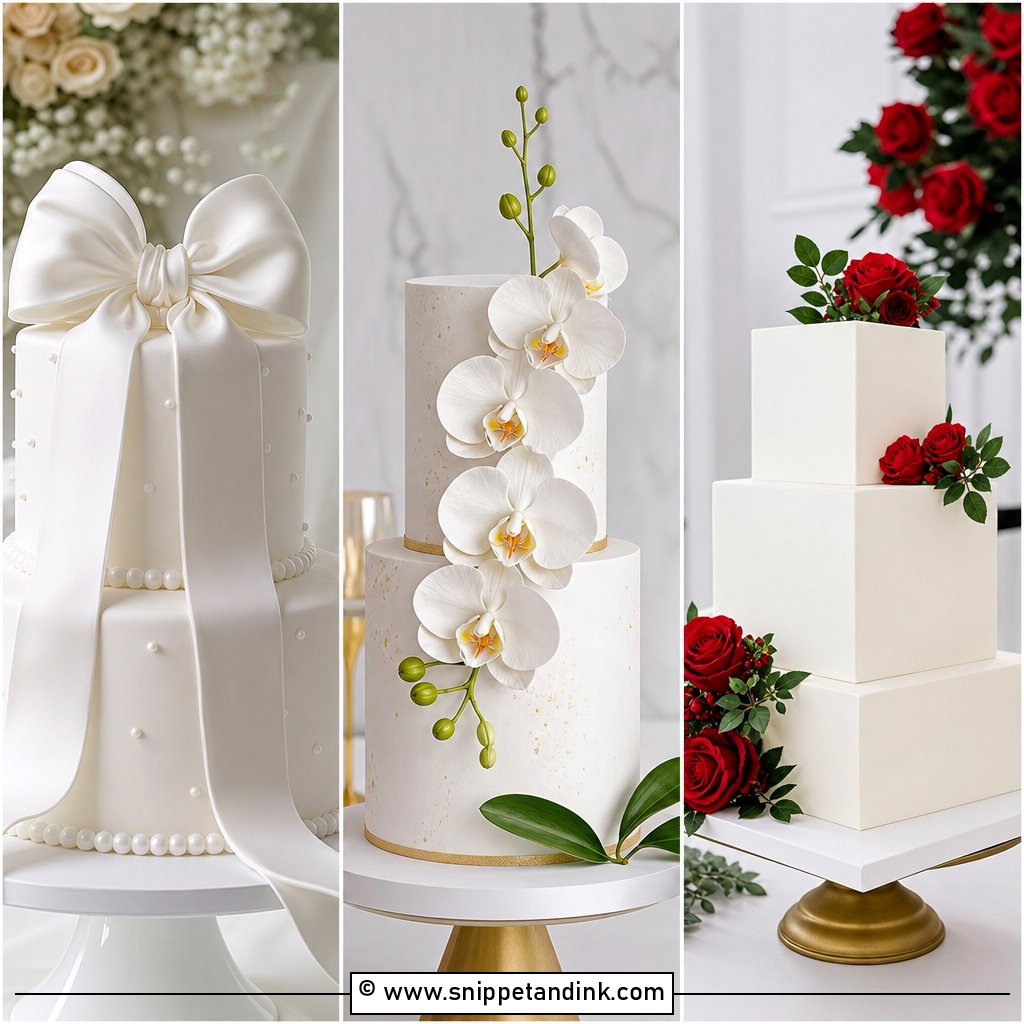
A smooth buttercream cake is the best first cake because it teaches the foundation of almost every decorated cake. Bake or buy two round layers, fill them with buttercream, then add a thin crumb coat to trap crumbs. Chill until firm before adding the final frosting layer. Use an offset spatula to spread frosting on top and around the sides, then hold a bench scraper still while turning the cake stand slowly. Do not chase perfection. Small waves can look soft and homemade. Finish with a simple top border, a few sprinkles, or fresh berries so the cake feels complete without looking overworked.
2. Sprinkles Birthday Cake
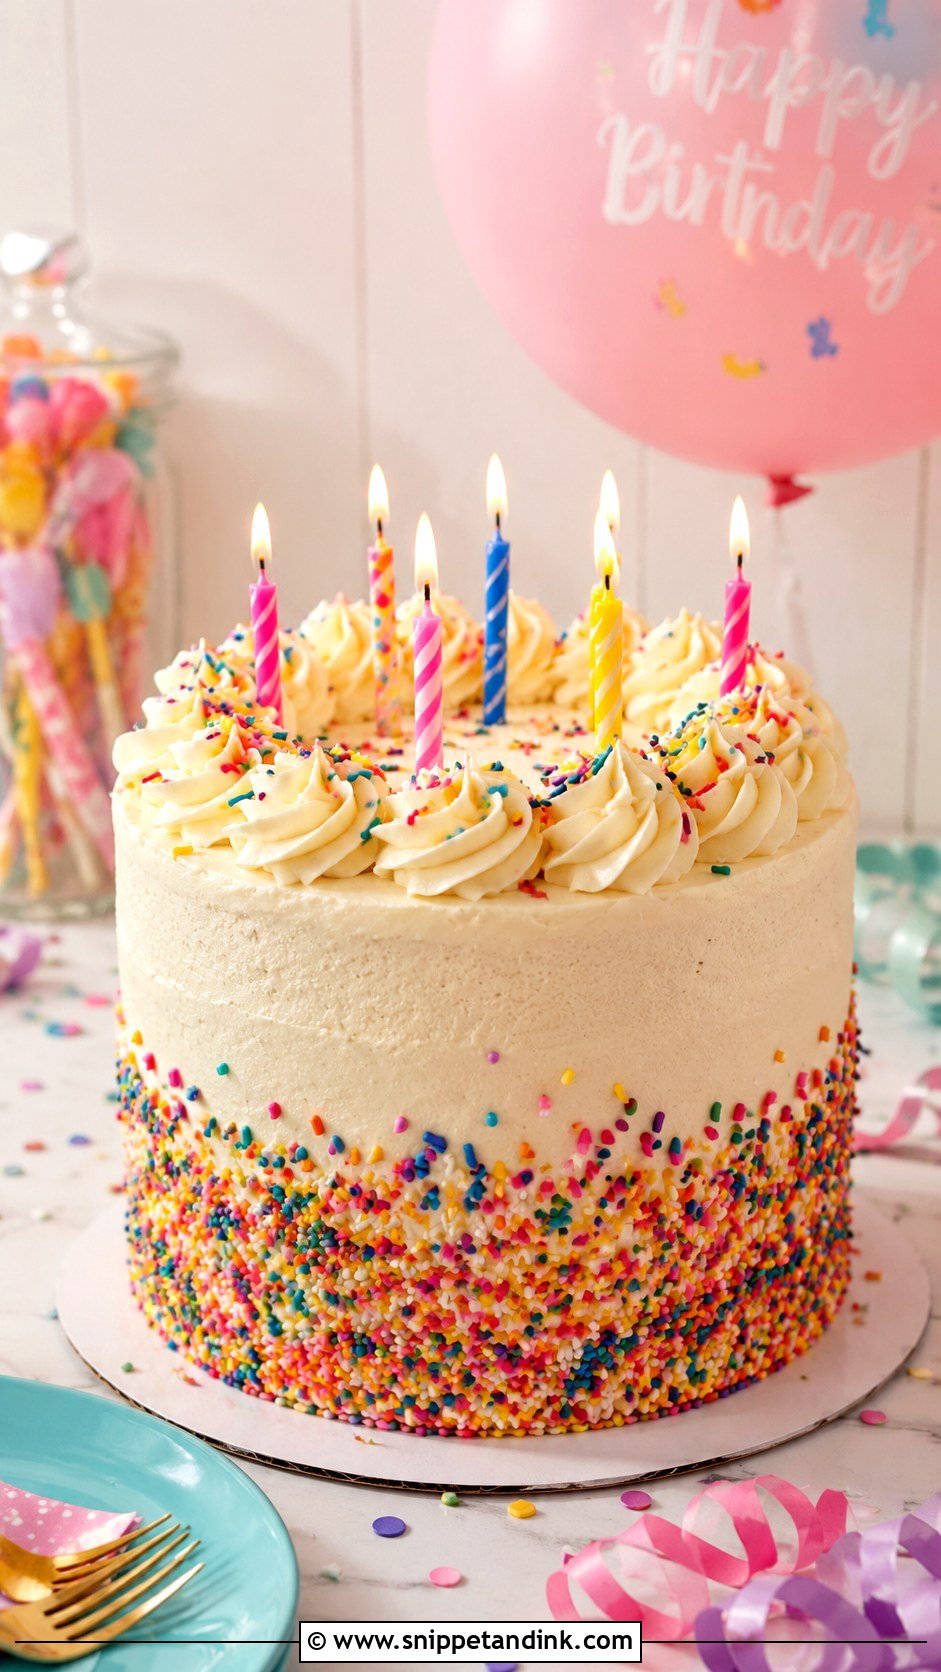
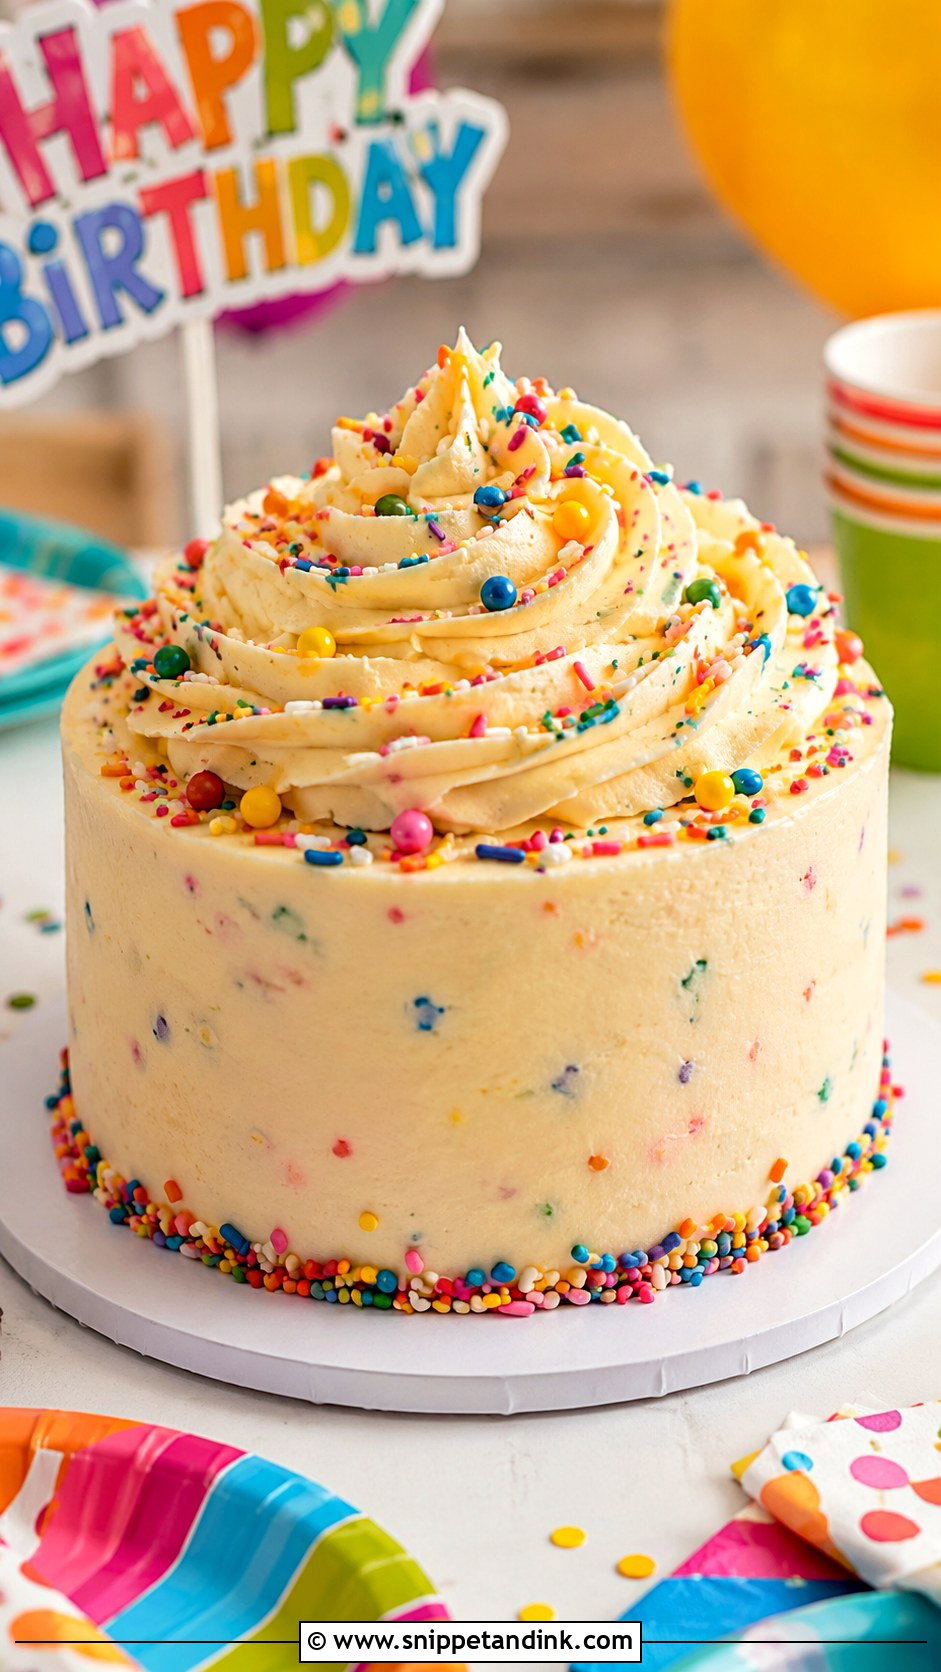
A sprinkles birthday cake is cheerful, forgiving, and perfect when you want a fast win. Frost the cake in smooth or slightly textured vanilla buttercream, then press sprinkles onto the lower half while the frosting is still soft. Place the cake on a rimmed tray first so extra sprinkles are easy to collect. For cleaner coverage, cup a small handful of sprinkles and gently press upward against the sides. Leave the top simple with piped stars, candles, or a light sprinkle scatter. This cake is great for beginners because uneven frosting disappears under color, texture, and playful birthday energy.
3. Chocolate Drip Cake
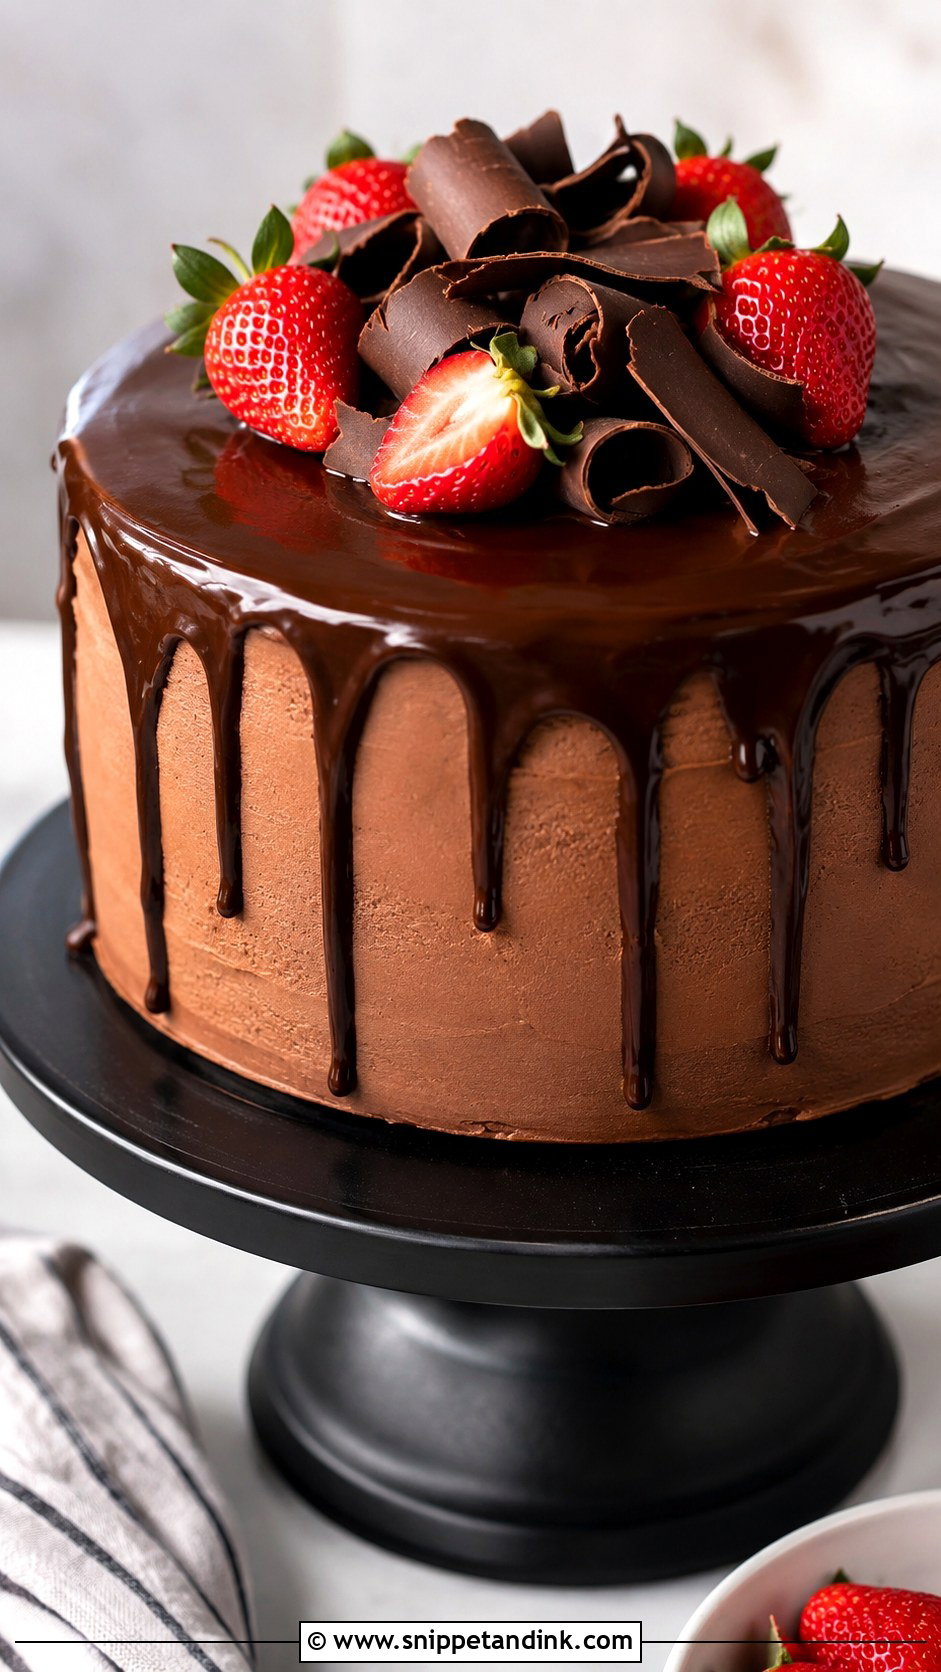
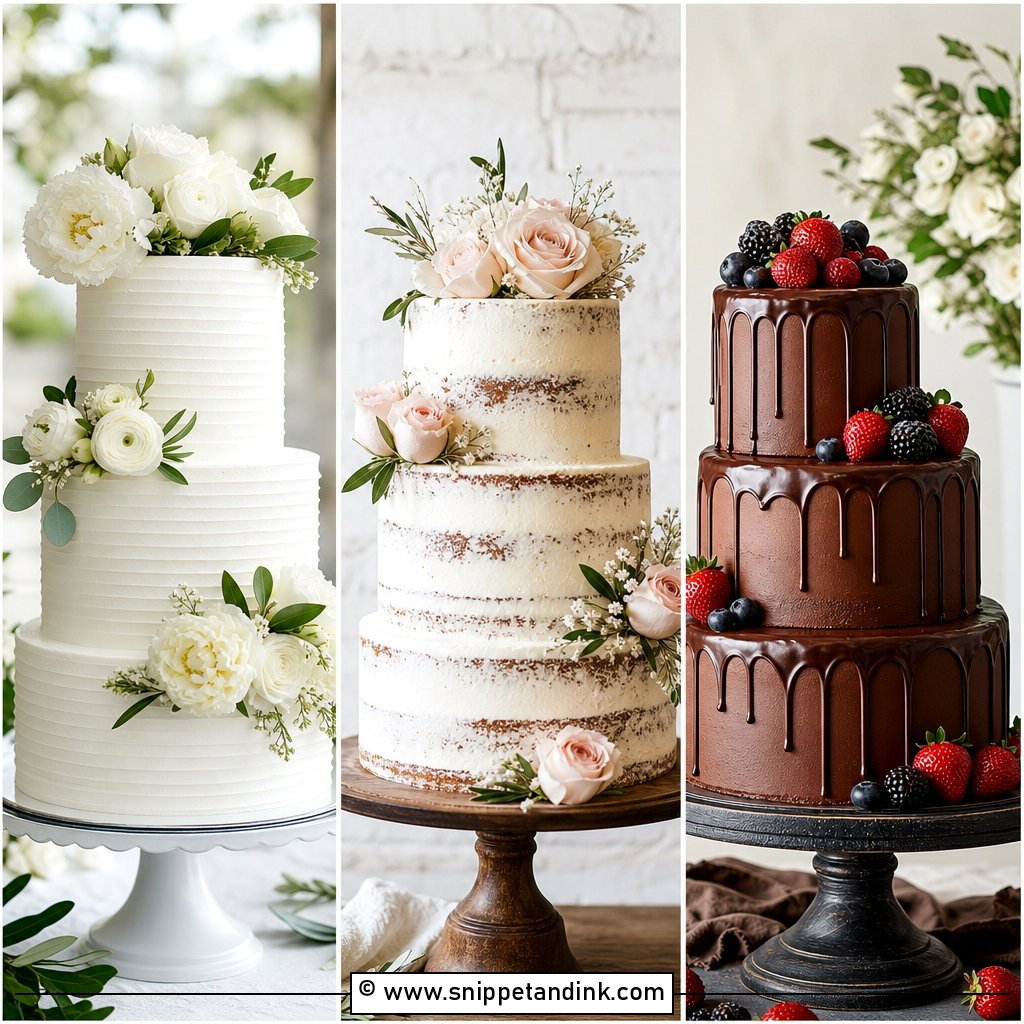
A chocolate drip cake looks impressive, but the method is simple if the cake is cold. Frost a round cake with buttercream and chill it until the sides feel firm. Make a pourable ganache with chocolate and warm cream, then let it cool until thick but still fluid. Test one drip on the back of the cake before going around the edge. Use a spoon or squeeze bottle to guide small drips down the sides, then spread a thin layer of ganache over the top. Add chocolate curls, cookies, or berries for a polished finish that feels bakery-style with very little piping.
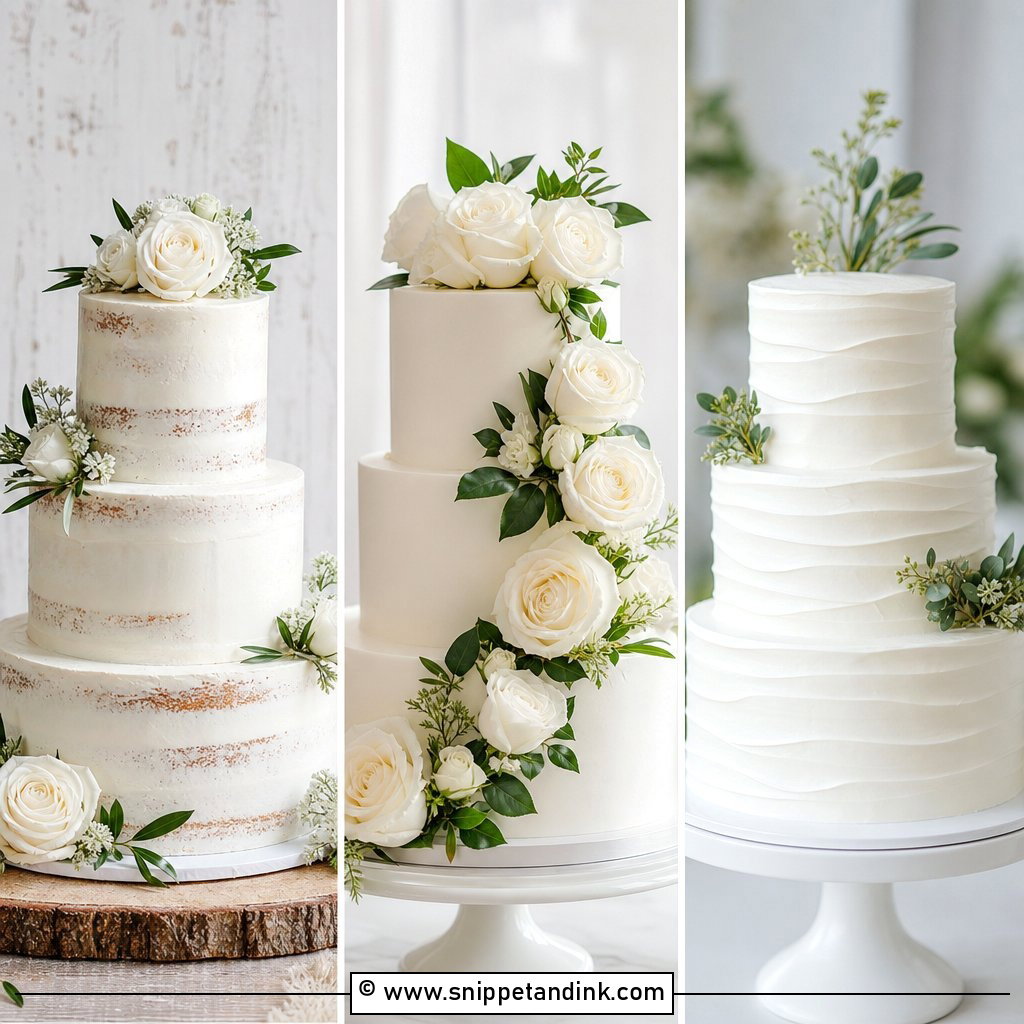
4. Naked Layer Cake
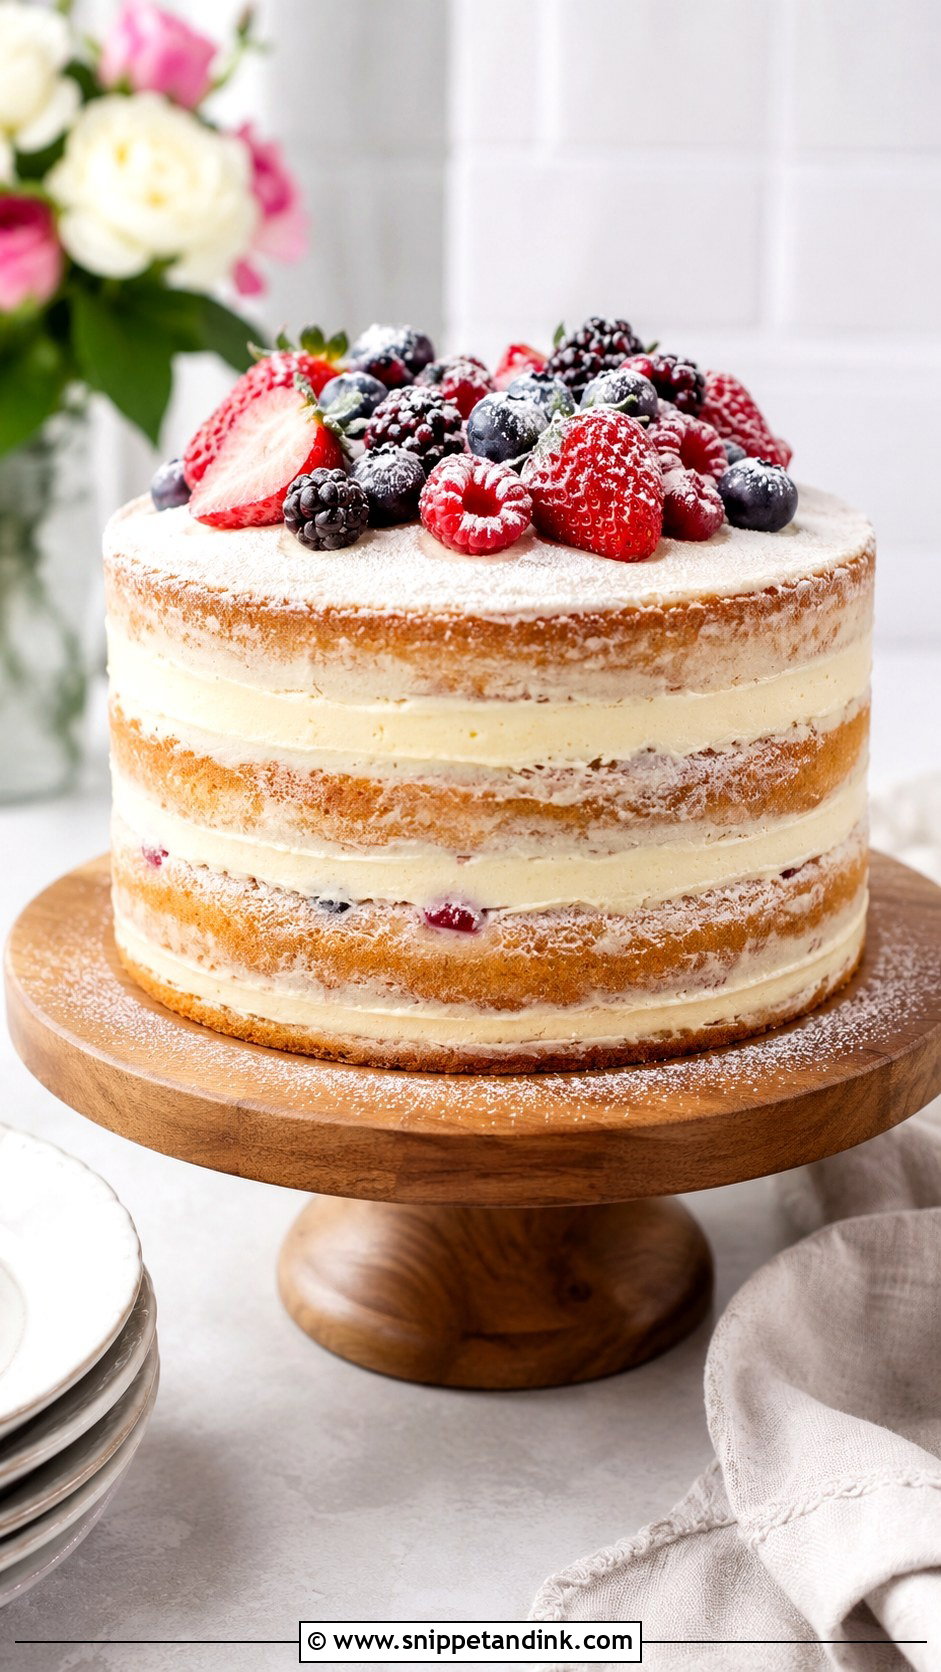
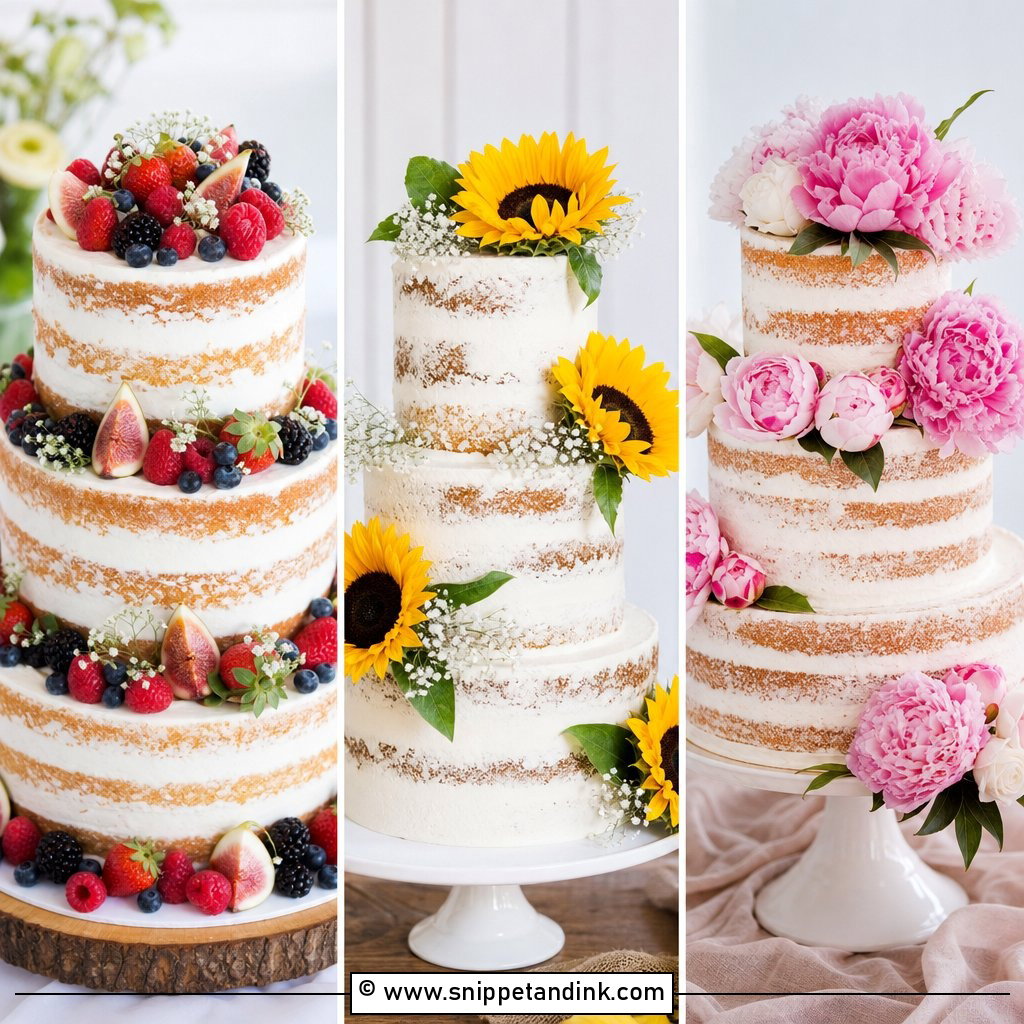
A naked layer cake is perfect for anyone who struggles with smooth frosting. Instead of hiding every inch of cake, this style lets the layers show through. Stack the cake with generous filling between each layer, then spread a thin coat of frosting around the outside. Scrape most of it away so the cake color peeks through softly. This look works beautifully with vanilla, lemon, spice, or chocolate cakes. Add fresh berries, powdered sugar, or simple greenery on top. The key is even stacking, not heavy decorating. It feels rustic, relaxed, and elegant without needing a flawless buttercream finish.
5. Rosette Cake
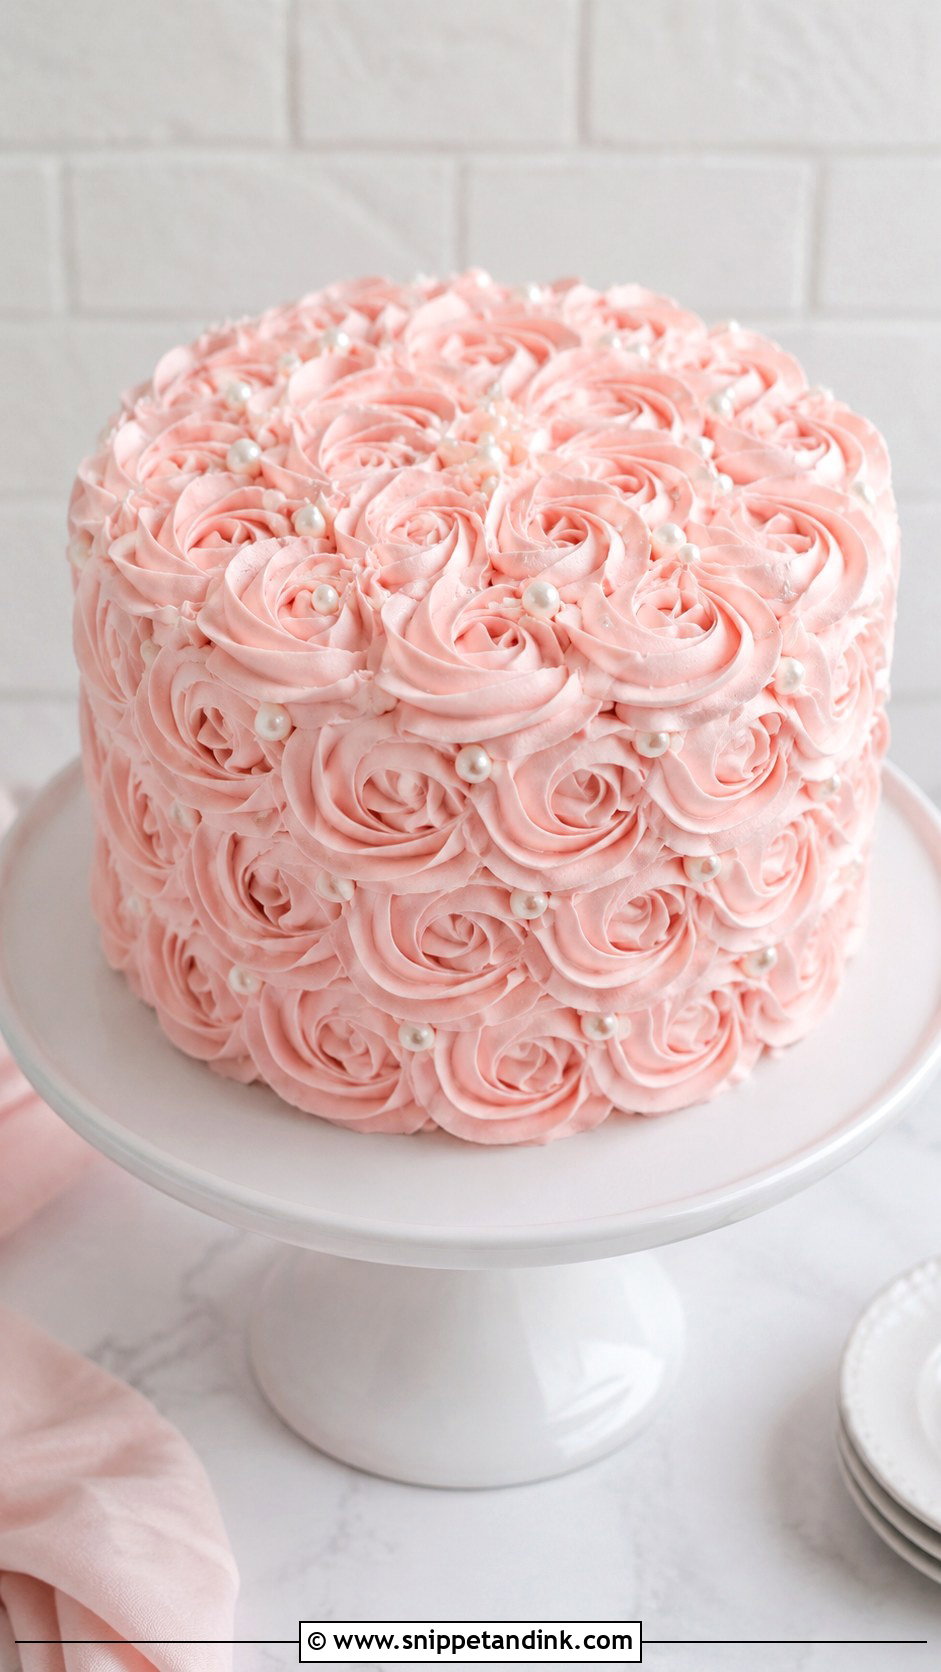
A rosette cake is one of the easiest piping cakes because the same motion repeats across the whole surface. Use a large open star tip and medium-stiff buttercream. Start in the center of each rosette, pipe a tight spiral outward, then stop pressure before lifting the bag. Practice on parchment first so your hand understands the movement. Cover the sides and top with rosettes, placing them close together to hide gaps. If small spaces remain, fill them with tiny stars. This cake works well in one color, ombré shades, or soft pastels, and it photographs beautifully from every angle.
6. Simple Piped Border Cake
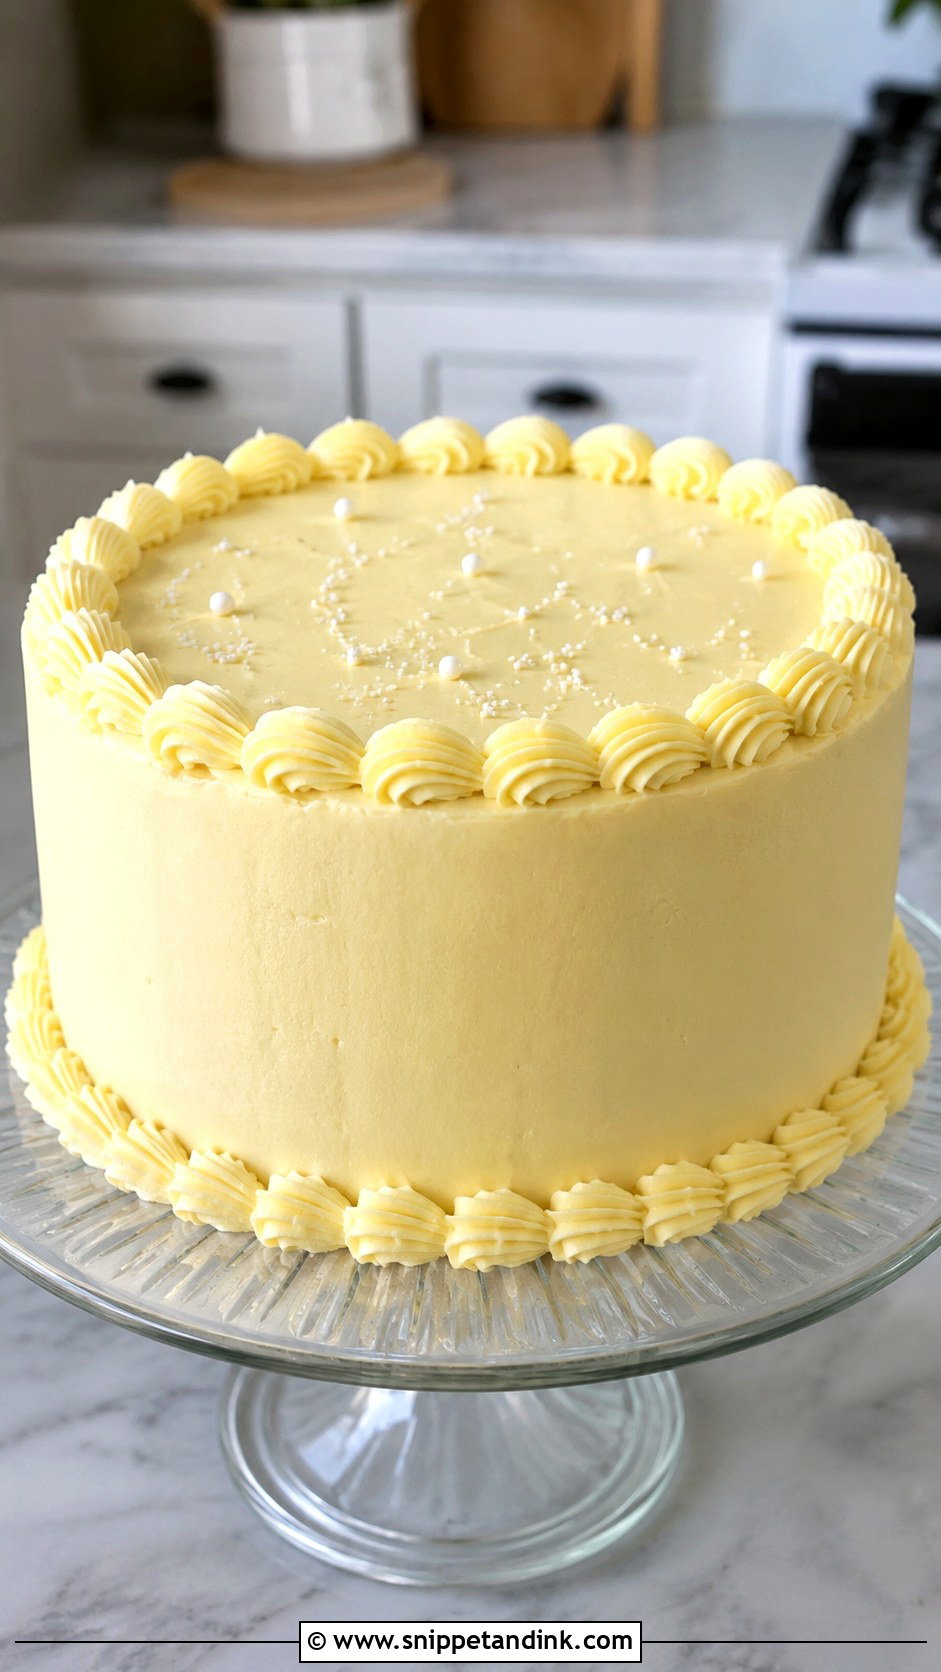
A simple piped border cake is a great way to make a plain frosted cake look finished. Start with a smooth or lightly textured buttercream base. Fit a piping bag with a star tip, round tip, or shell tip, then pipe around the bottom edge to hide any uneven frosting near the cake board. Add a matching border around the top rim for balance. Keep steady pressure and move at a slow, even pace. If the border looks uneven, add sprinkles or small dots between sections. This cake teaches control without requiring complicated patterns, making it a smart beginner project.
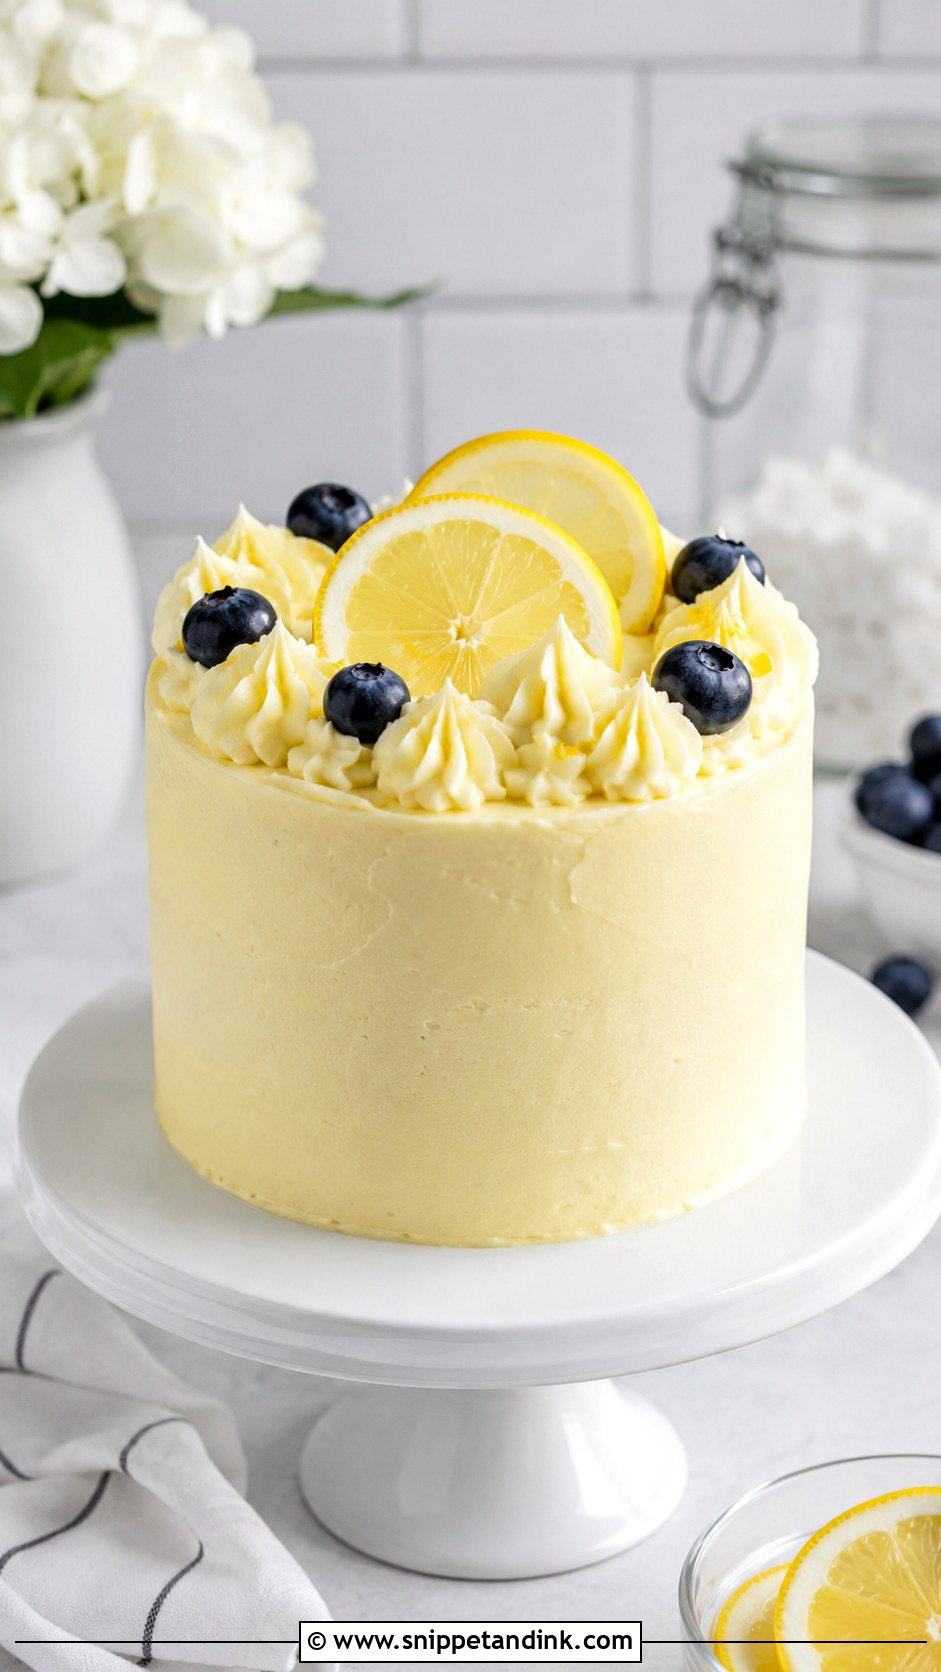
7. Fresh Fruit Cake
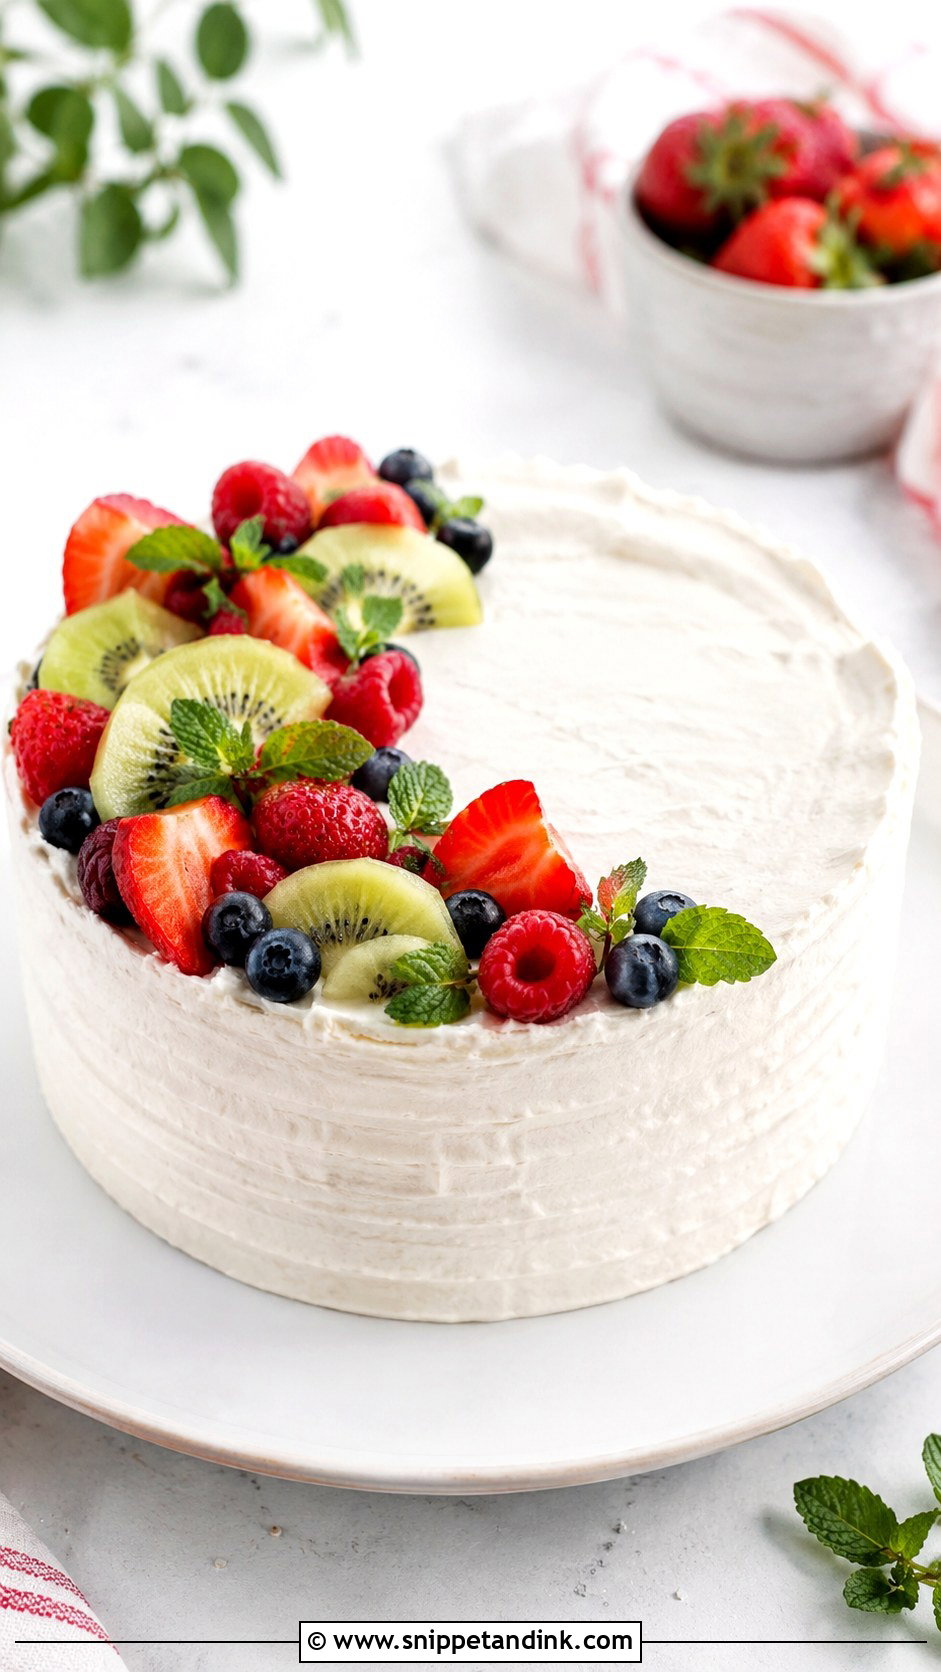
A fresh fruit cake feels bright, easy, and naturally beautiful. Frost the cake with whipped cream, cream cheese frosting, or light buttercream, then decorate the top with fruit that holds its shape. Strawberries, blueberries, raspberries, blackberries, kiwi, and citrus slices all work well. Keep the arrangement simple by grouping fruit in a crescent shape, a full ring, or a neat pile in the center. Pat fruit dry before placing it on frosting so the colors do not bleed. This cake is perfect for spring, summer, brunch, or birthdays when you want something pretty without relying on piping skills.
8. Ombre Buttercream Cake
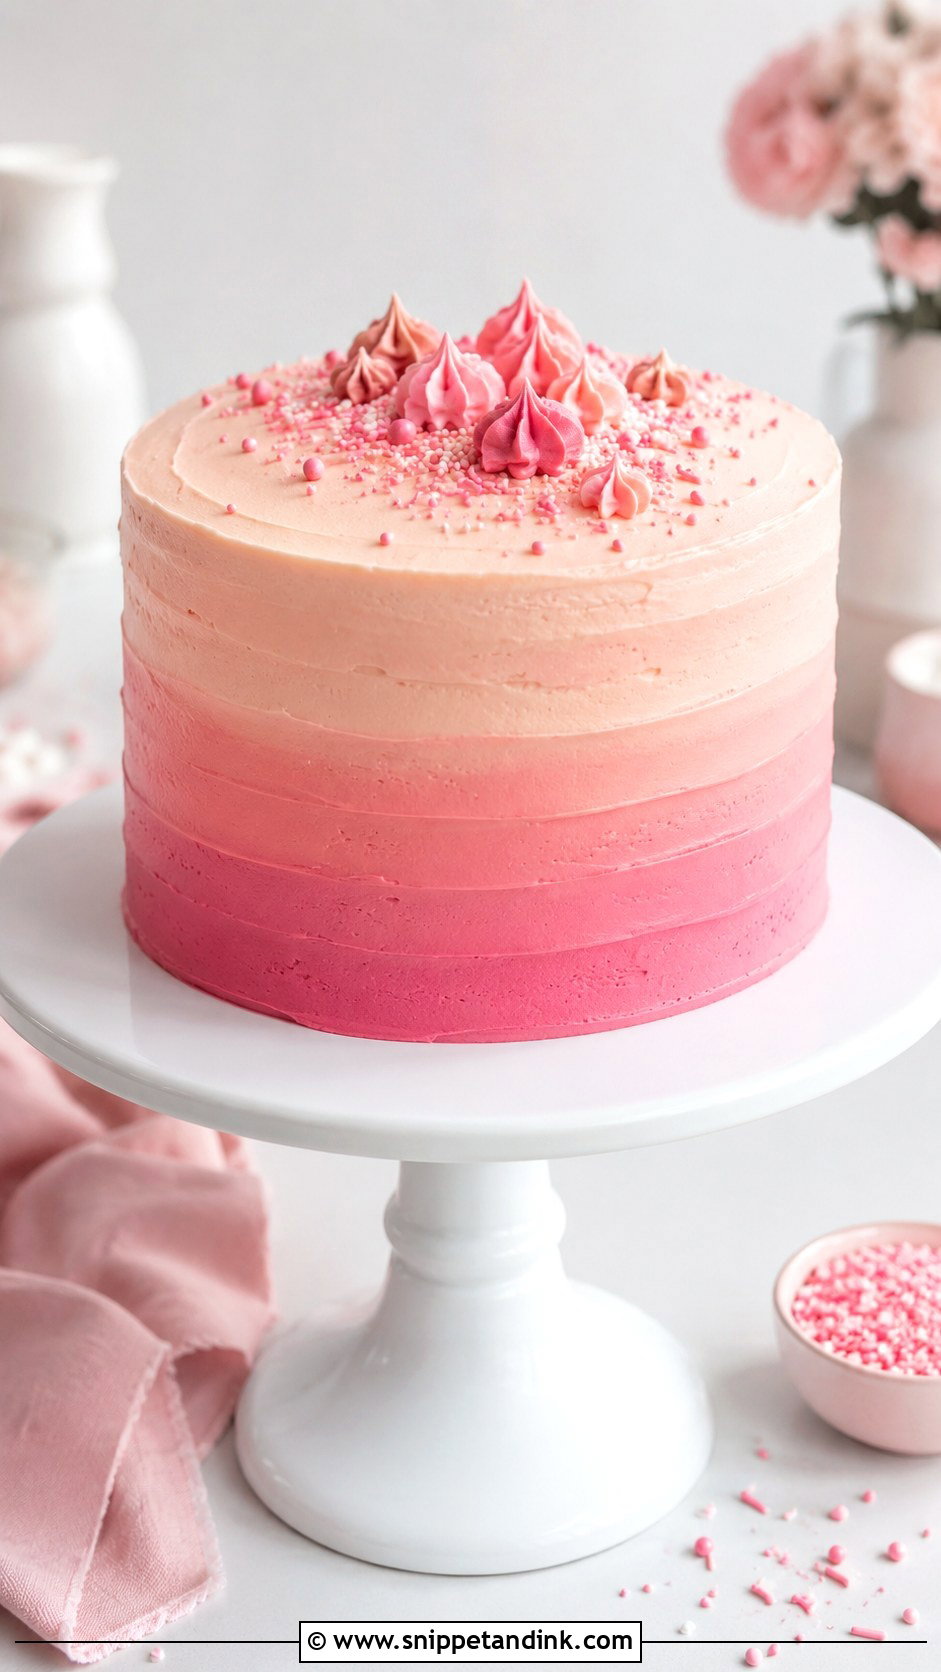
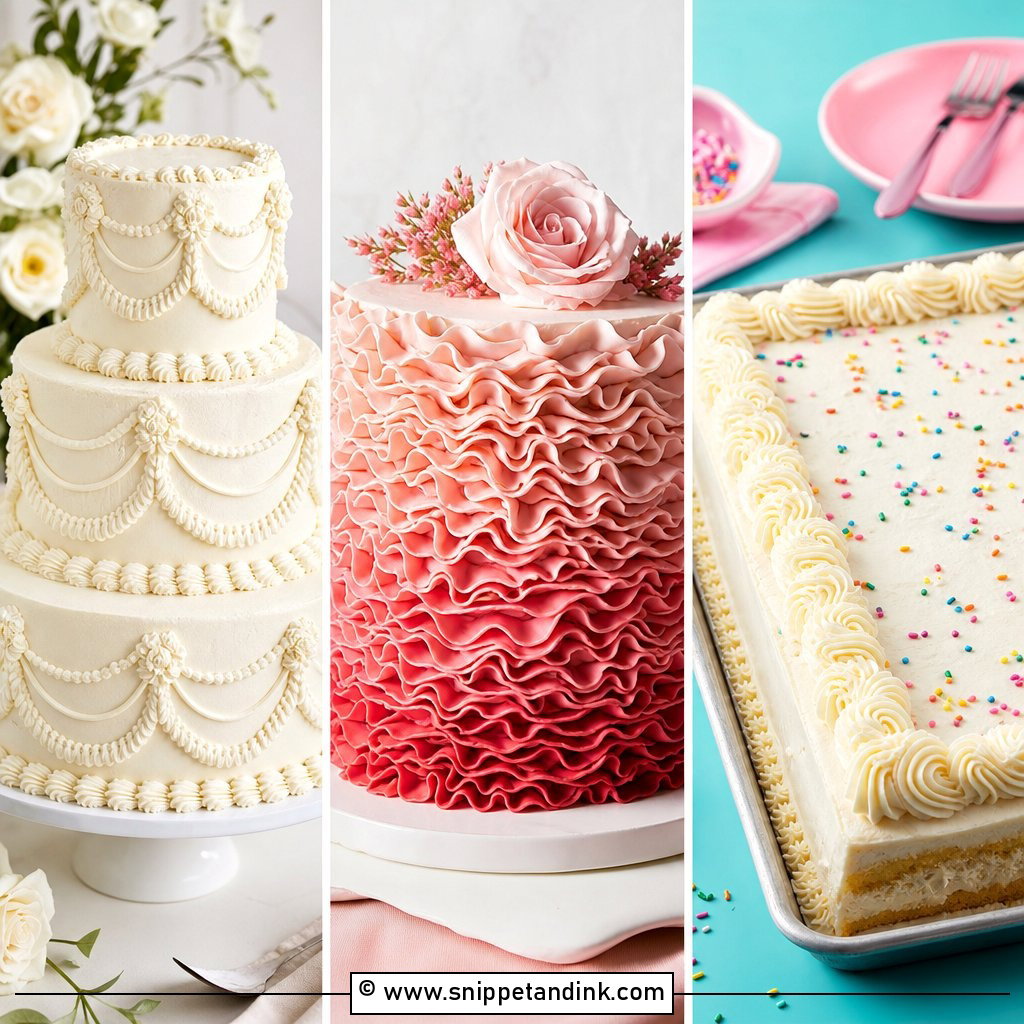
An ombre buttercream cake teaches color blending in a beginner-friendly way. Divide buttercream into three or four shades of the same color, from pale to deeper tone. Spread the darkest color around the bottom of the cake, the medium shade in the middle, and the lightest shade near the top. Use a scraper while turning the cake stand to blend the colors softly. You do not need perfect stripes. The beauty comes from gentle fading. Finish with a clean top, a small border, or matching sprinkles. This cake looks custom and trendy while using basic frosting tools.
9. Textured Spatula Cake
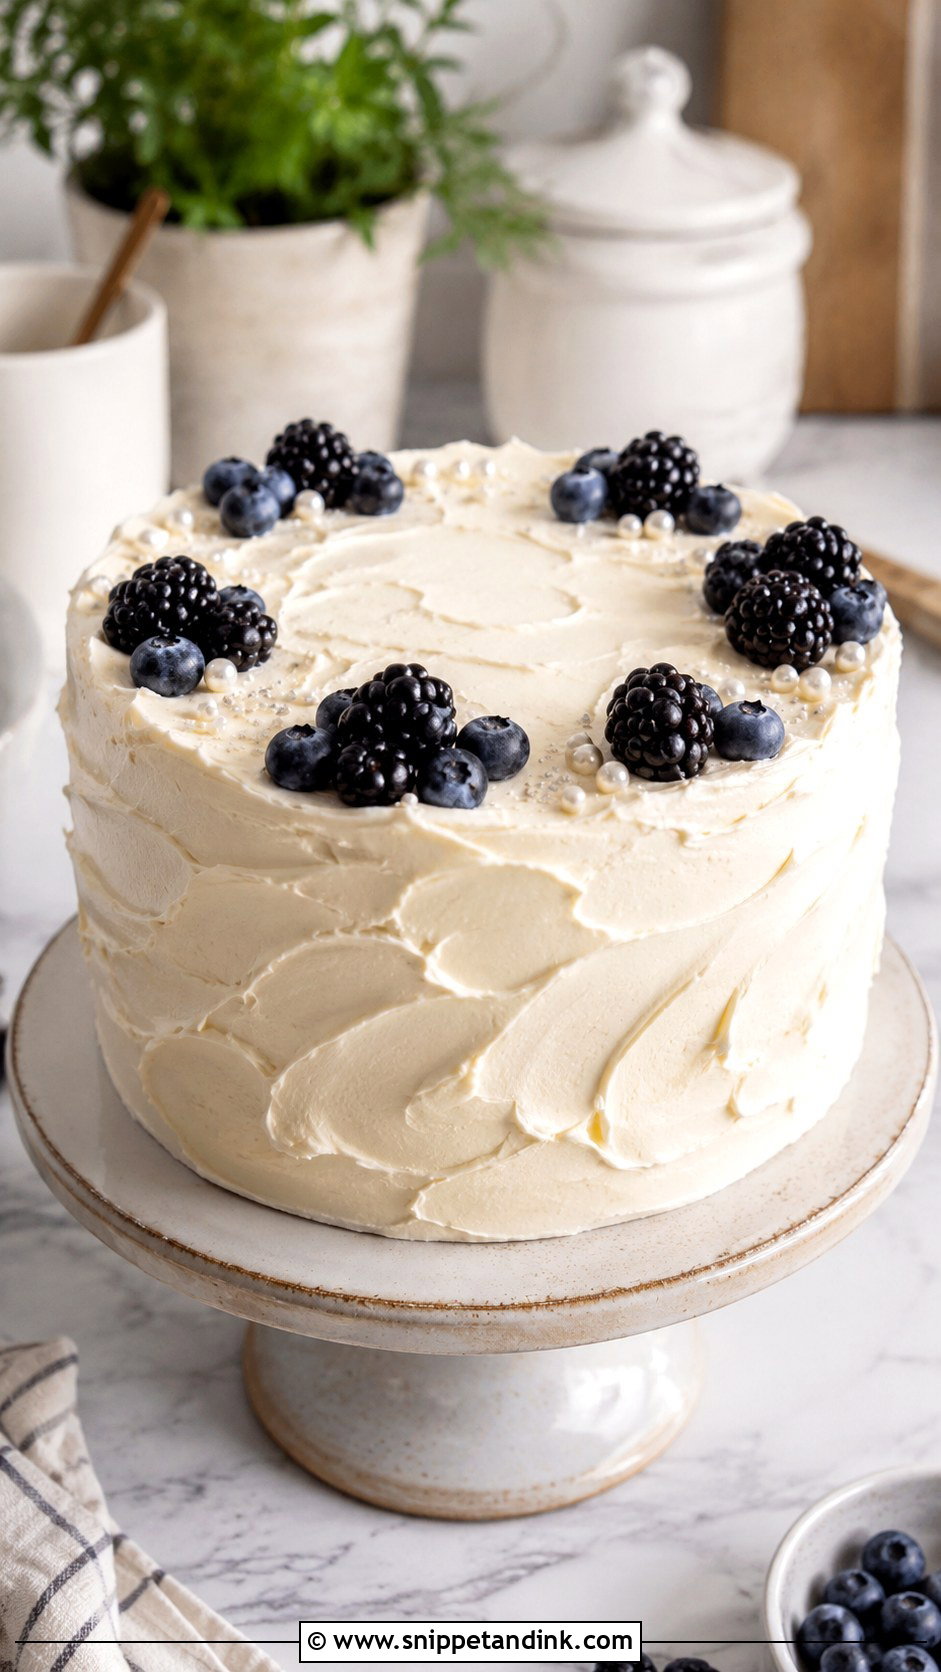
A textured spatula cake is ideal when smooth sides feel too stressful. Frost the cake with a generous layer of buttercream, then use a small offset spatula or the back of a spoon to create swoops, waves, or soft ridges. Work around the cake in sections and repeat the same motion so the texture looks intentional. You can make vertical strokes, messy swirls, or soft cloud-like peaks. Add a few berries, flowers, or chocolate pieces on top. This cake is beginner-friendly because texture hides bumps and mistakes while still giving the cake a modern, handmade finish.
10. Cupcake Style Cake
A cupcake style cake brings the fun of cupcake piping to one full-size cake. Frost the sides smoothly or leave them lightly textured, then pipe large buttercream swirls across the top like oversized cupcake tops. Use a large star tip and pipe each swirl from the outside inward, building height as you move. Add sprinkles, mini candies, or tiny fondant shapes over the swirls. This look is easy because you only decorate the top, not the entire cake. It is also great for birthdays, school parties, and casual celebrations where color and height matter more than perfect smoothing.
11. Heart Shaped Cake
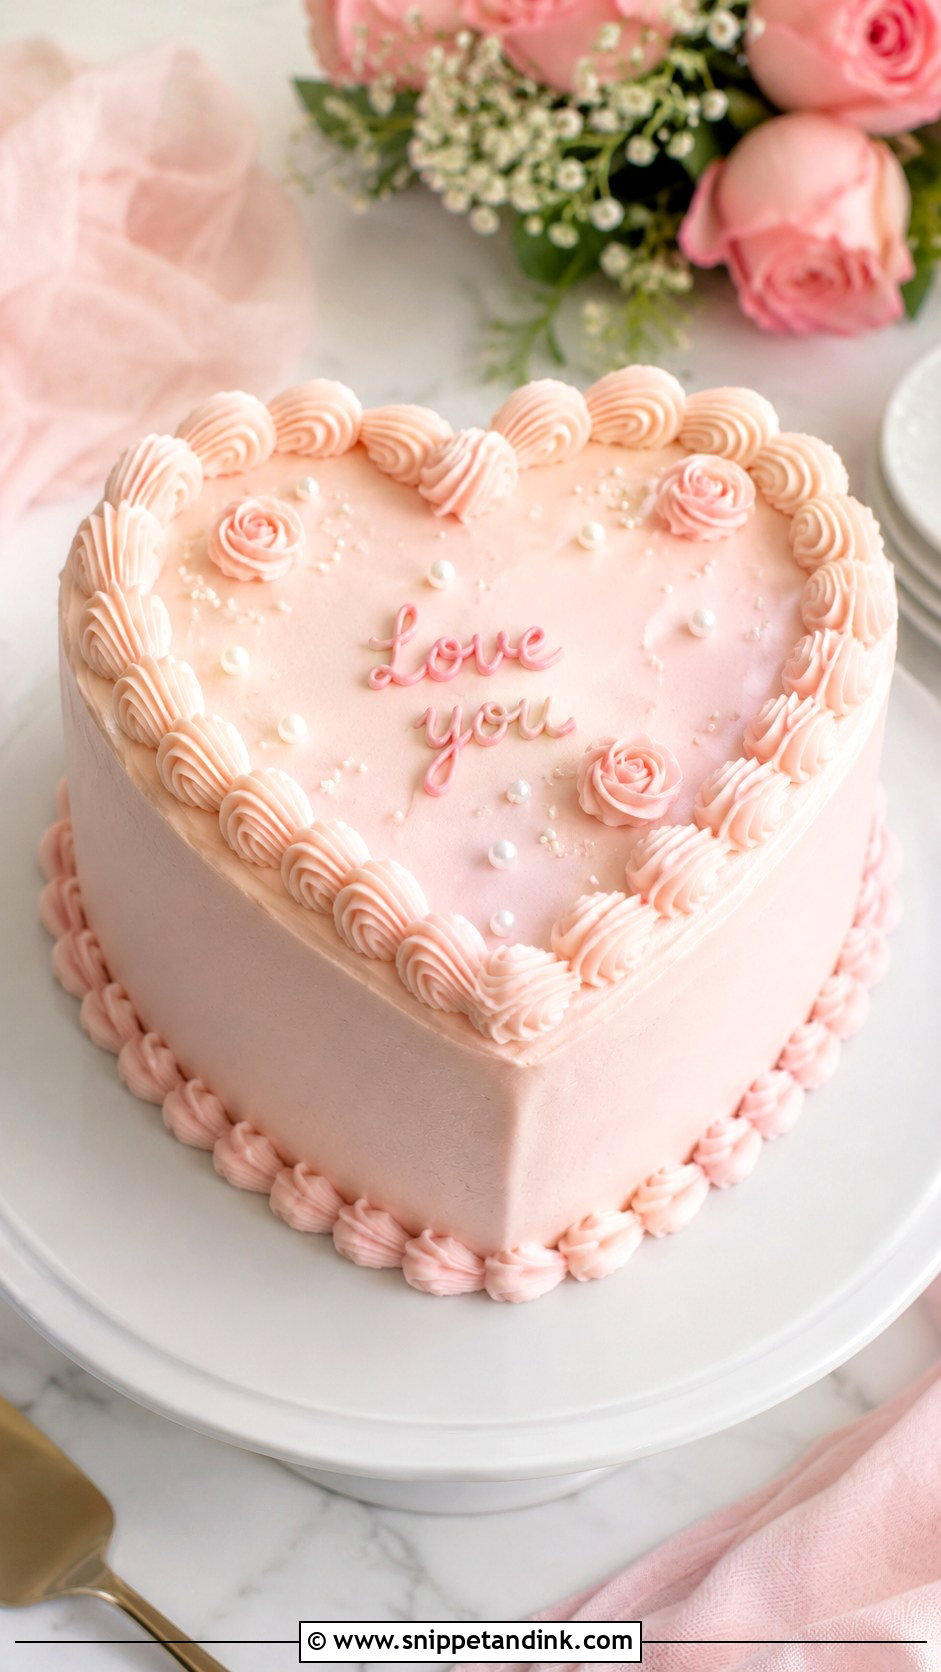
A heart shaped cake feels special, but it can still be simple. Use a heart pan, or cut a round cake and square cake into a heart shape. Cover it with pink, red, white, or pastel buttercream, then smooth the top and sides as best you can. Add a piped shell border around the top edge to define the shape. Beginners can decorate with small rosettes, pearl sprinkles, or a short piped message in the center. Keep the writing simple and practice first on parchment. This cake is sweet, photo-friendly, and great for birthdays or thoughtful celebrations.
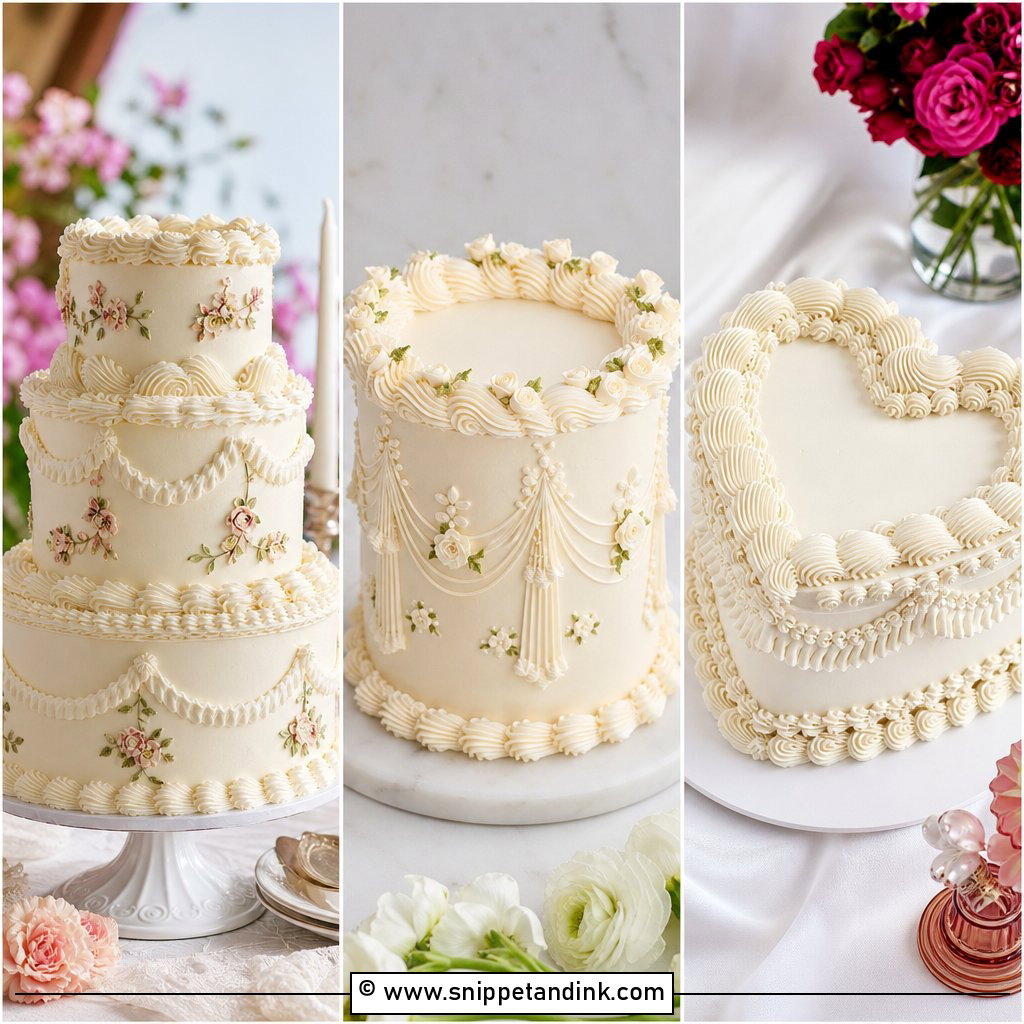
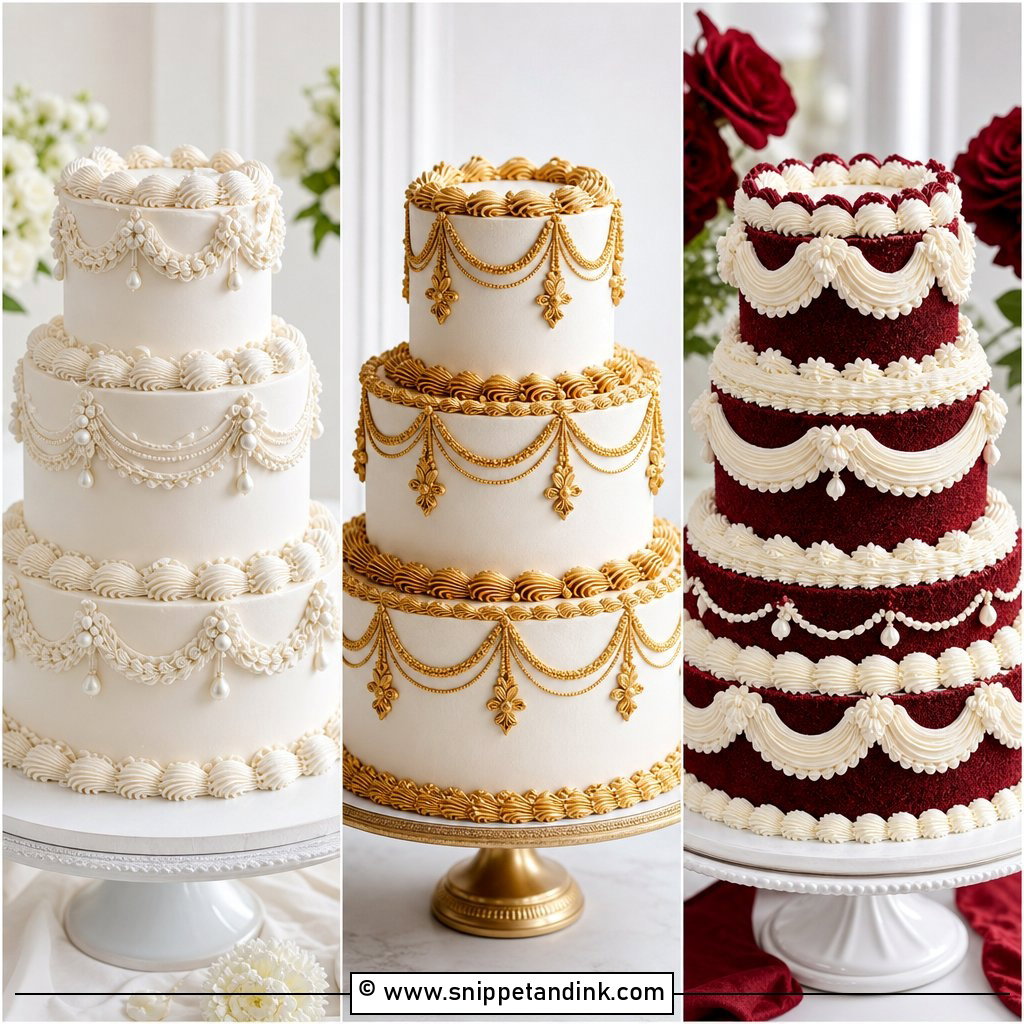
12. Vintage Buttercream Cake
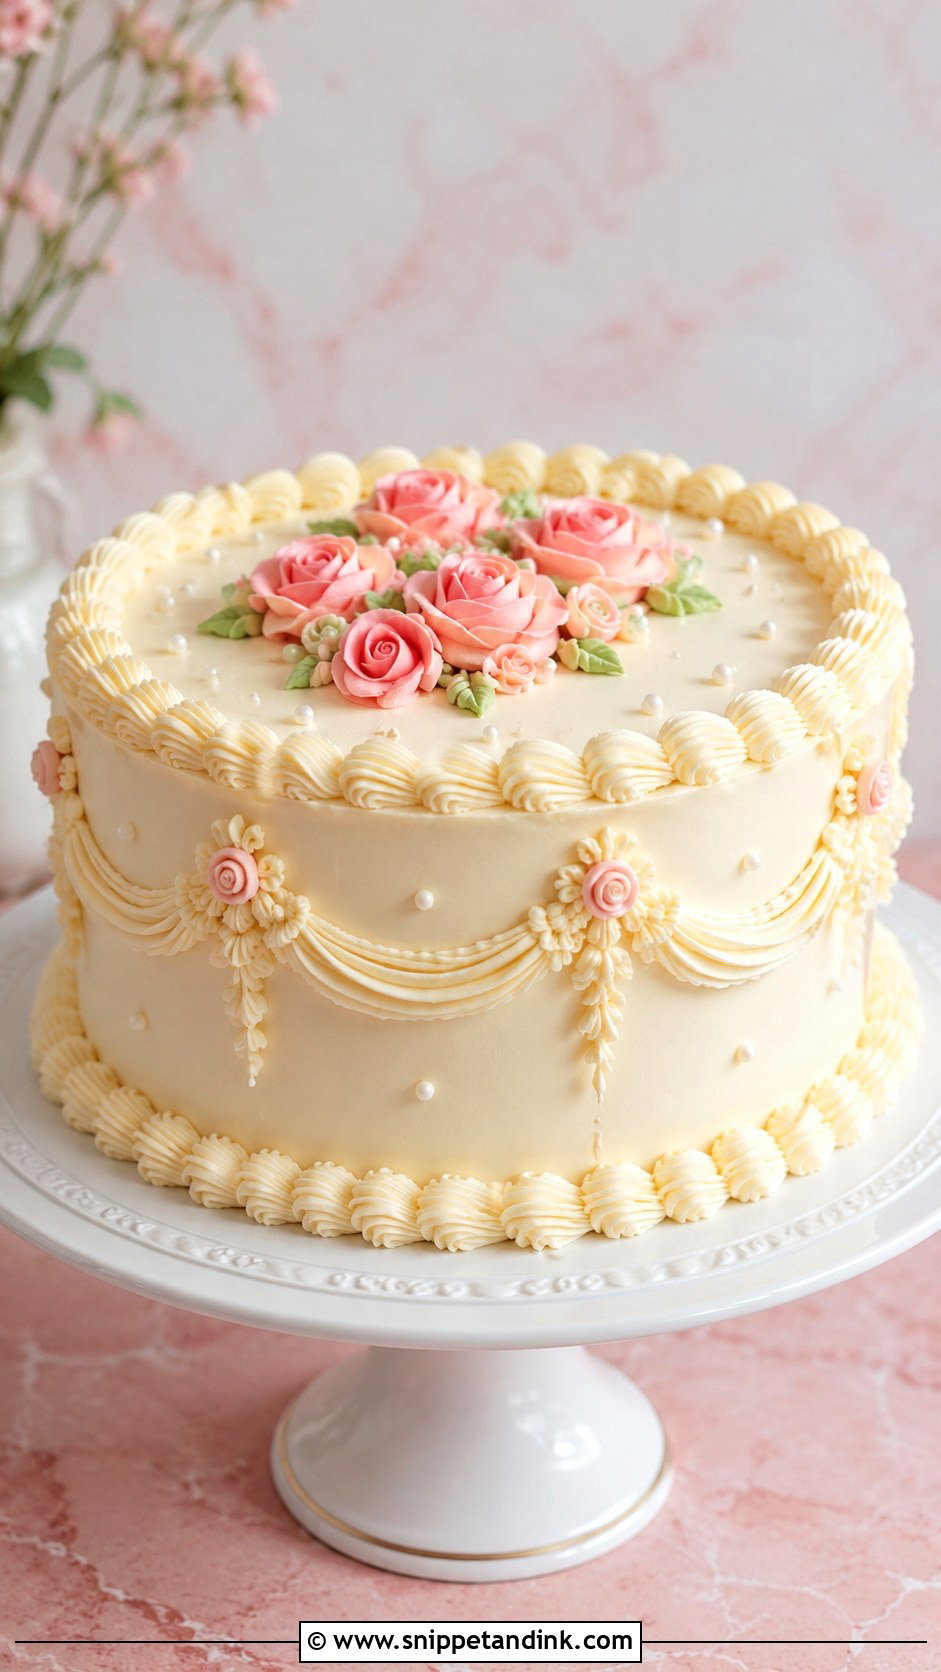
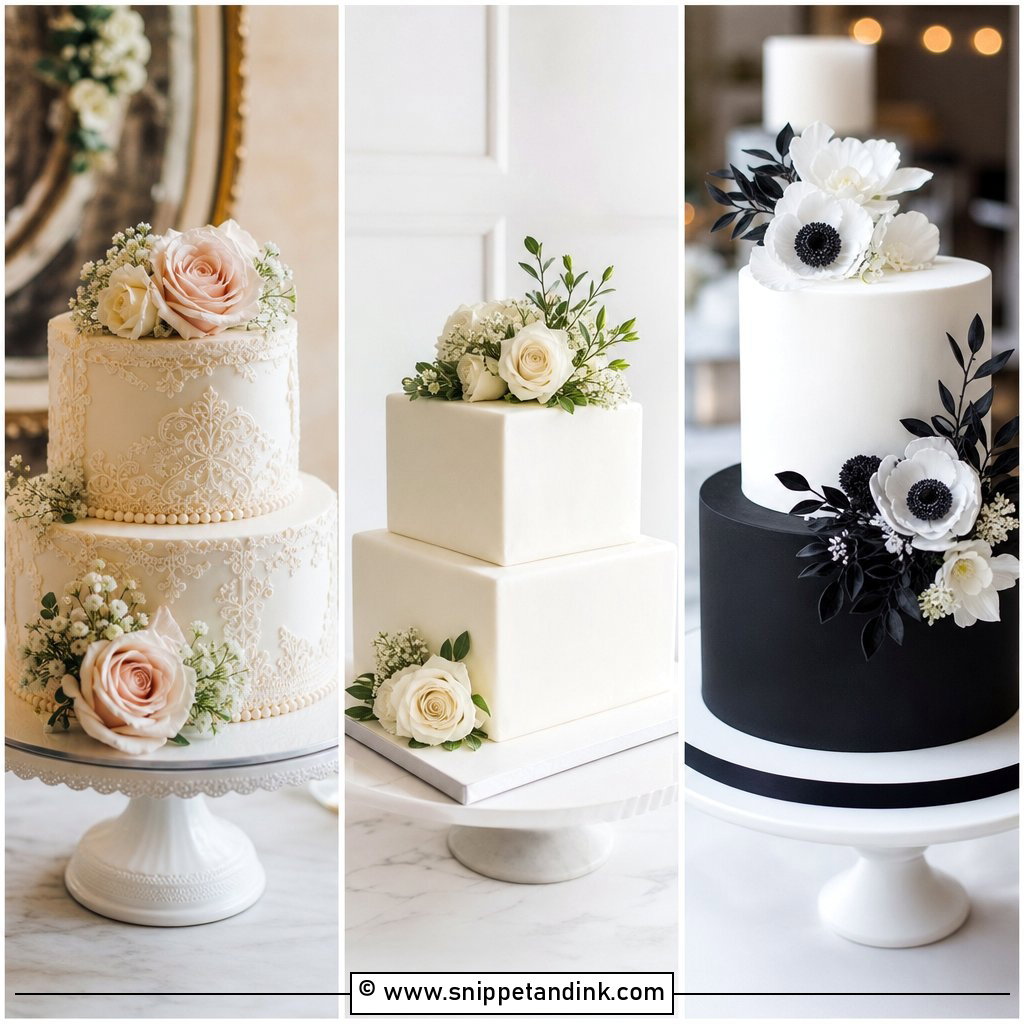
A vintage buttercream cake looks detailed, but beginners can simplify it by focusing on borders and small accents. Start with a smooth round or heart cake. Use a star tip to pipe shells around the top and bottom edges, then add small dots, tiny rosettes, or short swags along the sides. Choose two or three colors so the cake stays cohesive. Pink and white, blue and ivory, or lavender and cream are easy combinations. Do not worry about perfect symmetry. Vintage cakes are charming because they feel handmade. This project helps beginners practice pressure control and repeated piping shapes.
13. Rainbow Layer Cake
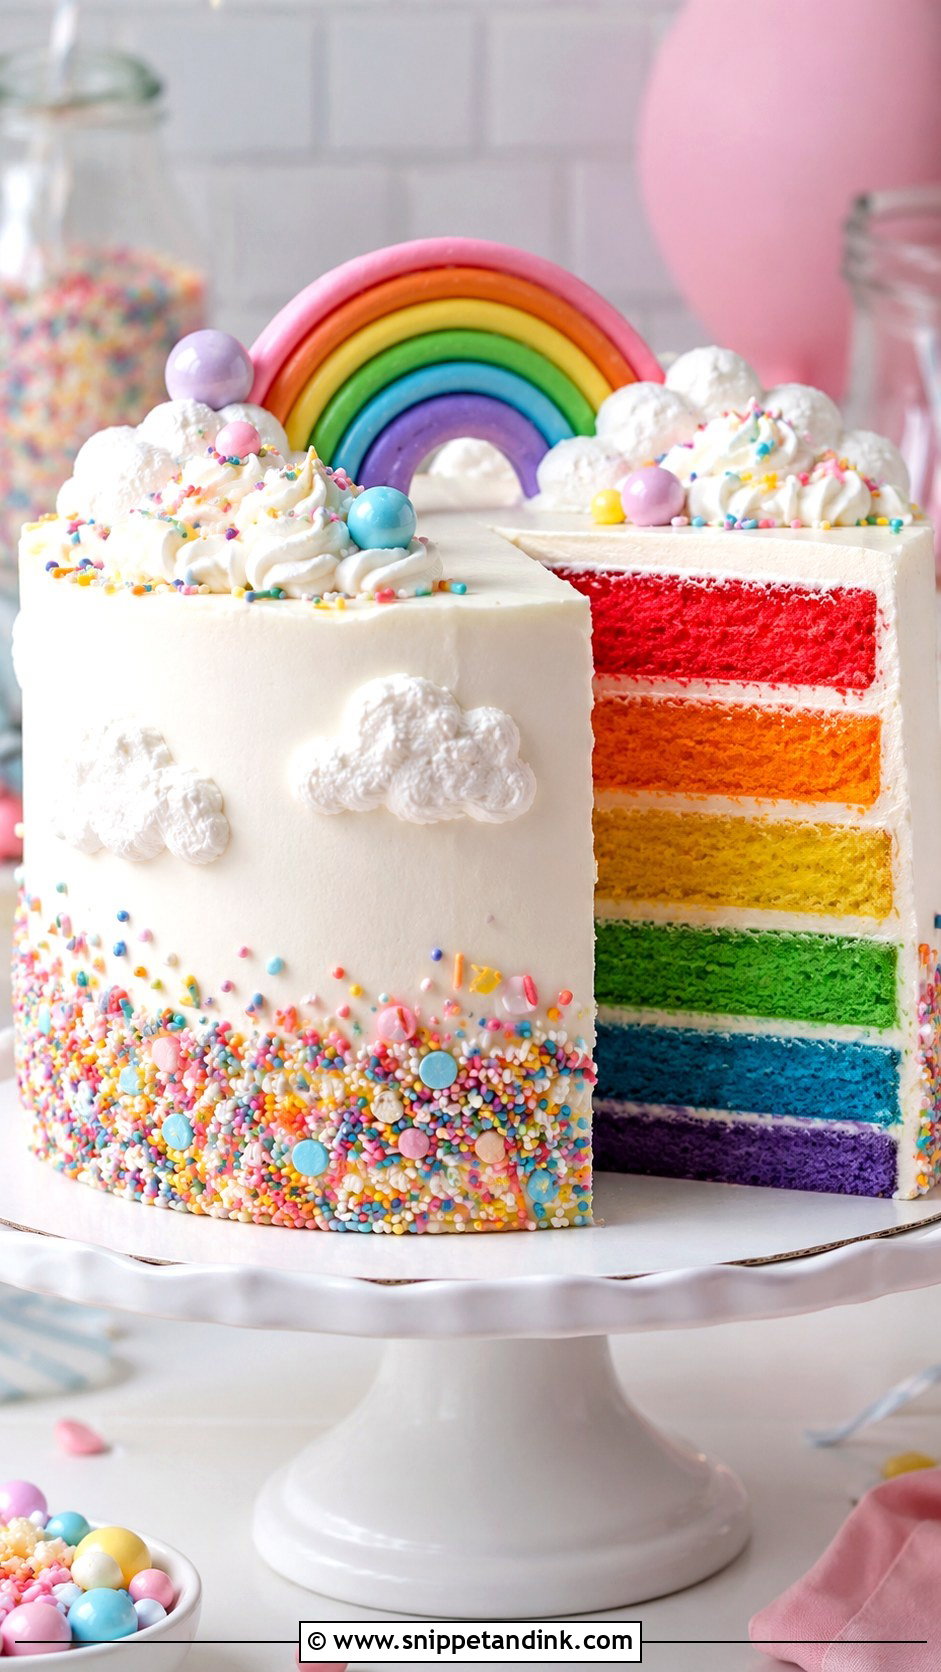
A rainbow layer cake has a big wow factor before you even decorate the outside. Bake thin layers in bright colors, then stack them with vanilla buttercream. Keep the exterior simple with white frosting so the inside becomes the surprise. Smooth the sides or use a textured spatula finish, then add rainbow sprinkles, piped clouds, or colorful candies on top. Beginners love this cake because the decoration can stay easy while the sliced cake looks exciting. Use gel food coloring for strong shades without adding too much liquid. Chill the stacked cake before frosting for cleaner sides.
14. Fondant Cut Out Cake
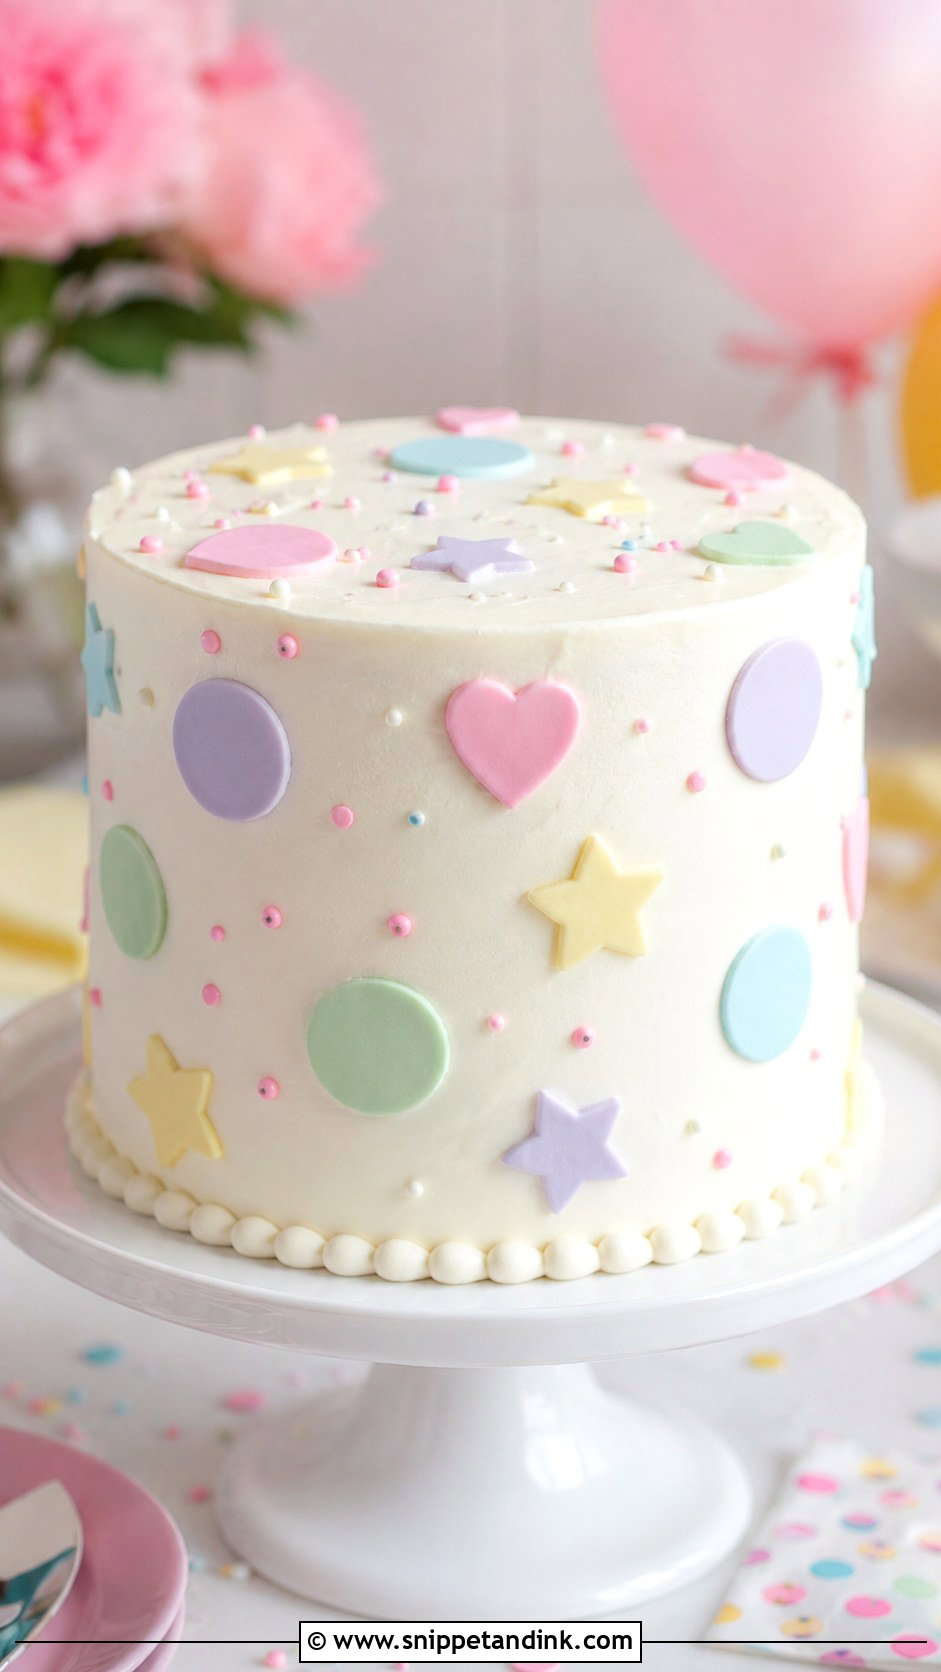
A fondant cut out cake is a beginner-friendly way to use fondant without covering the whole cake. Frost the cake in buttercream first, then roll small pieces of fondant and cut shapes with cookie cutters. Stars, hearts, circles, flowers, and letters are easy choices. Press the shapes onto the cake while the buttercream is slightly soft, or attach them with a tiny dab of frosting. Keep the base cake simple so the cutouts stand out. This method is great for themed birthdays because you can change colors and shapes without learning advanced modeling or full fondant covering.
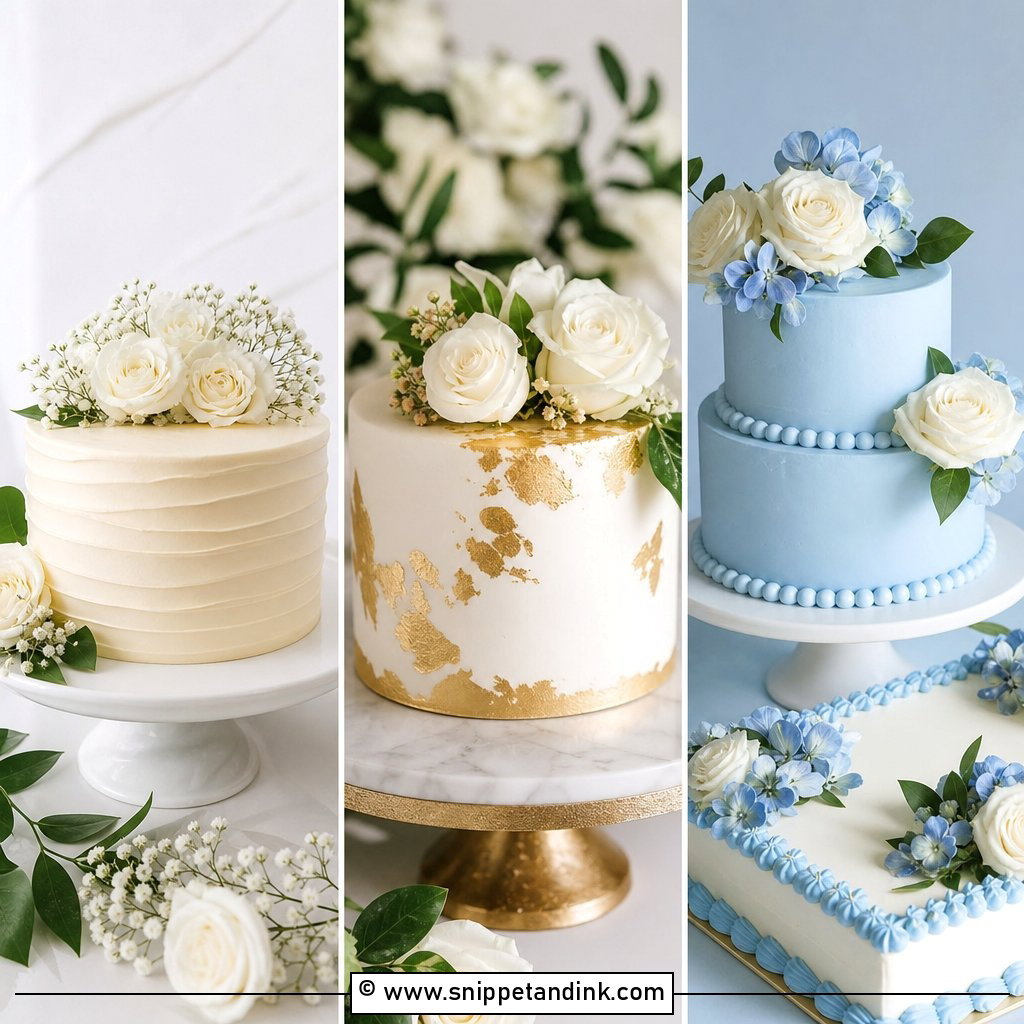
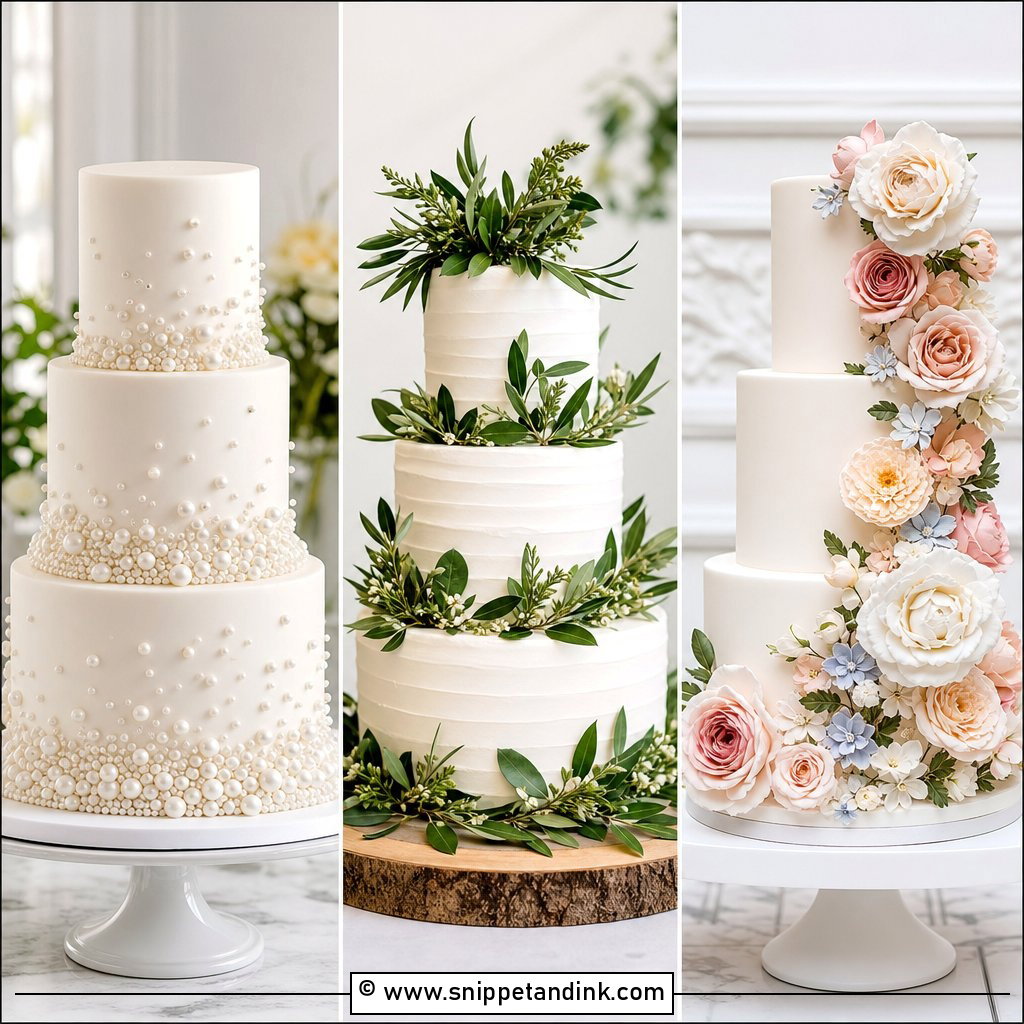
15. Edible Flower Cake
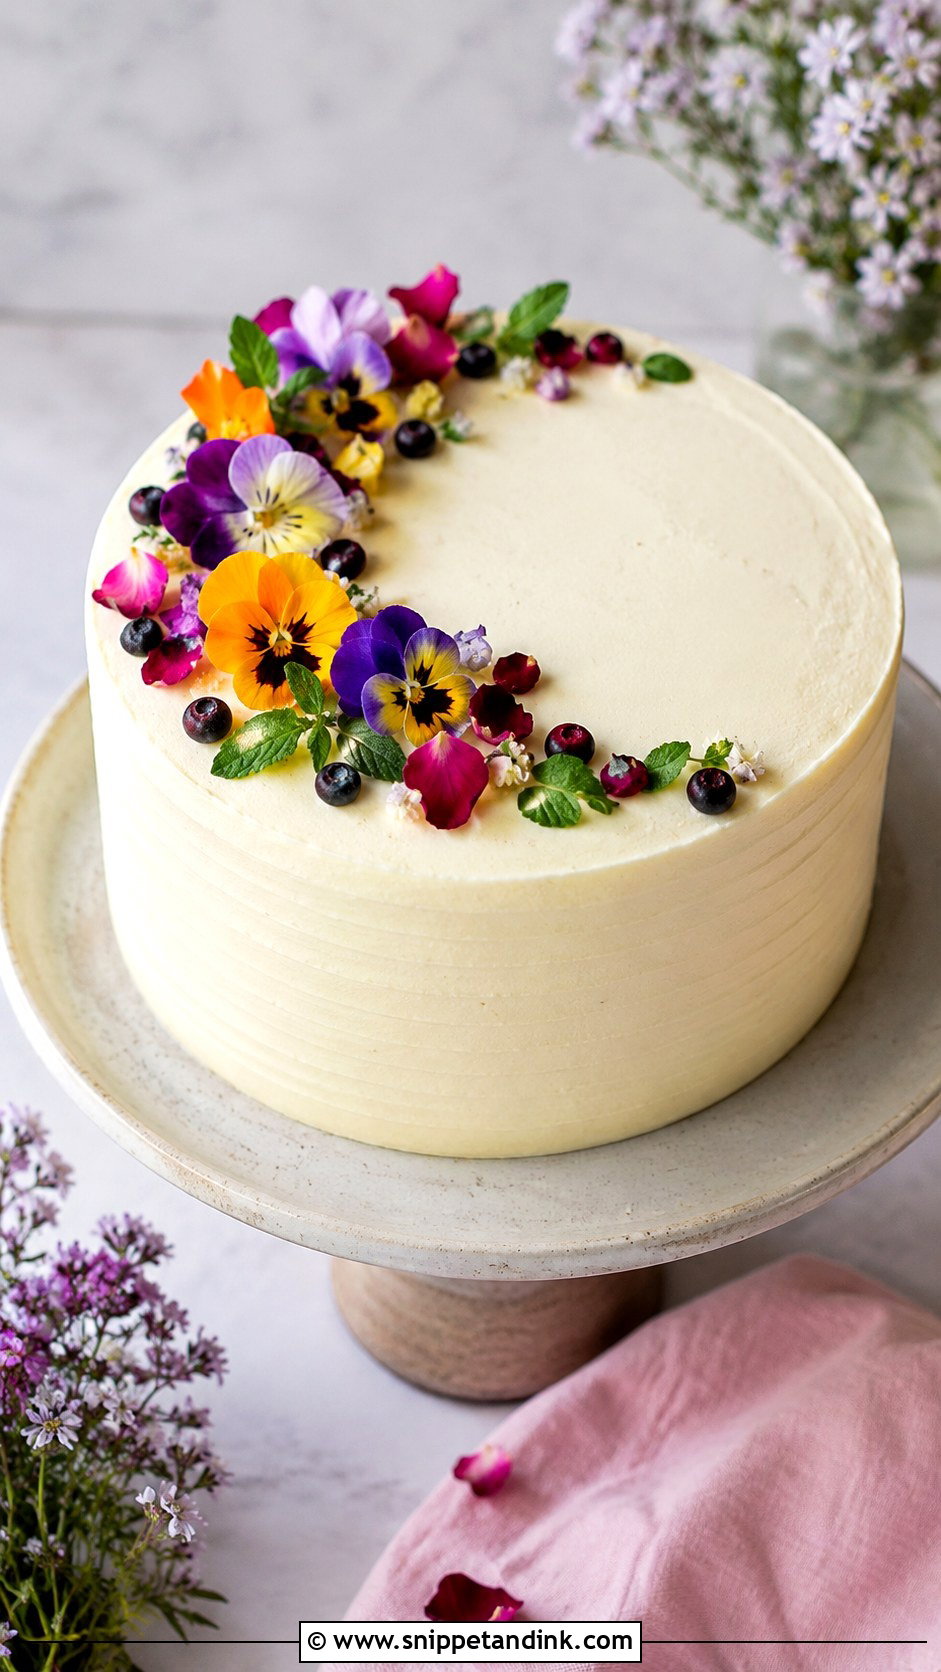
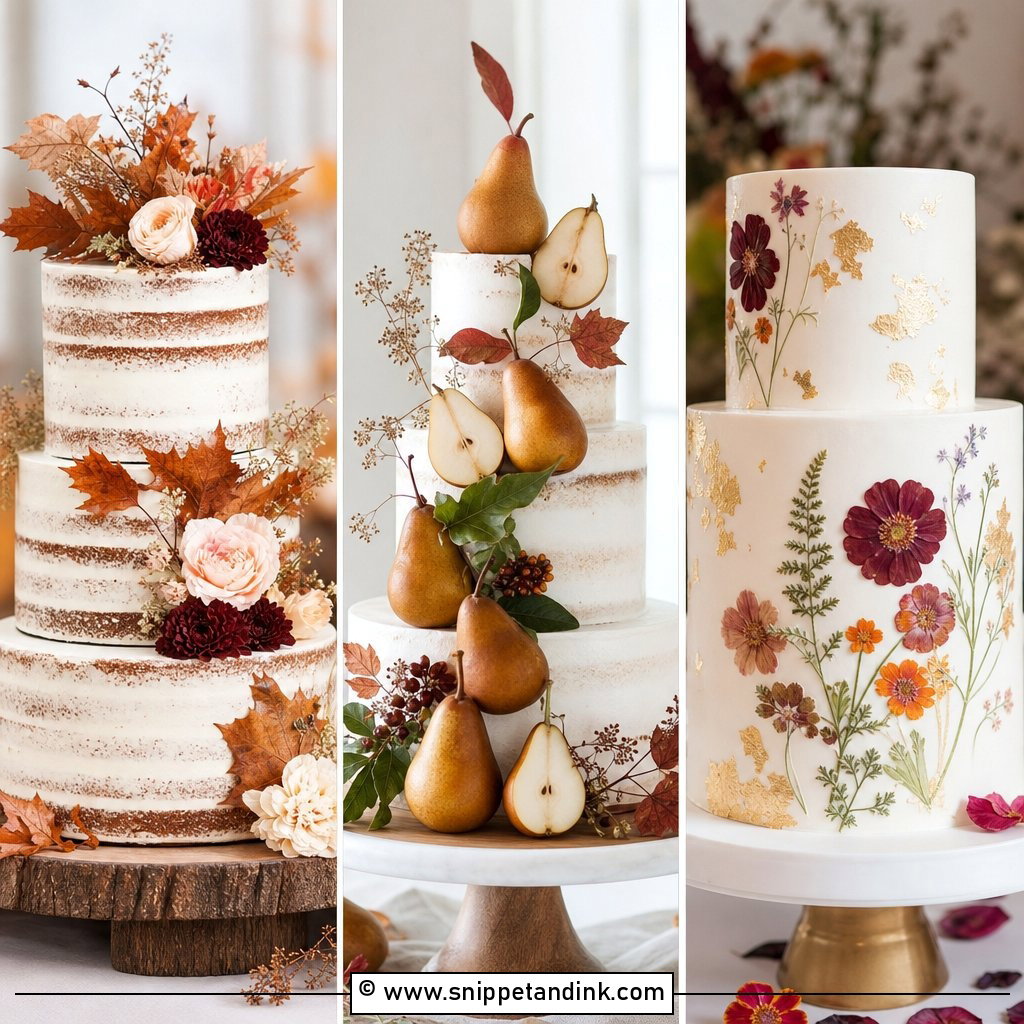
An edible flower cake looks elegant with very little technical skill. Frost the cake in smooth white, cream, pale pink, or soft green buttercream. Arrange food-safe edible flowers on top in a crescent, wreath, or loose garden style. Use blooms like pansies, violas, calendula, or edible rose petals from a safe source. Never use random florist flowers unless they are clearly food-safe and untreated. Add herbs like mint or small berries for extra texture. This cake is perfect for showers, birthdays, and spring celebrations. The trick is leaving breathing room so the flowers look intentional, not crowded.
16. Cookie Topped Cake
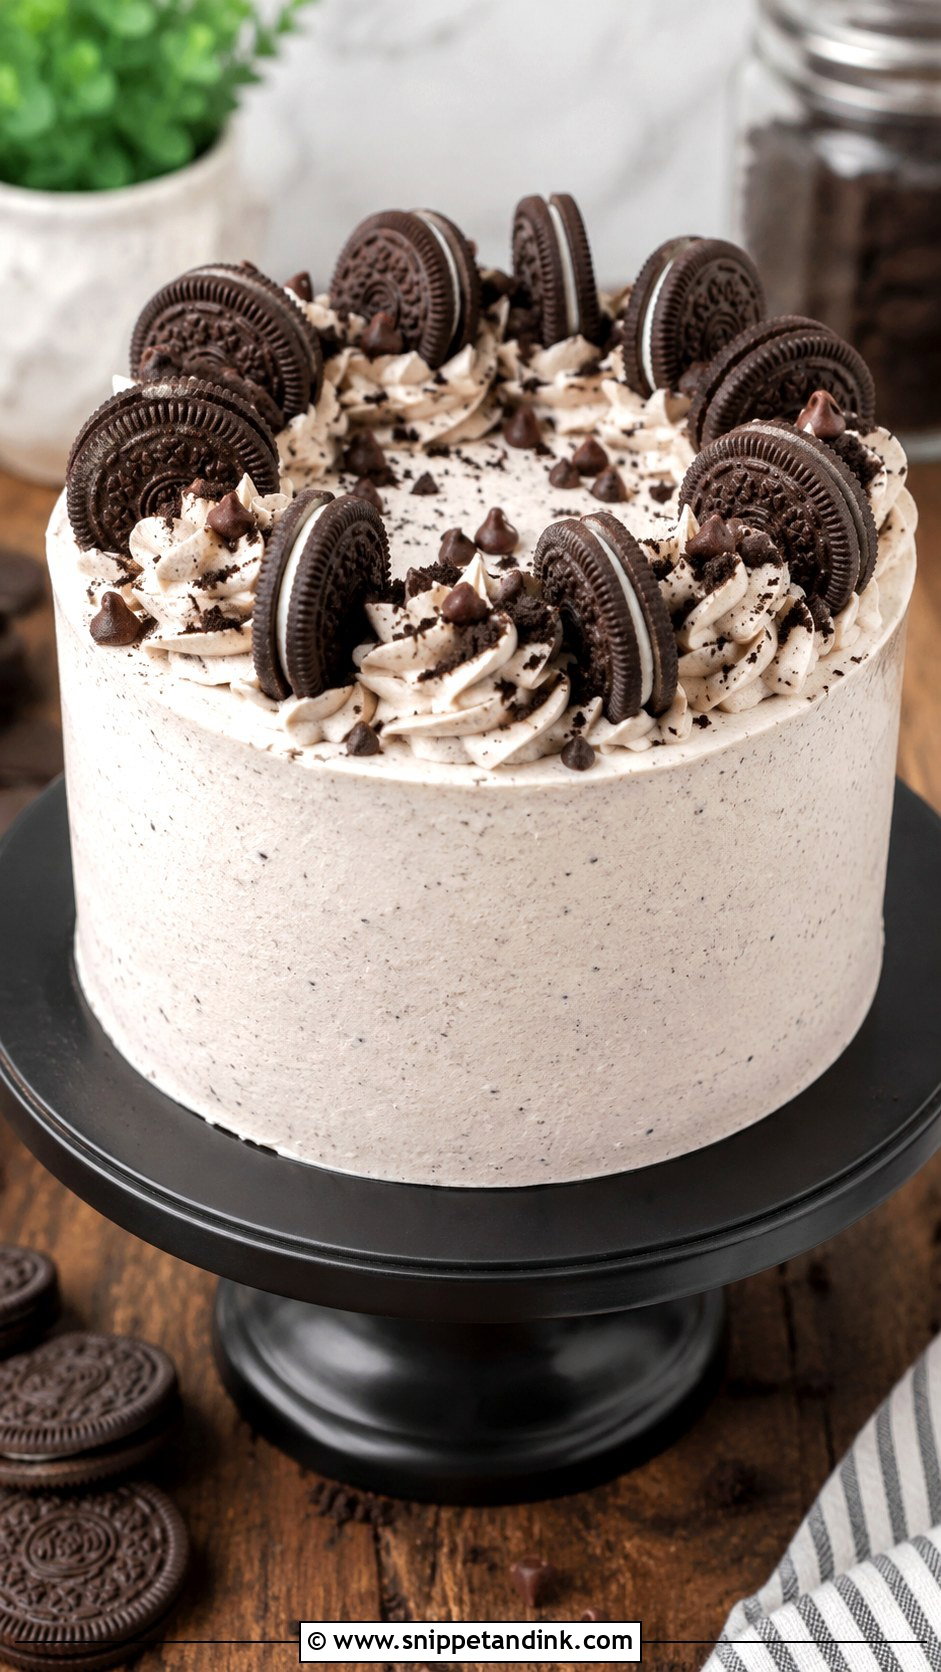
A cookie topped cake is bold, fun, and hard to mess up. Frost a chocolate, vanilla, or cookies and cream cake with buttercream, then decorate the top with whole cookies, cookie halves, crushed cookie crumbs, and piped swirls. Press crumbs around the bottom edge to hide uneven frosting. Stand a few cookies upright on top for height, but keep them balanced so they do not fall. This design works especially well with chocolate sandwich cookies, shortbread, wafer cookies, or mini chocolate chip cookies. It is a beginner favorite because store-bought toppings create instant detail and strong visual impact.
17. Candy Drip Cake
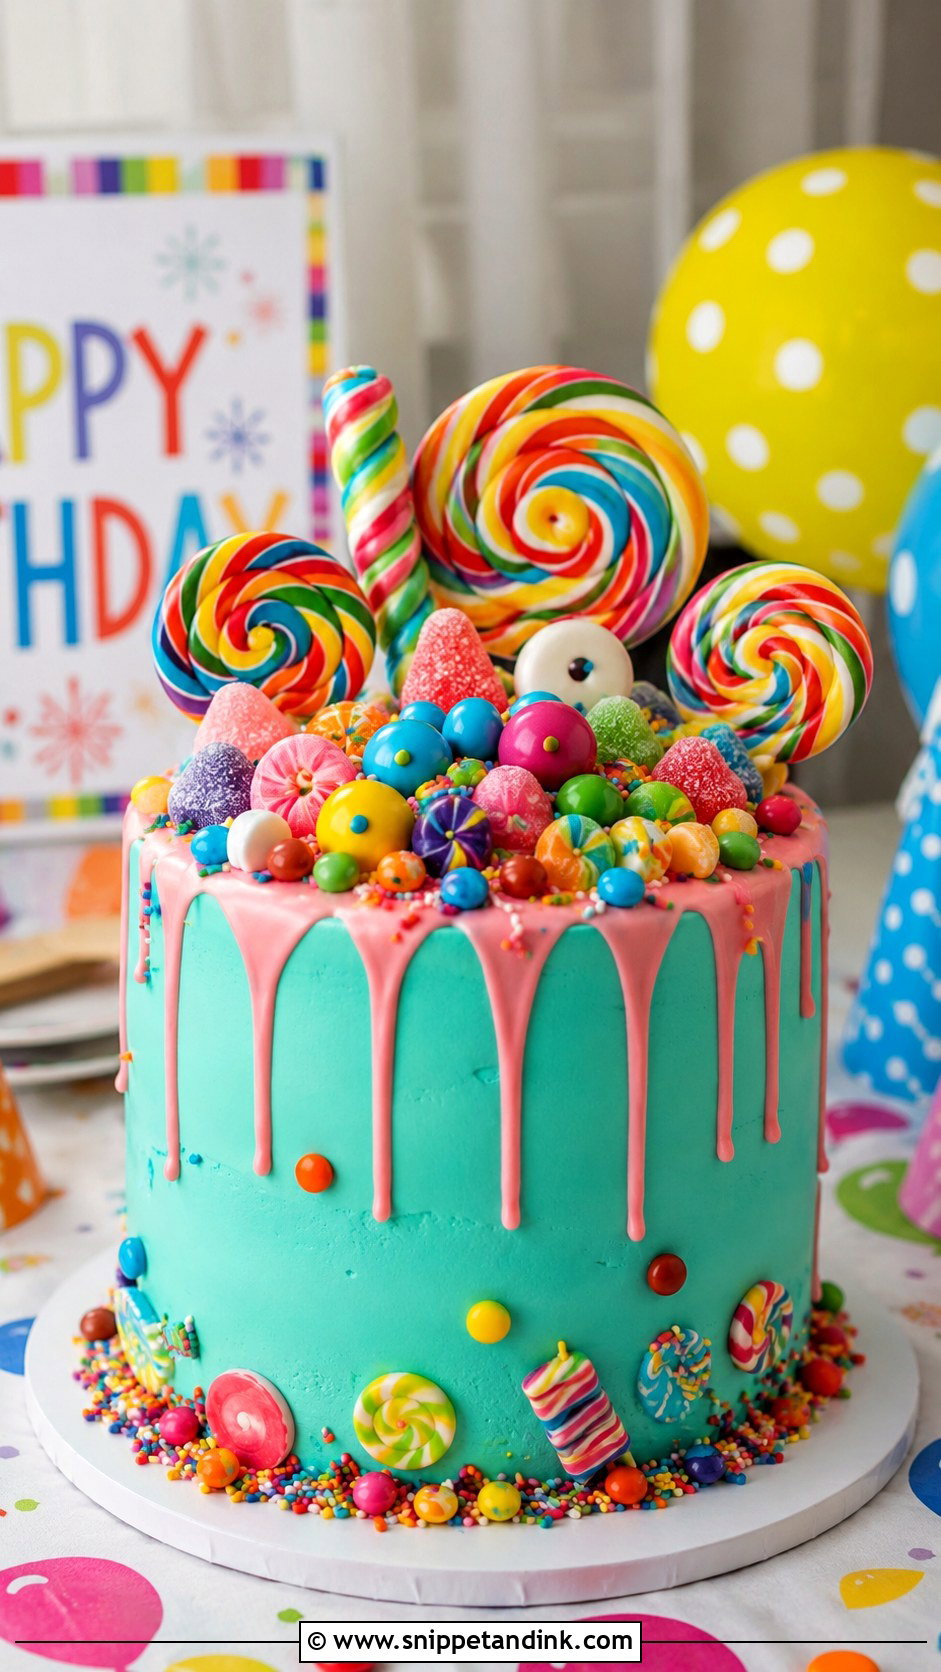
A candy drip cake is colorful, playful, and perfect for beginners decorating a party cake. Start with a chilled buttercream cake, then add a colored white chocolate drip around the edge. Choose one candy color palette so the cake does not look too busy. Add lollipops, gummy candies, chocolate pieces, or candy-coated chocolates on top in a clustered arrangement. Keep the tallest pieces toward the back or center. This cake works because the decorations do most of the visual work. Even if the drip is not perfect, the candy gives the cake energy, height, and a Pinterest-ready finish.
18. Stencil Cake
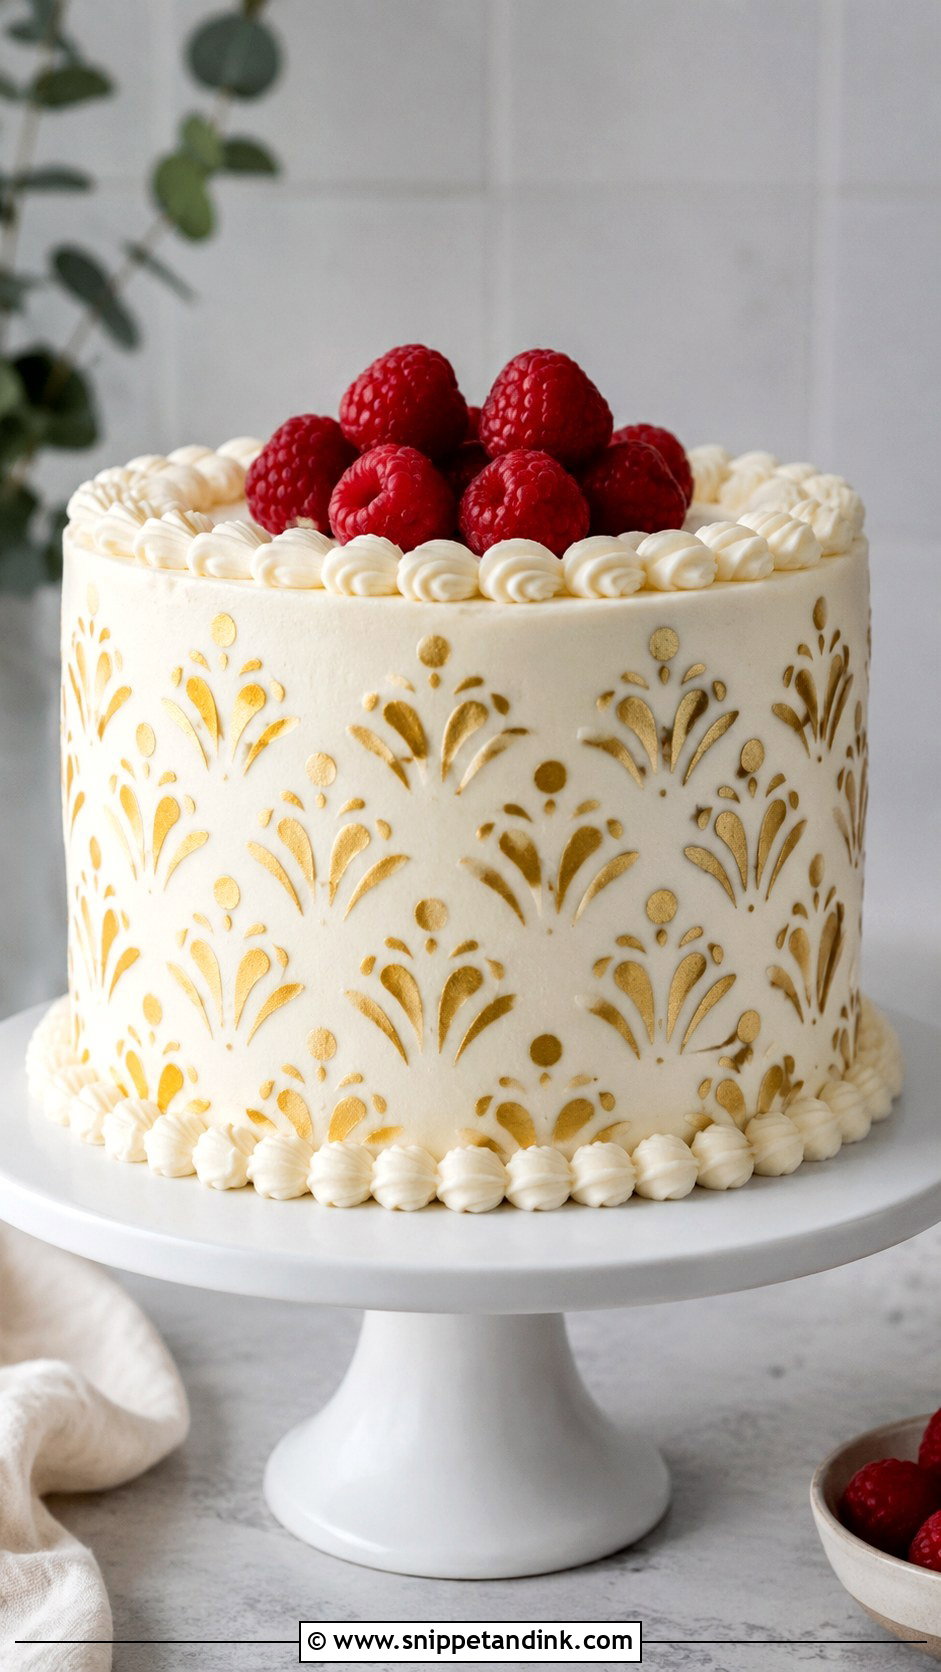
A stencil cake creates a clean pattern without freehand drawing. Frost and chill the cake first so the surface is firm. Hold a cake stencil gently against the side or top, then spread a thin layer of contrasting buttercream over it. Lift the stencil straight away to reveal the pattern. Beginners should start with simple shapes, wide patterns, or a top-only stencil before trying full side coverage. You can also dust cocoa powder or powdered sugar over a stencil for an easier finish. This cake looks polished and modern, especially when paired with a simple border or fresh fruit.
19. Mini Layer Cake
A mini layer cake is a smart beginner project because smaller cakes feel easier to control. Use 4-inch or 6-inch layers, stack them with buttercream, and chill before frosting. Since the cake is small, you can practice smoothing, piping, dripping, or decorating without using a huge amount of frosting. Add one strong focal point, such as a top swirl, fruit cluster, chocolate drip, or sprinkle border. Mini cakes are also great for testing colors and techniques before making a larger party cake. They photograph well on small stands and make simple decorations look extra charming.
20. Sheet Cake With Piped Frosting
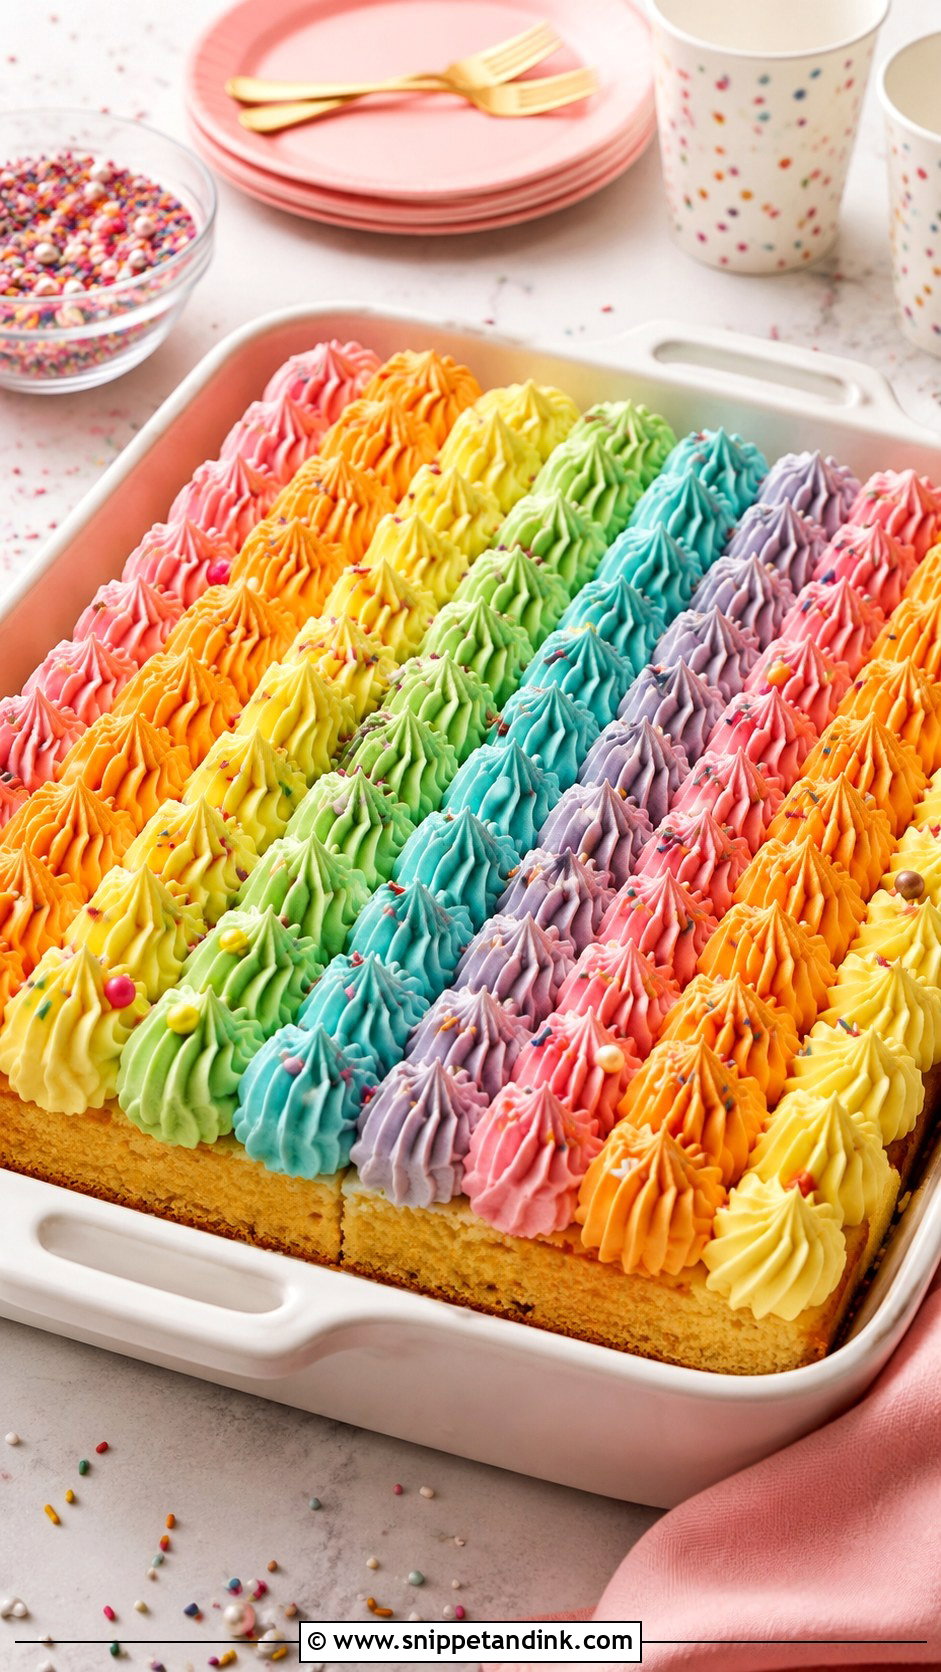
A sheet cake with piped frosting is one of the easiest cakes for beginners because there are no tall sides to smooth. Bake the cake in a rectangular pan, cool it completely, then spread frosting over the top. Use a star tip to pipe rows of shells, rosettes, zigzags, or simple swirls across the surface. You can cover the whole cake with one pattern or create sections in different colors. Add sprinkles, fruit, or a short message in the center. This cake is practical for birthdays, potlucks, and family gatherings, and it gives plenty of space to practice piping.
Conclusion:
Beginner cake decorating is really about choosing the right project, not doing everything perfectly. A smooth buttercream cake teaches structure, a sprinkle cake builds confidence, a drip cake adds drama, and textured frosting hides little mistakes. Once you learn to chill your cake, use steady pressure, keep decorations simple, and repeat easy motions, decorating becomes much less stressful. Pick one cake from this list, gather only the tools you need, and focus on finishing it instead of fixing every tiny flaw. The more cakes you decorate, the more natural your hands will feel, and your style will grow with practice.
You'll Like These Ideas:


Leave a Reply