
A wedding cake can look polished and personal without complicated sugar work or a big decorating budget. The easy designs nearly all start the same way: a level, well-chilled cake, a clean coat of frosting and one strong detail. Textured buttercream, fresh and pressed flowers, pearls, soft color, fruit and old-fashioned piping are all popular right now, and most of them forgive a first-time decorator, because a small wobble reads as handmade. Below are twenty ideas, with notes on where each one tends to go wrong.
Level Layers and a Cold Fridge Do Half the Decorating
Every finish below looks better on a cake that’s level and cold. I trim the domes off each layer, fill and stack them, then spread a thin crumb coat to trap loose crumbs and chill the cake until the frosting is firm to the touch, usually 30 minutes to an hour. Only then does the final coat go on. Skipping that chill is the most common reason a home-decorated cake ends up with crumbs in the frosting and bulging sides.
Which buttercream holds up through a reception
American buttercream, made from butter and powdered sugar, crusts over and is easy for beginners, but it’s very sweet and softens in heat. Swiss meringue buttercream is silkier, less sweet and pipes cleanly, though it also softens once the room warms up. For an outdoor summer reception, a firm ganache coat or a buttercream made partly with shortening buys you more time before the sides start to slump. Whatever you use, plan for the cake to spend as little time out of the fridge as possible.
1. Buttercream Wedding Cake With Fresh Flowers
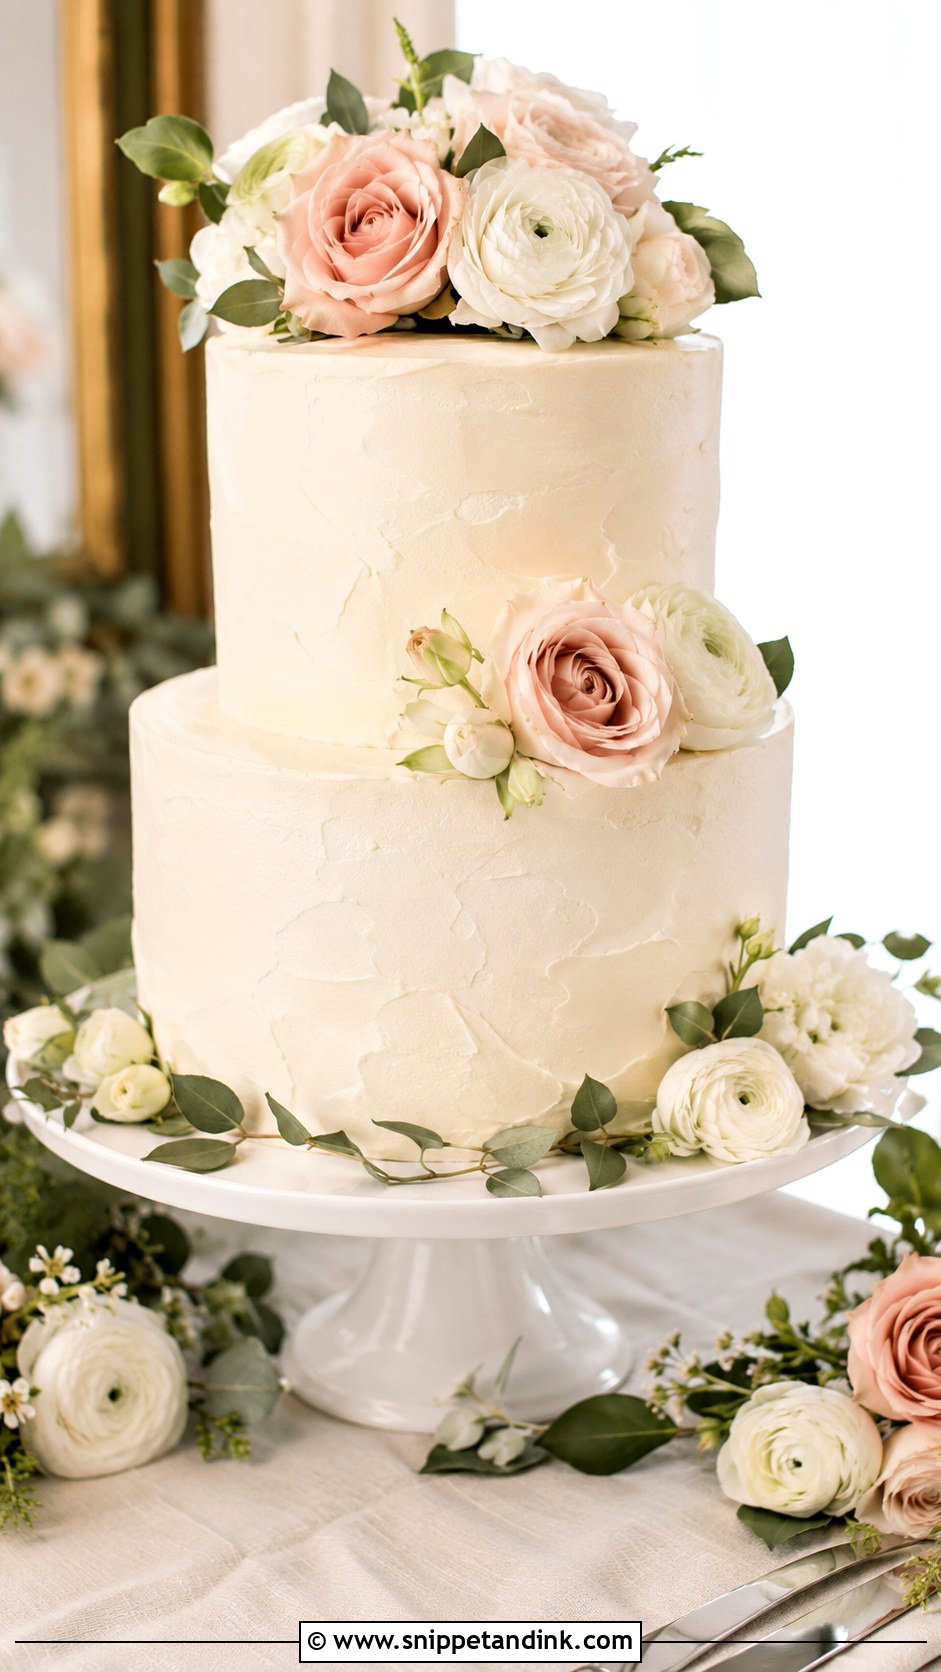
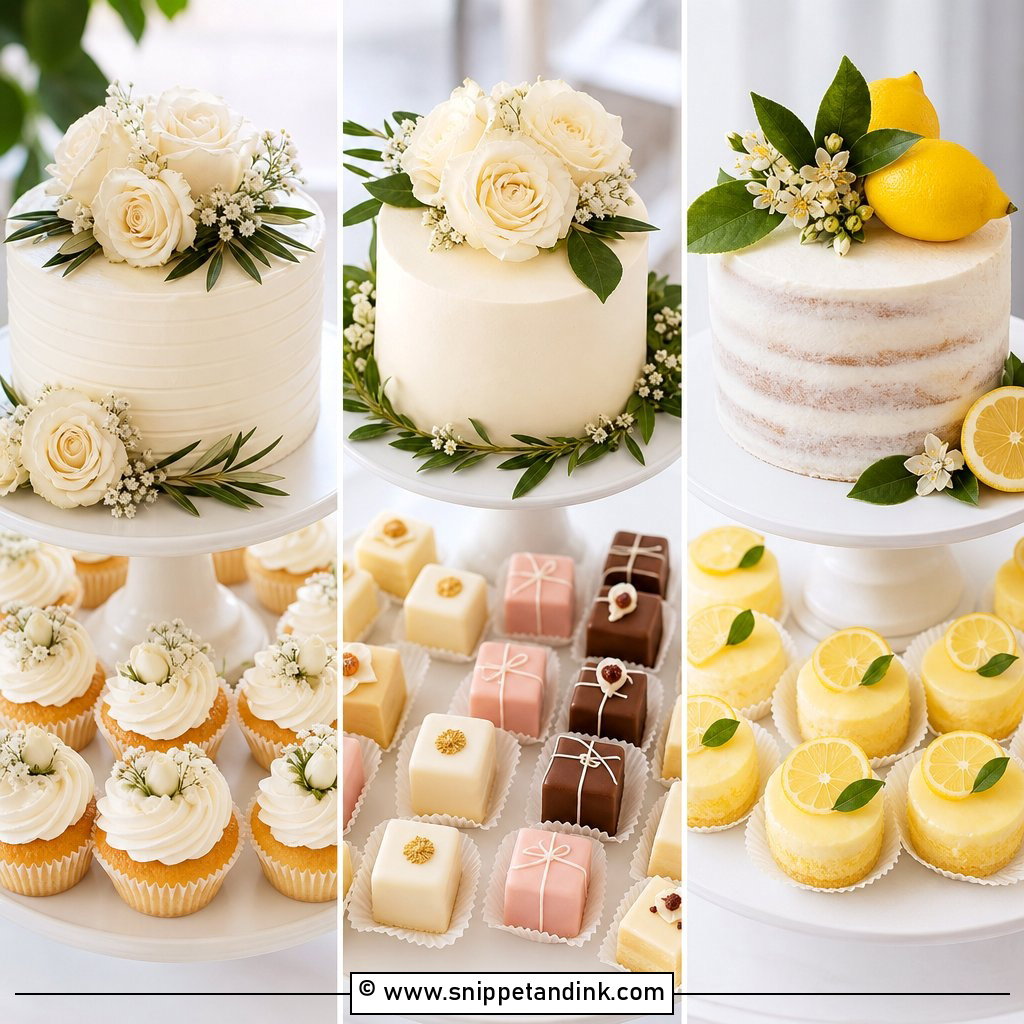
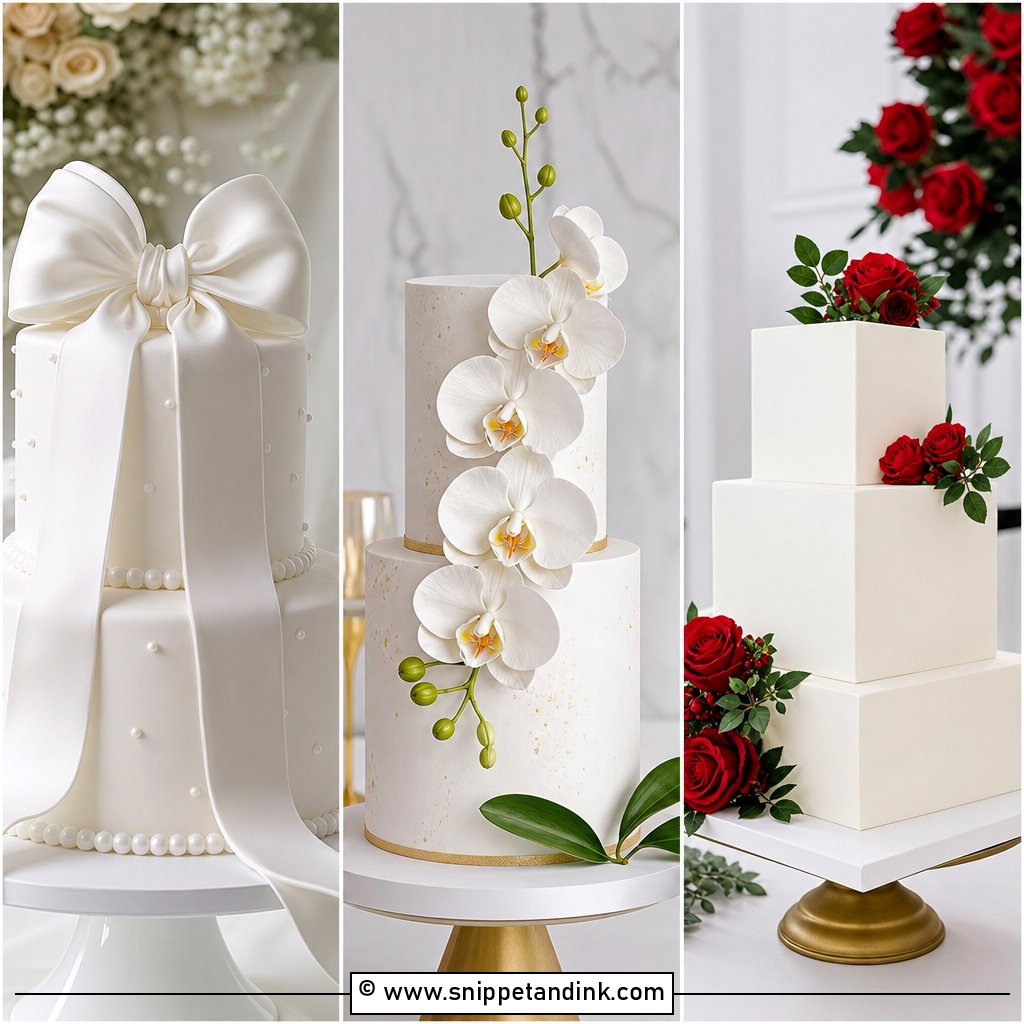
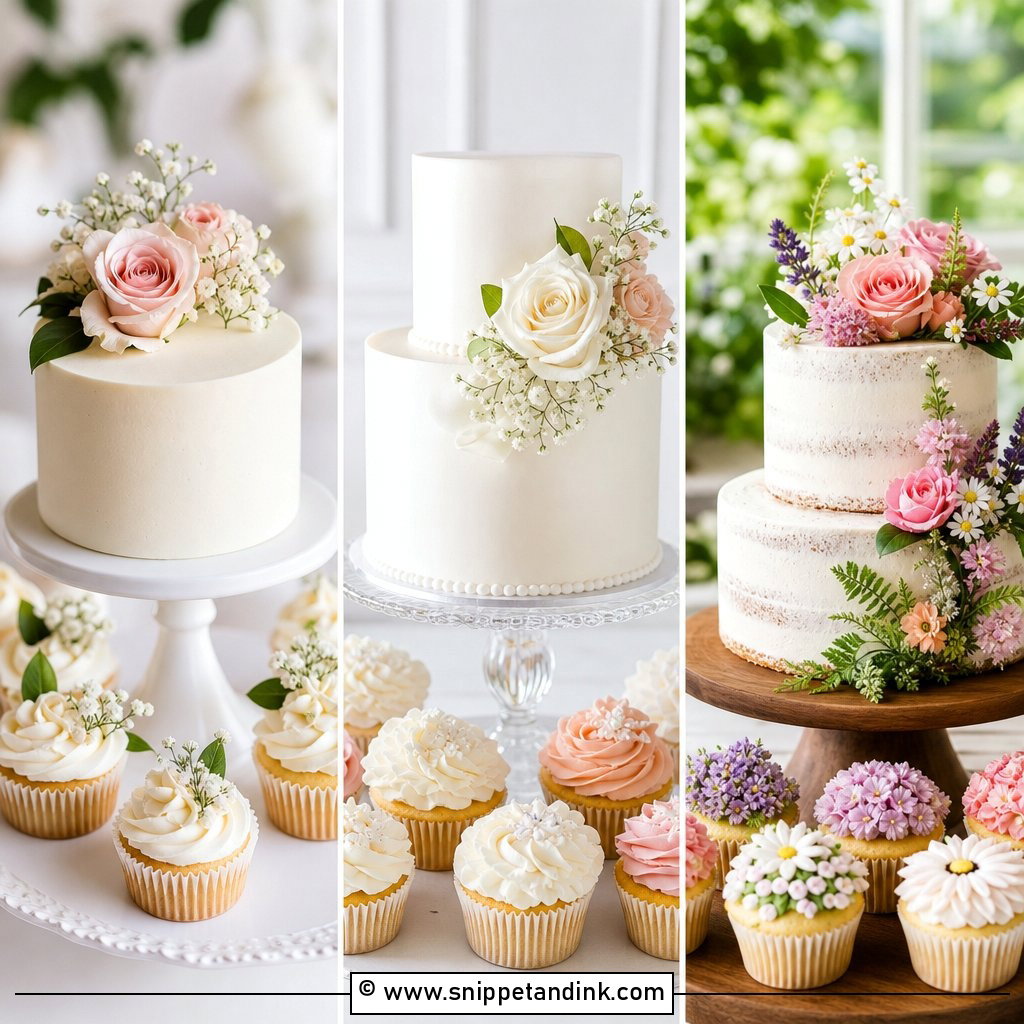
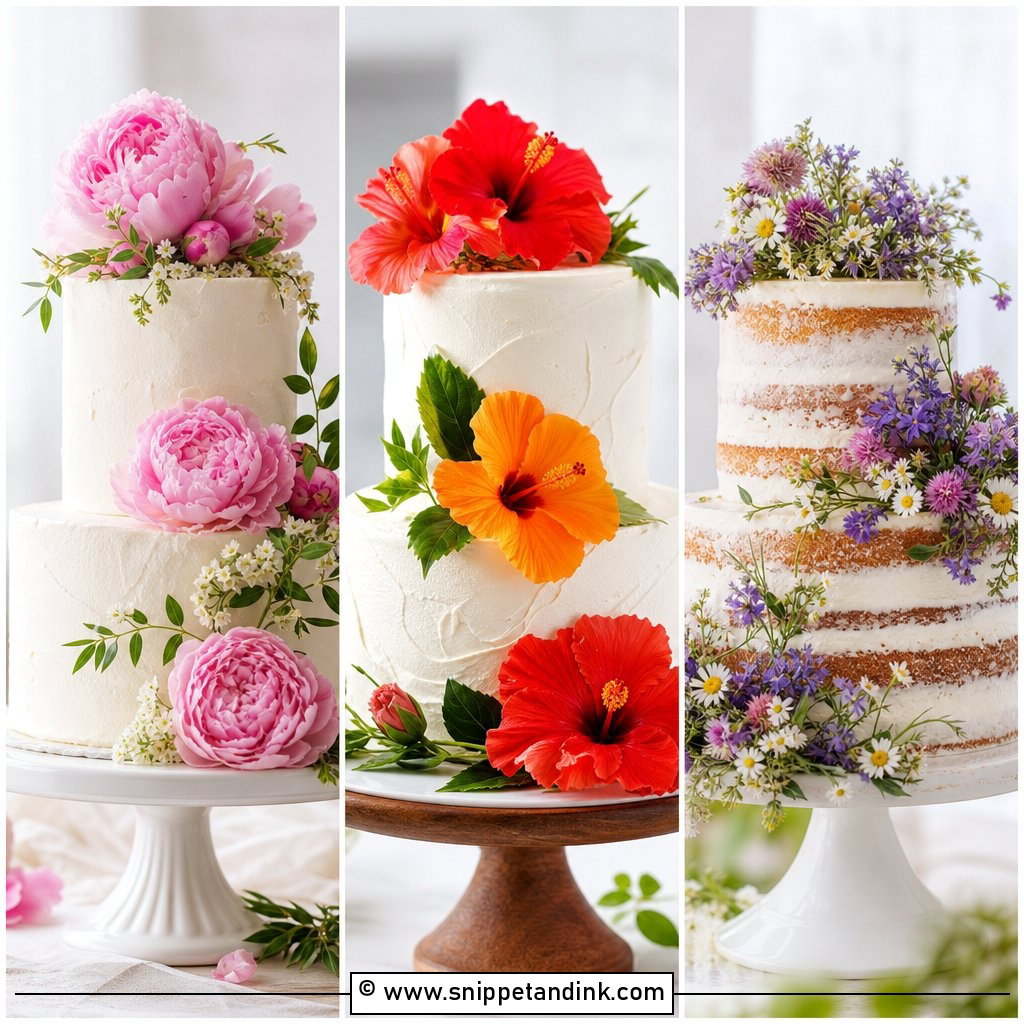
Fresh flowers are the quickest way to make a plain buttercream cake look finished. I put a small cluster on the top tier and two or three matching blooms near the base, which balances the cake without covering it. The part people skip is safety. Many florist flowers are sprayed and some are toxic, so stems go into floral picks or get wrapped in floral tape, and any bloom touching the frosting sits on a small round of parchment. Roses, ranunculus and orchids are common choices but count as decoration only; pansies and violas can be bought as edible. Take the non-edible flowers off before cutting.
2. Semi Naked Wedding Cake
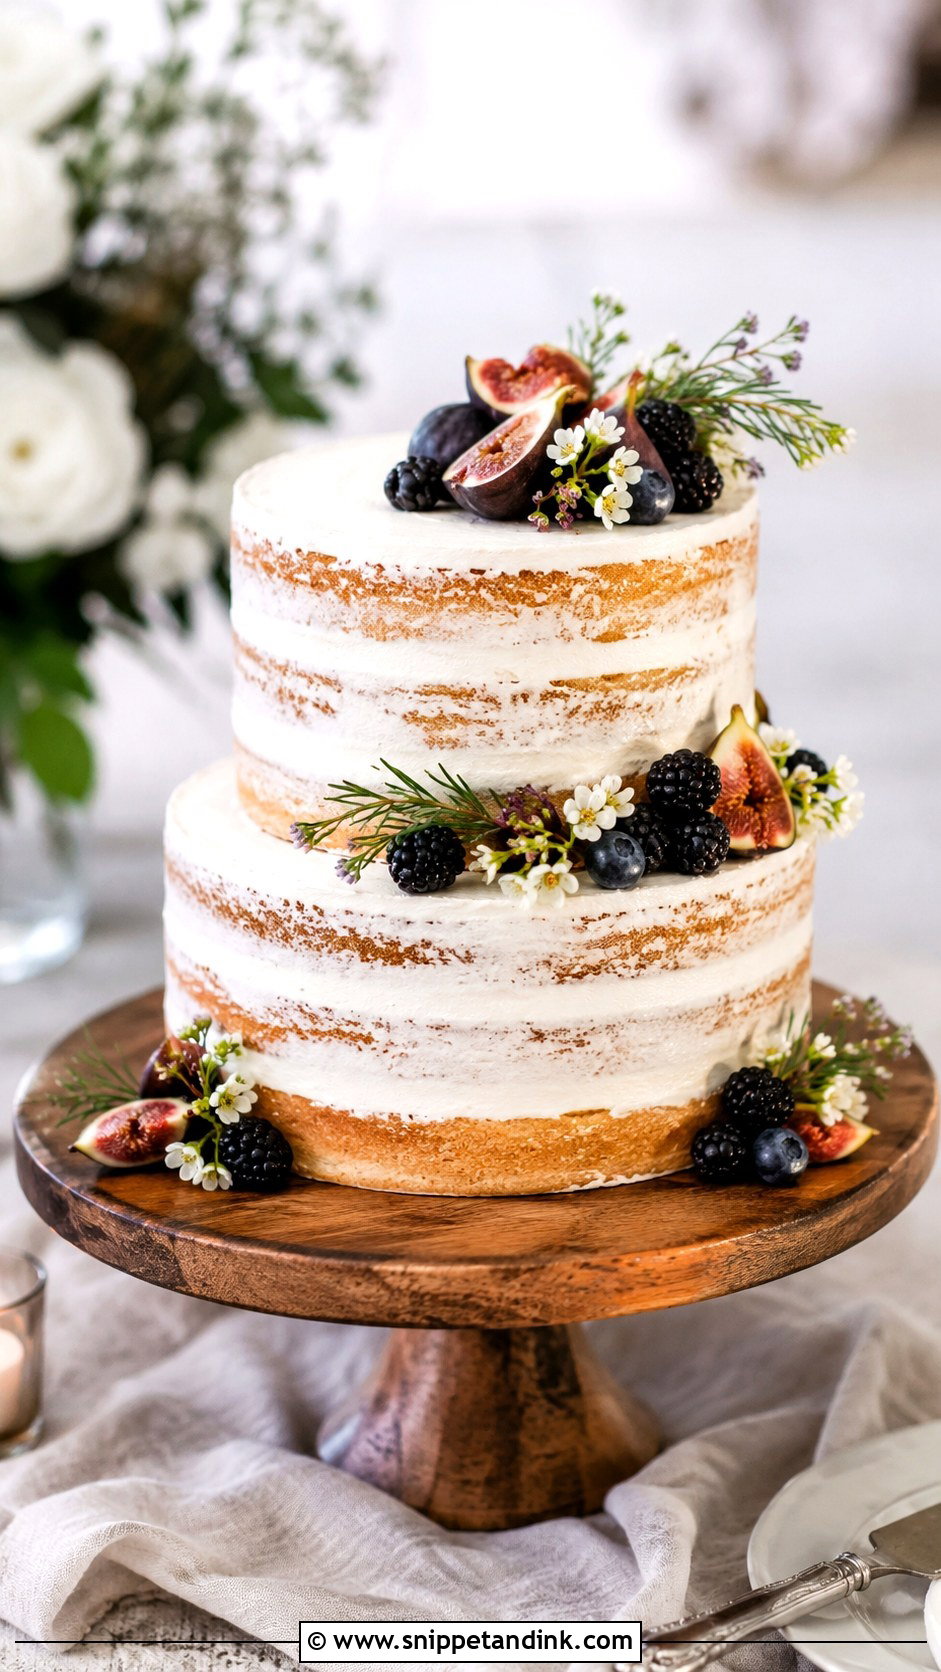
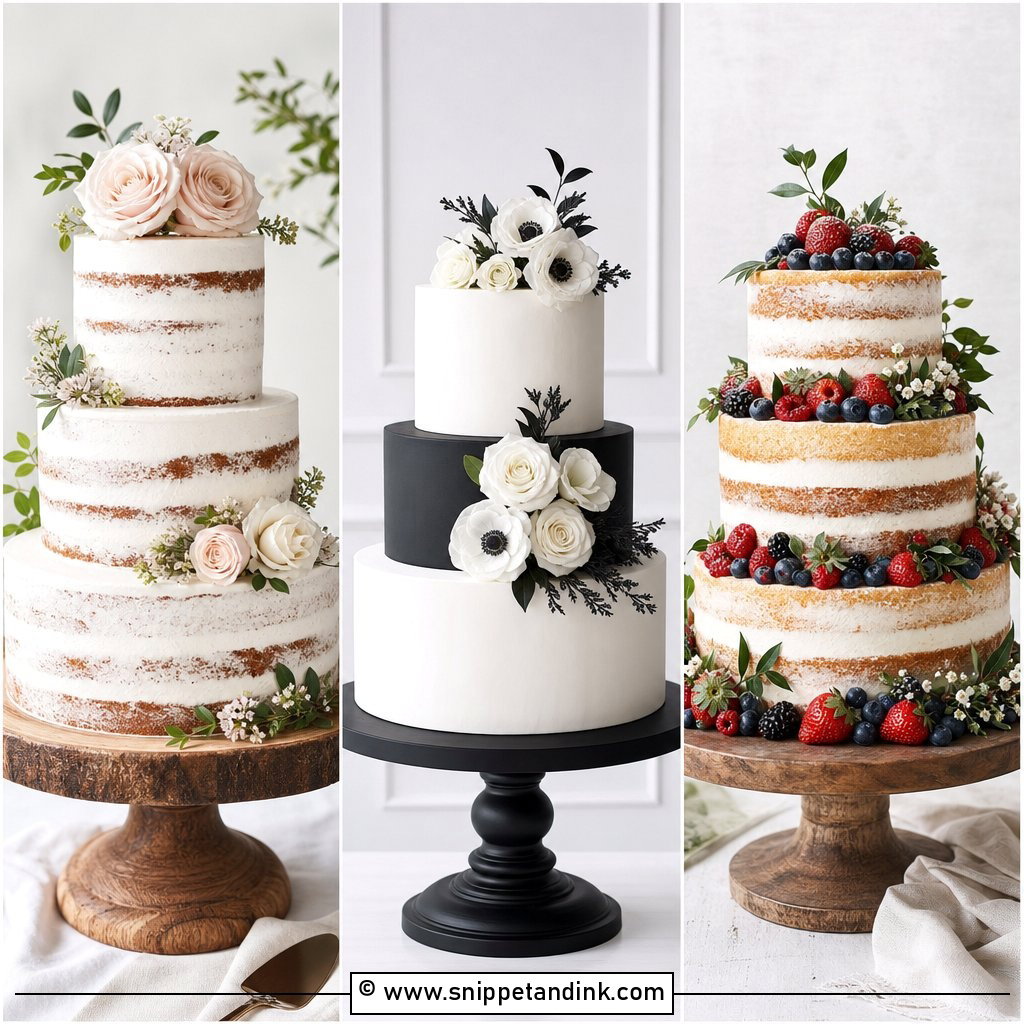
A semi naked wedding cake suits rustic, garden and outdoor weddings because the sponge becomes part of the decoration. Scrape the buttercream thin enough for the edges to show, but not so thin that bare cake is exposed. The honest drawback is that a semi naked cake dries out faster than a fully frosted one, so I brush the layers with a little simple syrup and keep it covered until close to the cutting. Berries, figs or sprigs of greenery make it look styled rather than unfinished, and the sides never need to be perfect.
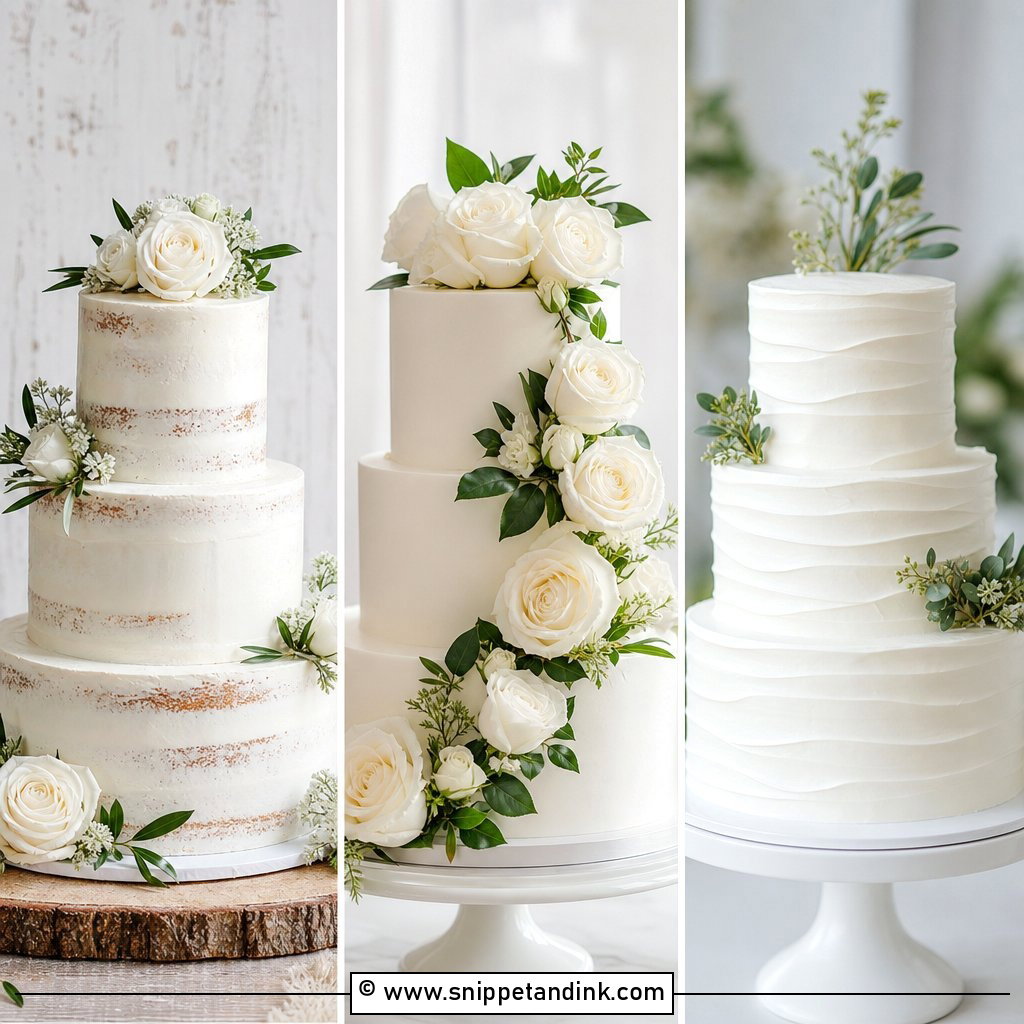
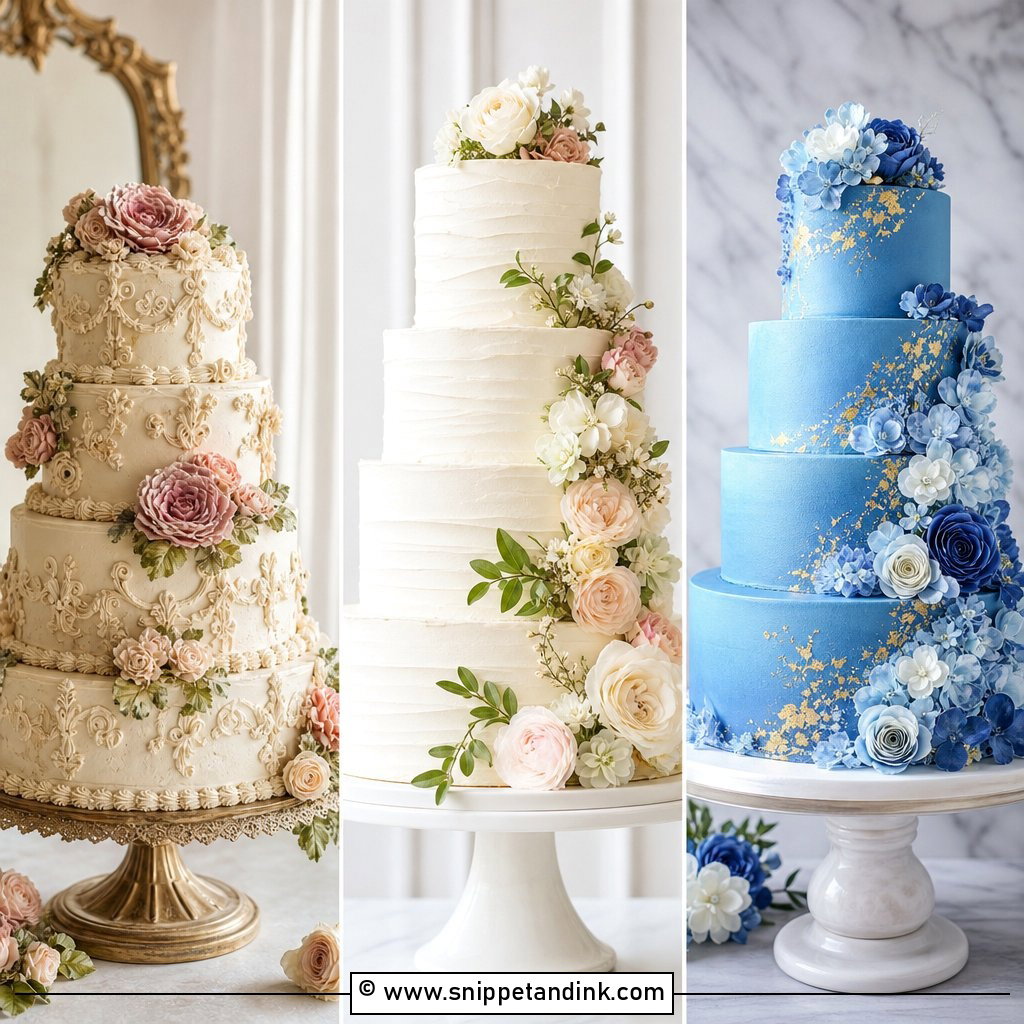
3. Textured Buttercream Wedding Cake
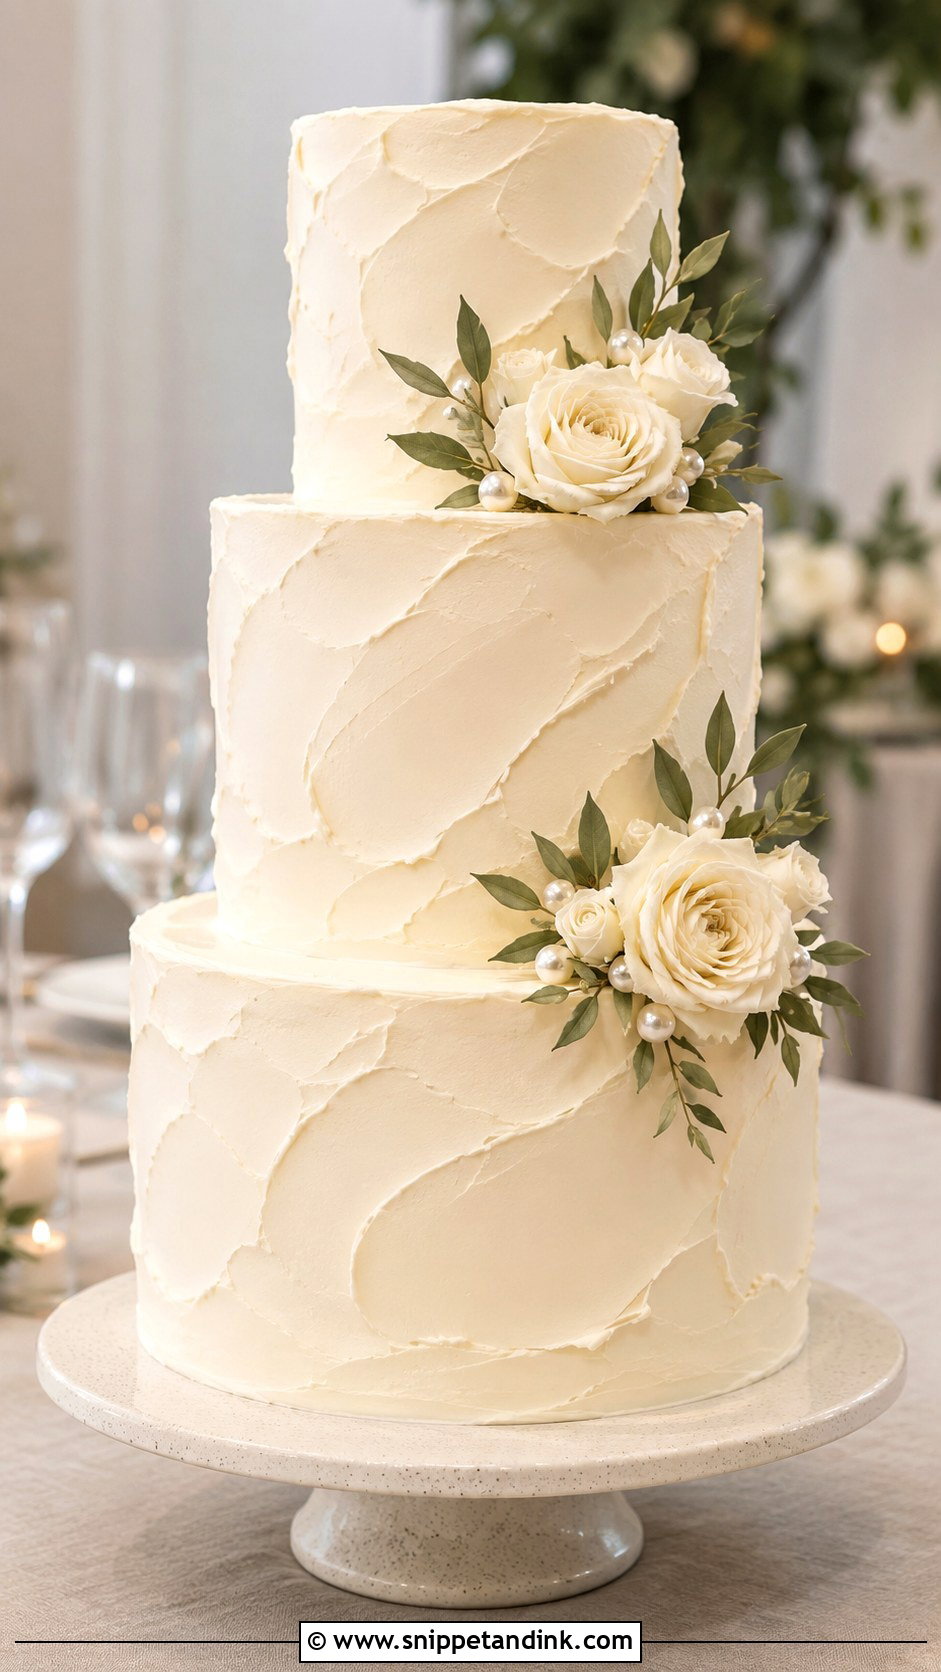
Texture turns the marks you’d normally try to hide into the design itself. An offset spatula, the back of a spoon or an icing comb will give you swoops, ridges or waves around each tier. Get the cake fully crumb coated and chilled first; texturing over a soft cake drags crumbs into the pattern. Ivory or pale blush keeps it classic, and one floral cluster is plenty. If you’re nervous, use a comb, because the spacing is built in.
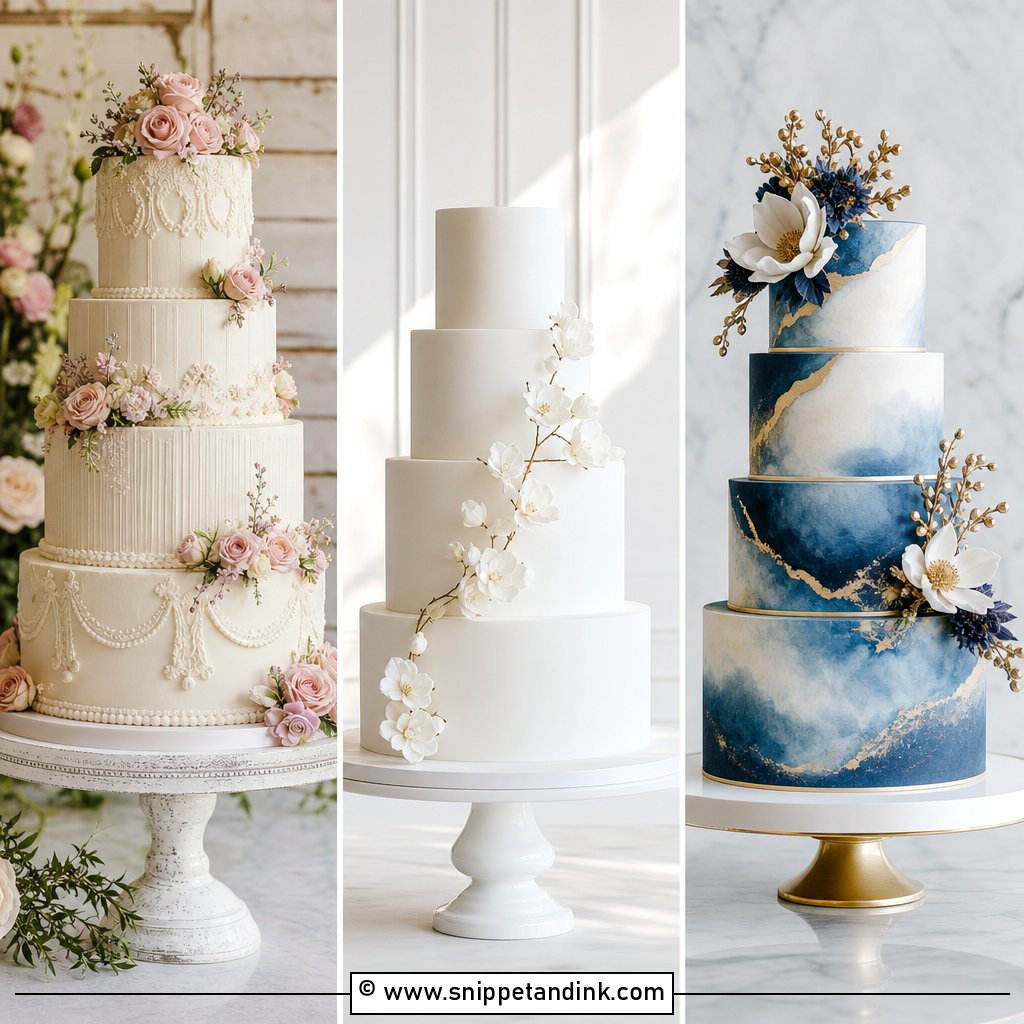
4. Pearl Wedding Cake
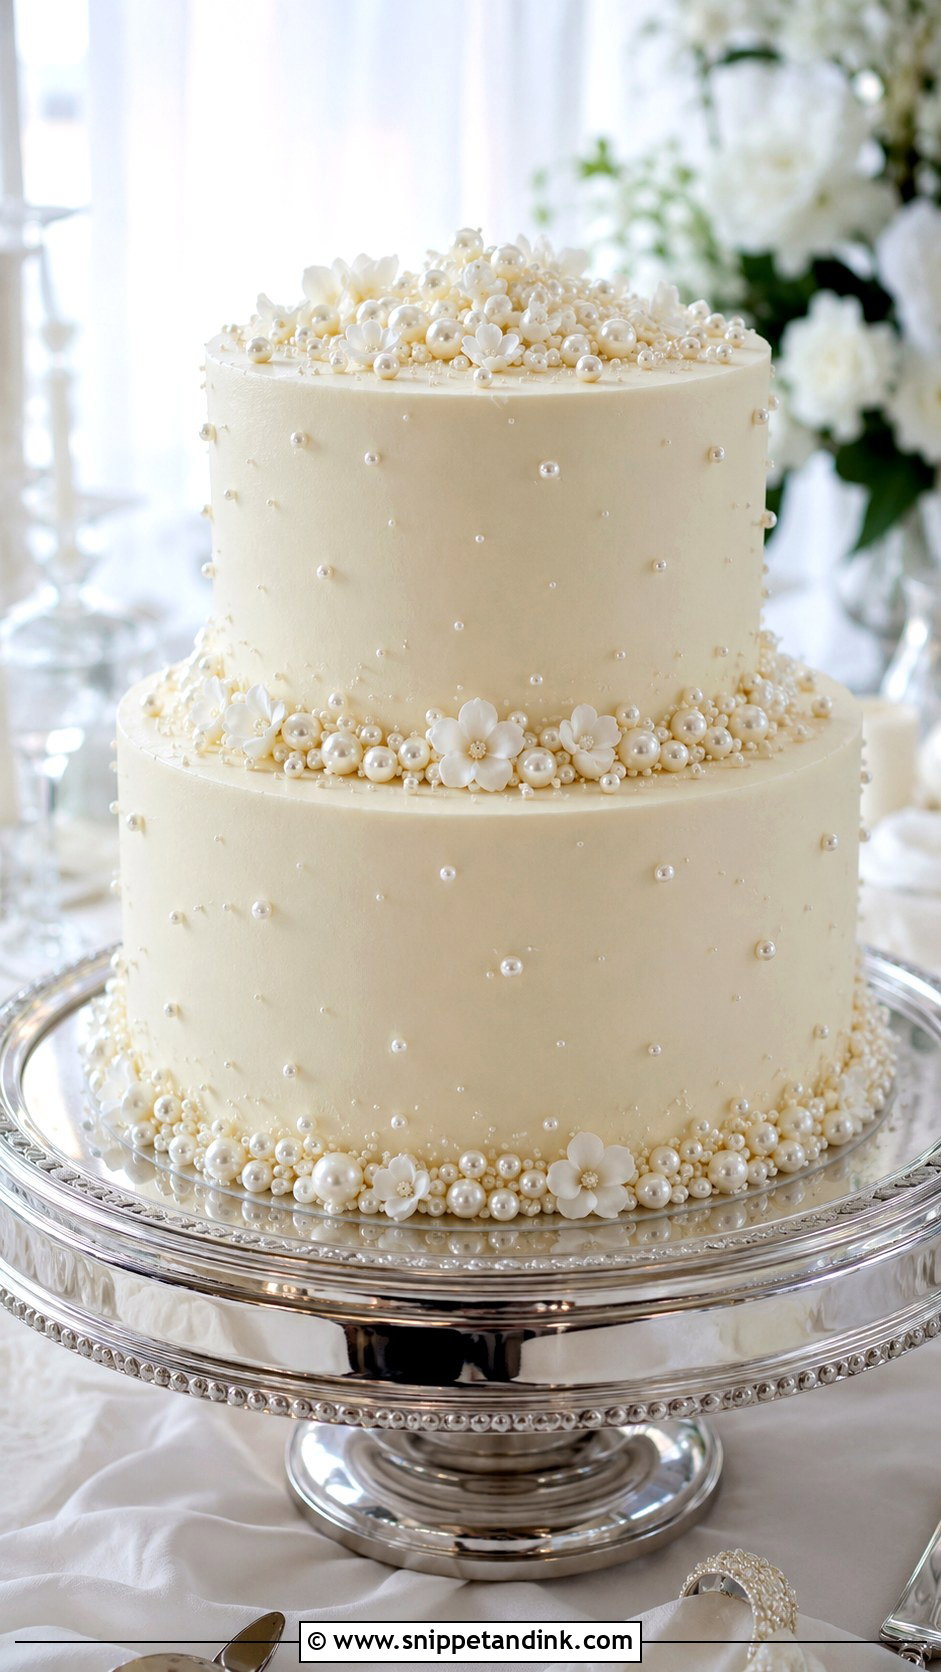
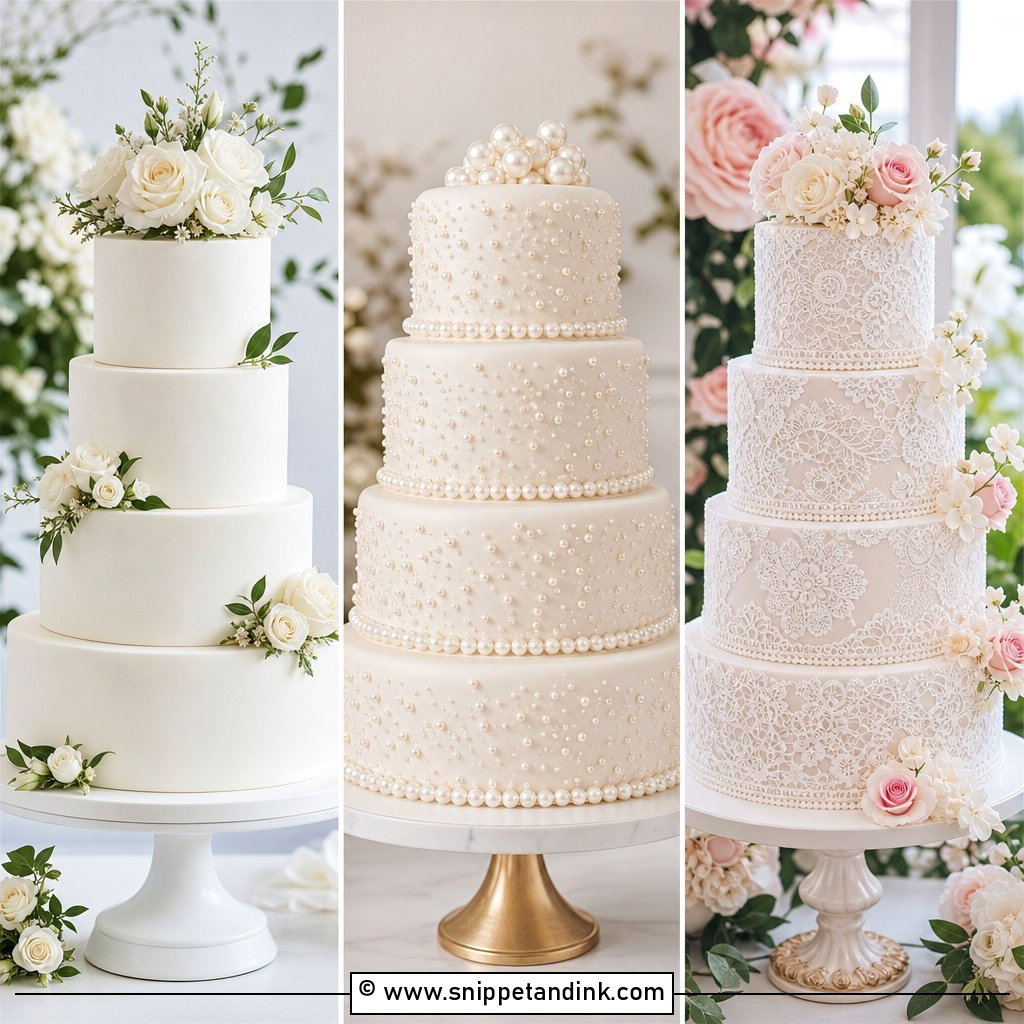
Edible pearls give a vintage feel with almost no skill. Press them around the base of each tier, scatter a few across the sides or run a border along the top edge. Mixing two or three sizes stops the placement looking rigid. Do this while the buttercream is still slightly tacky, or touch each pearl with a dab of piping gel, because pearls on a firm, chilled surface simply roll off. Some metallic dragées are labelled for decoration only, so check the packet before you buy.
5. Gold Leaf Wedding Cake
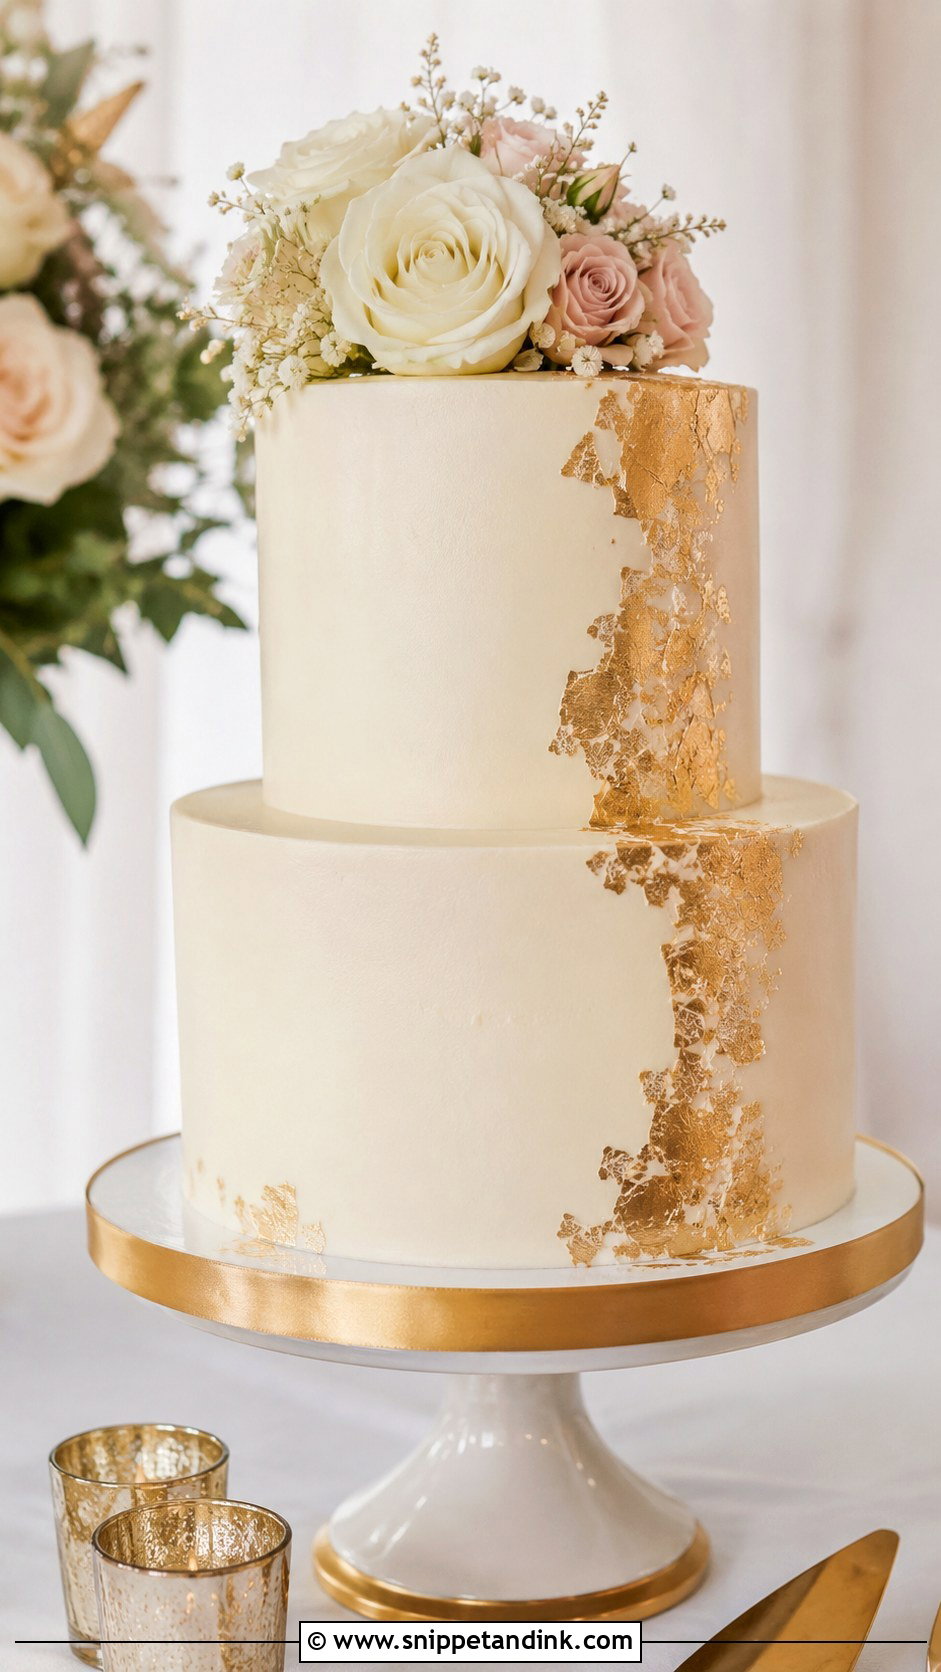
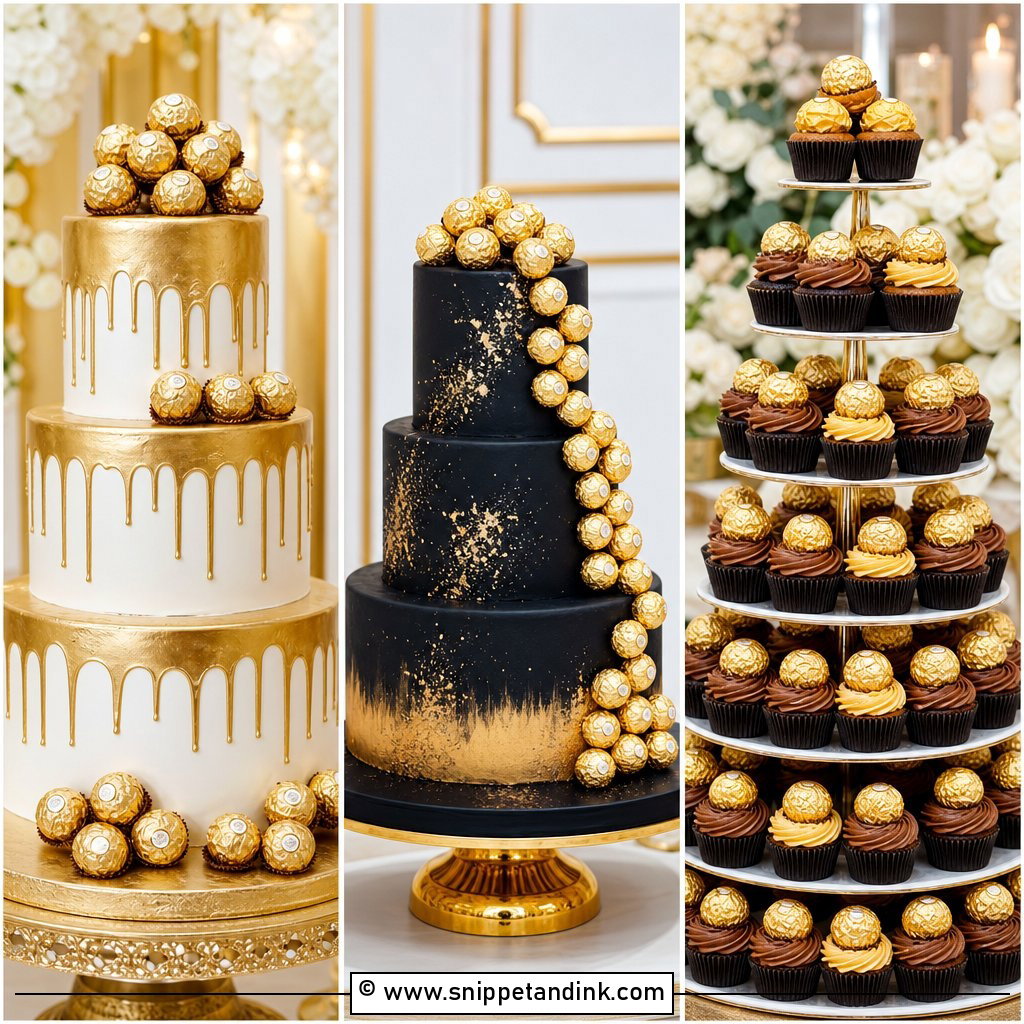
Gold leaf looks expensive, but you only need a little. Apply small flakes to a smooth buttercream or fondant surface, concentrating them on one side or the lower edge of each tier. Edible leaf is so thin that it clings to warm fingers and drifts in the slightest draft, so I work with tweezers and a dry brush, well away from fans and open windows. Check that it’s sold as edible gold, usually 22 or 24 carat, not craft gilding. It suits a formal reception and sits well beside ivory frosting and white roses.
6. Pressed Flower Wedding Cake
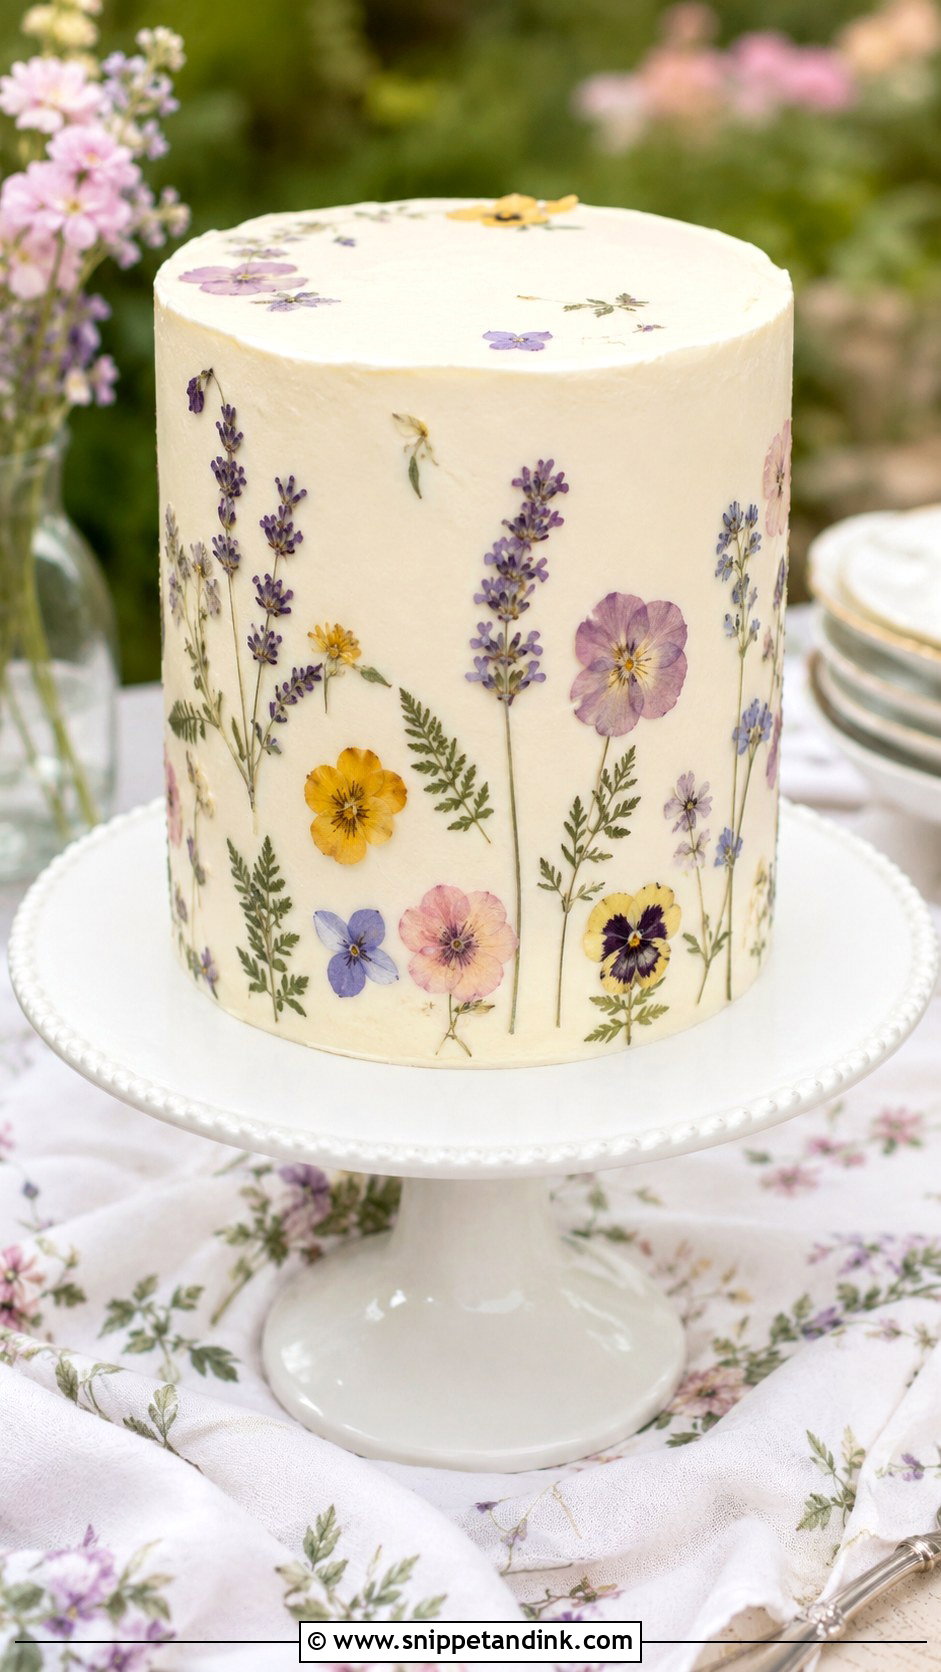
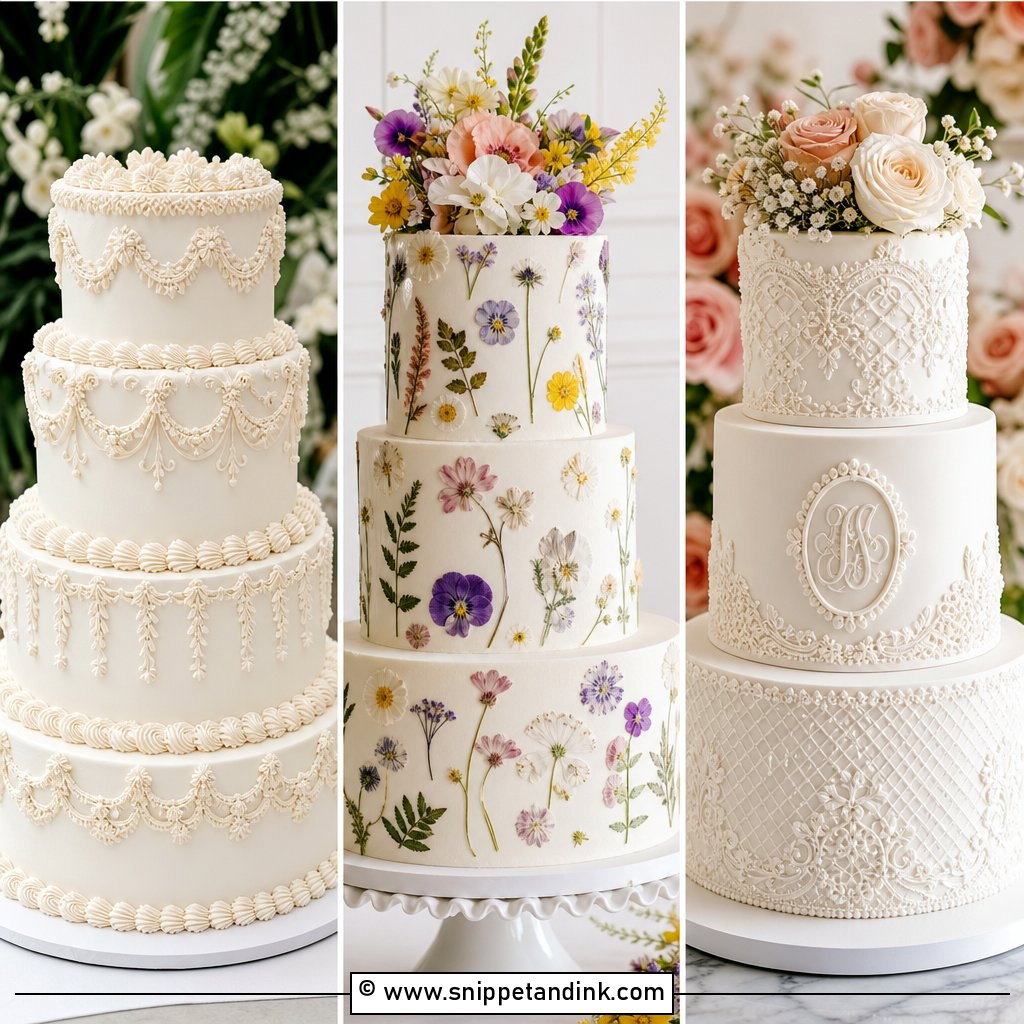
A pressed flower wedding cake needs very little underneath it; smooth white or pale buttercream works as a clean surface. Press flat edible flowers or petals against the sides and space them out so the pattern breathes. They stick best to buttercream that has just been smoothed, before it firms up. Pressed flowers absorb moisture from the frosting and can curl or darken overnight, so I apply them on the day. It looks lovely on a single tier and works on two or three as well.
7. Vintage Piped Wedding Cake
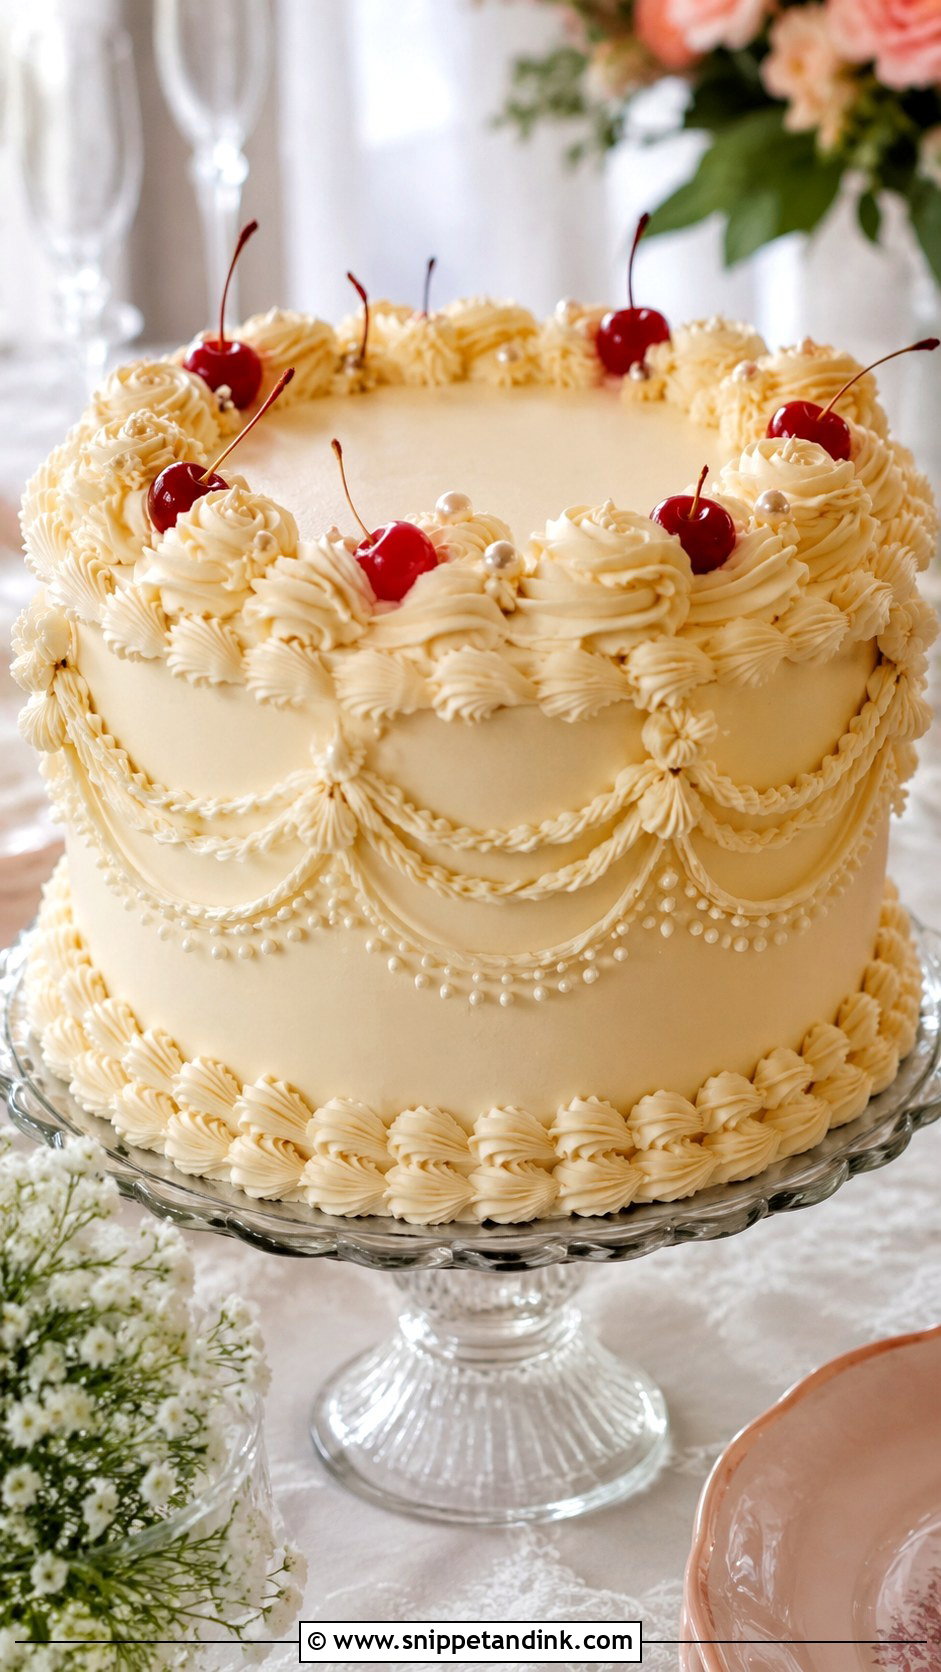
Old-fashioned piping gives you a classic bakery look with two tips, a round and a star. Shell borders, dots, scallops and simple swags are enough, and you don’t need full Lambeth-style overpiping. The real secret is buttercream consistency: too soft and the shells slump, too stiff and they crack at the edges. Use ivory for a traditional cake, or pale blue or butter yellow for a soft retro style. Mark the scallops lightly with a toothpick first and practise each border on parchment.
8. Single Tier Wedding Cake
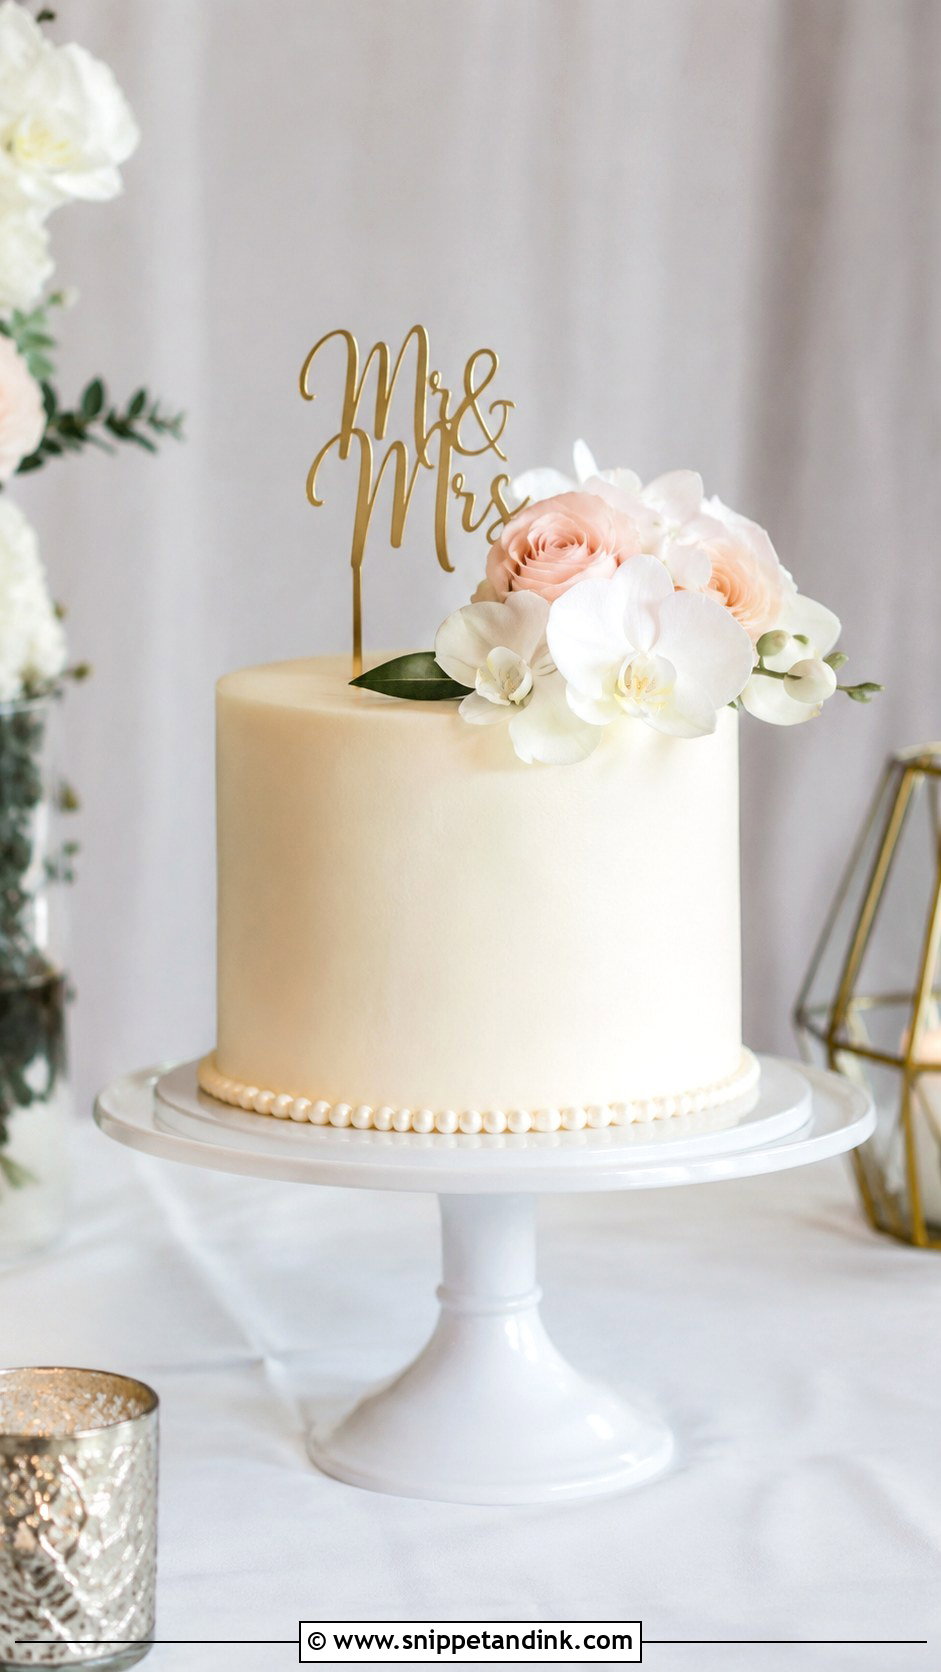
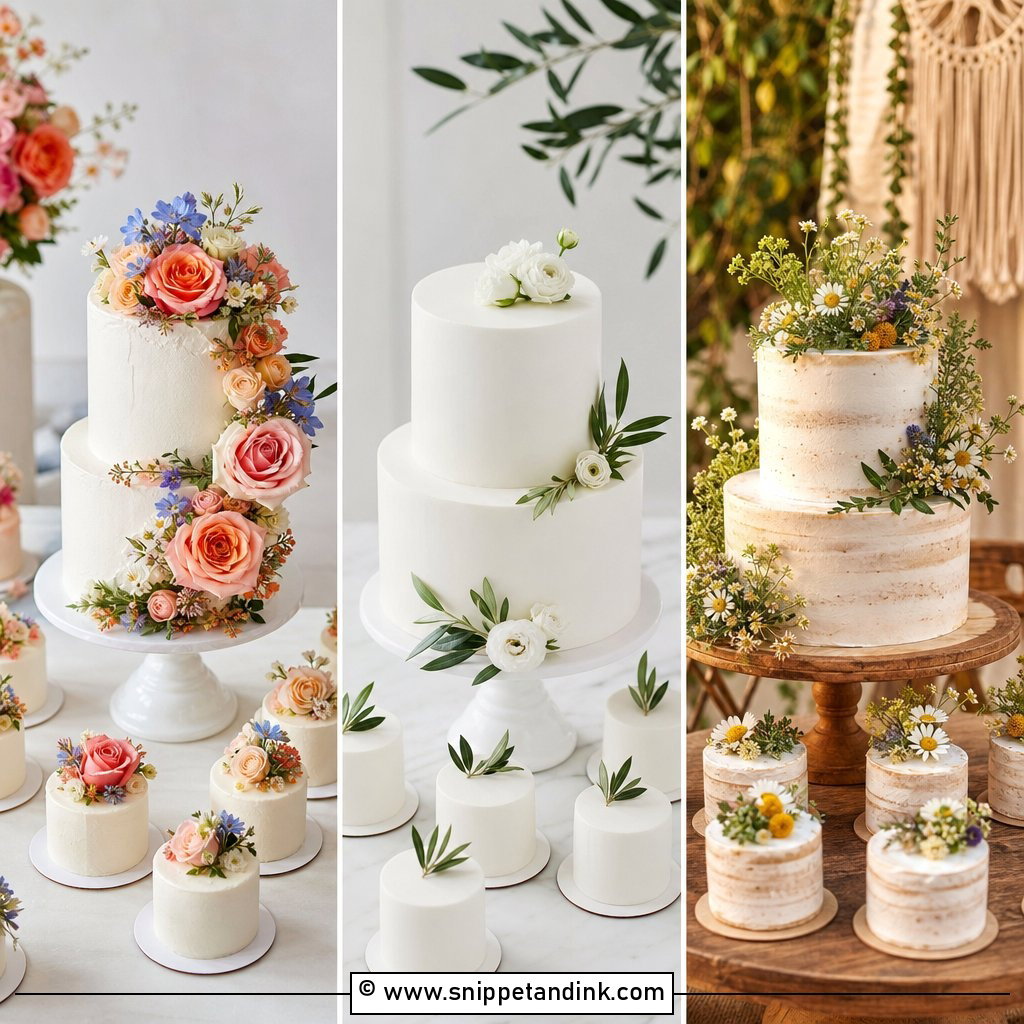
One tier still feels like the wedding cake when the decoration is deliberate. It suits elopements, small receptions and couples serving extra sheet cake from the kitchen. I’d make it tall, three or four layers rather than two, so it has presence on the table, and finish it with smooth buttercream and one decoration. A pedestal stand lifts it and makes it feel more formal. With only one tier every flaw is visible, so spend your time on that top edge.
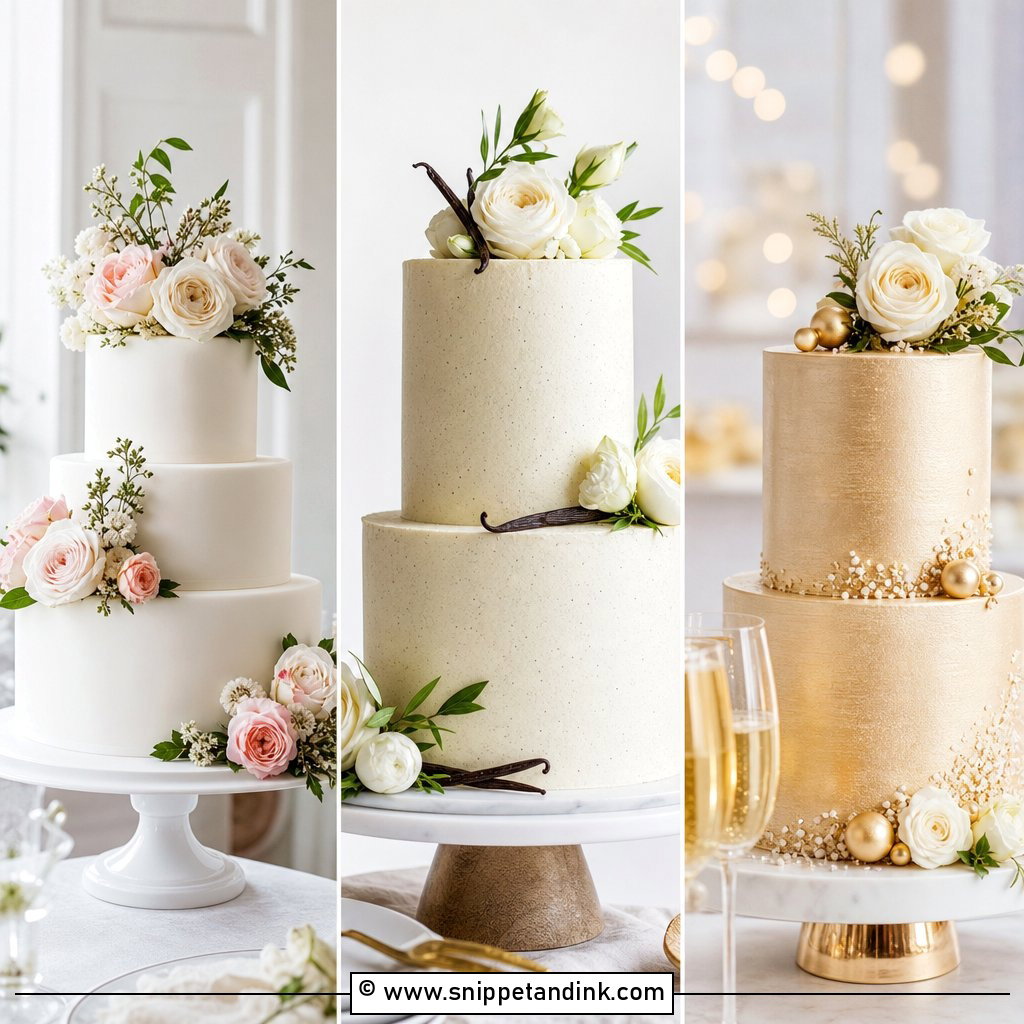
9. Two Tier Wedding Cake
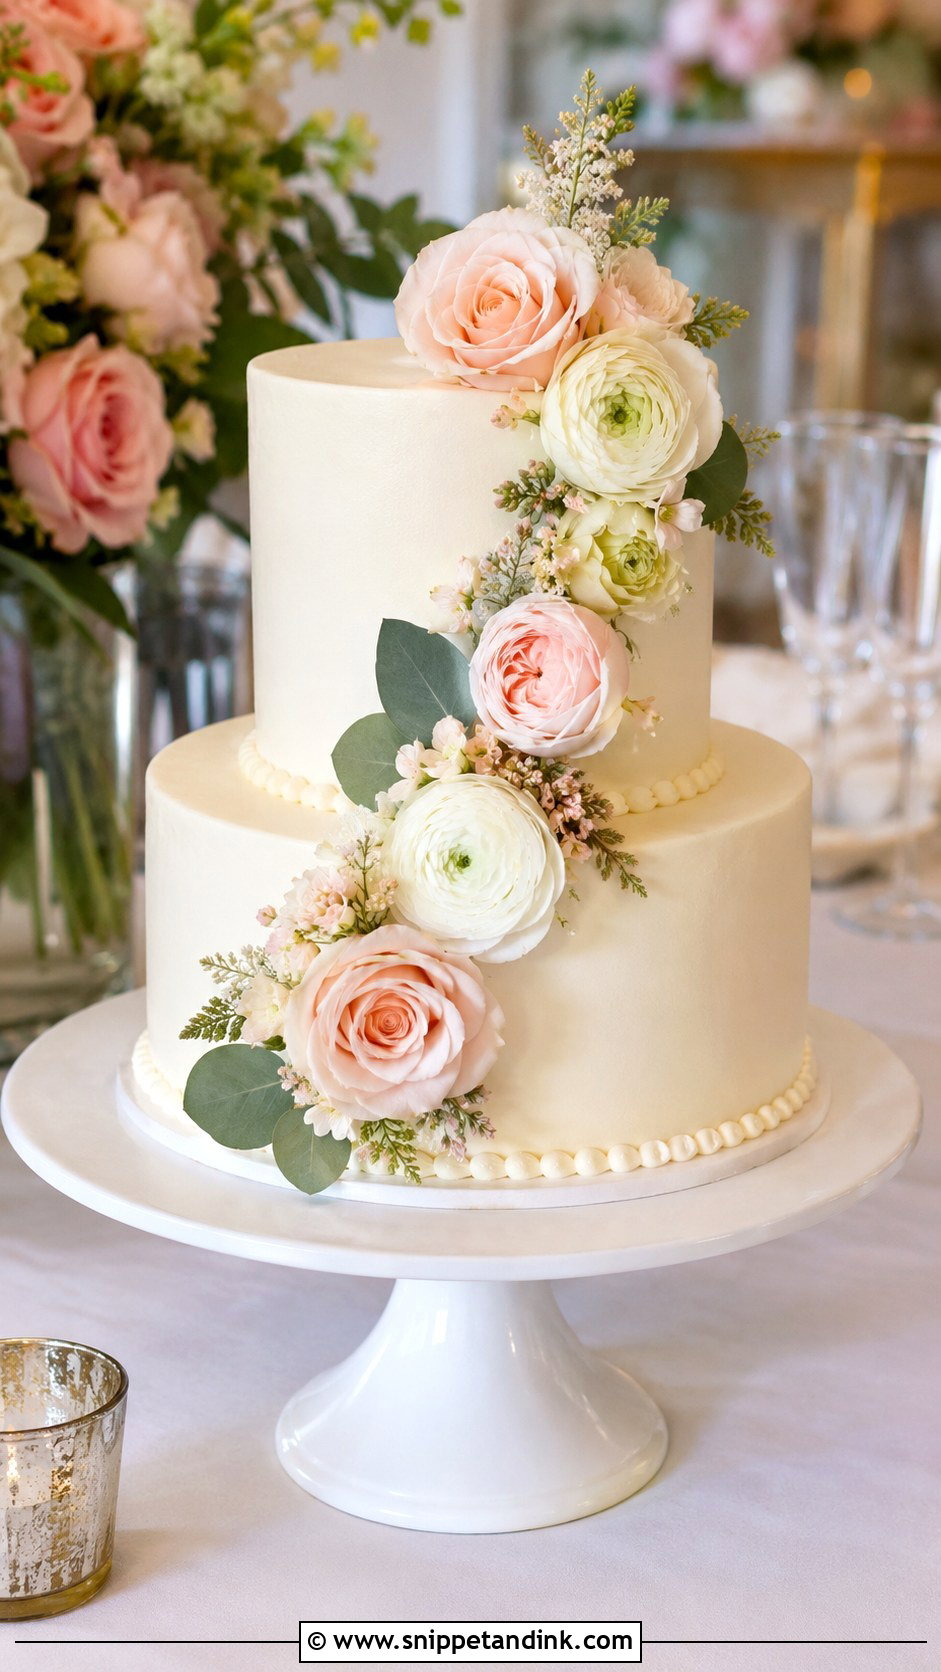
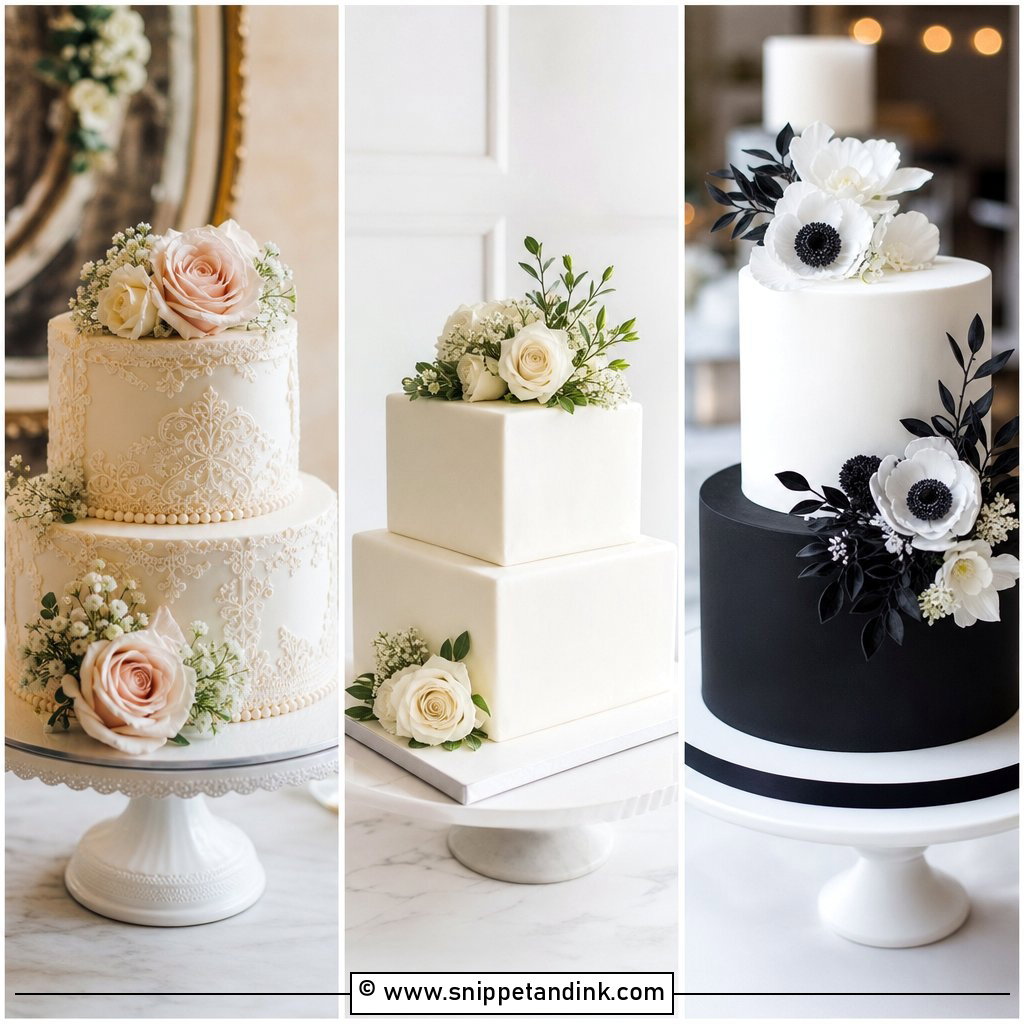
Two tiers give height for photos without the engineering of a big stack. Smooth buttercream with flowers running diagonally from the top tier to the base is the classic finish, and a pearl border or a touch of gold works too. Even a small stack needs support. The bottom tier should have dowels or thick bubble tea straws cut to its exact height, and the top tier should sit on its own cake board. Without them the top slowly sinks into the bottom, which you usually notice only once the cake is on display.
10. Minimalist Wedding Cake
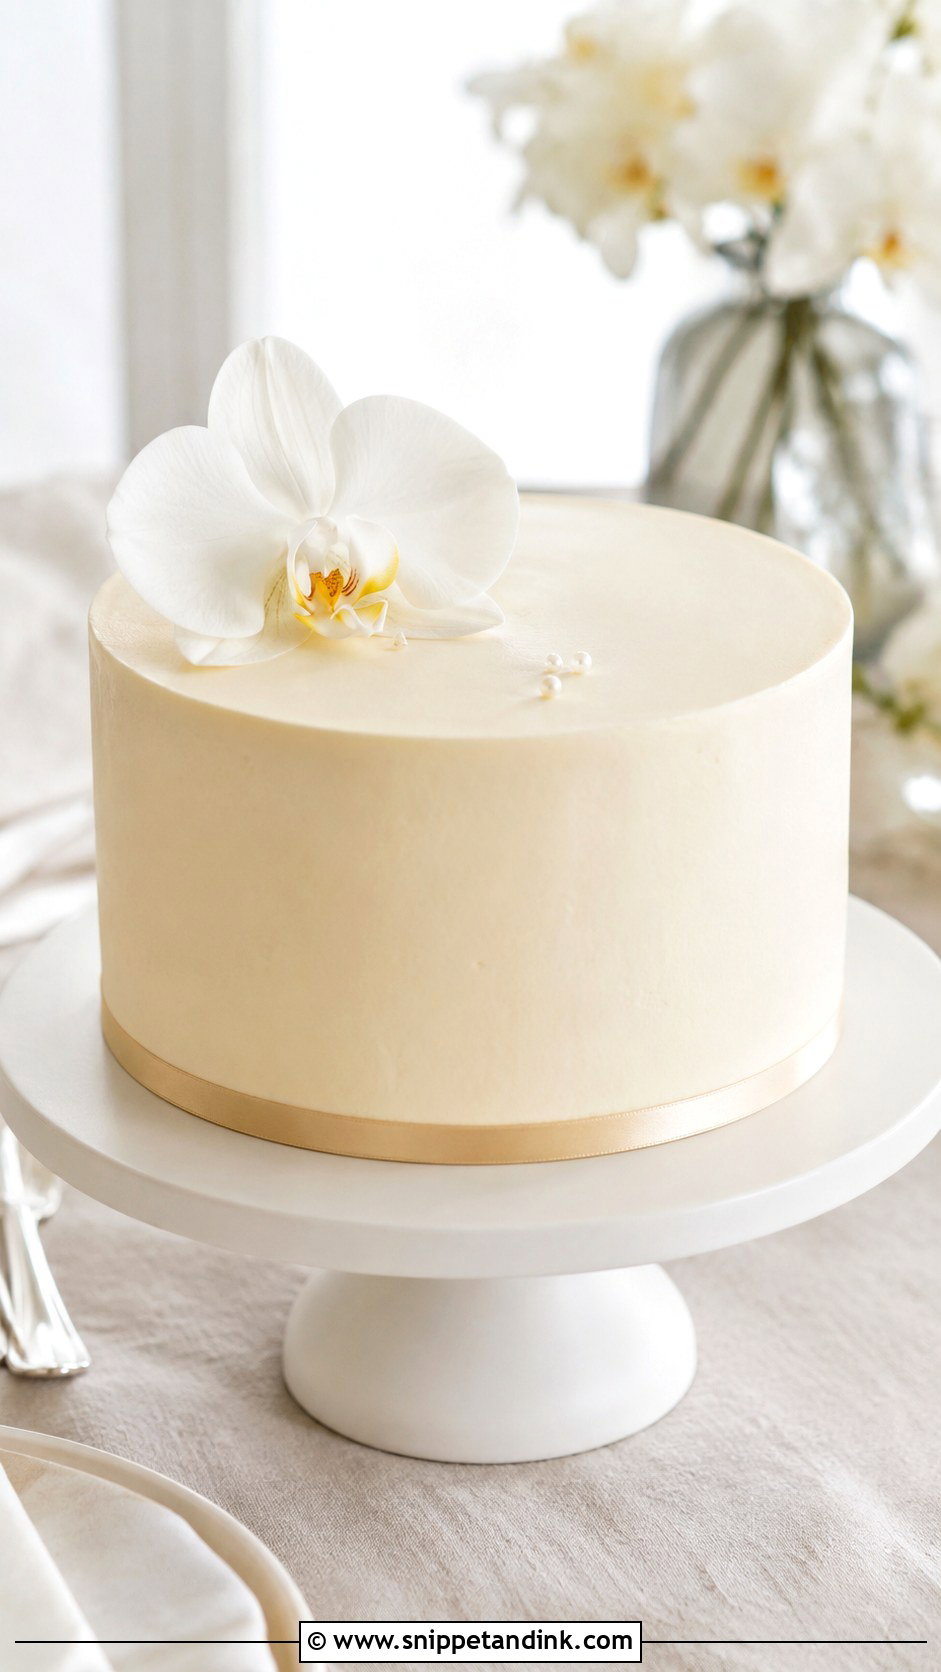
Minimalism is mostly restraint. Smooth white or ivory frosting with a single orchid, a small bow or a few pearls is enough. That said, a minimal cake is the least forgiving design on this list, because sharp edges and straight sides are the whole look. I chill the cake between coats and finish with a bench scraper warmed in hot water and wiped dry. Leave plenty of empty space, and keep the table around it plain too.
11. Ribbon Wedding Cake
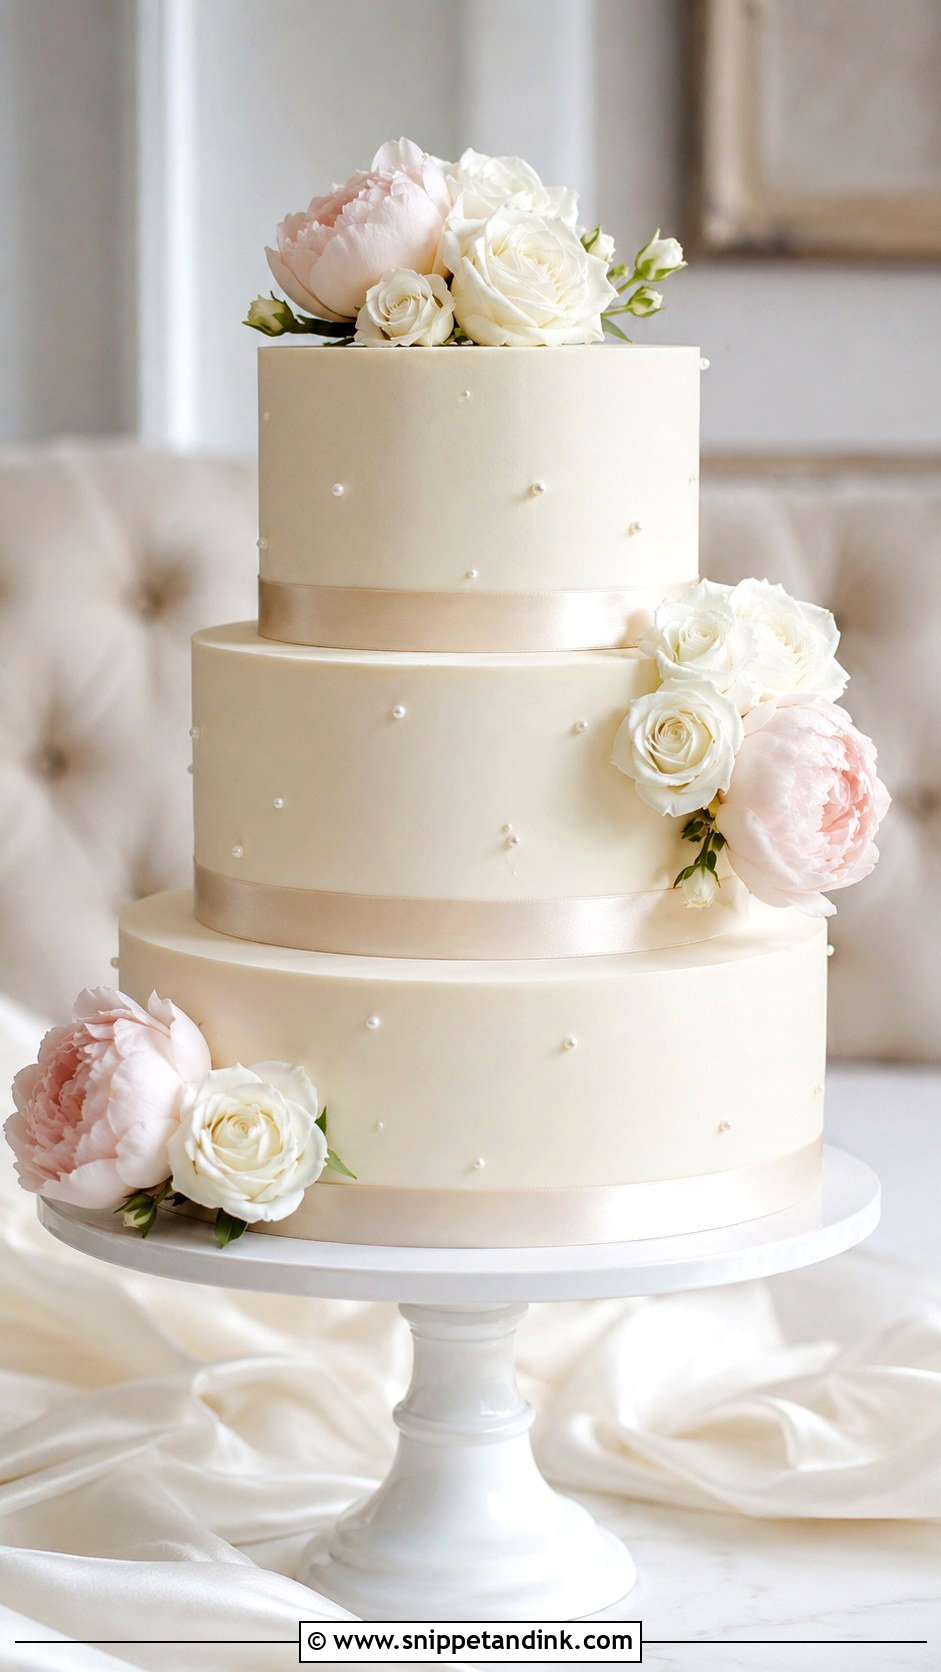
Ribbon is the easiest way to bring in the wedding colors. Wrap satin, velvet or grosgrain around the base of each tier. Buttercream soaks into fabric and leaves grease marks within an hour, so I back the ribbon with clear tape or a strip of parchment, or use ribbon sold for cake work. Join it at the back with a dot of icing, never a pin. Champagne on ivory reads classic, sage or black more modern, and the band neatly hides an uneven bottom edge.
12. Fruit Wedding Cake
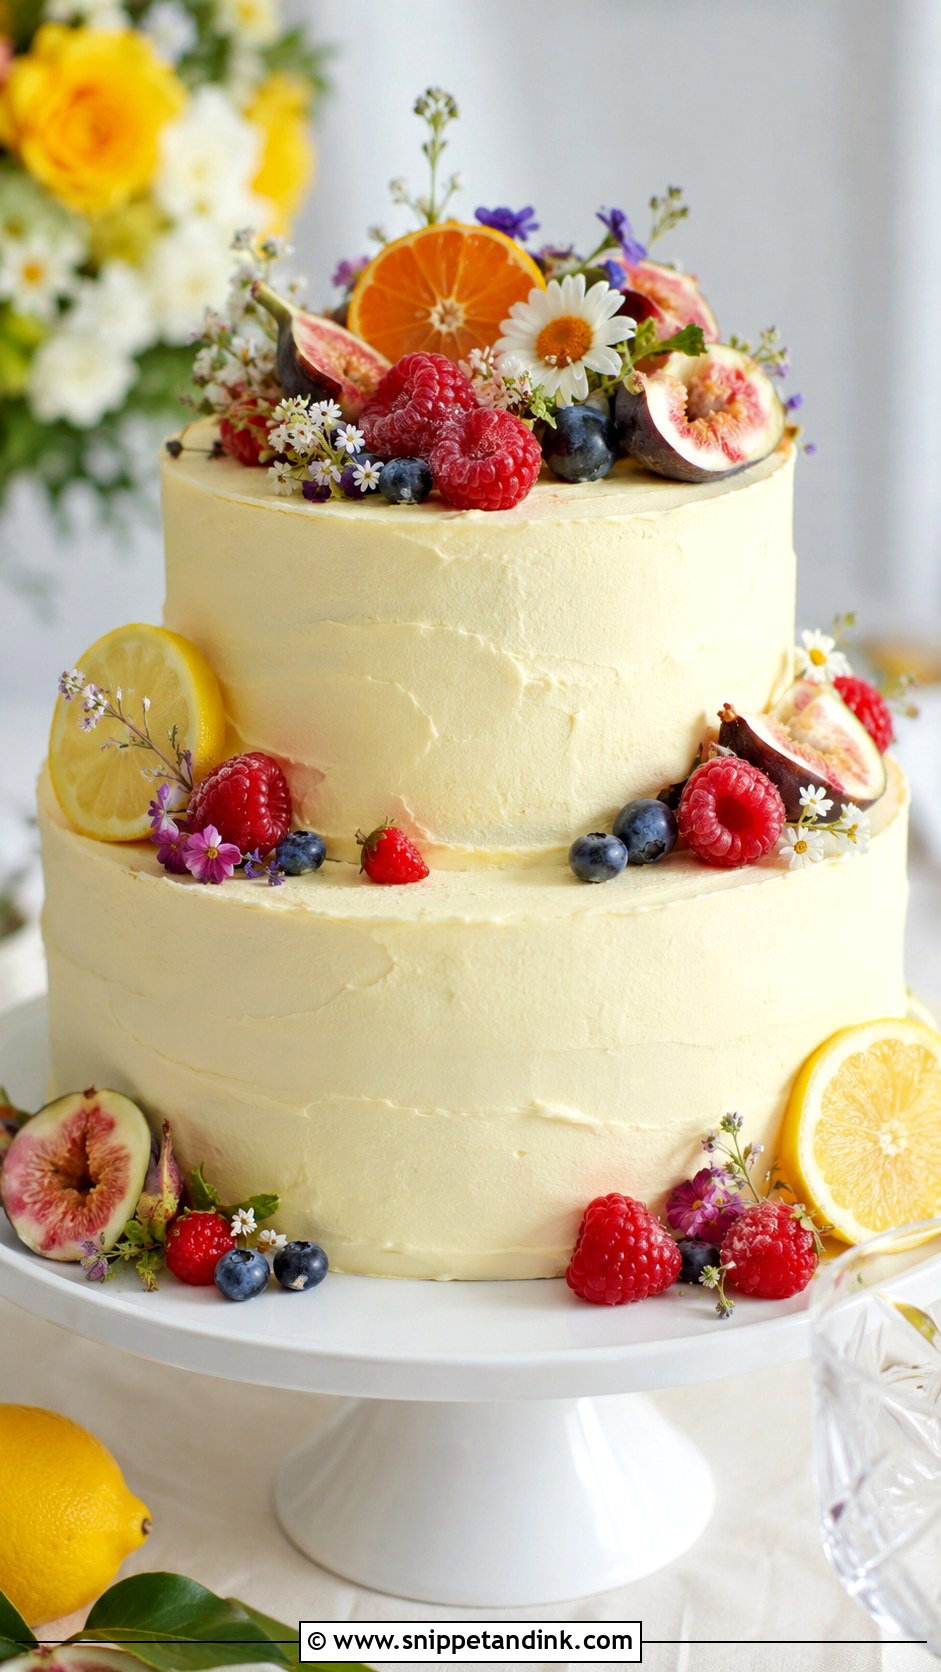
Fruit brings natural color without any piping. Berries, figs, grapes, citrus slices or cherries can go on top or along the tier edges. Cut fruit weeps juice, so I dry everything on paper towels and add cut pieces at the last moment; whole berries hold for hours. Pears brown once sliced unless you brush them with lemon juice. Vanilla buttercream is the easiest partner, and a few herb sprigs suit a summer or brunch menu.
13. Greenery Wedding Cake
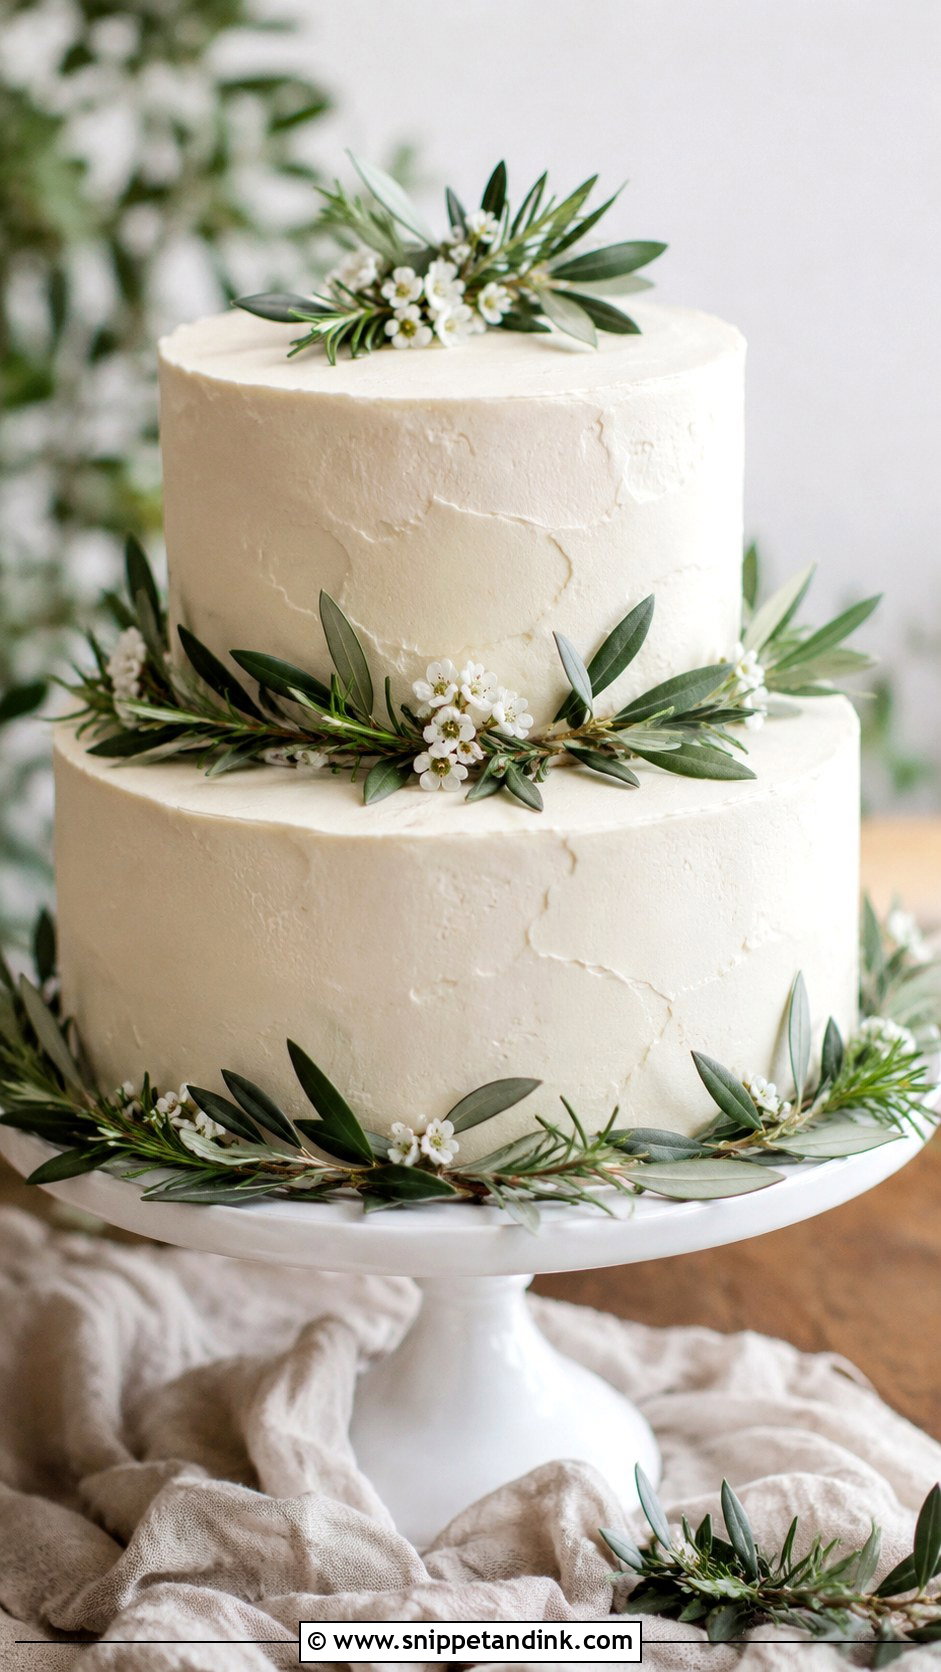
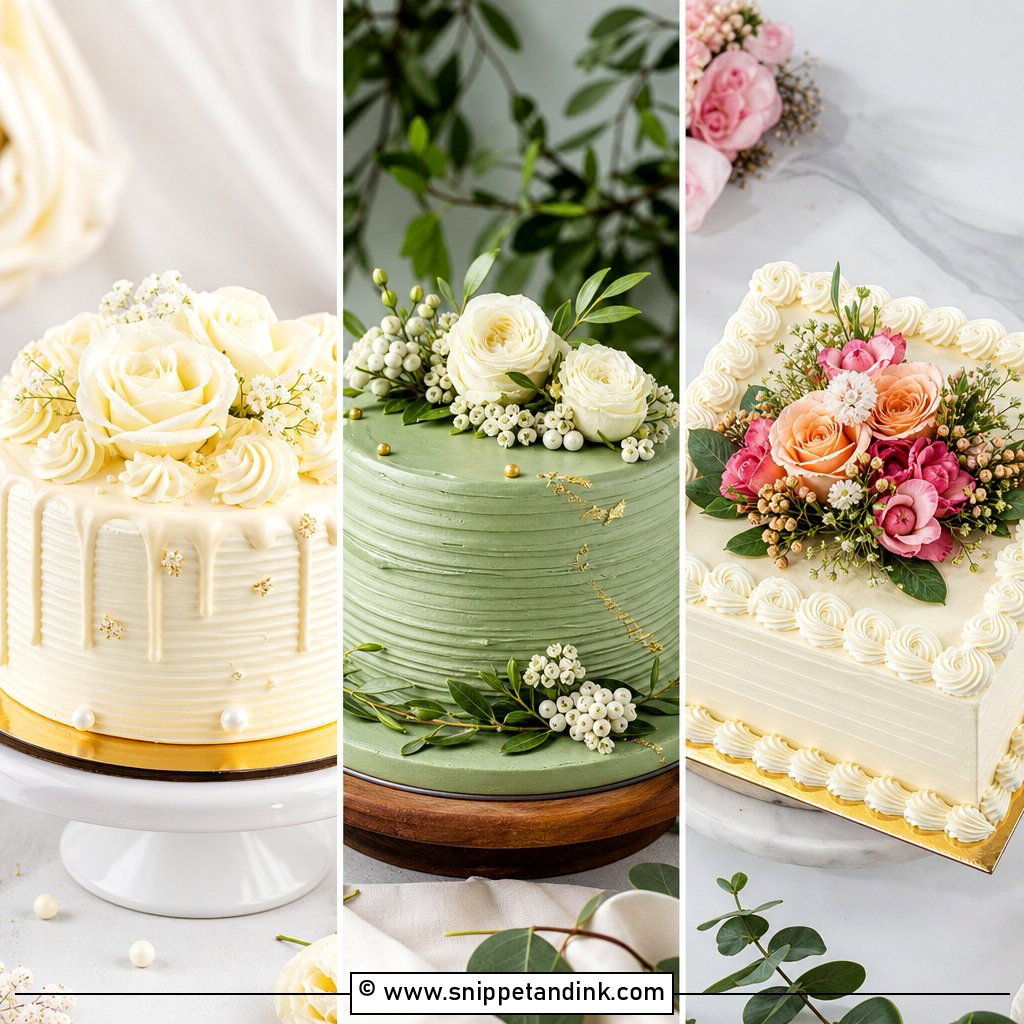
Greenery ties the cake to the florals at almost no cost. White buttercream is the best base. Eucalyptus is a very common cake decoration, but it isn’t edible, so its stems need wrapping and it shouldn’t rest directly on frosting that will be served; rosemary and olive are gentler choices. I place greenery in short arcs rather than draping it over every tier, which makes it look intentional. A wood stand gives a natural feel and a white pedestal a cleaner one.
14. Drip Wedding Cake
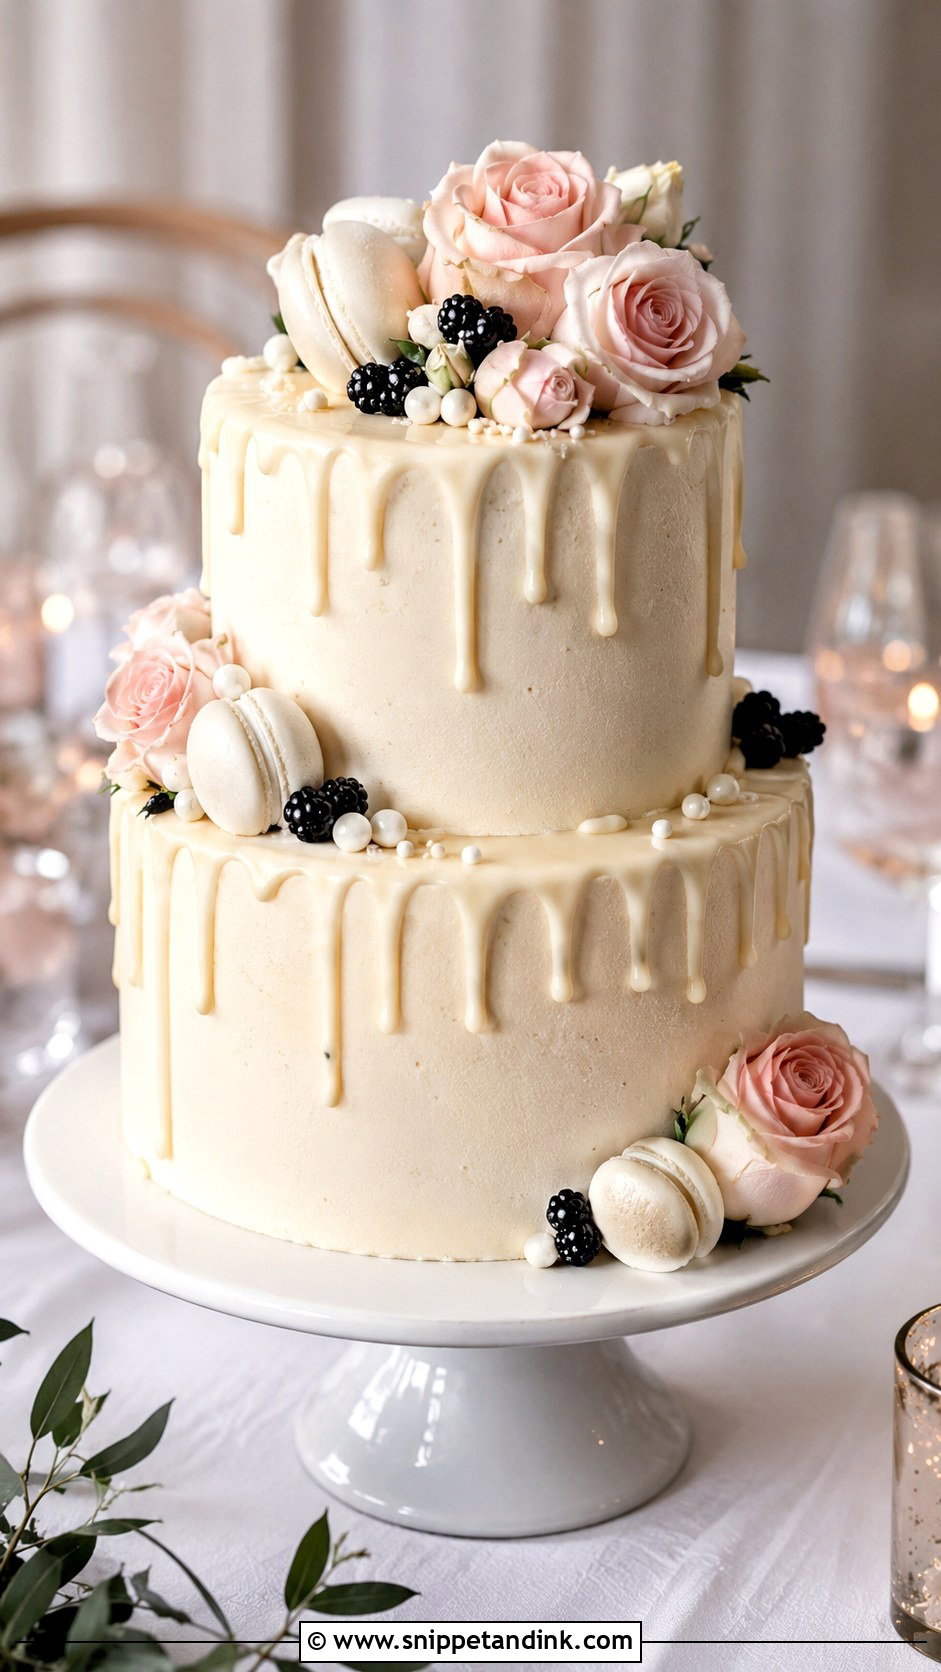
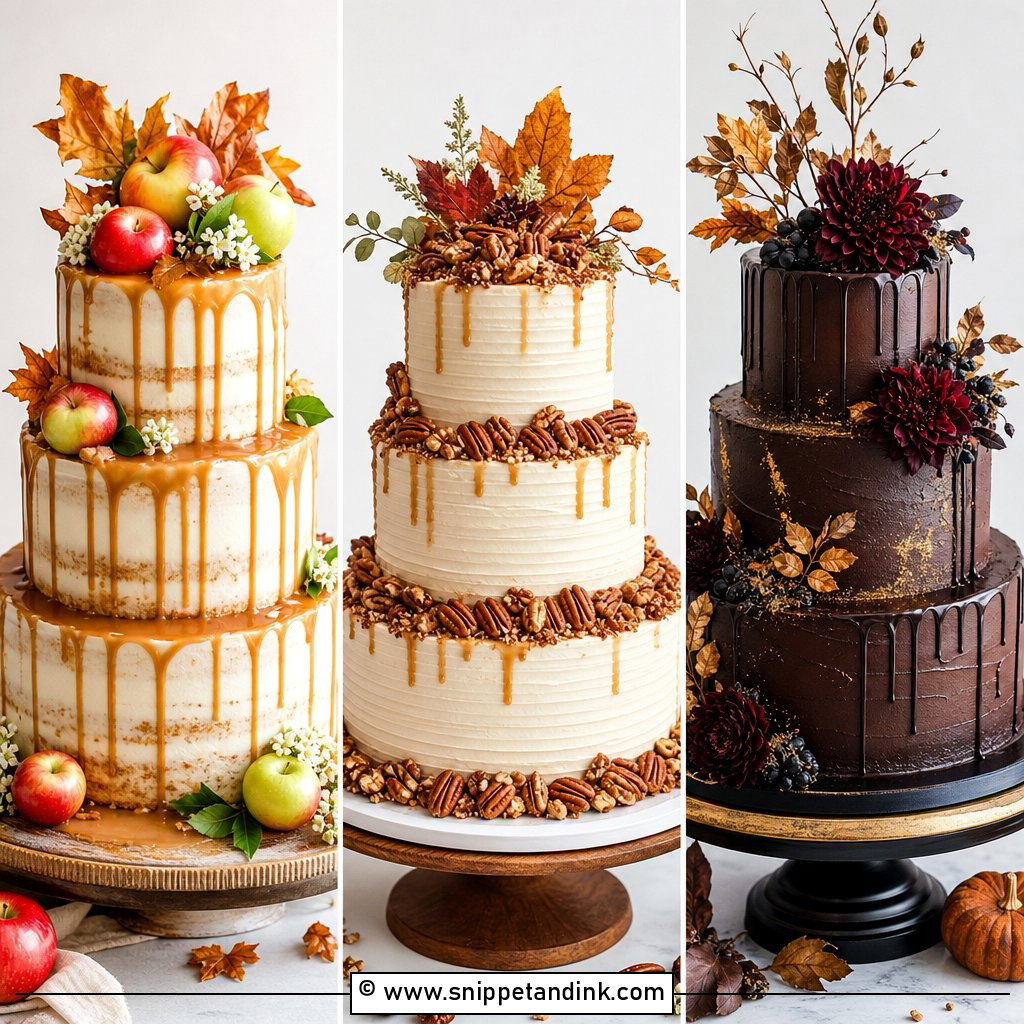
A drip adds shine and movement with a single technique. Use white chocolate ganache, caramel or a tinted drip matched to your colors. The cake must be well chilled and the ganache only just warm: too hot and it runs to the board, too cool and it stops in thick blobs. I test one drip down the side before going round the whole tier. Let it fall partway, then top with flowers, macarons or berries, keeping the arrangement tight so it still reads as a wedding cake.
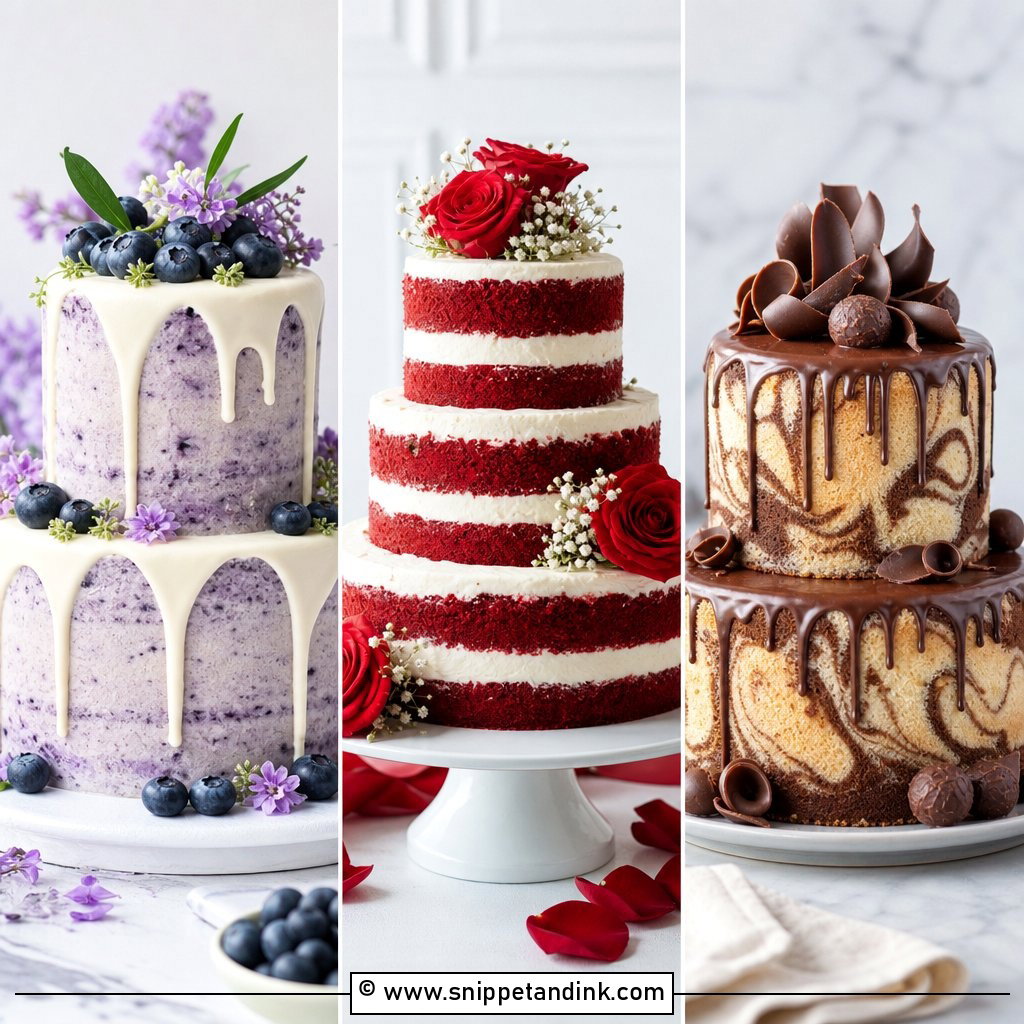
15. Sugar Flower Wedding Cake
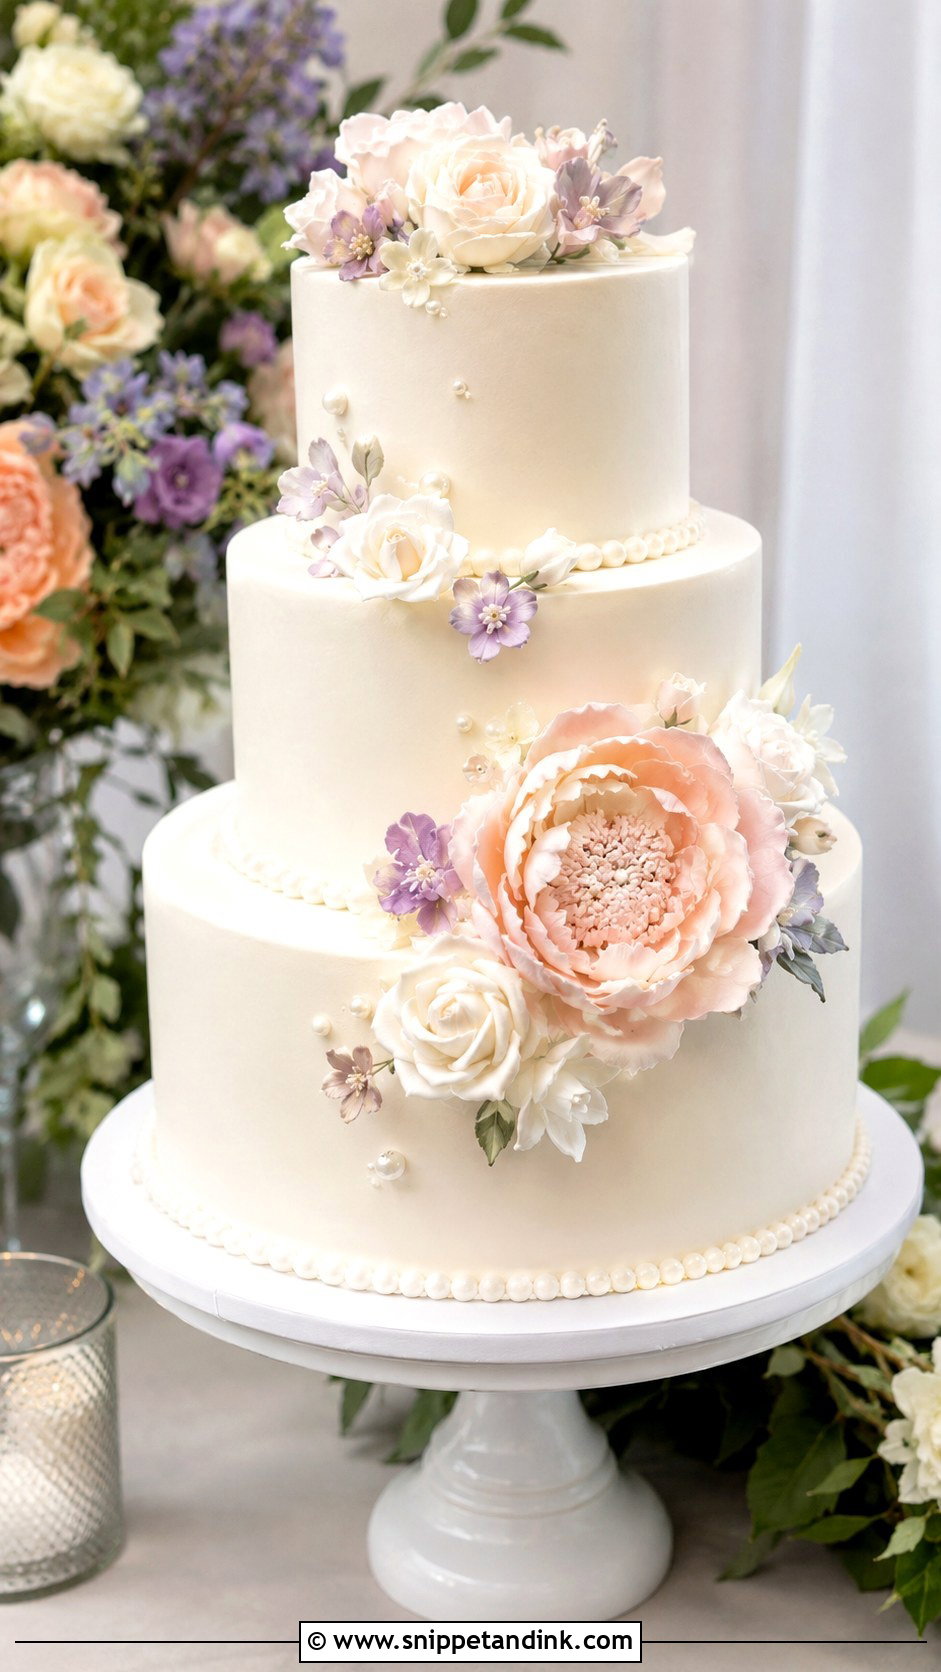
Sugar flowers give a handmade luxury look even when the cake beneath is simple. Buy them ready-made, or make easy blossoms weeks ahead; stored in a box away from damp, they keep for months. One large flower on the top tier and two or three smaller ones near the base gives balance. They don’t wilt, which helps at warm venues, but humidity softens them, so never store them in the fridge. Keep the rest of the cake quiet.
16. Ruffle Wedding Cake
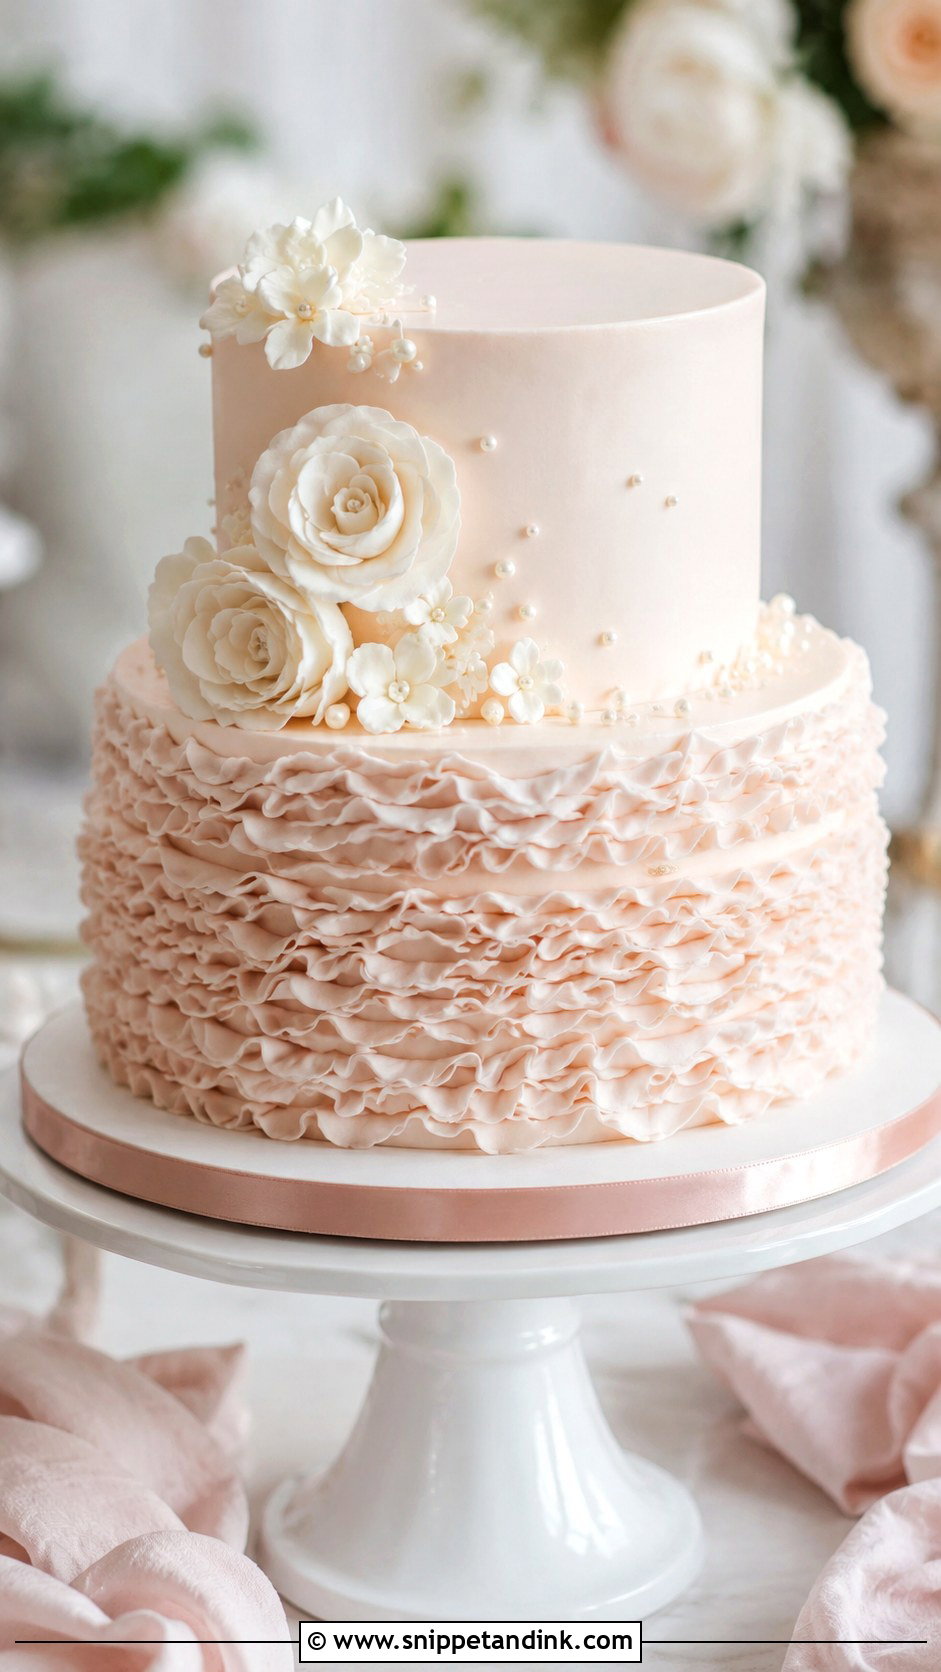
Ruffles look intricate, yet buttercream ruffles are kind to beginners. Pipe rows around one tier, or ruffle only the bottom tier and keep the top smooth. A petal tip held with its wide end against the cake, angled slightly outward, gives each ruffle its lift. Work slowly; uneven spots disappear into the texture. Ruffles add a lot of frosting weight, so in hot weather I keep them on the lower, sturdier tiers.
17. Lace Wedding Cake
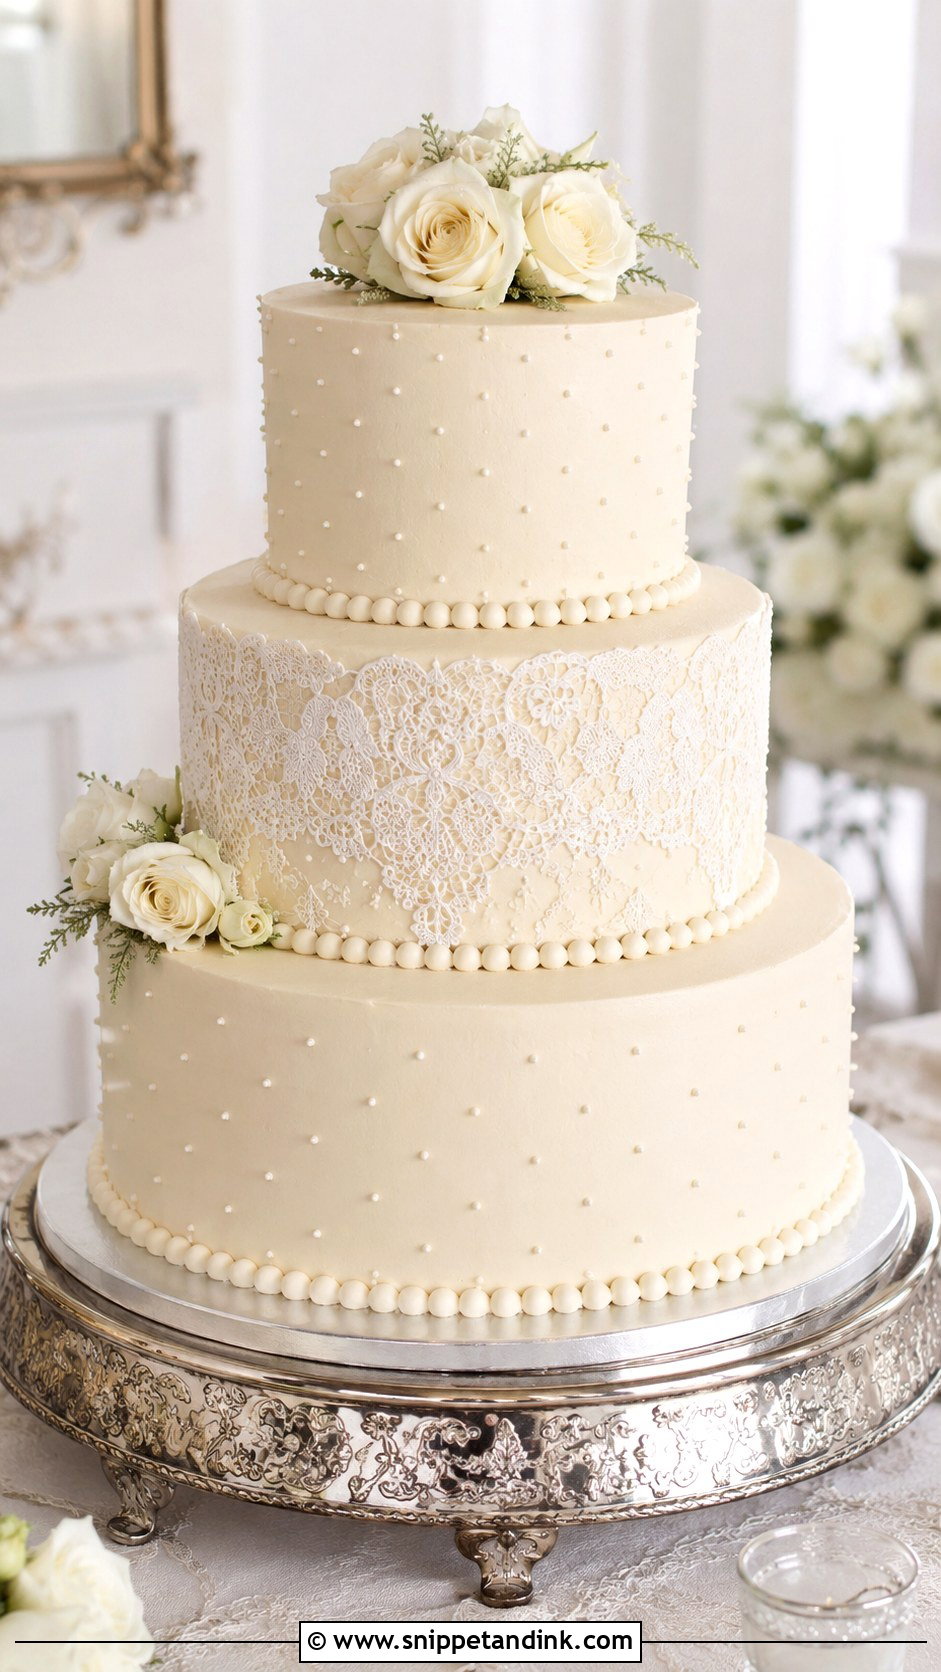
Lace is easiest with a stencil. Hold it flat against a chilled, smooth tier, spread a thin layer of royal icing or buttercream over it, then lift it straight off. I always have a second pair of hands hold the stencil, because one slide smears the whole pattern. Stencil a single tier and leave the rest plain. If you’d rather pipe, small dots and curves in white buttercream read as lace from across the room, and ivory on ivory hides any mistakes.
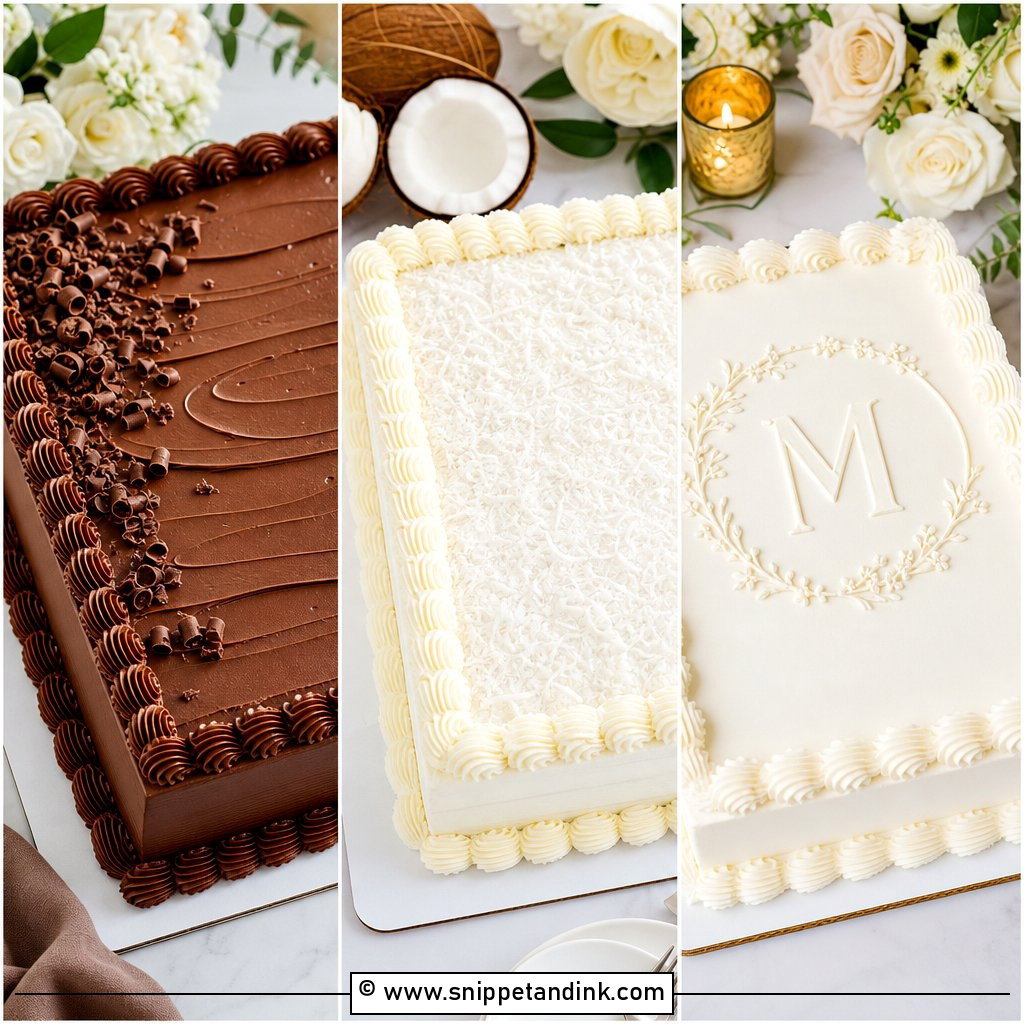
18. Monogram Wedding Cake
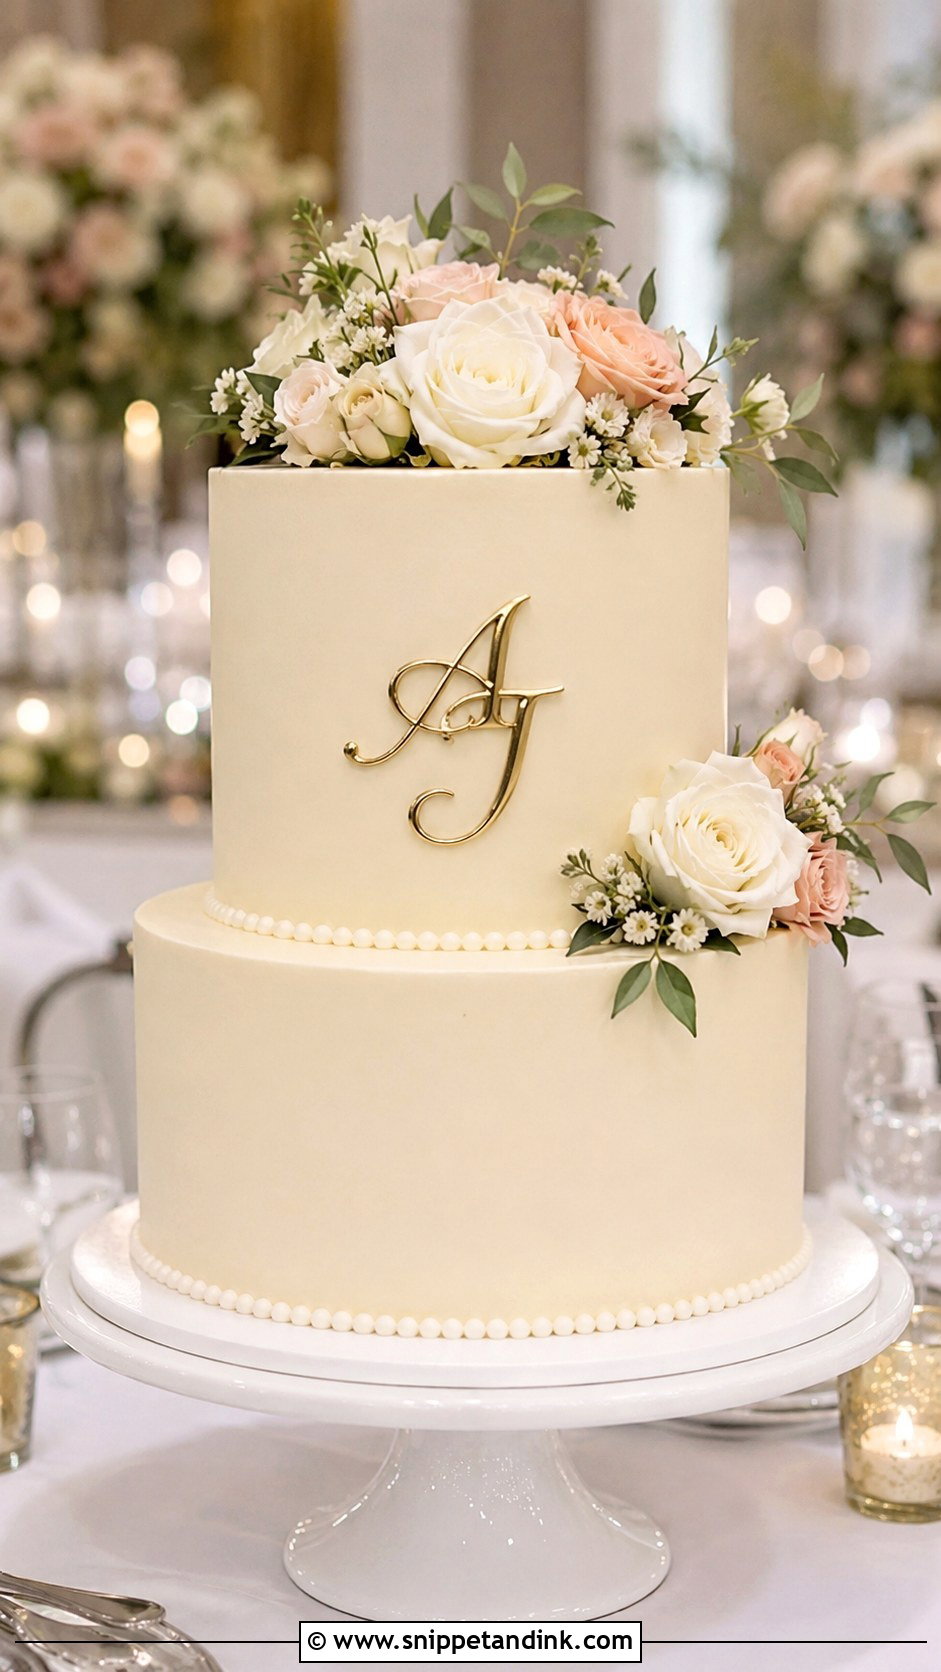
Initials make a simple cake personal. Add the couple’s initials with an acrylic topper, piped lettering, fondant cutouts or an edible plaque. Freehand piped letters are the hardest of these to get right, so I trace them on parchment, chill the cake and prick the outline through with a pin before piping. Keep the surface smooth and the extras few; a light pearl border is enough of a frame.
19. Ombre Wedding Cake
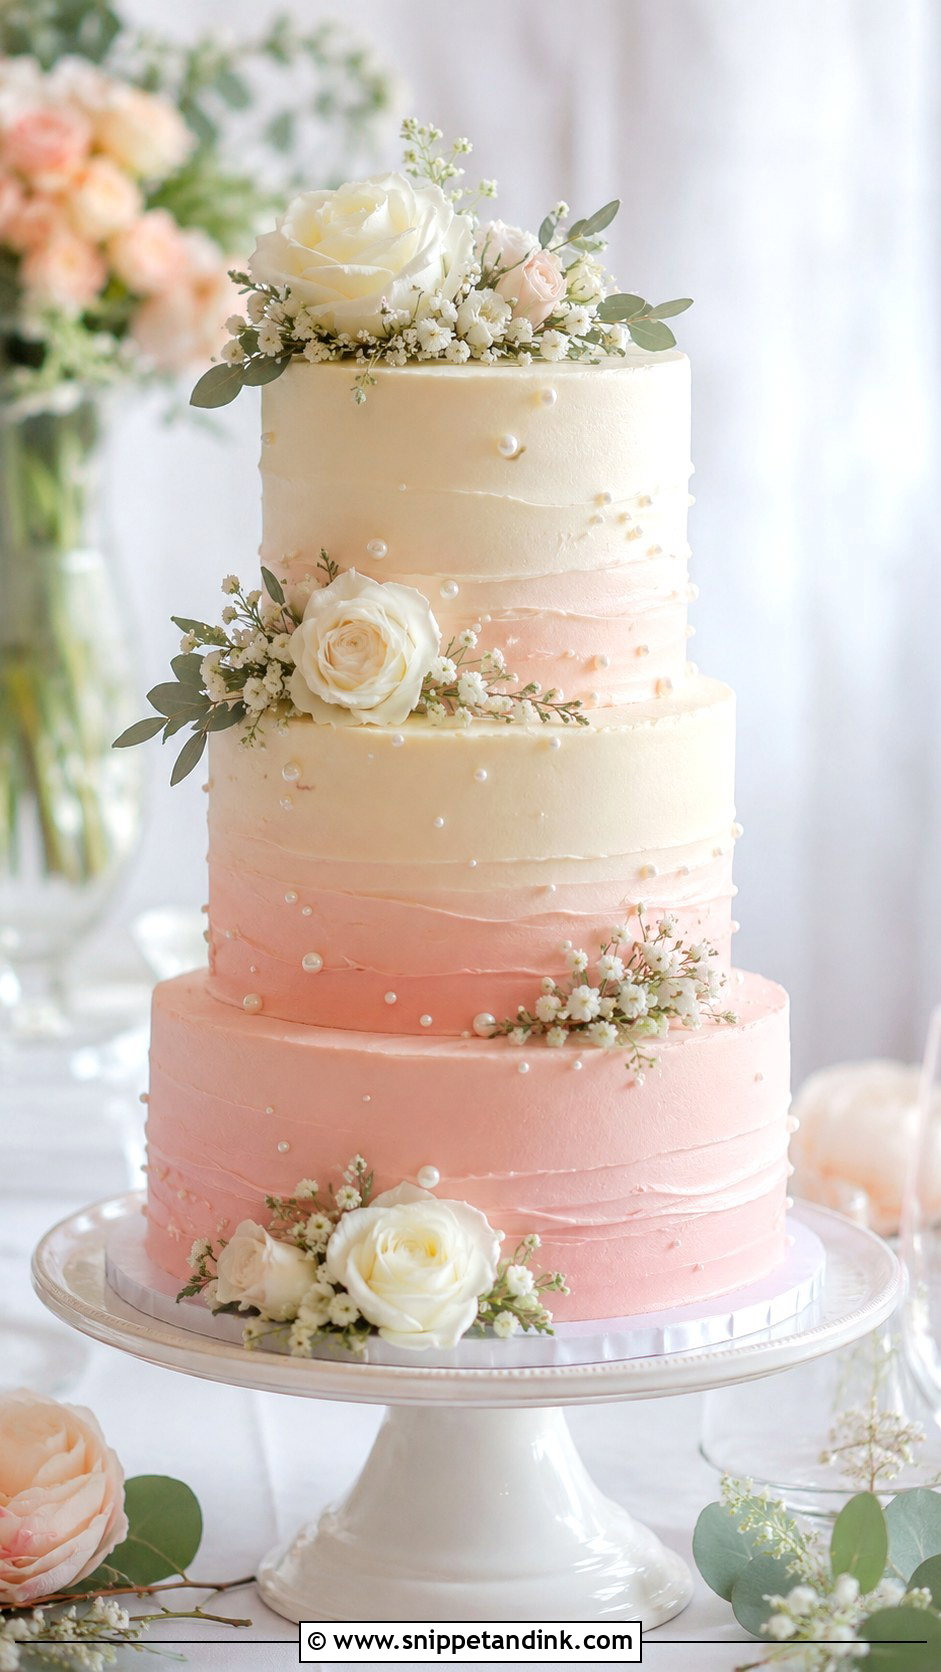
Ombre fades one color from dark to light, across the tiers or up a single cake. Buttercream blends easiest: tint three or four batches from one base, apply them in bands and smooth them together with a bench scraper. Deep shades need a lot of gel color and can taste bitter, so I keep the darkest band at the bottom and fairly modest. Blush, lavender and dusty blue all work, and white flowers are the only decoration it needs.
20. Floral Wreath Wedding Cake
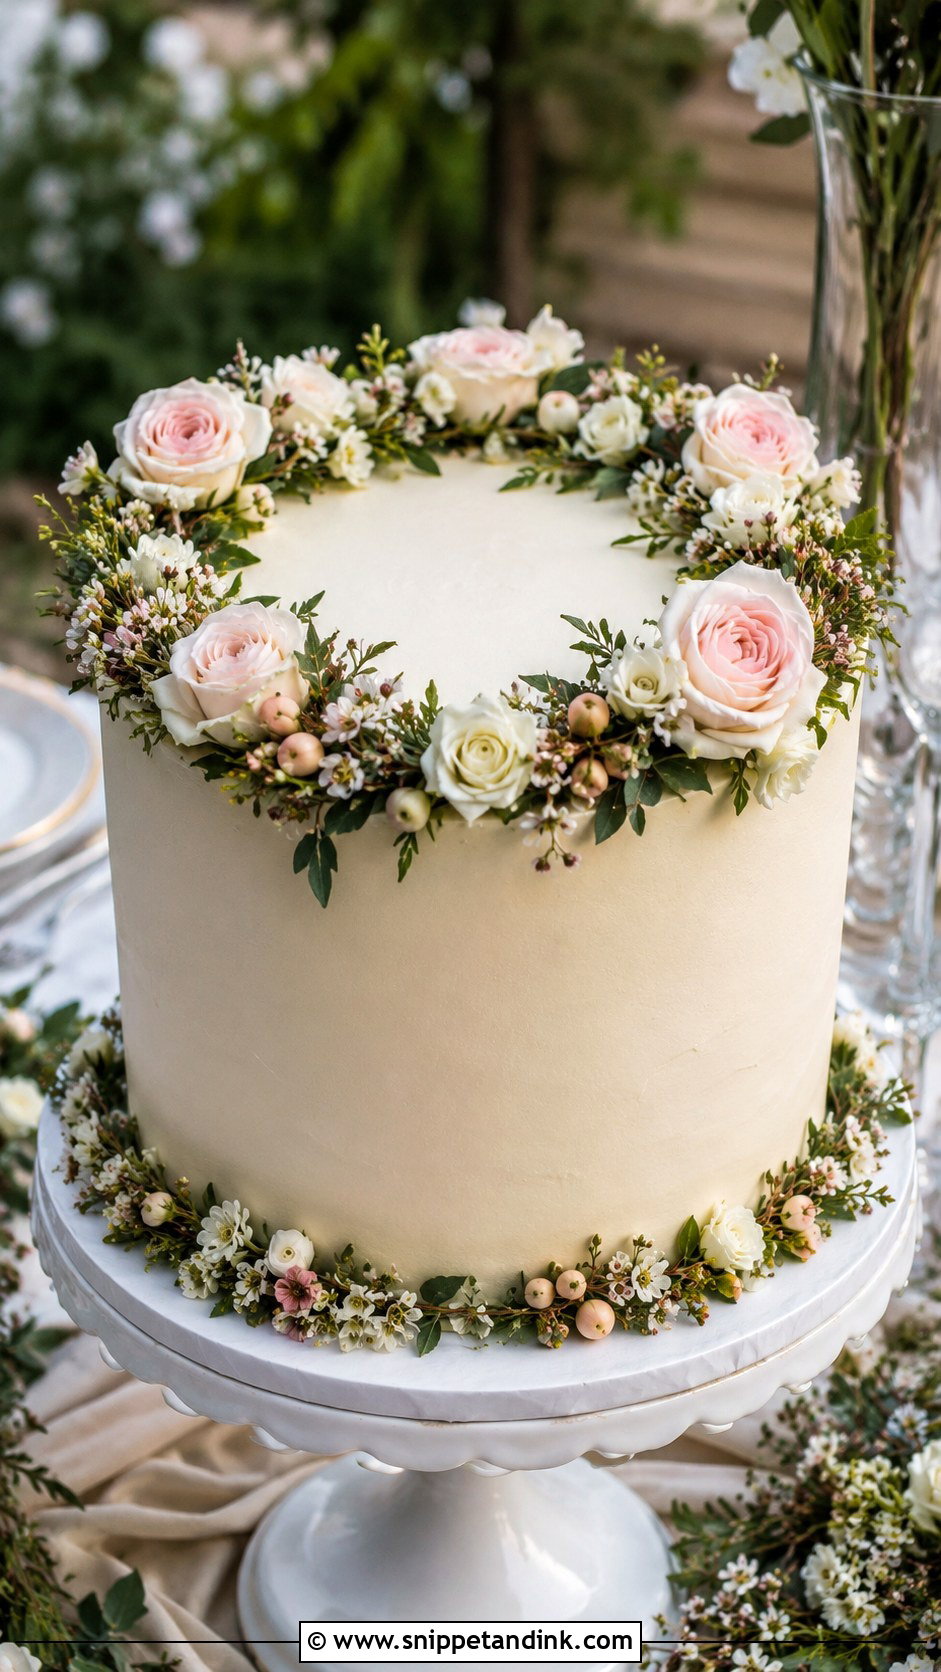
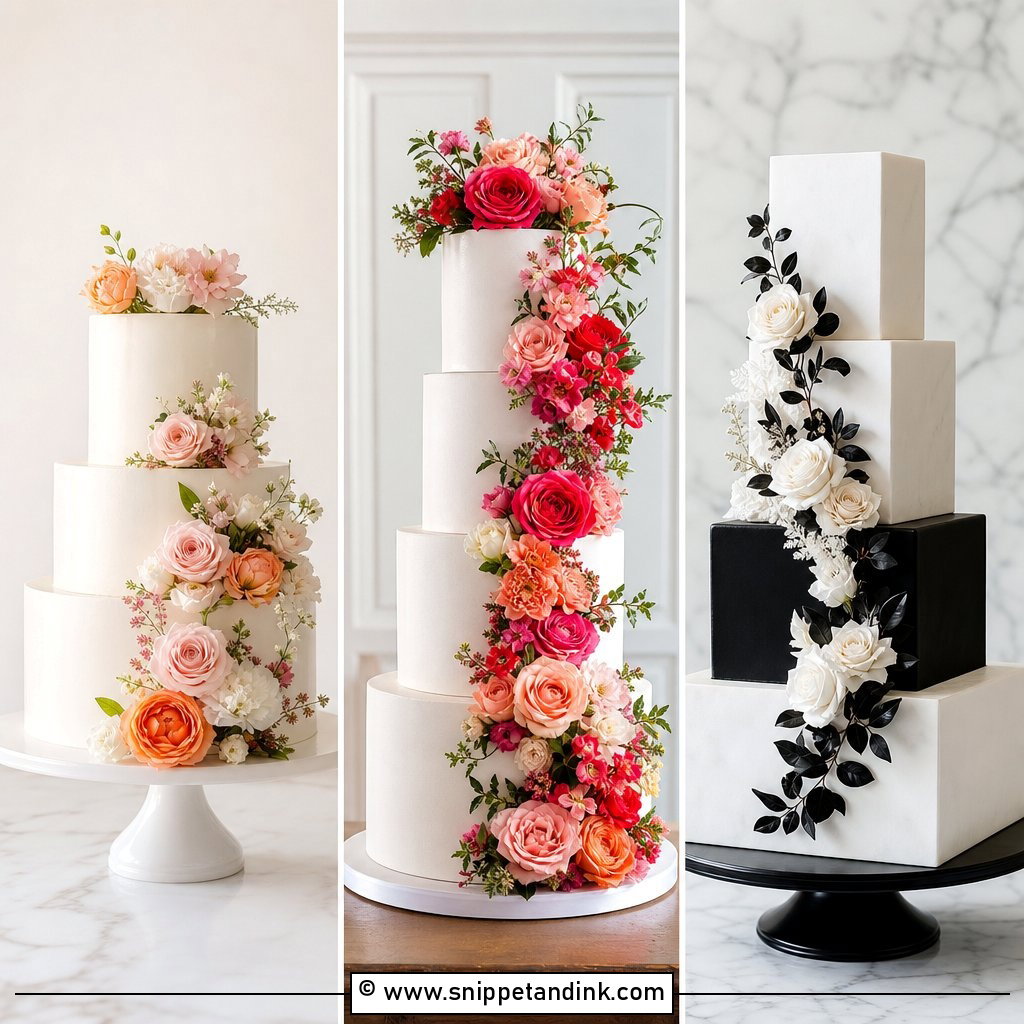
A wreath gives a planned, complete look with a single arrangement. Set the flowers in a ring around the top edge, the base or the middle tier rather than scattering them. Small blooms, greenery and berries all fit. On a cake that will be cut, I build the wreath on a thin cake board or a ring of parchment so it lifts off in one piece. Single and two-tier cakes suit it best, and it holds up from every angle a photographer might choose.
Spreading the Work Over Three Days
- Two days before: bake the layers, cool them completely, then wrap them well and chill or freeze.
- The day before: level, fill and stack each tier, crumb coat, chill, apply the final coat and insert the dowels.
- Wedding morning: add piping, pearls, ribbon and any stencil work, then keep the cake chilled.
- At the venue: add fresh flowers, fruit, gold leaf and the topper as close to display time as you can.
Split this way, no single day turns into a marathon, and the perishable details go on last, when they’ll look freshest.
Getting It to the Venue in One Piece
Transport is where home-made wedding cakes are most often damaged. Move the cake cold, on a non-slip mat, on a flat surface. Car seats slope, so use the floor or a flat boot. Run the air conditioning, brake early and take corners slowly. A two-tier cake can usually travel stacked if it’s doweled and has a sharpened center dowel driven through both tiers; three tiers or more are safer carried separately and stacked at the venue.
Pack a small repair kit: a piping bag of the same frosting, an offset spatula, spare flowers and a damp cloth. A scuff on the side is a five-minute fix if you brought the frosting with you.
One Clear Idea, Done Neatly
An easy wedding cake isn’t a plain one. Flowers, texture, pearls, fruit, greenery, ribbon and simple piping can each carry a cake on their own, as long as you commit to one and do it carefully. Keep the palette short, place the decoration with care and choose details that survive a few hours at room temperature. If you’re decorating it yourself, practise the finish on a small test cake first, and keep the real one cold until the last practical moment.
You'll Like These Ideas:


Leave a Reply