
Your hands will be in more close-ups than almost anything else you wear: the ring exchange, the rituals, the portraits, every time someone holds your hand to admire the stain. So the design has to suit your outfit and your hand shape, and it has to fit the hours you can actually sit still. Some brides want dense Indian full-hand mehndi with portraits and a hidden name. Others want Arabic trails, Indo-Arabic spacing, a mandala or a light wrist-to-finger pattern. Every option below is a complete bridal hand look rather than a single motif, with notes on how it stains, how long it takes and where it tends to go wrong.
Henna Darkens Slowly, So Book the Application Two Days Out
Natural henna doesn’t come off the skin at its best colour. When the dried paste is scraped away, the stain underneath is bright orange. Over the next 24 to 48 hours it oxidises and deepens to a rich reddish brown or maroon. That’s why I ask brides to book the application one to two days before the wedding, never the morning of. If you have a mehndi night as a separate event, that’s usually the right timing anyway.
Sitting time is the other thing to plan honestly. A simple or Arabic design on both hands can be finished in an hour or two. Full Indian or Rajasthani coverage on the hands and forearms, front and back, can take many hours, and feet add more. Exact timing varies with the artist and the detail, so ask her for an estimate when you book.
- Have manicures, waxing and any exfoliation done before your henna, not after. They lighten the stain.
- Arrive with clean, dry hands and no lotion or oil, which stops the dye from soaking in.
- Eat first and use the bathroom before your artist starts. You won’t have your hands for a while.
- Wear a loose top with sleeves that push up easily past the elbow.
1. Full Hand Indian Bridal Mehndi Design
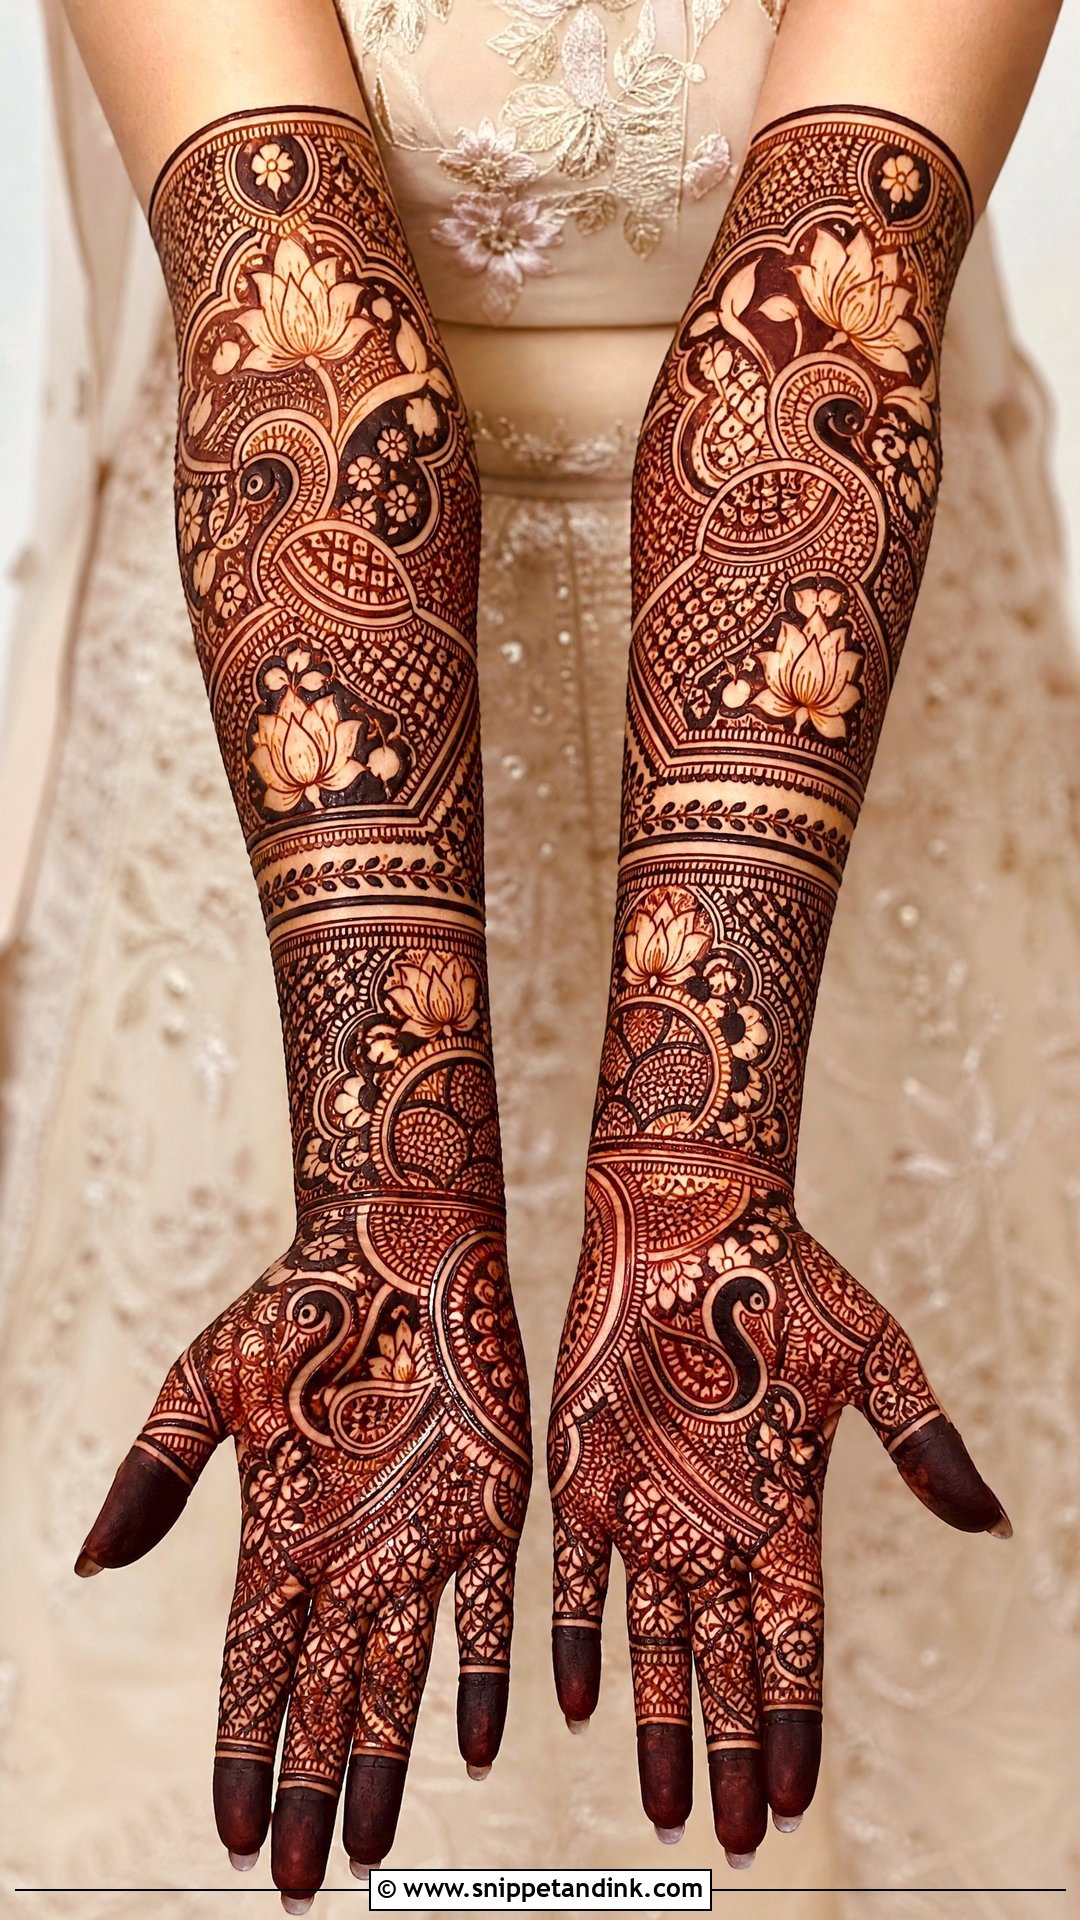
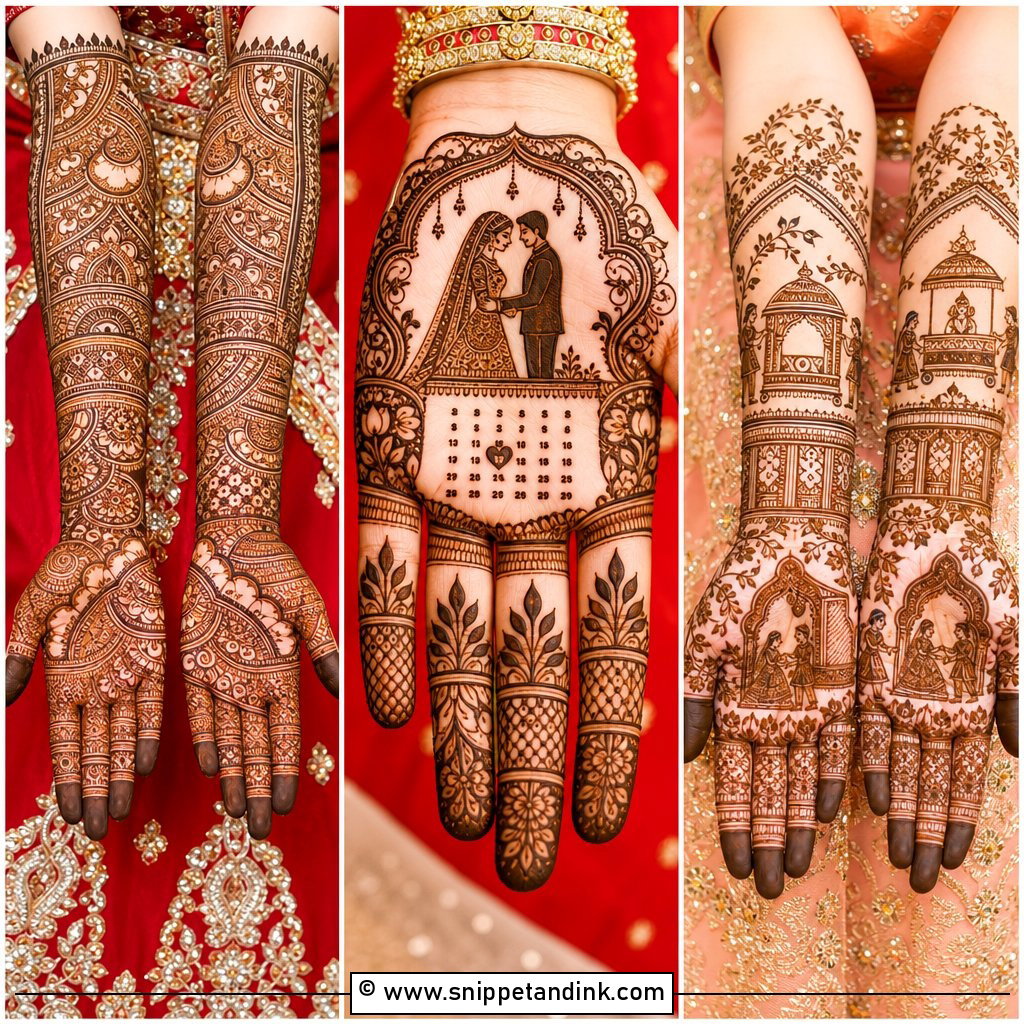
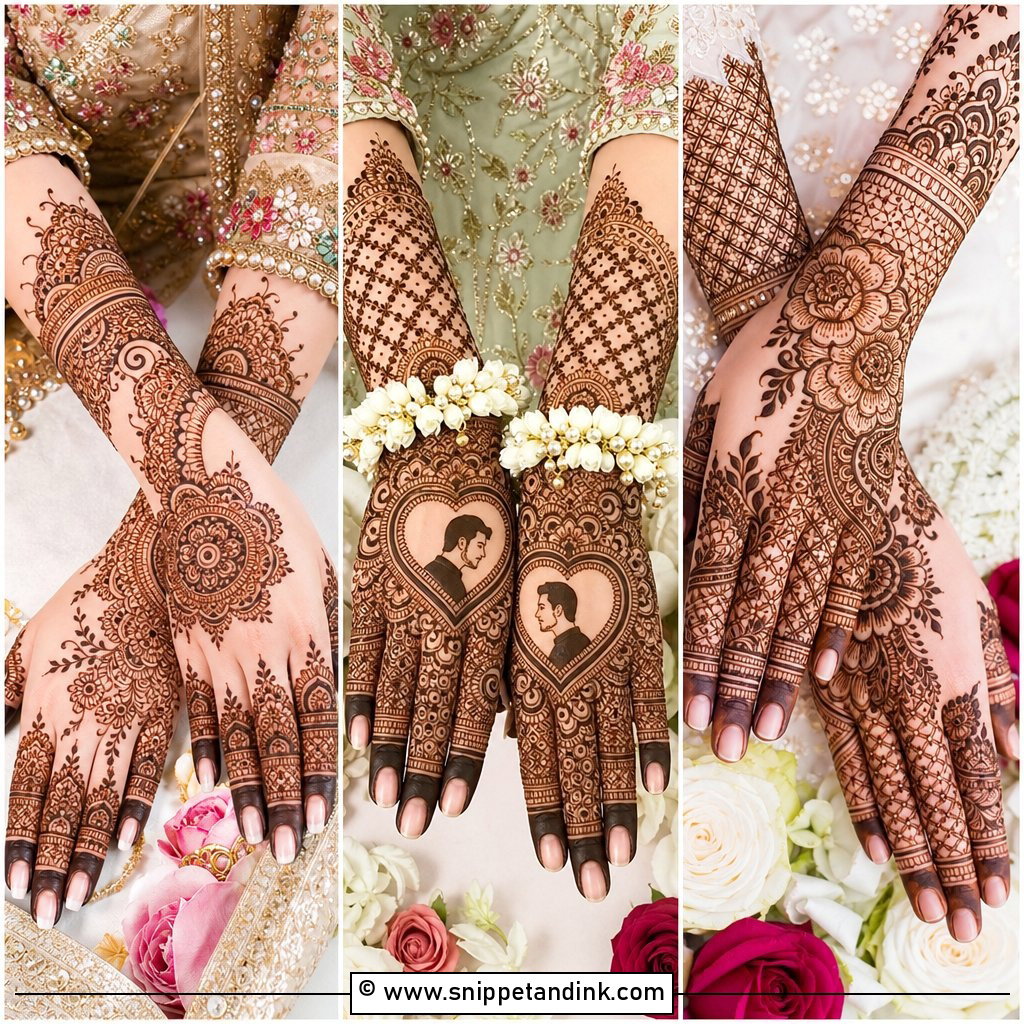
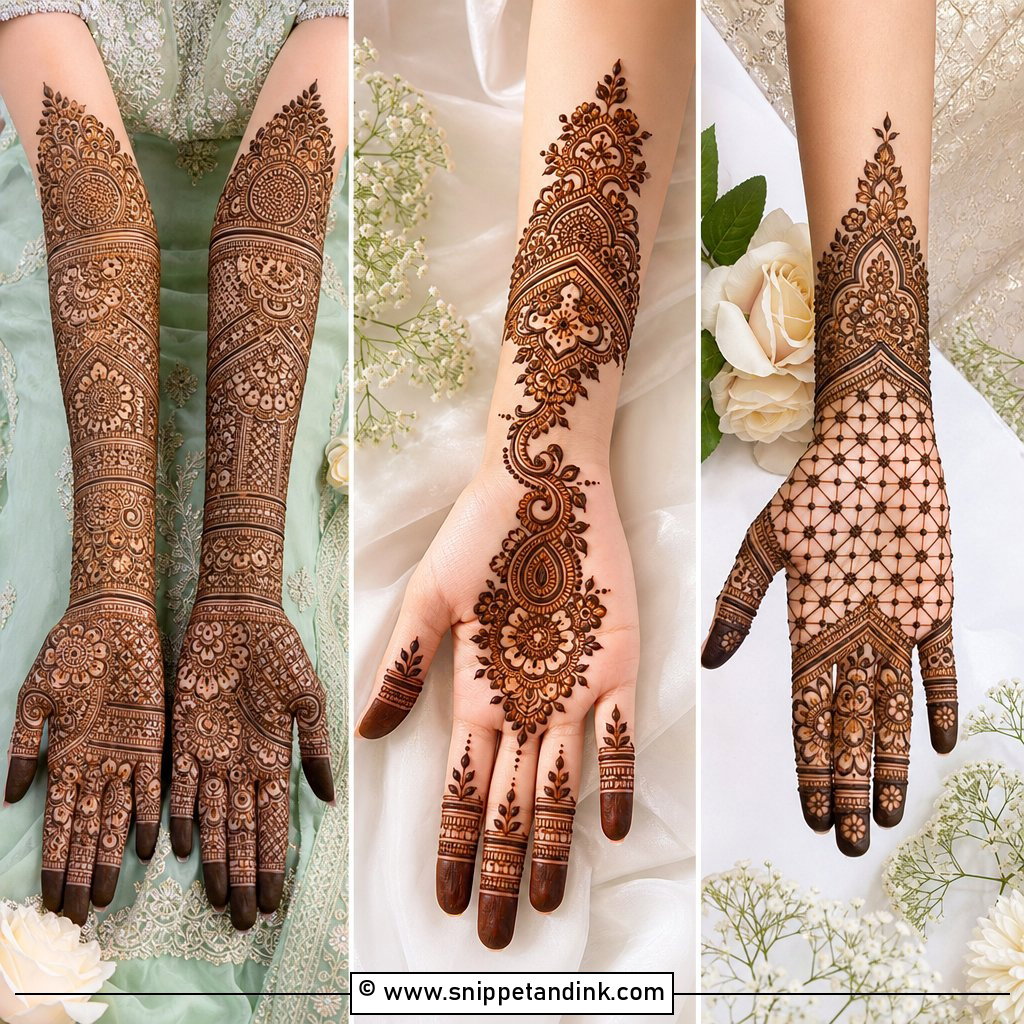
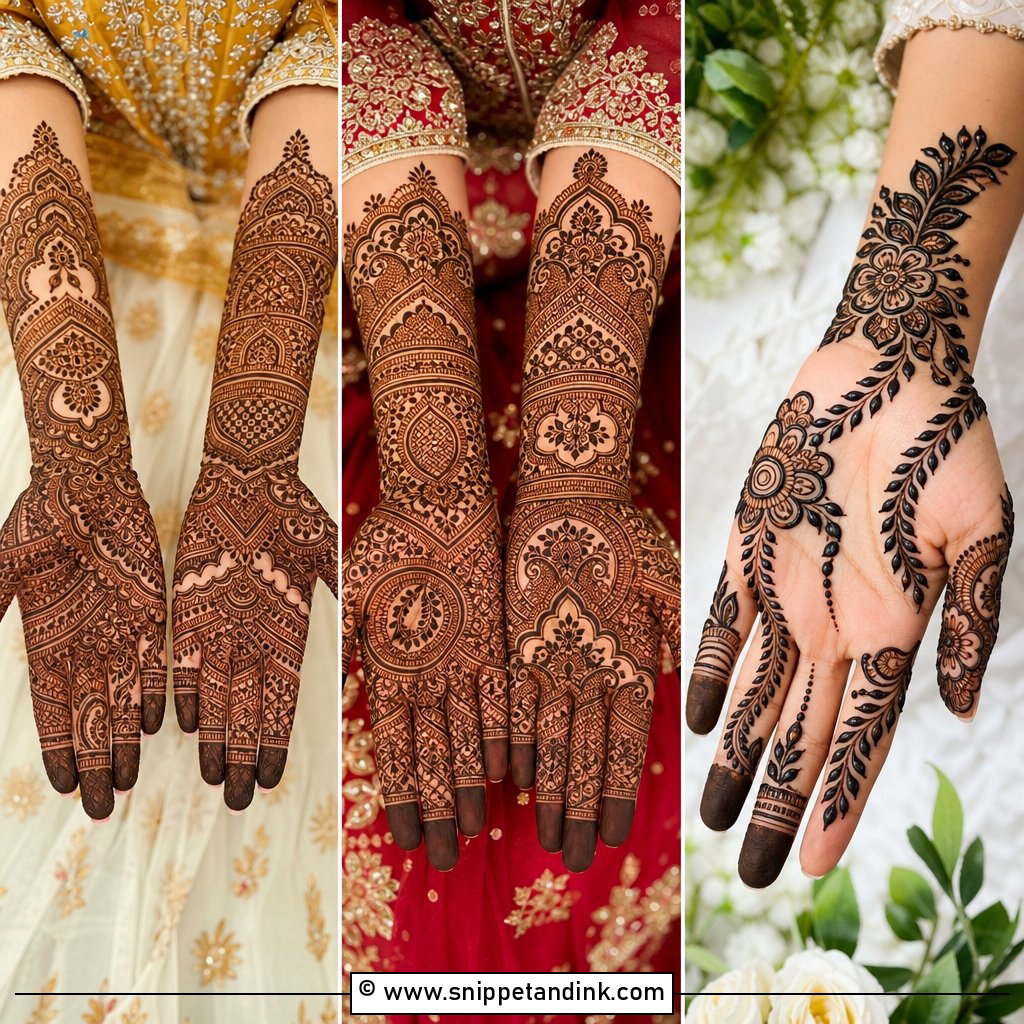
Full-hand Indian mehndi is the most traditional bridal look, covering the palm, back of the hand, fingers, wrist and lower arm with fine lines, paisleys, florals, lotus, peacocks and small fillers. It sits naturally with lehengas, sarees, shararas and heavily embroidered outfits, since the detail matches. A groom’s name, the date or small personal symbols can go inside the pattern. On smaller hands I draw the main motifs a little larger than usual. If everything is tiny, the fine lines blur into one dark patch as the stain deepens, and the photos lose the detail you sat hours for.
2. Arabic Bridal Mehndi Design For Hands
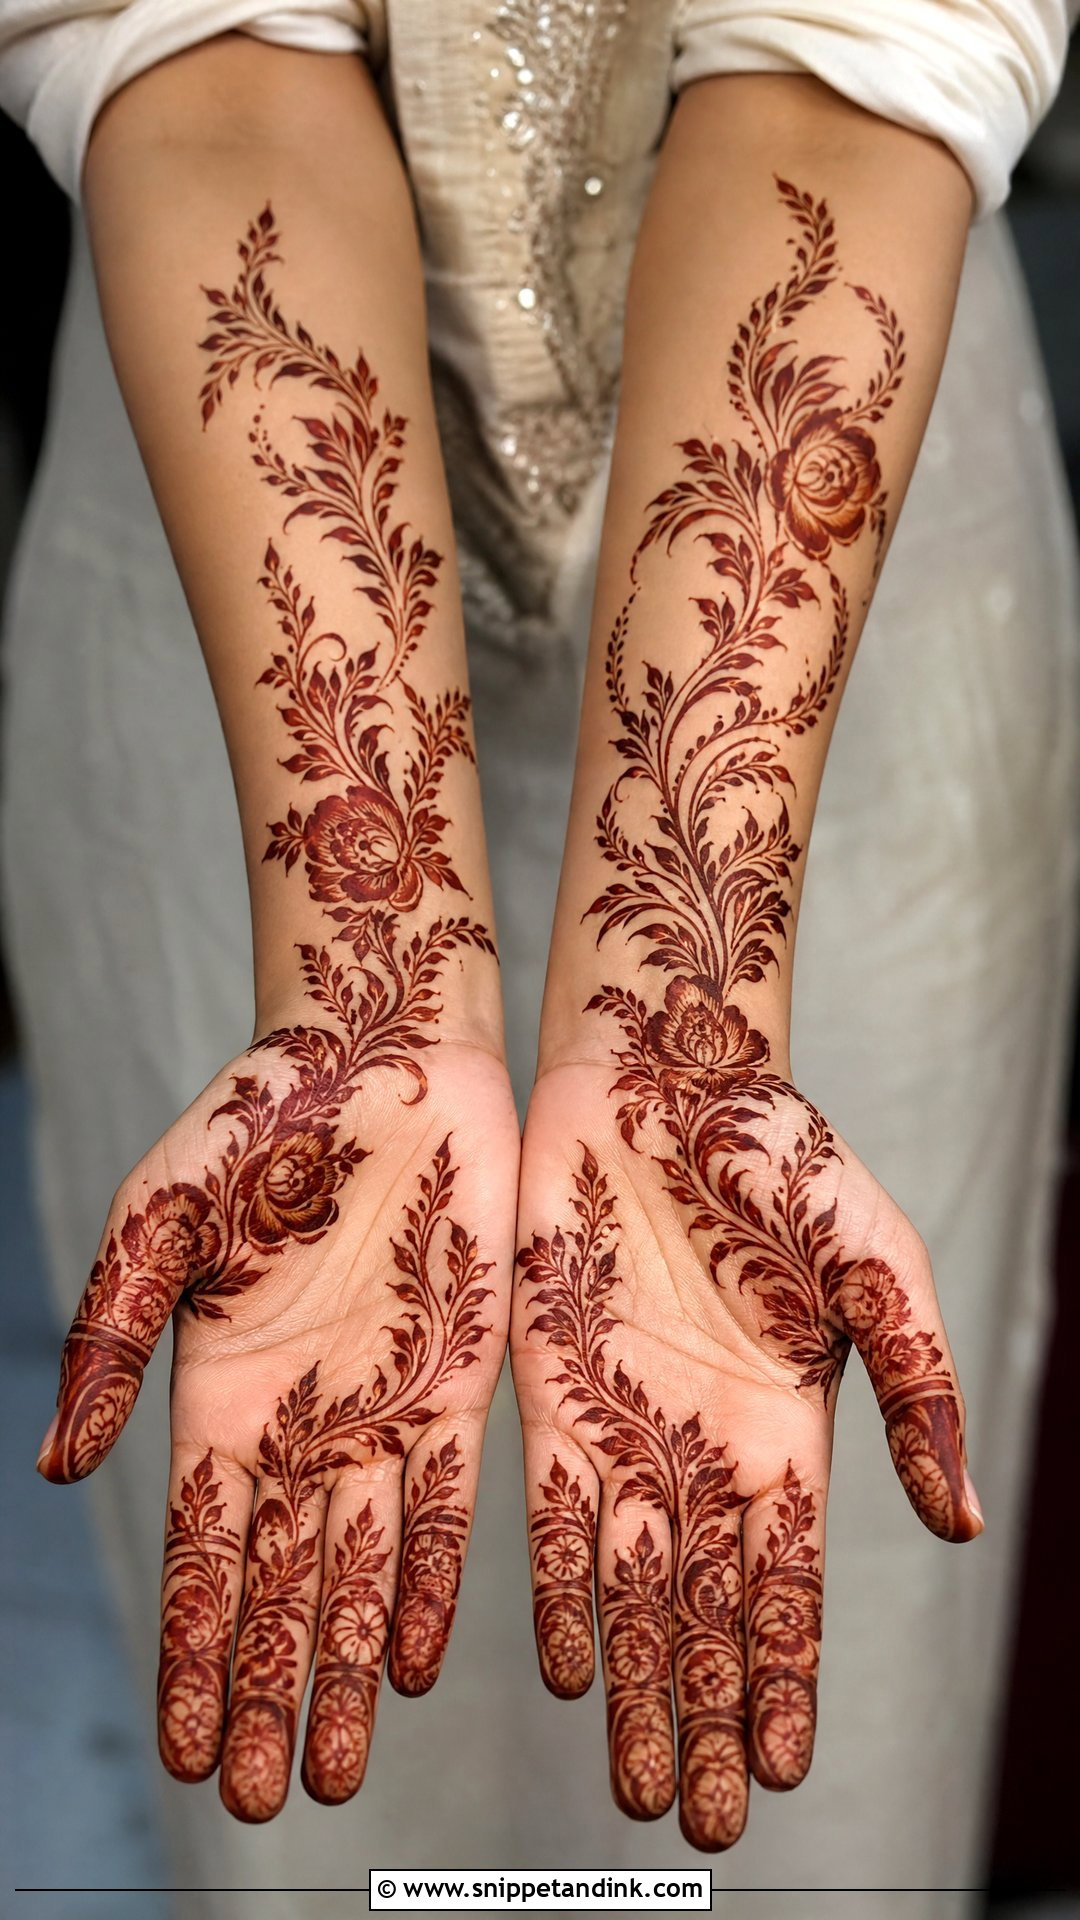
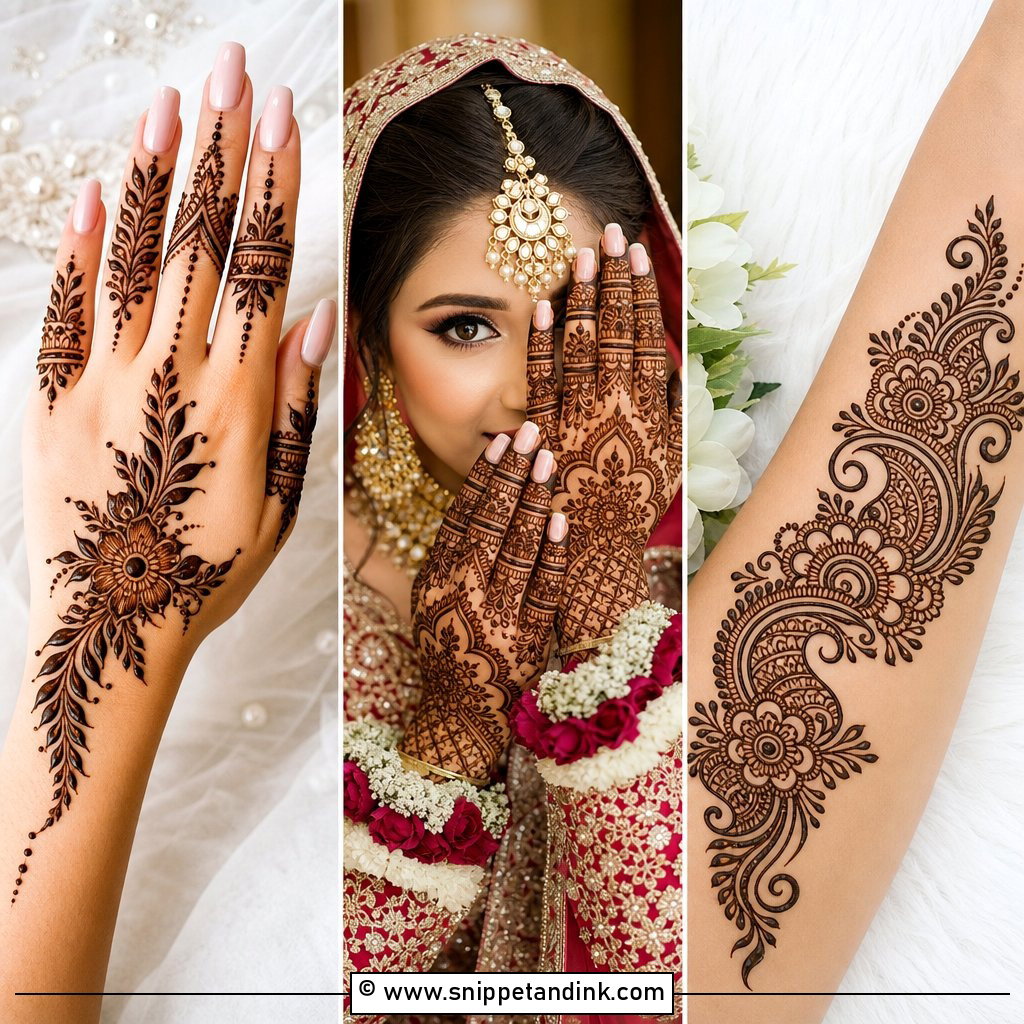
Arabic mehndi runs diagonally across the palm or the back of the hand, from wrist to fingers, with bold flowers, leafy vines, shaded petals and plenty of bare skin. That open space is what makes it readable from across a room. It’s also much quicker than dense work, so it suits a bride with a packed schedule before the wedding. For a bridal version, I extend the trail up the forearm and add matching finger details. The shading in Arabic petals is done by thinning the paste line, so ask for a bold outline; thin shading on its own can stain too faintly to show.
3. Indo Arabic Bridal Mehndi Design
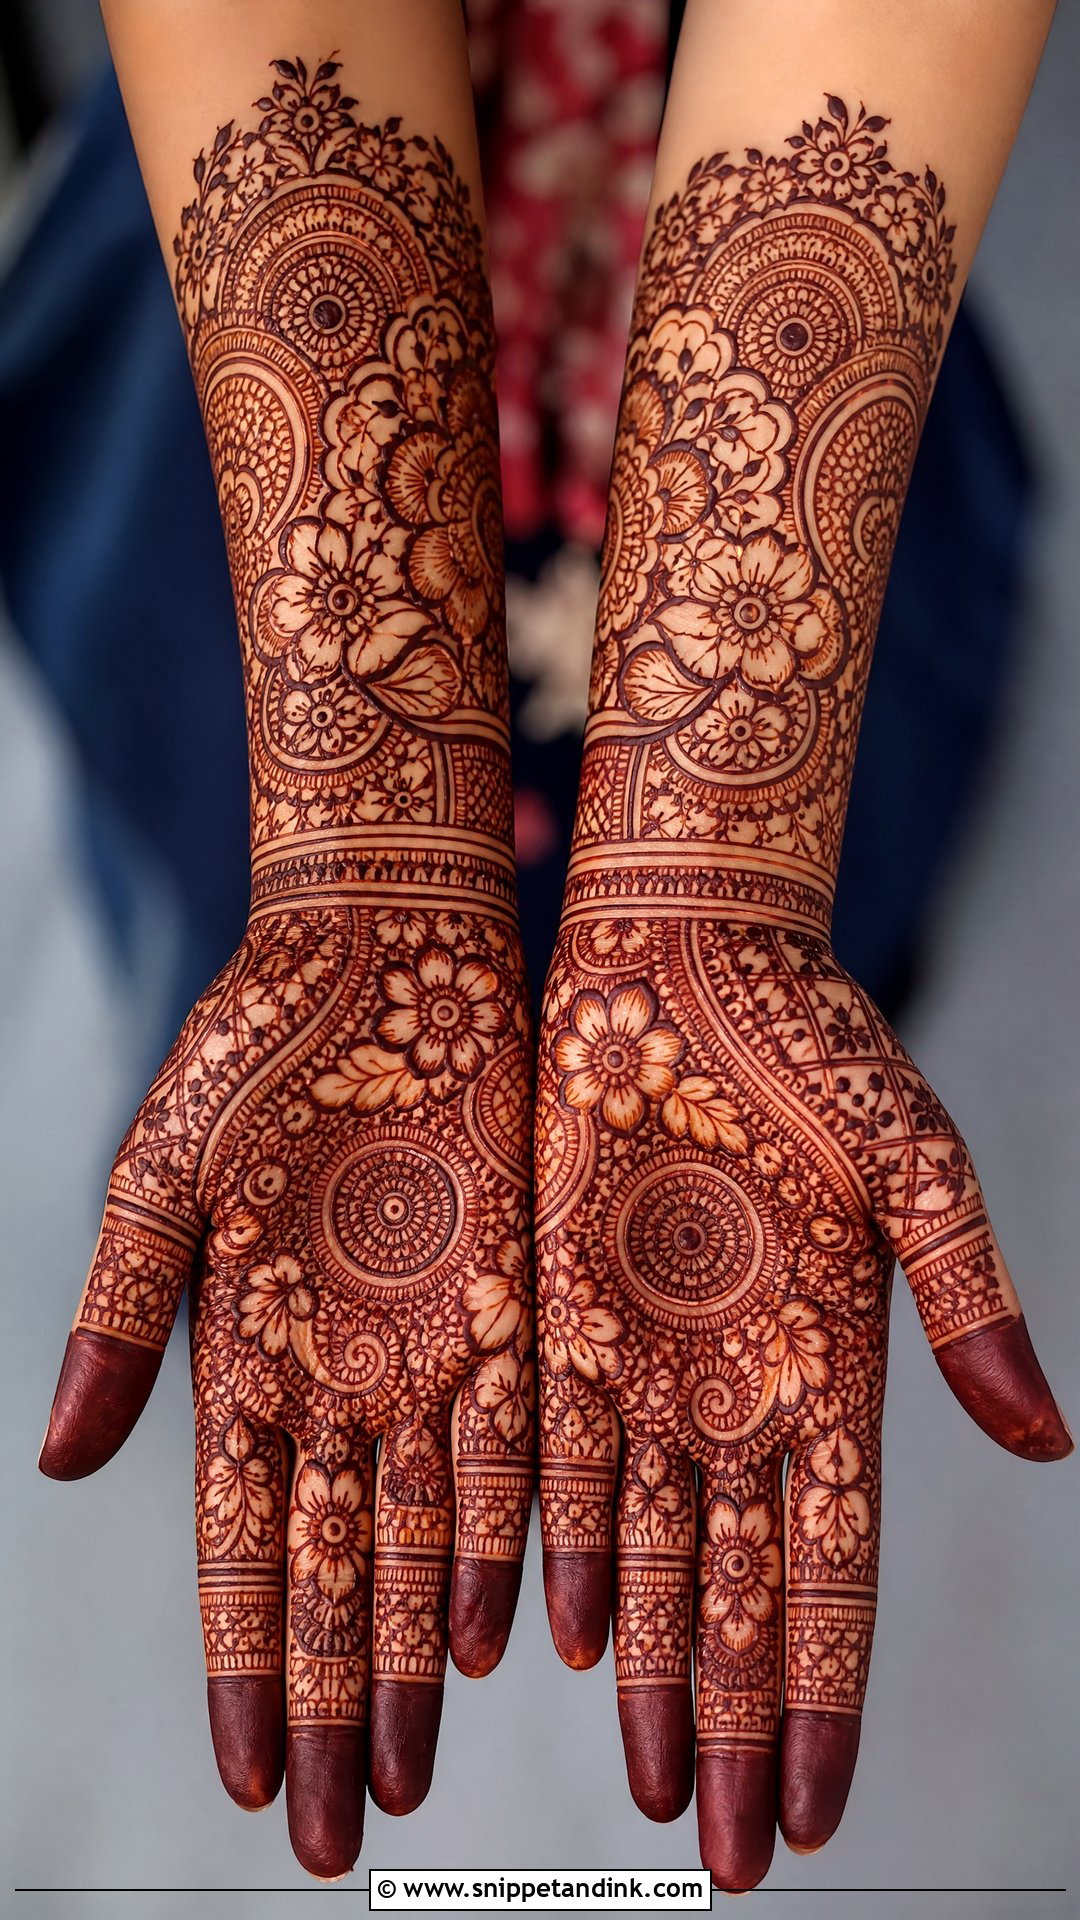
Indo-Arabic combines the flow of Arabic trails with the fine detail of Indian bridal work. A typical layout mixes large floral trails, paisley borders, a mandala centre, jaali mesh, leafy curves and filled fingertips. Because it keeps some open space, the hands look covered without feeling crowded. It works on both the palm and the back of the hand. I often suggest it to brides whose outfits mix traditional and modern elements, and to anyone who wants coverage but can’t sit for a full Indian design.
4. Rajasthani Bridal Mehndi Design
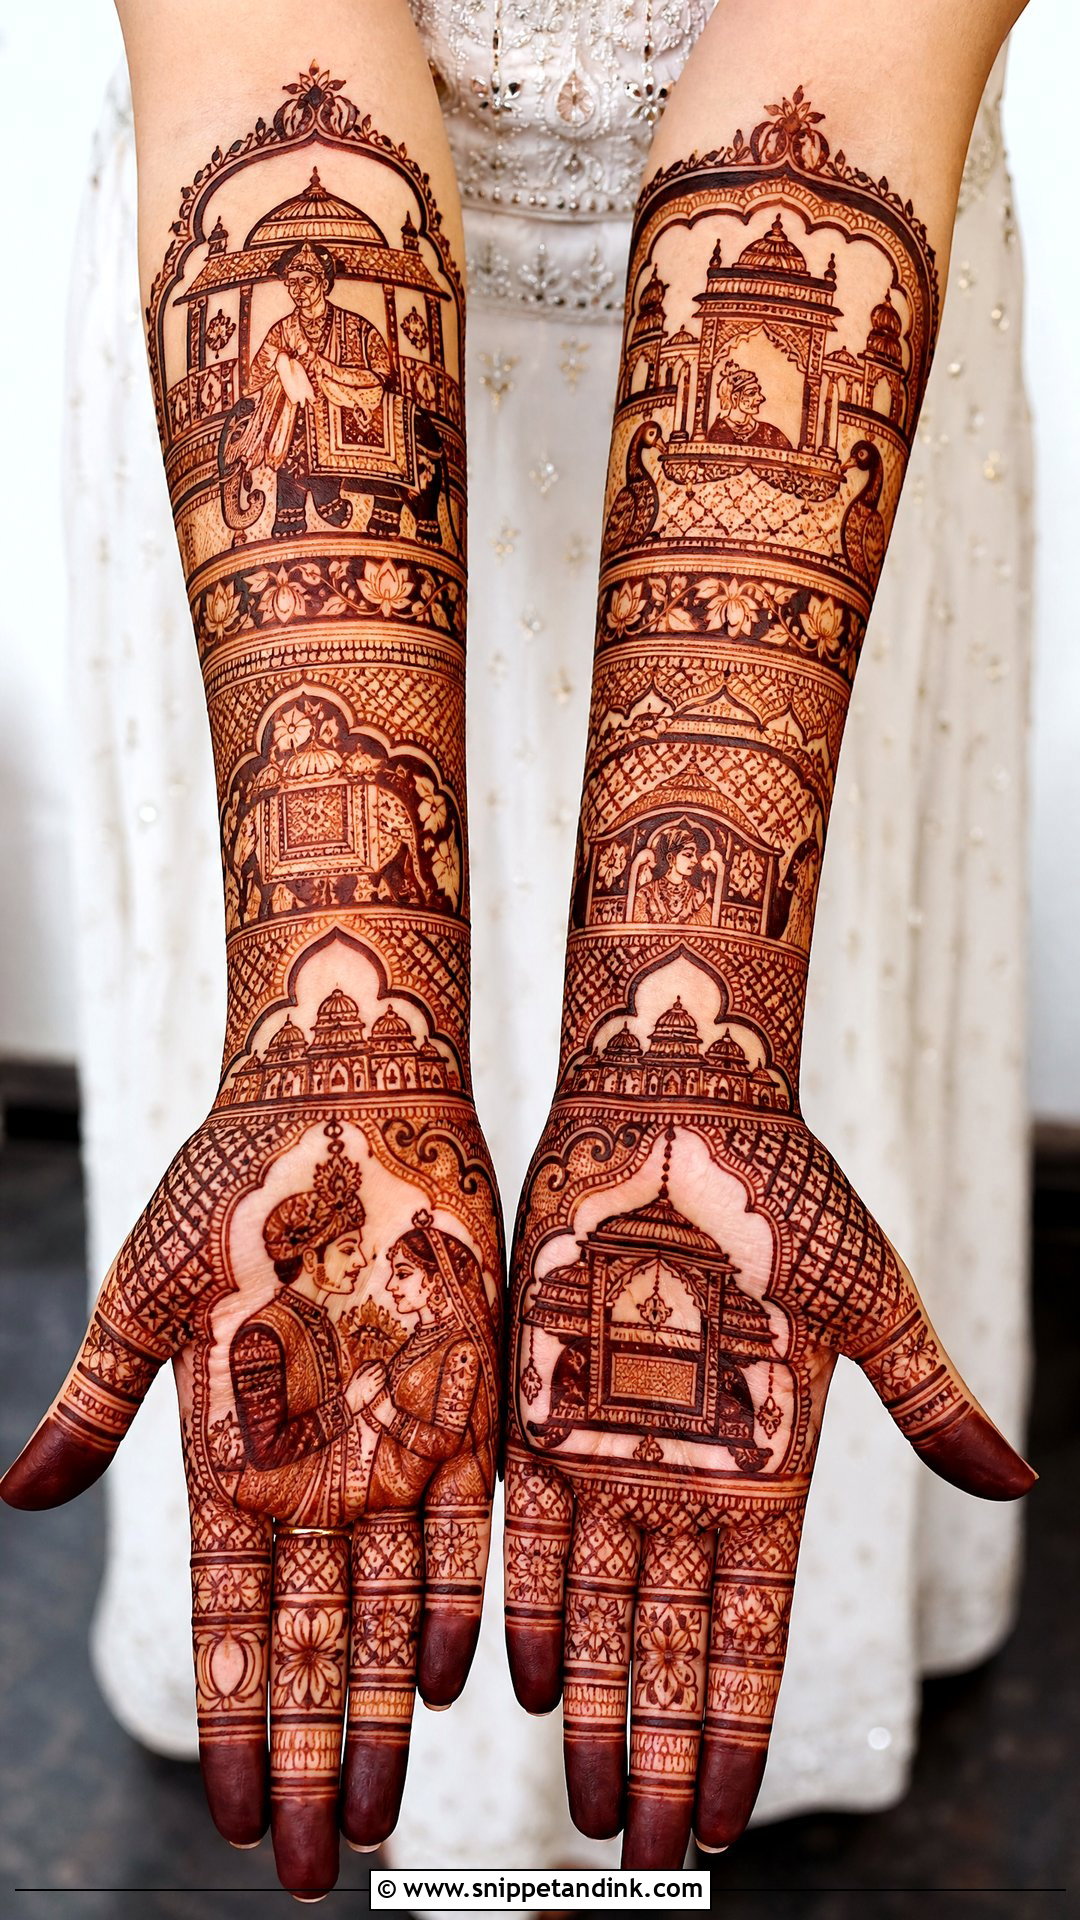
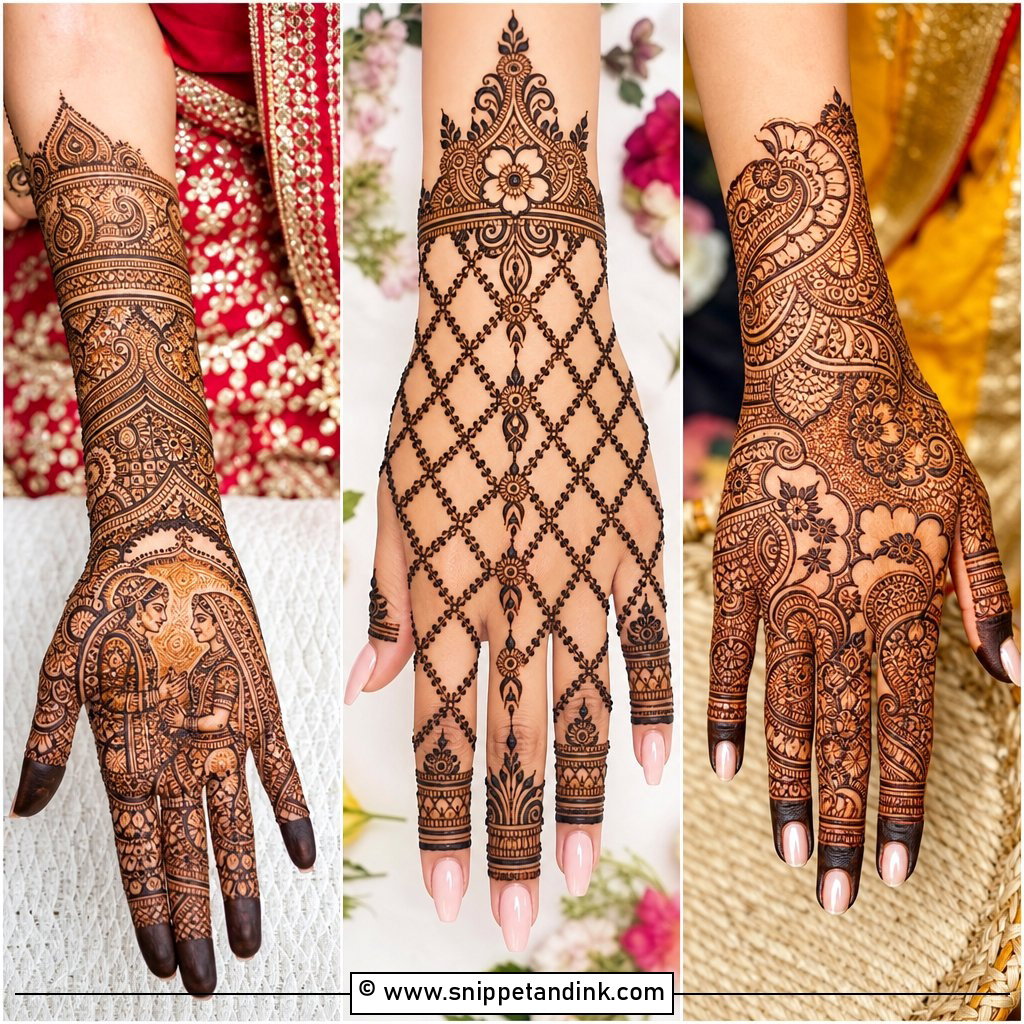
Rajasthani mehndi tells a story. The full-hand design can include bride and groom figures, elephants, a palanquin, peacocks, lotus, domes and fine ornamental borders, with the main scene on the palm and bands, jaali and layered paisleys running up the wrists and forearms. It’s the most time-consuming style on this list, so plan for extra sitting time and agree the layout with your artist beforehand. Ask for clear central figures and neat borders. When I draw it, I finish the figures first while your hand is fresh and still, then fill in the borders.
5. Bridal Mehndi Design With Bride And Groom
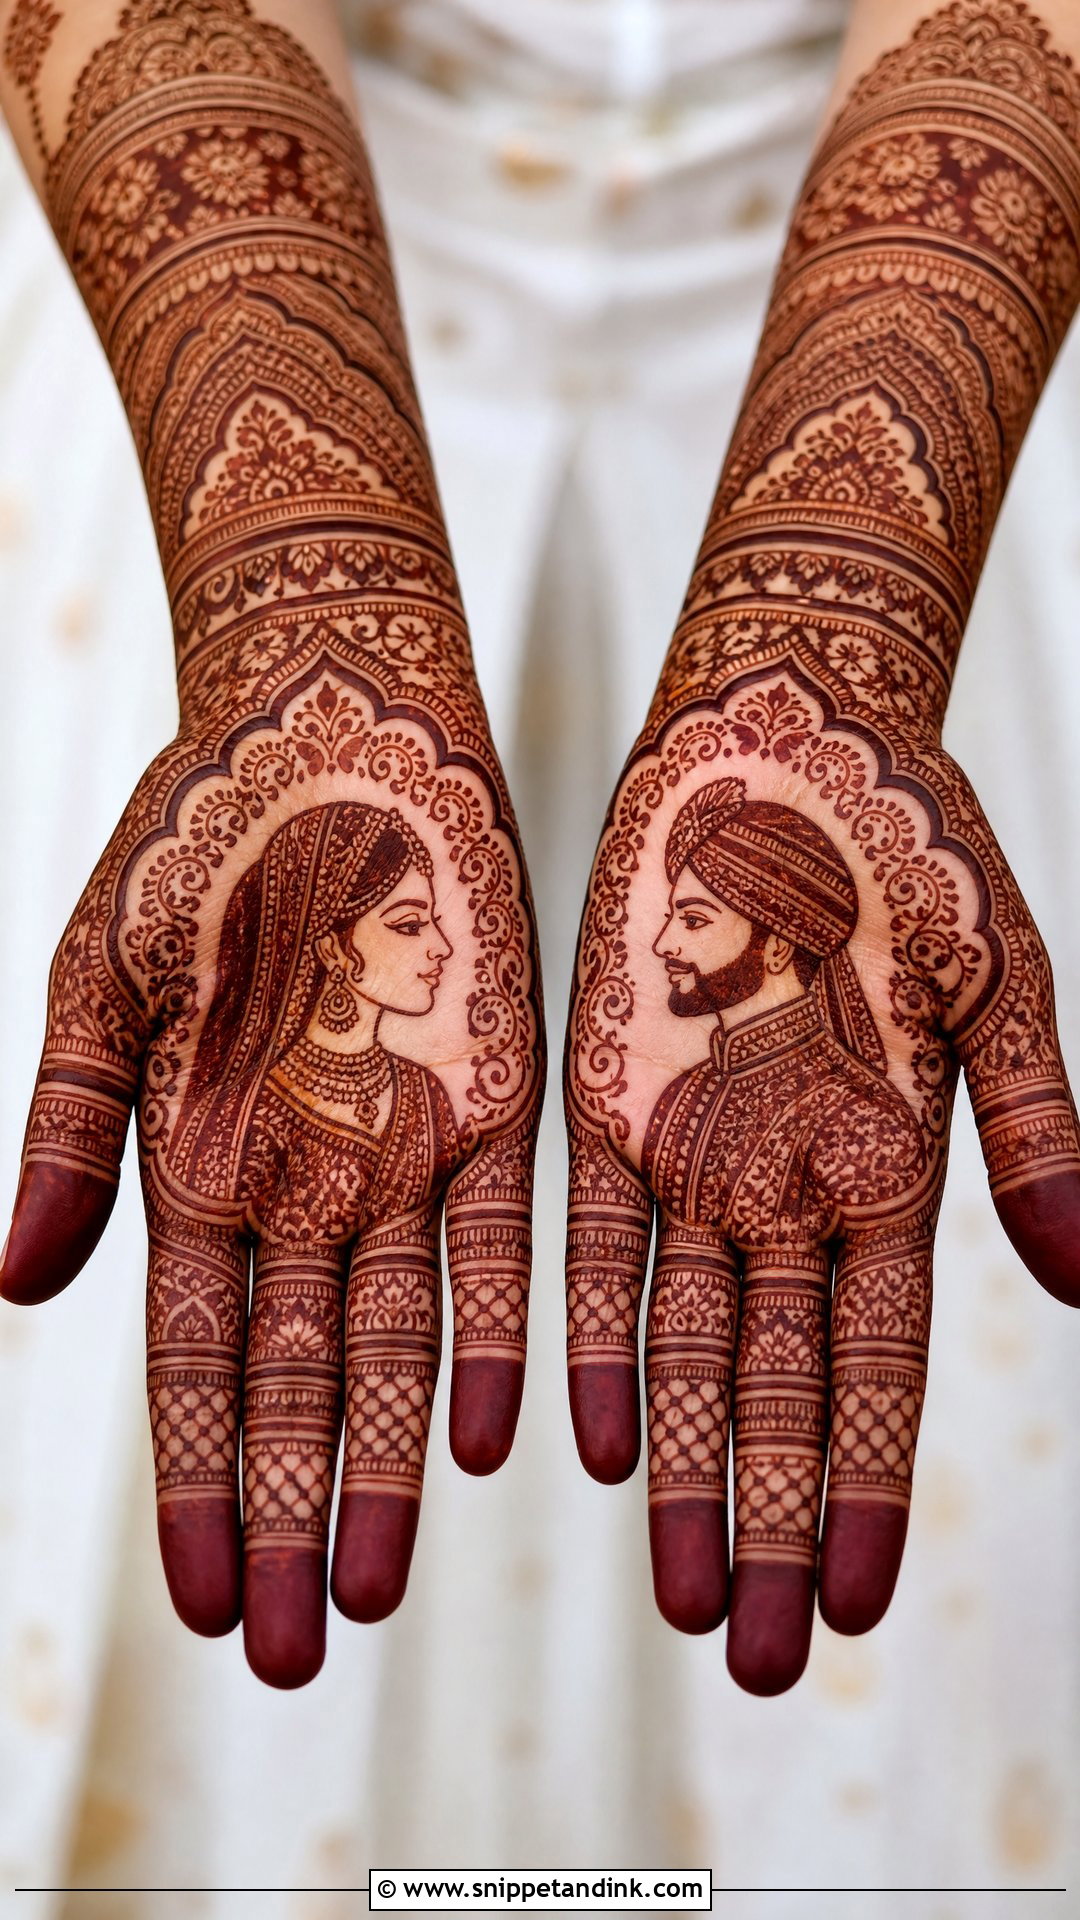
Bride and groom portraits put the wedding story directly on your hands. Usually the bride is drawn on one palm and the groom on the other, so the pair lines up when you hold your hands together. Mandalas, wedding bells, florals, peacocks, paisleys and fine net patterns fill the rest. The faces are the part to discuss. Tiny faces lose their features once the stain darkens, so I keep each portrait at least the size of a coin and leave a little bare skin around the eyes and lips. It’s best suited to full-hand coverage and close-up album shots.
6. Bridal Mehndi Design With Groom Name
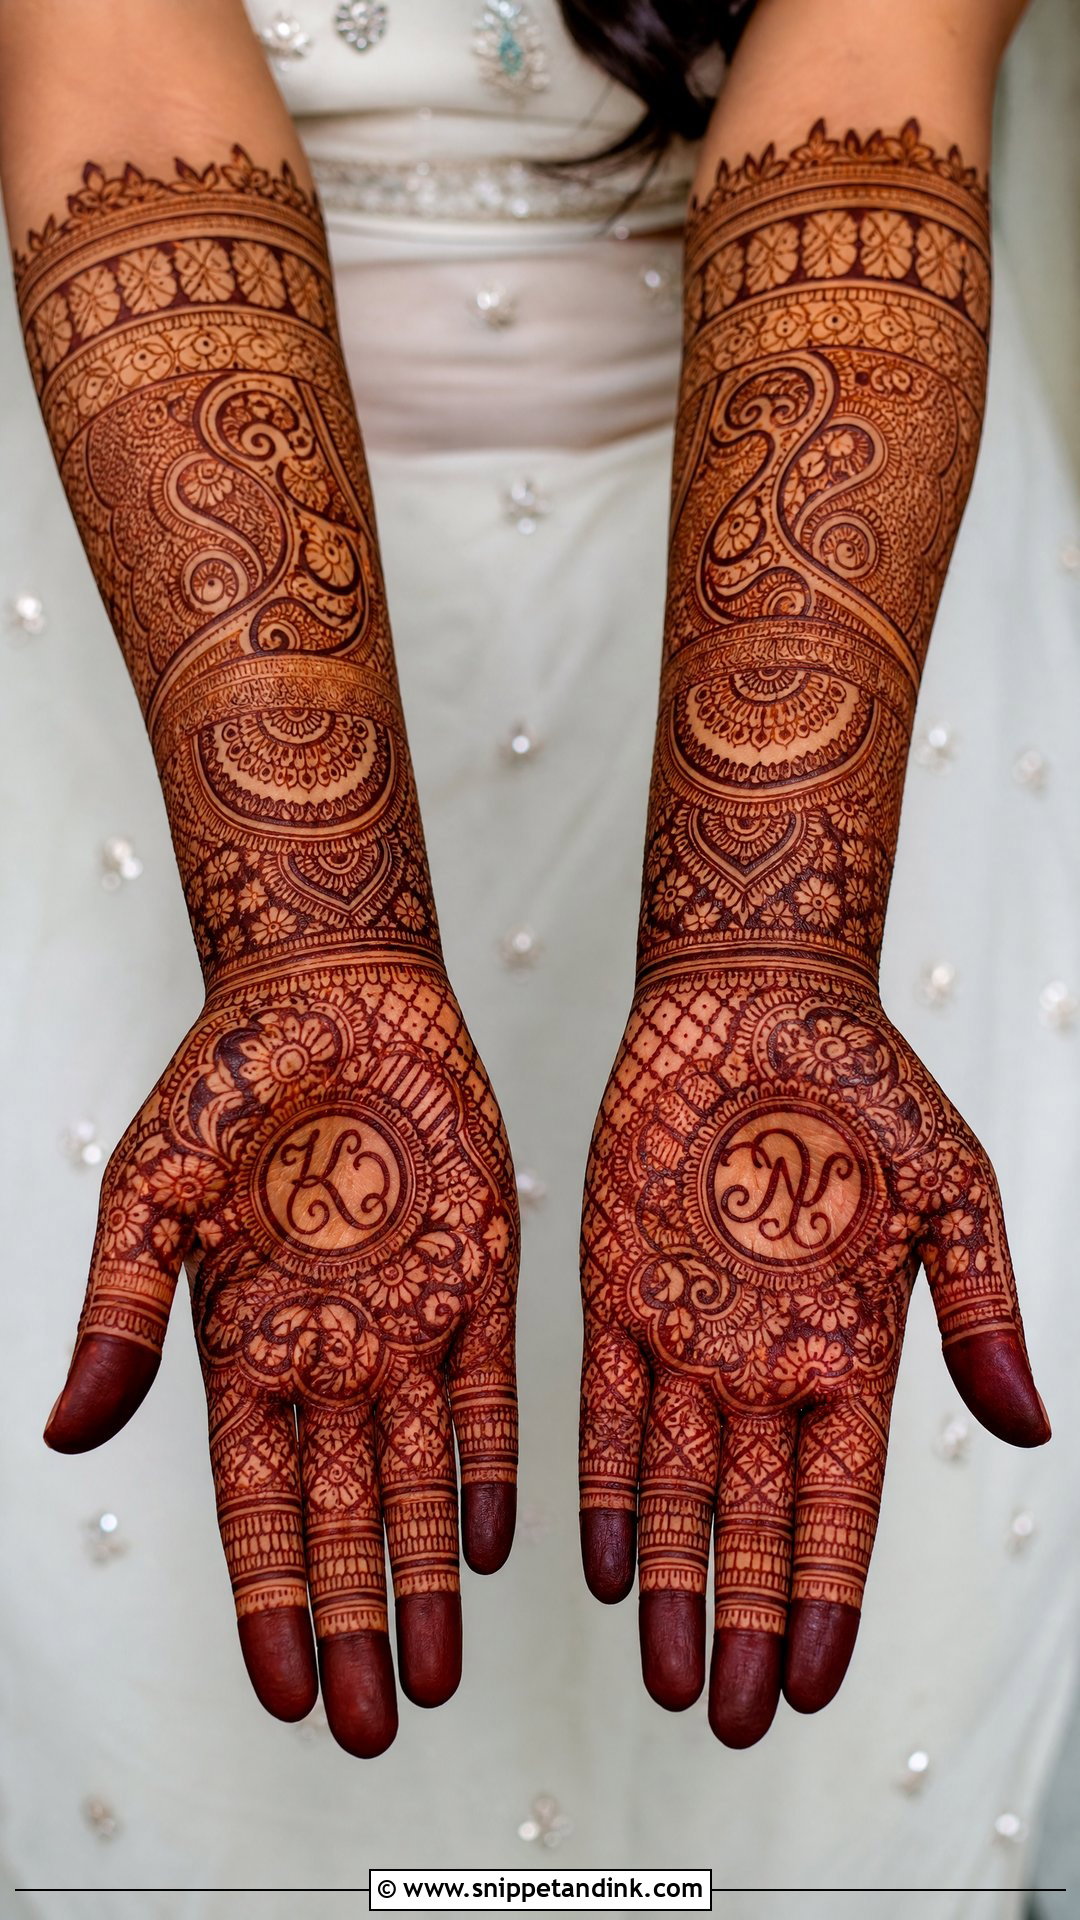
The hidden groom name design is one of the most enjoyable traditions to draw, because the groom is expected to find his name hidden in the pattern. I weave the letters into paisleys, vines, mandala rings, jaali or a floral band. The rest of the hands can be traditional, Arabic, Indo-Arabic or minimal. Pick a fairly clear spot for the name, or it disappears entirely in dense filler and nobody can find it. The wrist, the centre of the palm and the forearm all work well. Ask your artist to show you where she hid it, in case he needs a hint.
7. Peacock Bridal Mehndi Design
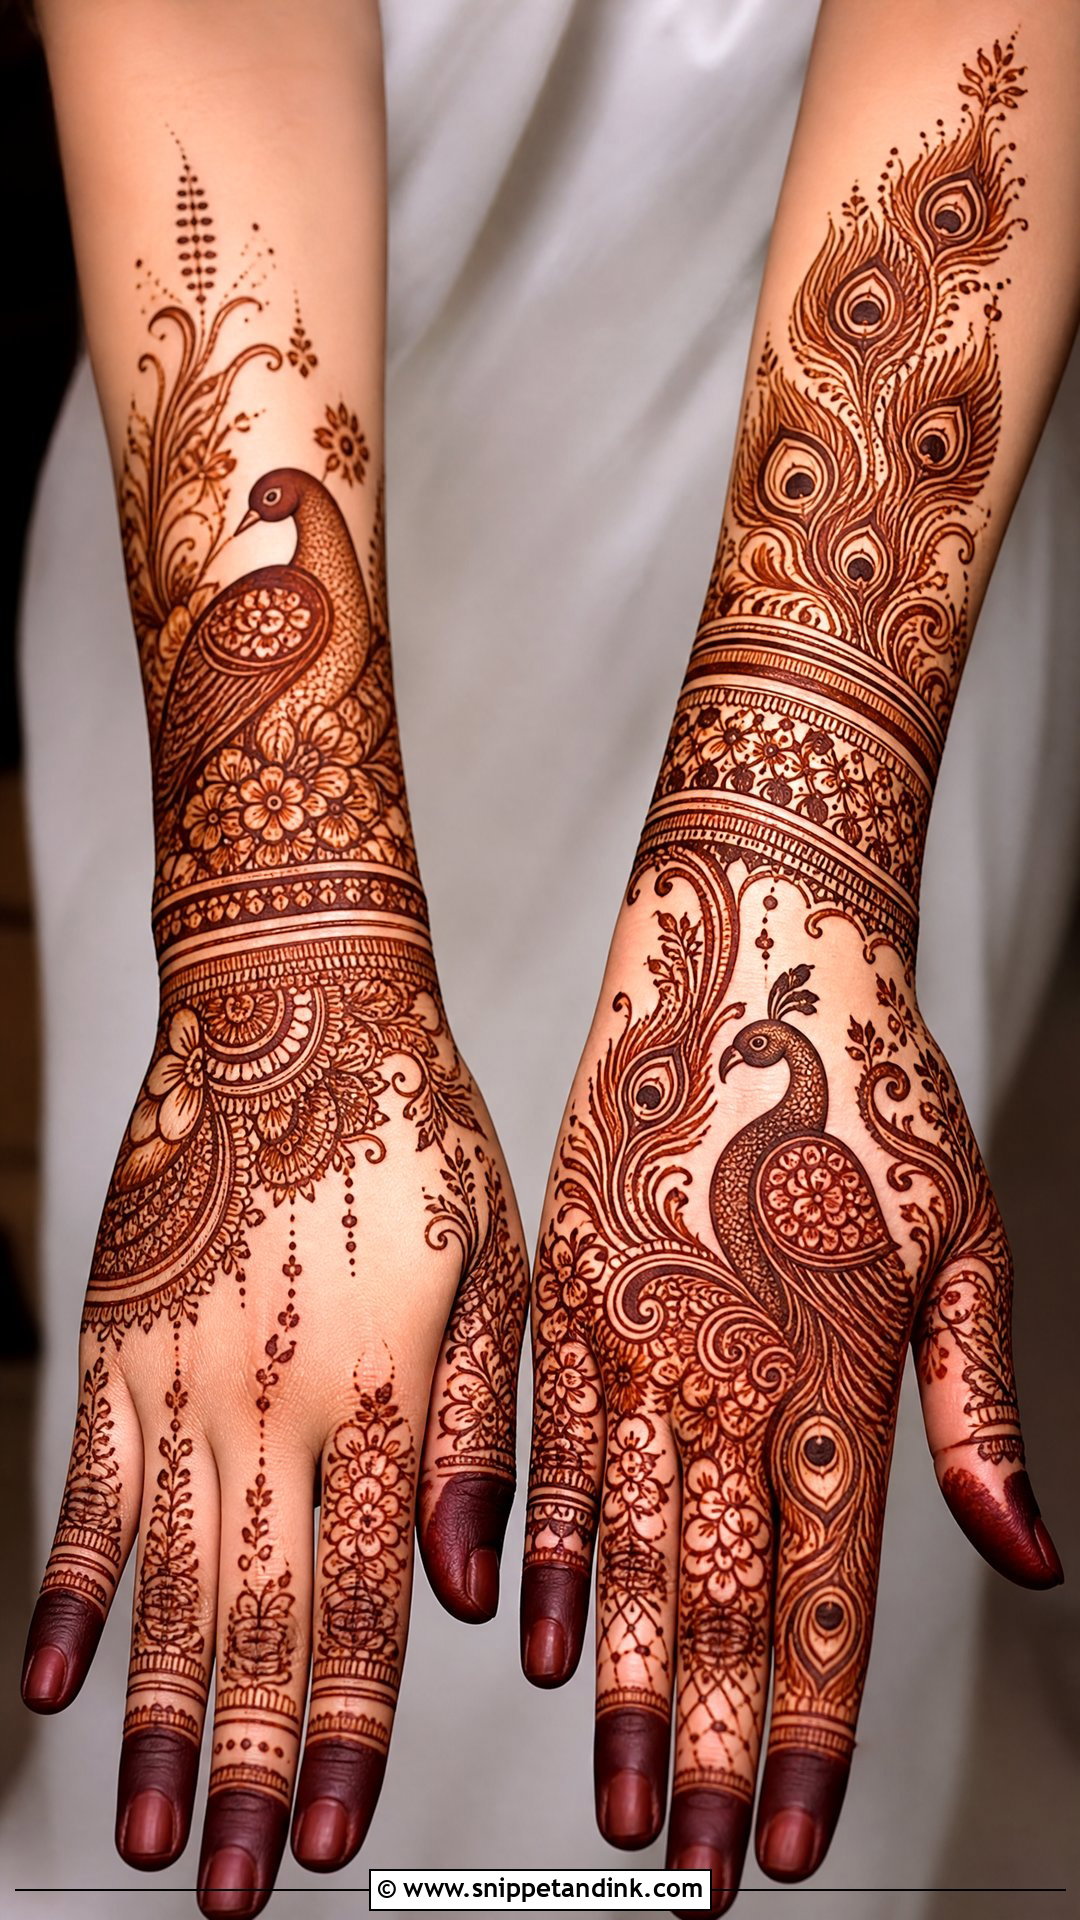
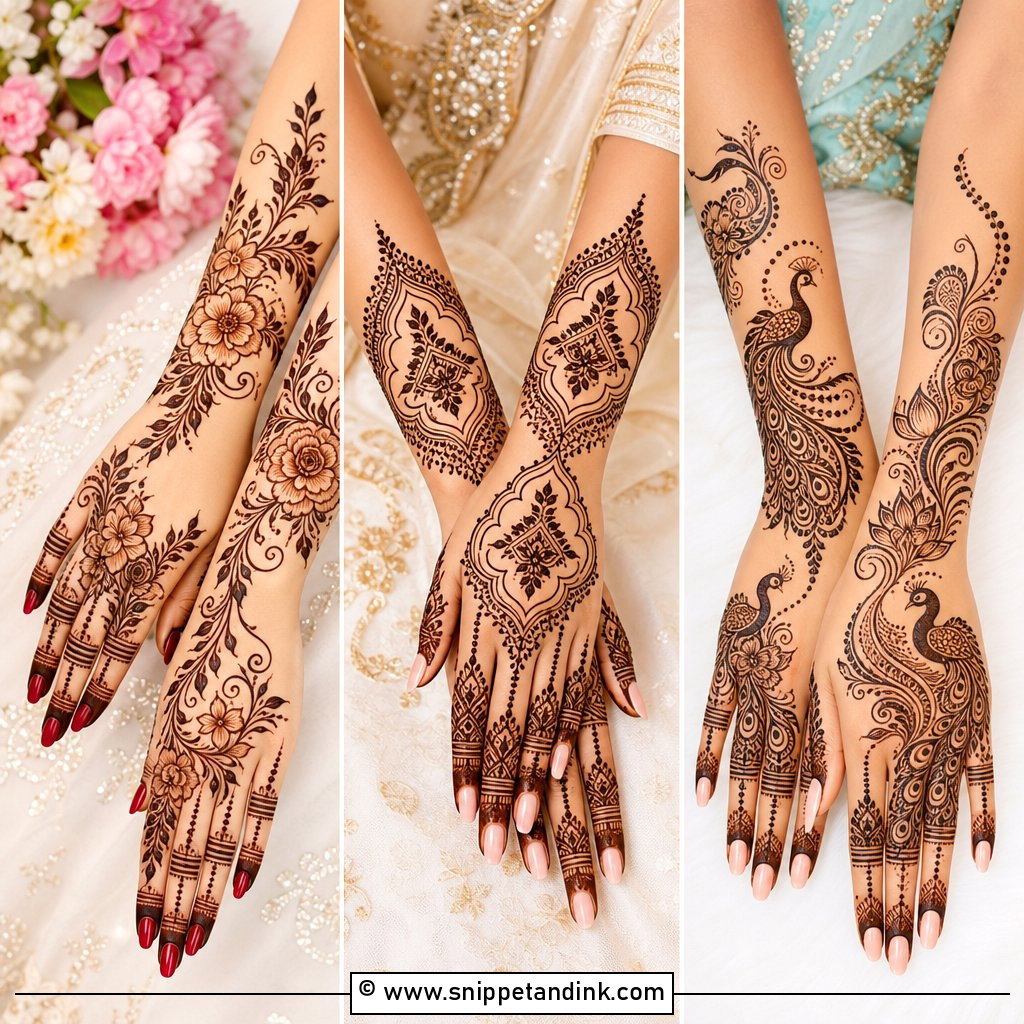
Peacocks suit almost every outfit and look festive without feeling old-fashioned. The bird can sit across the palm, curve around the wrist or appear as a mirrored pair, and the tail feathers leave room for fine lines, dots, florals and scalloped fillers. They sit easily inside Indian and Rajasthani designs. For a more current feel, I’d go for one large peacock with open space around it rather than a scatter of small ones. Long fingers can carry feather patterns up to the tips. The eye spots on the feathers are where I take the most care, since an uneven one draws attention in photos.
8. Lotus Bridal Mehndi Design
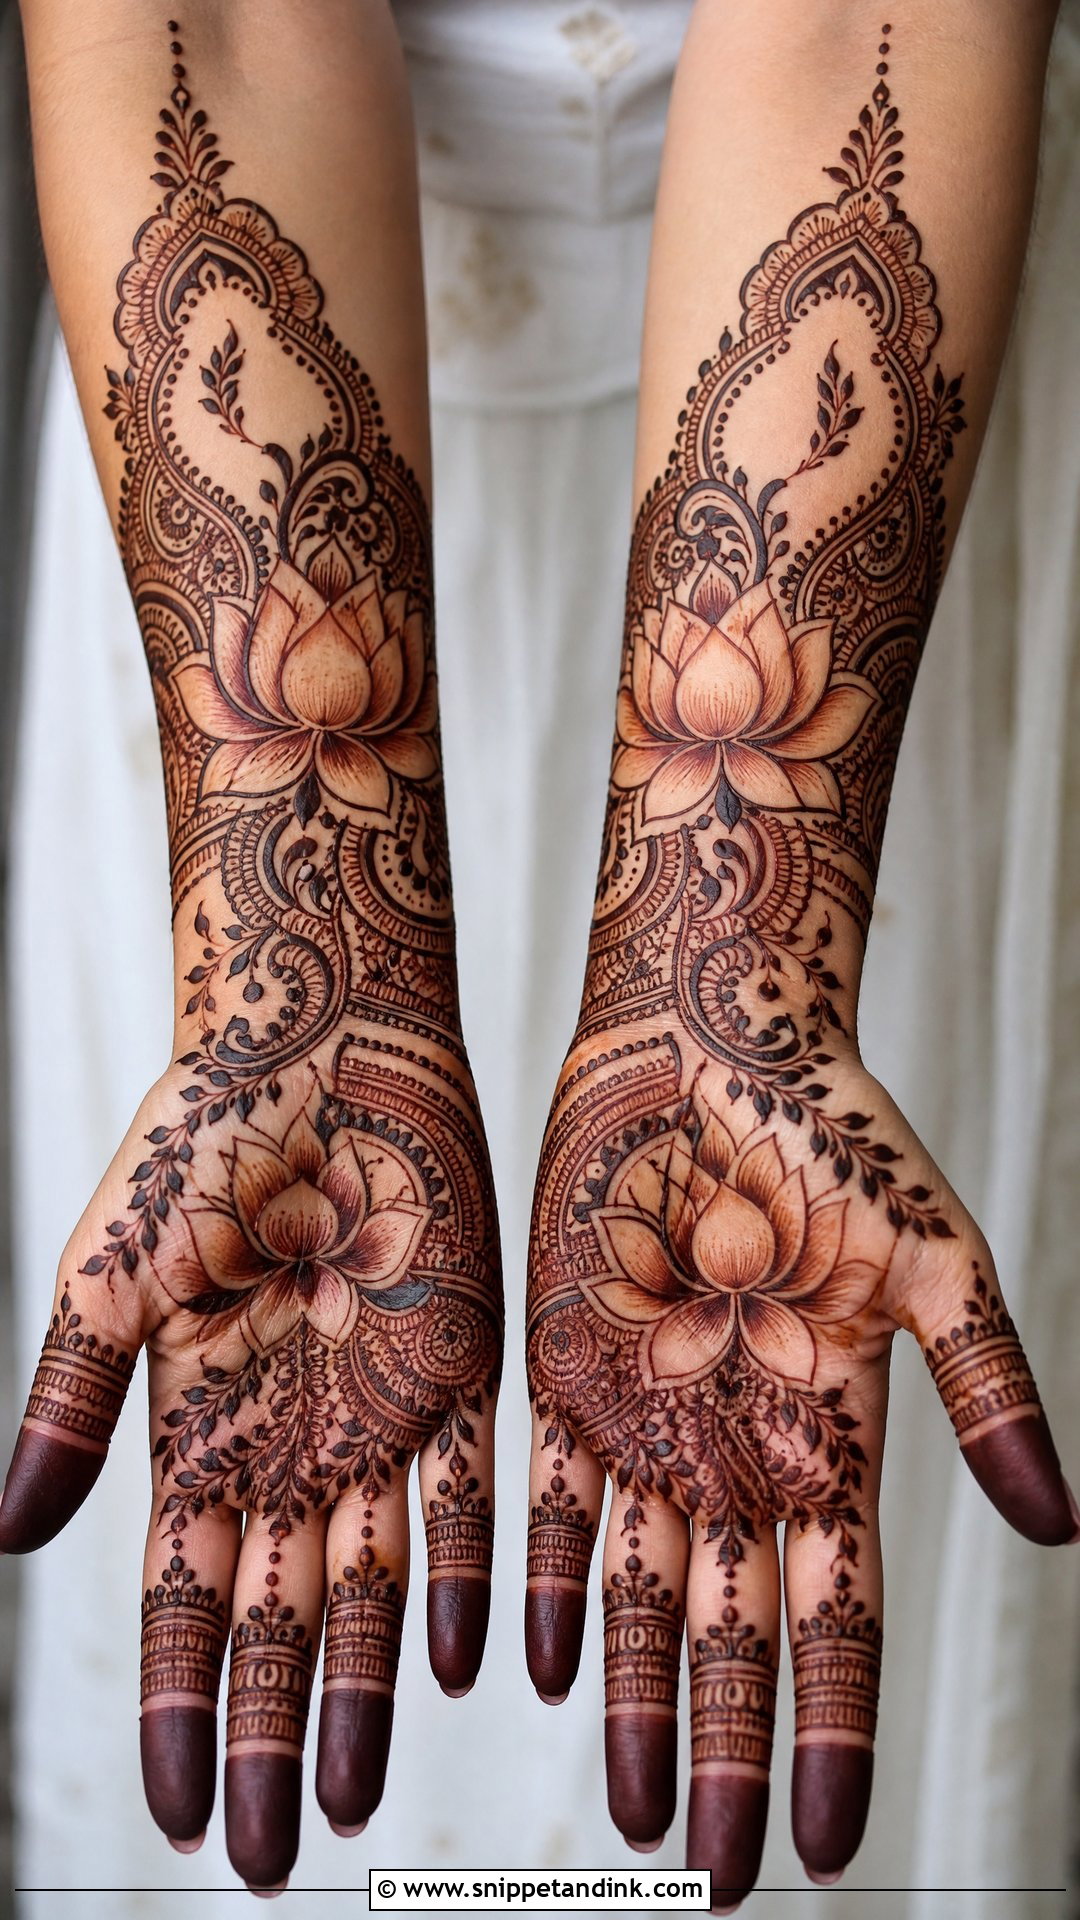
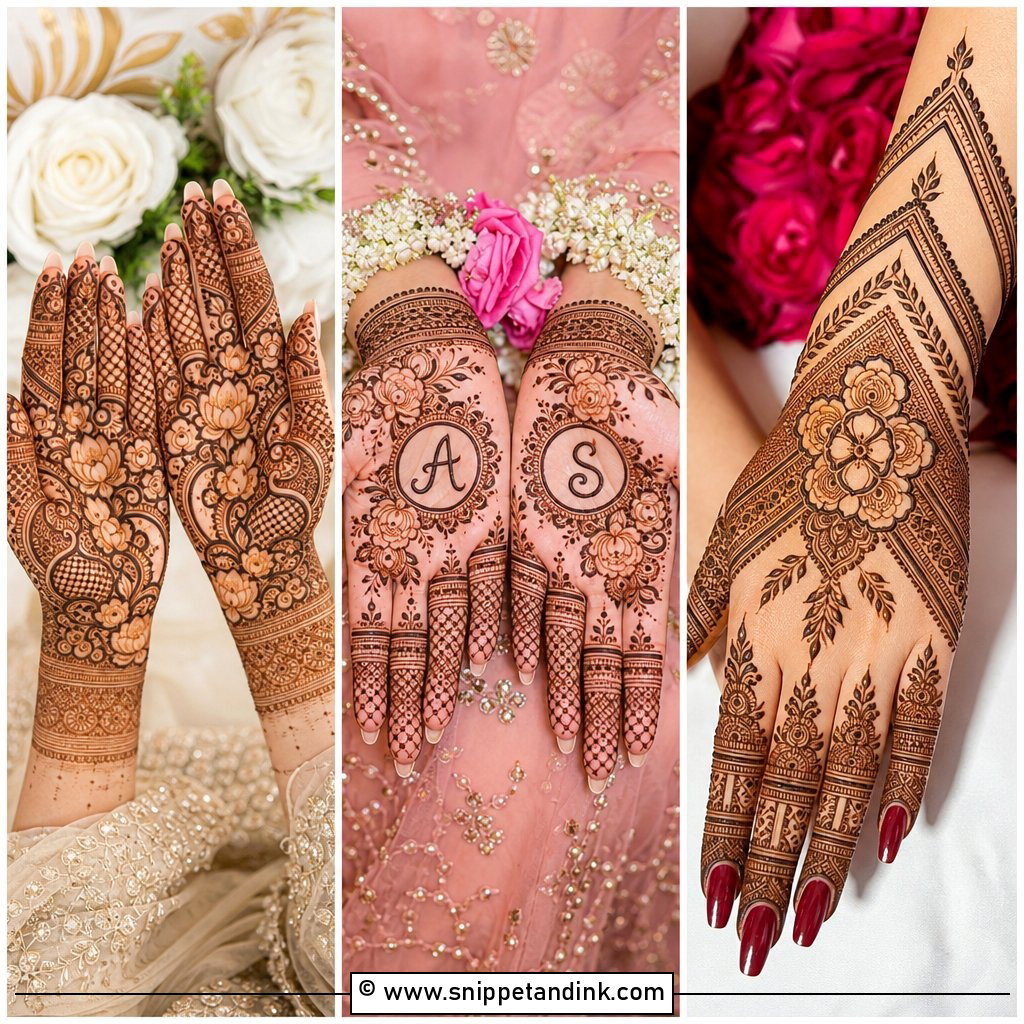
A lotus gives a calmer feel than heavy portrait work. It can be the main palm motif, repeat across the back of the hand, or stack in bands from wrist to forearm. It pairs well with pastel outfits, temple jewellery, silk sarees and modern lehengas. Petals can be shaded, outlined or filled with tiny dots and lines. A full bridal lotus design usually brings in mandalas, vines, paisleys and clean finger details. The layered petals really show once the stain reaches a deep maroon, which takes a day or two after the paste comes off.
9. Mandala Bridal Mehndi Design
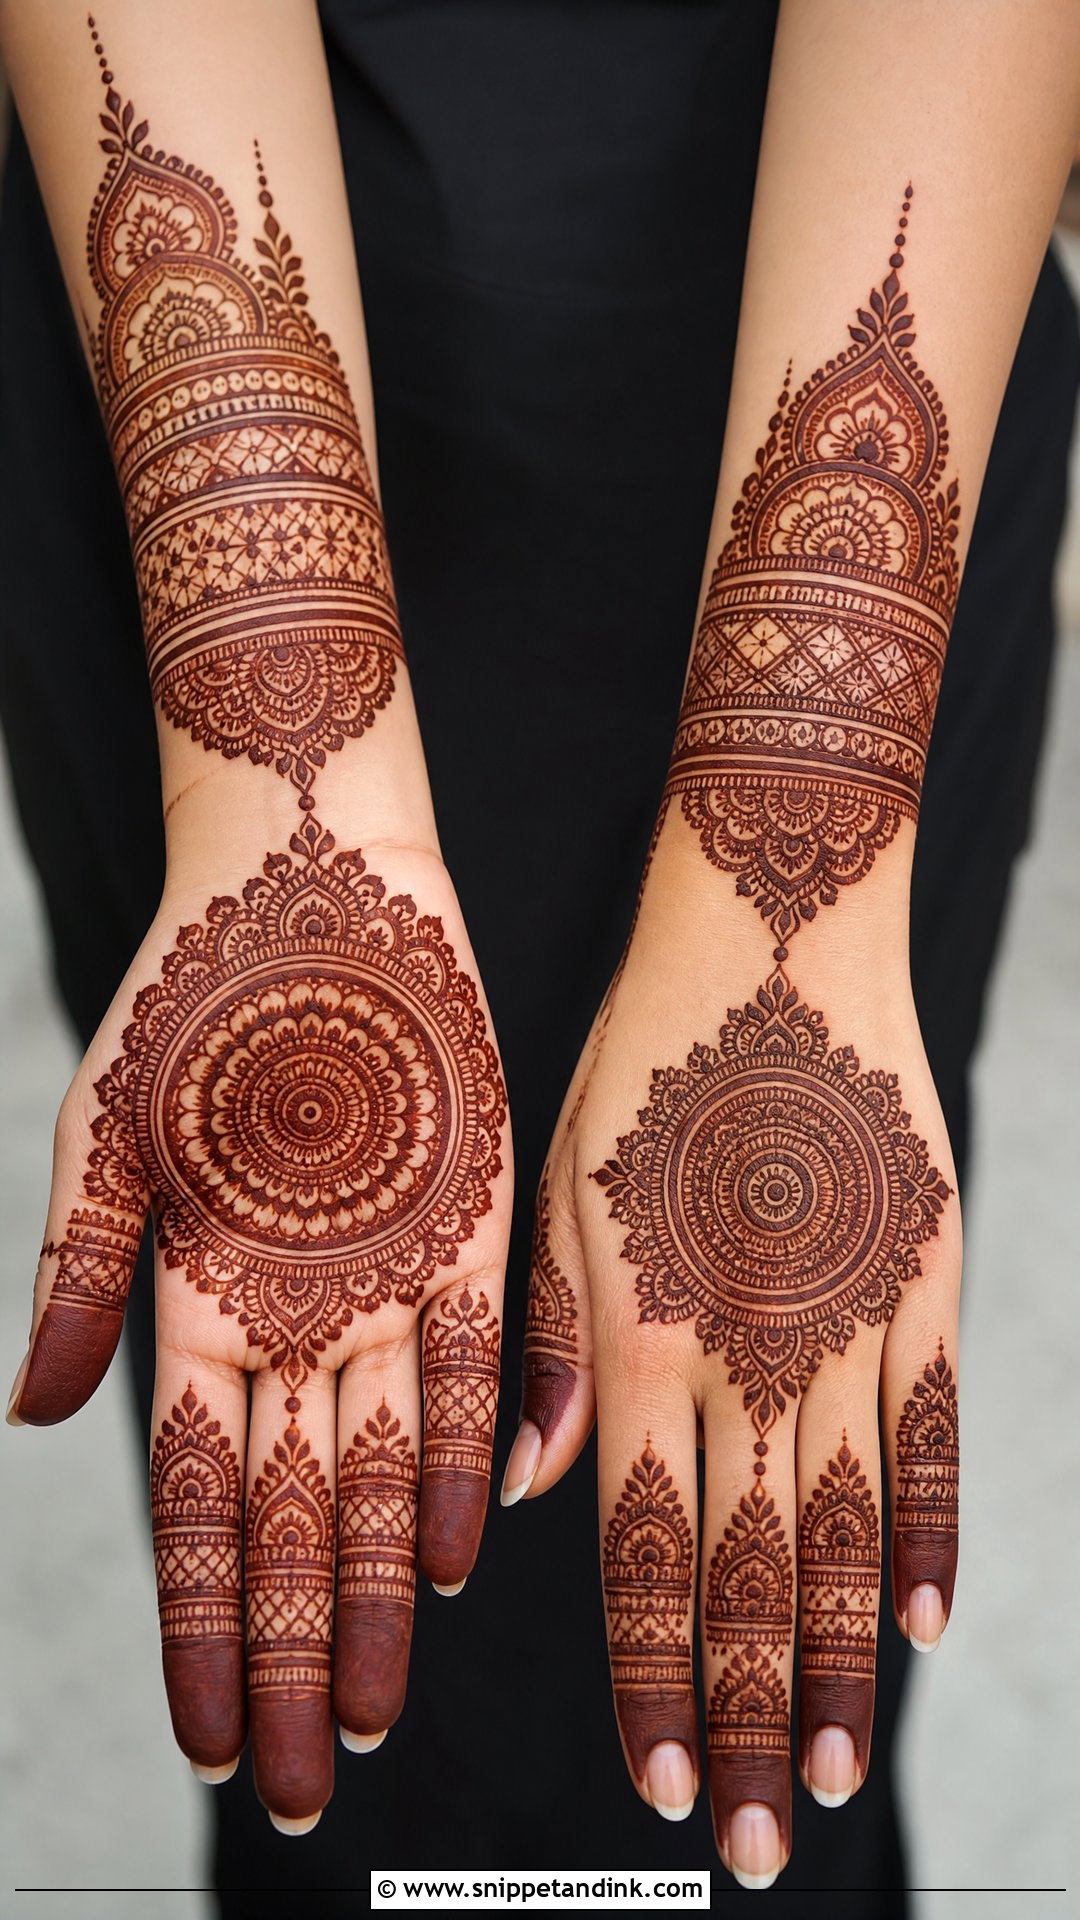
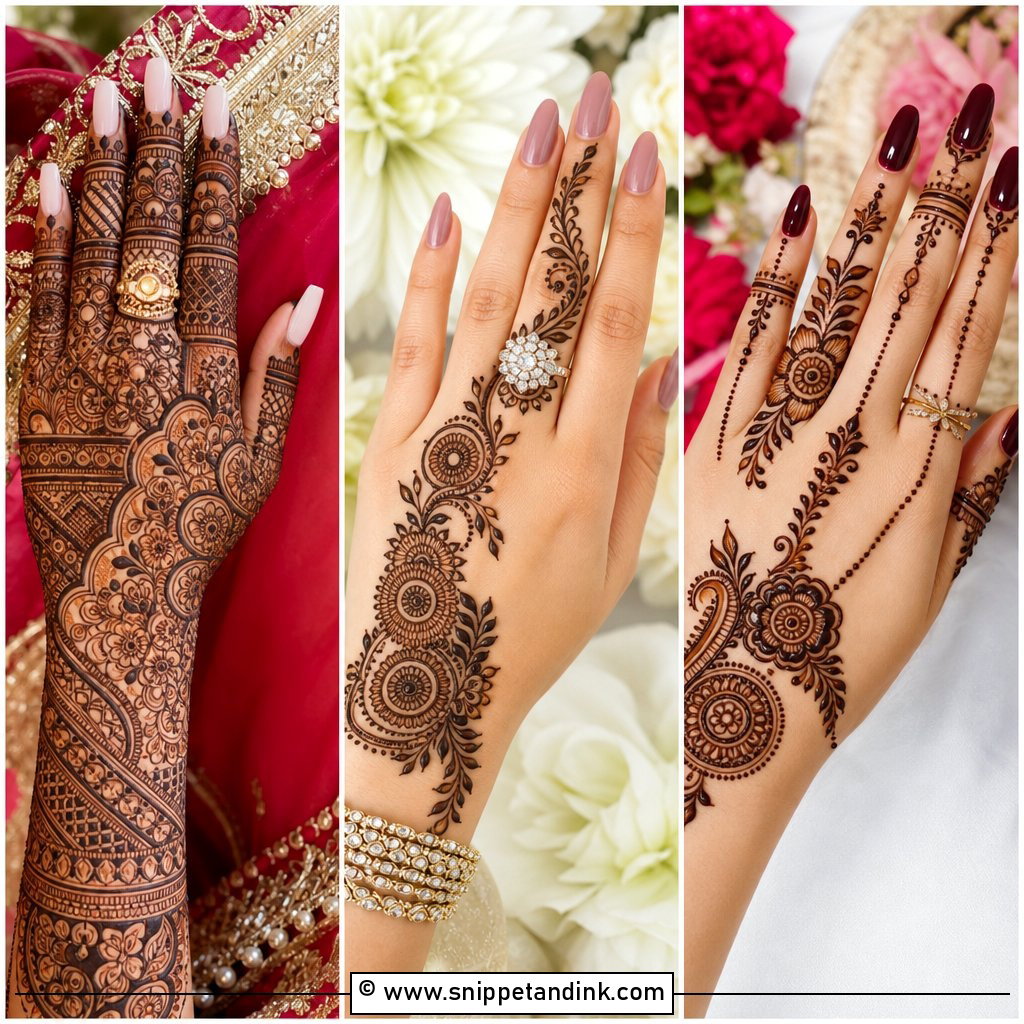
Mandalas are centred and balanced, so they’re easy to read in photos. A circle in the middle of the palm is matched by bands, florals or fine geometric fillers along the fingers, wrist and forearm. It can be open and simple or built up with layered rings and dense fingertips. On the back of the hand, a central mandala with bracelet-style wrist bands and fine finger lines looks complete. Getting the circle truly round is the skill: I mark the centre with a small dot first and build outward ring by ring. It flatters both small and long hands and suits every function from engagement to wedding day.
10. Back Hand Bridal Mehndi Design
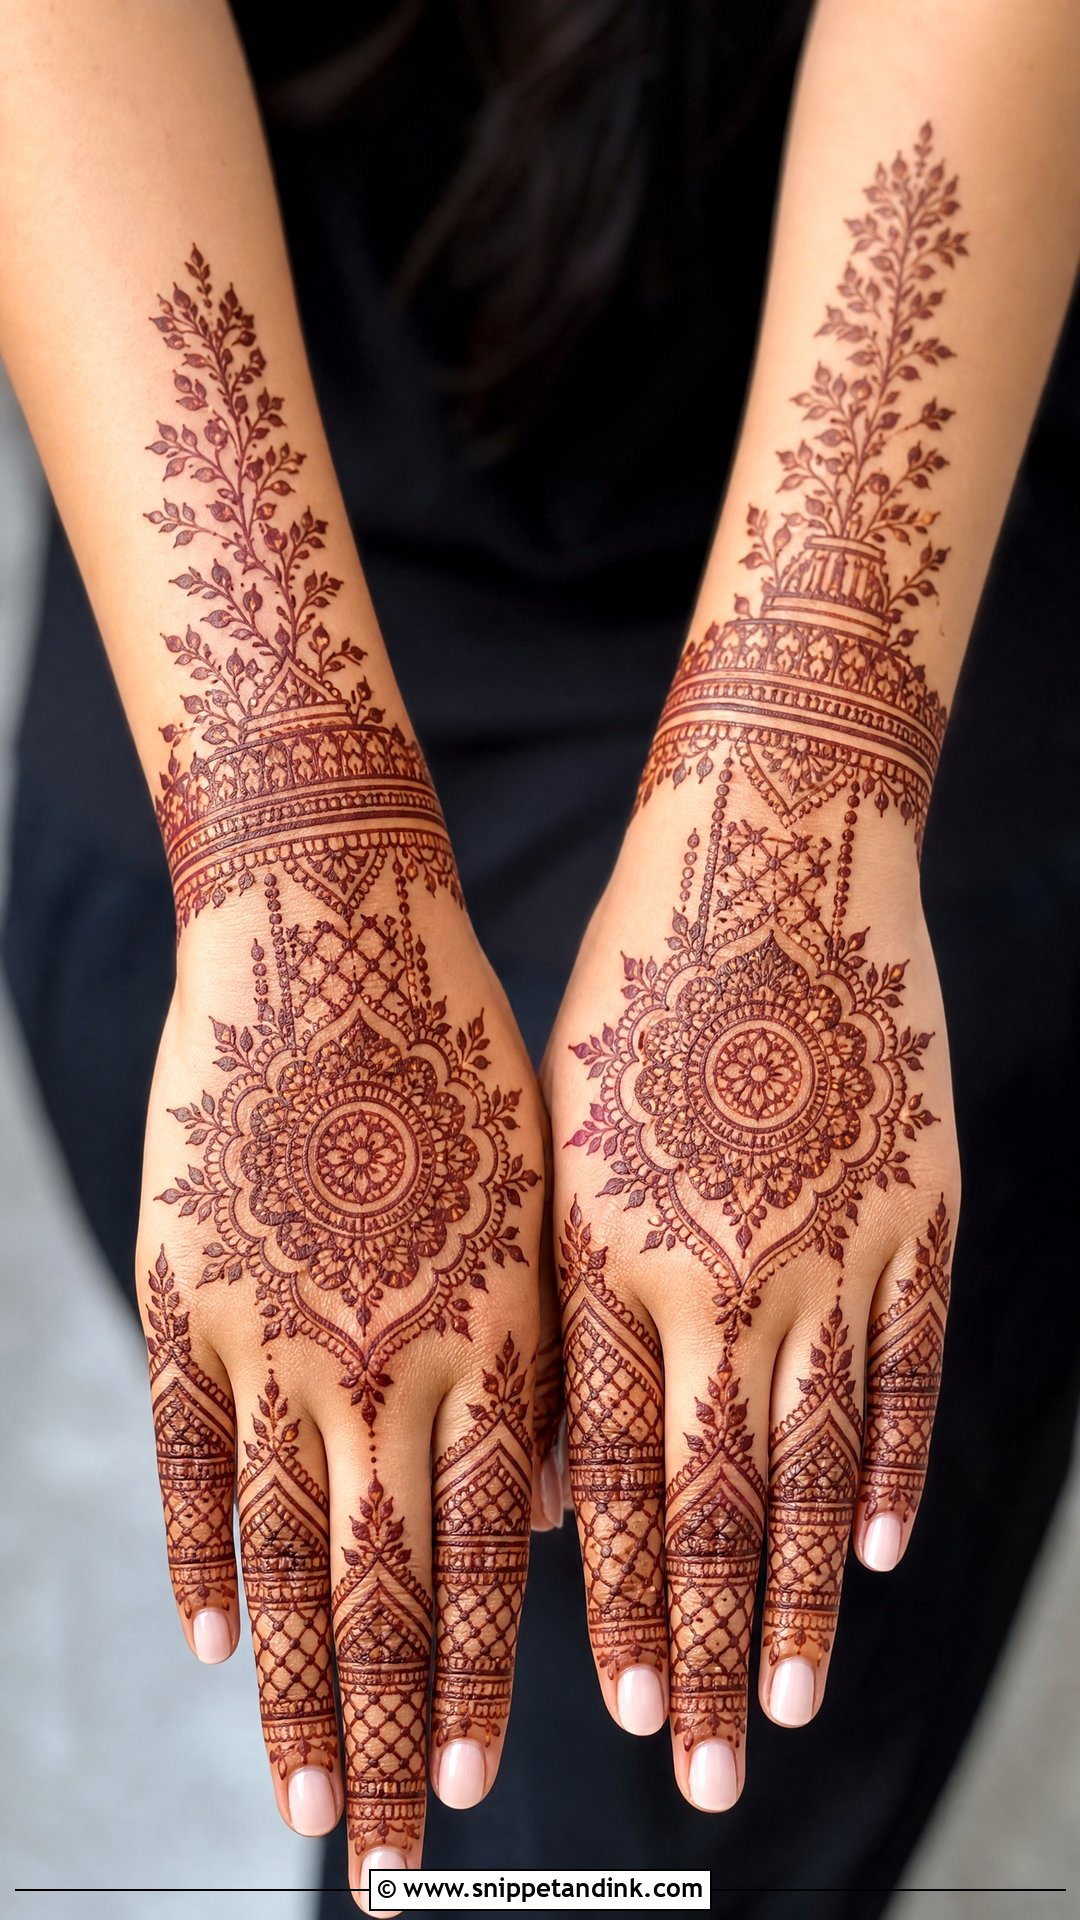
The back of the hand gets more camera time than people realise: ring shots, bouquet shots and jewellery close-ups all show it. A complete design can include a central mandala, lace-like jaali, floral vines, bracelet bands and detailed fingers. Some brides match a heavy palm; others prefer a lighter back hand with open skin. The key is connecting wrist, hand and fingers so it reads as one piece. Be aware that the back of the hand stains lighter than the palm because the skin is thinner and drier there. If you’re wearing haath phool or bangles, leave space for them so the henna and the jewellery don’t fight.
11. Front Hand Bridal Mehndi Design
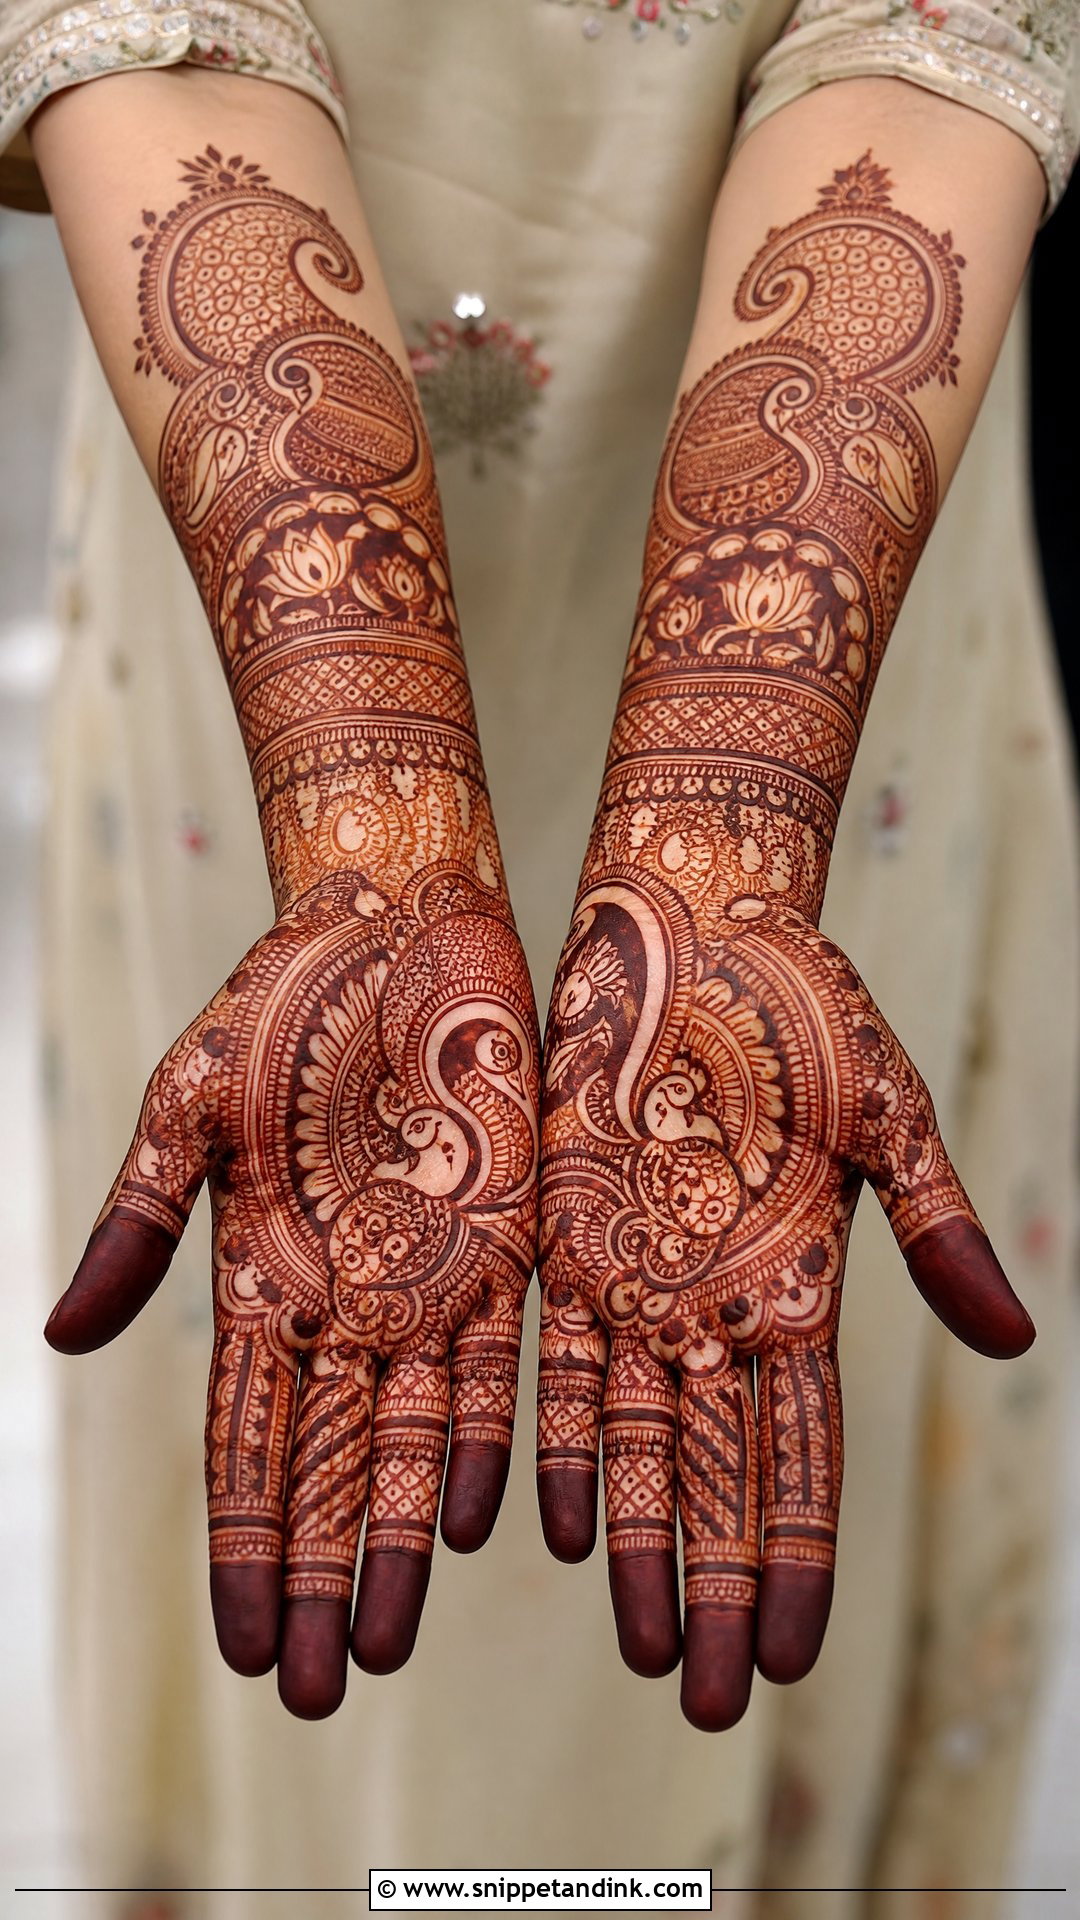
Front hand bridal mehndi is drawn on the palm side, which reliably gives the deepest colour because the skin there is thicker and holds more dye. It can be dense, traditional or semi-open. Common complete layouts include mandala palms with filled fingers, peacock and paisley combinations, portraits, lotus designs and Arabic floral trails. The flat palm is ideal for fine artwork and hidden names. For balance, I carry the design past the wrist into a cuff or forearm pattern. If a dark, rich stain matters most to you, give the palm your most detailed work.
12. Minimal Bridal Mehndi Design
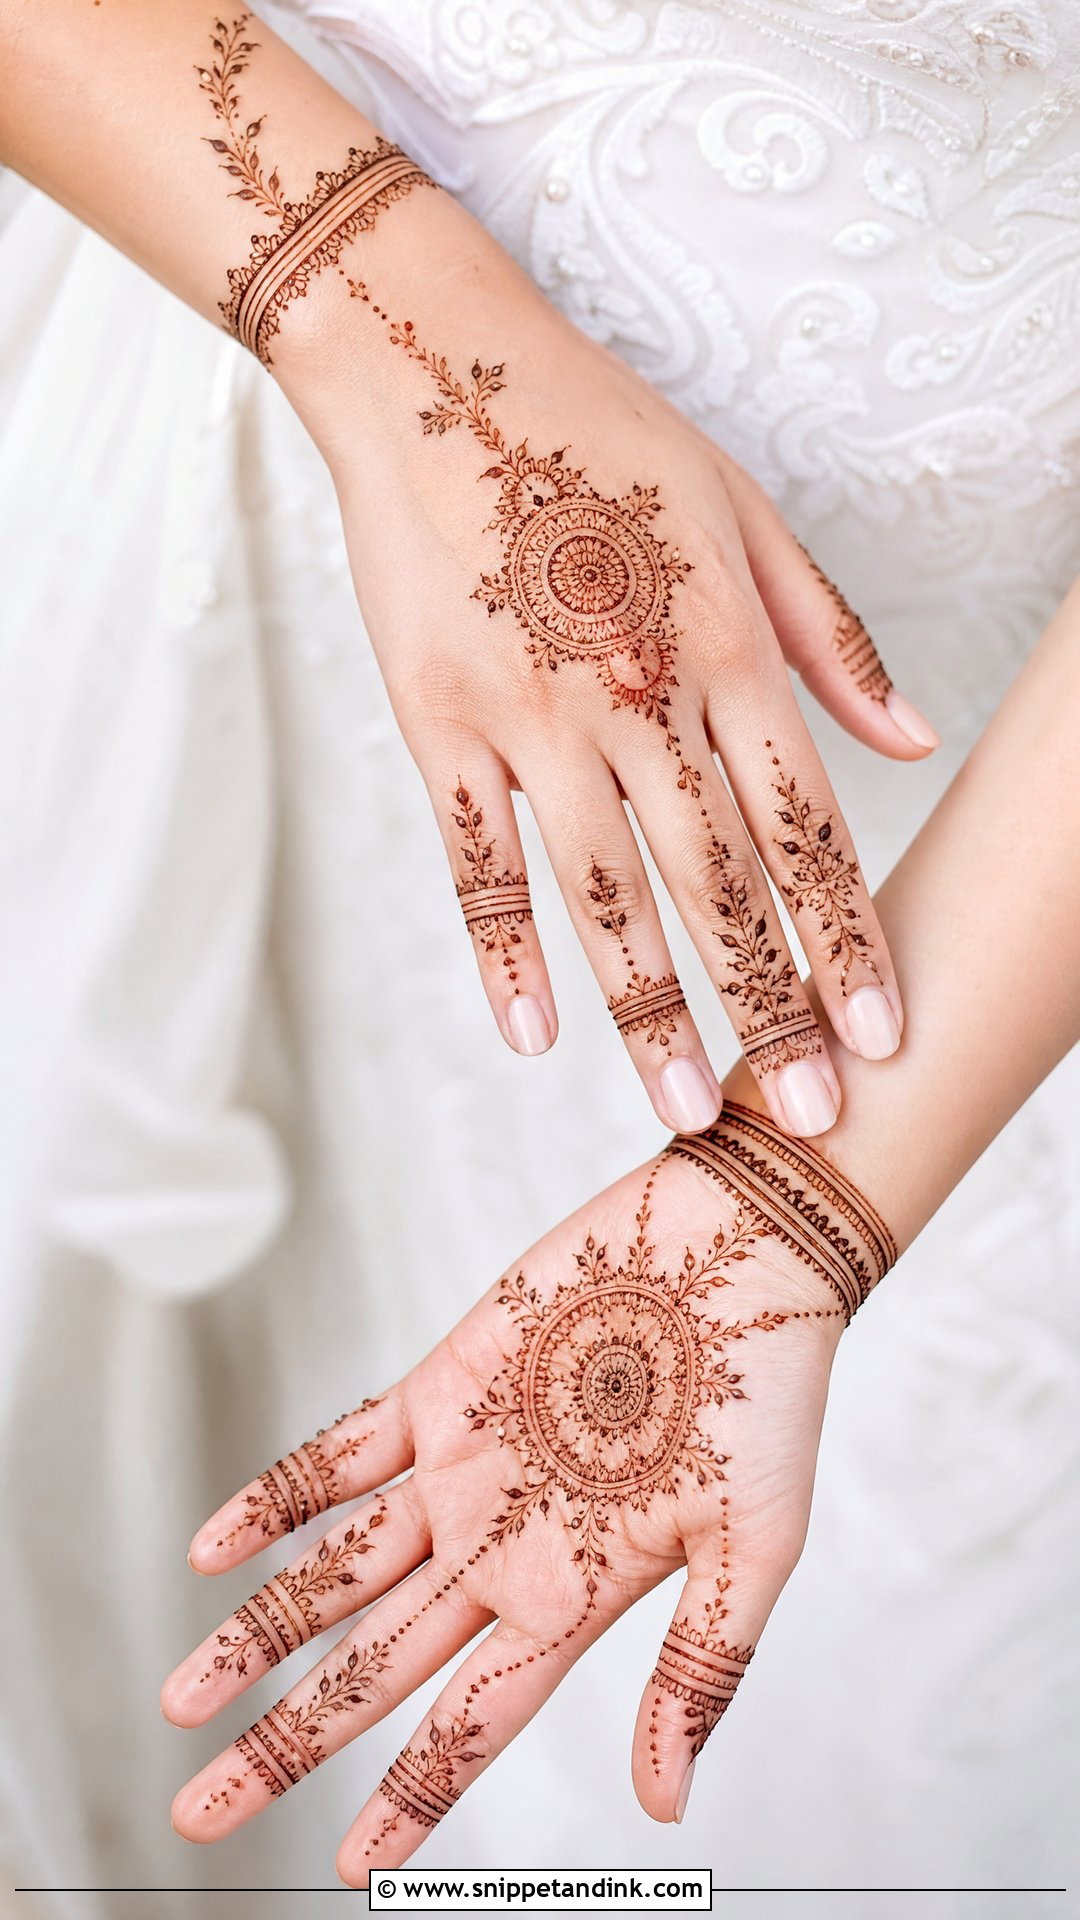
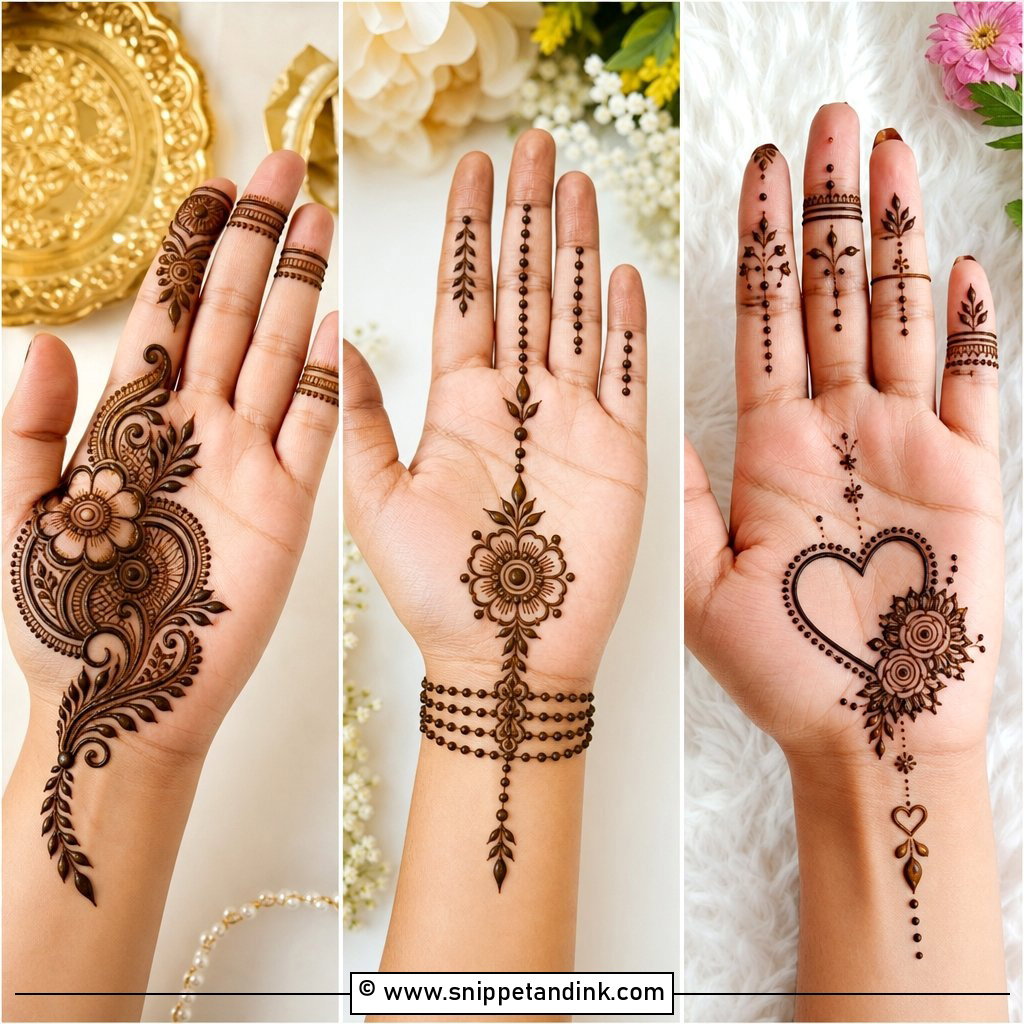
Minimal mehndi still needs careful spacing. It might be a mandala on the back of the hand, delicate finger lines, a slim wrist bracelet and a light floral trail, with a small central motif and neat fingertips on the palm. Because there’s so little of it, every line shows, so I take my time on symmetry. It suits courthouse and destination weddings, engagements and brides in sleek outfits. It’s also quick, usually done in a fraction of the time of full bridal work. If you love lightweight jewellery and soft makeup, this keeps your hands in proportion with the rest of the look.
13. Modern Bridal Mehndi Design
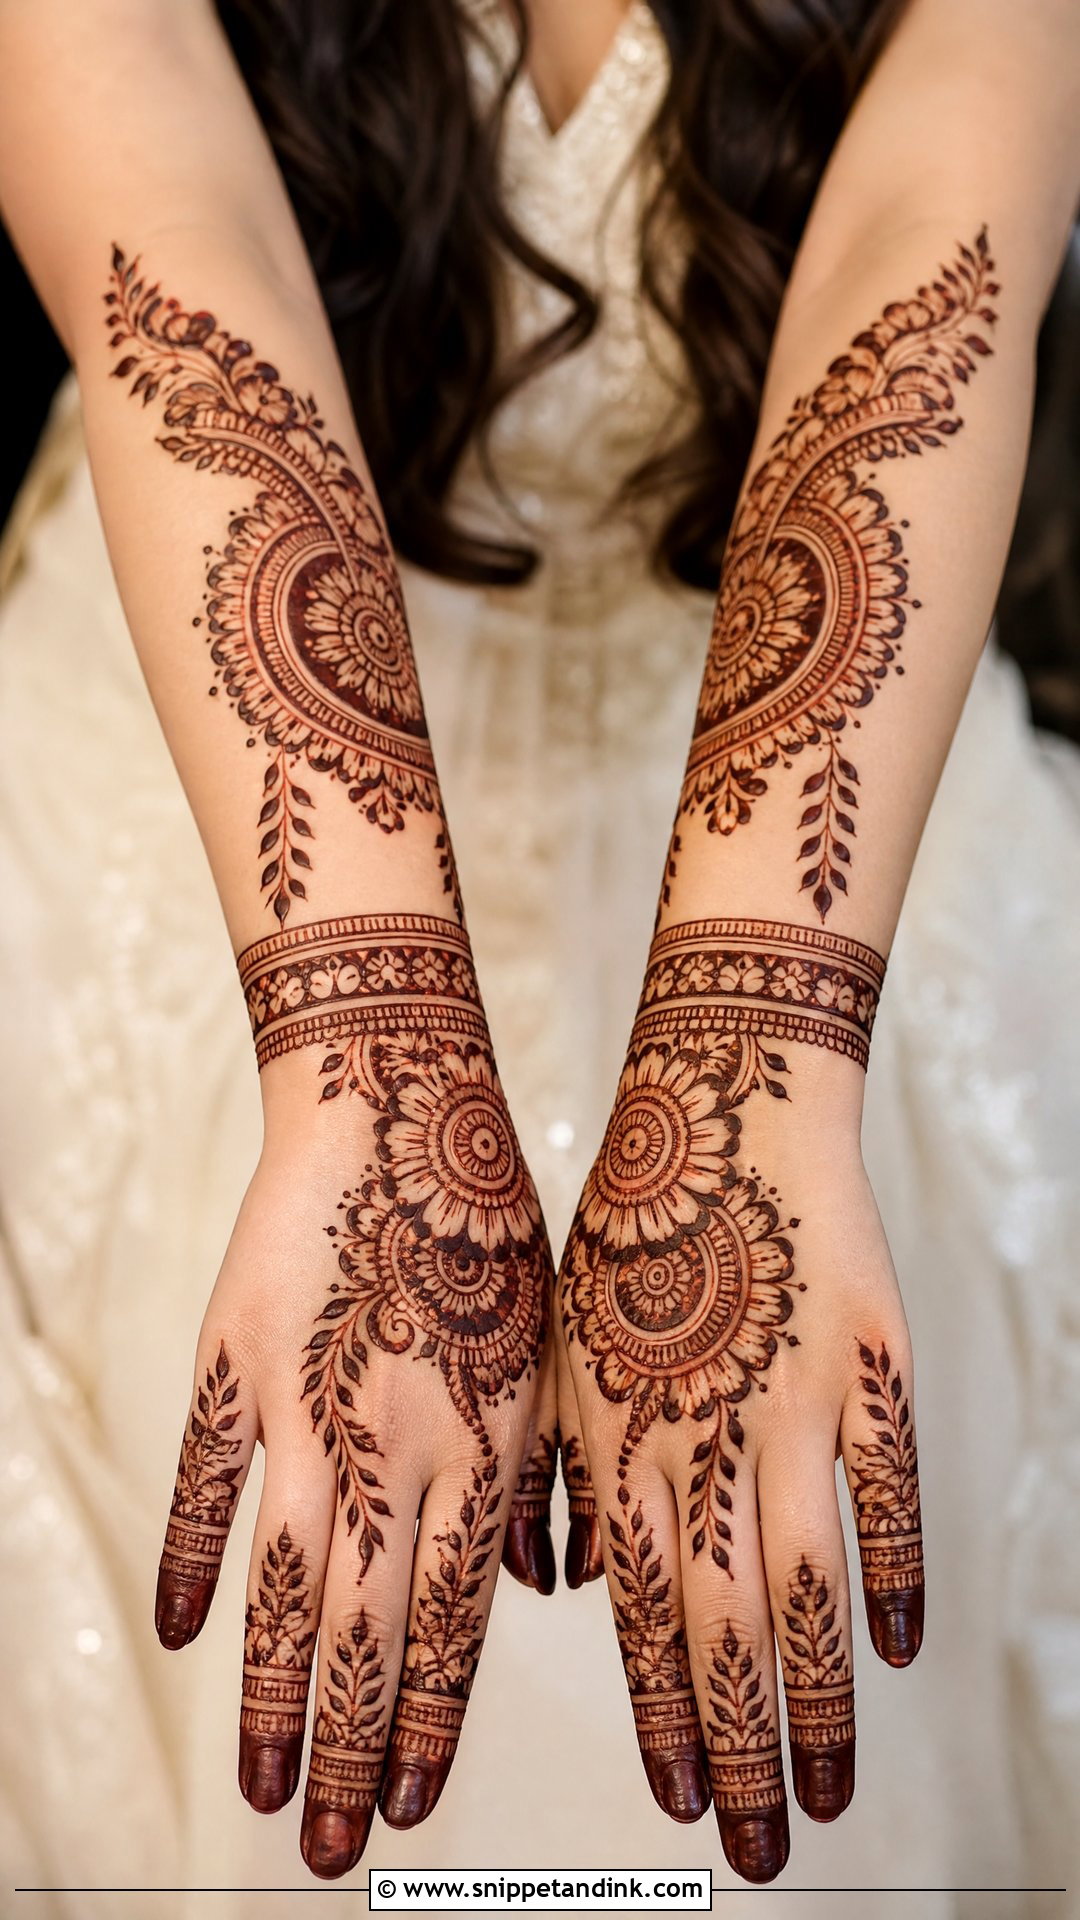
Modern mehndi uses the same paste and techniques as traditional work, just with a different layout. Instead of filling every space, it combines bold florals, structured cuffs, split mandalas, leafy trails and neat finger details, sometimes asymmetrically or borrowing shapes from lace and jewellery. It suits contemporary cuts, lighter embroidery and fusion outfits. I’d ask for crisp spacing and fewer tiny fillers so it looks fresh. Check your artist’s portfolio for this specifically, because drawing confident open space is a different skill from dense traditional filling.
14. Moroccan Bridal Mehndi Design
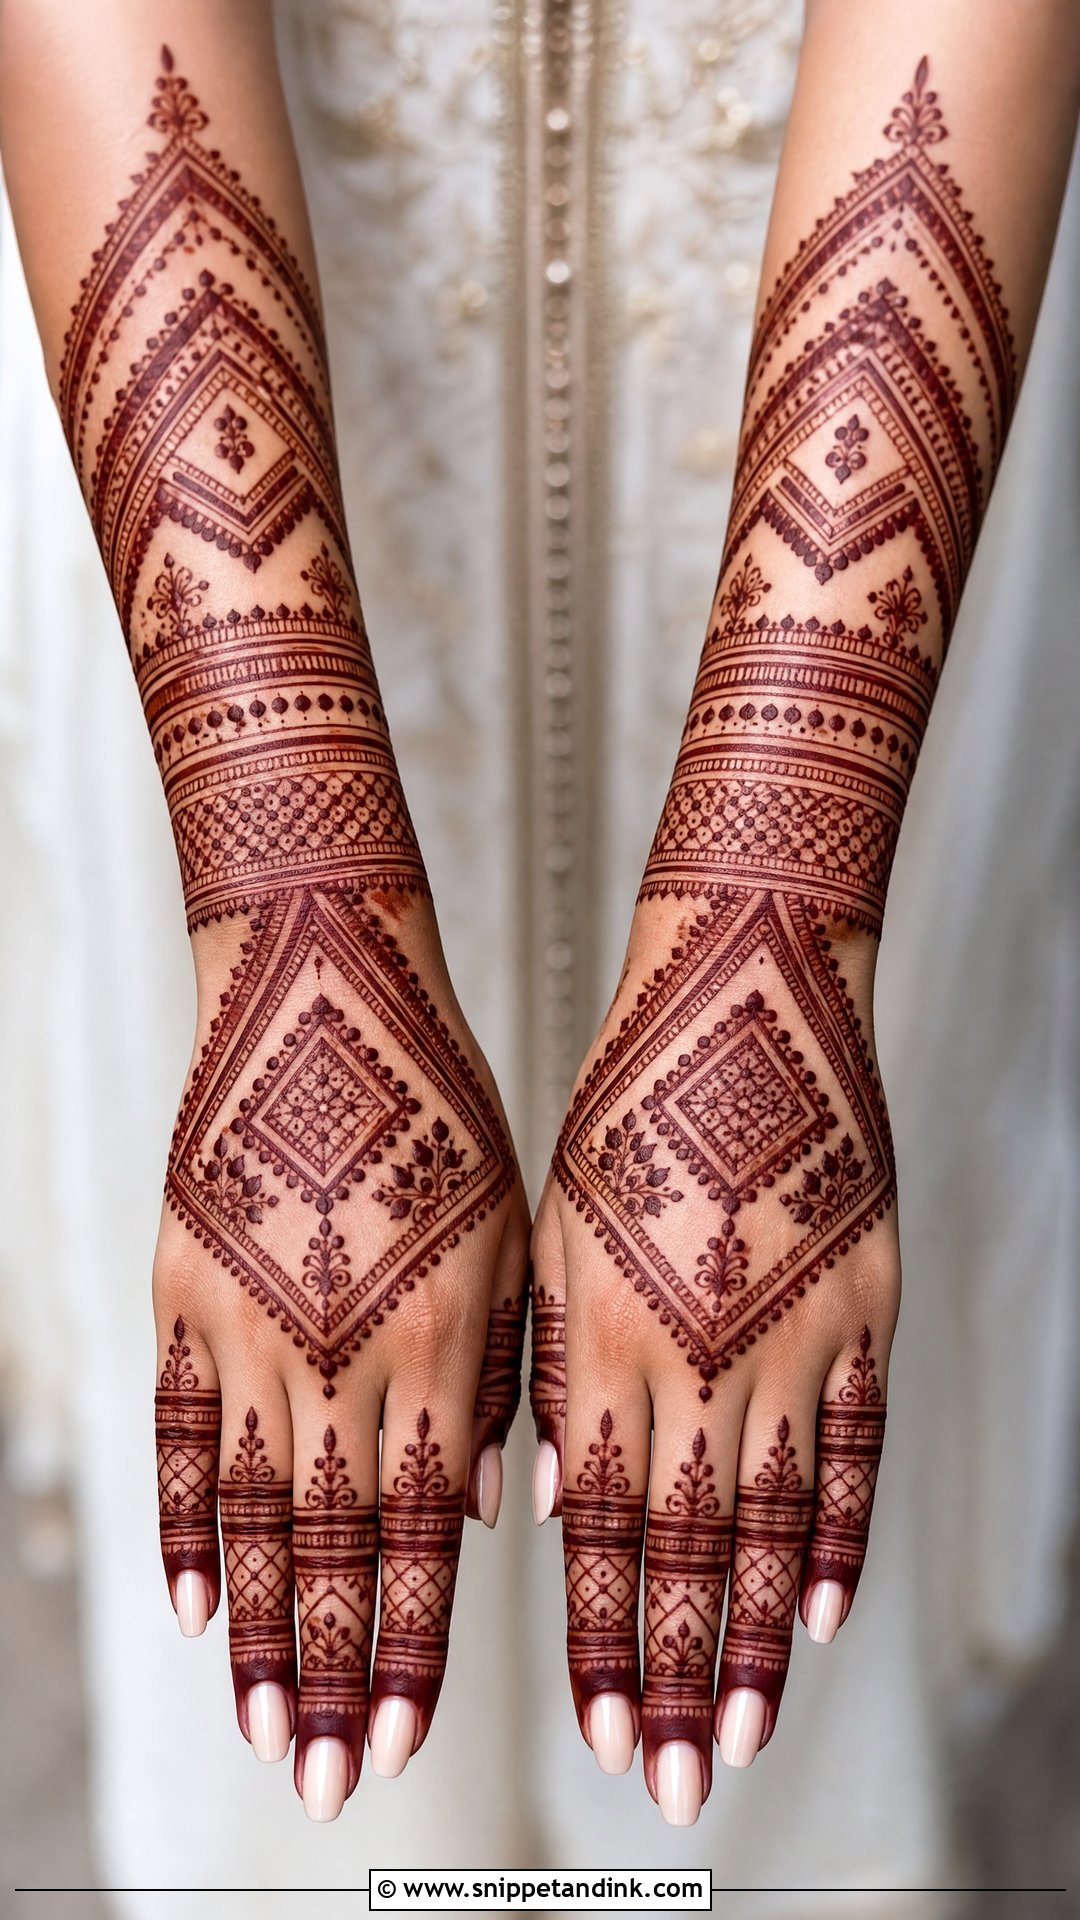
Moroccan mehndi is geometric: diamonds, triangles, grids, chevrons, dots and clean linear bands instead of florals and paisleys. A bridal version covers the palm, back of the hand, fingers and wrist with repeating shapes. It suits brides who like symmetry but want something different from classic Indian work. Vertical lines along the fingers make shorter fingers look longer. Straight lines are less forgiving than curves, so a shaky hand shows; I rest my wrist on the bride’s hand to keep each line steady. A few small florals around the wrist soften it if the full geometry feels too stark.
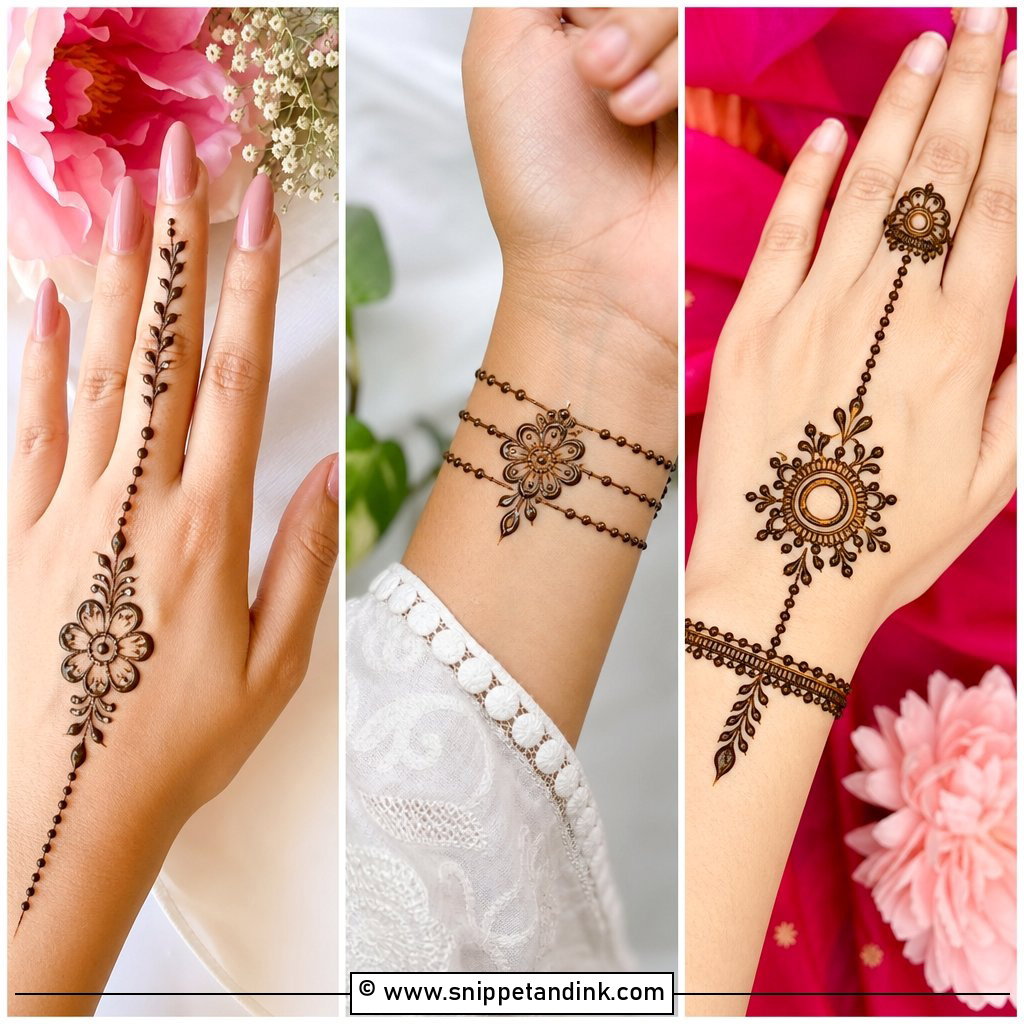
15. Gulf Khaleeji Bridal Mehndi Design
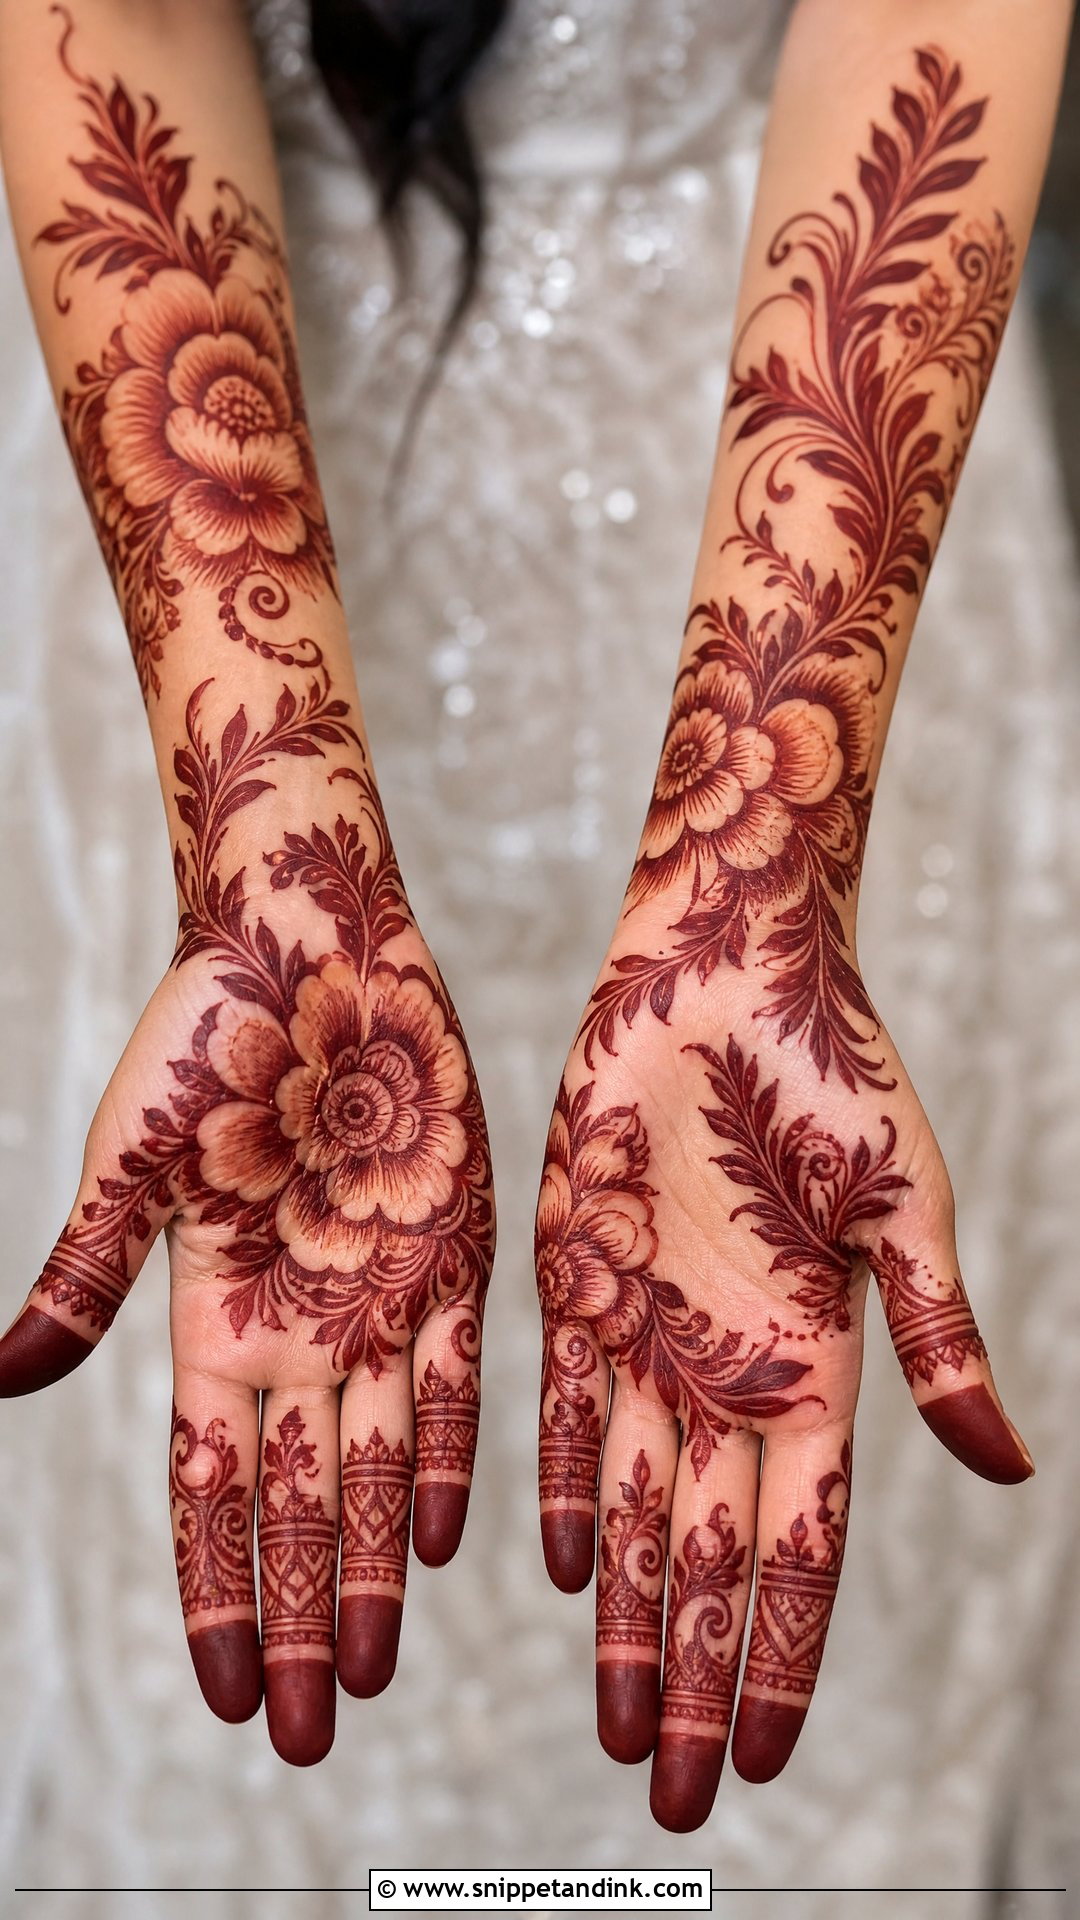
Gulf Khaleeji mehndi is bold and spacious: large flowers, leafy sprays, shaded petals, curved vines and plenty of bare skin so each motif stands out. It can cover the back of the hand, palm, fingers and wrist without looking crowded. You get strong visual impact with far less fine filling, which also means less sitting time. Flowers can run diagonally or spread like a garden trail across the whole hand. A wrist cuff or forearm vine makes it feel bridal. The thick outlines in Khaleeji work hold a deep maroon stain especially well.
16. Bridal Mehndi Design With Jaali
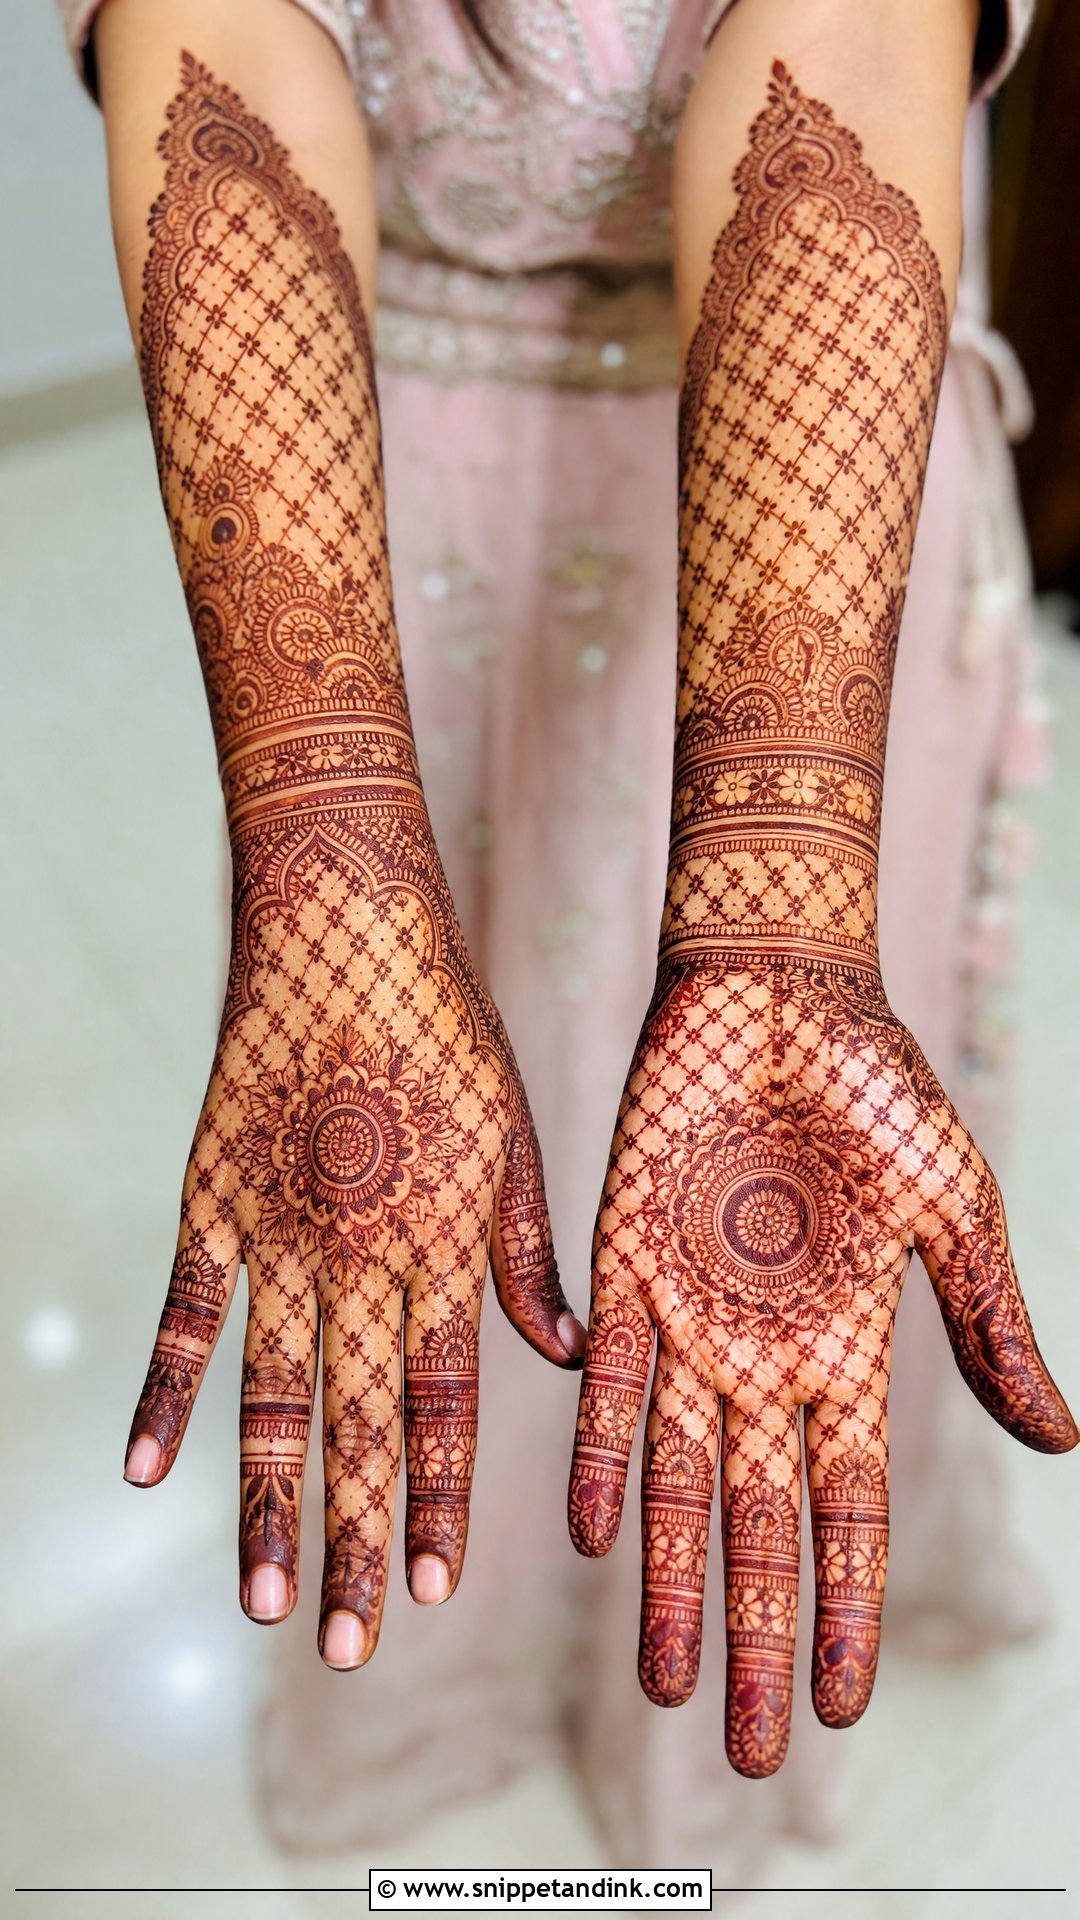
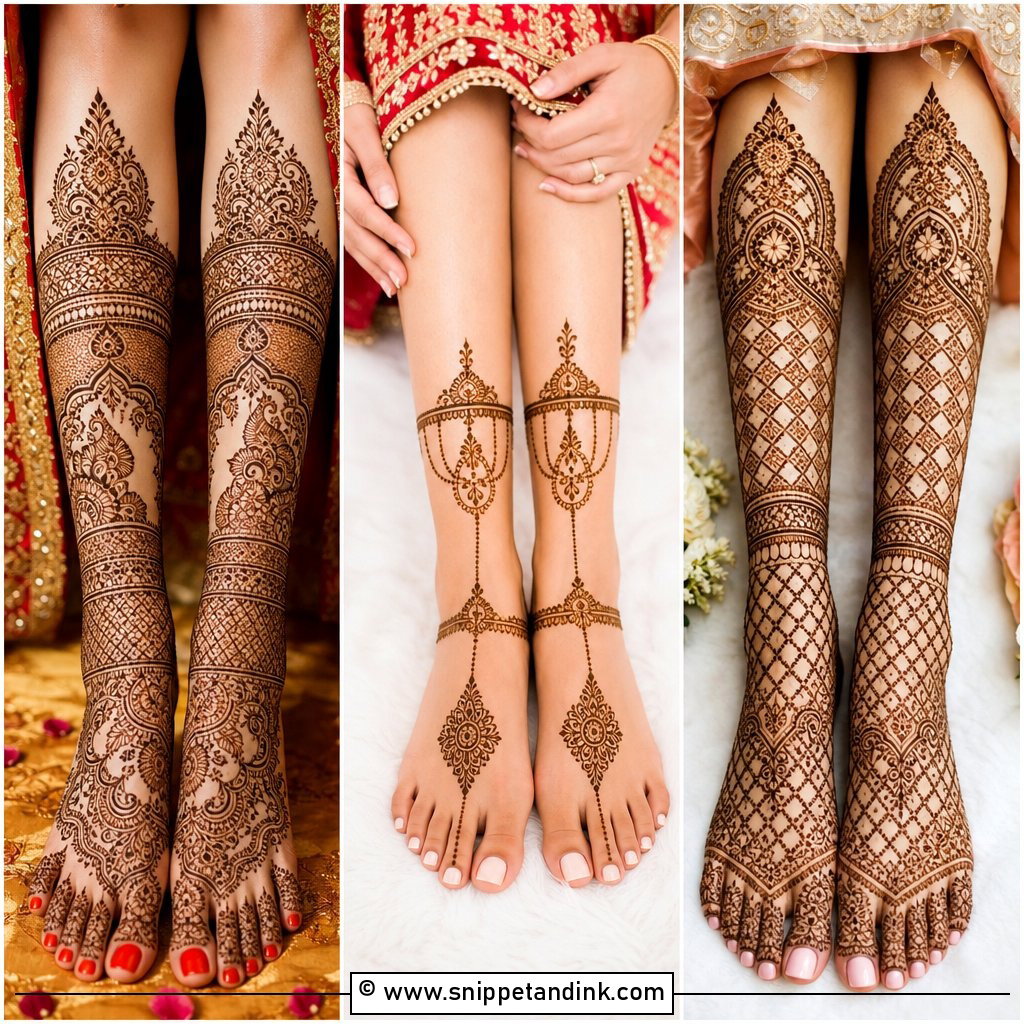
Jaali gives the hands a lace-like look using mesh patterns, crisscross lines, dots, floral breaks and ornamental borders. It works on the back of the hand, the palm or as a panel from wrist to forearm. Brides who want detailed but organised work often choose it over portraits. A complete bridal jaali look can include a mandala centre, filled fingertips, paisley edges and bracelet-style bands. Keep the mesh squares even and not too small. As henna stains, the lines spread slightly, and very tight mesh closes up into a solid block. Rings and bangles sit nicely against it.
17. Bridal Mehndi Design With Paisley
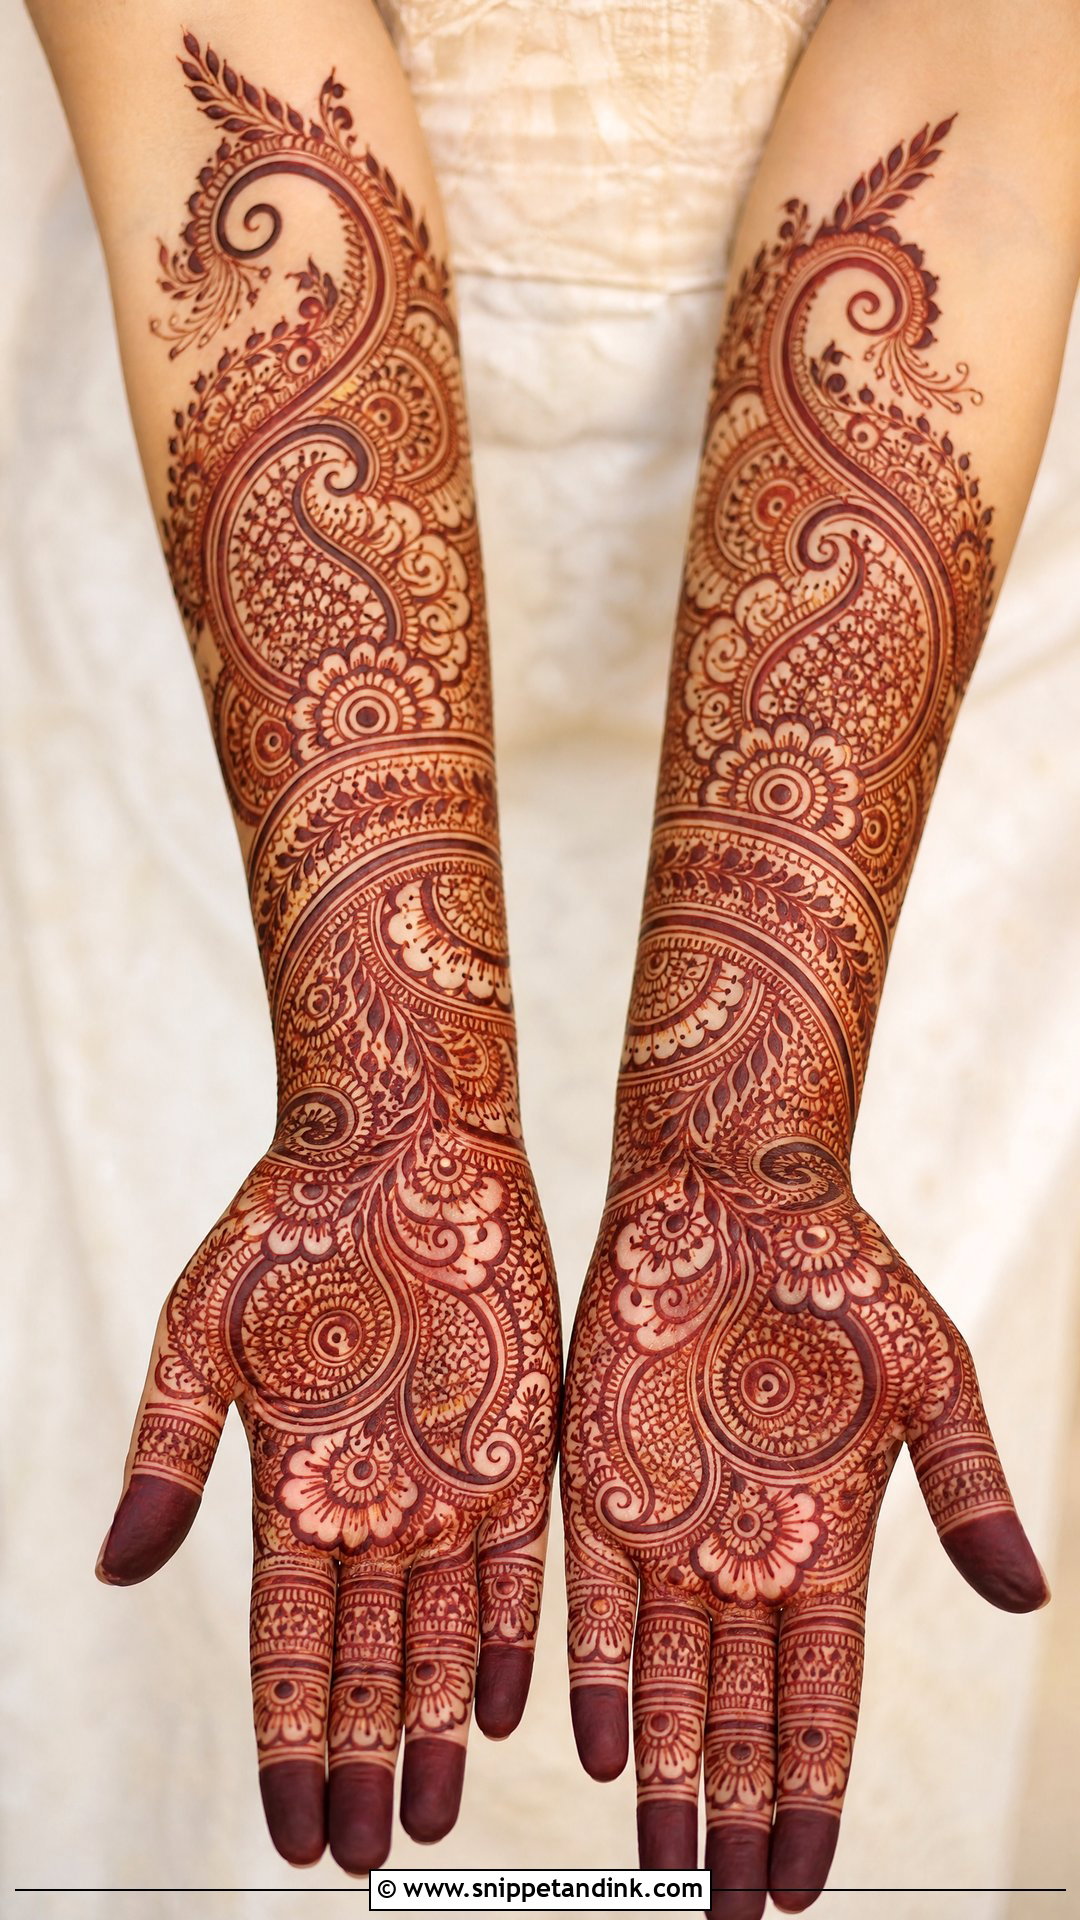
Paisley is one of the most adaptable motifs I draw. It can flow across the palm, curl around the wrist or build a full forearm pattern with flowers and fine fillers, and it’s a reliable route to traditional coverage without portraits. A heavy version adds shaded petals, vines, dots, curls and small mandalas between the larger shapes; a lighter one uses fewer paisleys with soft open space around them. The curved teardrop follows the natural lines of the hand, so it flatters most hand shapes. It mixes easily into Indian, Arabic and Indo-Arabic designs.
18. Bridal Mehndi Design With Floral Trail
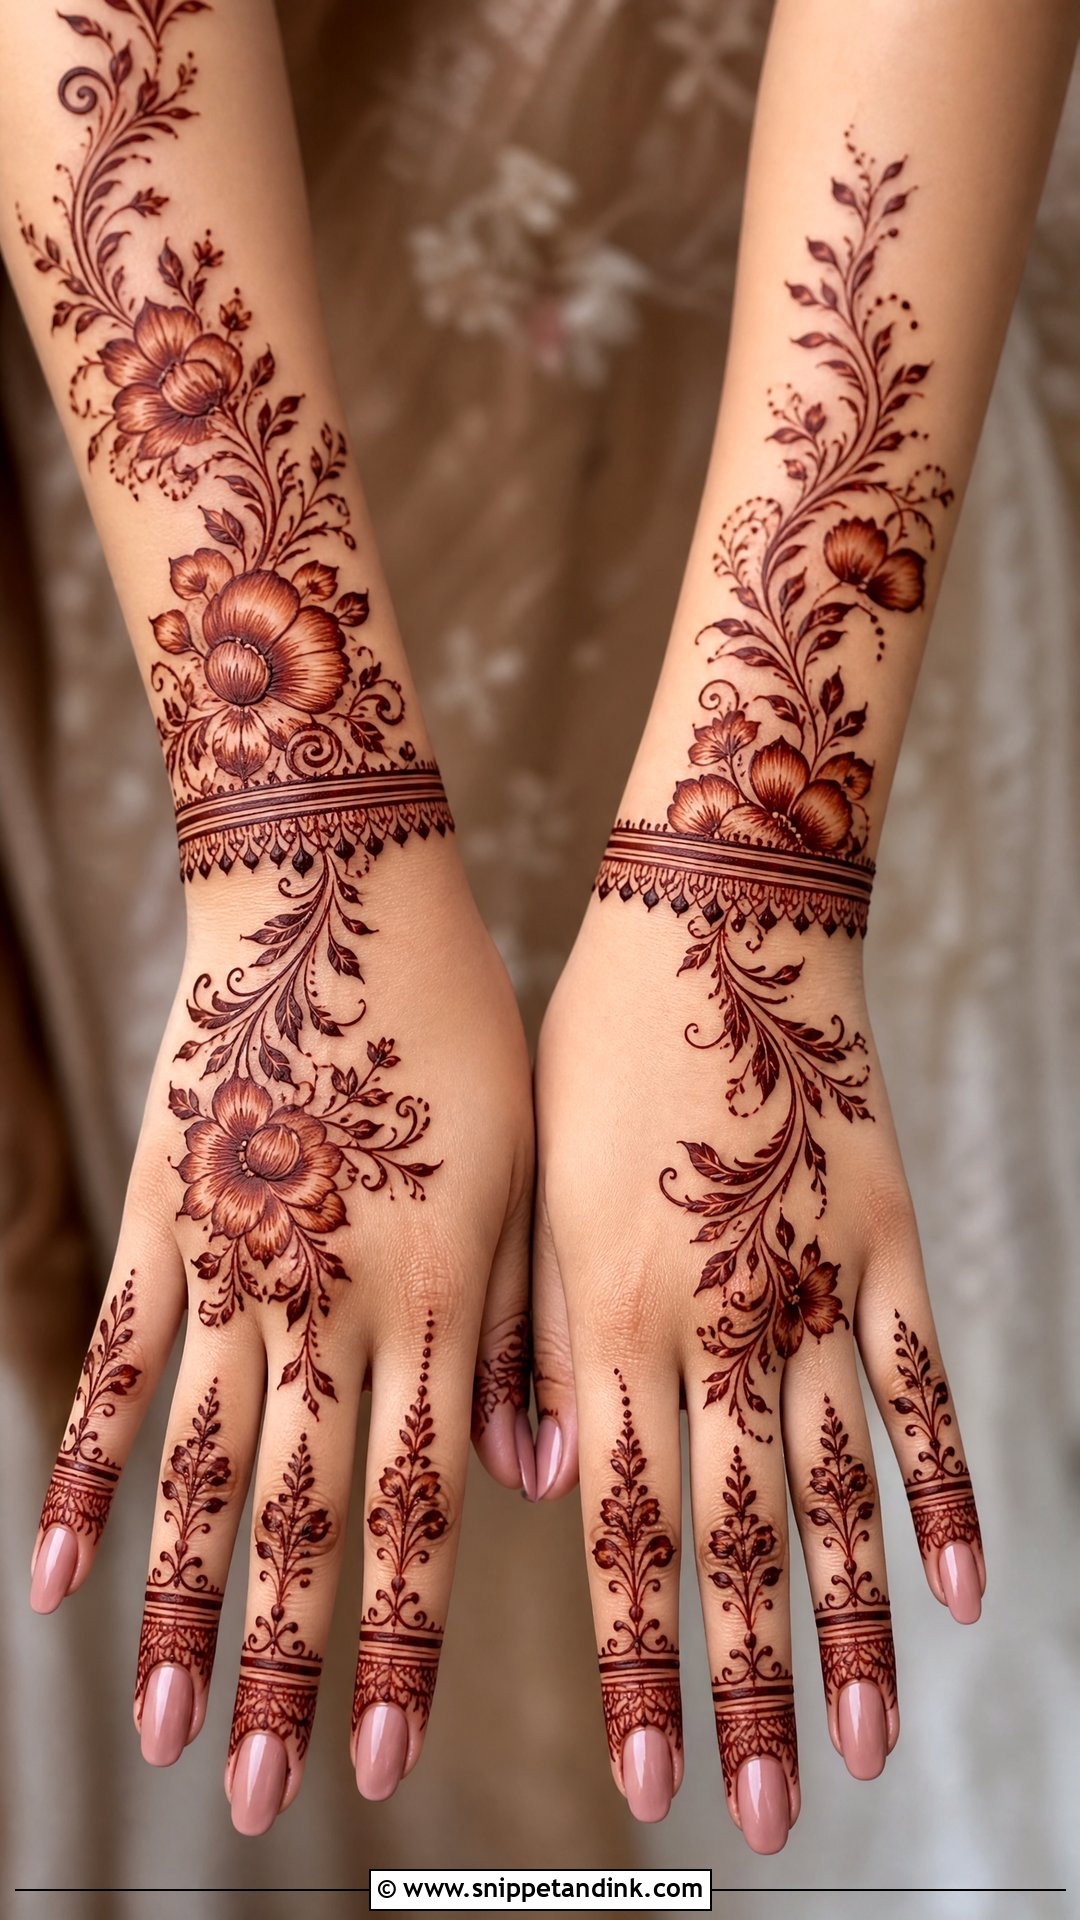
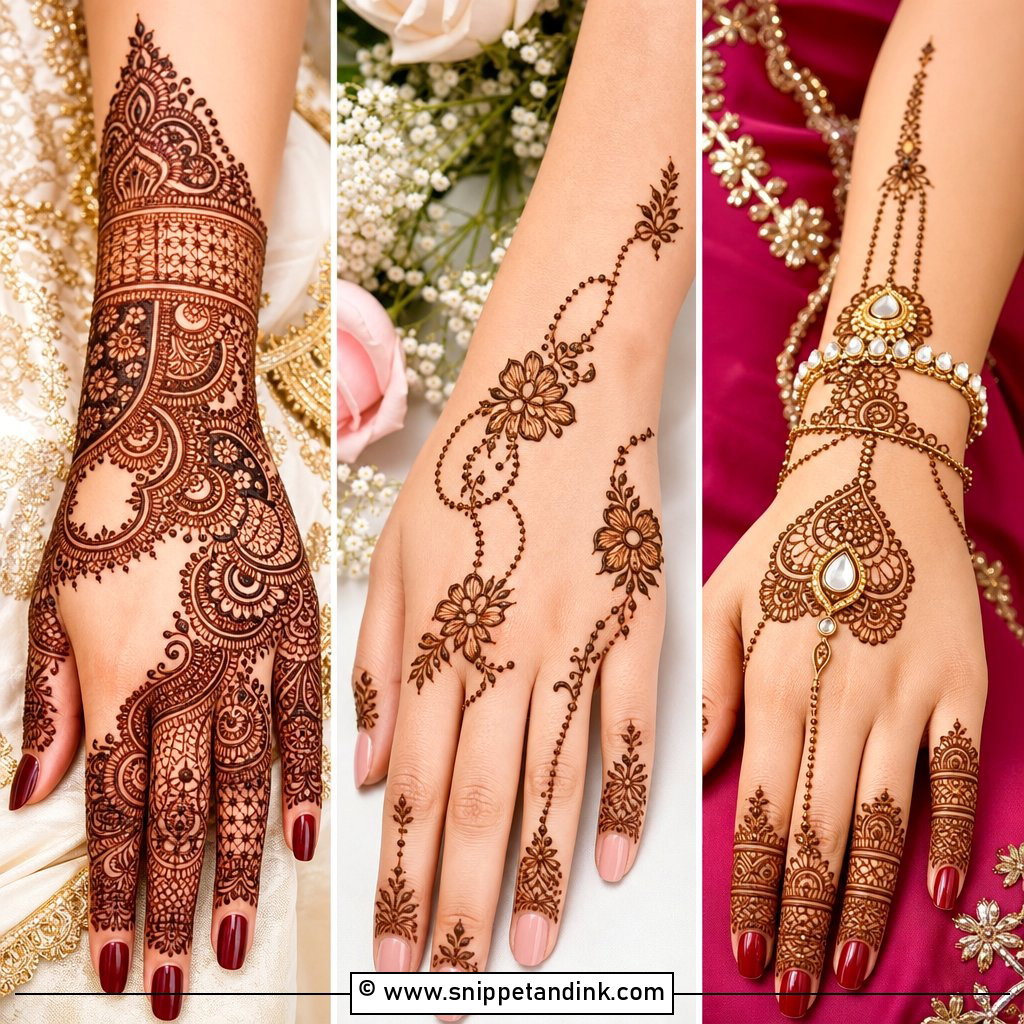
A floral trail starts at the wrist or forearm and flows across the hand toward the fingers in one line. Large flowers, leaves, buds, shaded petals and fine vines make a complete bridal look while leaving open skin. It gives visible detail without heavy full-hand filling. It works on the palm or the back of the hand. Filled fingertips, a wrist cuff and small mandala accents make it feel more bridal. Ask your artist to plan where the trail ends on the fingers before she starts, so the flow doesn’t stop awkwardly halfway up a finger.
19. Bridal Mehndi Design With Jewelry Pattern
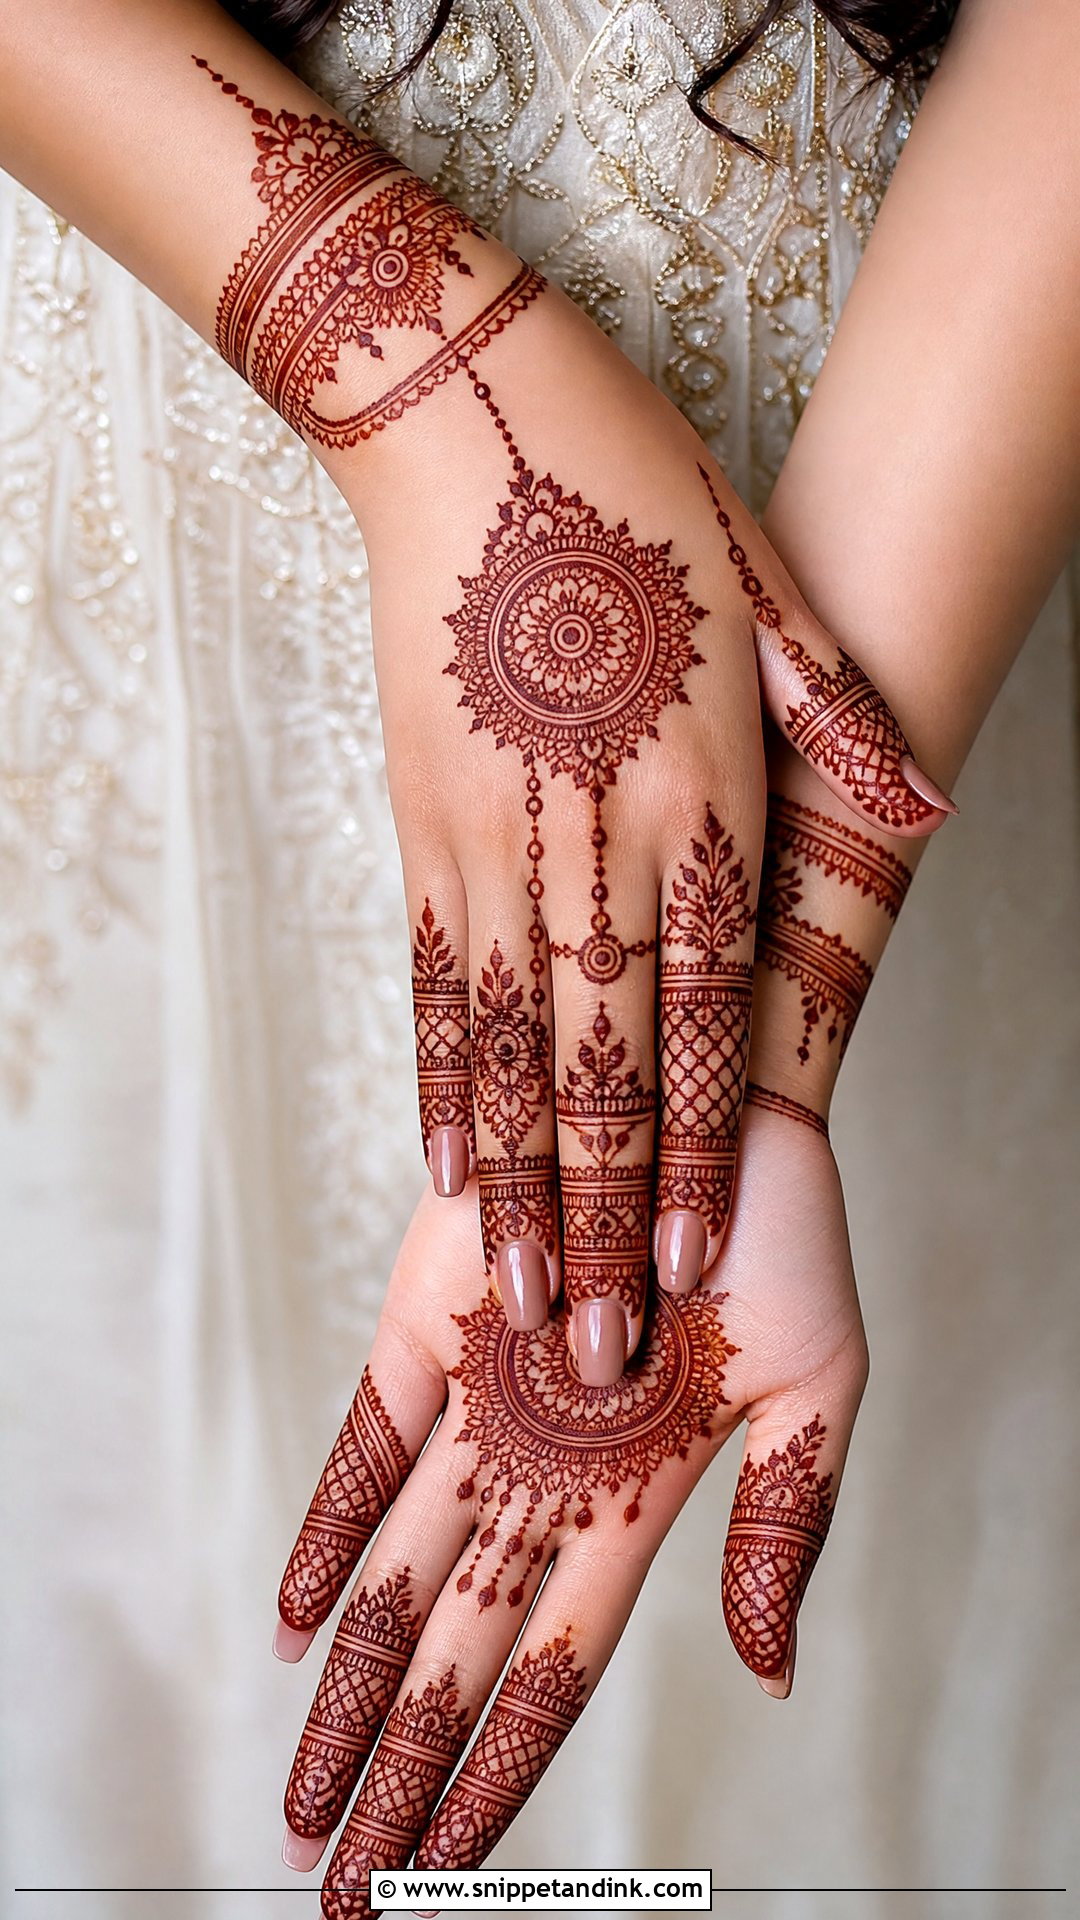
Jewellery-pattern mehndi draws ornaments onto the skin: bracelet cuffs, ring chains, haathphool-style lines, finger bands, pendant shapes and fine details on the back of the hand. It sits well alongside real bangles, rings and hand jewellery without crowding them. The palm can stay simple or carry a matching mandala, while the back of the hand takes the focus. It’s a good fit for medium coverage that still reads as bridal. The chains need to be evenly spaced and properly connected. If you’re wearing a real haathphool, show it to your artist so the drawn chains don’t sit right underneath the metal ones.
20. Simple Bridal Mehndi Design For Hands
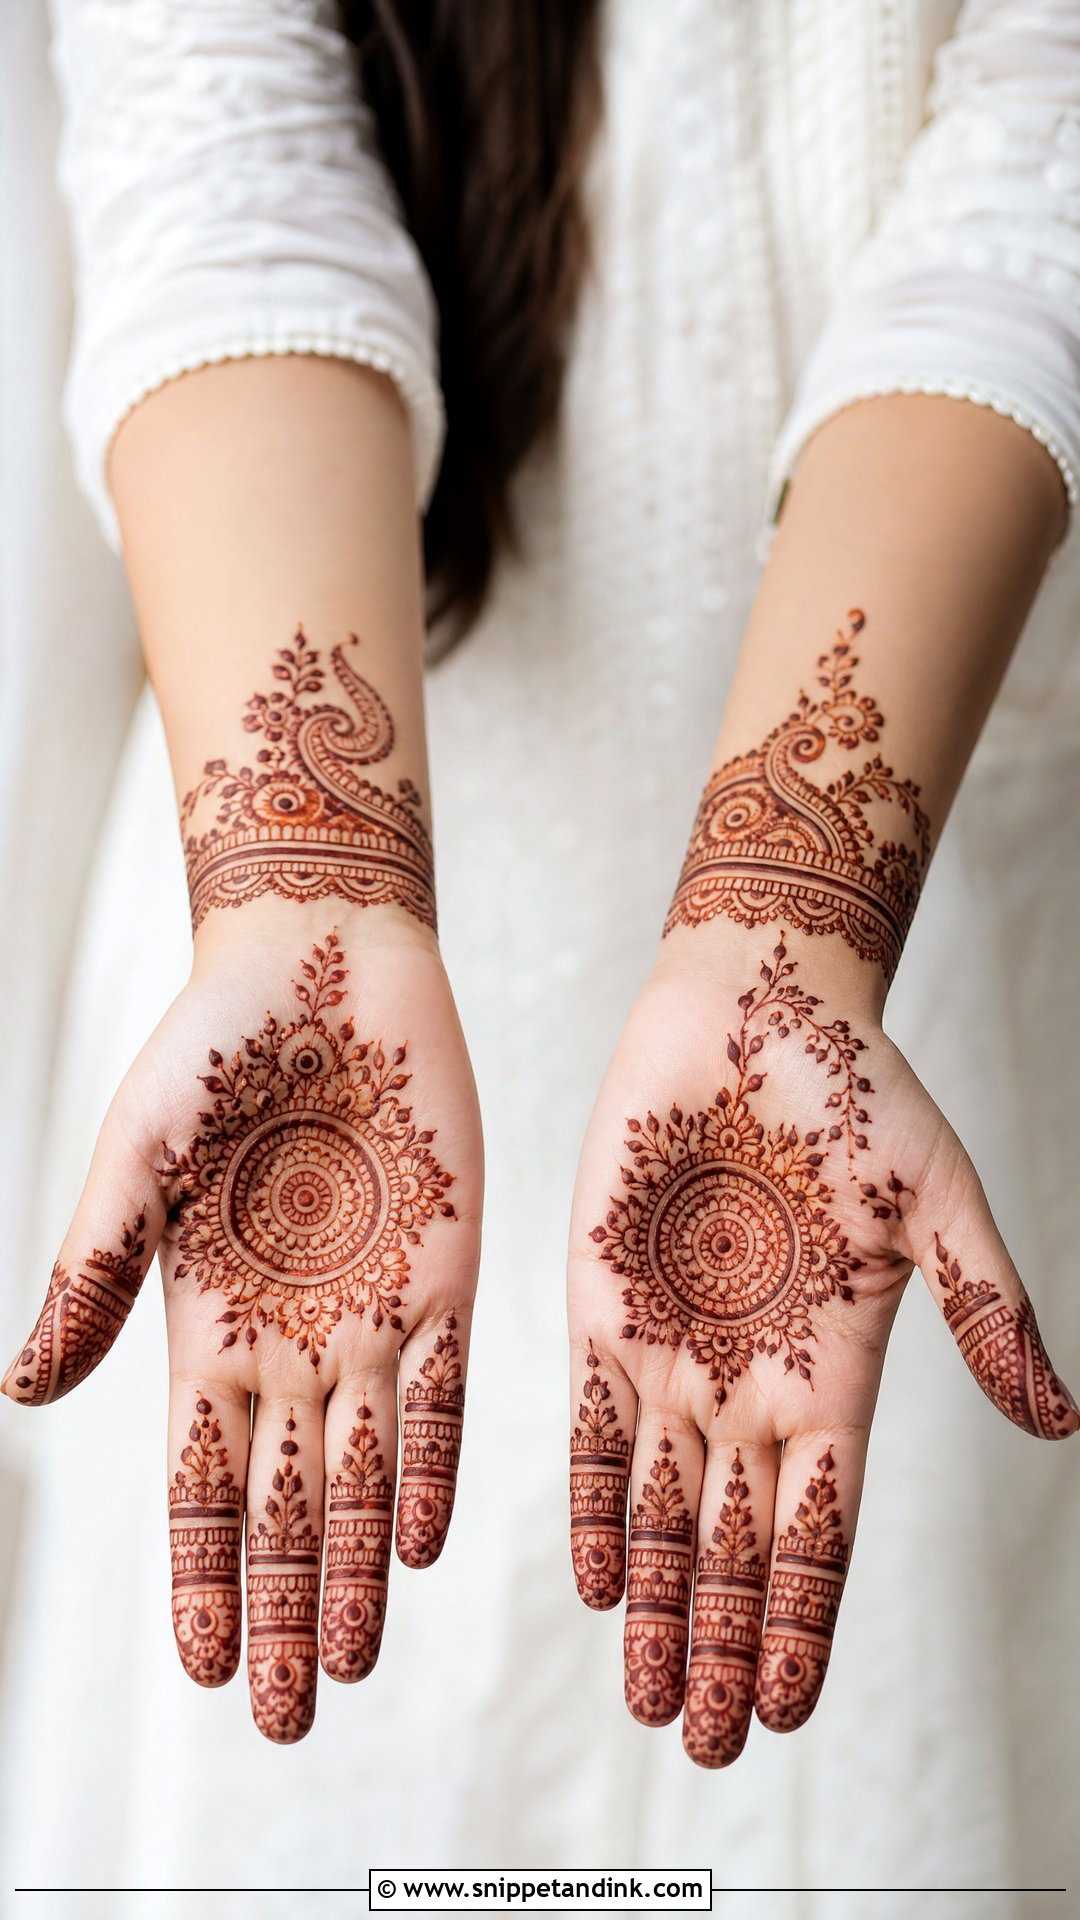
Simple bridal mehndi gives you a festive look without hours in the chair. A complete version might be a palm mandala, neat finger patterns, a light wrist border and a few floral or paisley accents, sometimes with Arabic-style spacing or a minimal bracelet on the back of the hand. It suits small ceremonies, destination weddings, engagements and brides who just want to be comfortable. Ask for clean symmetry, rich fingertips and a balanced wrist so it still feels bridal. Filled fingertips in particular make even a light design look finished once it stains.
Pure Henna, Black Henna and Why I Ask What’s in the Cone
Real bridal mehndi is made from dried henna leaf powder mixed with lemon juice or water, sugar and an essential oil. It stains orange to maroon, never black. Any paste that promises a black stain within an hour almost certainly contains PPD, a hair-dye chemical that can cause serious skin reactions and burns. Instant colour is the giveaway.
Ask your artist whether she mixes her own paste and what goes into it. If you have sensitive skin or allergies, ask for a small patch test on your inner arm a day or two before the main application. A good artist will be glad you asked.
The First Day After the Paste Comes Off
How you treat the stain in the first 24 hours makes a visible difference to the colour on the wedding day.
- Leave the paste on as long as you can, ideally six to eight hours or overnight. Wrapping your hands in tissue and a loose cotton glove stops it cracking off in your sleep.
- Your artist may dab on a lemon and sugar mix as the paste dries. It keeps the paste stuck to the skin; don’t overdo it, or the lines smudge.
- Scrape the dried paste off with a blunt edge or rub it away. Don’t wash it off.
- Keep water away from your hands for as long as you can afterwards, at least the rest of that day.
- Keep your hands warm. A balm or a little oil rubbed over the design helps the stain deepen.
The stain will stay at its darkest for a few days, then fade as the skin naturally exfoliates. Palms usually last longest. Soap, hand sanitiser and swimming all speed up fading, so save the honeymoon swim for after the photos if you can.
Open Palms or Full Coverage? Let Your Sitting Time Decide
Start with your comfort, your outfit and the hand photos you want. Dense Indian and Rajasthani designs feel classic and ceremonial, while Arabic, Gulf and modern layouts leave more open skin. Mandalas, jaali, paisleys, florals, peacocks and jewellery patterns each set a different mood. Before booking, save a few references, confirm how long the application will take and ask your artist how the design will scale to your hand size. A good bridal design reads clearly up close and from across the room.
You'll Like These Ideas:


Leave a Reply