
Most brides I sit with already know whether they want deep traditional coverage or something with more open skin. What they rarely know yet is how a design will look on day three, once the stain has darkened and the fine lines have settled. Below are thirty bridal layouts I’d happily put on hands, wrists, forearms and feet, from heavy Rajasthani storytelling to airy Gulf florals, with notes on how each one behaves once the paste comes off.
Planning the Mehndi Night Around the Stain Curve
Natural henna doesn’t stain at full strength the moment the paste comes off. It starts a pale orange and deepens over roughly the next one to two days as it oxidises. That’s why I ask brides to book the application one or two days before the main ceremony, not the morning of. Done too early, it begins to fade from the palms by the reception; done too late, you walk into the pheras with orange hands.
Sitting time is the other thing people underestimate. A minimal or Arabic layout on both hands can take an hour or two. Full Indian coverage to the elbows plus feet can run well over half a day for one artist, so ask whether a second artist will do your feet in parallel.
What I ask you to do beforehand
- Wax, shave or get a manicure a day earlier; henna on freshly exfoliated skin can irritate and may stain unevenly.
- Arrive with clean, dry skin and no lotion or oil on hands and feet.
- Eat first and use the washroom, because you won’t want to move once the paste is on.
- Ask for natural henna only. Anything sold as black henna can contain PPD, a hair-dye chemical that can cause serious skin reactions.
1. Full Hand Bridal Mehndi Design
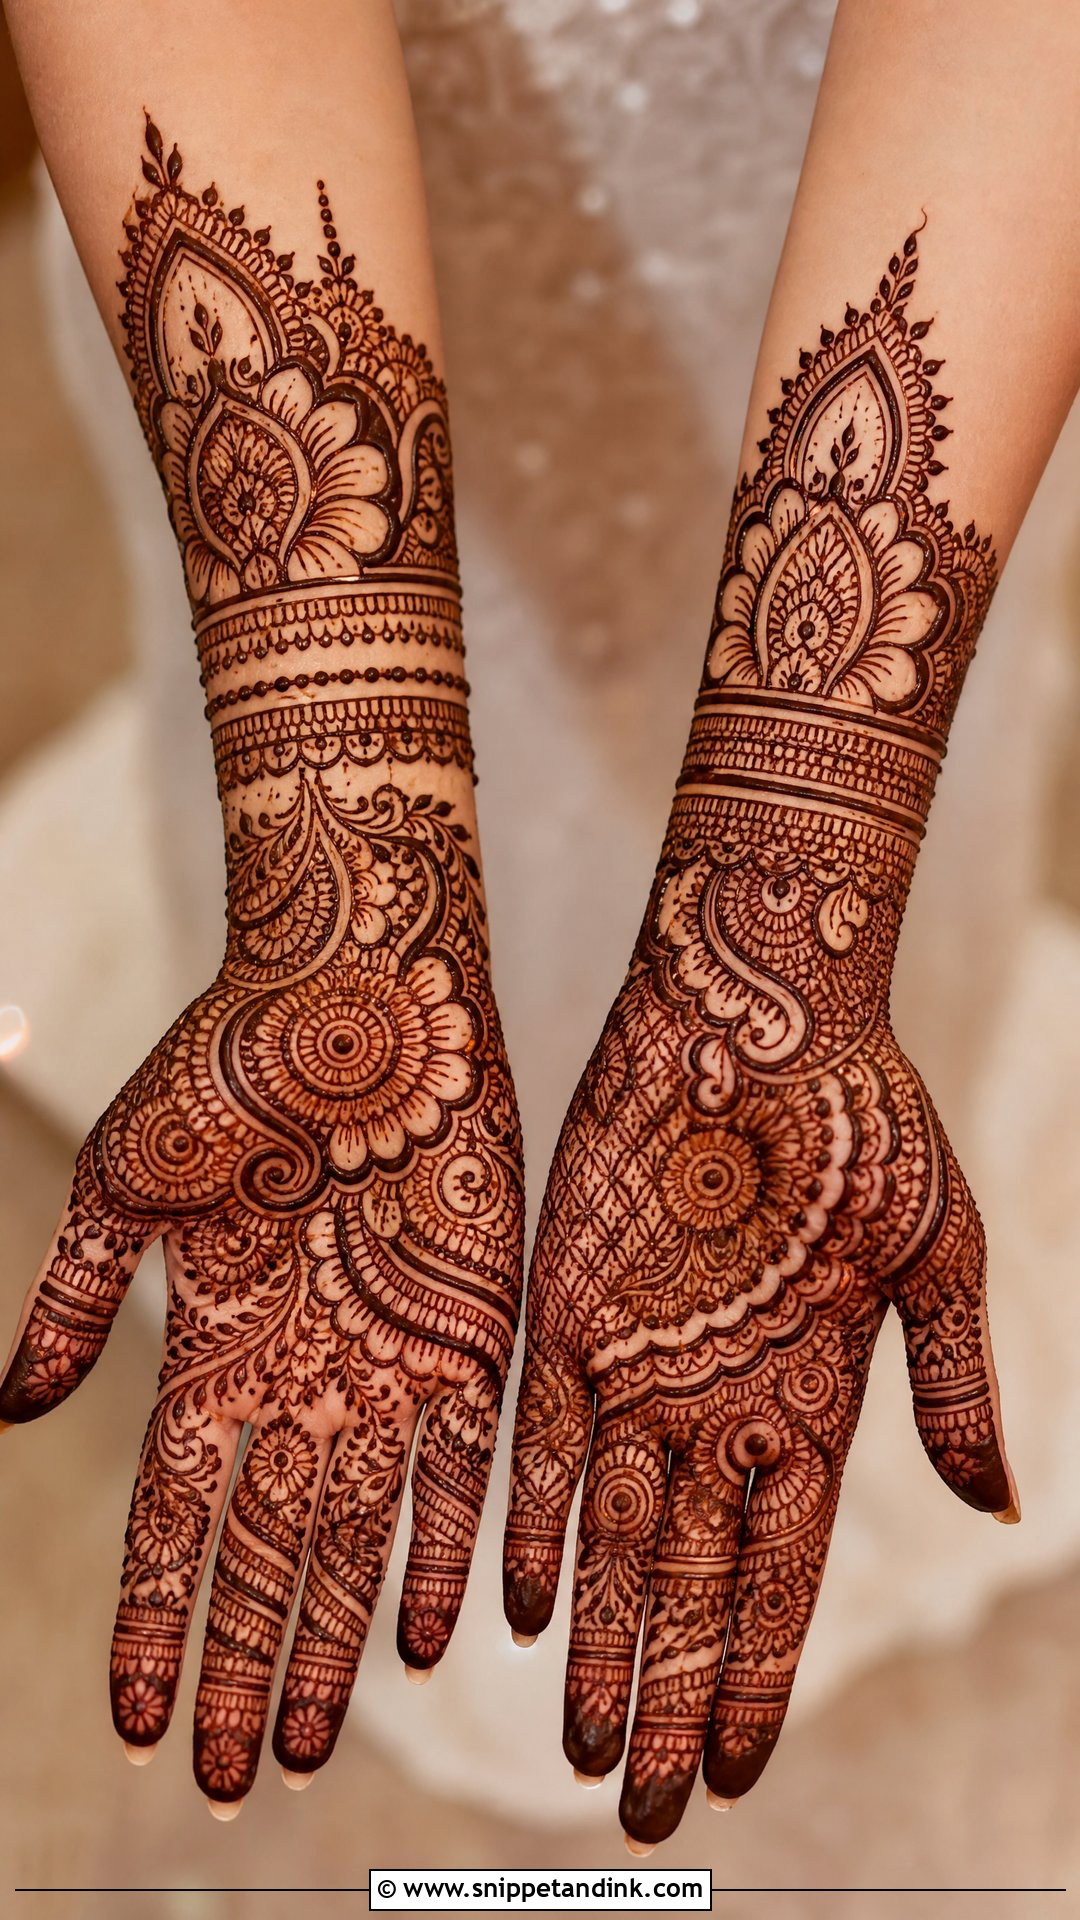
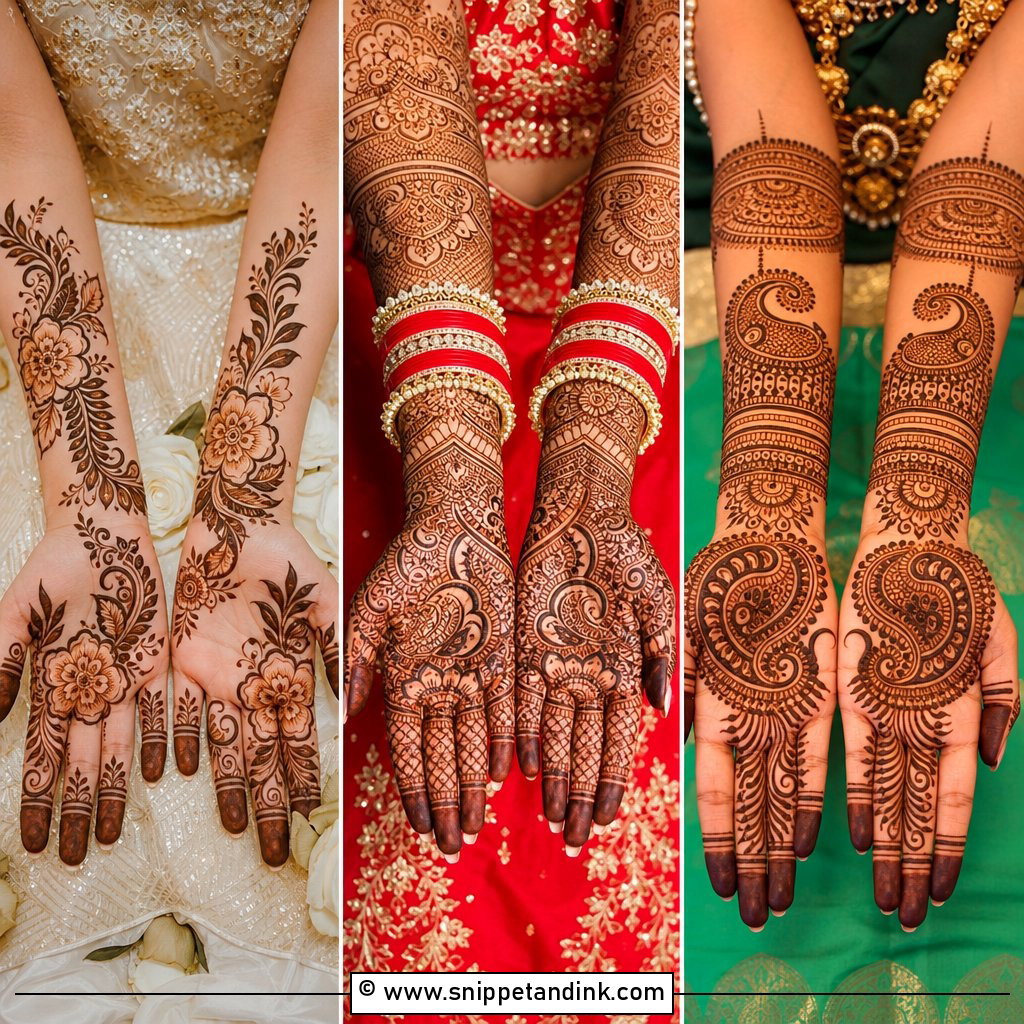
Full hand coverage runs from the fingertips past the wrist, and the work is in the spacing rather than the density. Henna lines spread slightly as they dry, so if I pack paisleys and leaf fillers too tightly, the stain fuses into a muddy block by the wedding day. I leave a hairline gap between panels for that reason. I also finish the fingertips solid, because that dark cap frames the ring in close shots far better than a patterned tip.
2. Indian Bridal Mehndi Design
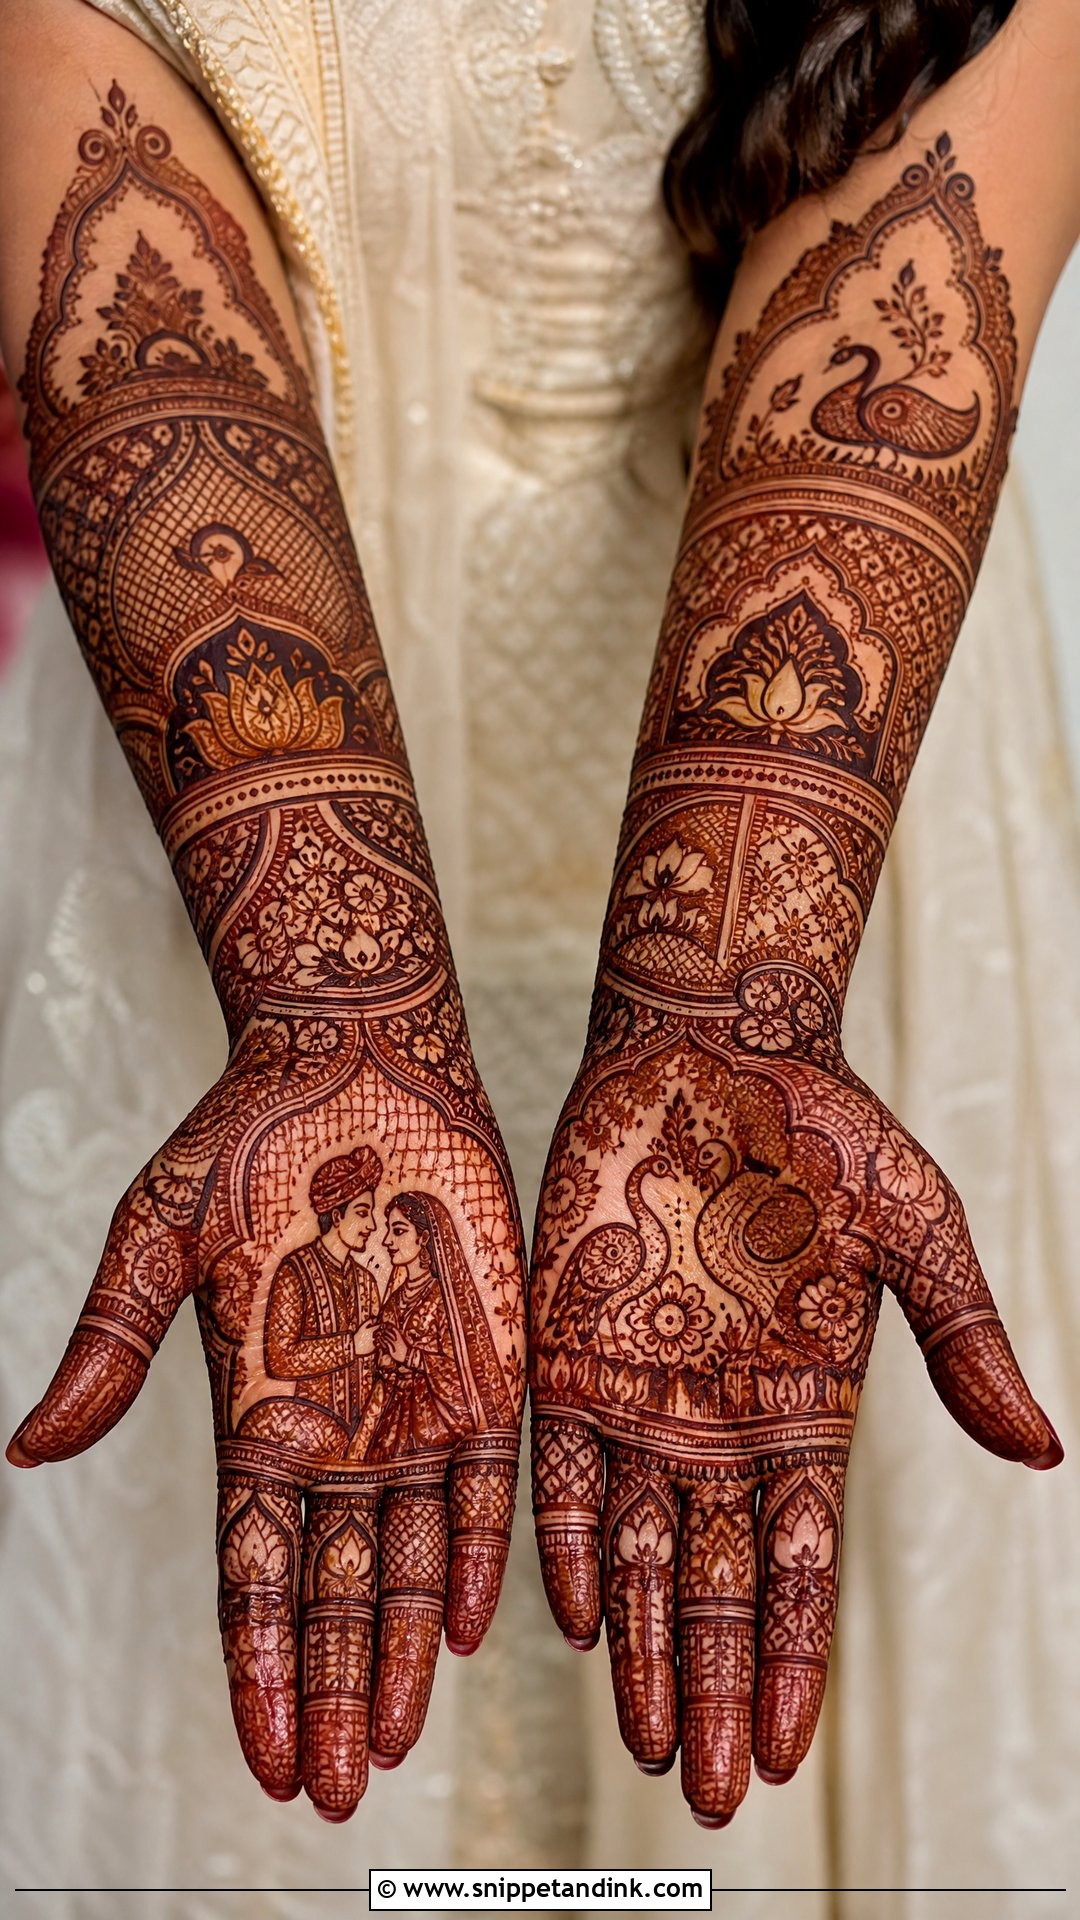
Peacocks, kalash, dhol and doli motifs carry the meaning in a classic Indian bridal layout, and both hands are usually filled completely. The palm is where I place the anchor piece, a central mandala or couple portrait, with stacked bands climbing the forearm. Silk sarees and heavy gold sets sit well against this density. Ask for compact filling with fine lines; thick filler lines are what make a traditional design look heavy-handed rather than rich.
3. Rajasthani Bridal Mehndi Design
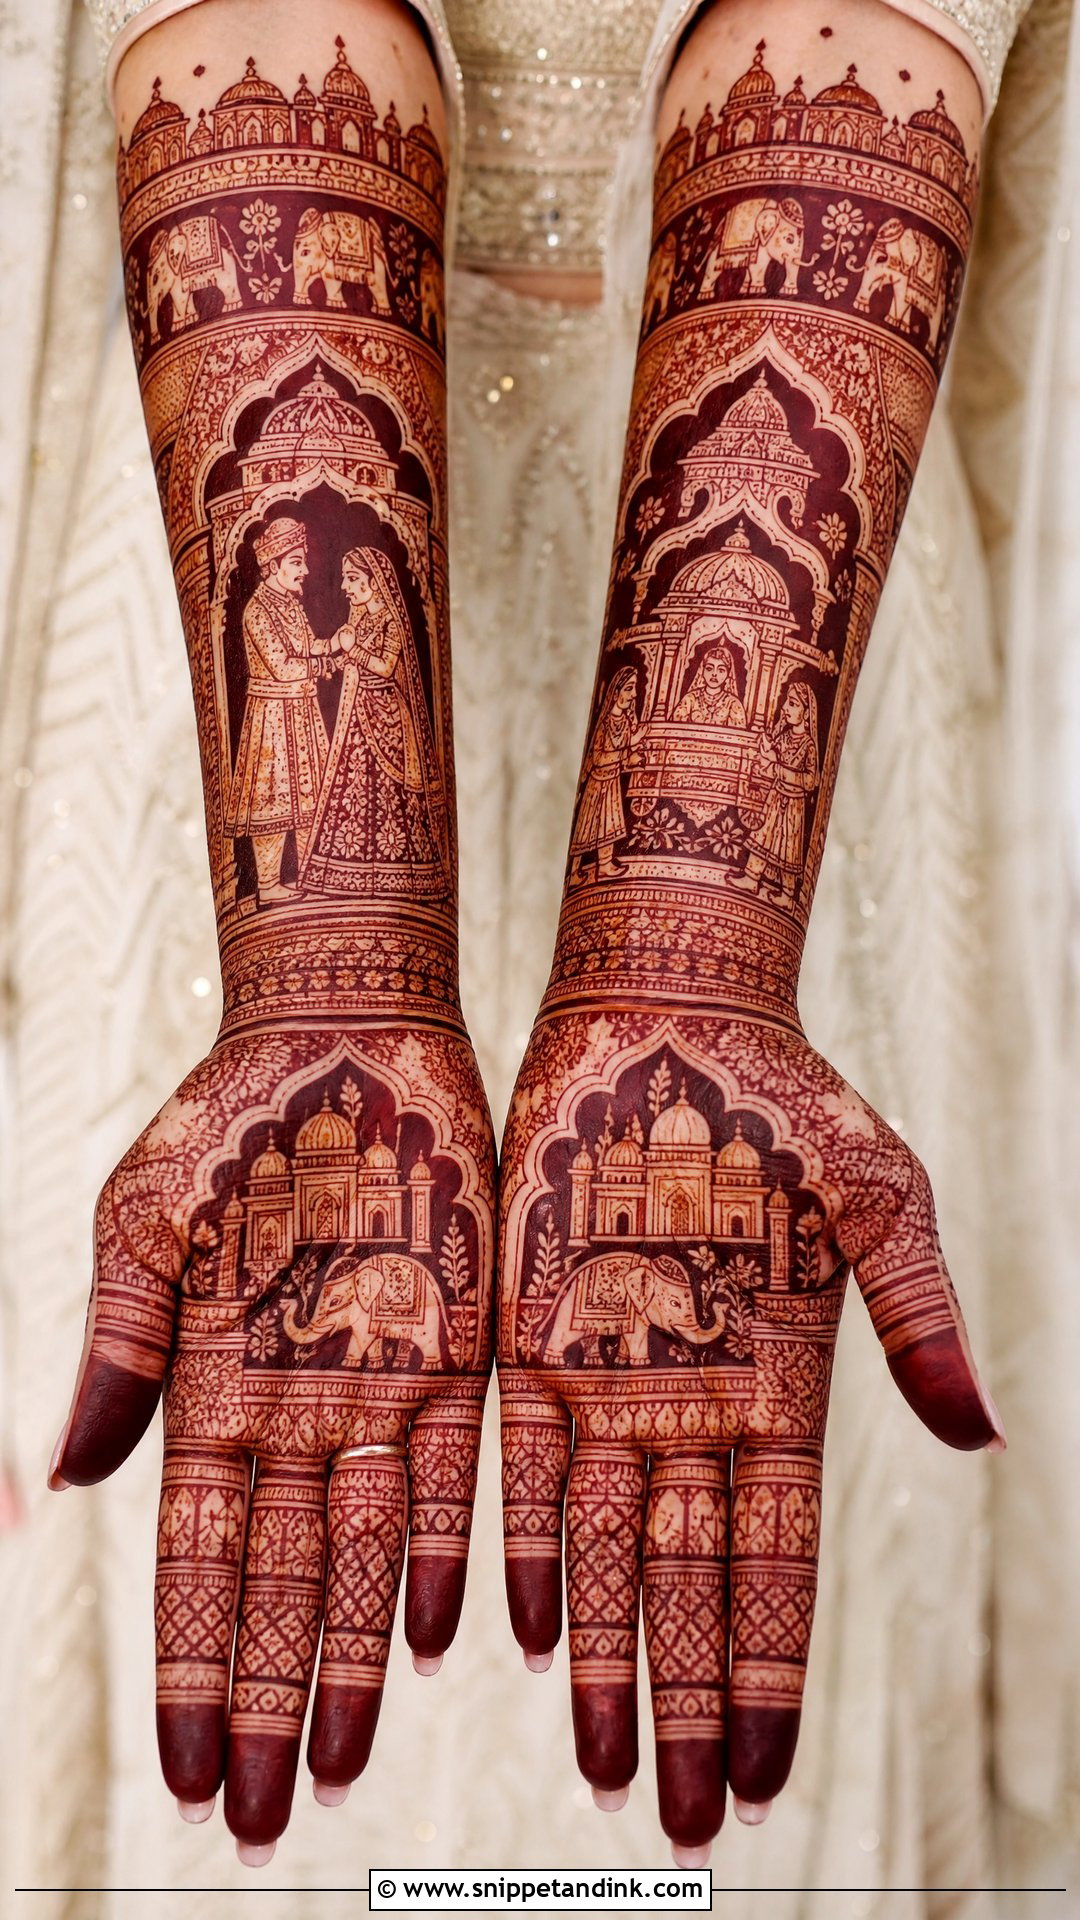
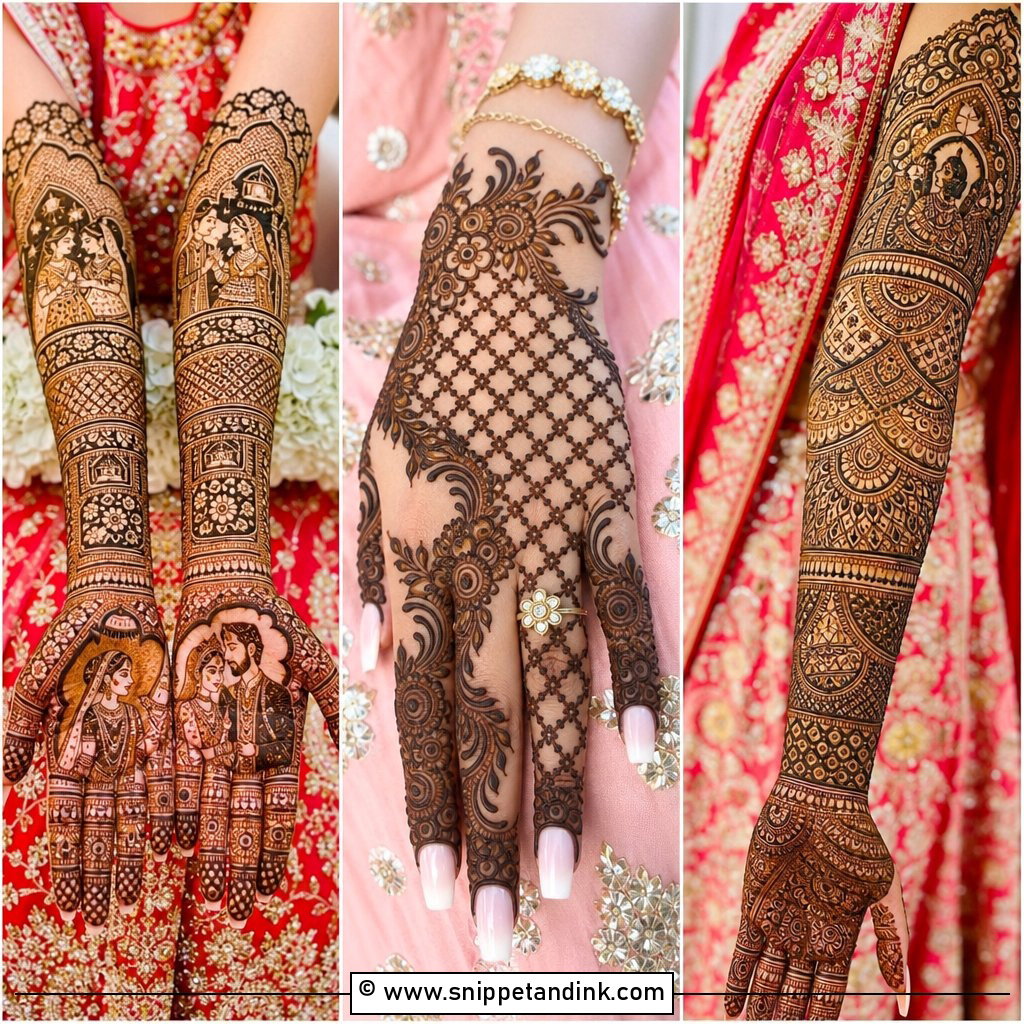
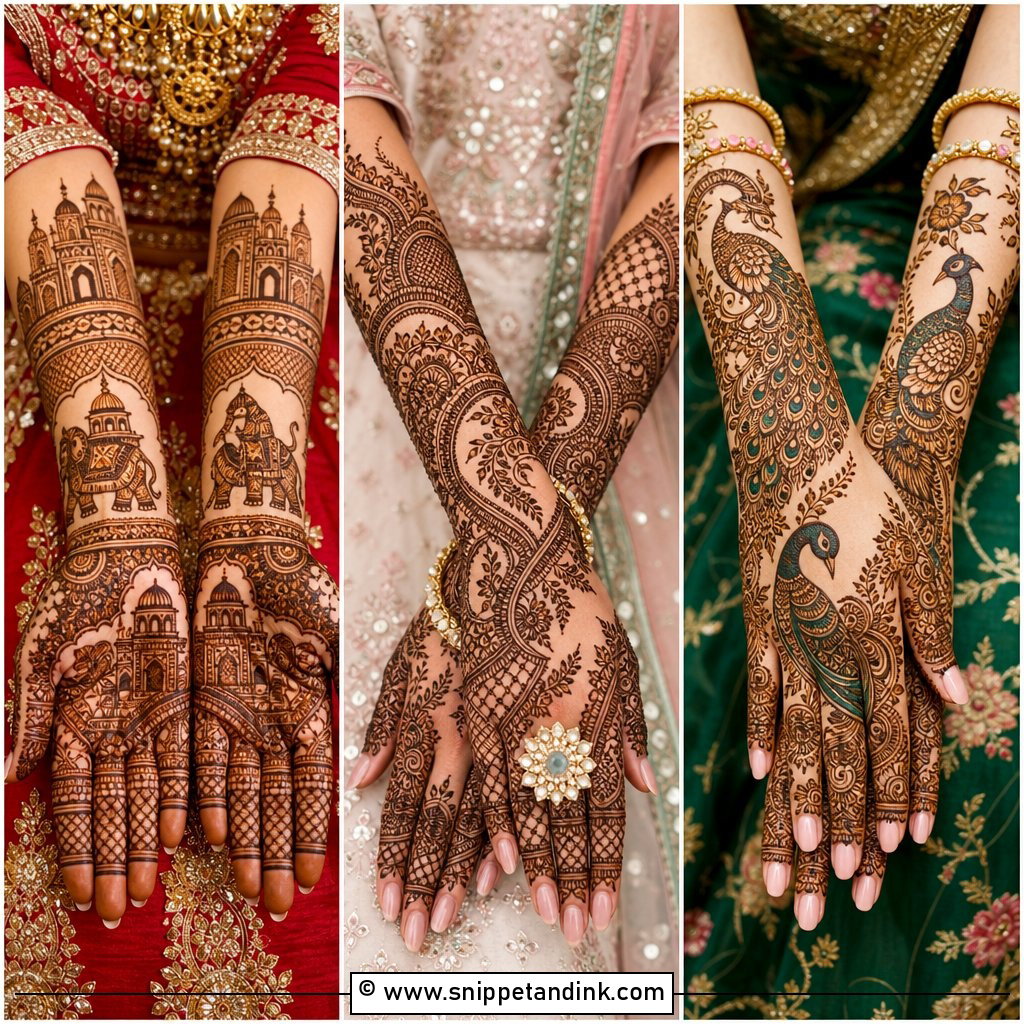
Rajasthani work is miniature painting in henna: palace arches, elephants, musicians and the wedding procession itself. These figures need room, so I only suggest it for full hand and forearm coverage. A cramped elephant reads as a blob once stained. I keep the arms architectural, with jharokha borders, and save the portrait scenes for the palms where the skin takes colour deepest. It sits naturally beside heavily embroidered outfits at heritage venues, though it does mean a long sitting.
4. Arabic Bridal Mehndi Design
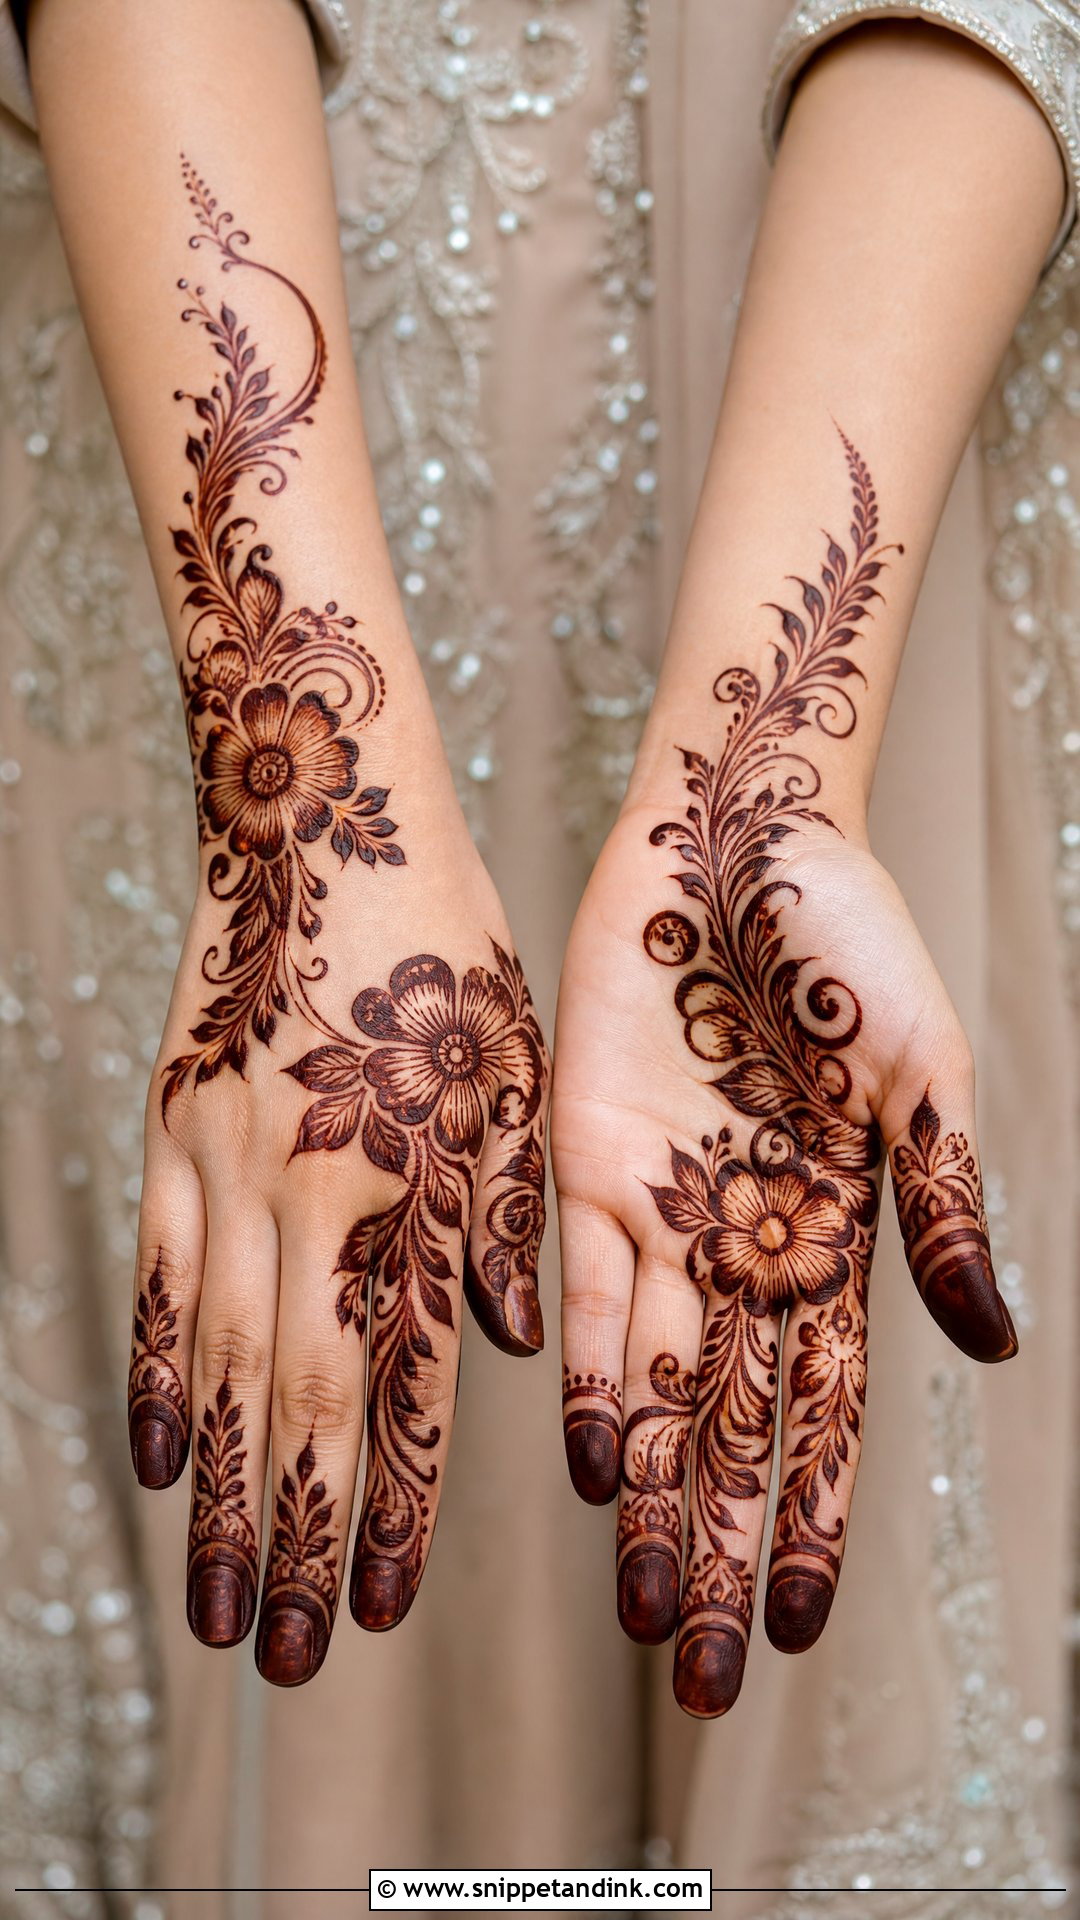
Arabic layouts use bold flowers, trailing leaves and wide open skin, starting at a fingertip and sweeping diagonally to the wrist. The thicker outline is forgiving: it stains dark and shows clearly from across a room. I’d suggest it to a bride who dislikes the feel of dense paste or has a short window before her events. One caution: on very fair skin a single bold trail can look sparse in photographs, so I usually add a second, finer vine beside it.
5. Indo Arabic Bridal Mehndi Design
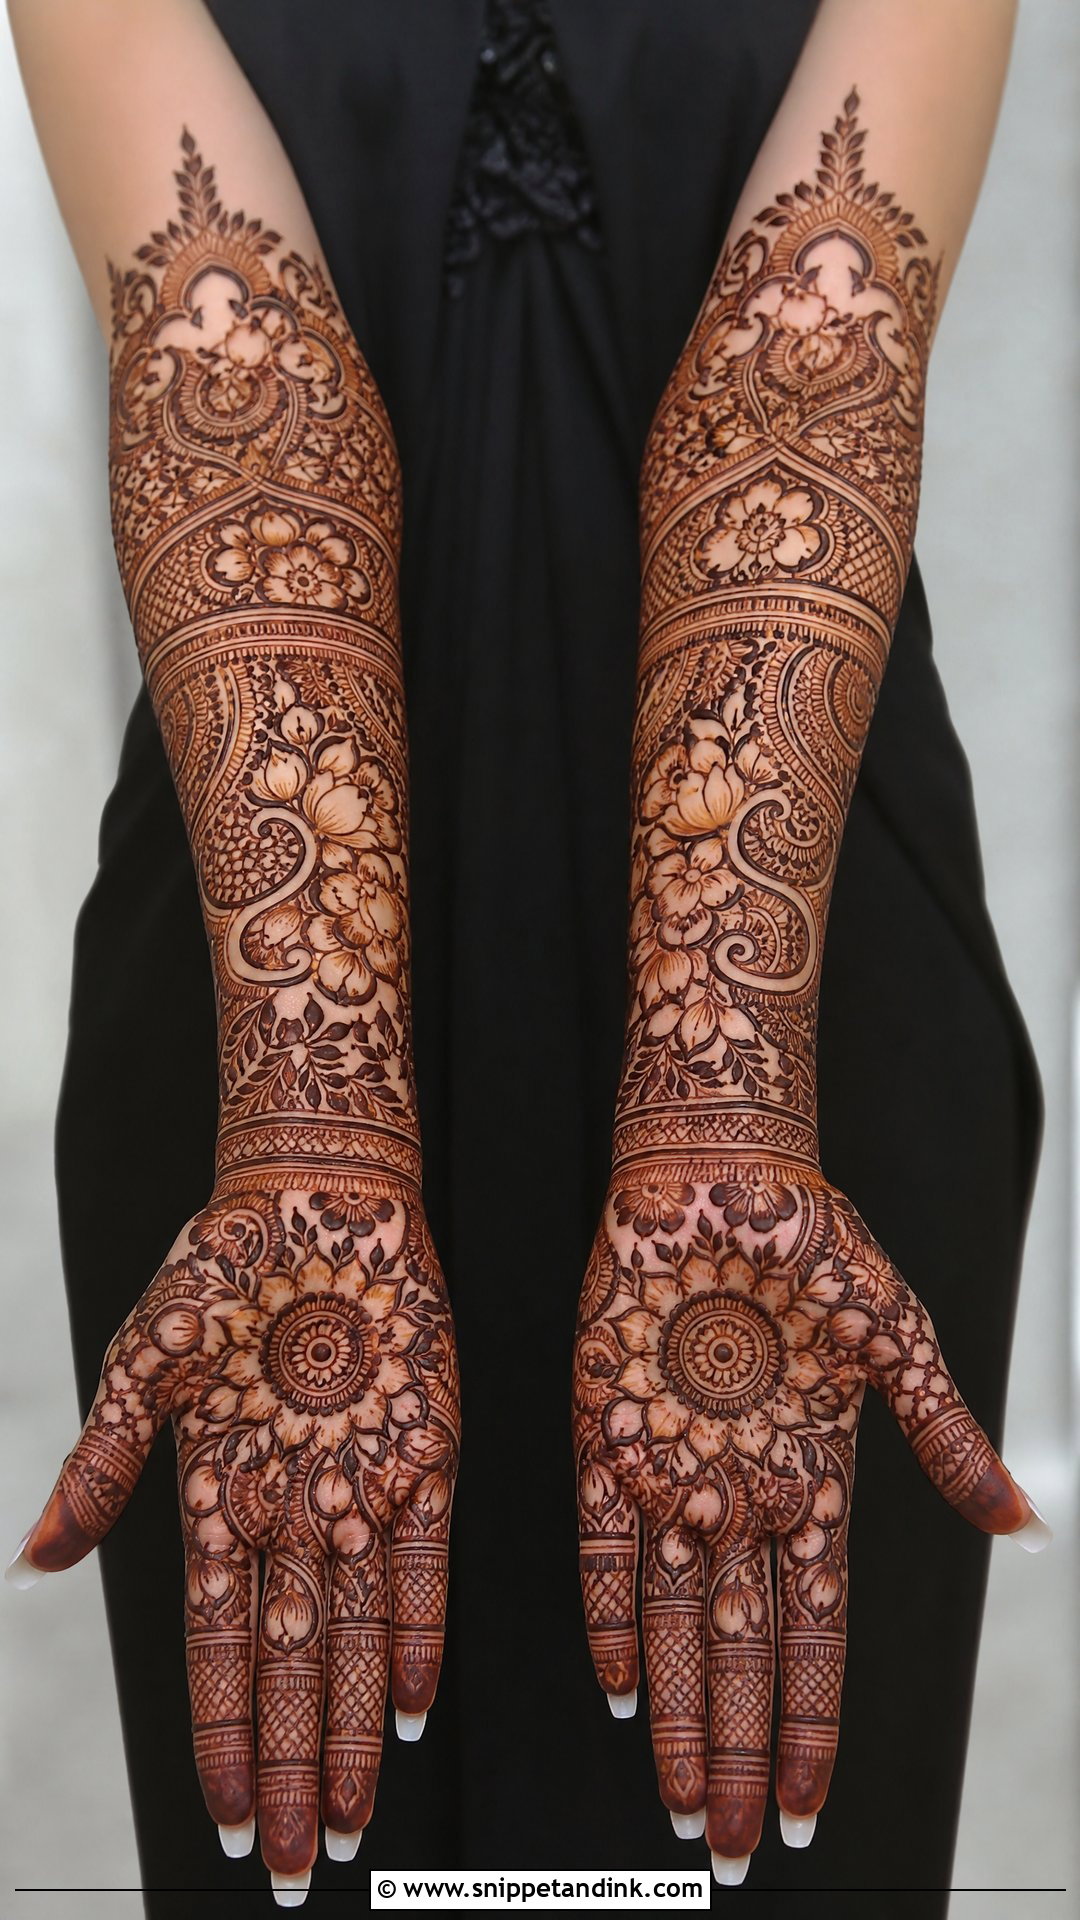
Indo Arabic bridal mehndi design borrows the flow of Arabic trails and fills them with Indian detail: paisley clusters, a mandala centre, small patches of jaali. It’s the layout I draw most often when a bride asks for fullness but still wants some skin showing. The trick is to let the negative space follow one clear diagonal. Scatter the gaps randomly and the hand just looks unfinished. It carries across sangeet, nikah and reception outfits without feeling out of place at any of them.
6. Dulhan Bridal Mehndi Design
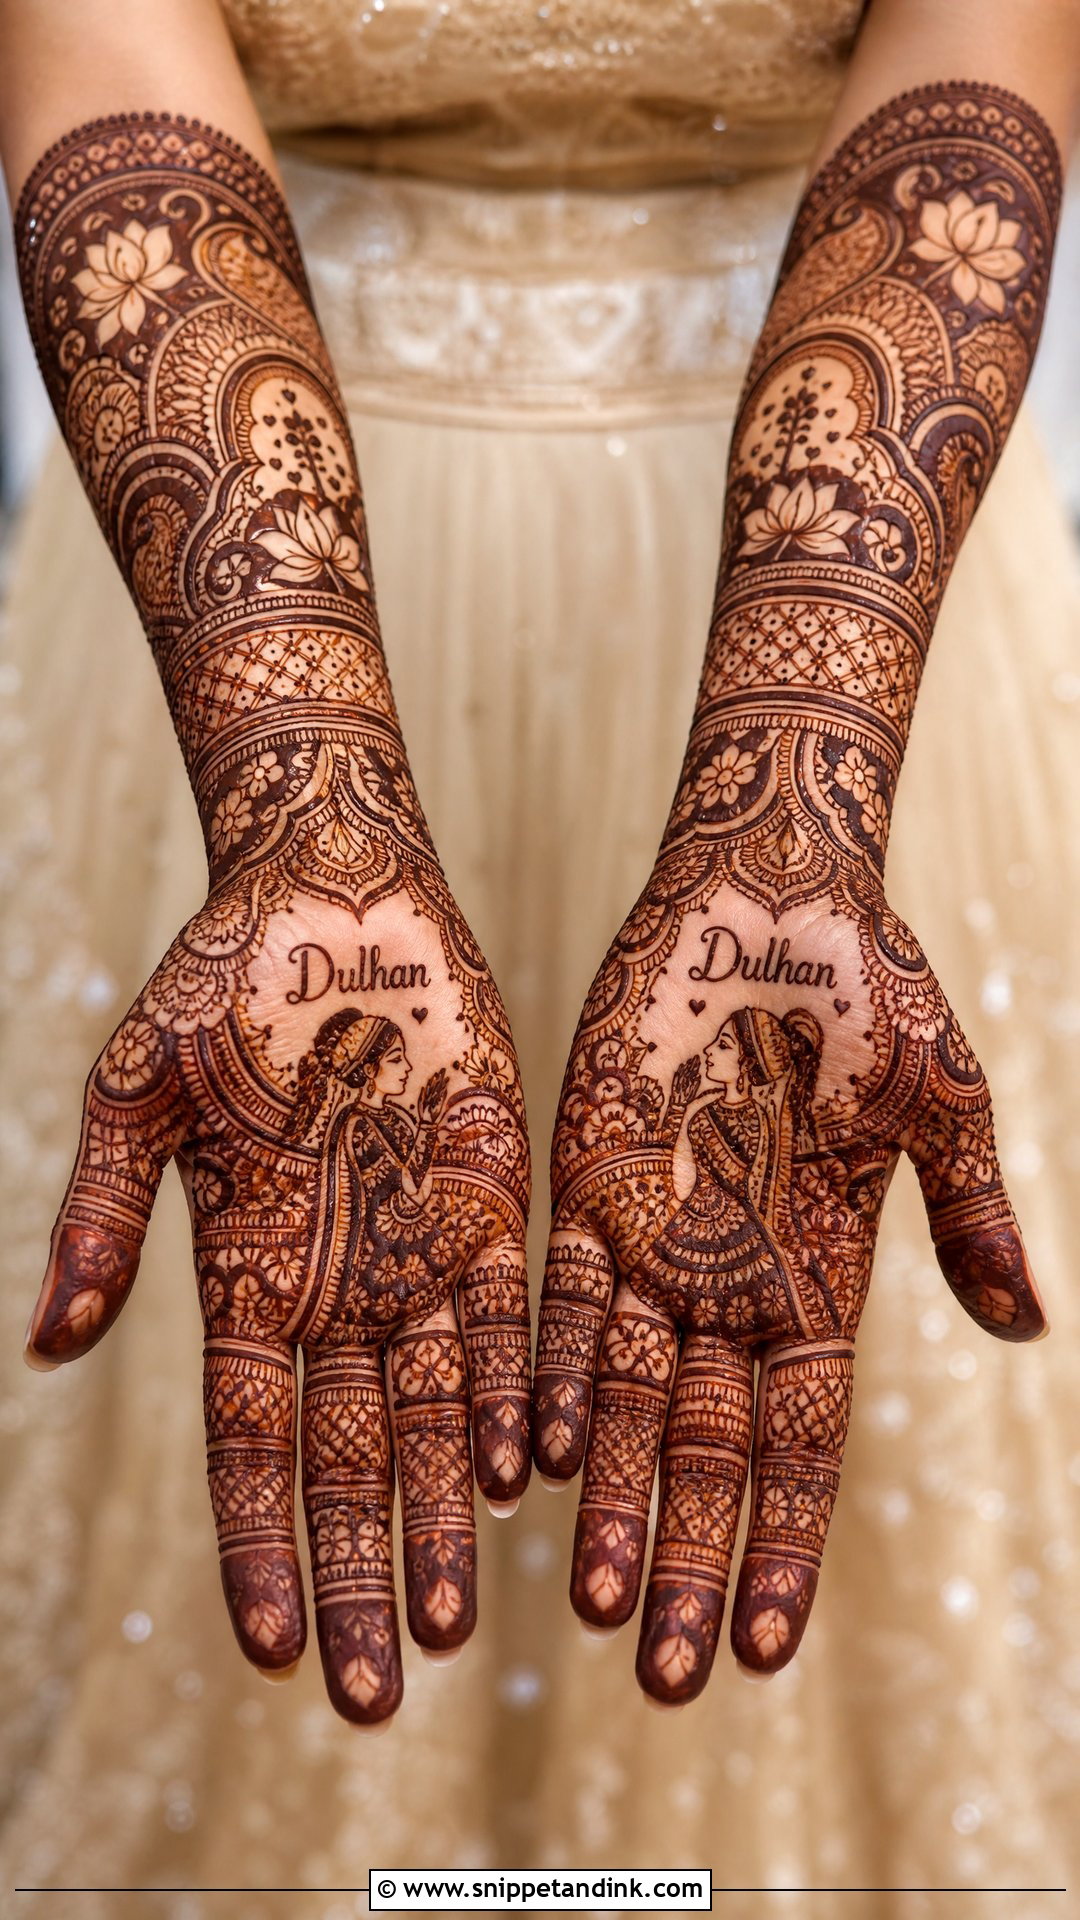
A dulhan design announces the bride: lettering, her figure, the groom’s initials, a doli or ceremony symbol, all framed by full traditional coverage. I like to tie the palm motif to the outfit, so a lotus for a pink lehenga or a peacock for royal blue. Where brides go wrong is asking for every symbol at once. Pick one strong palm centrepiece and let the fillers support it, because tiny elements crowded together lose their outlines when the stain darkens.
7. Bride And Groom Mehndi Design
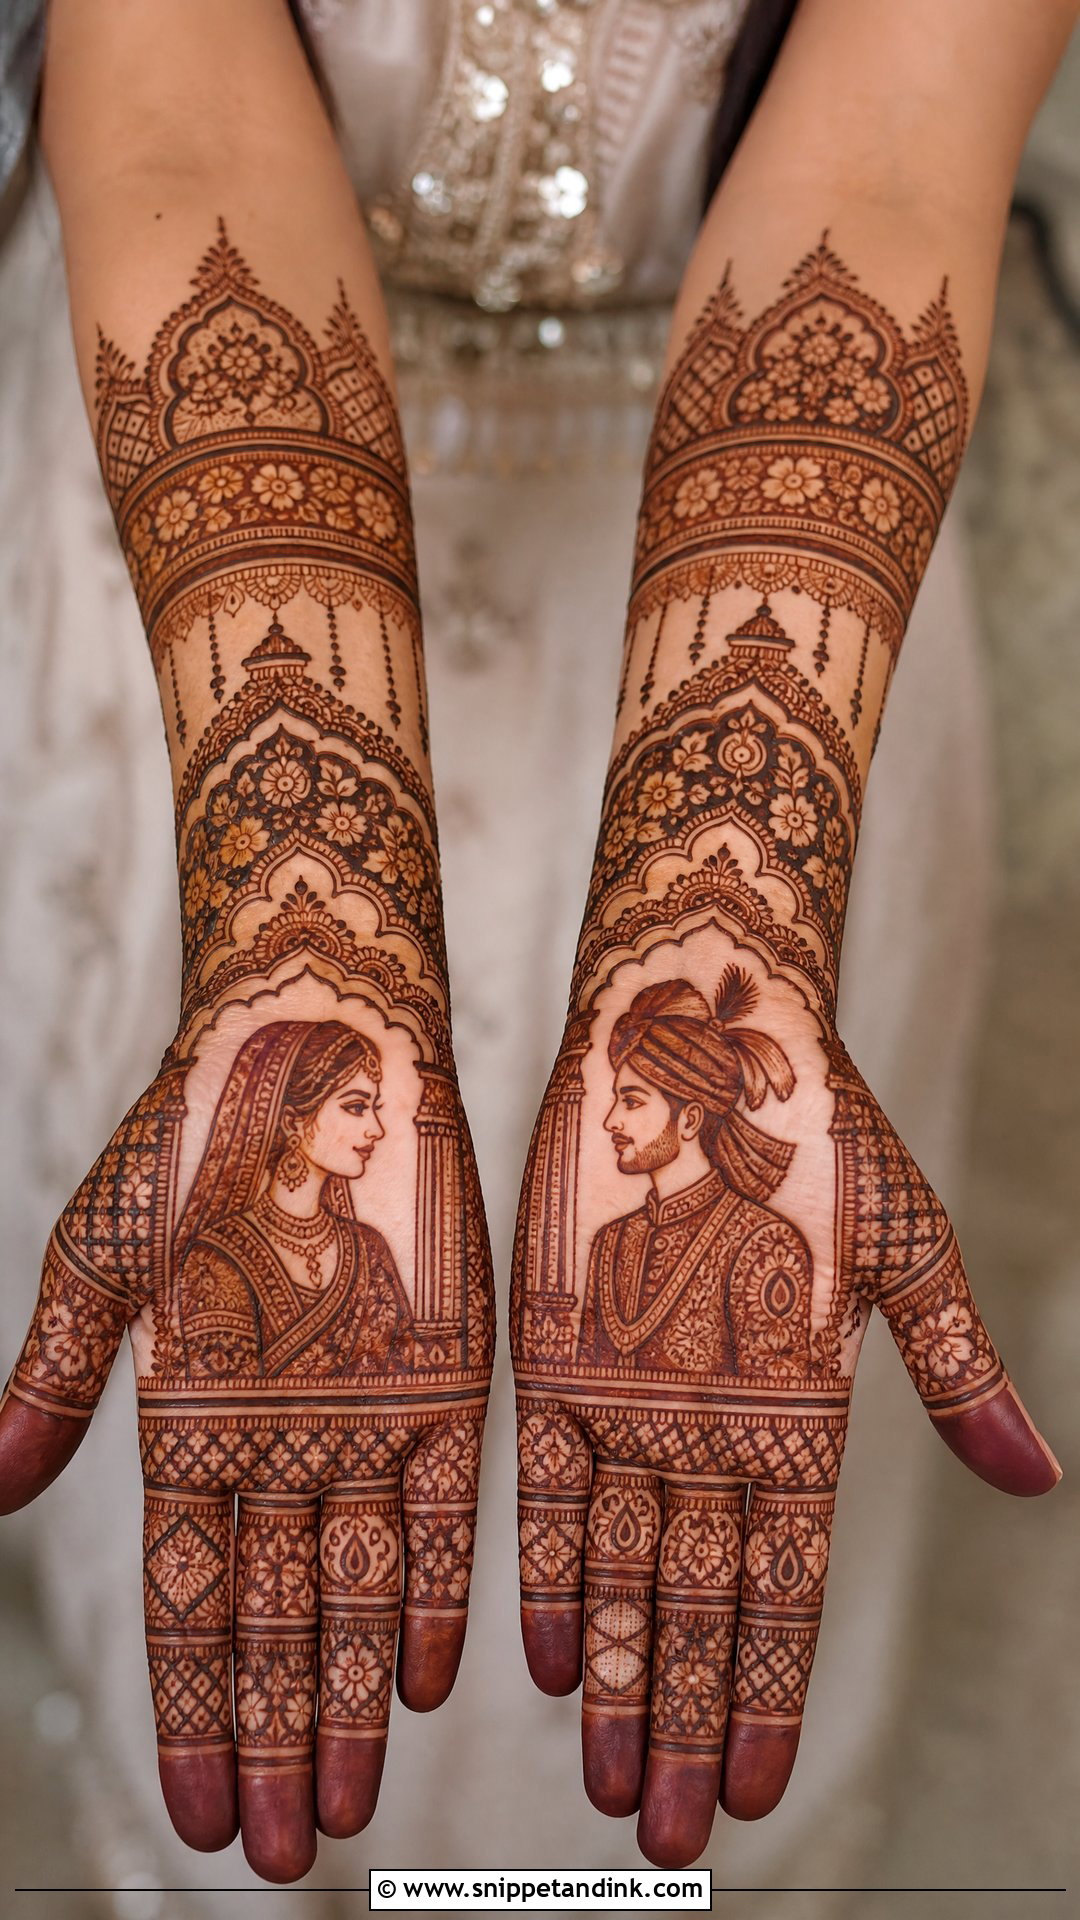
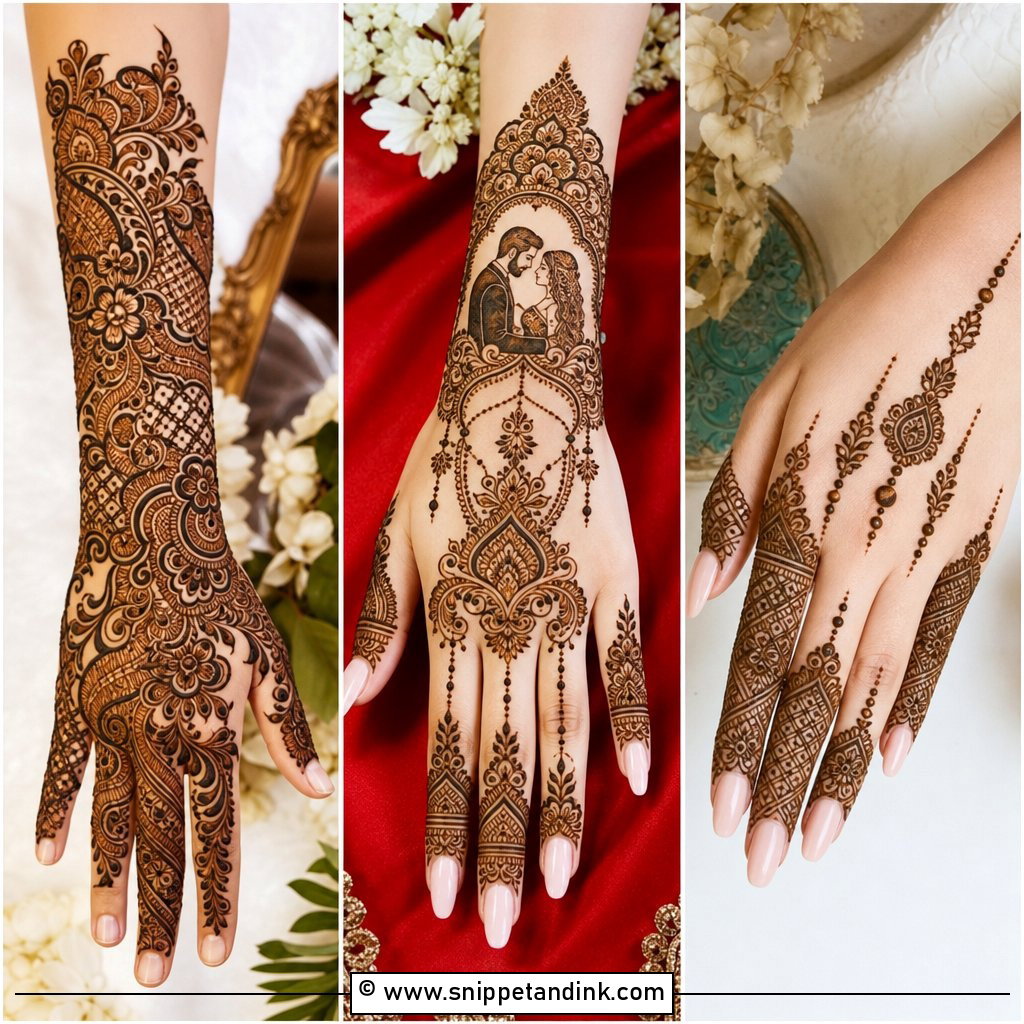
Bride and groom mehndi design puts her figure on one palm and his on the other, usually under a mandap arch with garlands and drums around them. Faces drawn too small turn into smudges, so I keep features simple and expressive, almost cartoon-clean. The forearms then carry jaali and floral bands. When guests reach for your hands at the ceremony, this is what they’ll lean in to see.
8. Portrait Bridal Mehndi Design
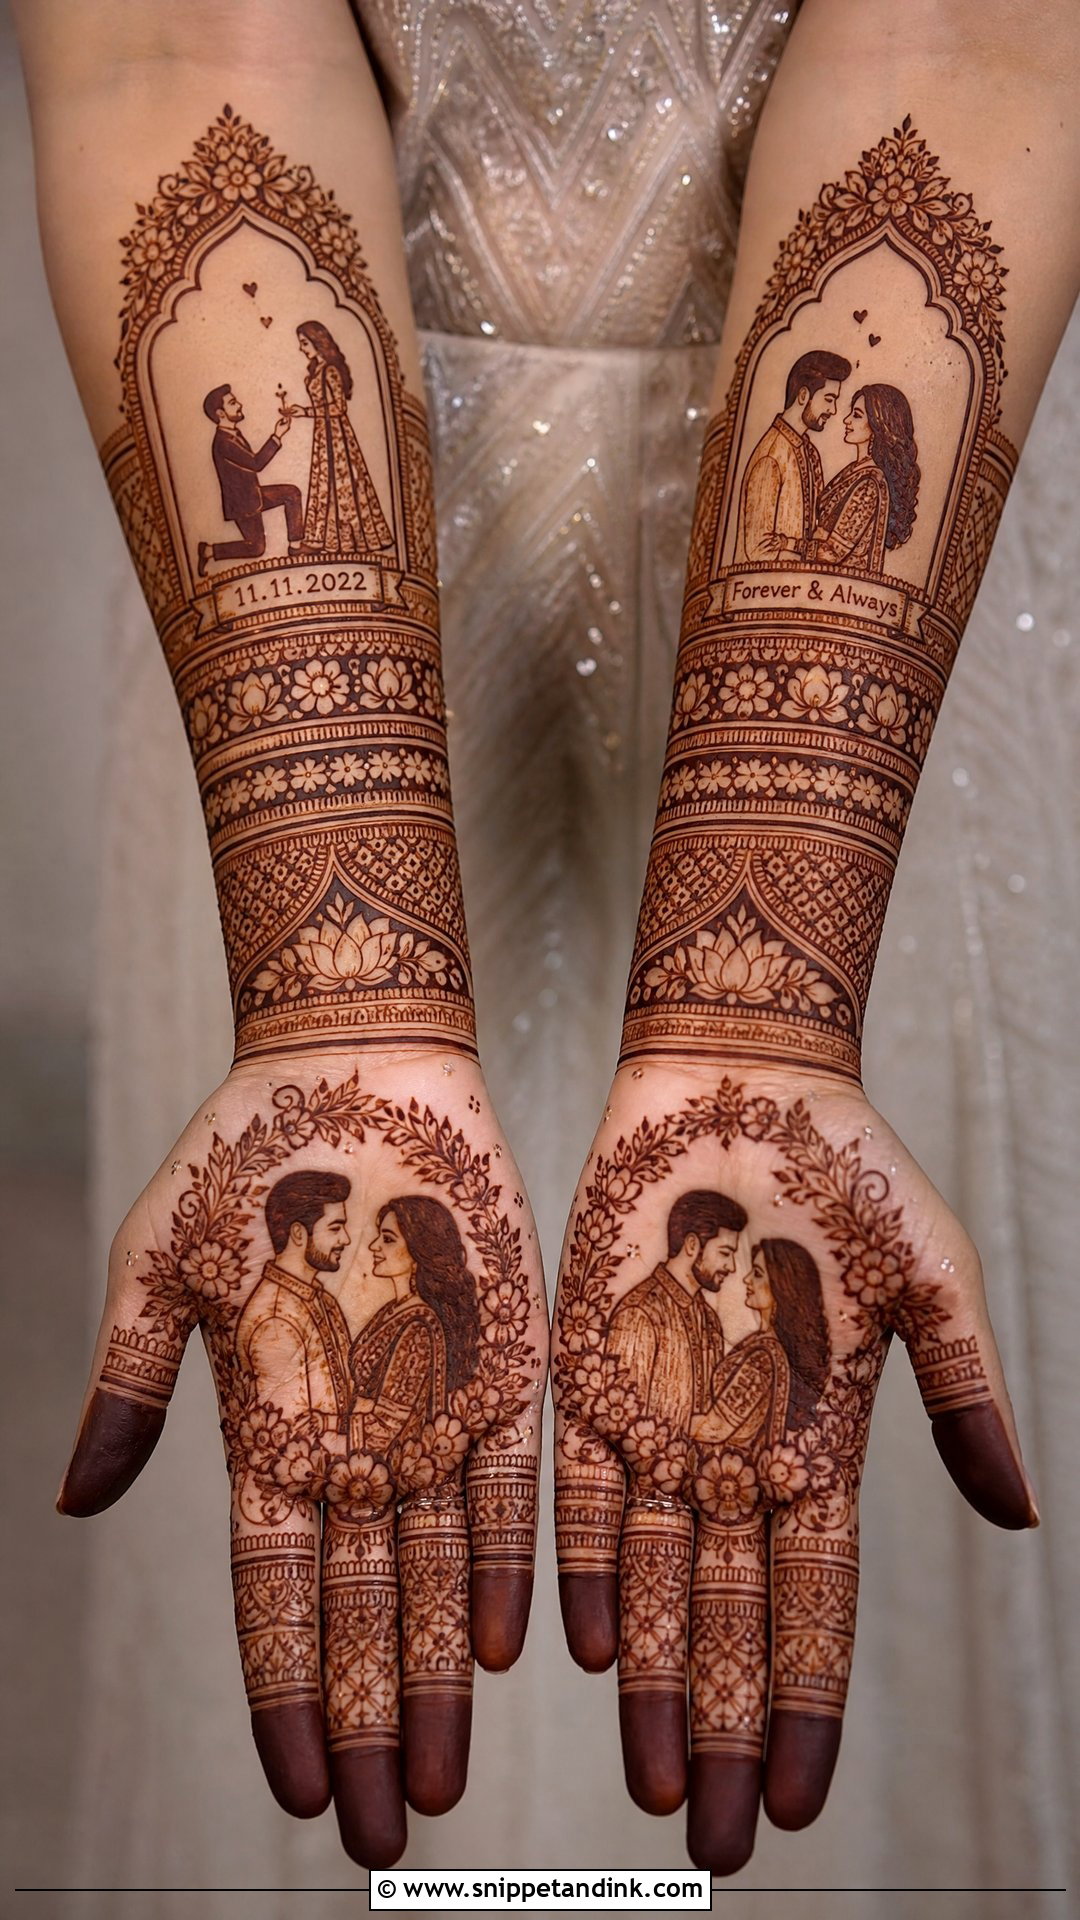
True portrait work goes further than the standard couple motif. Brides ask for proposal scenes, the venue skyline, even a pet. It needs an artist who draws faces confidently with a cone, so look at close-up photos of their healed stains, not just fresh paste. I place portraits on the flattest skin, the centre of the palm or inner forearm, where the image won’t distort when the hand bends. Keep the borders around it plain so the faces stay the focus.
9. Peacock Bridal Mehndi Design
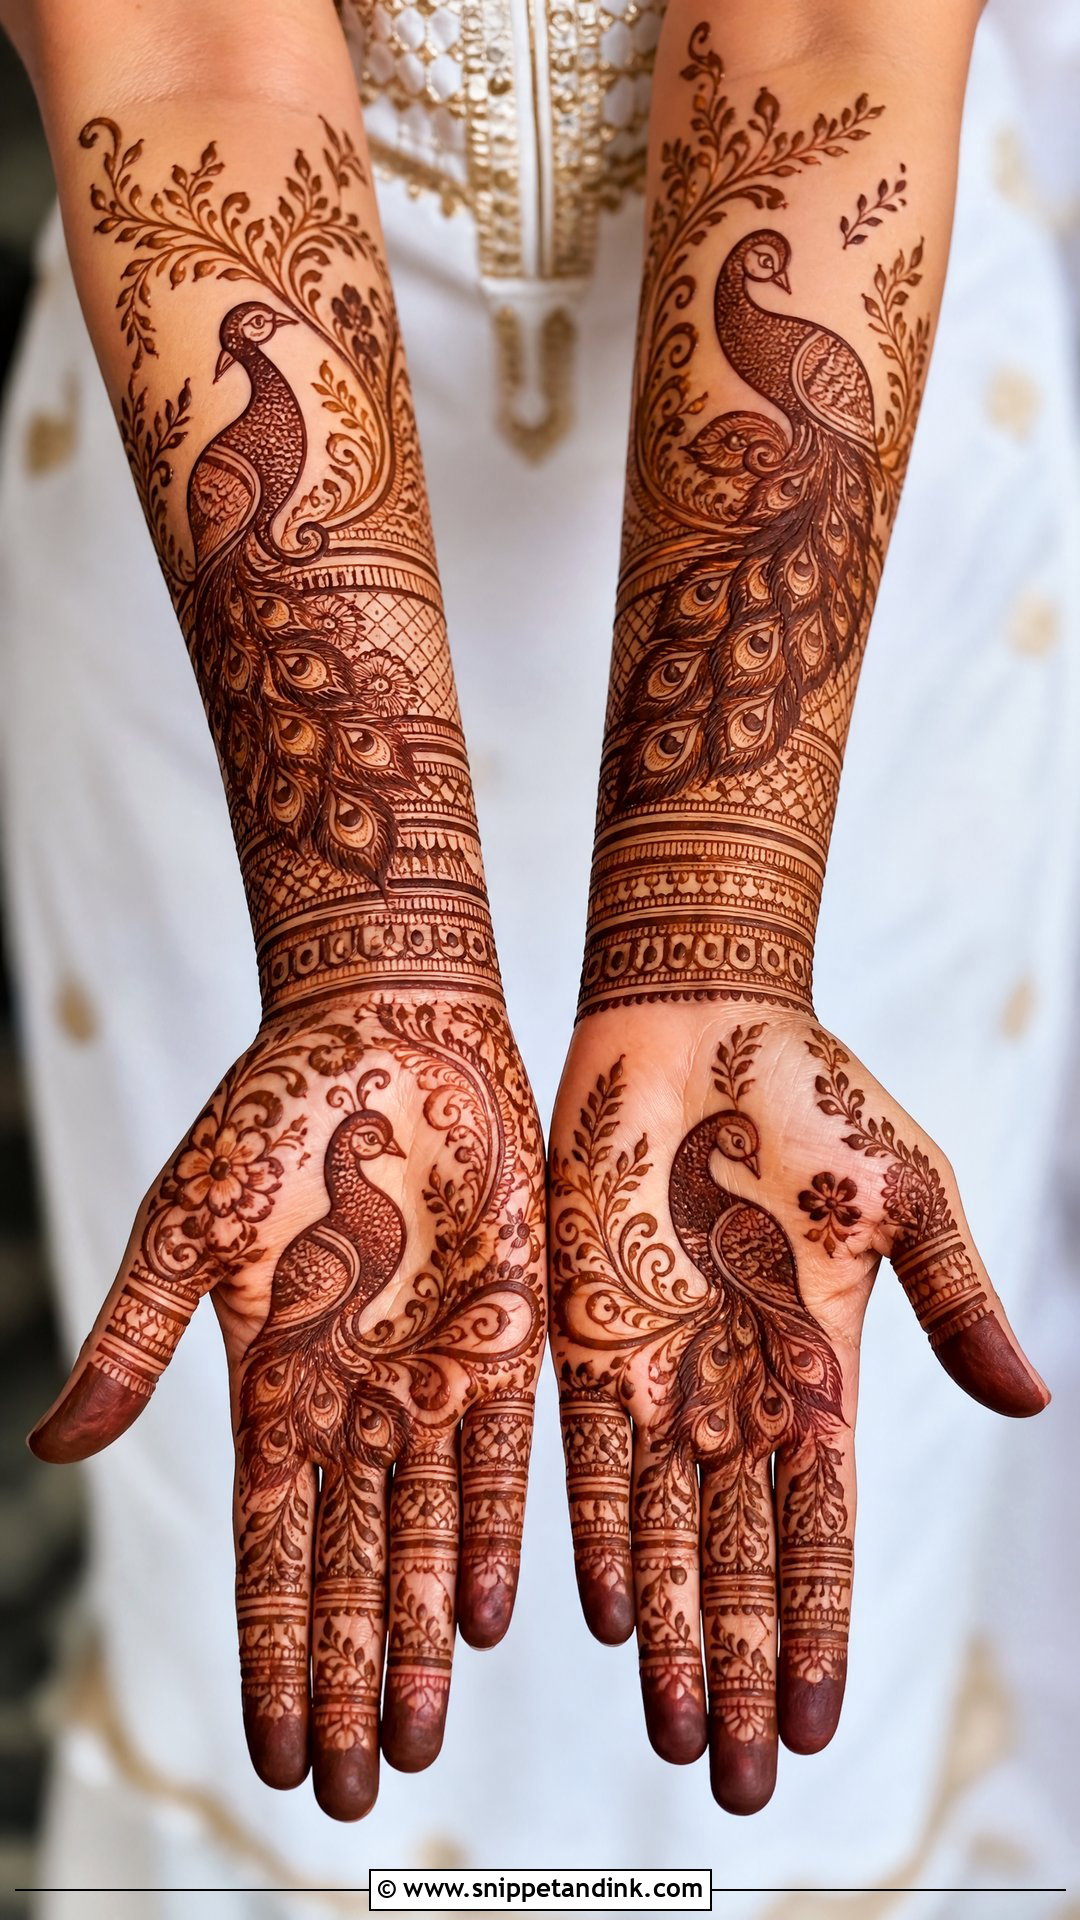
A peacock gives the hand movement. I draw the neck curving toward the thumb and let the feathers run up the forearm, which flatters most hand shapes because the eye follows the line. For heavy coverage I pair two birds with paisleys and fine mesh; for a lighter version one large peacock on the palm is enough. It looks especially rich against green, maroon and royal blue, where the reddish stain contrasts strongly with the fabric.
10. Lotus Bridal Mehndi Design
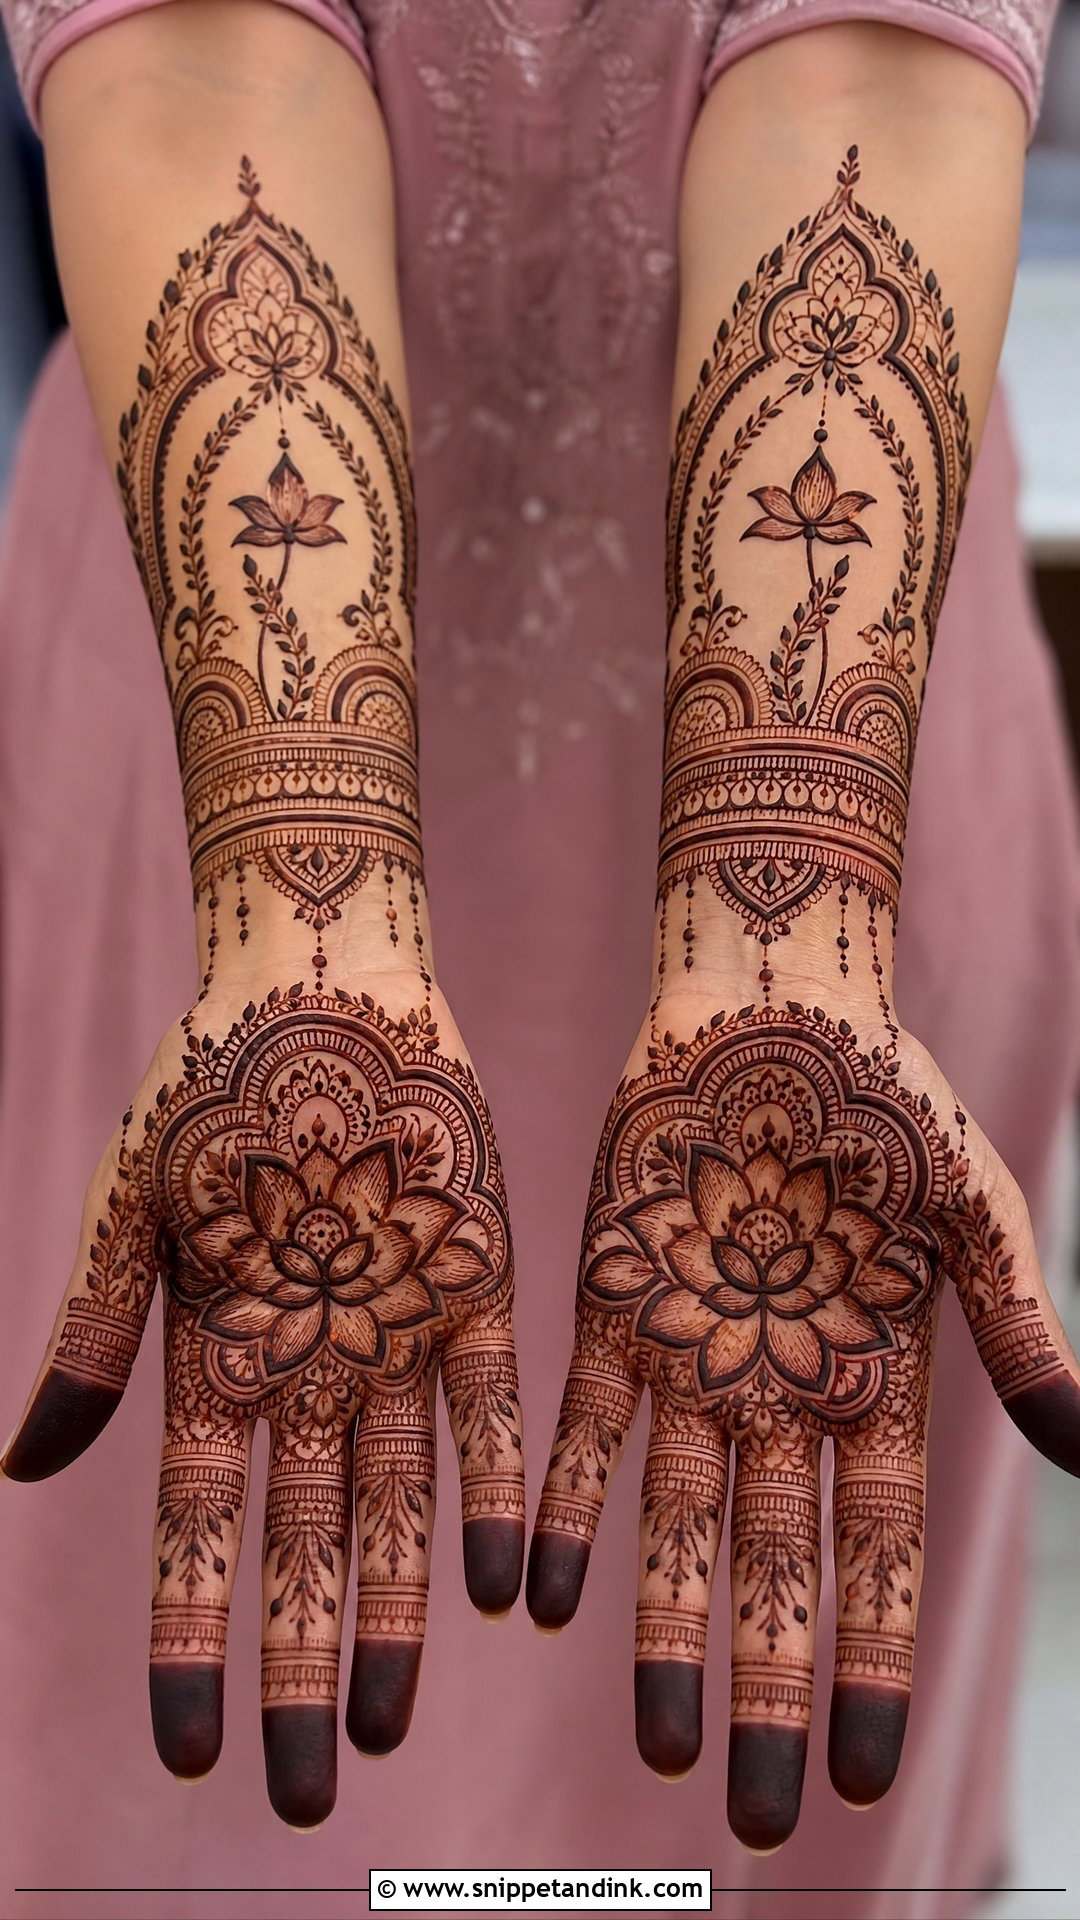
Lotus motifs suit the centre of the palm, the wrist, or a repeating forearm border. An open, bold lotus reads modern; one with layered tiny petals feels temple traditional. The detail I check most is petal spacing, since tight petals bleed together and the flower loses its shape. I pair it with dotted chains and fine leaves, and keep the fingertips dark for contrast. Pastel lehengas and Kanjivaram silks both sit well beside it.
11. Mandala Bridal Mehndi Design
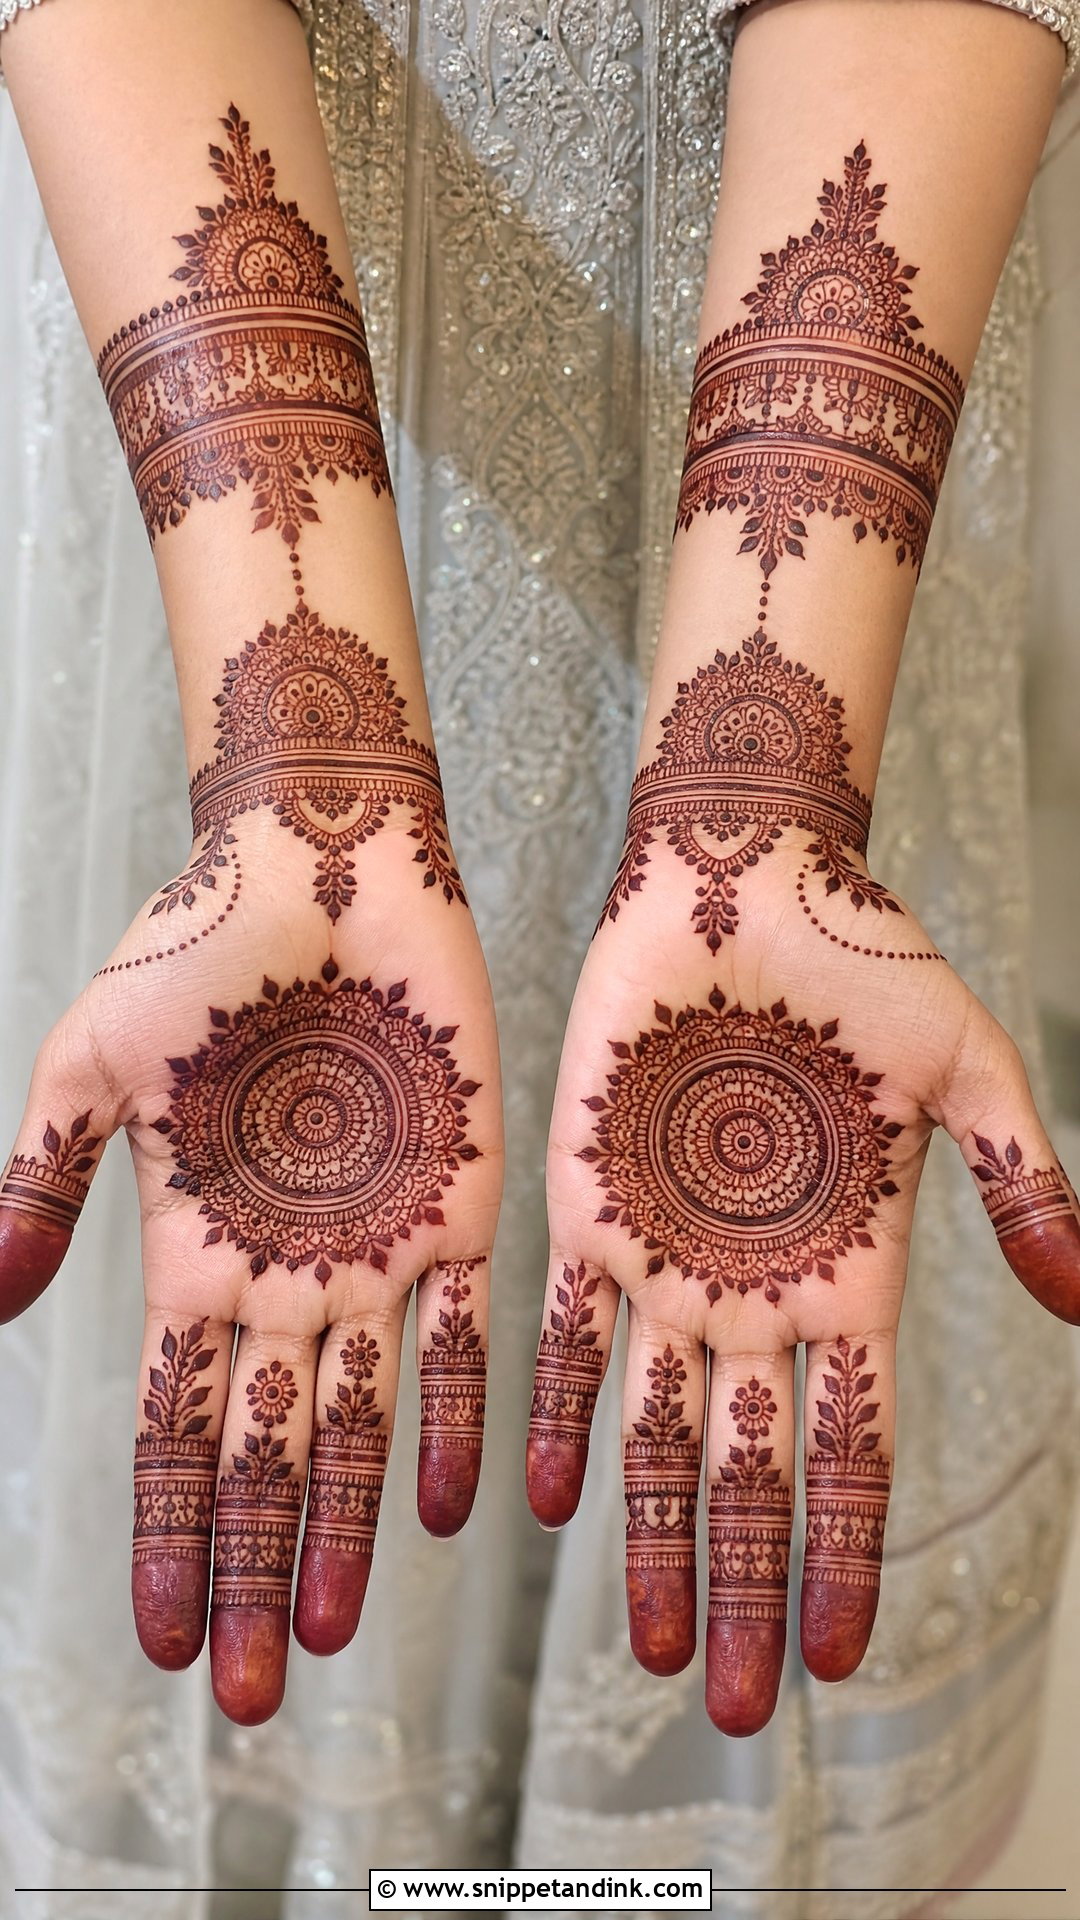
A mandala is easy to understand and hard to draw well. Any wobble in the rings shows instantly, which is why it’s a good test of an artist’s hand. On its own it can feel like a party design, so for a bride I build it out with fingertip caps, a wrist cuff and leafy trails. The round shape centres attention on the palm, and that suits nearly every hand, long fingers or short.
12. Minimal Bridal Mehndi Design
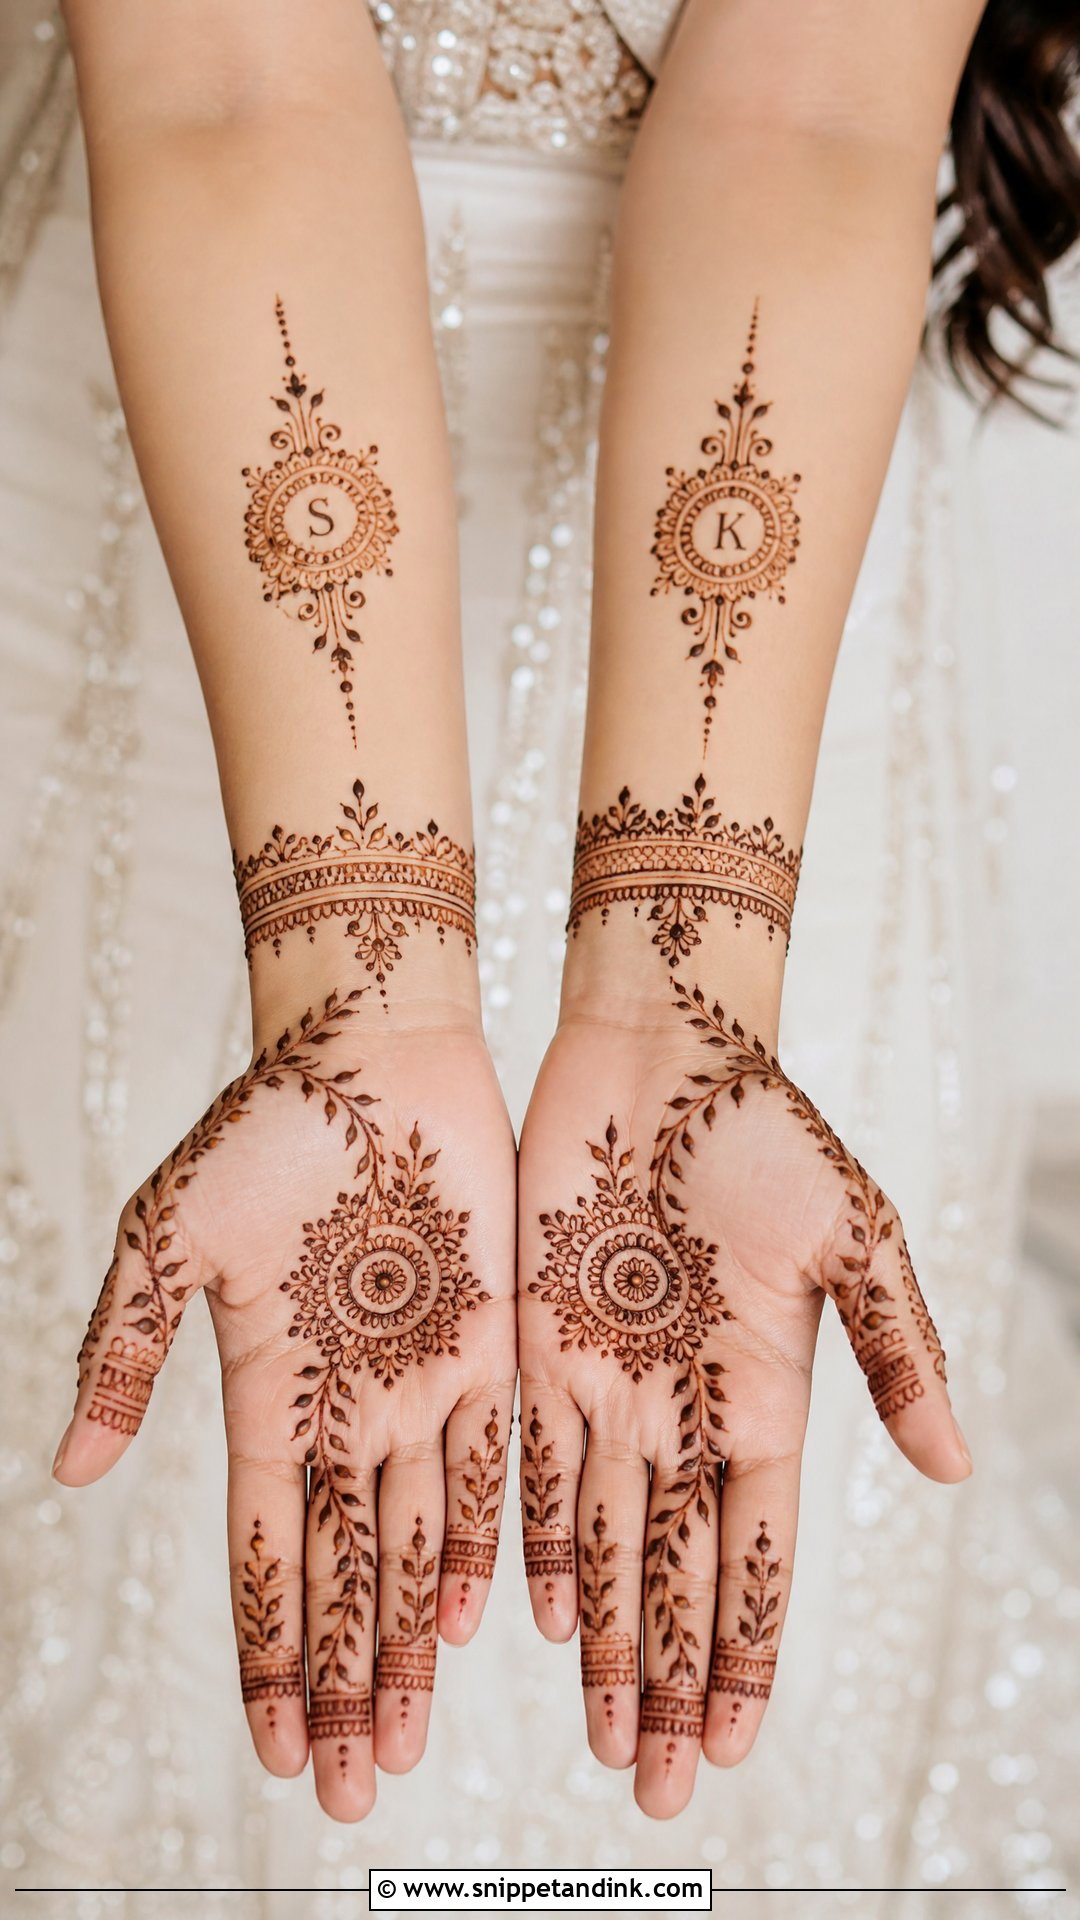
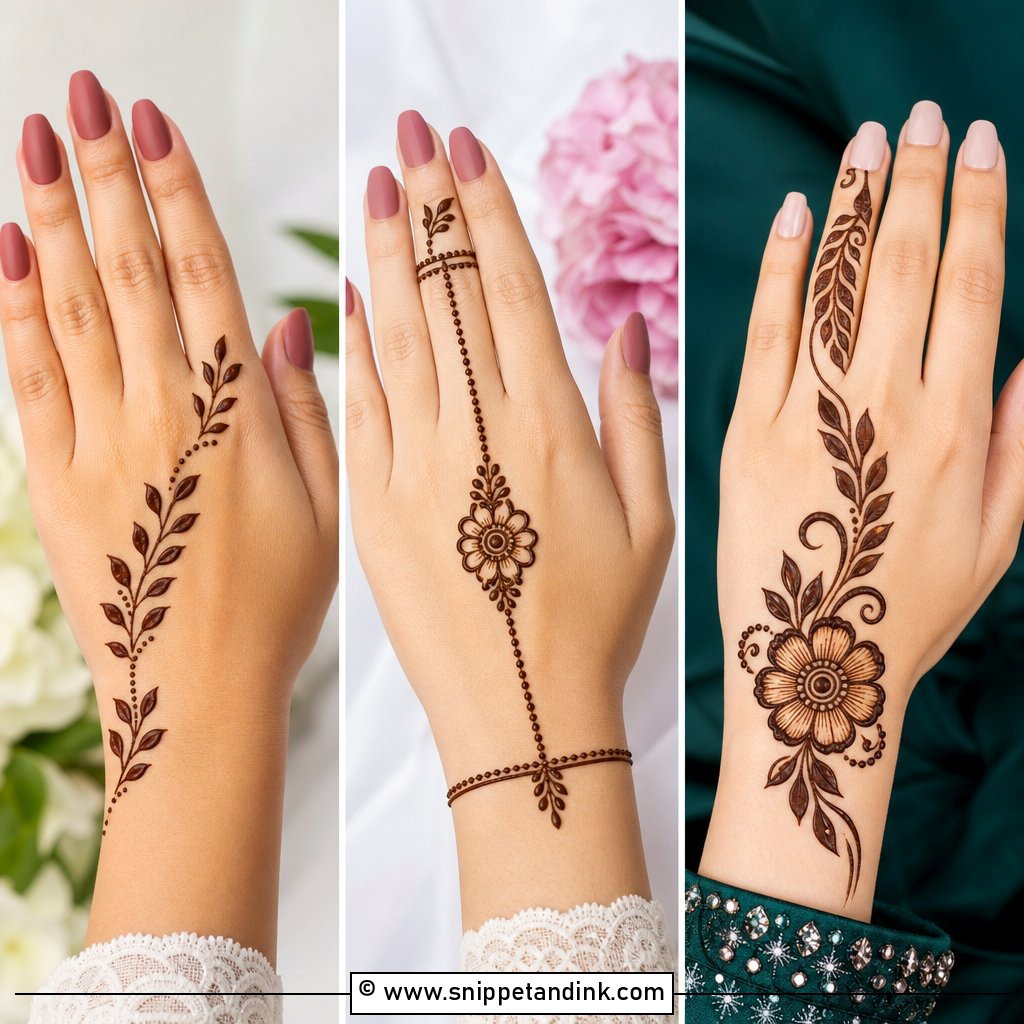
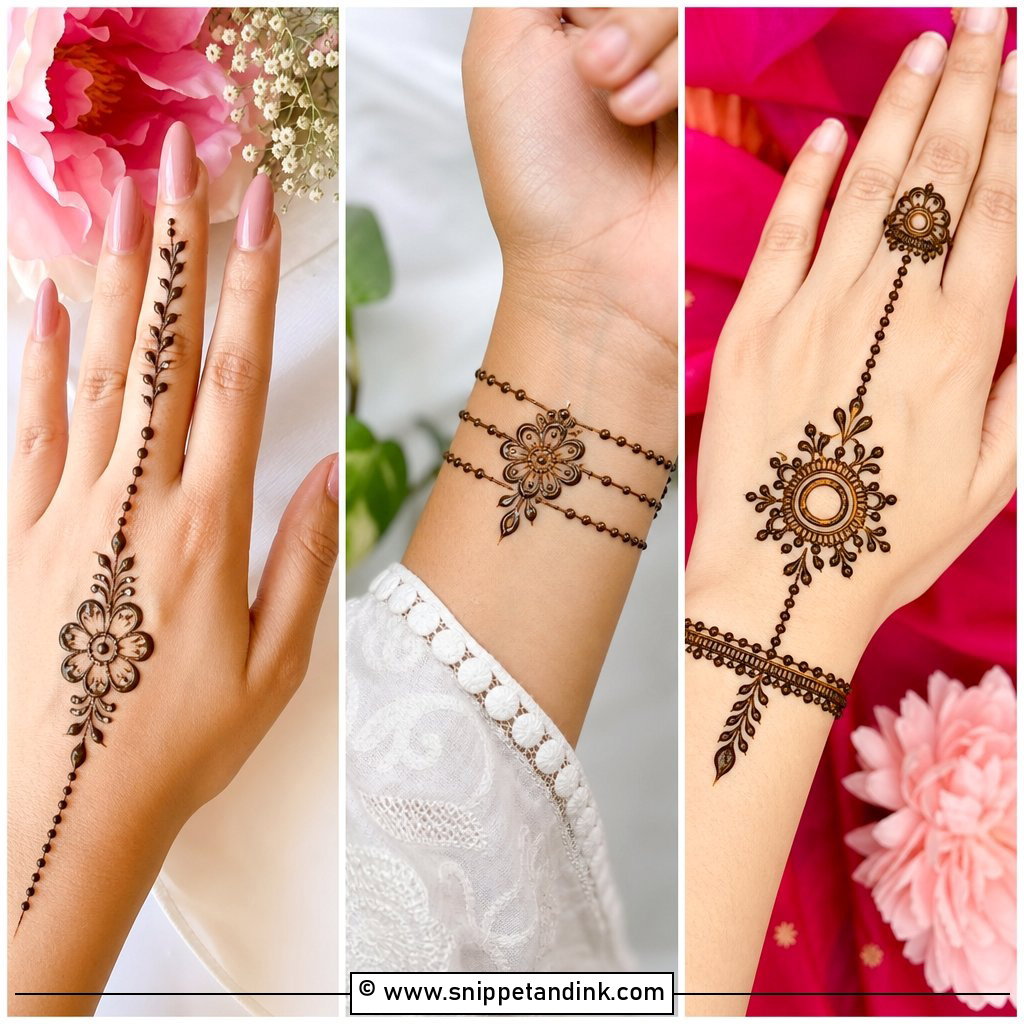
Minimal bridal work picks a few motifs, maybe a small mandala, finger trails, a thin bracelet band and an initial, and leaves the rest of the skin bare. It’s a sensible fit for courthouse ceremonies, destination weddings and brides who can’t sit for hours. What keeps it bridal is symmetry between the hands and a defined wrist finish. Without that wrist line, minimal designs can look like a guest’s mehndi.
13. Modern Bridal Mehndi Design
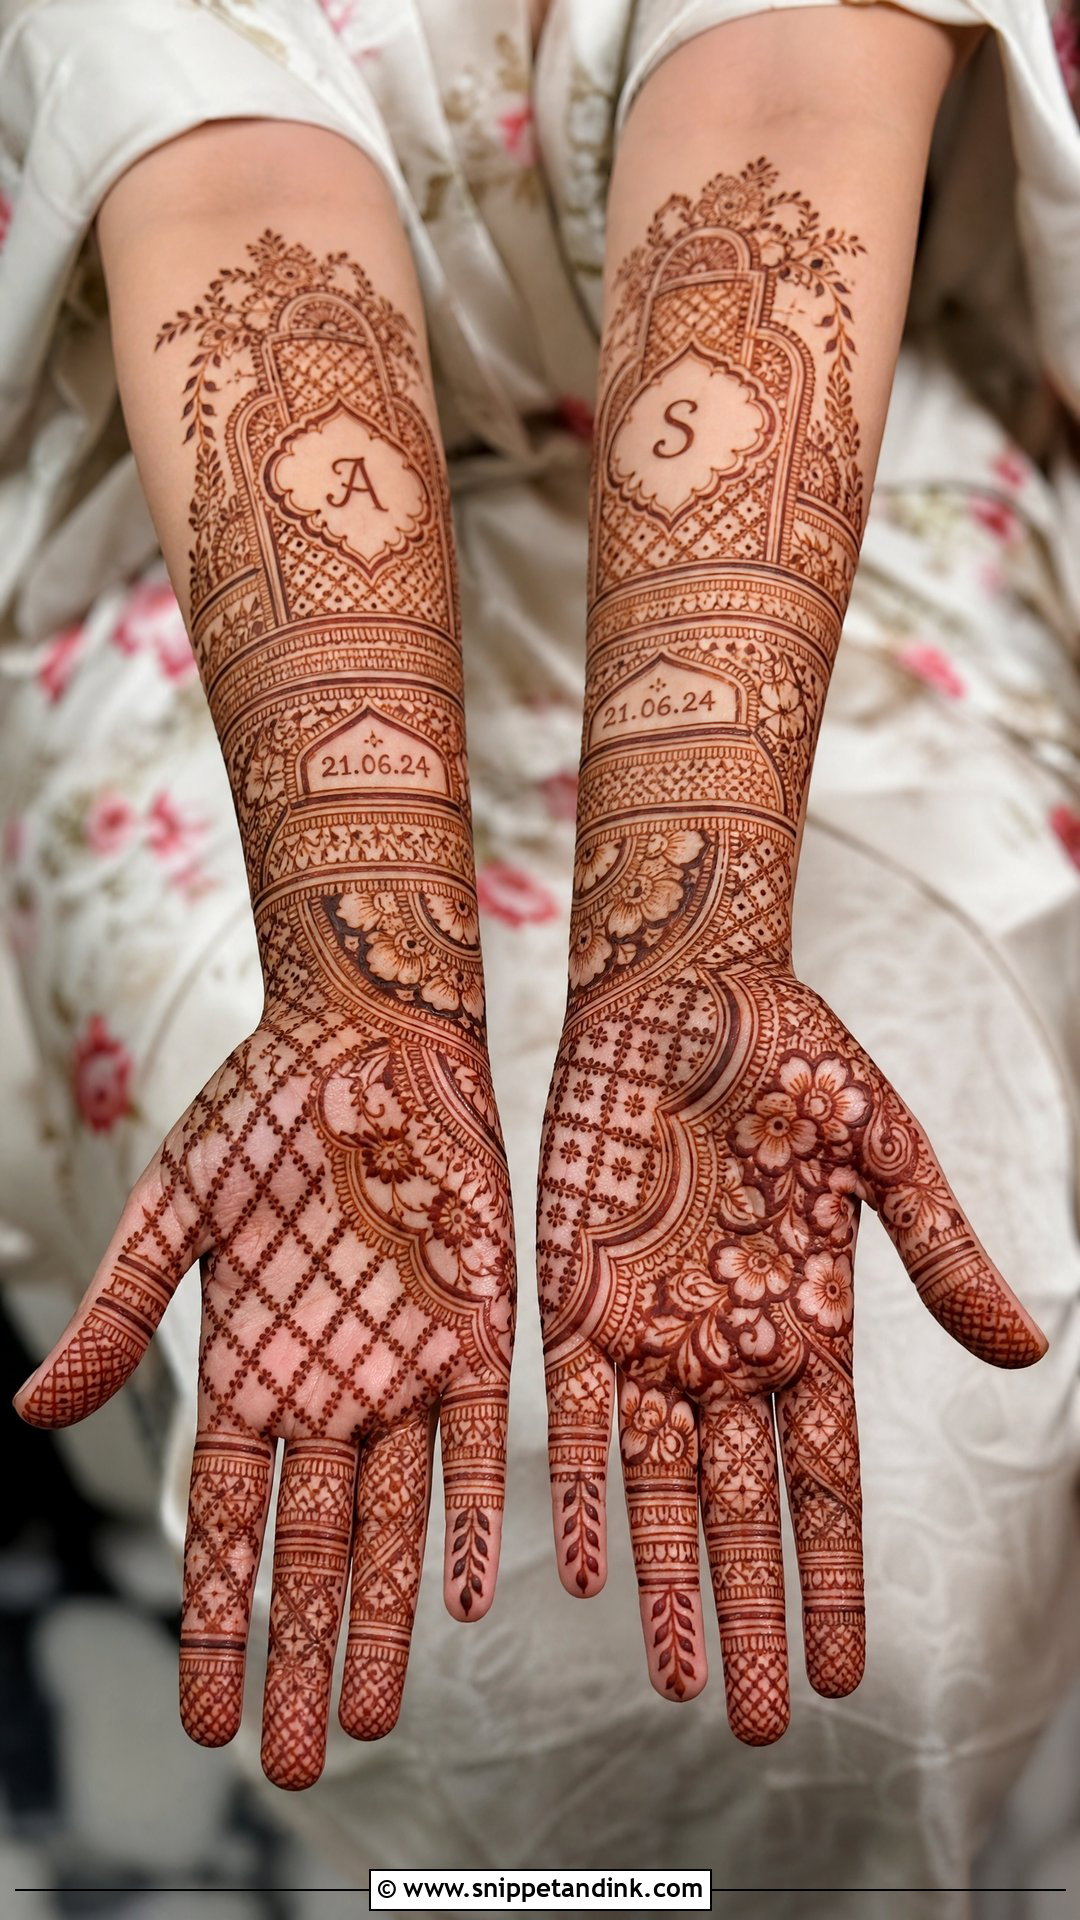
Modern layouts use geometric spacing, fine-line bands and personal symbols like a date or a city skyline, with more open skin than a traditional design. The risk is scatter: little elements floating with nothing tying them together. I connect everything with vines or dotted chains so the hand reads as one composition from fingers to wrist. Fusion outfits and pastel reception looks suit it well.
14. Royal Bridal Mehndi Design
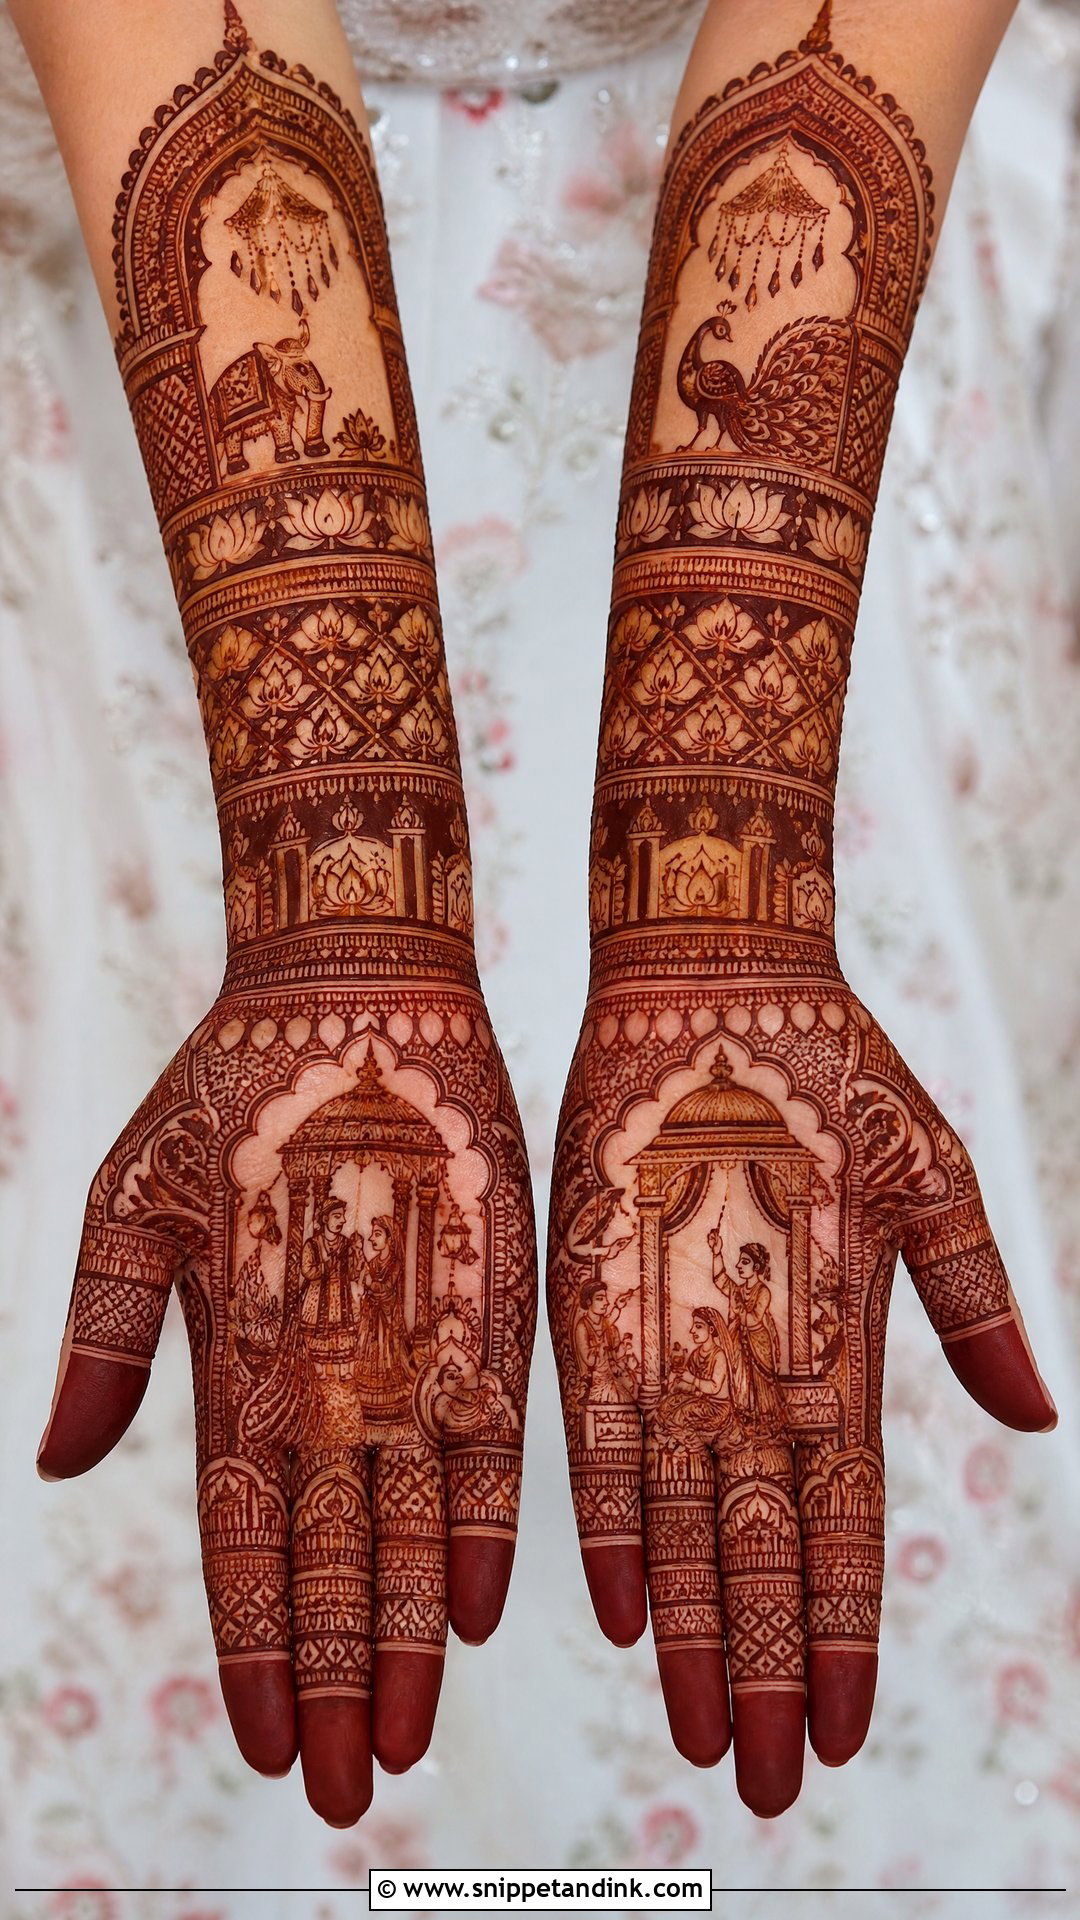
Royal designs borrow palace imagery: windows, elephants, chandeliers, a mandap scene, with heavy cuffs at the wrists. Because the motifs are large, this only works at full coverage. I draw the major figures first and add fine filler last, never the other way round, otherwise the main shapes get squeezed. Heavy kundan or polki jewellery holds its own beside it rather than competing.
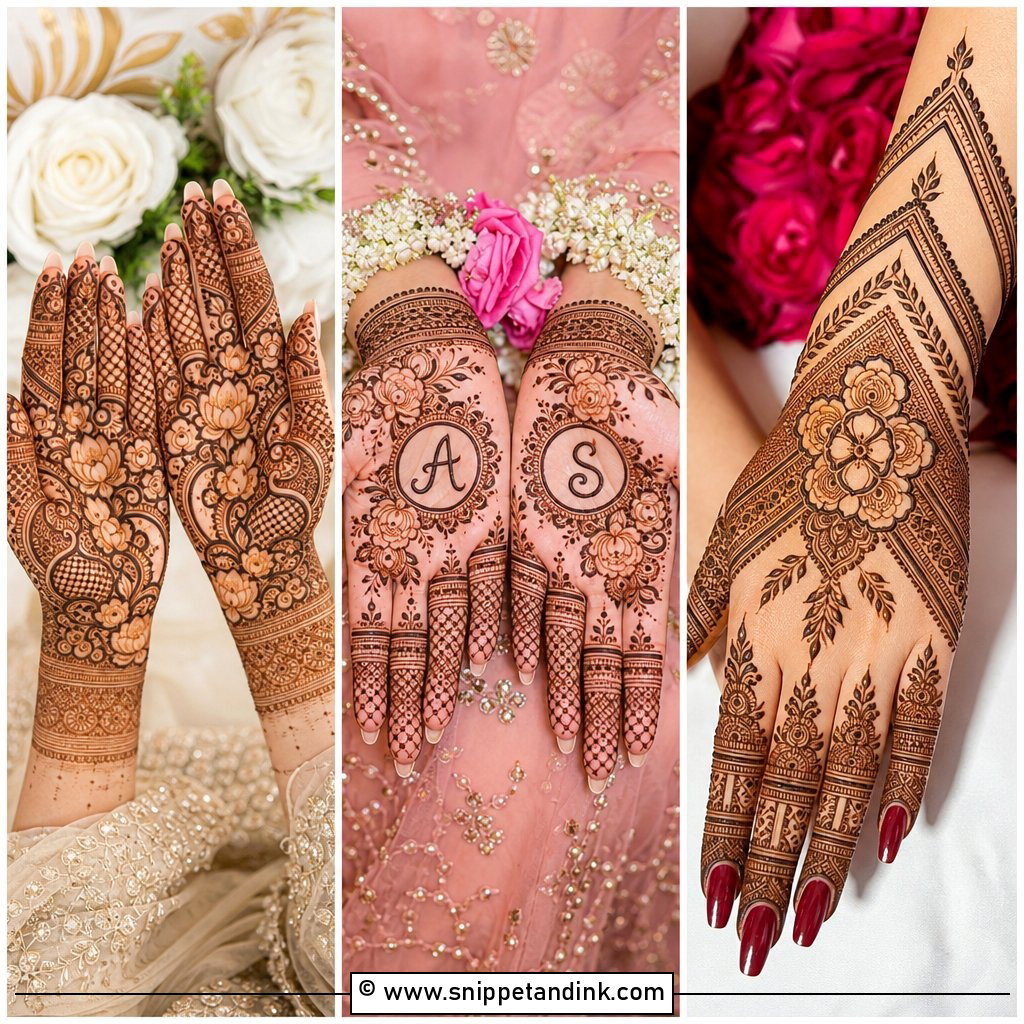
15. Simple Bridal Mehndi Design
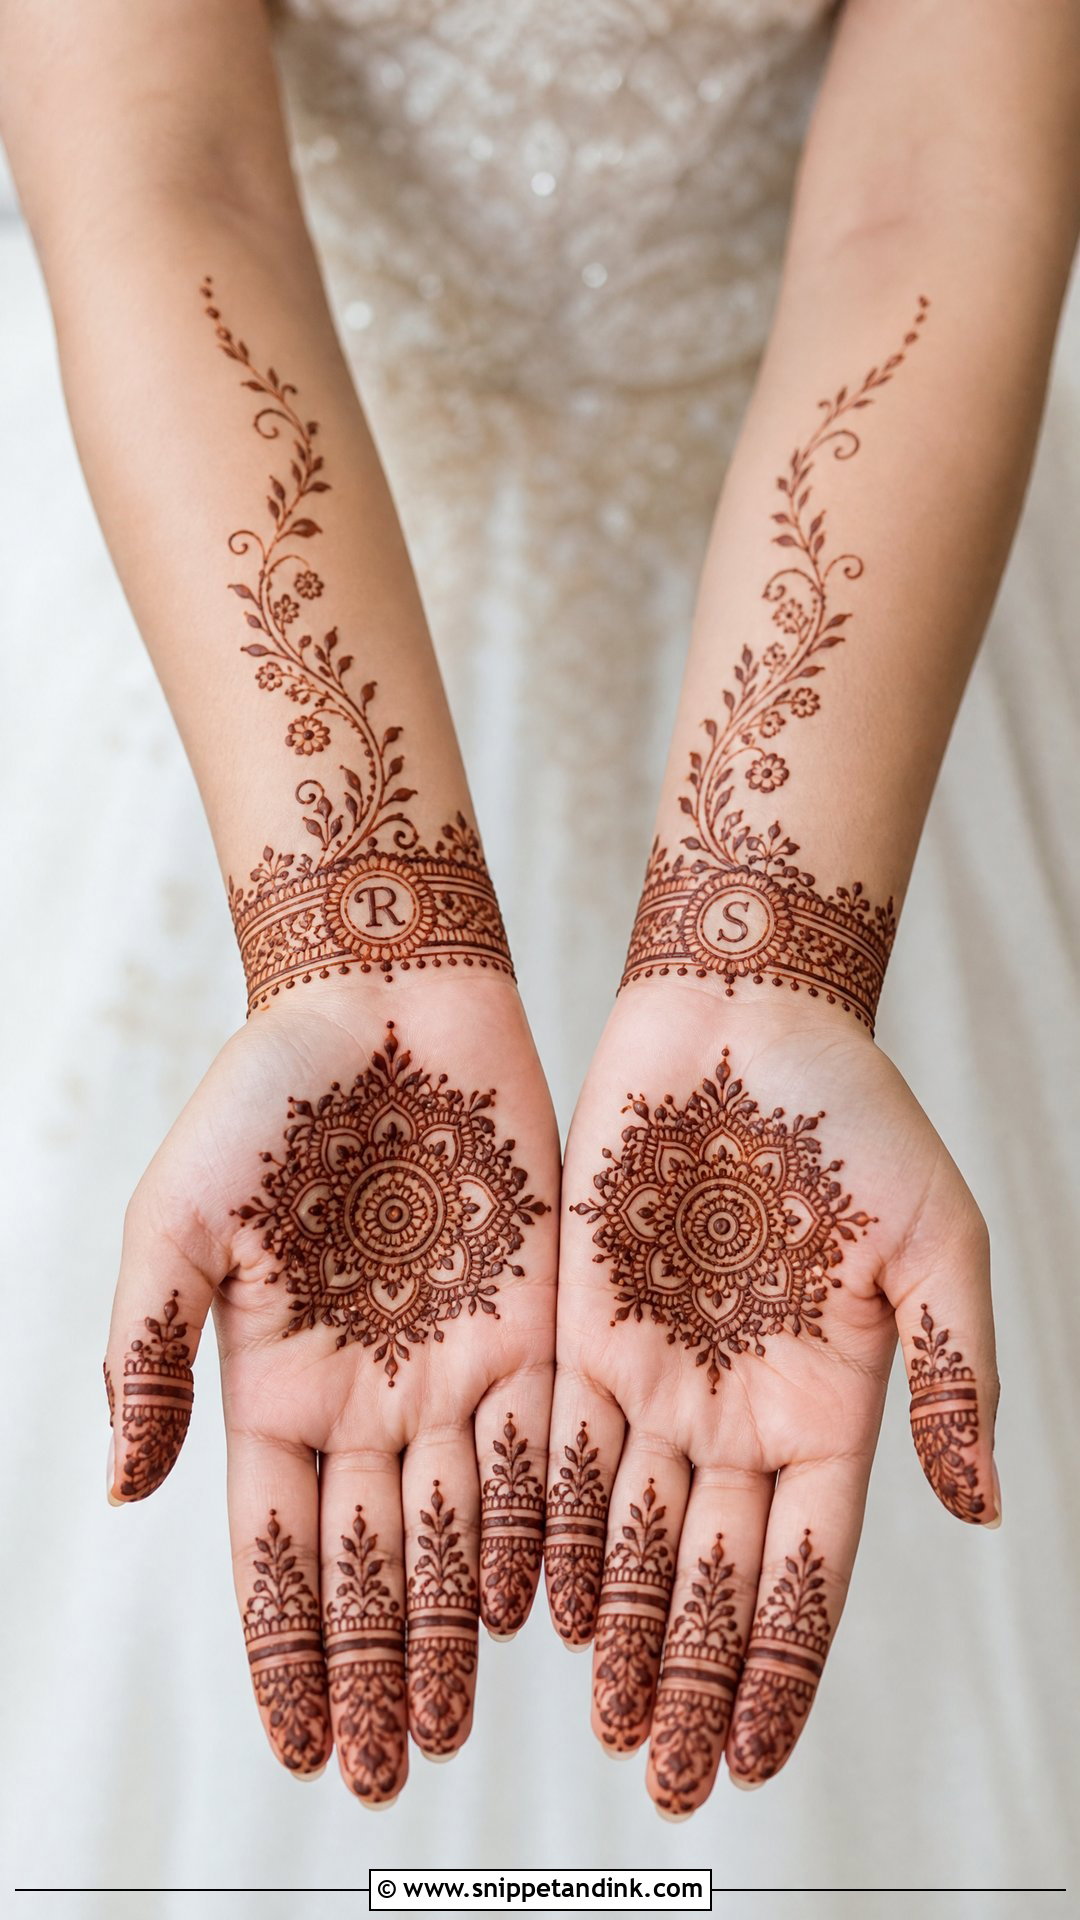
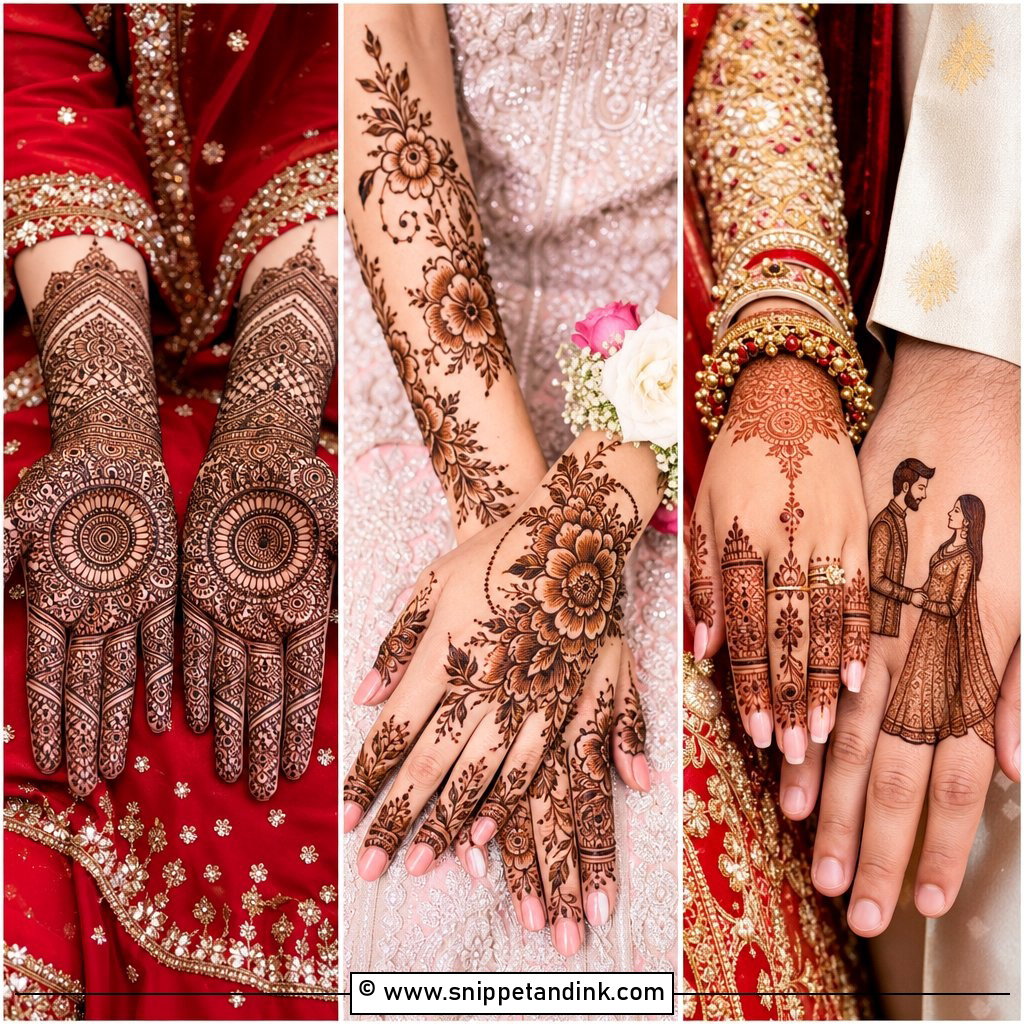
Simple doesn’t mean empty. A palm mandala, a few floral vines, neat finger work and a wrist band can still look clearly bridal. The point is placement: every motif needs breathing room so it reads after the stain develops. I often suggest this for a haldi or engagement, or for brides whose schedule leaves only a short sitting. One small personal element, like initials, is plenty.
16. Heavy Bridal Mehndi Design
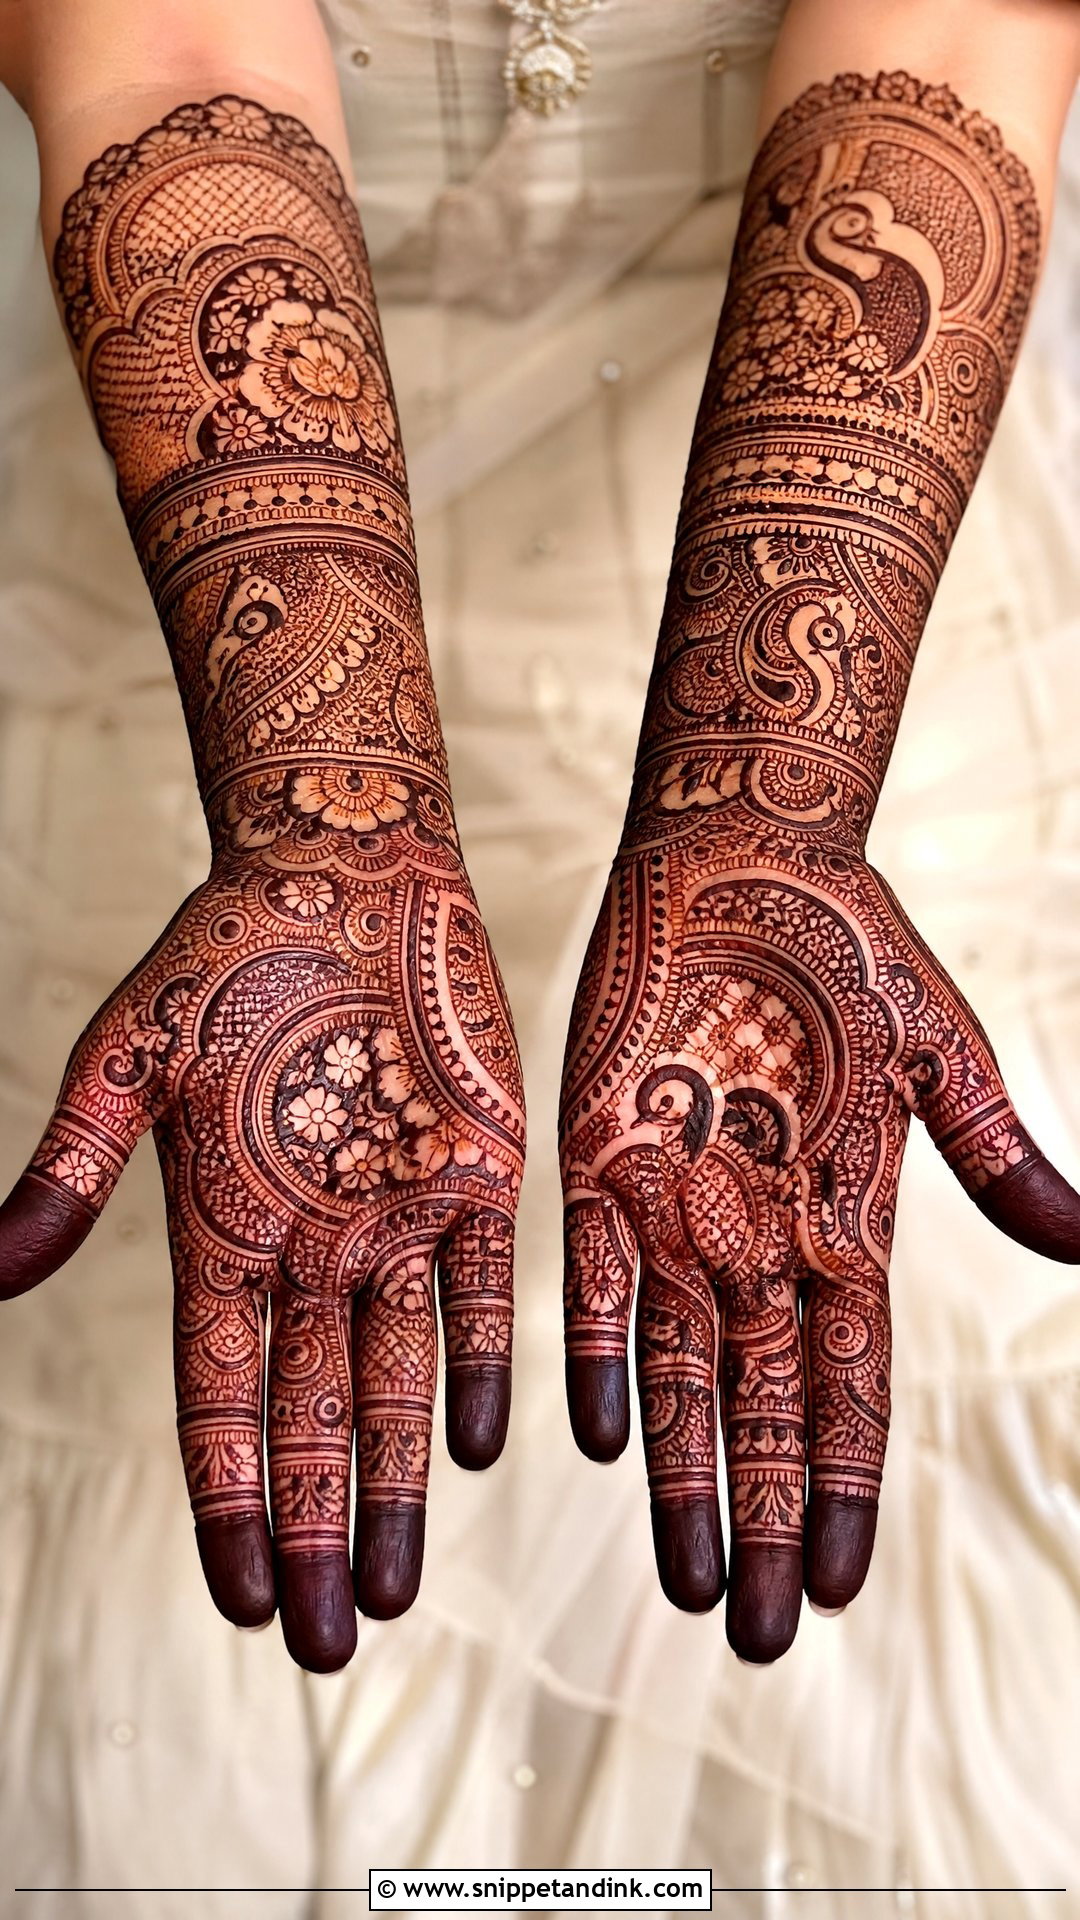
Heavy coverage often climbs past the elbows, packed with paisleys, peacocks, jaali and shaded sections. It looks magnificent with rich outfits, but only if it’s structured. Before I start I mentally divide each arm into panels with bands and curves, and I fill one panel at a time. Dense work without that framework turns into visual noise. Expect a long sitting, and plan for someone to feed you.
17. Back Hand Bridal Mehndi Design
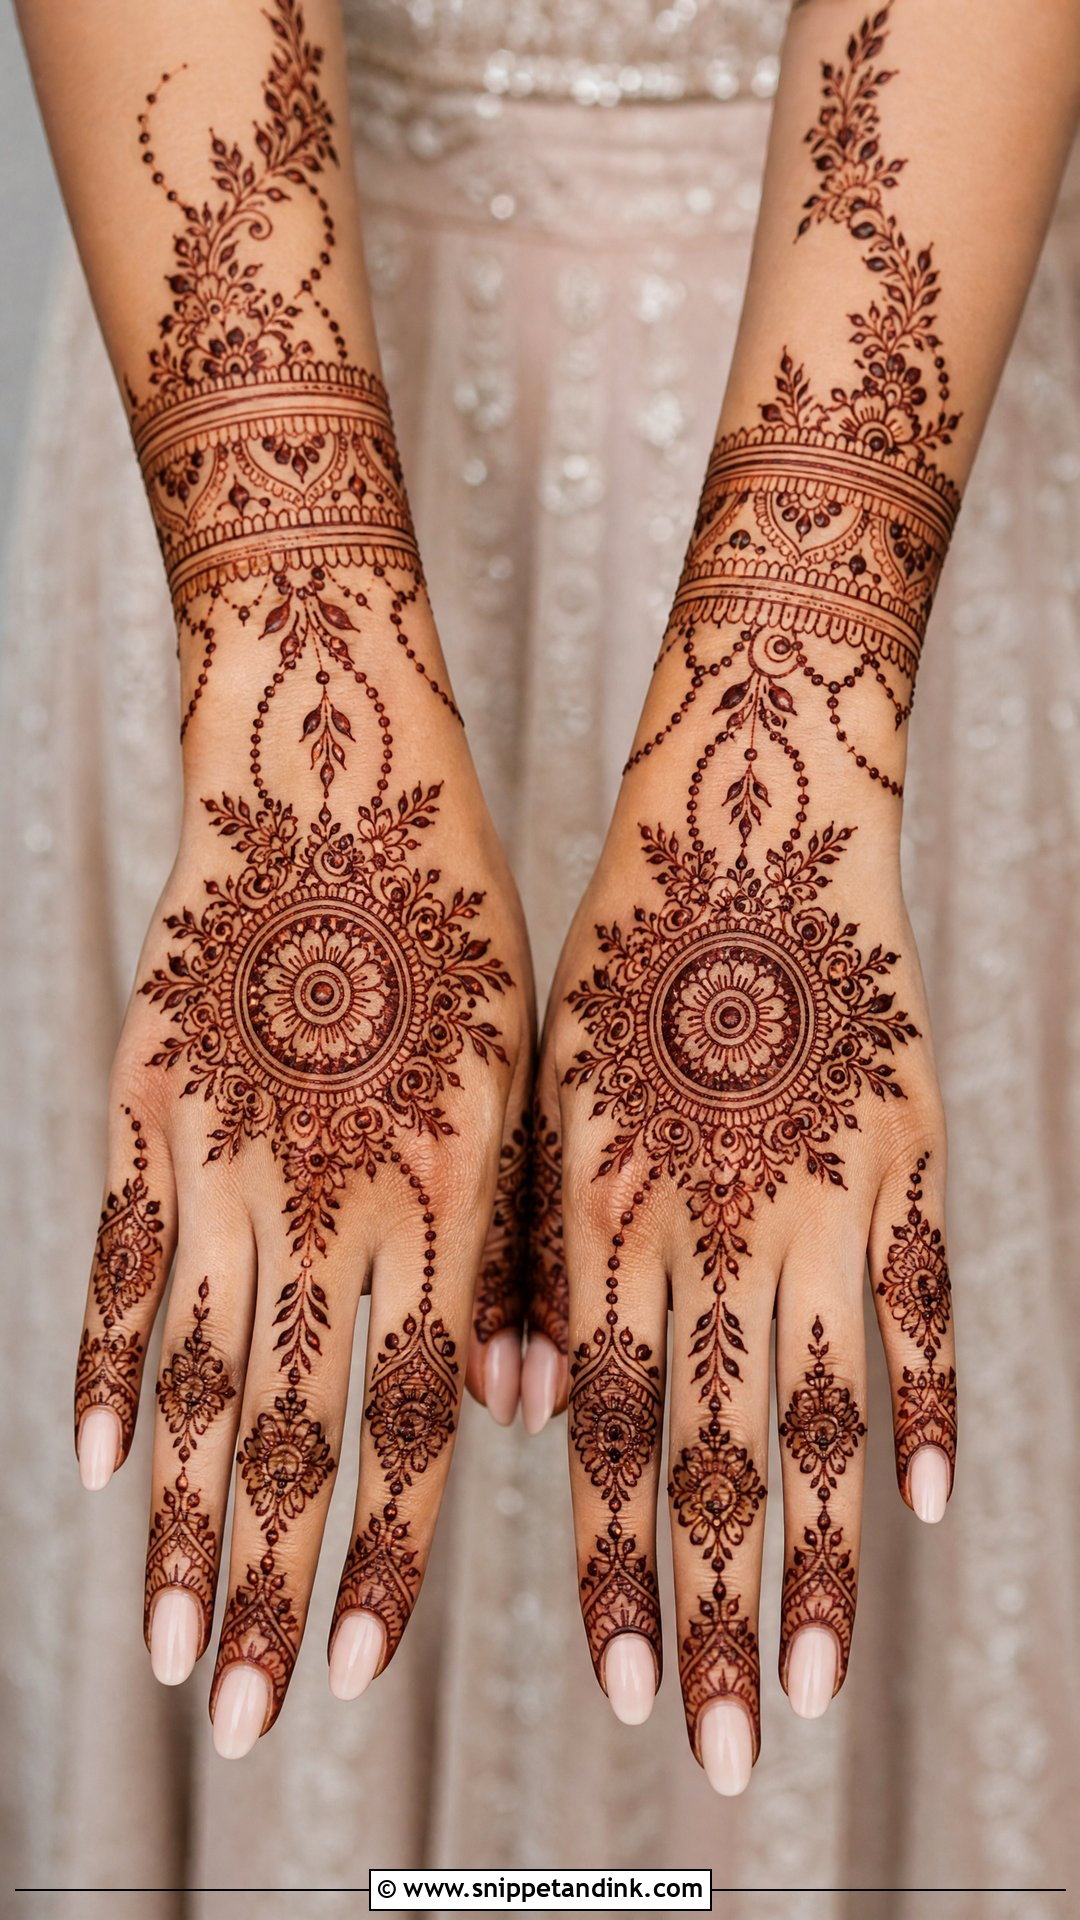
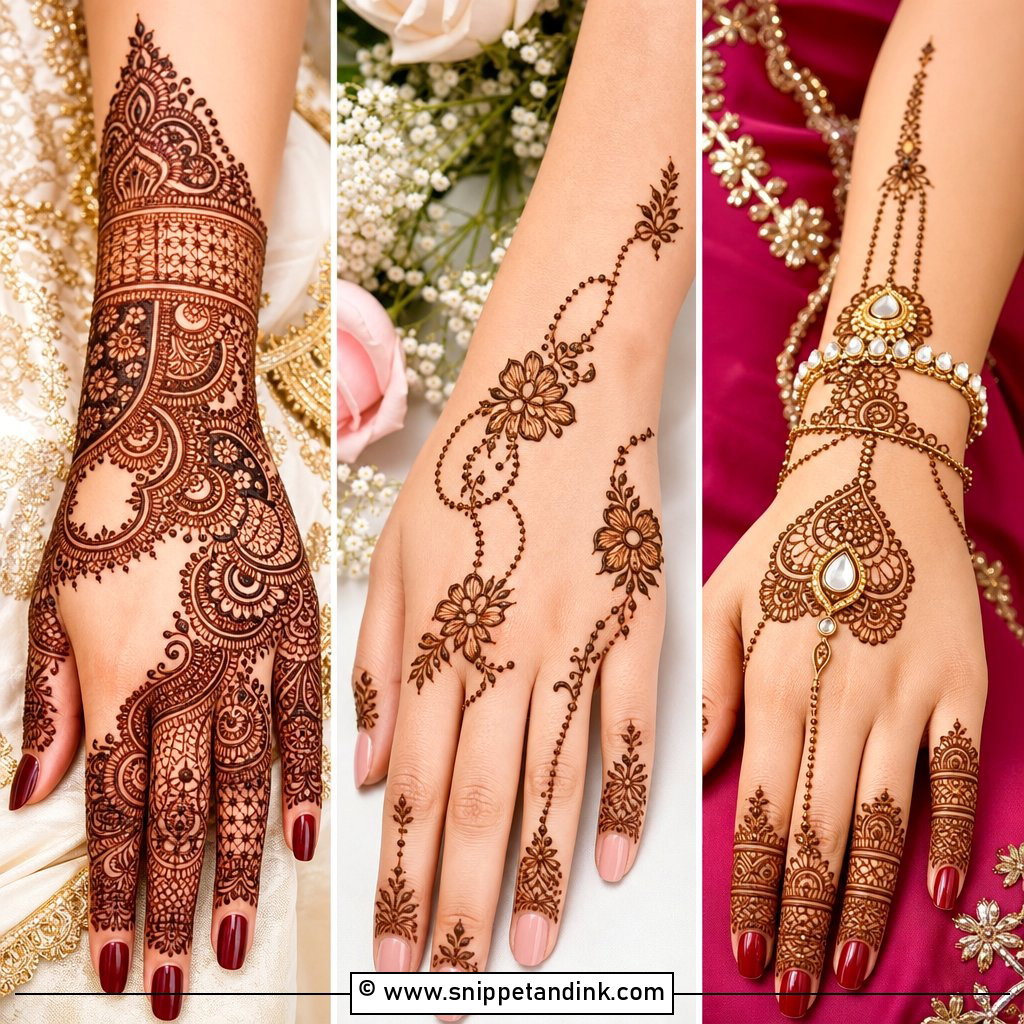
Back hand bridal mehndi design shows in more photos than the palms: ring shots, bouquet holds, blessing moments. If you’re wearing haath phool or stacks of bangles, bring them or a photo to the appointment so I can plan around the chains. Open skin near the knuckles lets rings stand out. The two back hands should feel coordinated, but they don’t need to mirror each other exactly.
18. Front Hand Bridal Mehndi Design
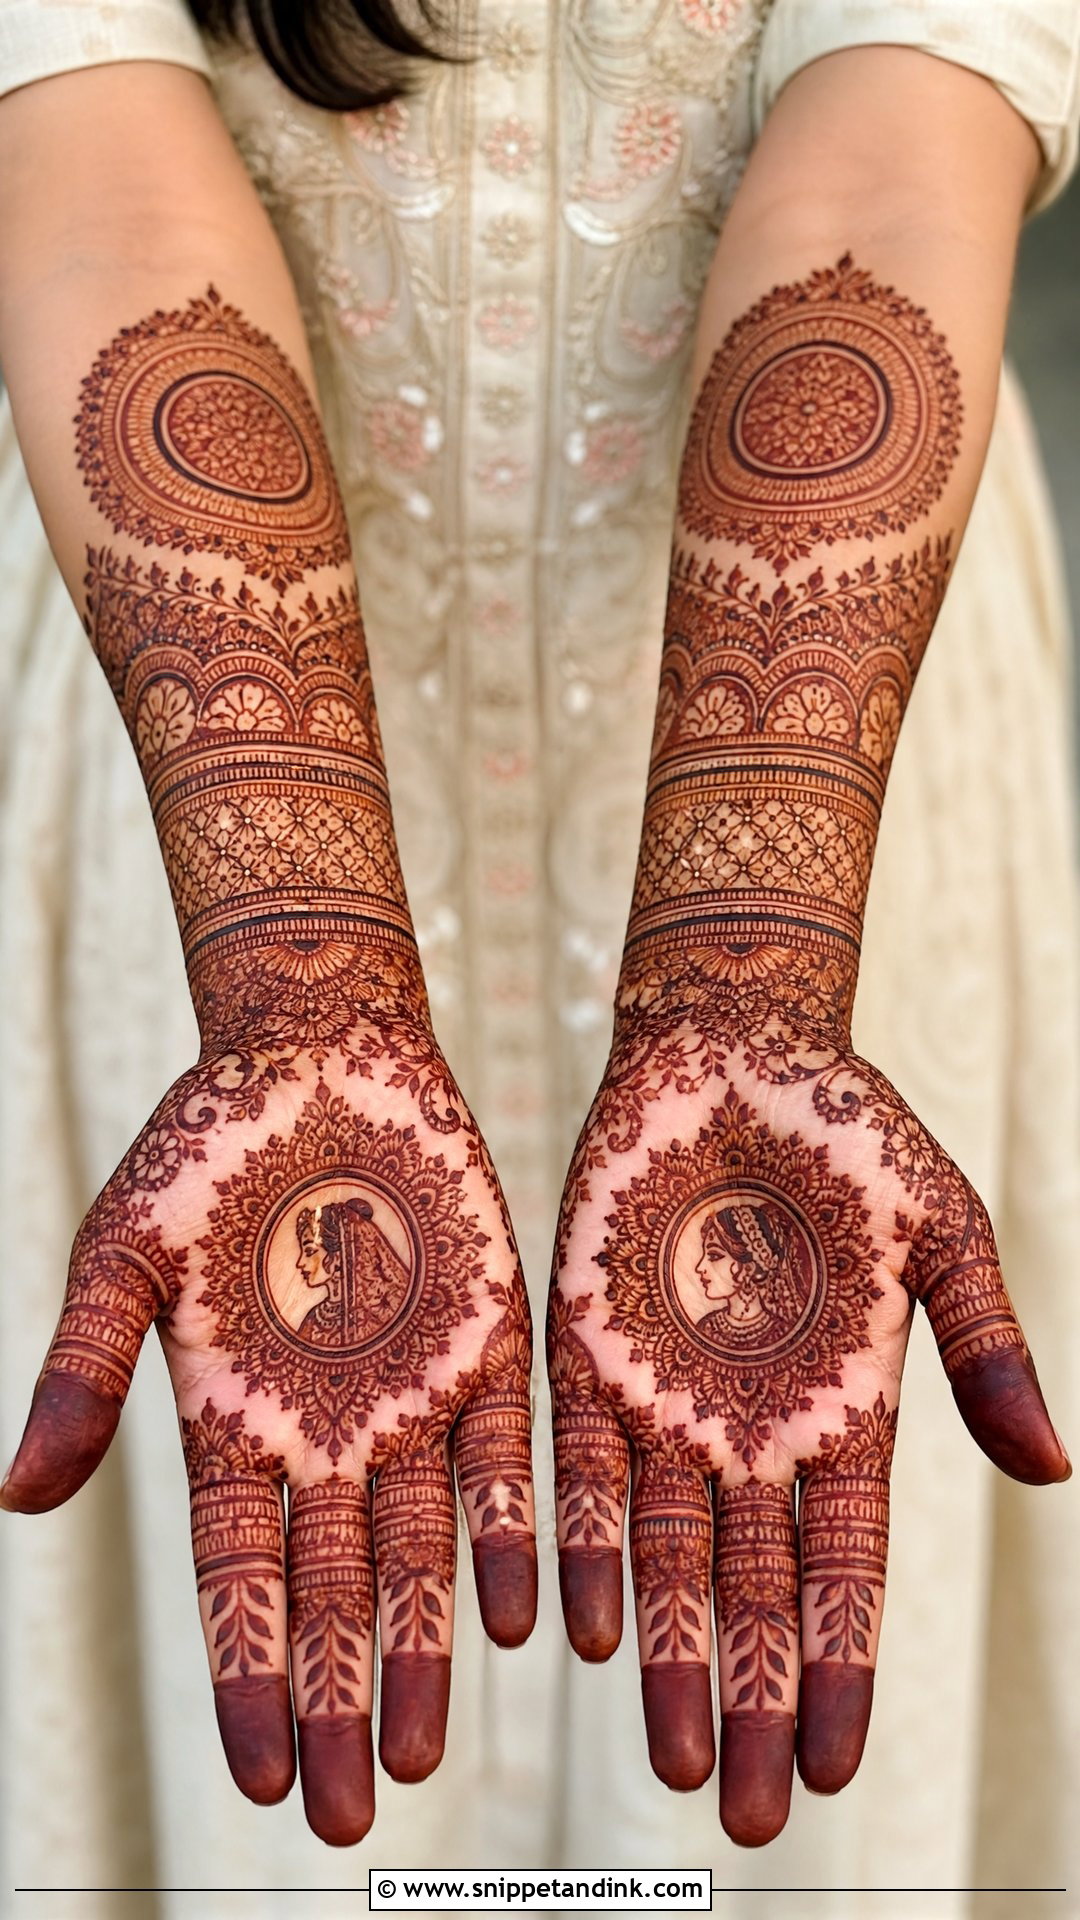
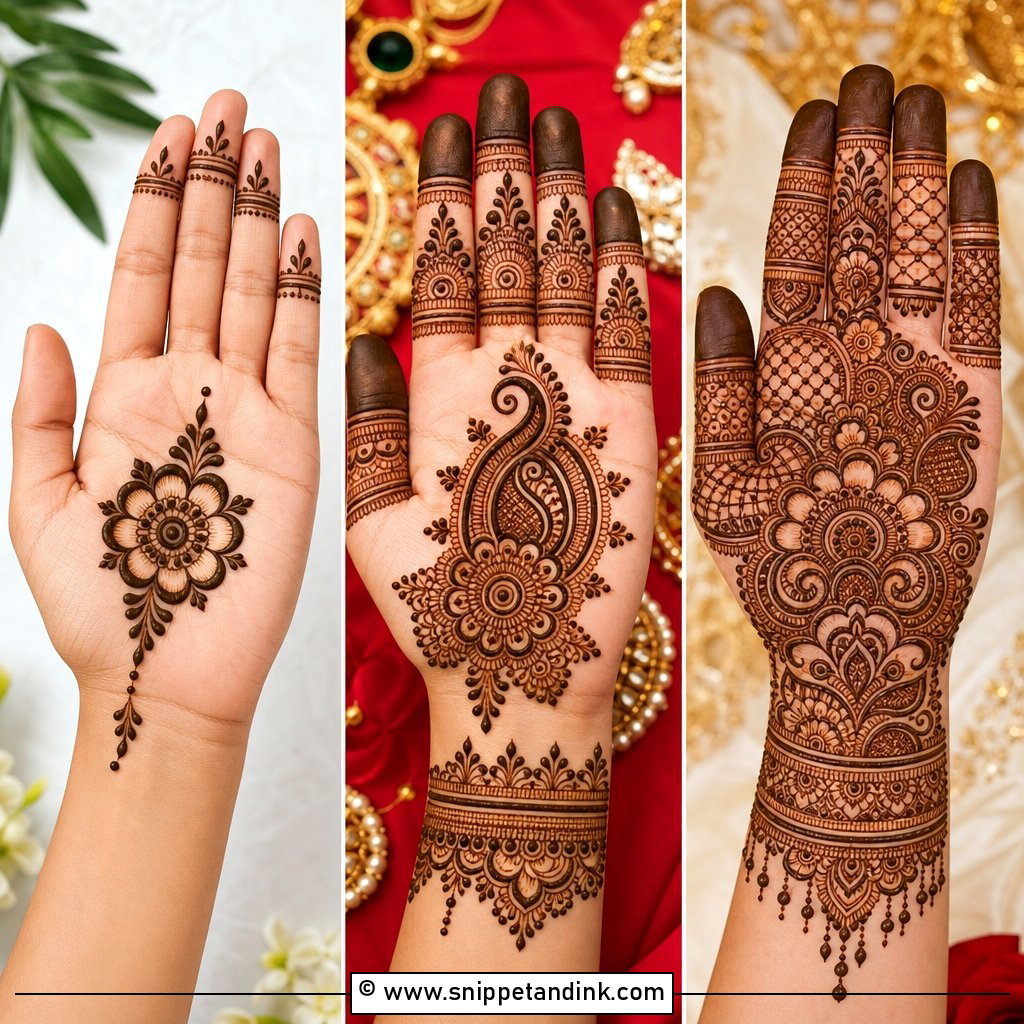
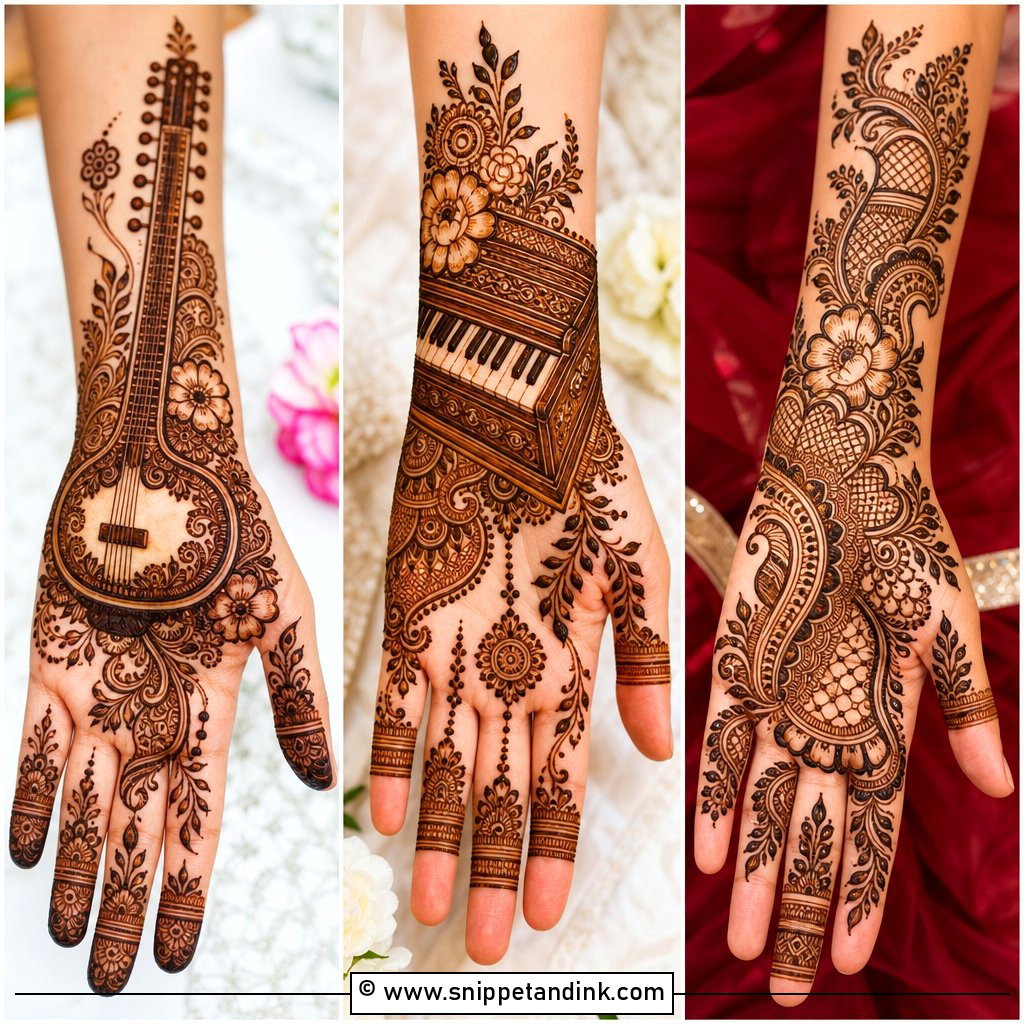
Palms take the deepest stain on the body, so this is where I place the meaningful pieces: mandalas, portraits, initials, sacred symbols. The design has to flow from fingertip to wrist without a break. I fill fingers with leafy strips or small geometric panels and finish the wrist with a cuff. Bold details pay off here because the skin is thick and holds colour well.
19. Wrist To Forearm Bridal Mehndi Design
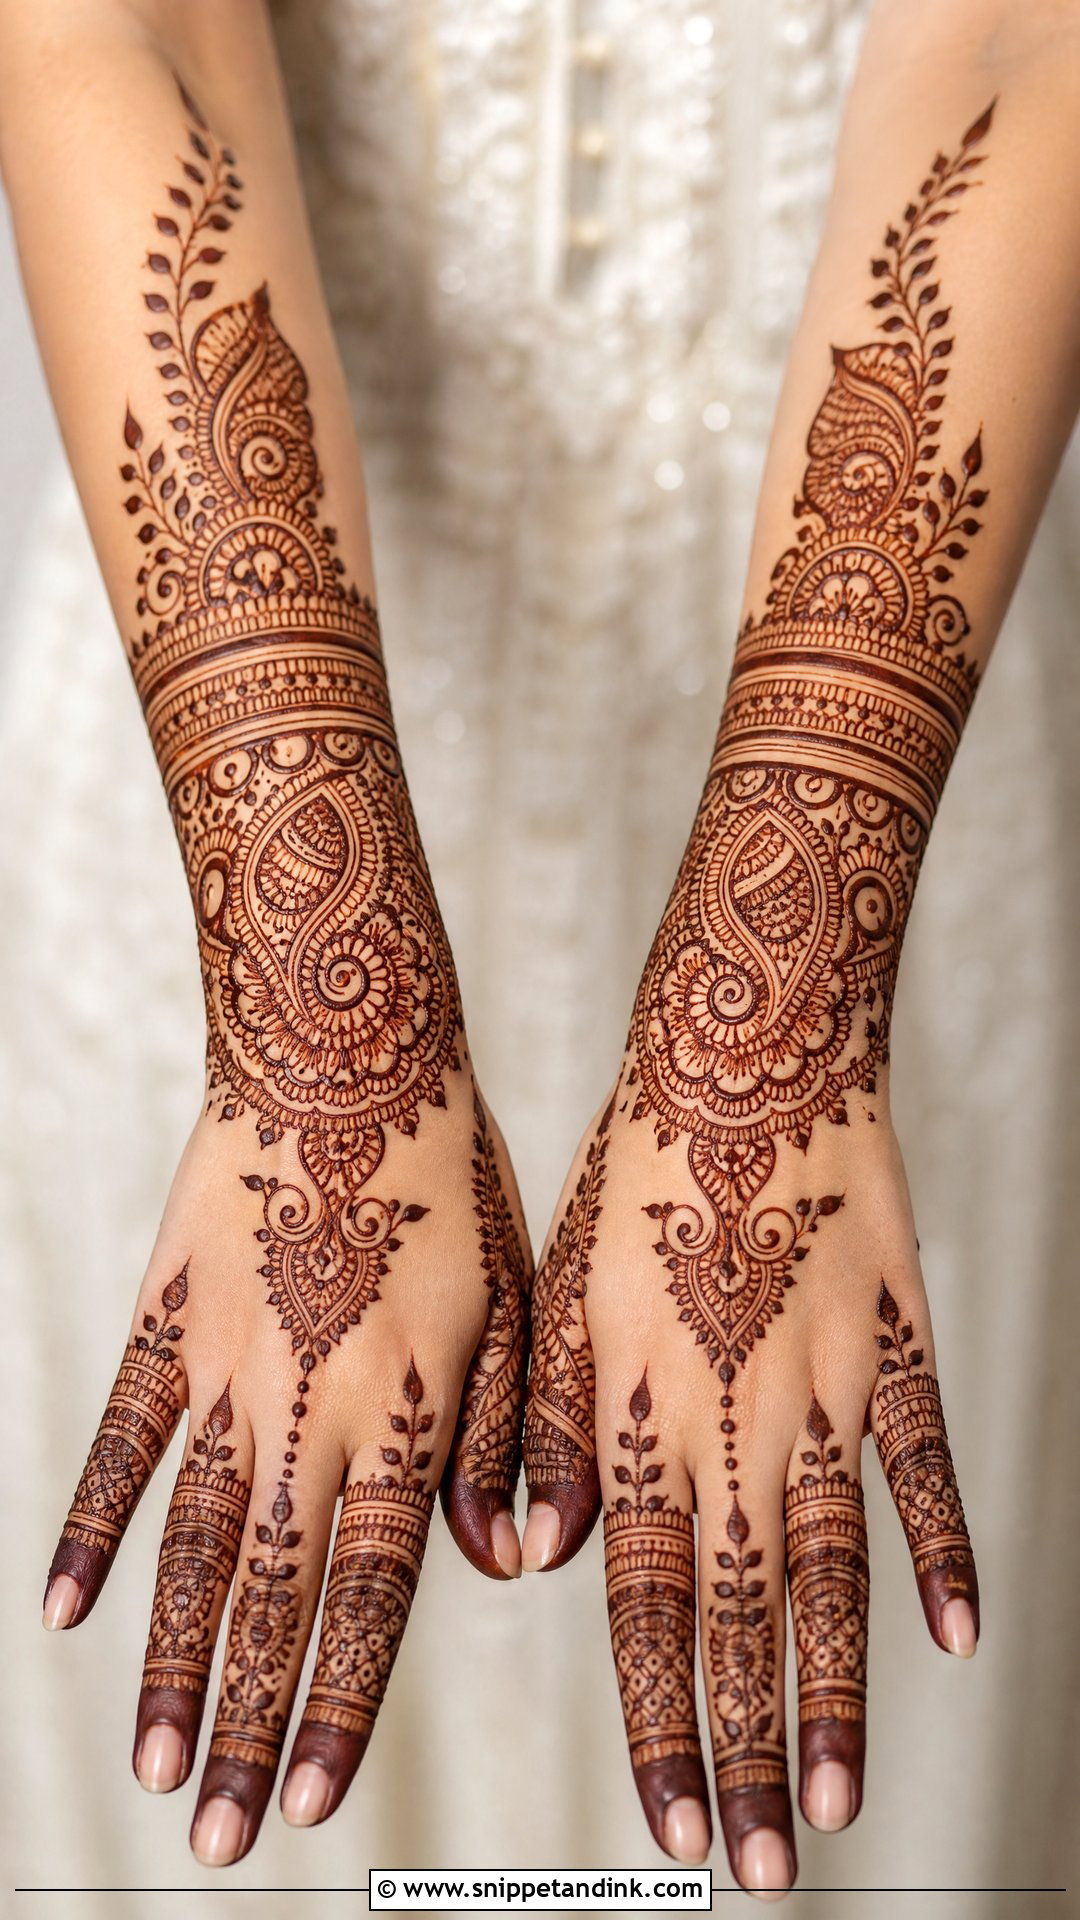
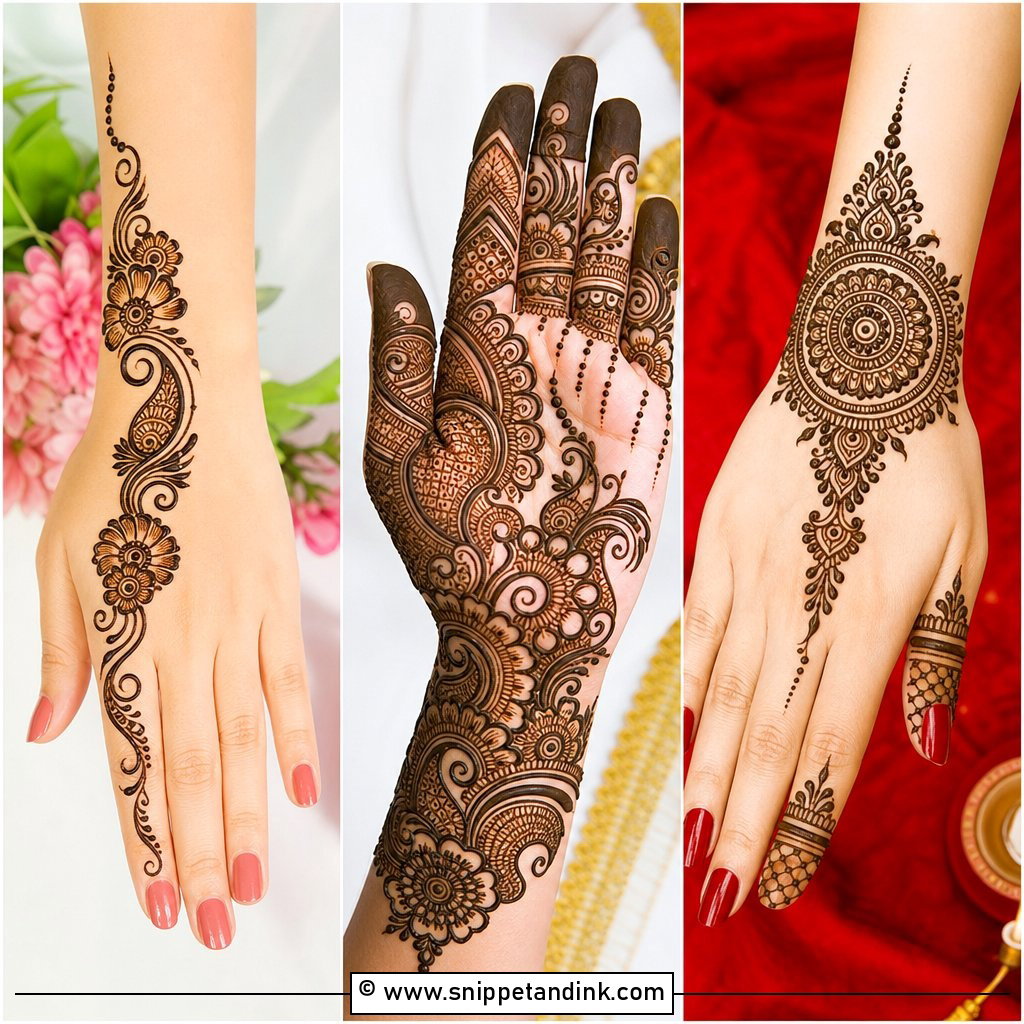
Stopping at the forearm gives you drama in photos while keeping the sitting manageable. I build structured cuffs at the wrist, then floral bands and paisley panels that taper as they climb. That taper matters. A design that ends in a hard straight line looks cut off when your sleeve rides up. Chooda, kalire and bangles all sit comfortably over this length.
20. Bridal Mehndi With Groom Name
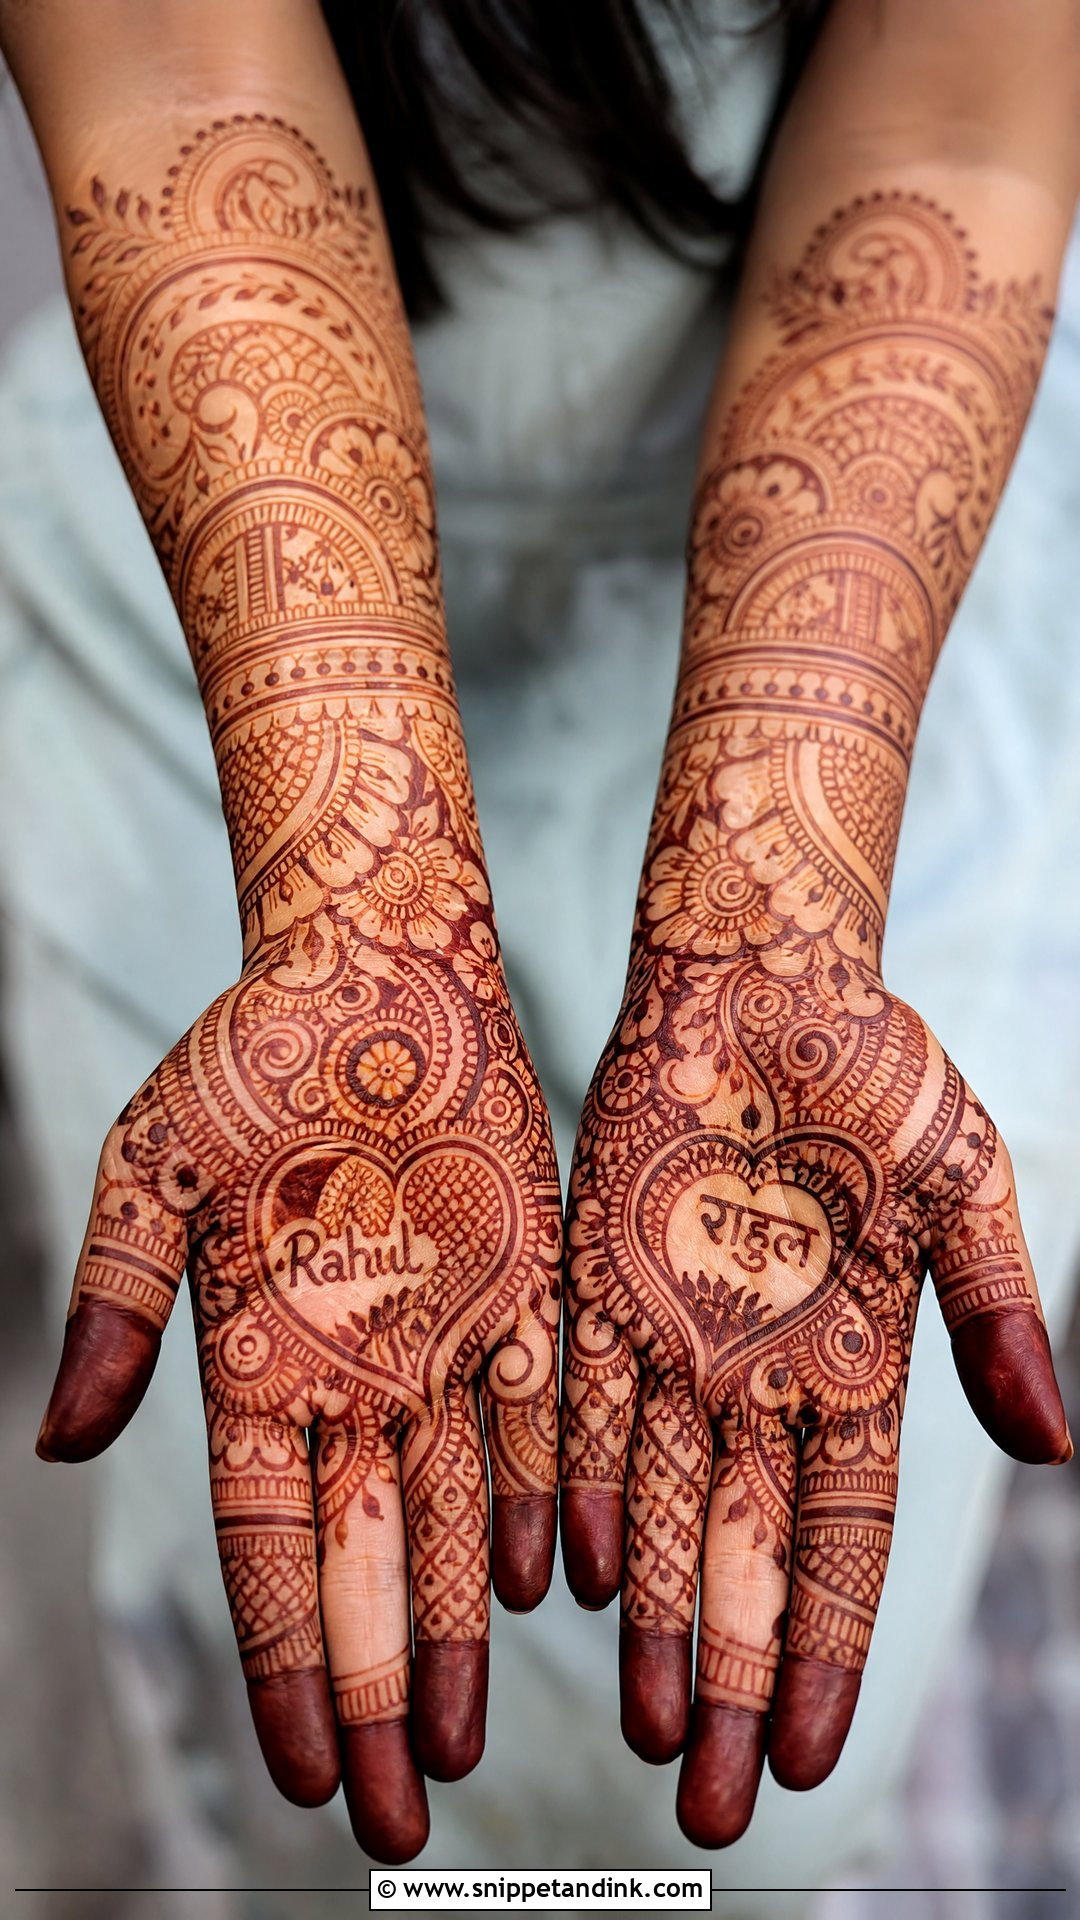
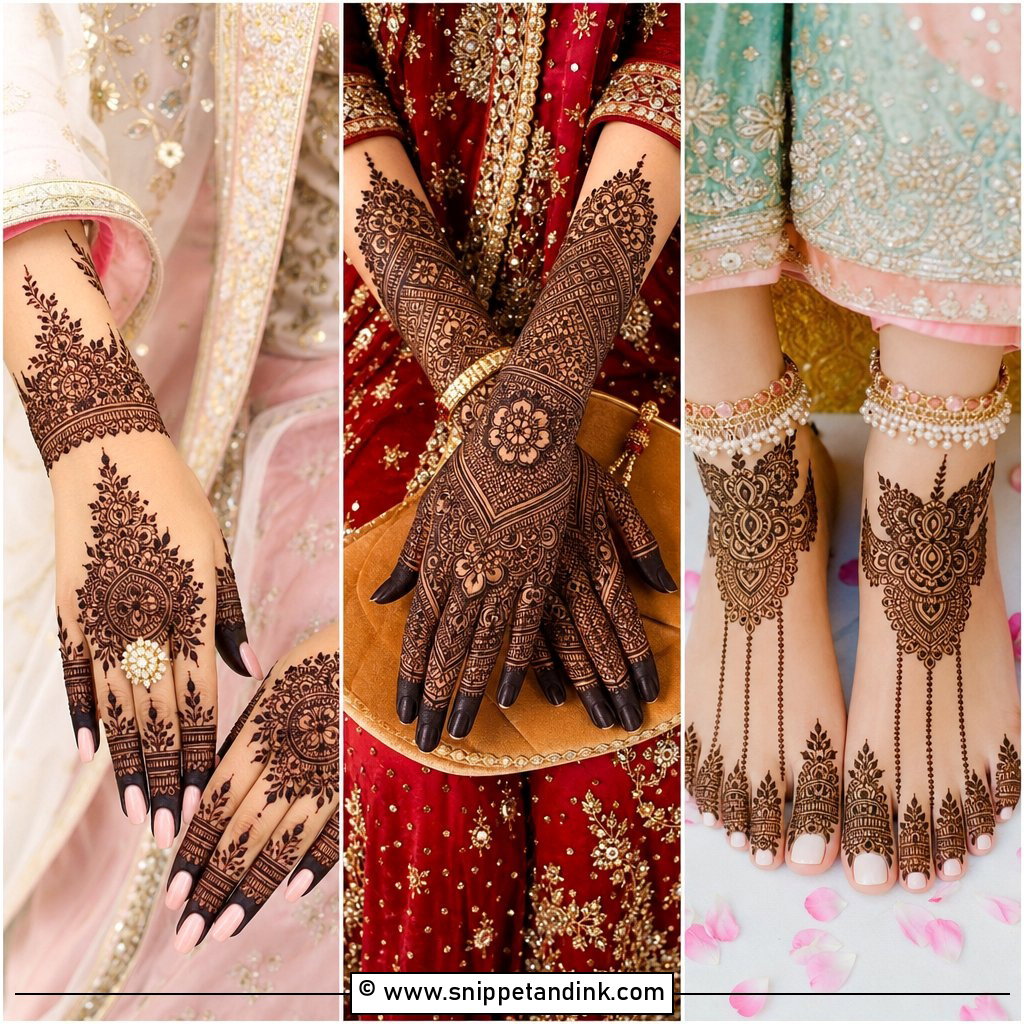
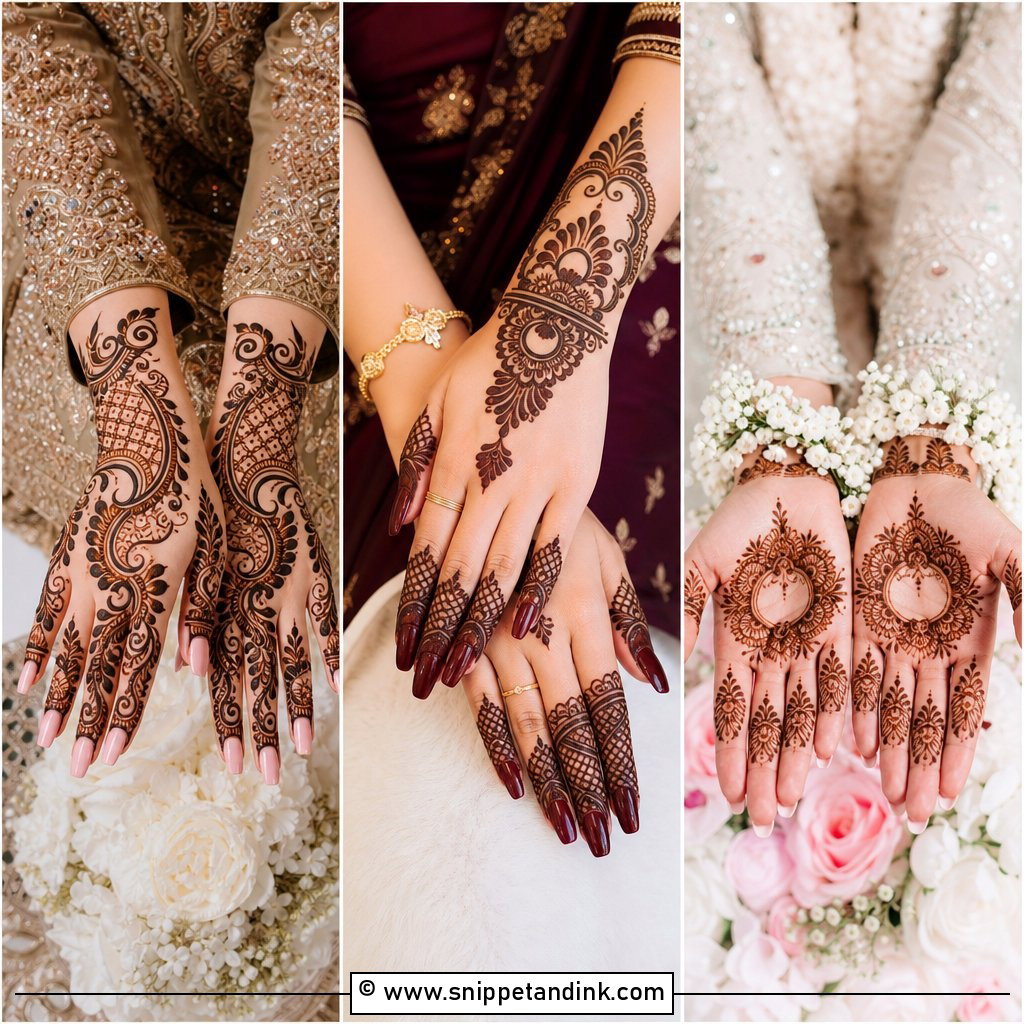
Bridal mehndi with groom name is part of the fun after the ceremony when he has to find it. I hide it inside a paisley, a leaf vein or a jaali panel, usually in Devanagari or English letters woven into the line work. Placing it boldly in the middle of the palm ends the game too quickly. It pairs with any base, full Indian, Indo-Arabic or a simple mandala.
21. Personalized Bridal Mehndi Design
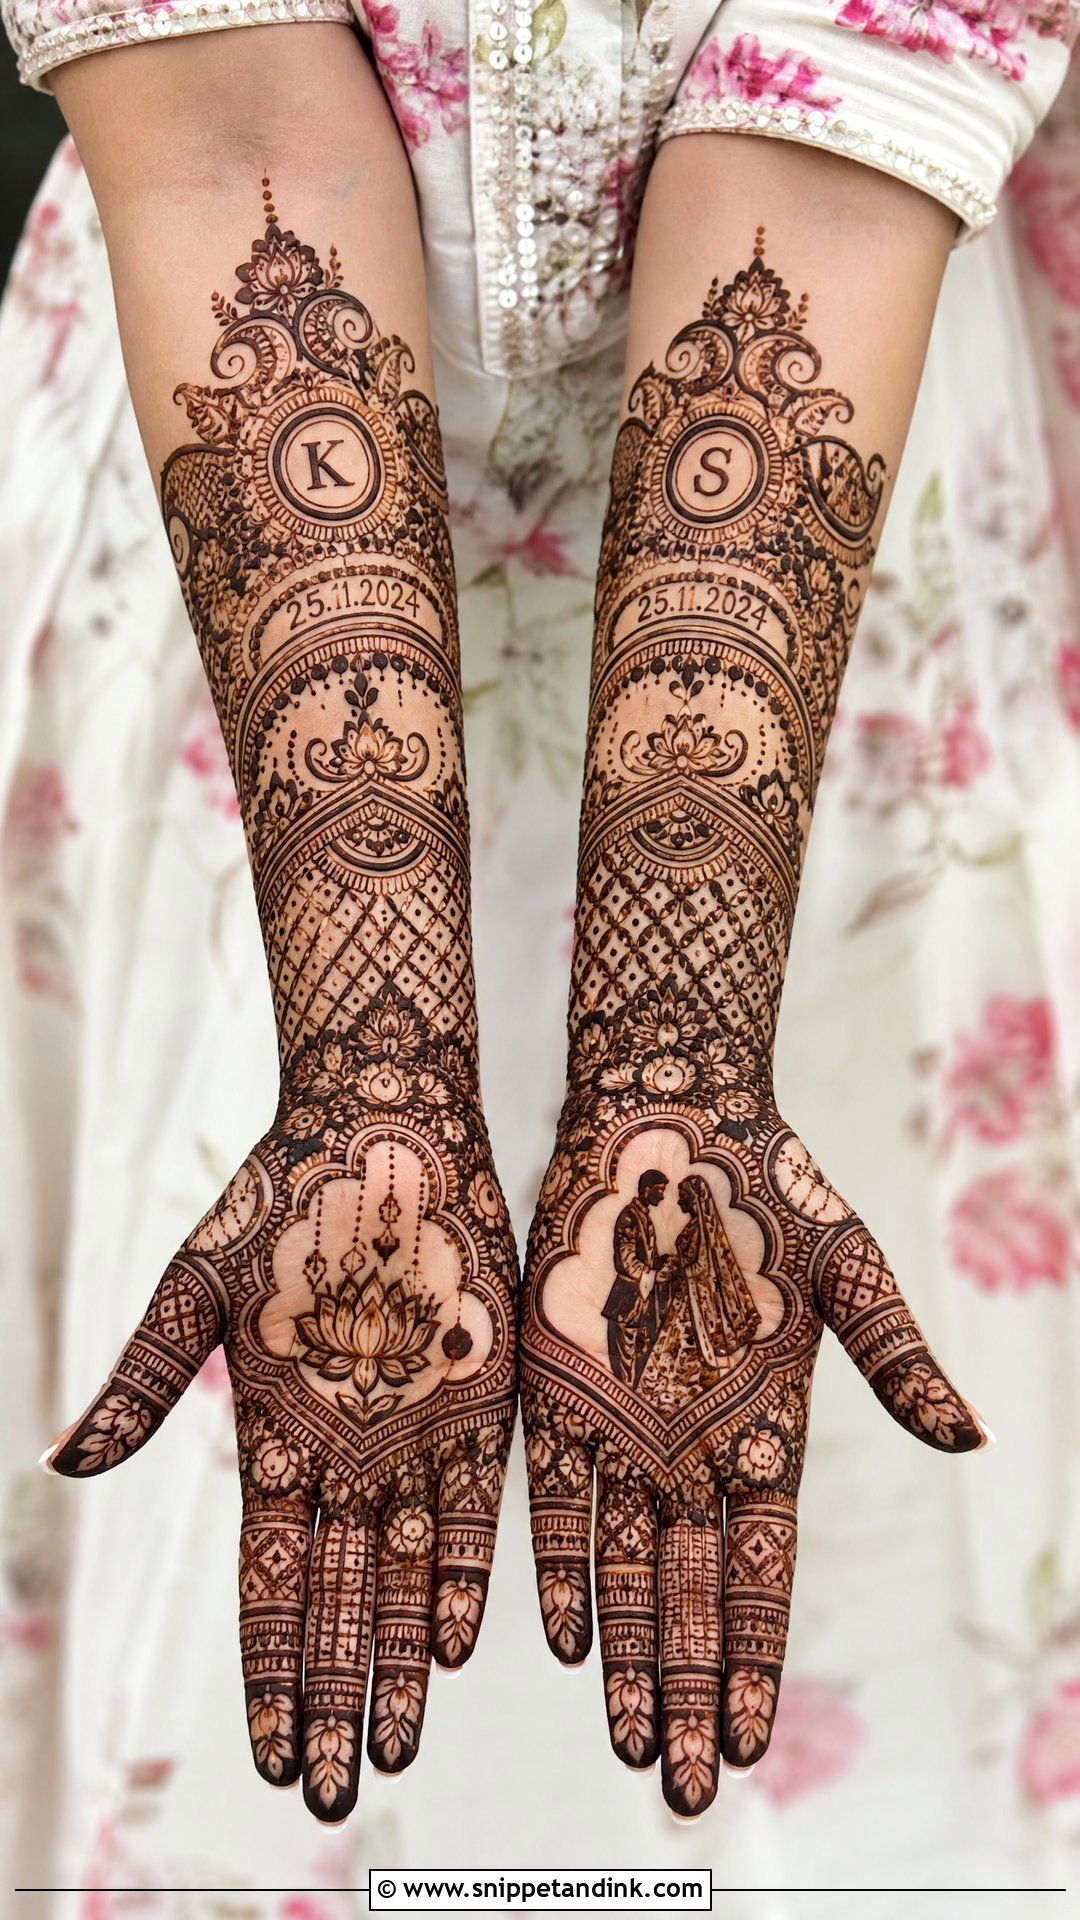
Personal details can include dates, initials, travel icons, a pet, a venue outline. My advice is to pick two or three, not eight. Too many custom elements and the hand looks busy instead of meaningful. I place the story pieces on palms and forearms, where there’s width, and let traditional florals and paisleys knit them together.
22. Wedding Story Bridal Mehndi Design
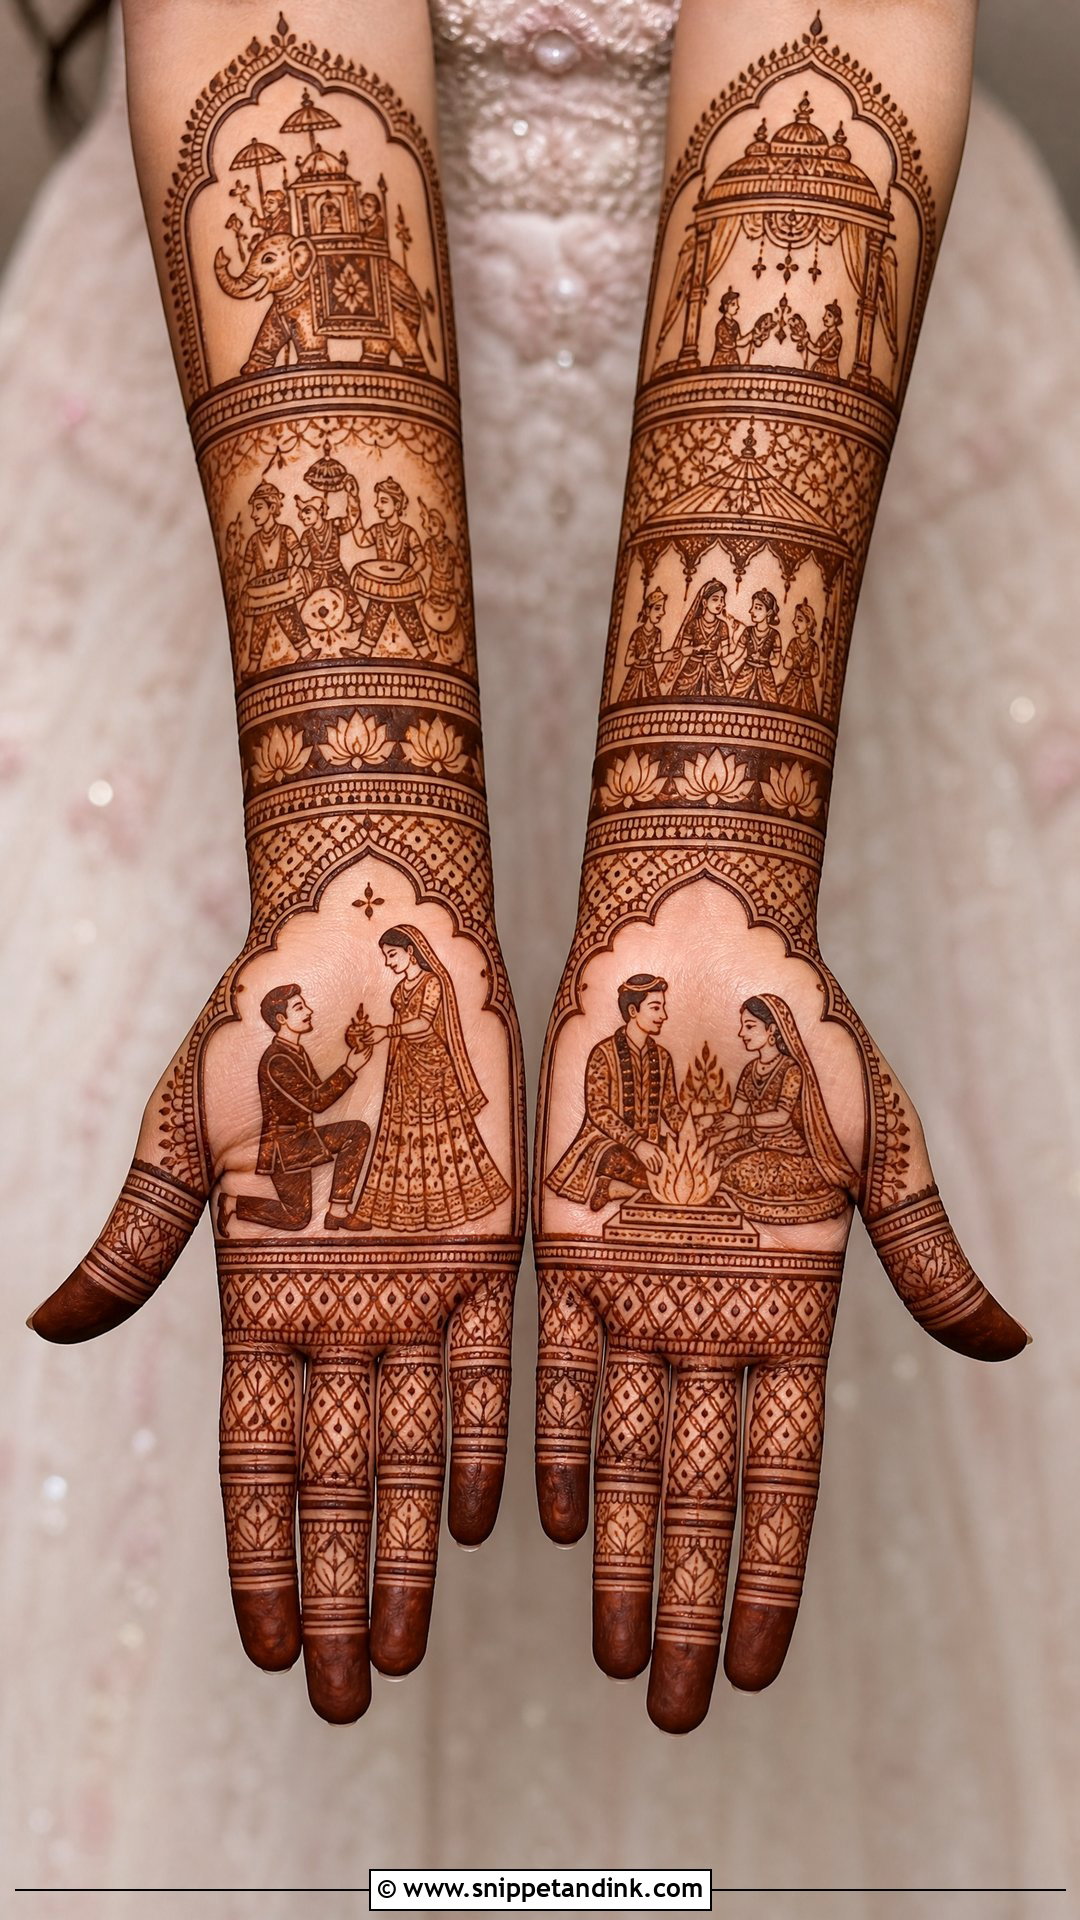
A story layout reads like a timeline: proposal, engagement, baraat, pheras, vidaai. This one needs planning before the appointment. Send your artist reference photos and the order of your ceremonies a week or two ahead so the scenes can be sketched. The palms carry the main scenes. I keep fingers structured and non-narrative; tiny figures on fingers become illegible once the skin creases.
23. Jaali Bridal Mehndi Design
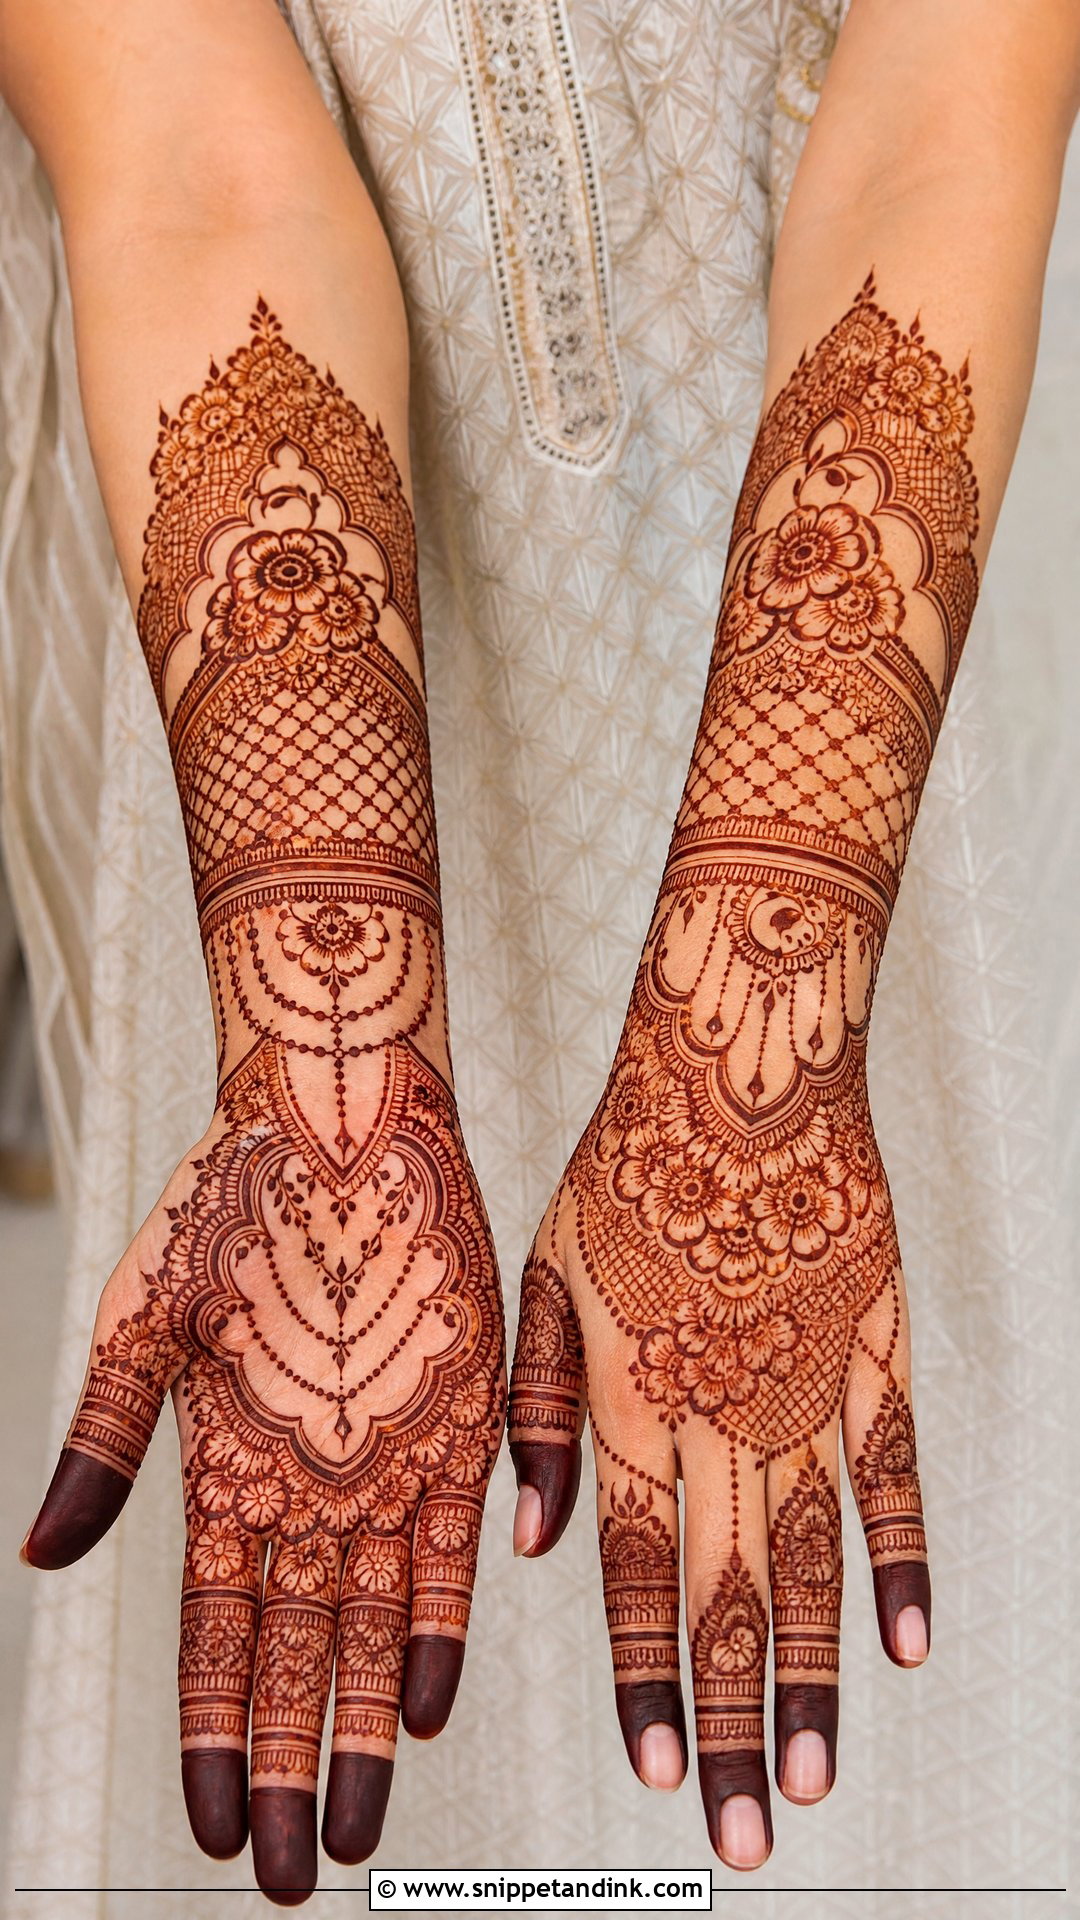
Jaali is a fine mesh, and it shows an artist’s control more than any other filler. The lines have to be even and the gaps clean, or the mesh looks wobbly once it stains. On the back hand it reads almost like lace and frames rings neatly. I contrast it with solid flowers or paisleys so the texture has something to play against.
24. Floral Bridal Mehndi Design
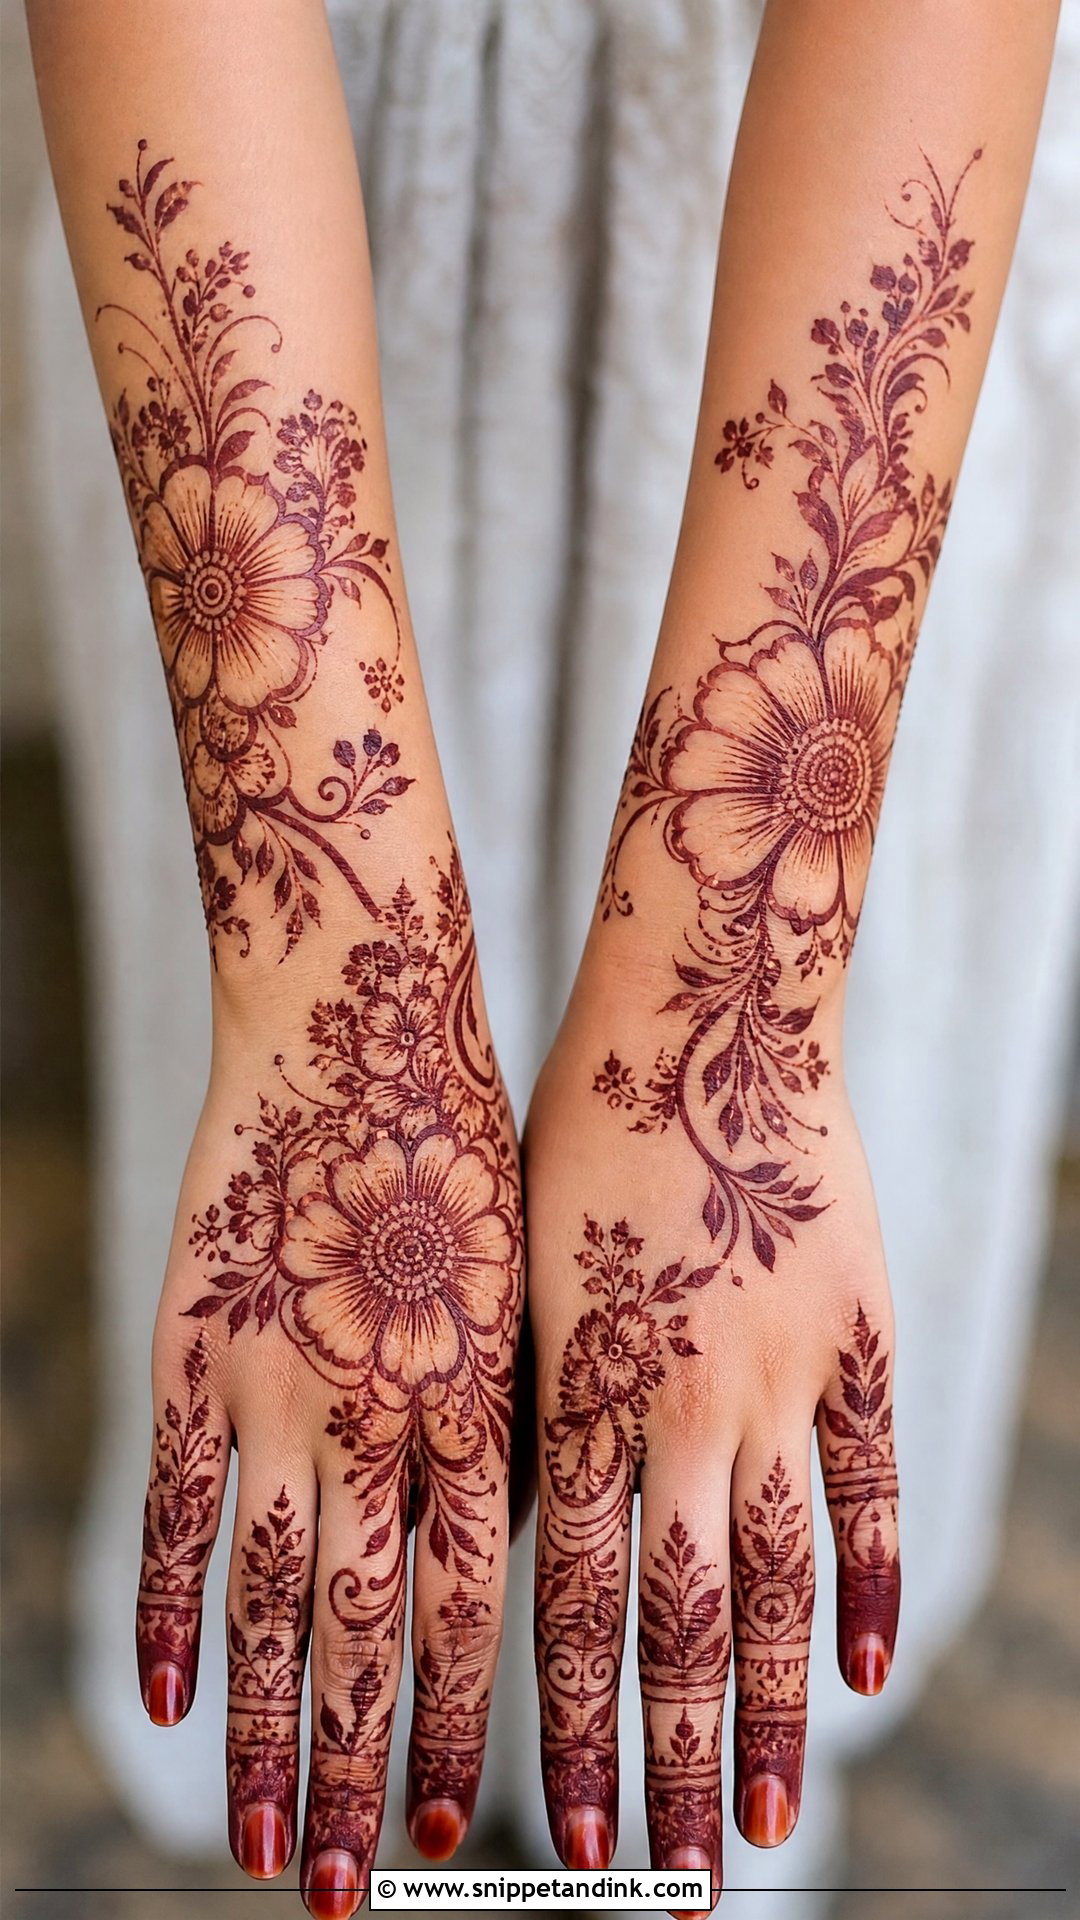
Roses, lotuses and small blossoms with shaded petals make a soft design, and it adapts to almost any outfit. A bridal floral layout needs more than scattered flowers, though: detailed fingers, wrist cuffs and connecting vines make it read as one piece. I mix bold blooms with tiny leaves and dotted chains for depth. Garden and daytime ceremonies suit it particularly well.
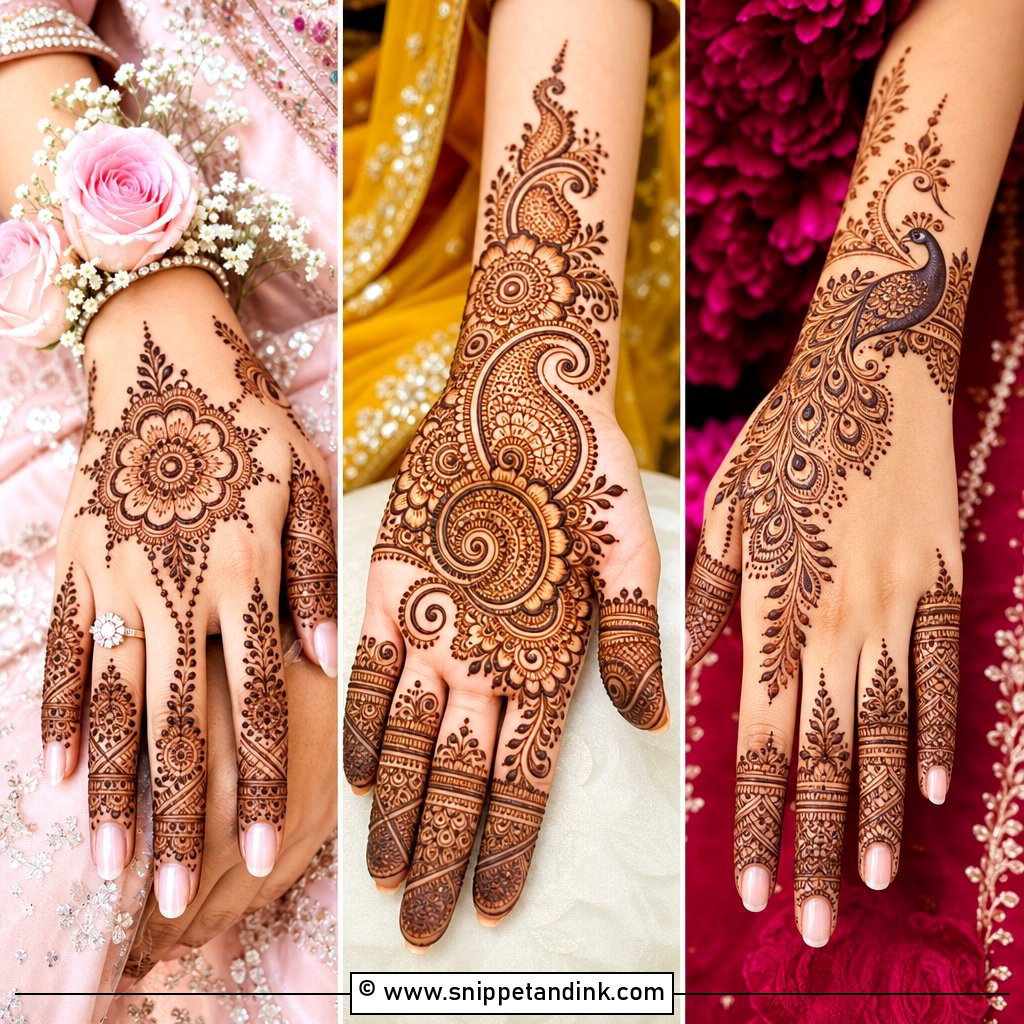
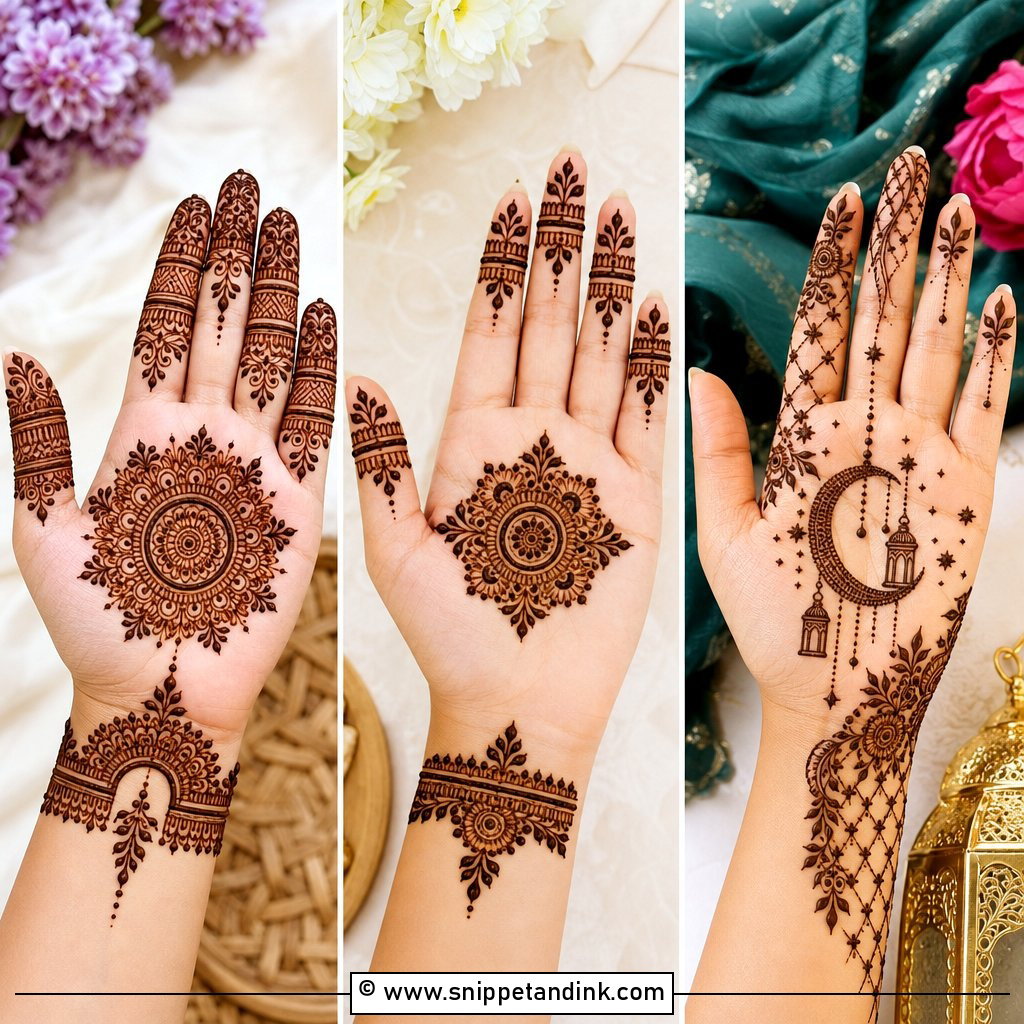
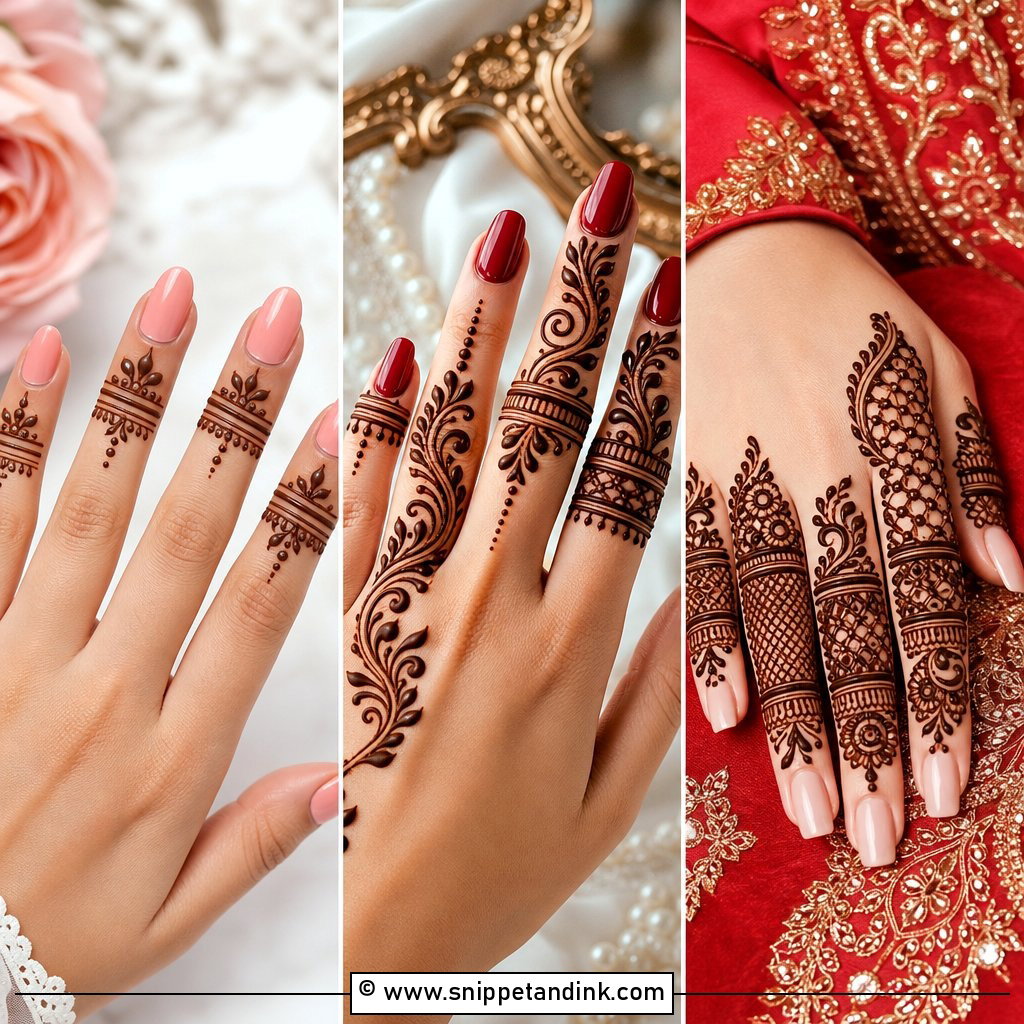
25. Paisley Bridal Mehndi Design
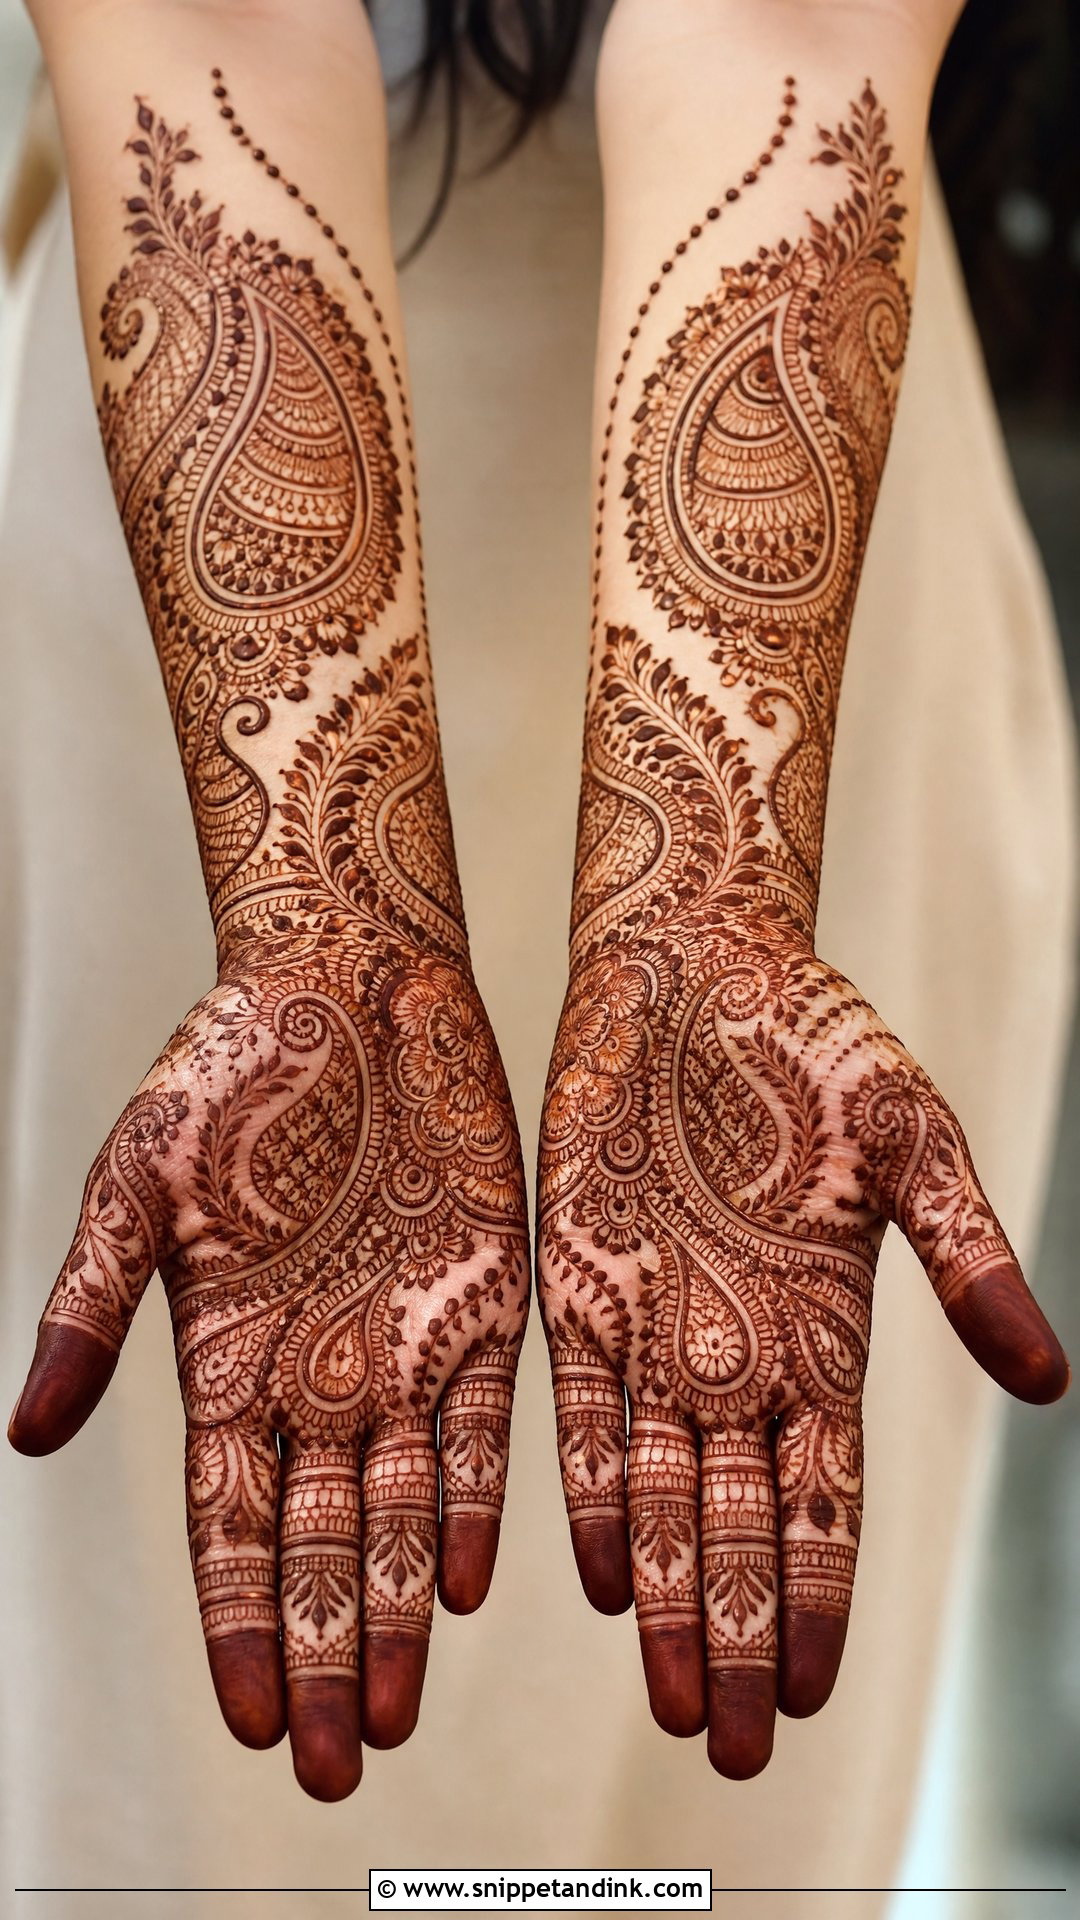
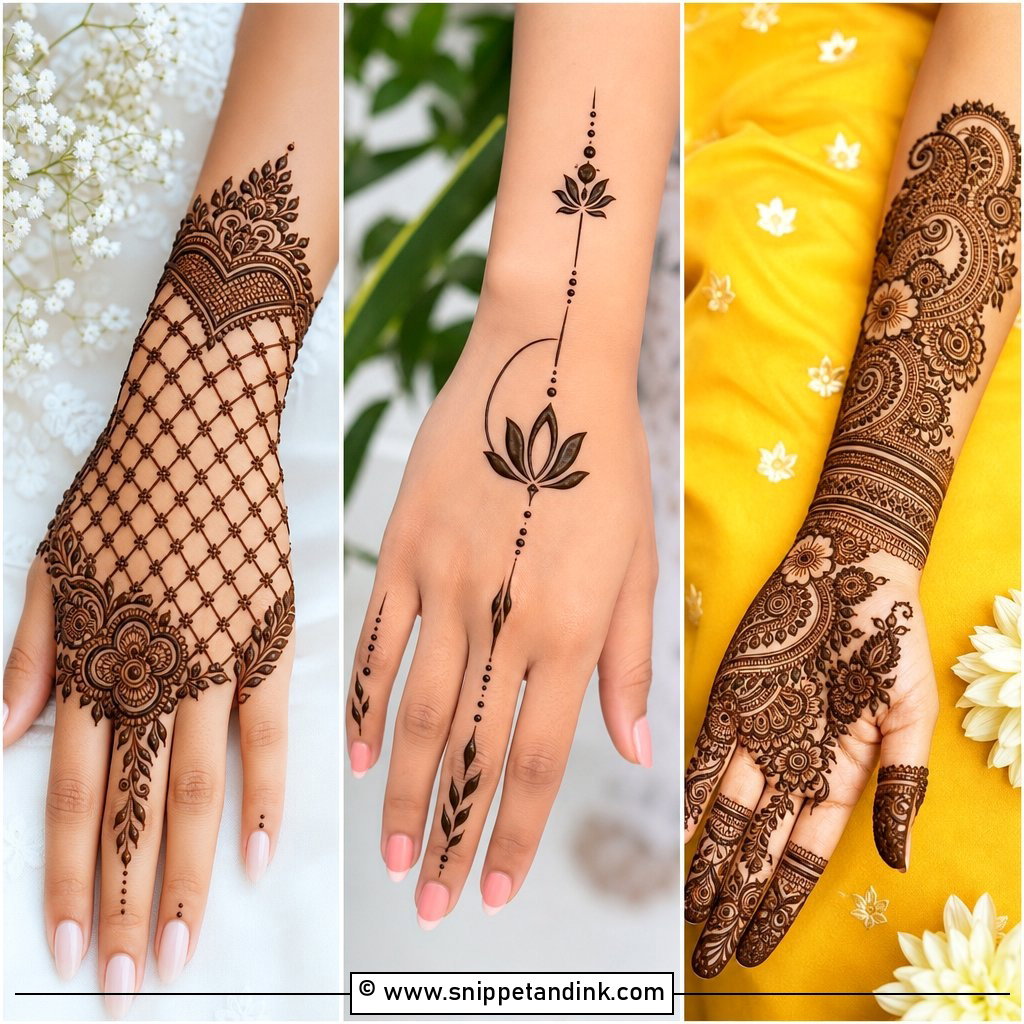
The paisley, the mango shape, is the backbone of Indian bridal henna. Its curve lets a design flow across the hand without sharp corners, and it scales from tiny clusters to one large statement motif. I use it at heavy and medium coverage alike. Banarasi silk and brocade echo the same shape, which is why it always feels at home with traditional fabrics.
26. Moroccan Bridal Mehndi Design
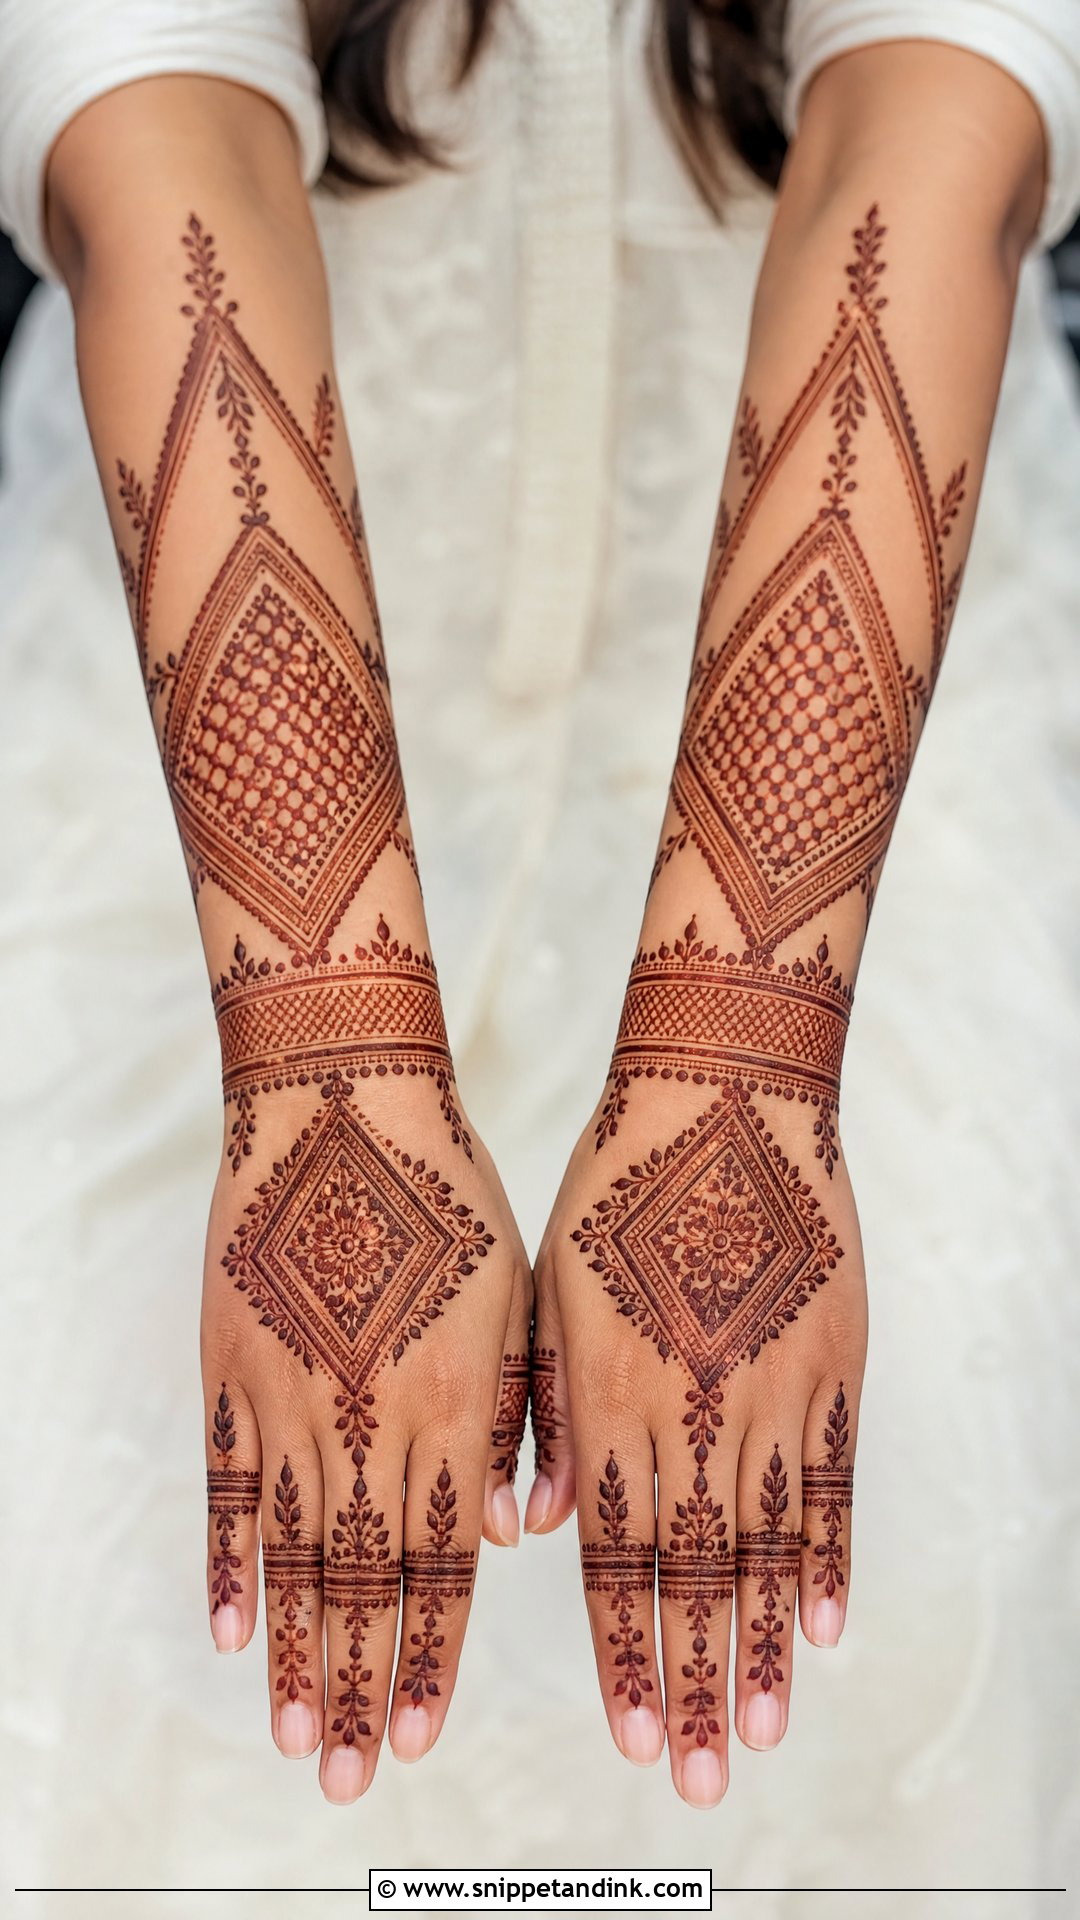
Moroccan bridal mehndi design swaps florals for diamonds, grids, triangles and repeating dotted borders. On its own it can feel stark for an Indian wedding, so I soften it with small flowers and a wrist cuff. The geometry lines up best on the back hand and forearm, where the skin is flatter. Straight lines are less forgiving than curves, so this one needs a steady artist.
27. Gulf Bridal Mehndi Design
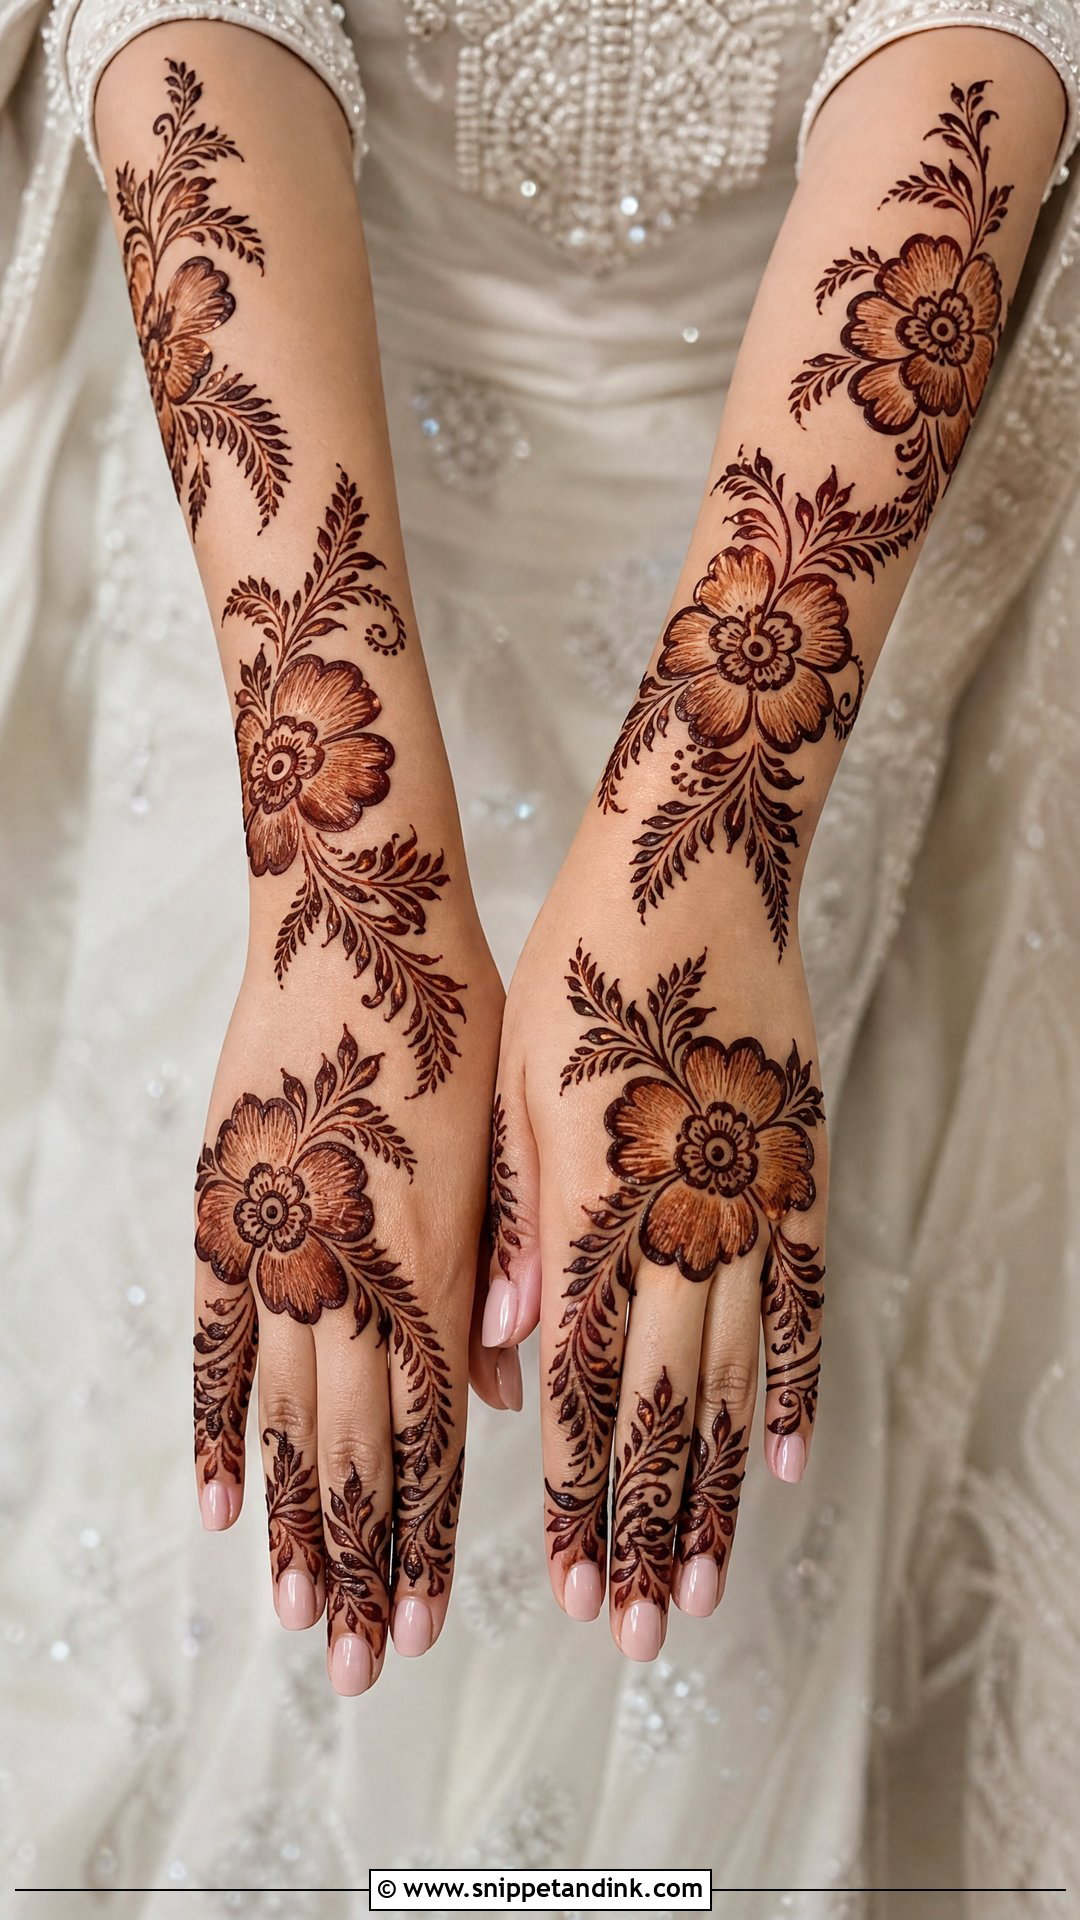
Gulf, or Khaleeji, work uses large shaded flowers and leafy curves with generous open skin. It’s less dense than Indian bridal coverage but more dramatic than minimal styles. I run it from the fingers across the back hand and wrap it around the wrist. Shading is done by thinning the paste line, so it needs fresh, smooth henna; old paste gives patchy shading.
28. South Indian Bridal Mehndi Design
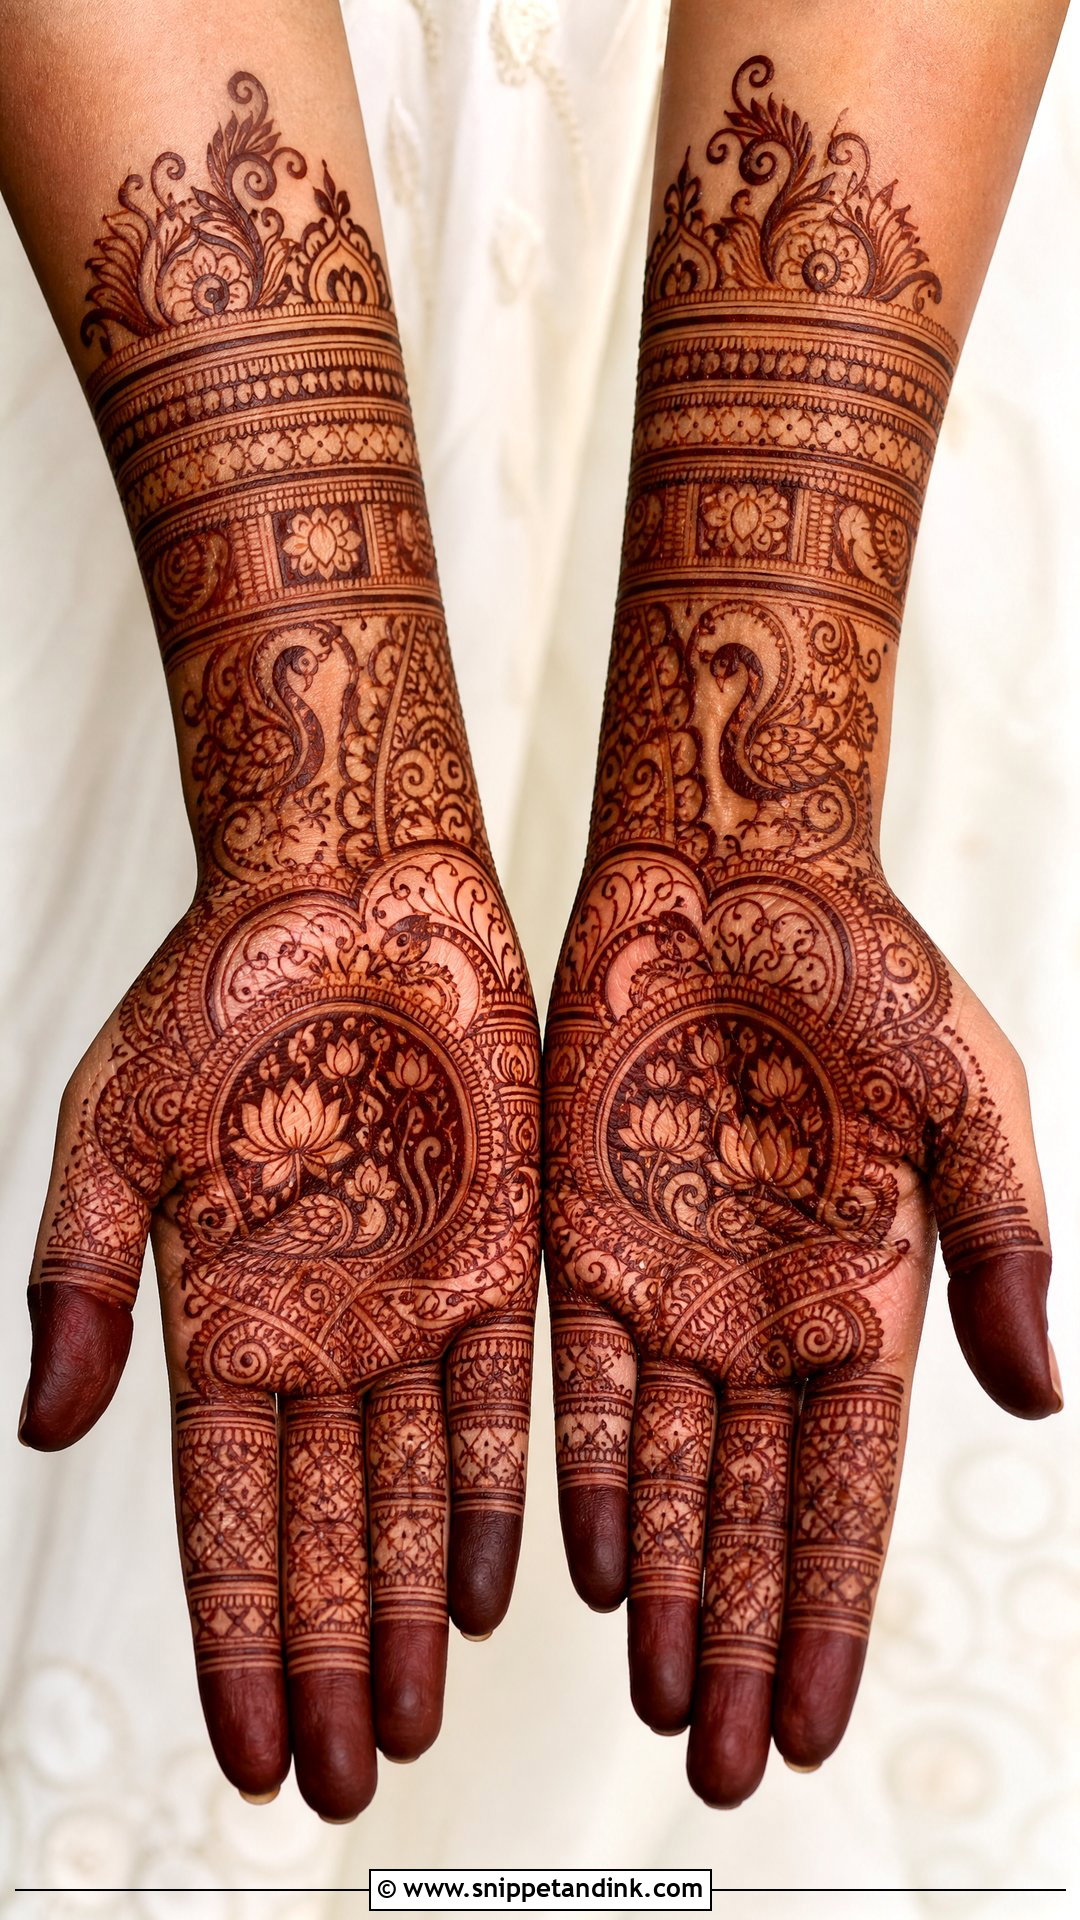
With silk sarees, temple jewellery and jasmine, South Indian brides often prefer medium coverage so the alta and bangles still show. Lotus, mango paisley, temple borders and peacocks are the usual vocabulary. I keep the palm centred on one mandala or lotus and run temple bands up the forearm. Crowding is the main thing to avoid here, because the jewellery is already doing a lot.
29. Bridal Foot Mehndi Design
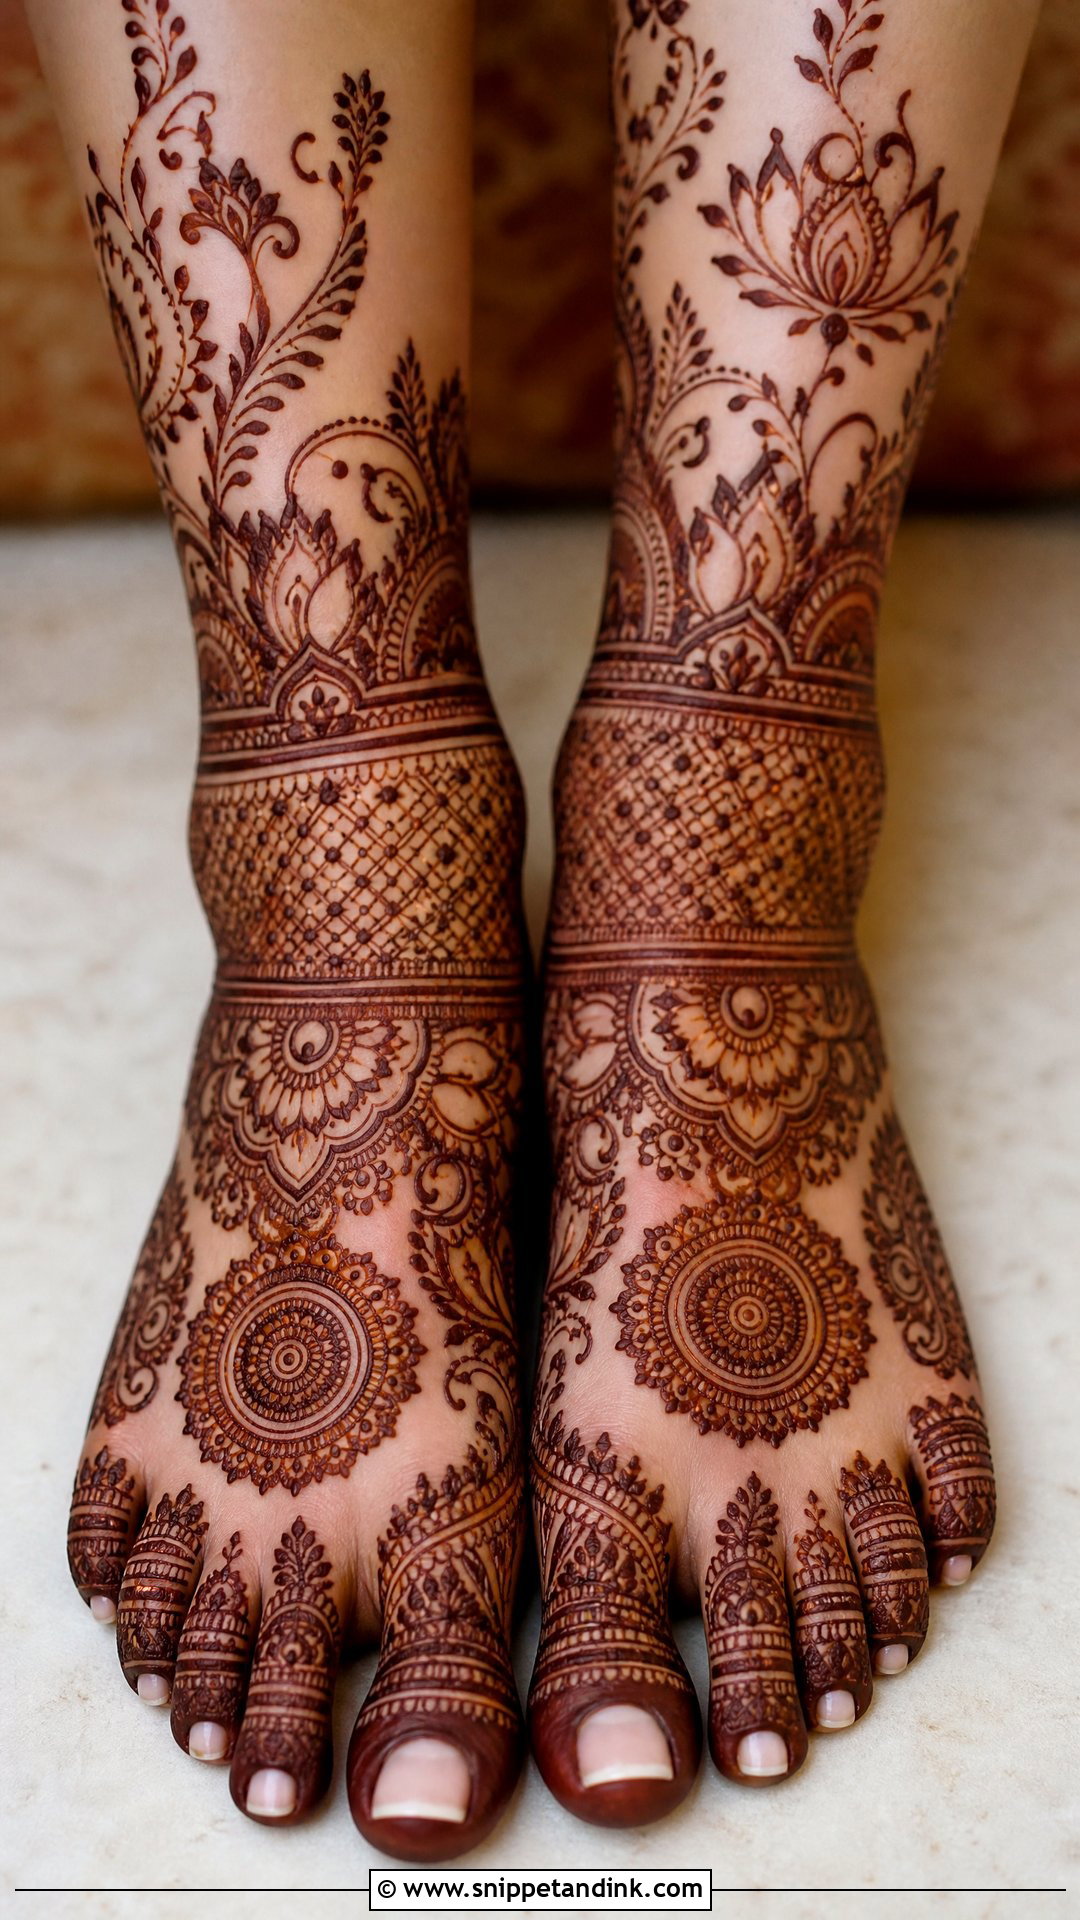
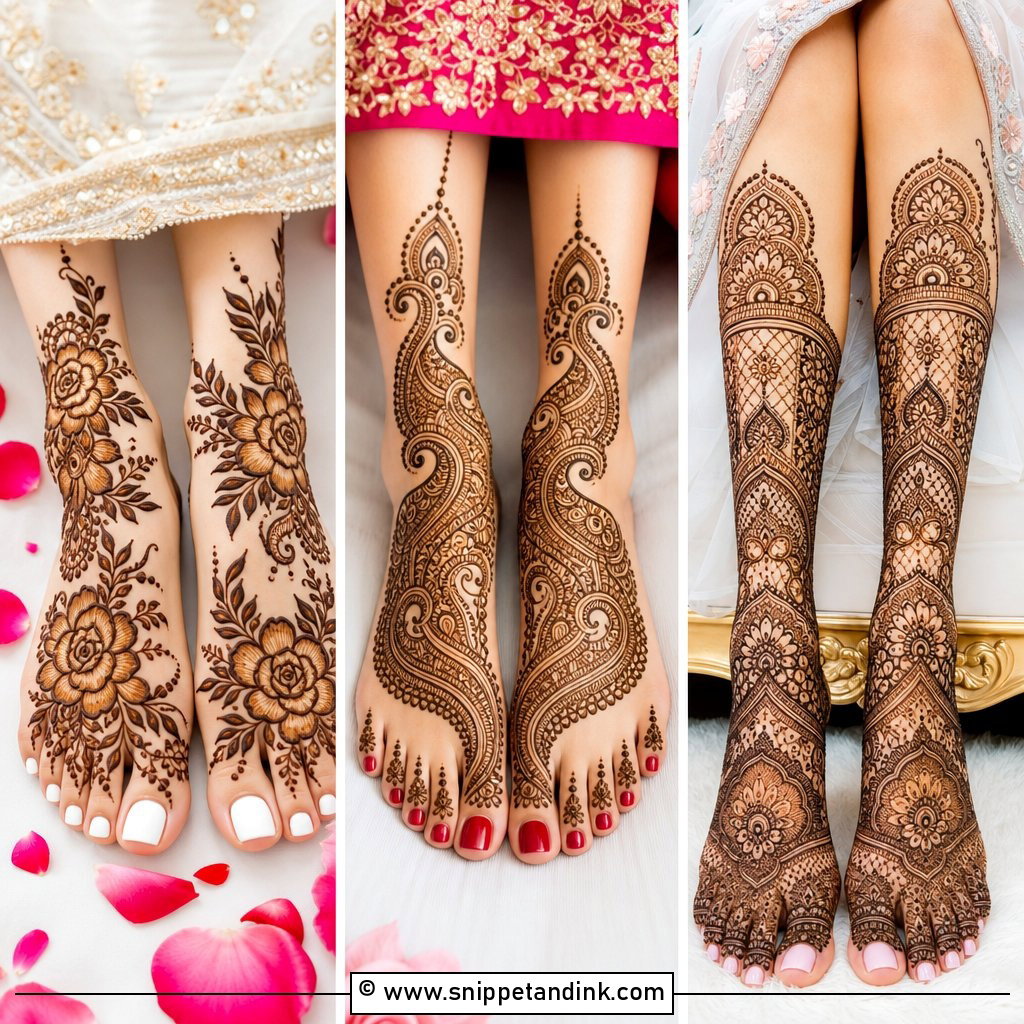
Feet stain darker than almost anywhere on the body, so larger motifs read better there than fine detail. I match the feet to the hands in density without copying them: heavy hands get medium-heavy feet with a bold anklet border, minimal hands get a light, clean foot. Remember you’ll walk on them soon after, so foot mehndi is usually done last and left to dry before you stand.
30. Bridal Leg Mehndi Design
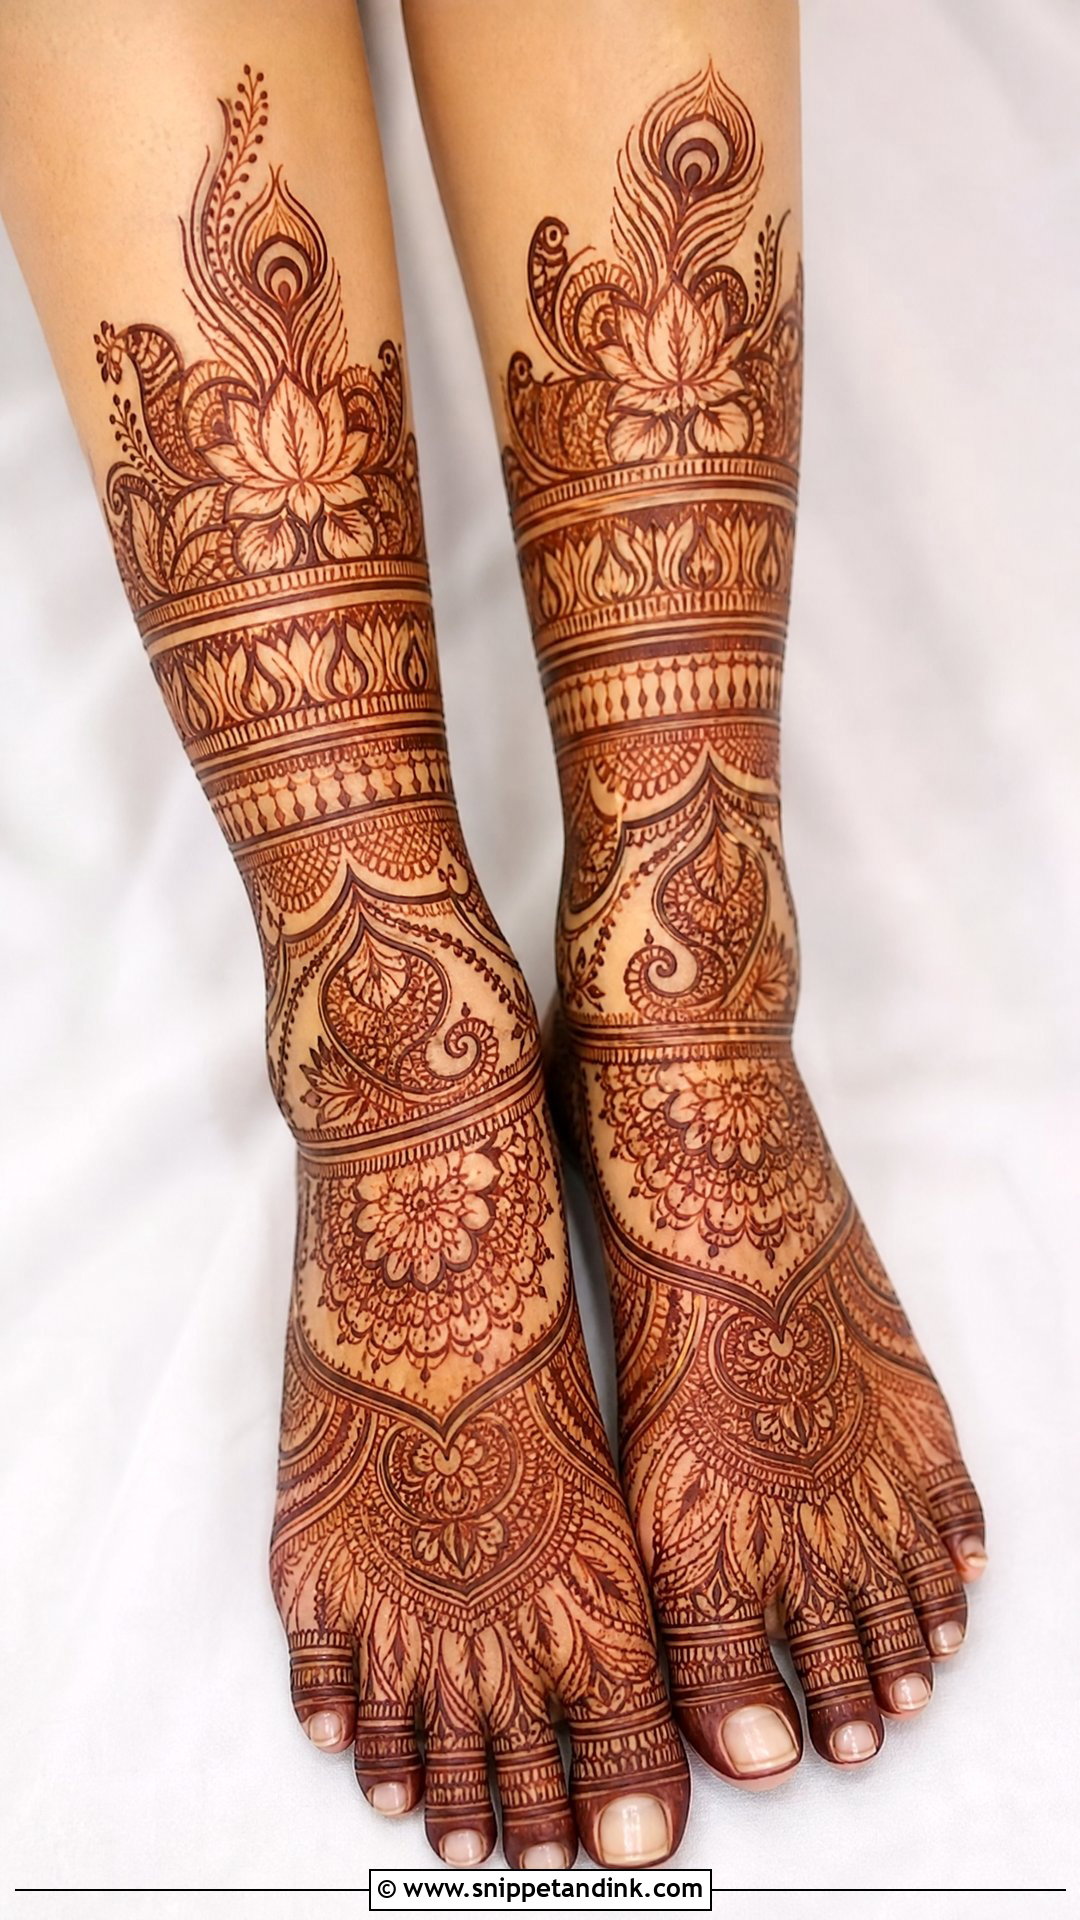
Leg mehndi starts at the toes, wraps the ankles and climbs the lower legs with anklet bands, lotus borders and peacock feathers. Think about how much of your leg the outfit actually shows during rituals before committing to the length. A lehenga that lifts at the pheras justifies it; a floor-length gown may not. I always close the top with a soft border so it doesn’t end abruptly.
Aftercare From Paste Removal to the Pheras
Leave the paste on as long as you comfortably can, ideally six hours or overnight. While it dries I dab on a lemon and sugar mixture so the paste stays stuck to the skin instead of flaking off early. Warmth helps the dye bind, so stay somewhere warm rather than in a cold, air-conditioned room.
- Scrape the dried paste off with a blunt knife or your fingernail. Don’t wash it off.
- Keep water away for as long as possible, ideally the rest of the day; rub in a little balm or mustard oil instead.
- Skip soap, hand sanitiser and chlorinated pools until after the wedding.
- Leave waxing, scrubs and manicures alone once the stain is on, or you’ll lift the top layer of colour.
If the colour comes out lighter than you hoped
Don’t panic on the first evening. A light orange at removal is normal and it will still darken. Palms and fingertips always go deepest, while the forearms and back of the hand stay lighter because the skin there is thinner. If it’s still pale after two days, more paste or more heat won’t rescue it; at that point jewellery and a slightly bolder nail colour do more for your photos than any home remedy.
The Stain Is What You’ll Actually Wear
Save a few references, but bring them as a starting point rather than a blueprint. Your hand shape, outfit, ceremony schedule and how long you can sit all change what will work. Ask your artist how each motif will look once the stain darkens, not just when the paste is fresh. That one question tells you more about their experience than any portfolio.
You'll Like These Ideas:


Leave a Reply