
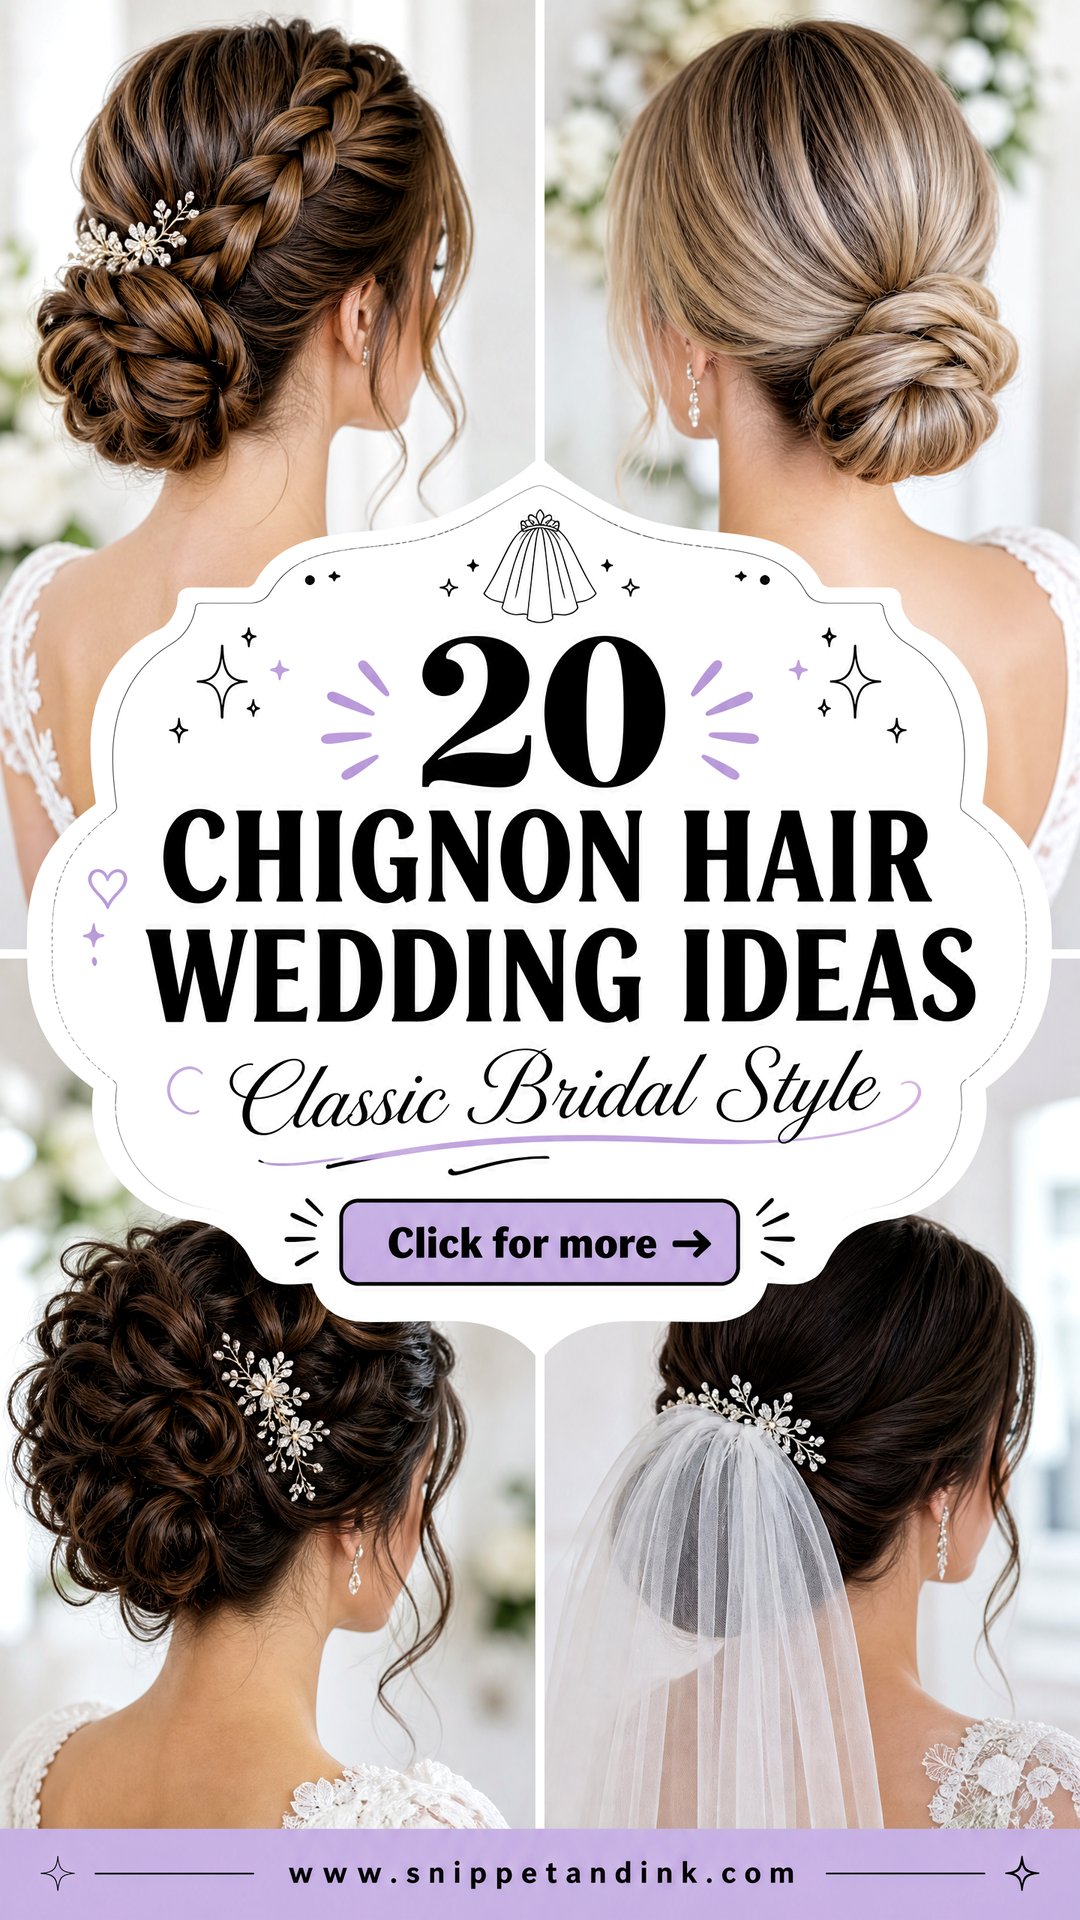
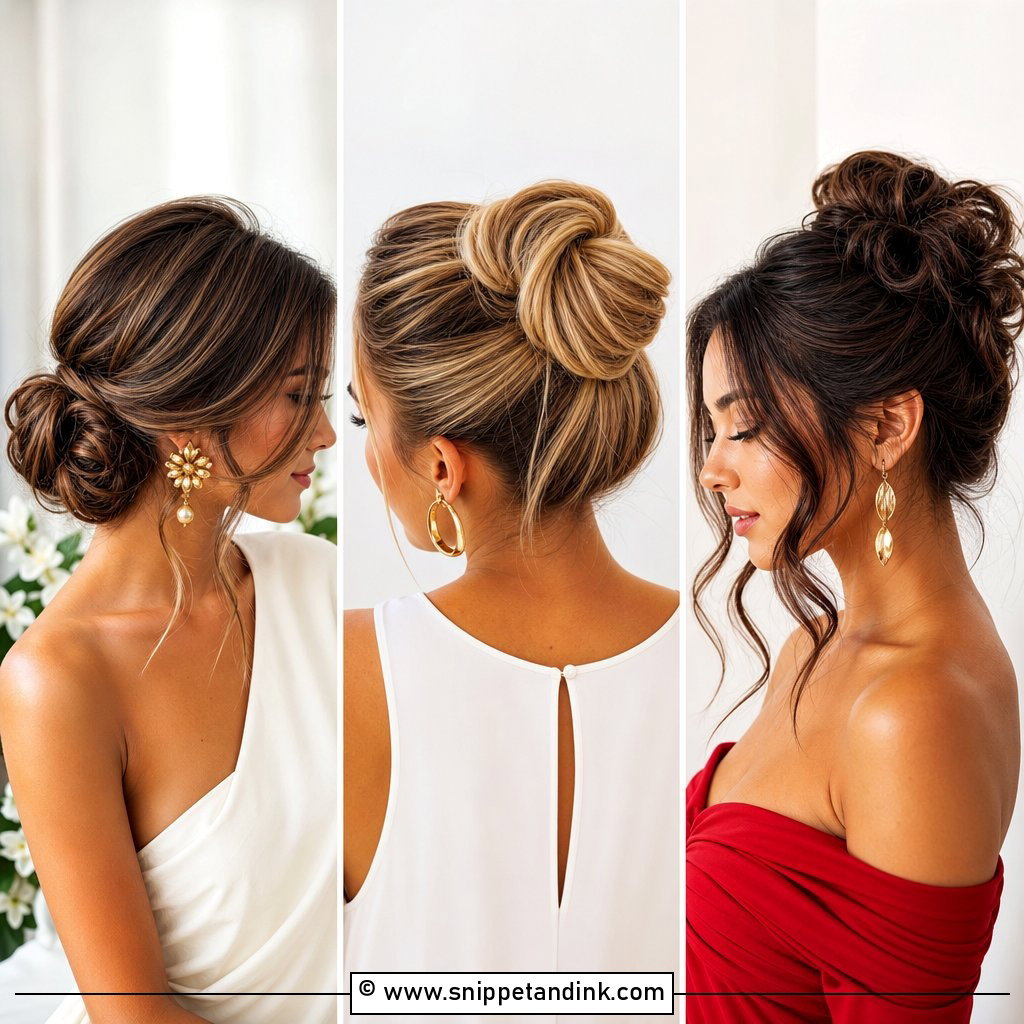
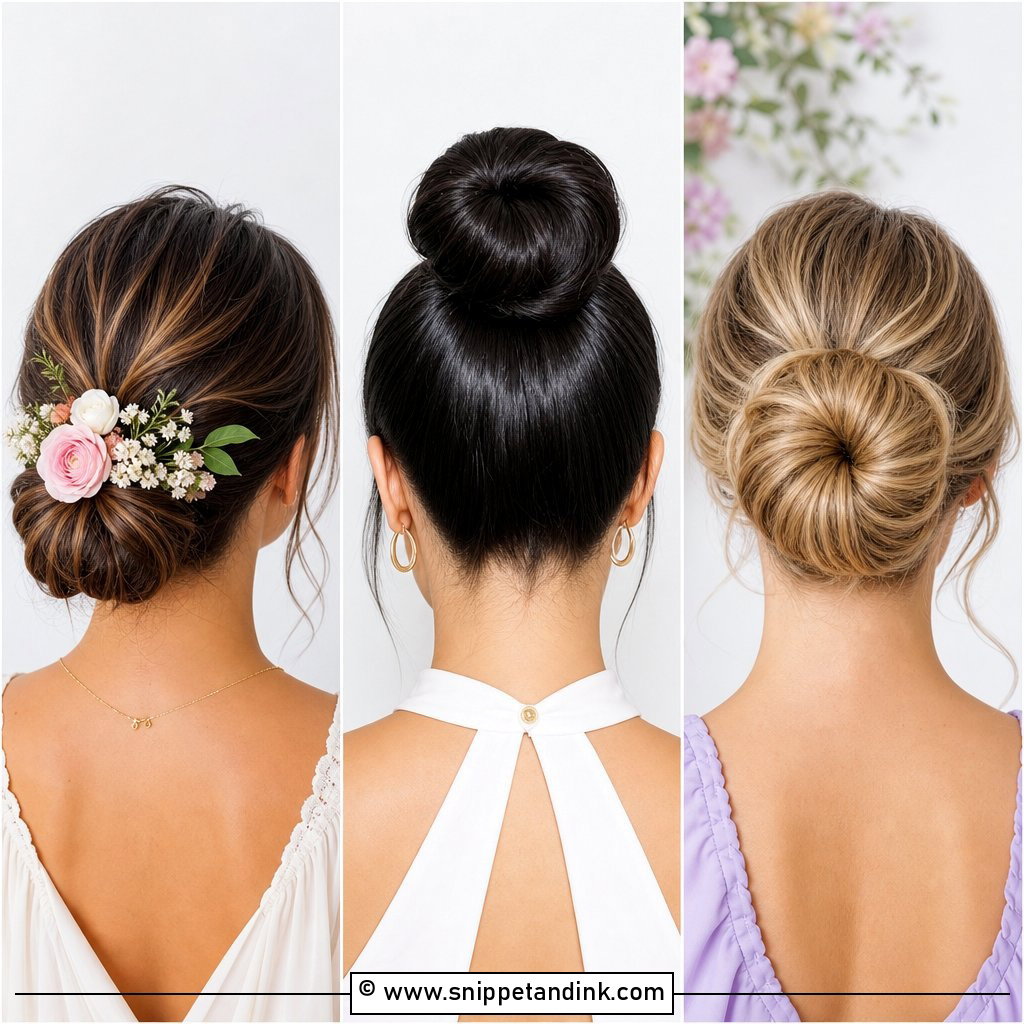
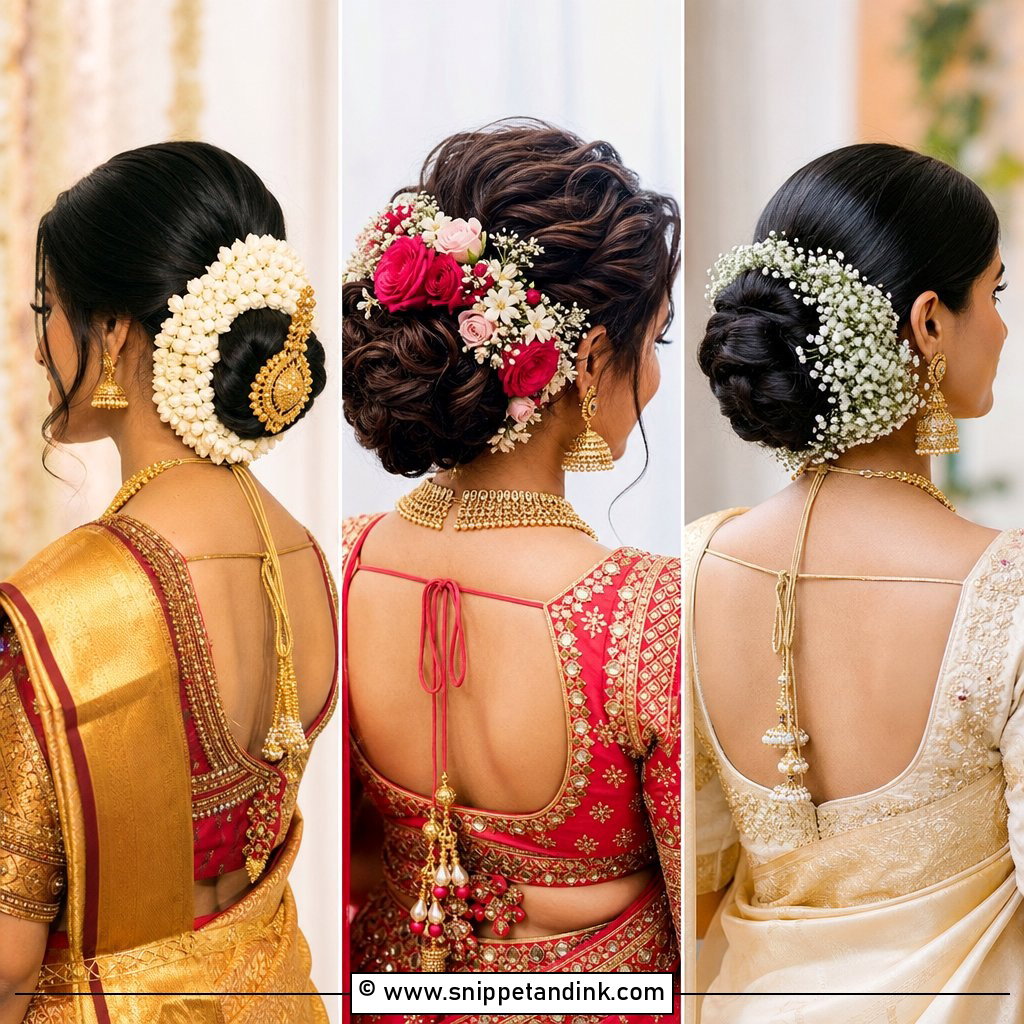
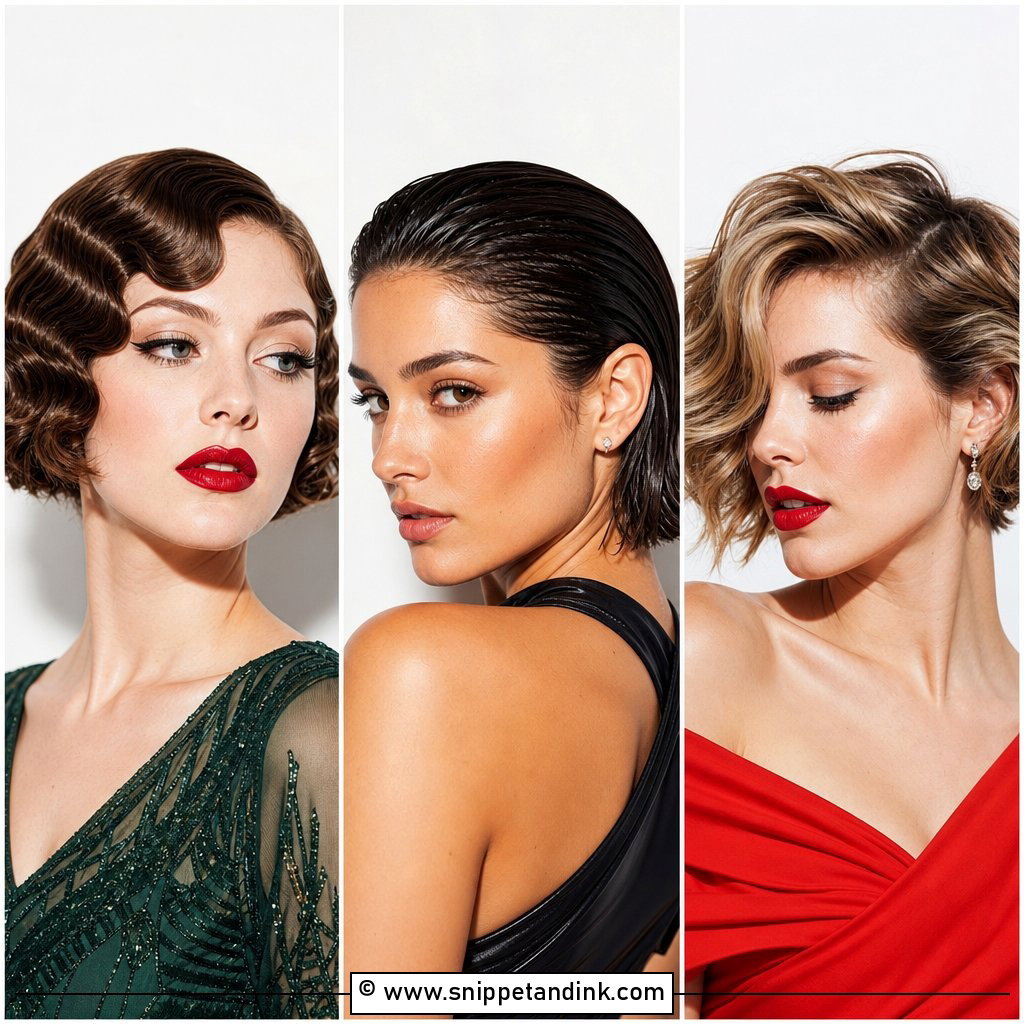
A chignon is really just a knot of hair at the back of the head, and that simplicity is why it works for so many brides. It gives the veil a firm base, keeps the neckline clear, and survives dinner and dancing better than almost any down style. The variations come from three decisions: how high it sits, how smooth the surface is, and what goes into or around it. This year most of the chignons I’m asked for are low, soft and finished with small pearls or a fine comb rather than anything heavy. Below are twenty versions, with the reasoning I use when I suggest one over another at a trial.
How High Should the Knot Sit on Your Head?
Before I talk texture or accessories, I decide with the bride where the knot will sit. It affects the dress, the veil and how her profile looks in photos, and changing it on the morning is rarely a good idea.
- At the nape: the most versatile placement. Clears high necklines, sits under or above a veil comb, and stays comfortable seated against a chair back.
- Mid-height, level with the ears: gives a more lifted, structured profile. It works with strapless and V-neck gowns but can clash with a high collar.
- Just off-center at the nape: pairs well with one-shoulder dresses and draws attention to one side of the face.
- High on the crown: rarely right for a chignon. It turns into a top knot and leaves no room for most veils.
A quick test: put on a top with a similar neckline, pull your hair into a loose knot at each height and take a side photo. You’ll usually see straight away which one flatters your neck and jaw.
1. Low Chignon Wedding Hair
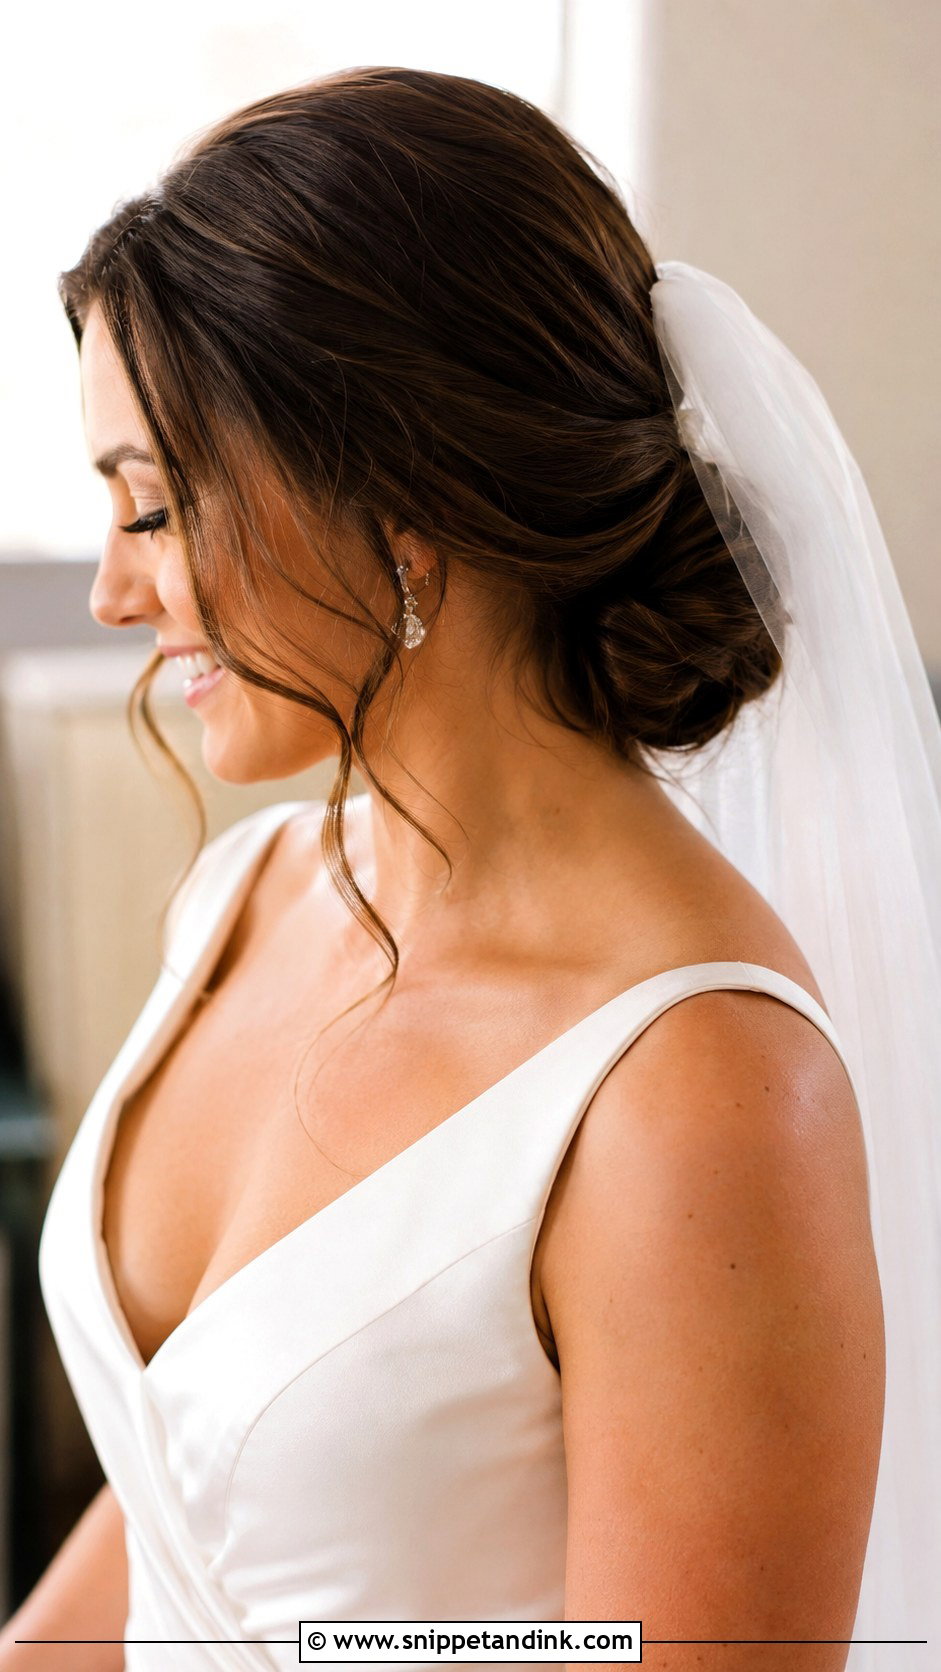
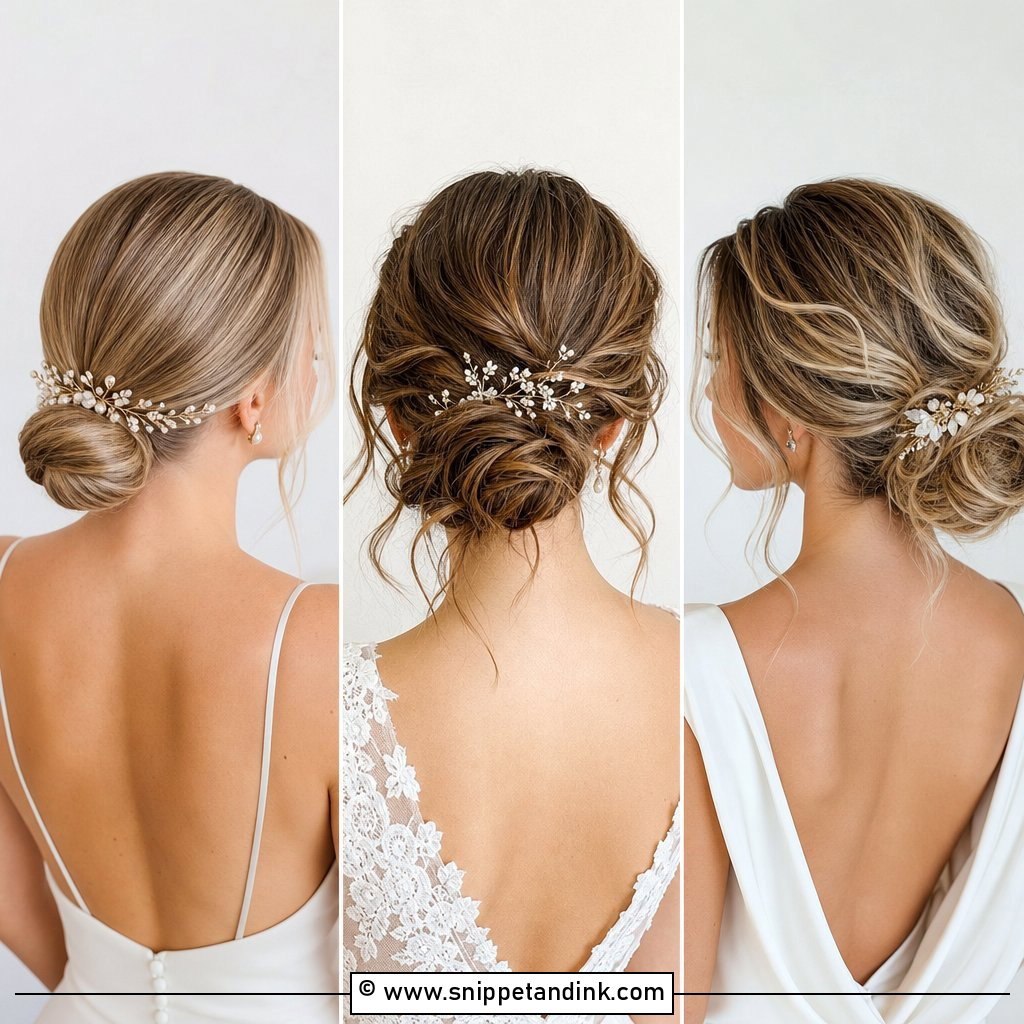
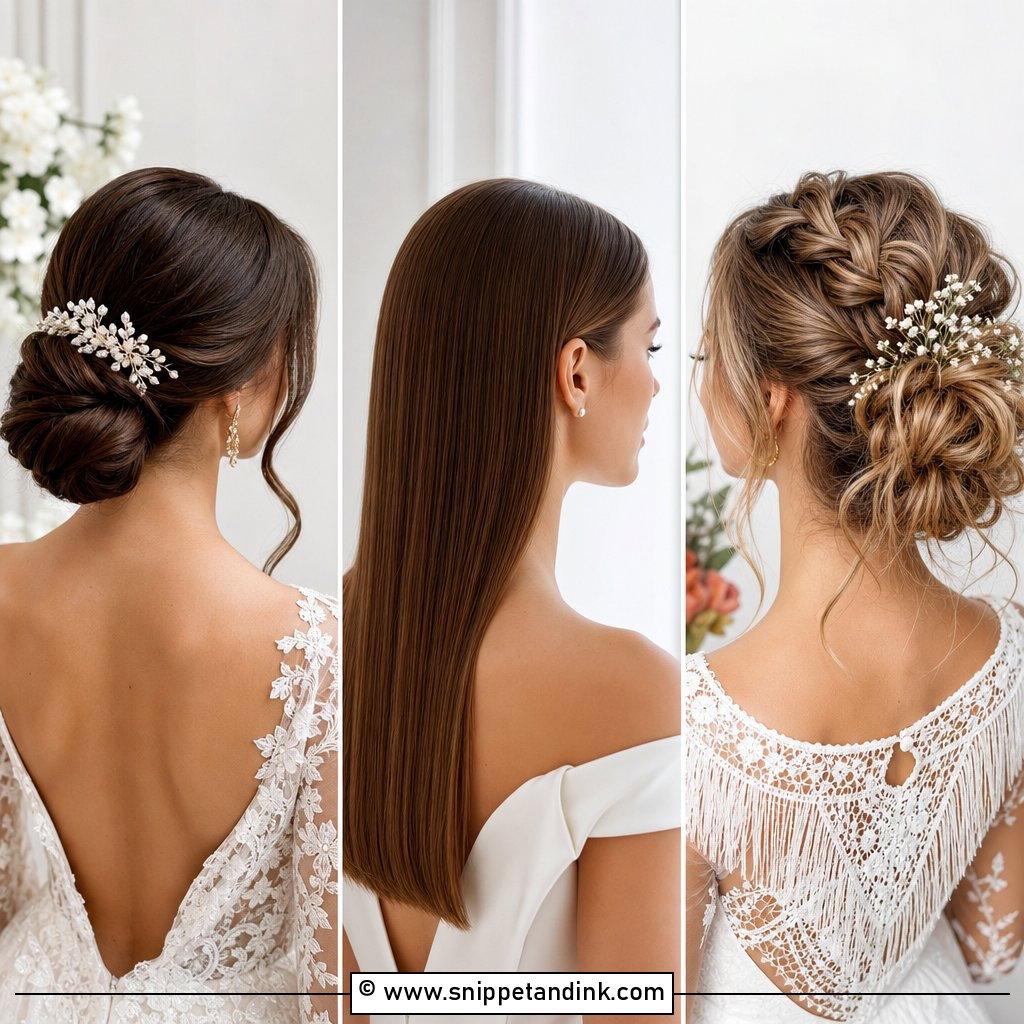
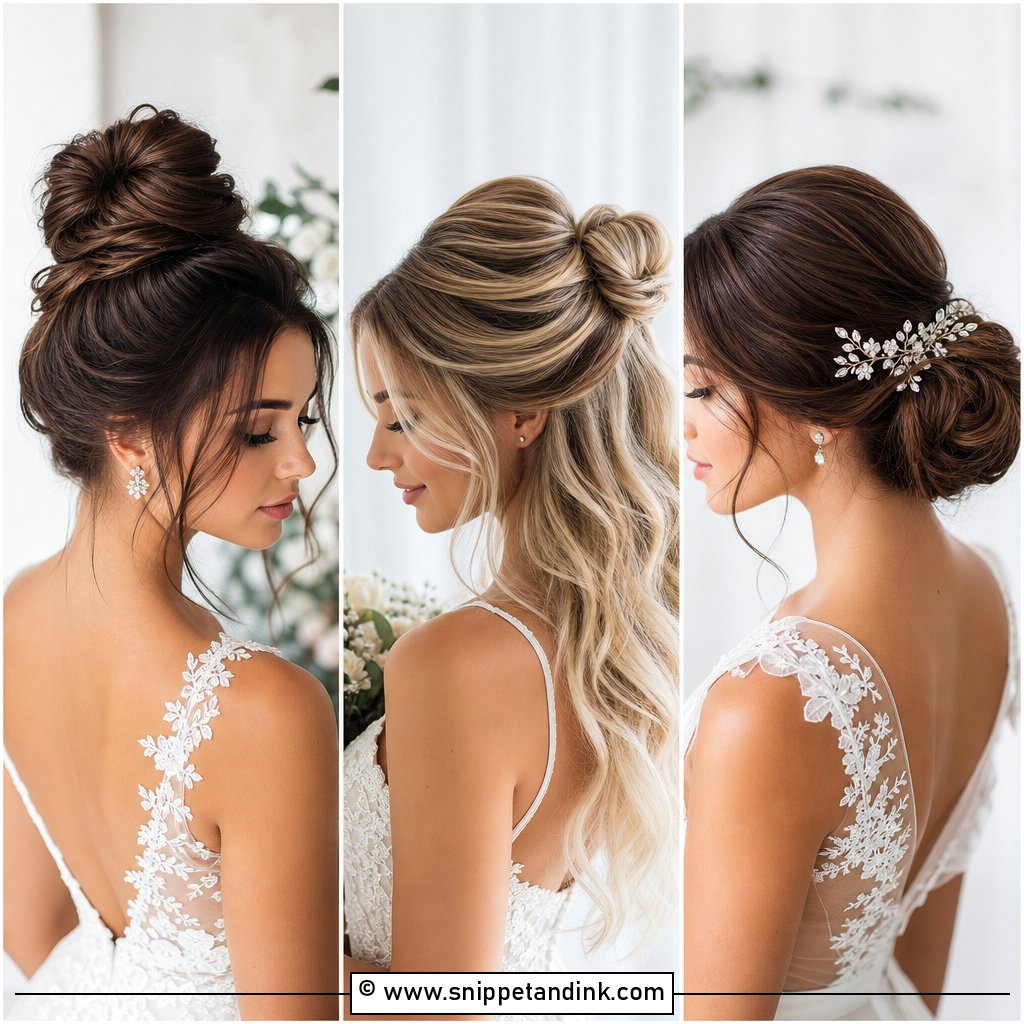
The low chignon is my default starting point, and I adjust from there. Sitting at the nape, it clears strapless and high necklines alike and leaves an open back fully visible. Size is the thing I fuss over: too small and it disappears in photos, too big and it looks like a hairpiece. I usually aim for something roughly the width of the bride’s ear. Face-framing pieces are optional, and a veil comb slides in just above the knot.
2. Sleek Chignon Wedding Hair
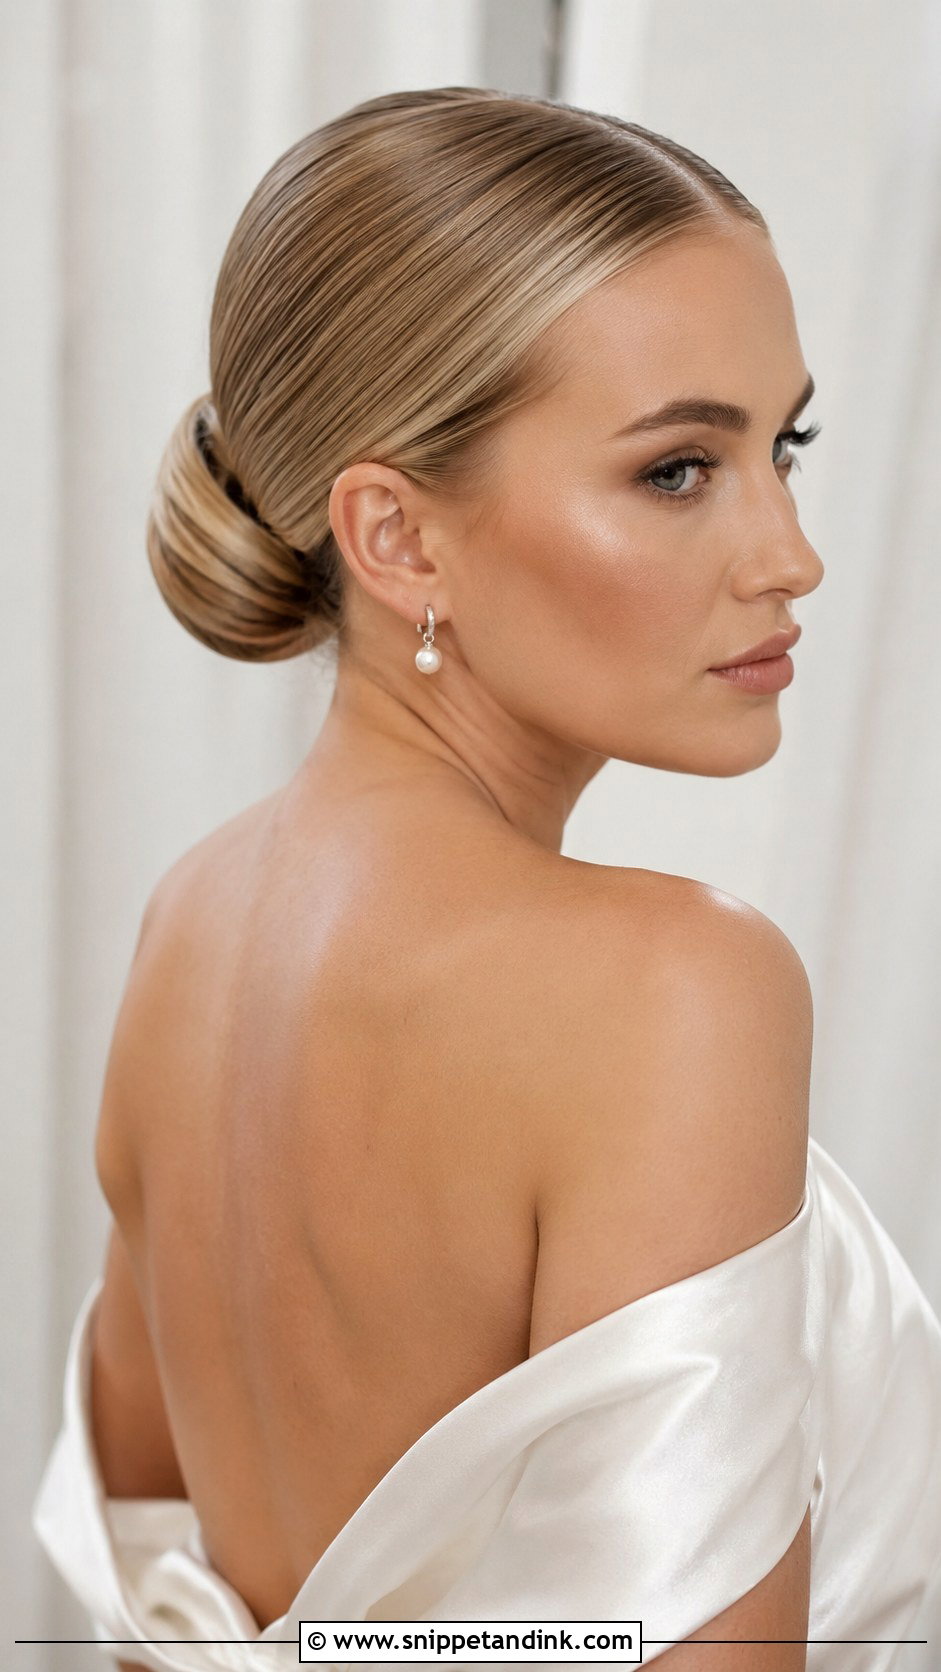
Smooth chignons start in the shower, not in the chair. I ask for hair washed with a smoothing conditioner, blow-dried straight with a paddle brush, then pinned while the hair still holds the warmth. Done that way, the surface stays glassy for hours. It suits satin, minimal gowns and city venues. The honest downside: it shows every flyaway in close-ups, so it’s harder on frizz-prone or freshly lightened hair. If your earrings or neckline already do the talking, skip accessories altogether.
3. Messy Chignon Wedding Hair
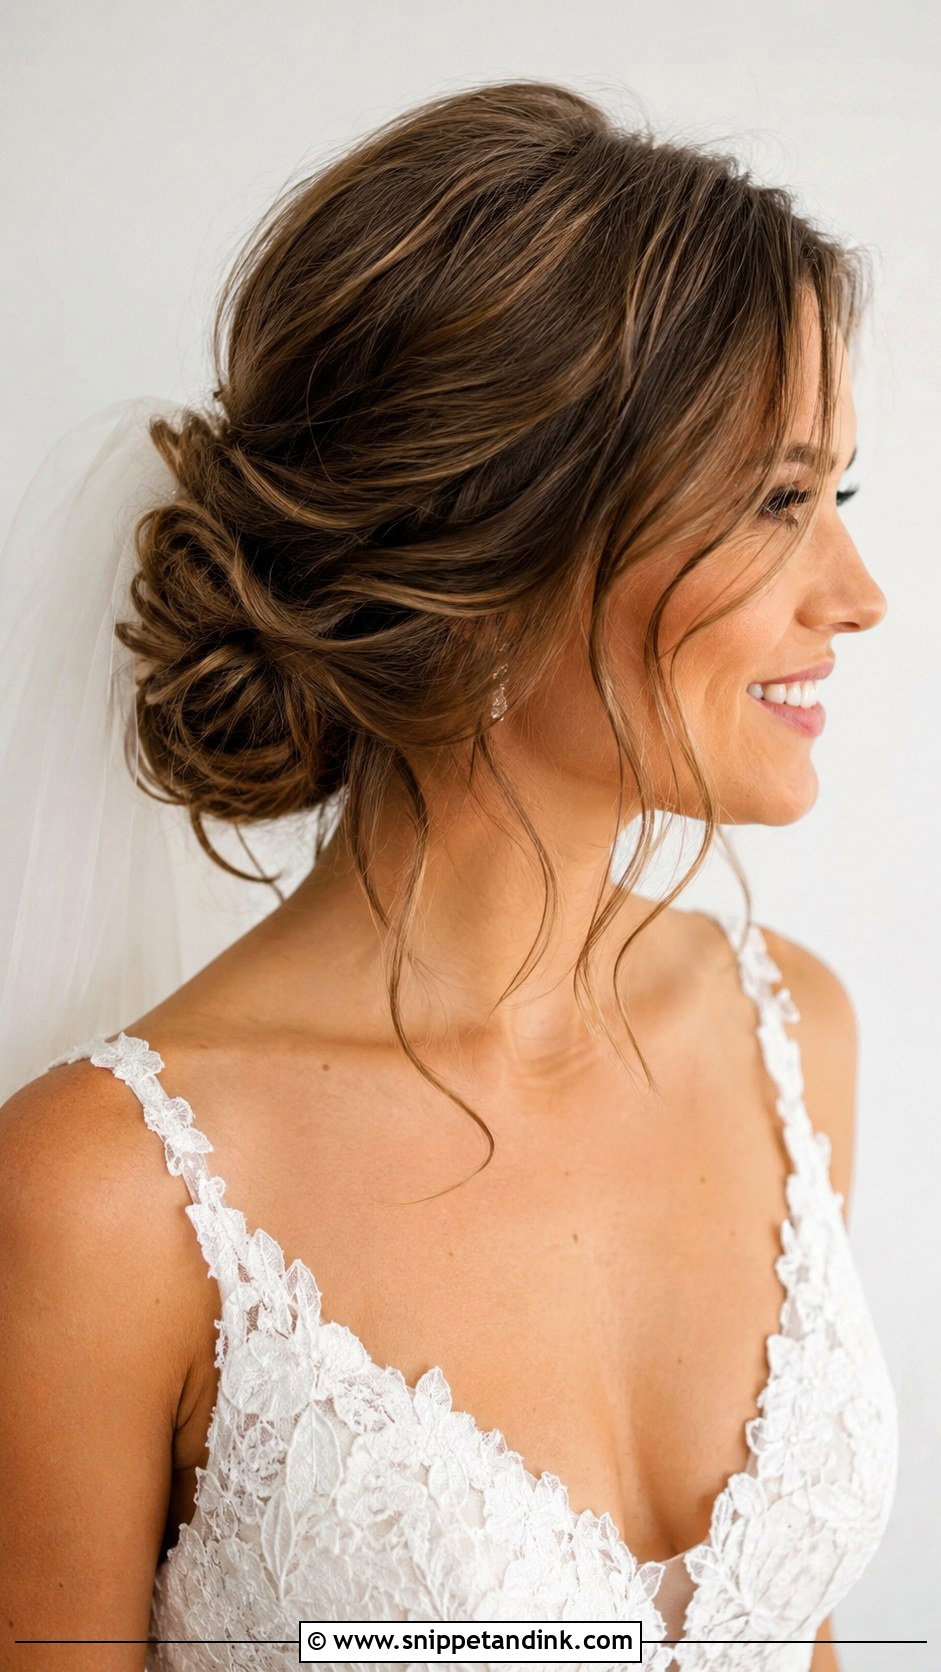
Soft texture is what makes this version look romantic instead of careless, and the looseness is planned. I curl everything first, brush it out lightly, then pin it in small loops so the shape stays airy while the pins underneath do the real work. Face-framing tendrils keep it relaxed around the face. It’s at home in gardens and at outdoor ceremonies. I tell brides with very silky, straight hair that this one needs a dry texture spray to hold, or the loops slip by early evening.
4. Braided Chignon Wedding Hair
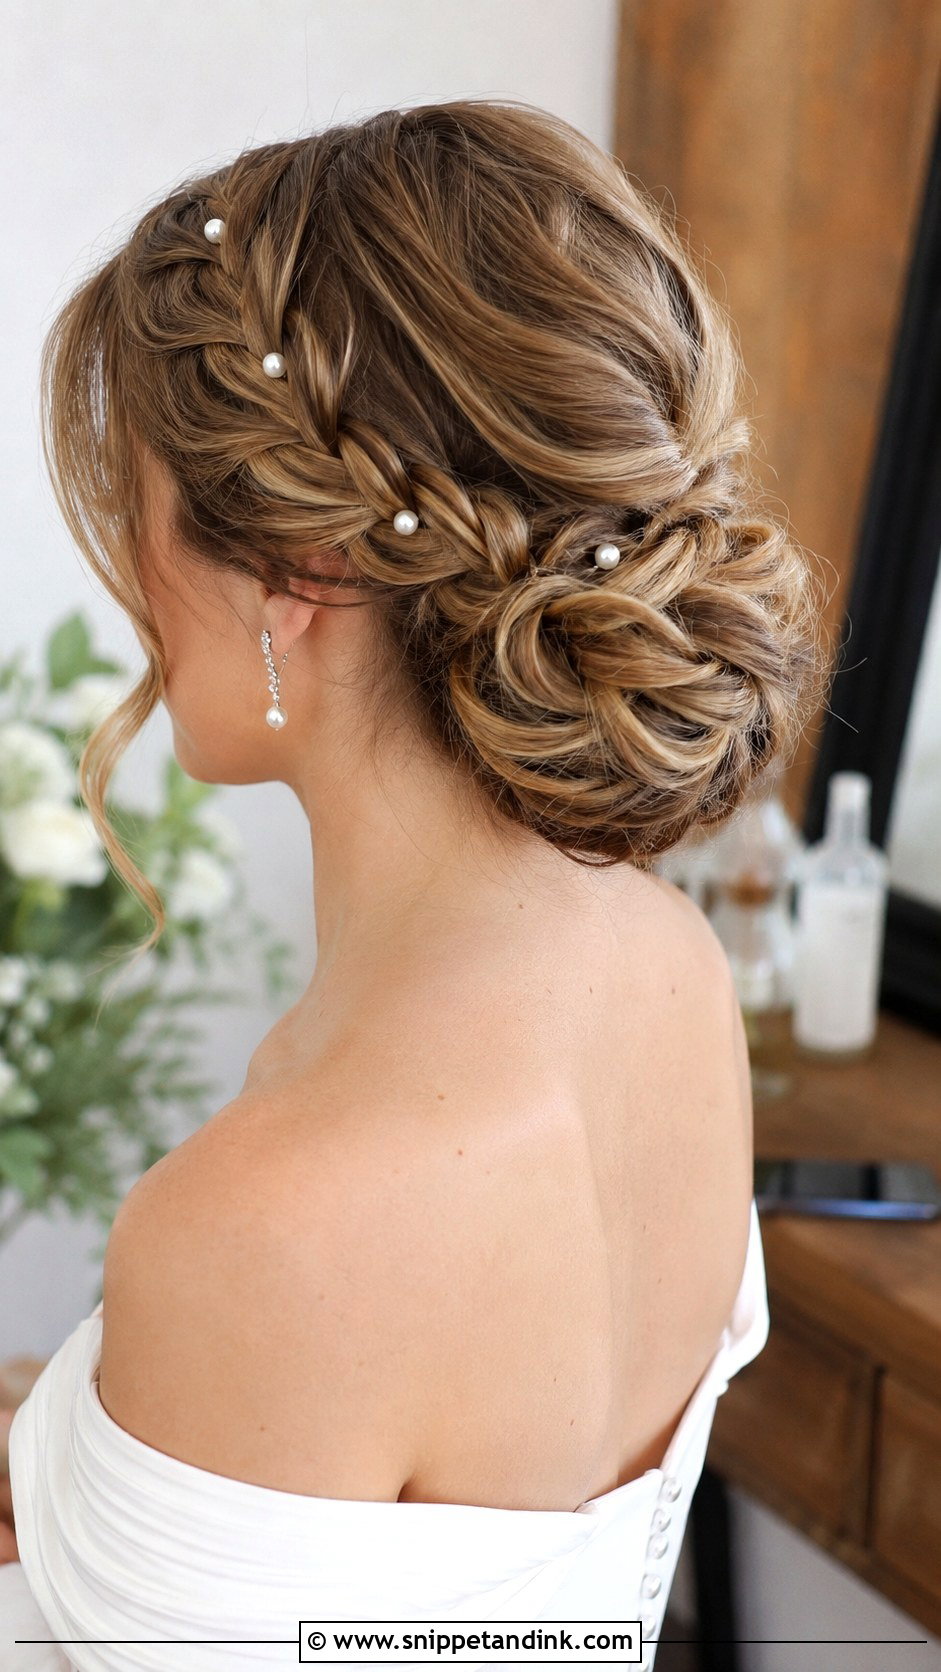
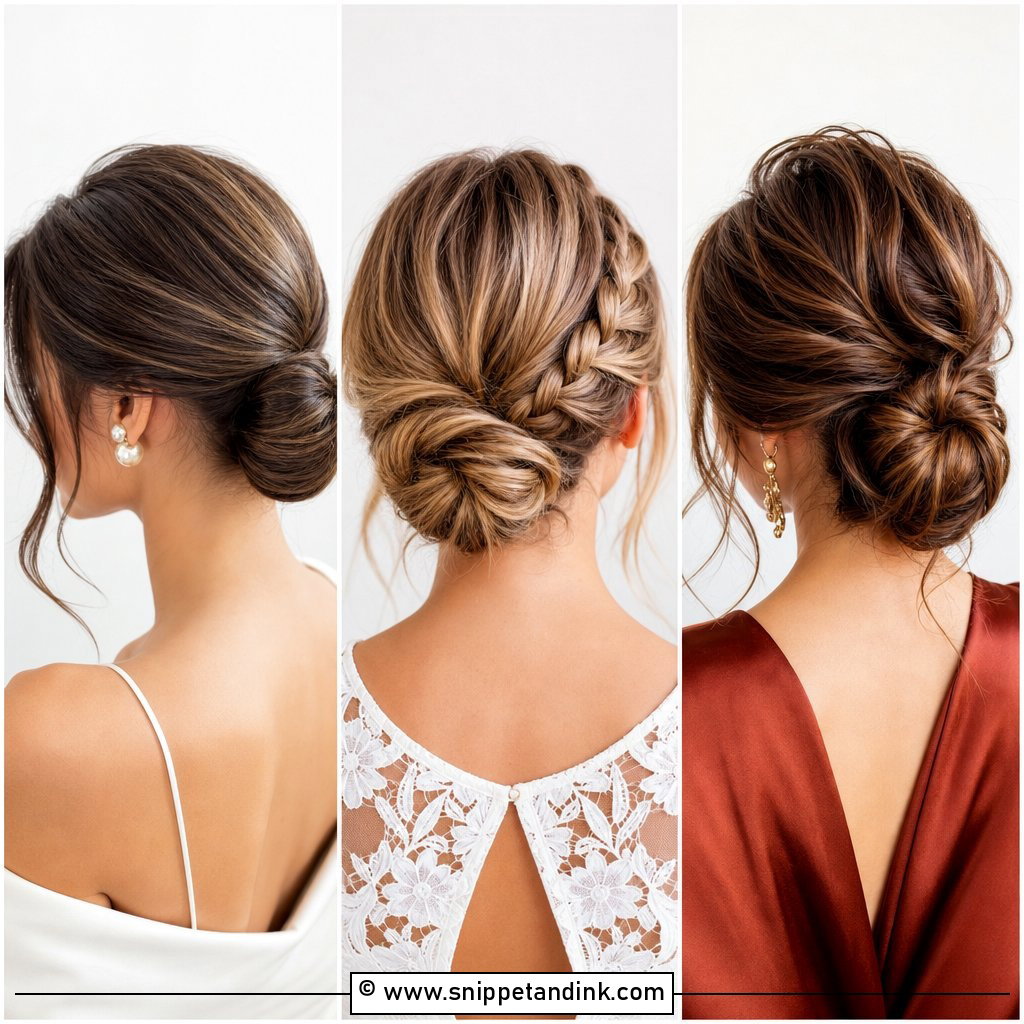
On thick hair, a braid is the neatest way to use up bulk. I take a section from one side, braid it loosely, and wrap it round the knot or across the crown, which takes weight out of the bun itself. The result has detail without feeling busy, and a plain dress benefits from that extra interest at the back. Keep the braid soft and slightly pulled apart. Tiny flowers or a delicate comb tuck into a braid more securely than into smooth hair.
5. Twisted Chignon Wedding Hair
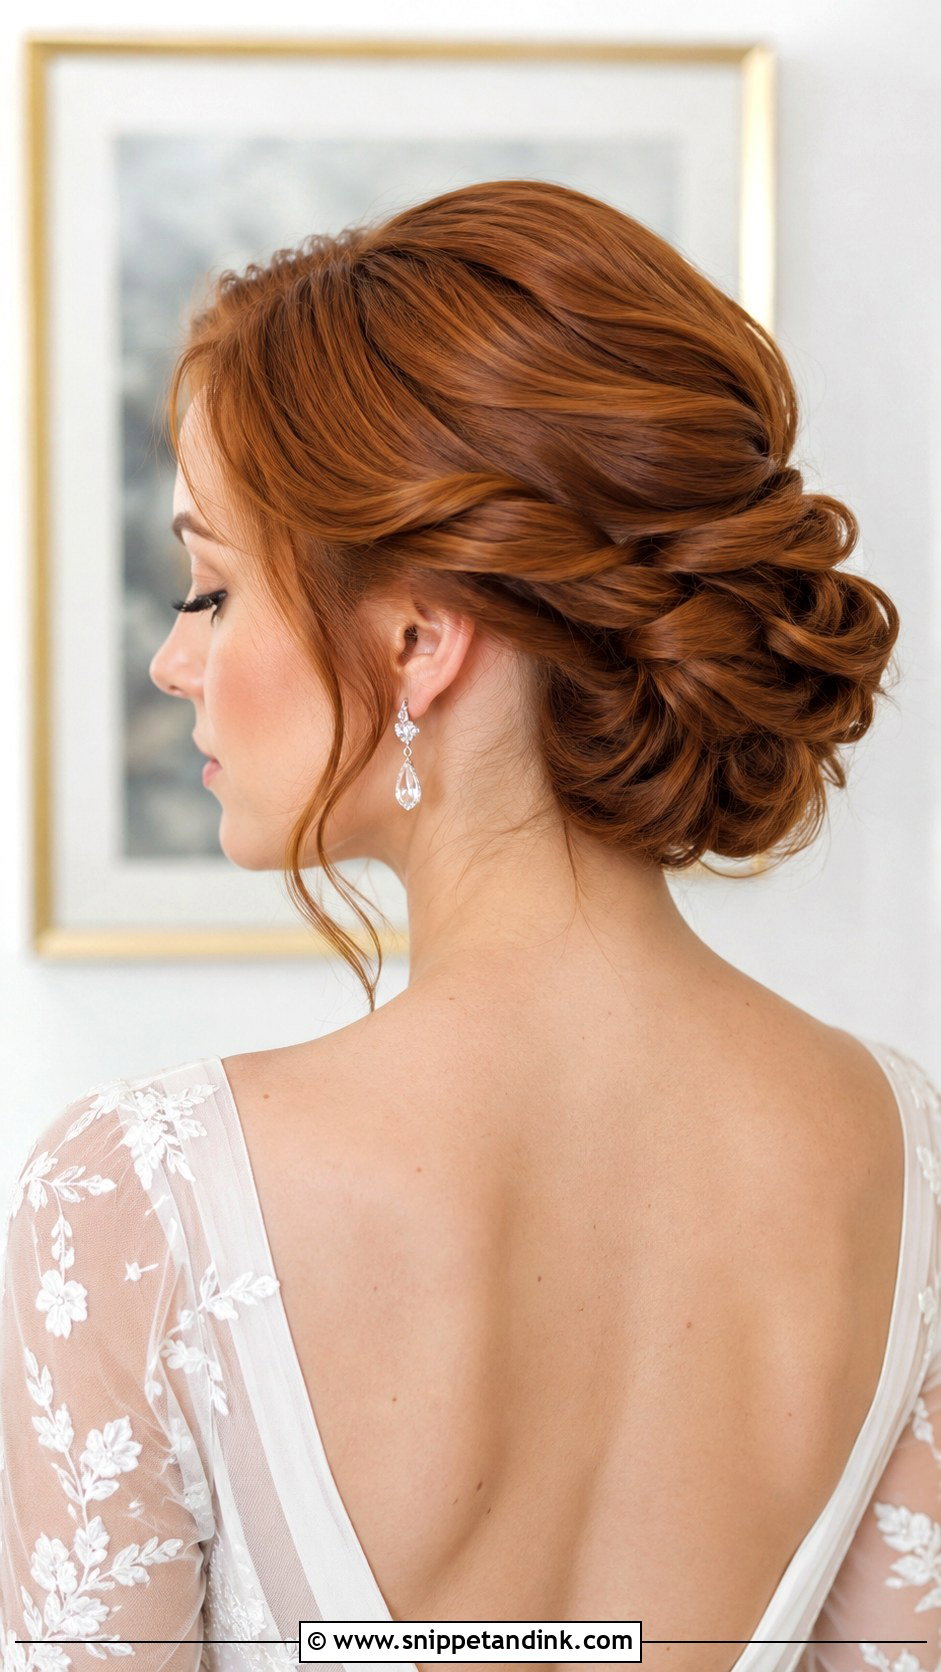
Instead of wrapping hair into one plain bun, I twist sections back one at a time and pin them in overlapping layers. The twists catch light differently, which is why this style shows off highlighted, brunette, blonde, or auburn hair so well. It needs at least shoulder-length hair. Because every twist is pinned separately, the whole shape is extremely stable, and a veil comb has plenty to grip. I keep the sides smooth and the crown slightly lifted so it doesn’t read as severe.
6. Side Chignon Wedding Hair
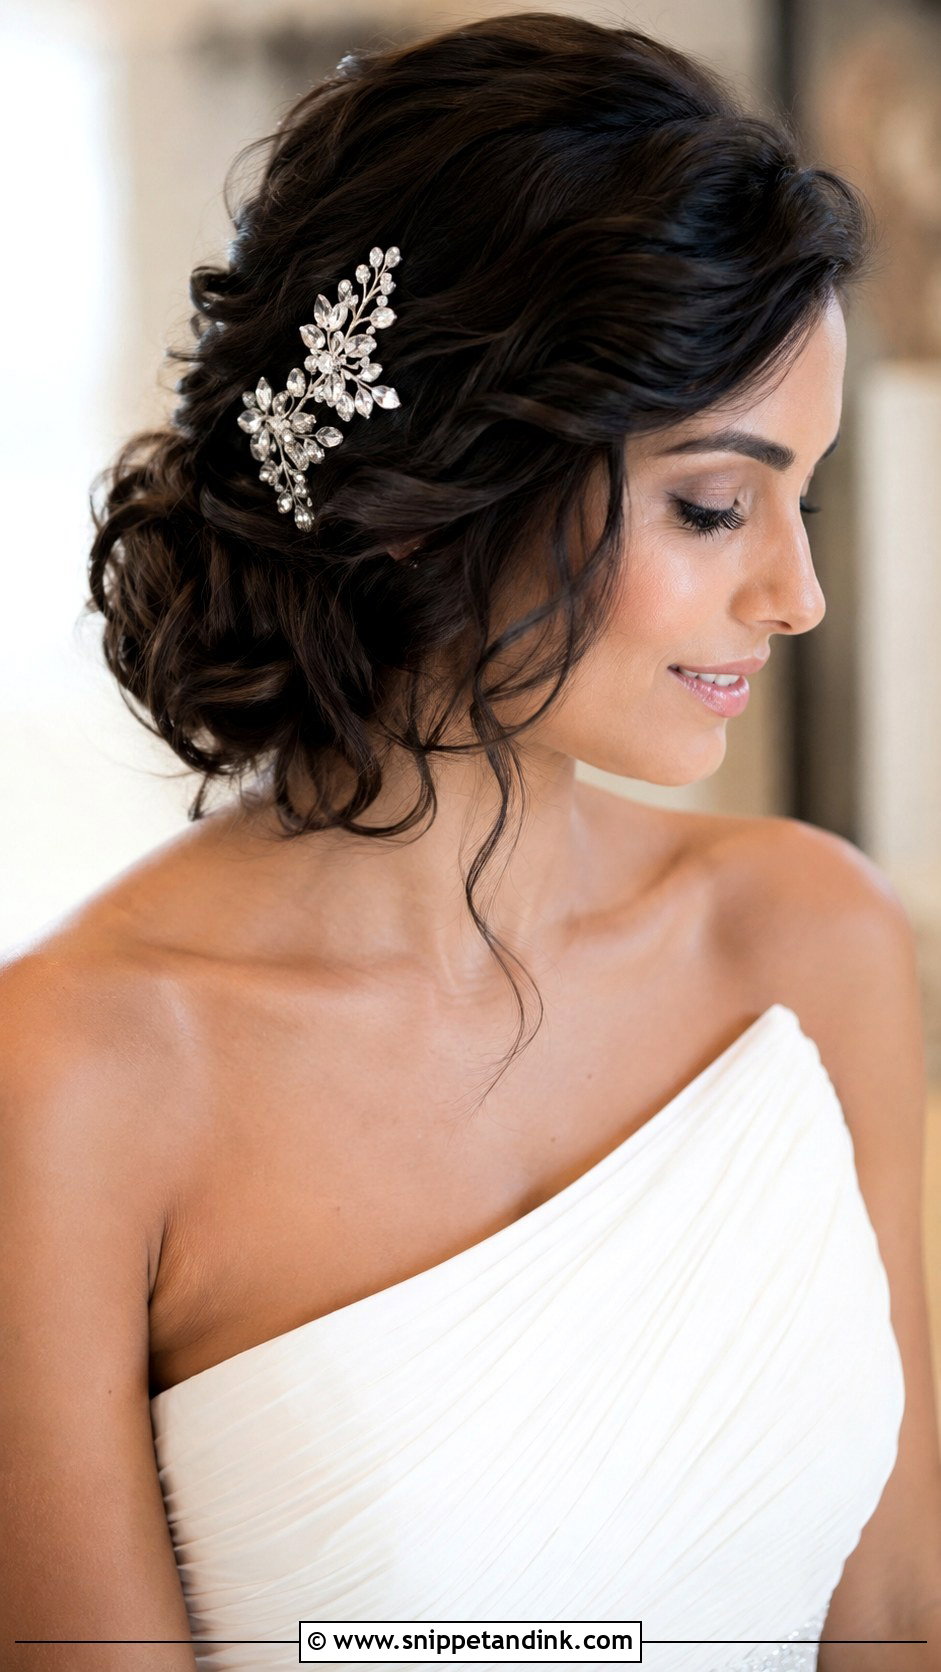
Placing a chignon off-center sounds small, but it changes the whole look. I set it low and just to one side of the nape, never up by the ear, where it starts to look dated. It’s my suggestion for one-shoulder and asymmetric necklines: the knot goes on the side opposite the strap so the bare shoulder stays balanced. It also gives you a clear profile for photos. Decide early which side you want photographed most, because that becomes your chignon side.
7. Classic Chignon Wedding Hair
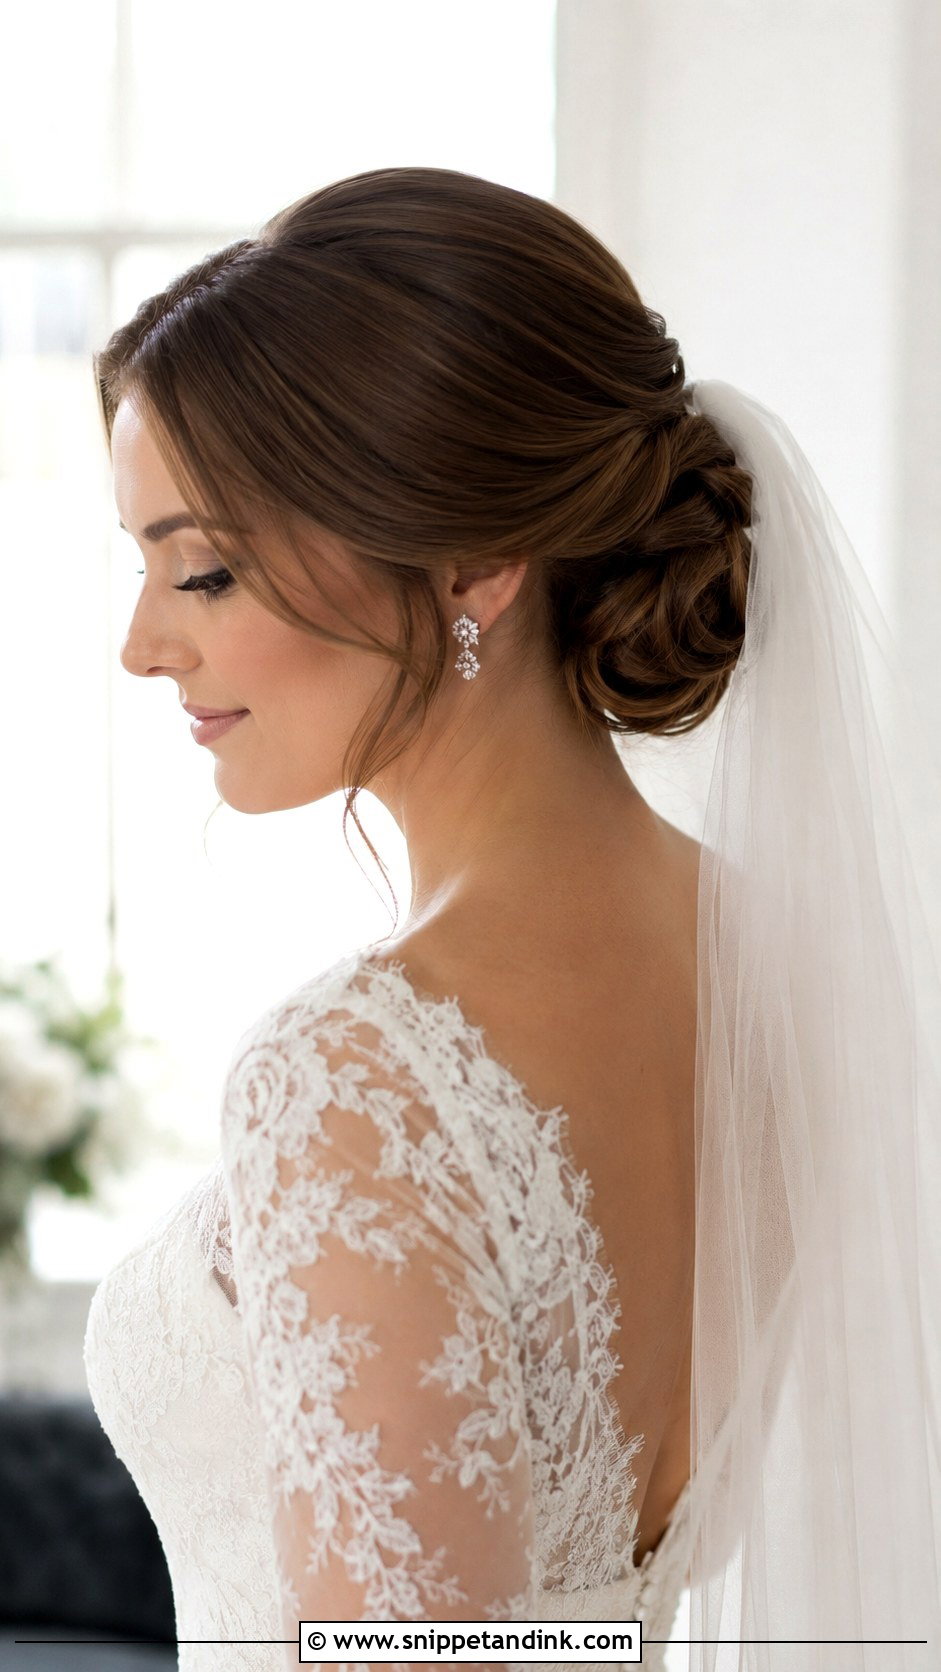
The classic version has smooth sides, a gentle lift at the crown and a rounded knot low at the back. It doesn’t compete with lace, beading or sleeves, which is why I suggest it when the dress is the detailed part of the look. Bring pictures from the front, side and back to your trial; brides often love the back view of a photo and haven’t noticed that the front is flat. With those angles in hand I can match the shape you actually want.
8. French Chignon Wedding Hair
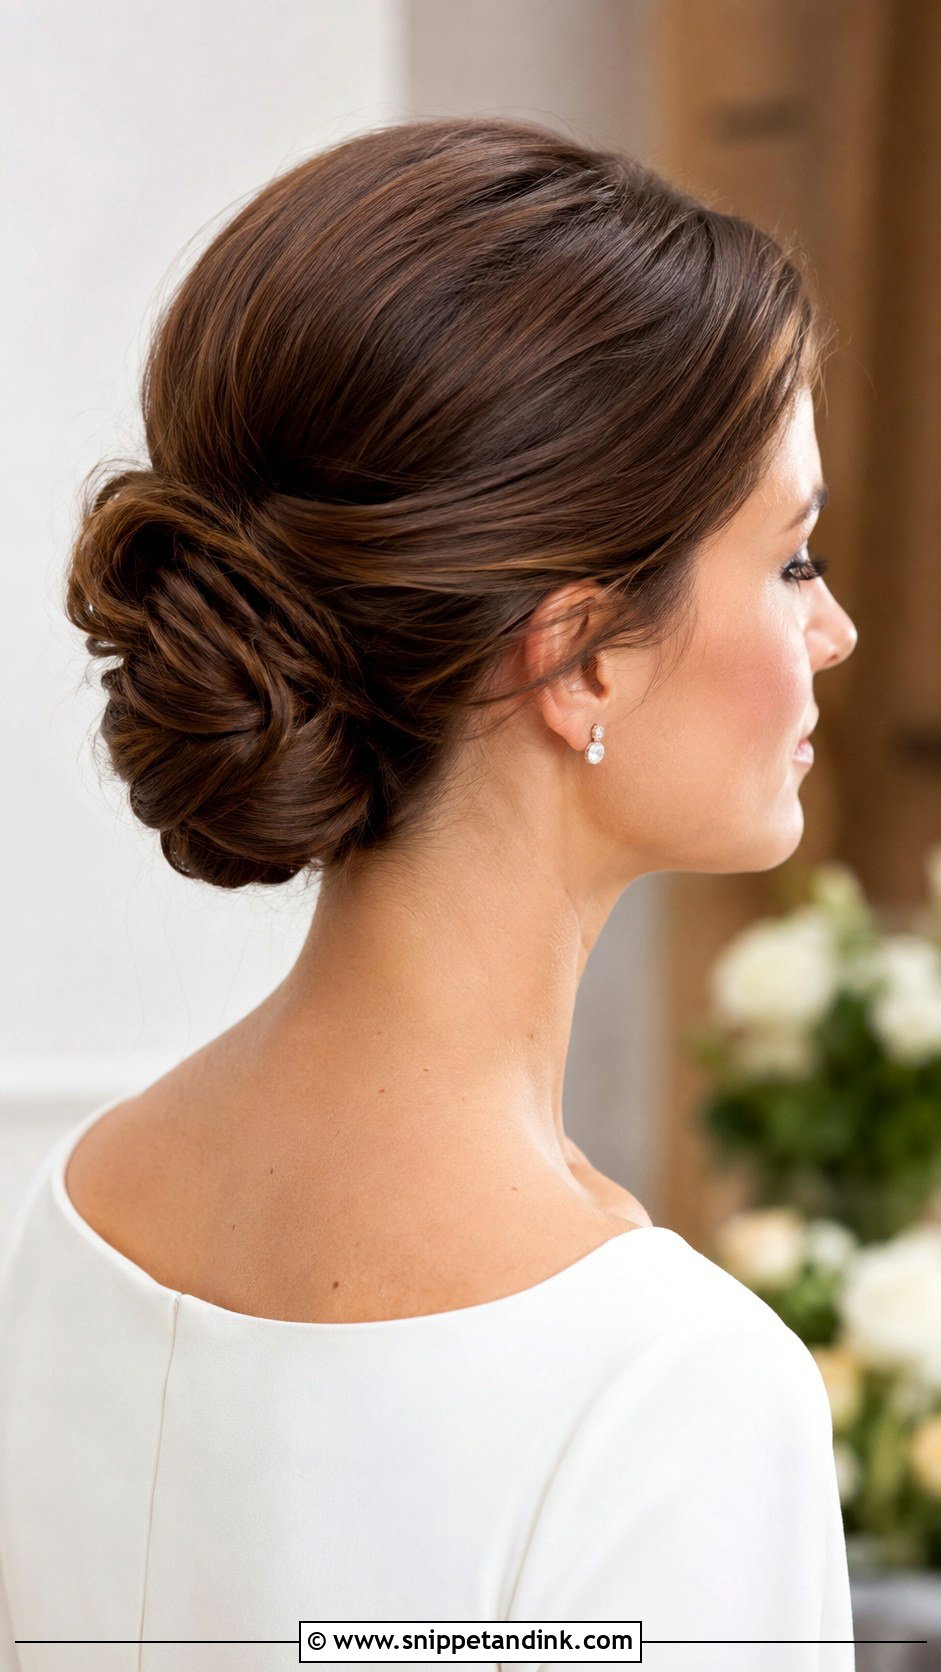
A French chignon sits between a French twist and a bun: the hair is swept back, folded in on itself and pinned so it hugs the back of the head, lower and less vertical than a twist. I set it with long hairpins (the U-shaped kind) rather than bobby pins so the fold stays smooth. It looks refined with sleek gowns, vintage silhouettes and bateau necklines, where the wide neckline needs a neat head shape above it. Pearl accessories finish it quietly.
9. Textured Chignon Wedding Hair
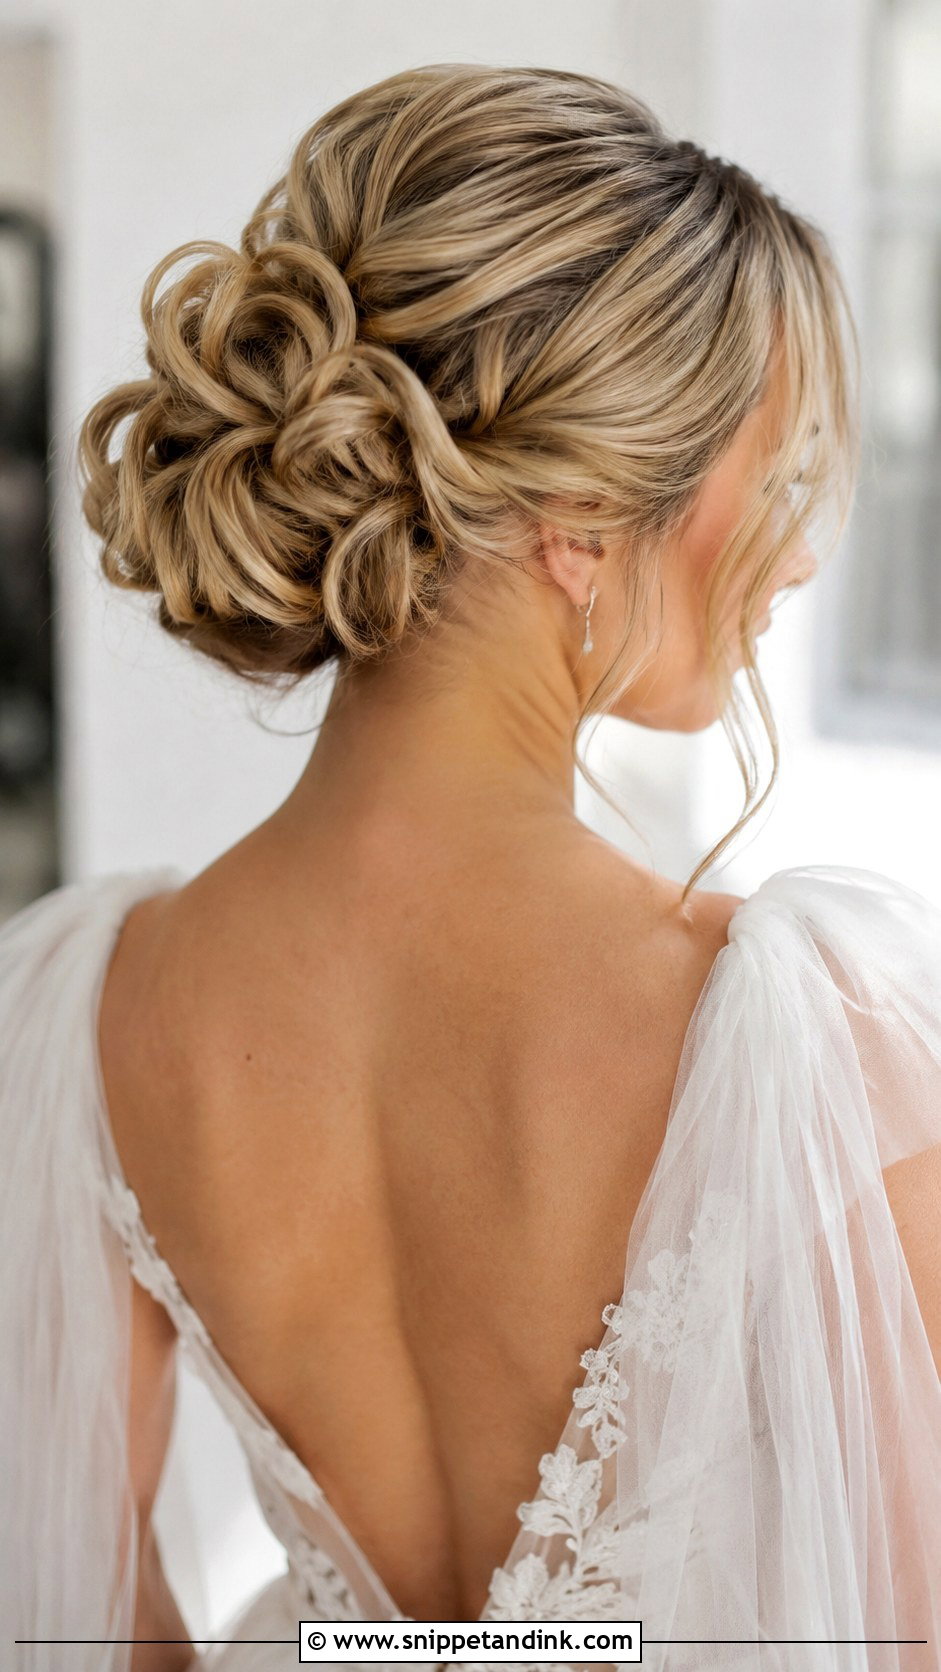
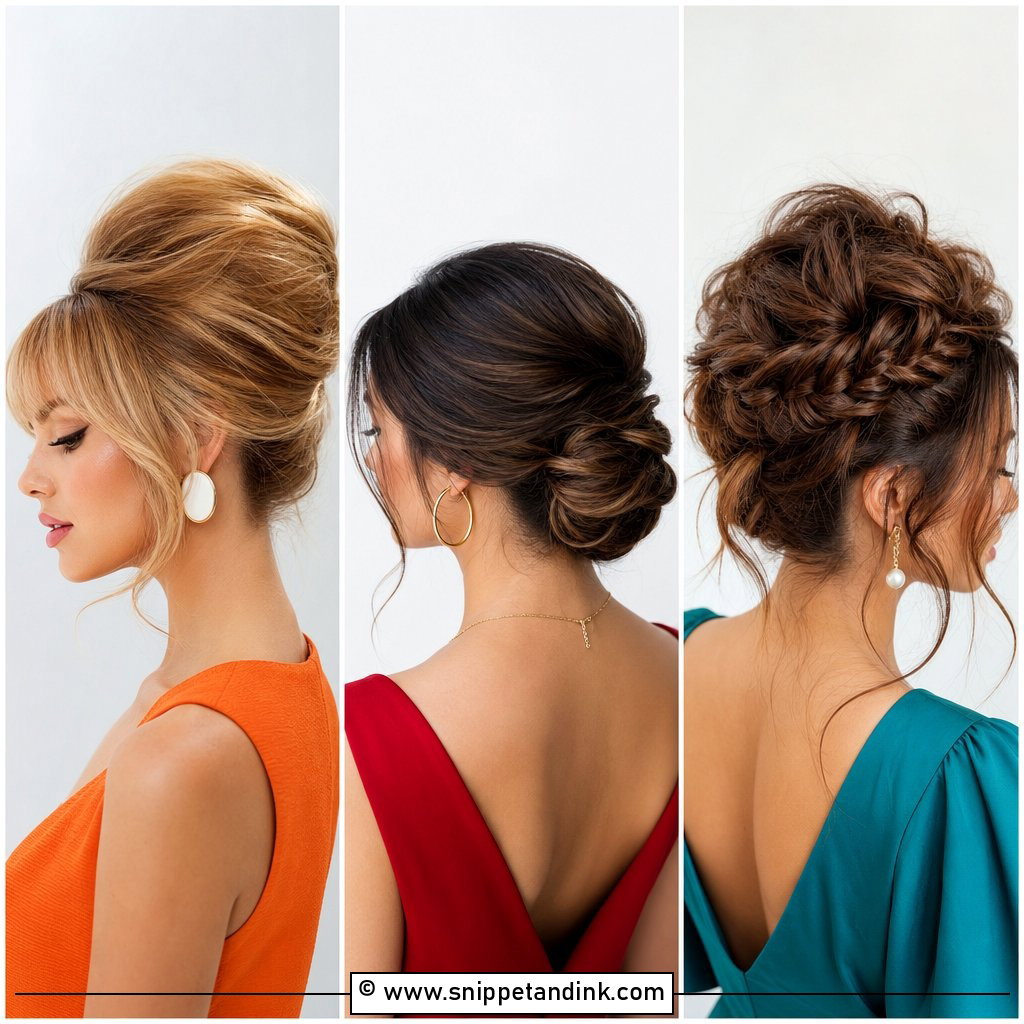
Texture is the trick I rely on for fine and medium-density hair. A light tease at the roots, waves through the lengths and a bit of grit from a texturizing spray make the hair look like there’s more of it, and the chignon comes out fuller. Highlighted hair benefits most because the tones separate in the pinned sections. I keep the front lifted rather than pulled flat; tight pulling at the hairline looks harsh and gets uncomfortable within a few hours.
10. Pearl Chignon Wedding Hair
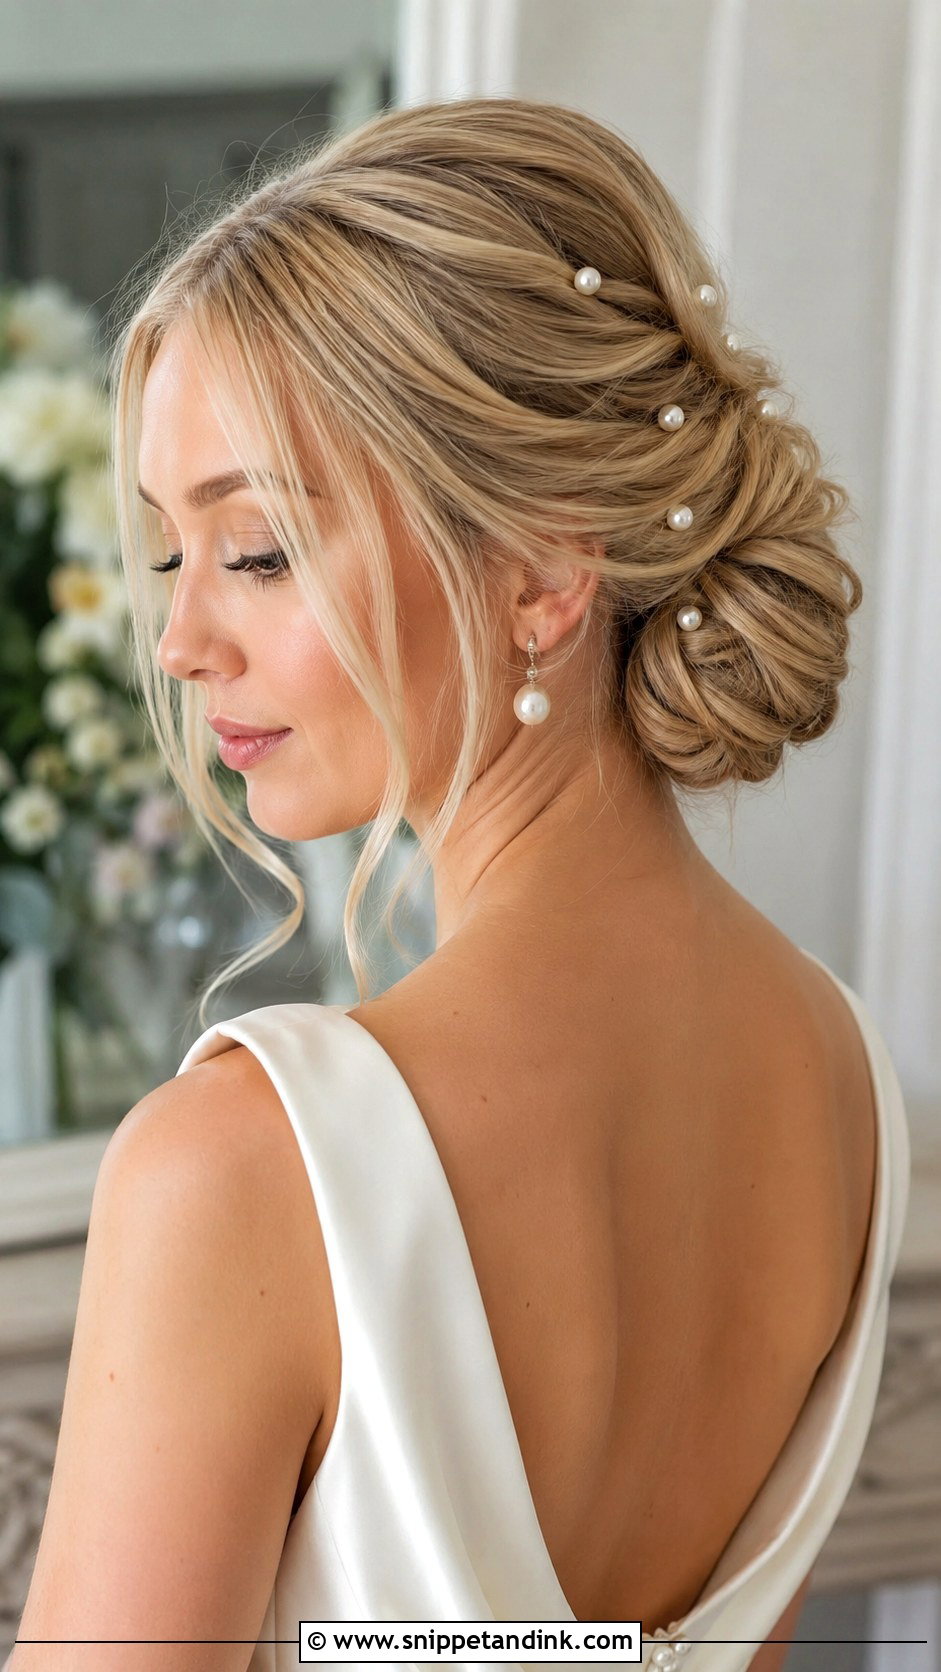
Pearls are where I see brides overdo it most. A few small pearl pins scattered through the twists or along one side of the knot look delicate in close-up portraits; a dense cluster of large ones looks heavy and can drag the bun down. A single pearl comb above the chignon is the safest choice if you’re unsure. They pair naturally with satin, lace and pearl earrings. Ask your stylist to place them after the veil goes in, so nothing gets hidden under the comb.
11. Floral Chignon Wedding Hair
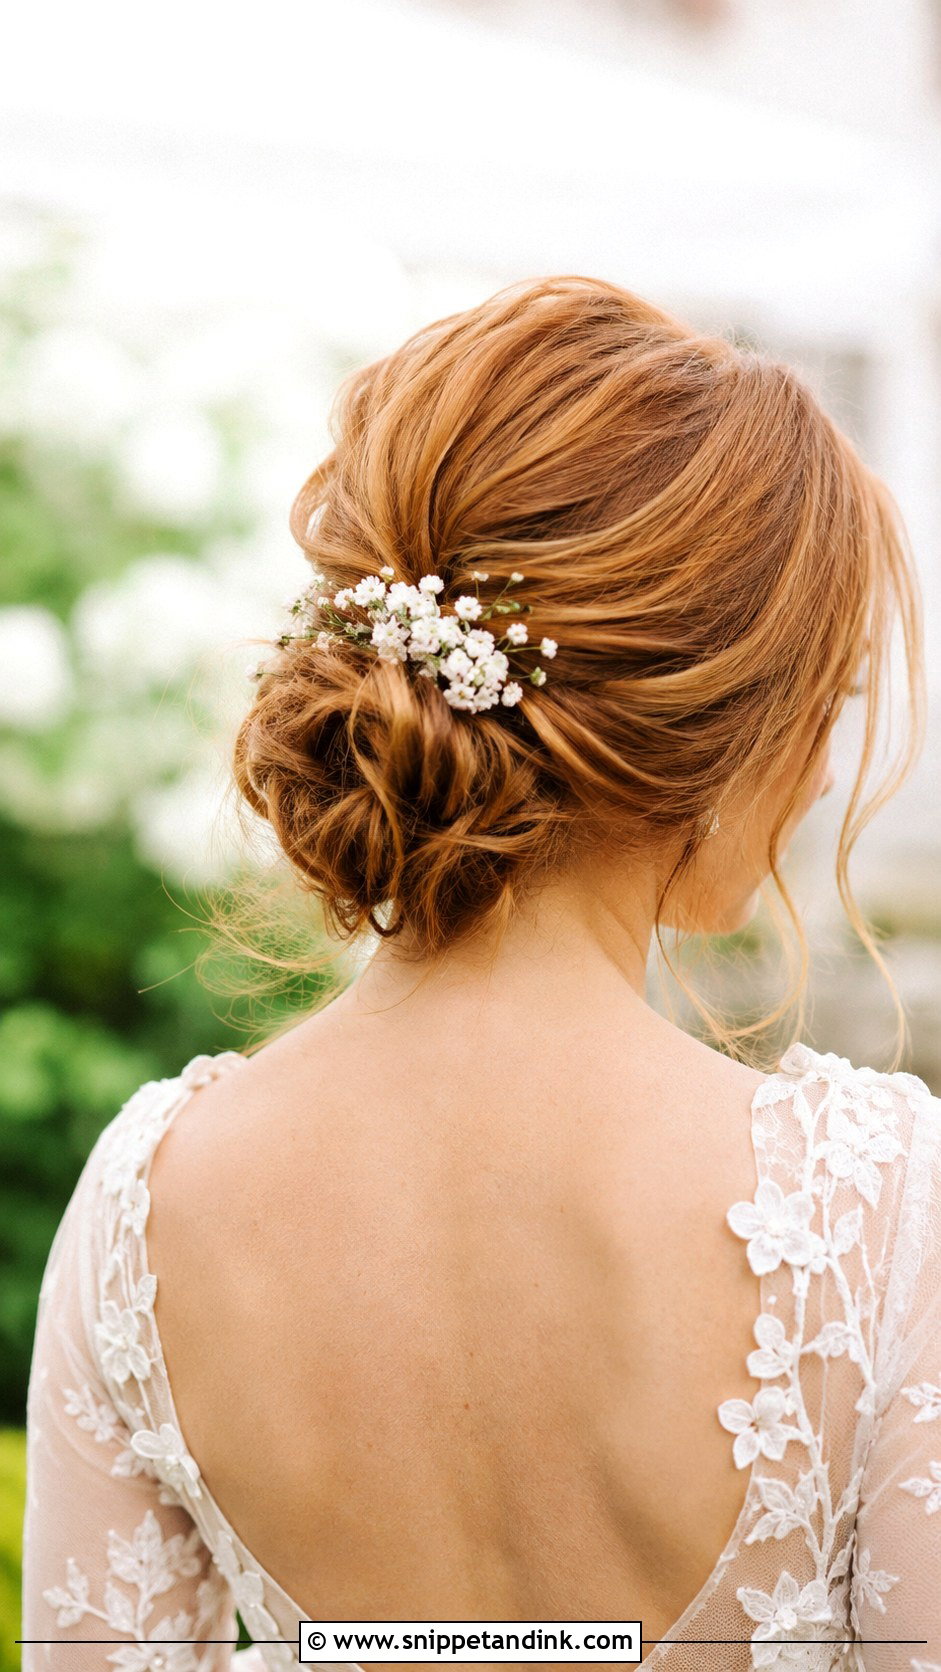
Flowers in a chignon look best when they come from the bouquet, which ties the whole look together. Fresh blooms wilt, though, and some (gardenias, for example) brown within hours in warm weather. I’d ask your florist for hardy small flowers wired onto pins, or use high-quality silk ones that stay the same all day. Leave enough texture in the knot for the stems to anchor into; smooth chignons give flowers nothing to hold. Placed at the side of the bun or around its base, they suit outdoor ceremonies especially well.
12. Curly Chignon Wedding Hair
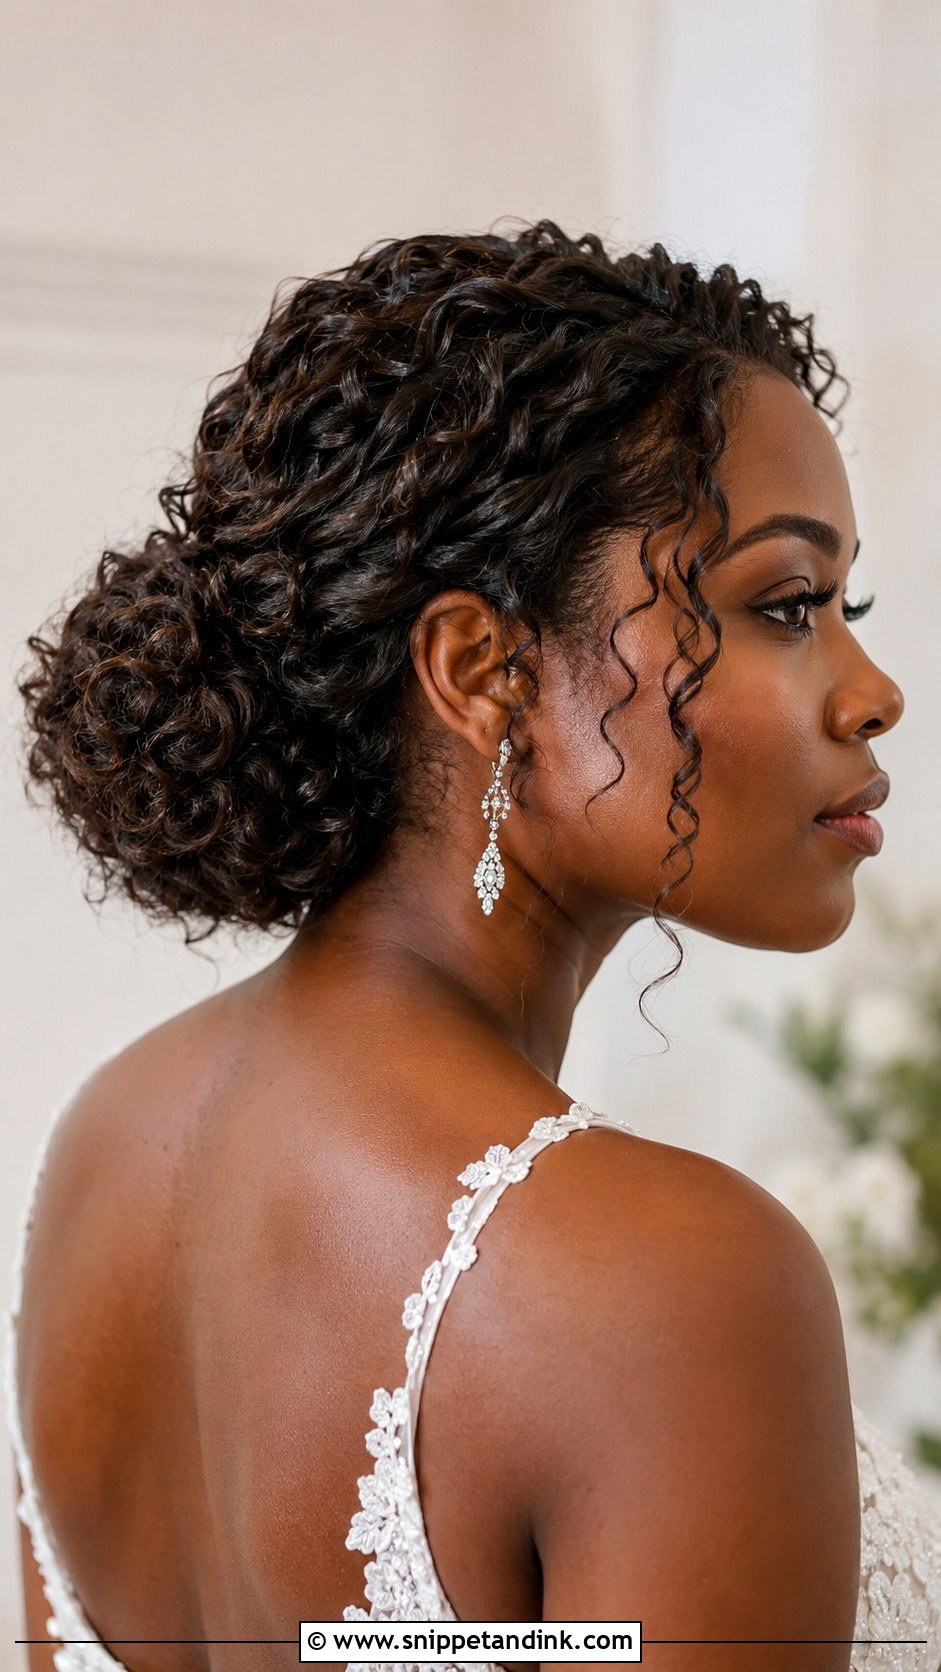
With curly and coily hair I gather the curls low and pin them into a rounded shape without brushing, so the pattern stays visible and defined. The prep matters more than the styling: deep conditioning in the week before and a defining product on wash day give curls the moisture to hold their shape all evening. Leave a few curls loose near the face if you want softness. It’s formal, full of volume, and completely yours.
13. Loose Chignon Wedding Hair
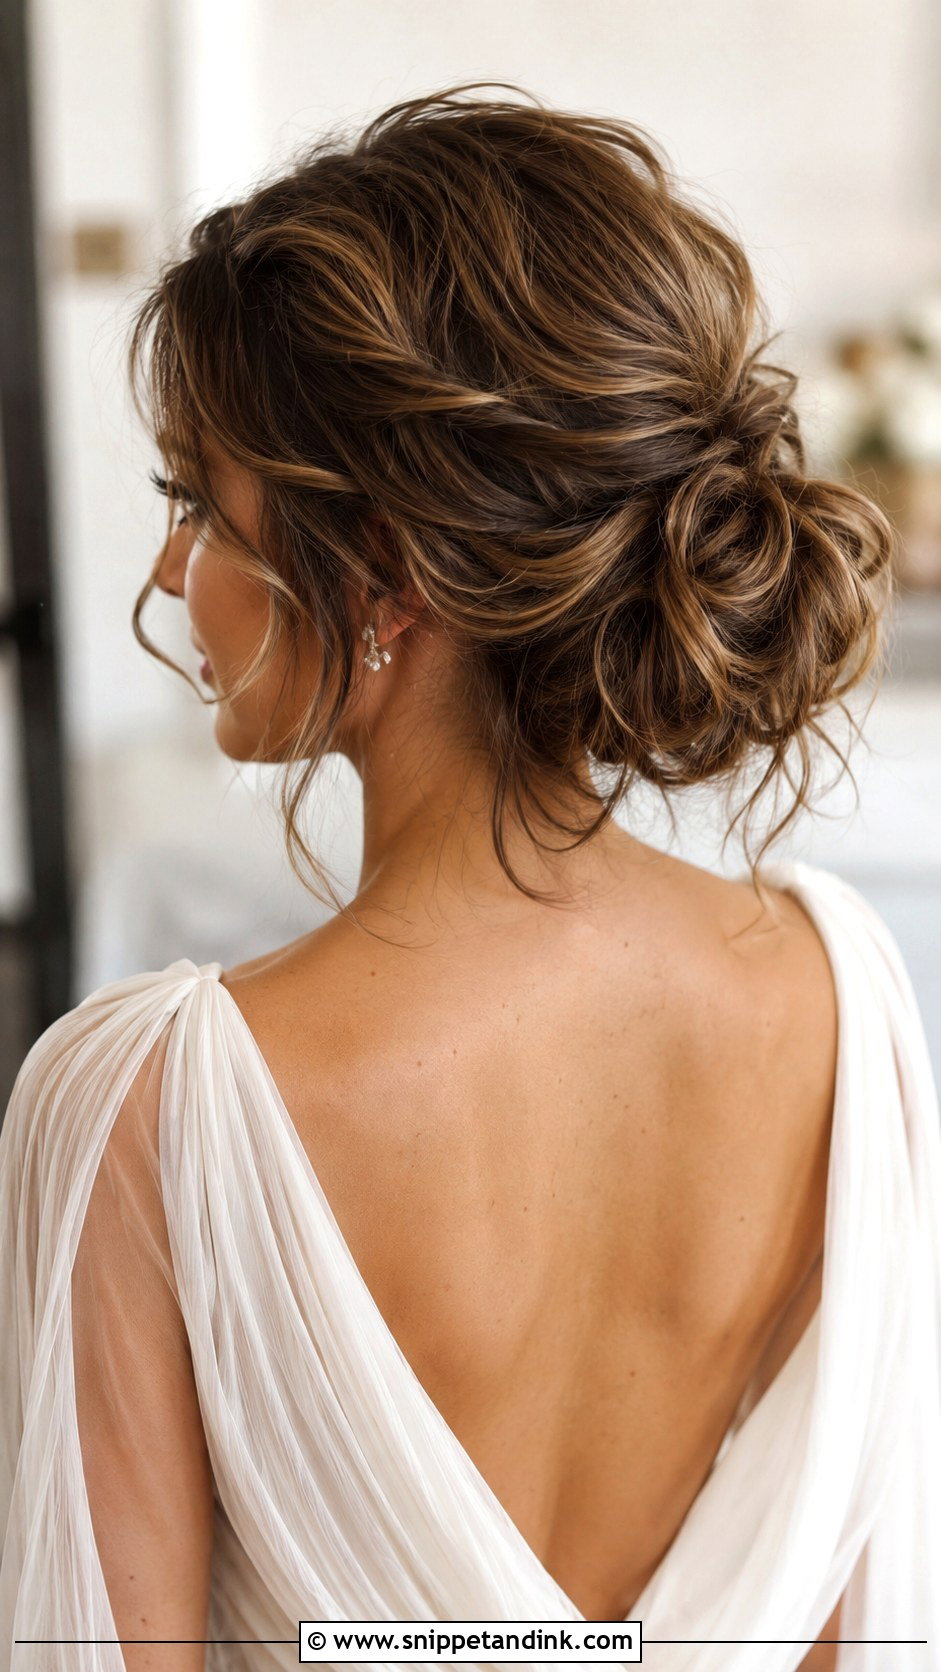
Loose isn’t the same as messy. This chignon is low and relaxed, with gentle pieces round the face and a little natural lift at the crown, but underneath it’s pinned as securely as a sleek version. That’s why I suggest it to brides who usually wear their hair down: it looks like their everyday hair but feels secure enough to forget about. It sits comfortably with soft makeup and romantic dresses. I check the front at the trial most carefully, because that’s what you see in the mirror all day.
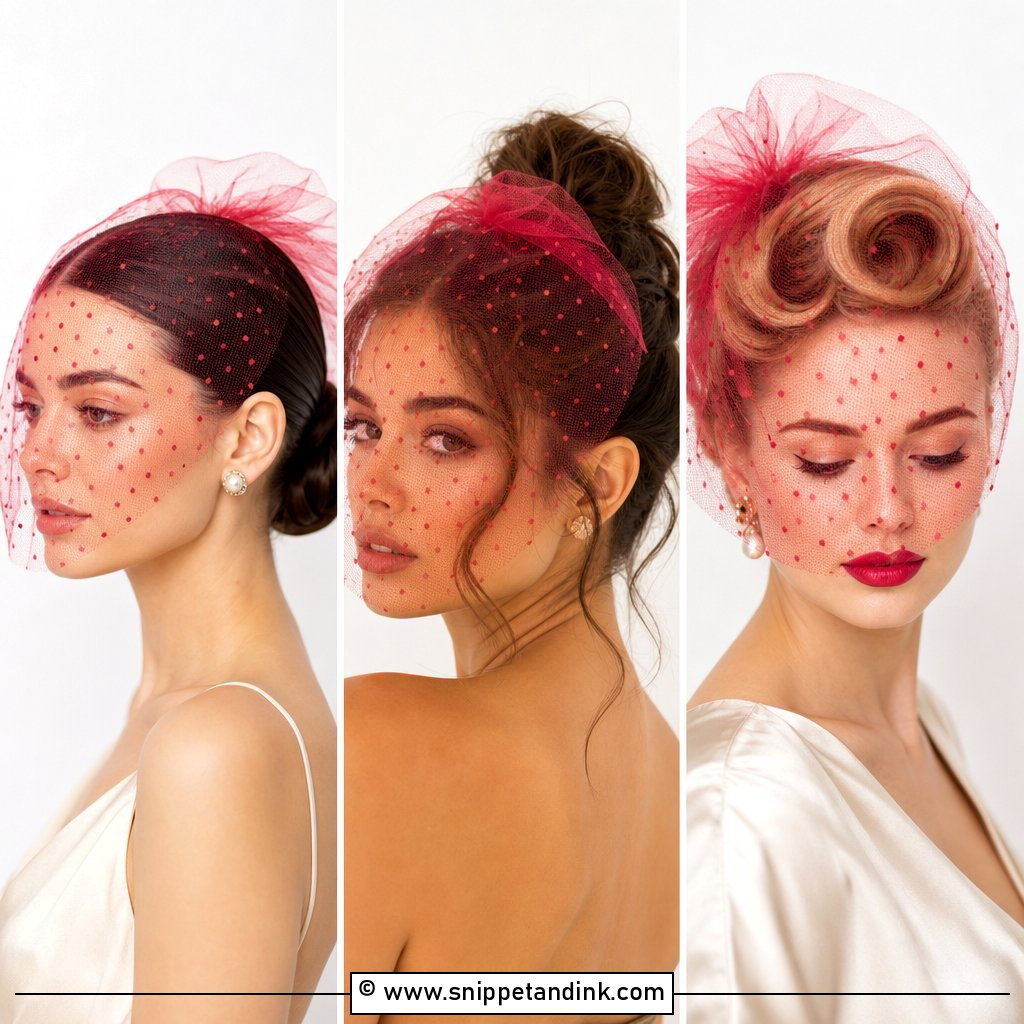
14. Chignon Wedding Hair With Veil
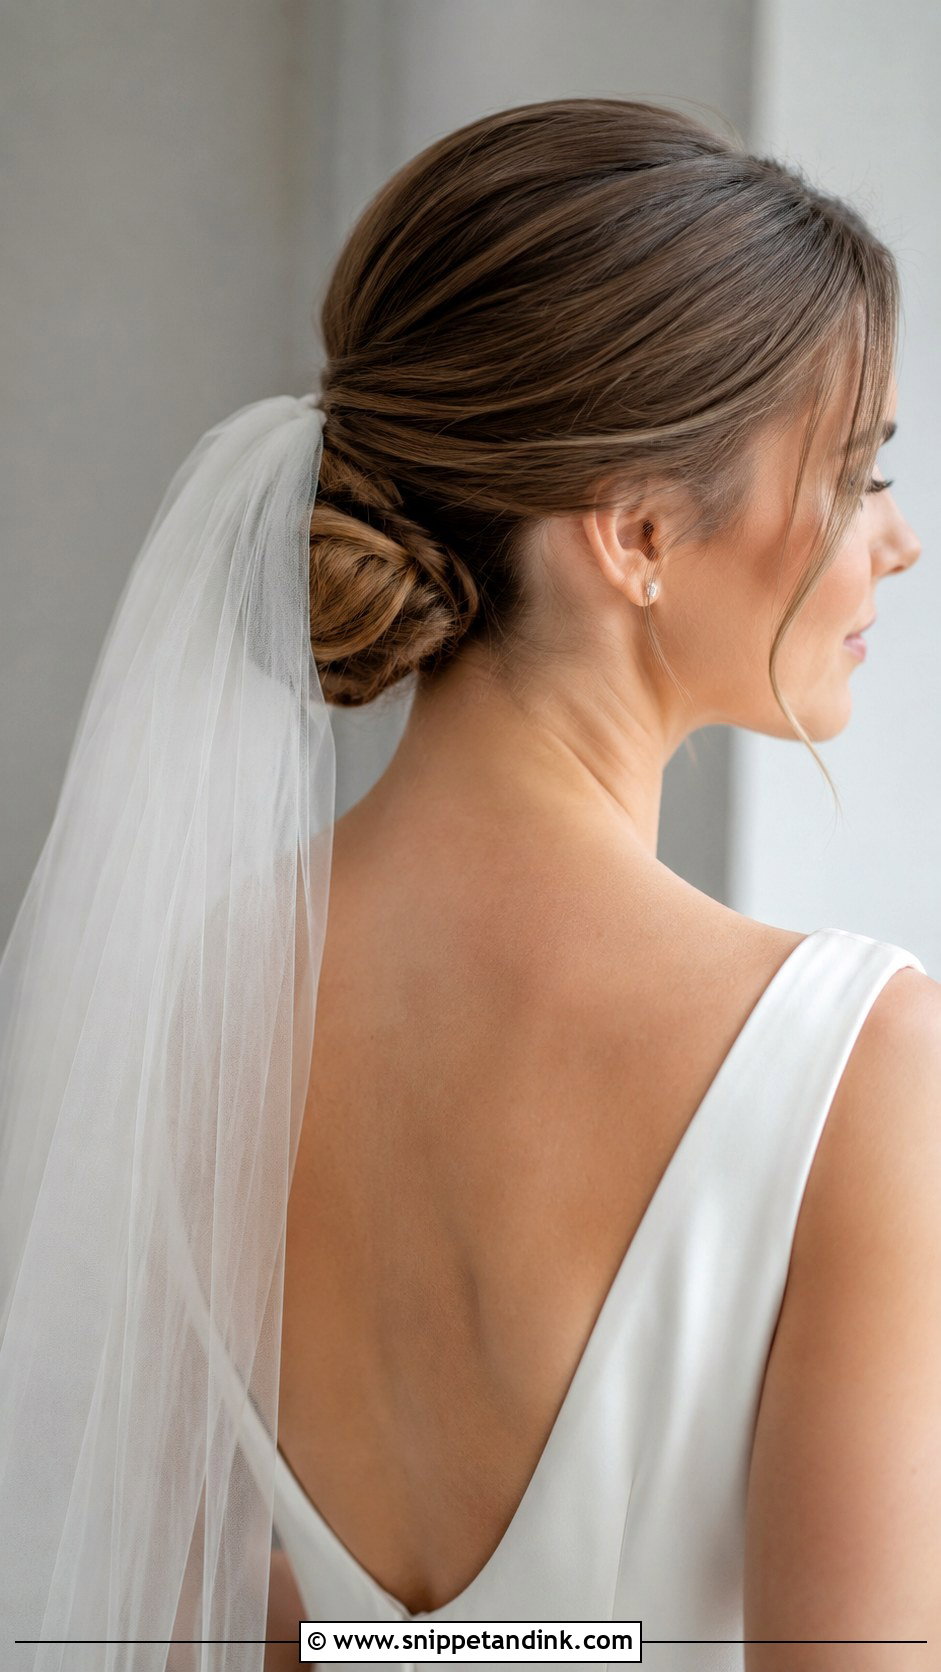
Plan veil placement at the trial, never on the morning. A low chignon gives you three options: comb above the knot so the veil falls over it, comb tucked underneath so the knot shows, or comb at the crown for a layered look. Which one works depends on veil length, neckline and how much of the hair you want seen. A heavy cathedral veil needs a reinforced base, so I add crossed pins under the knot for the comb to lock into. Bring the veil itself, not a borrowed one, because weight changes everything.
15. Chignon Wedding Hair With Tiara
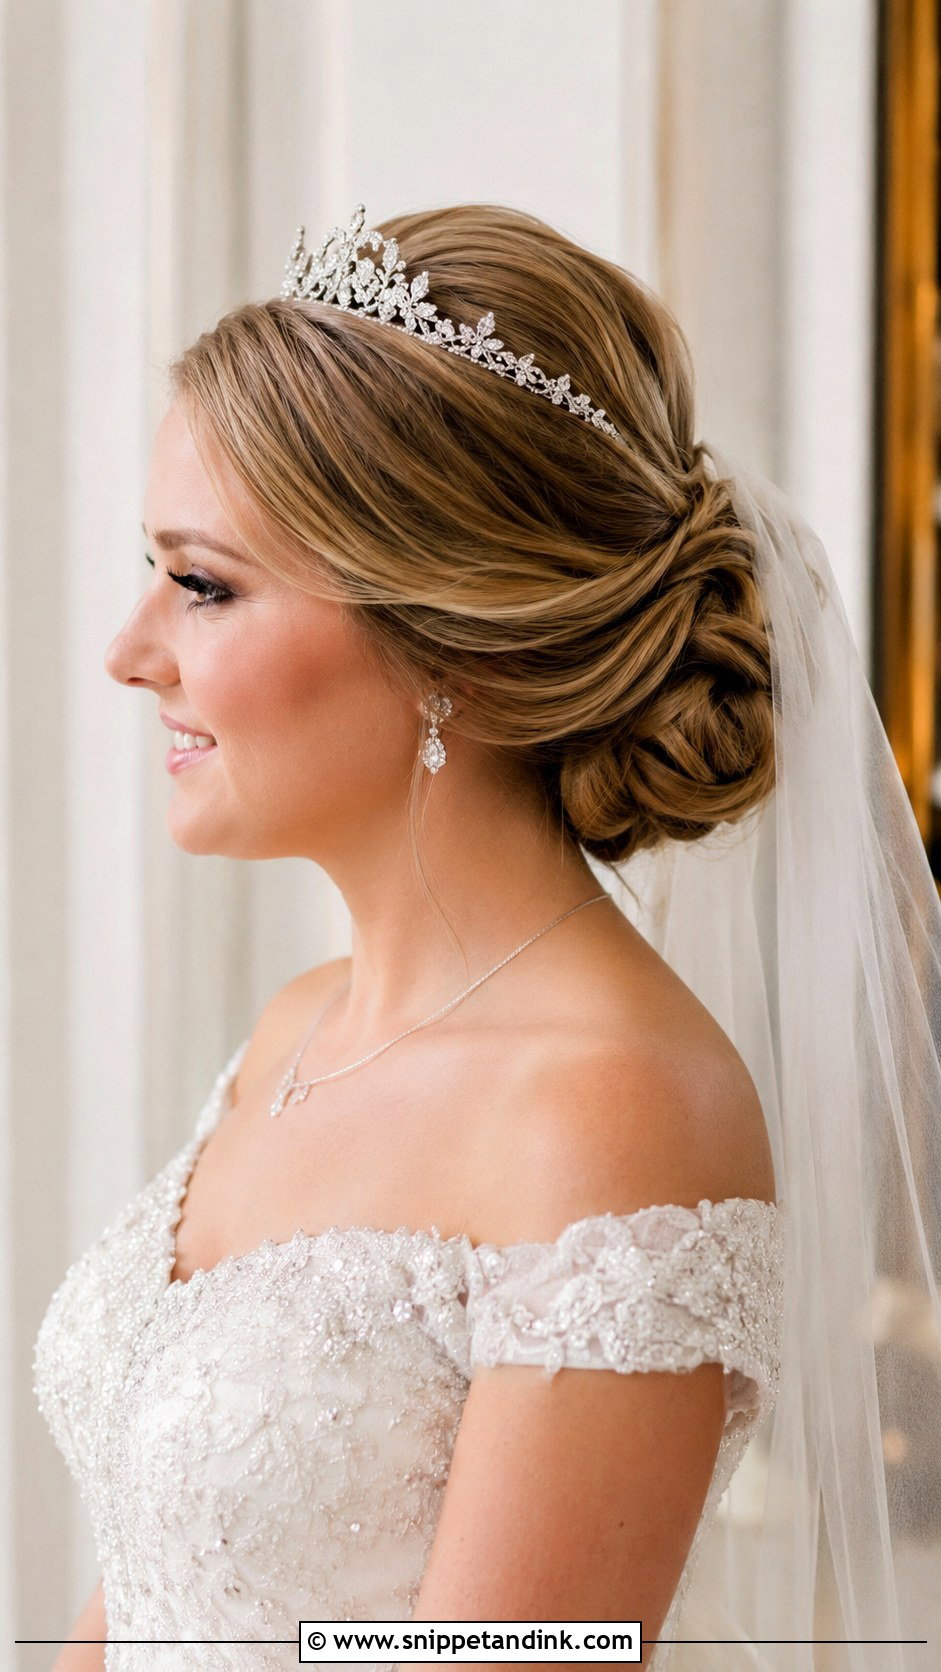
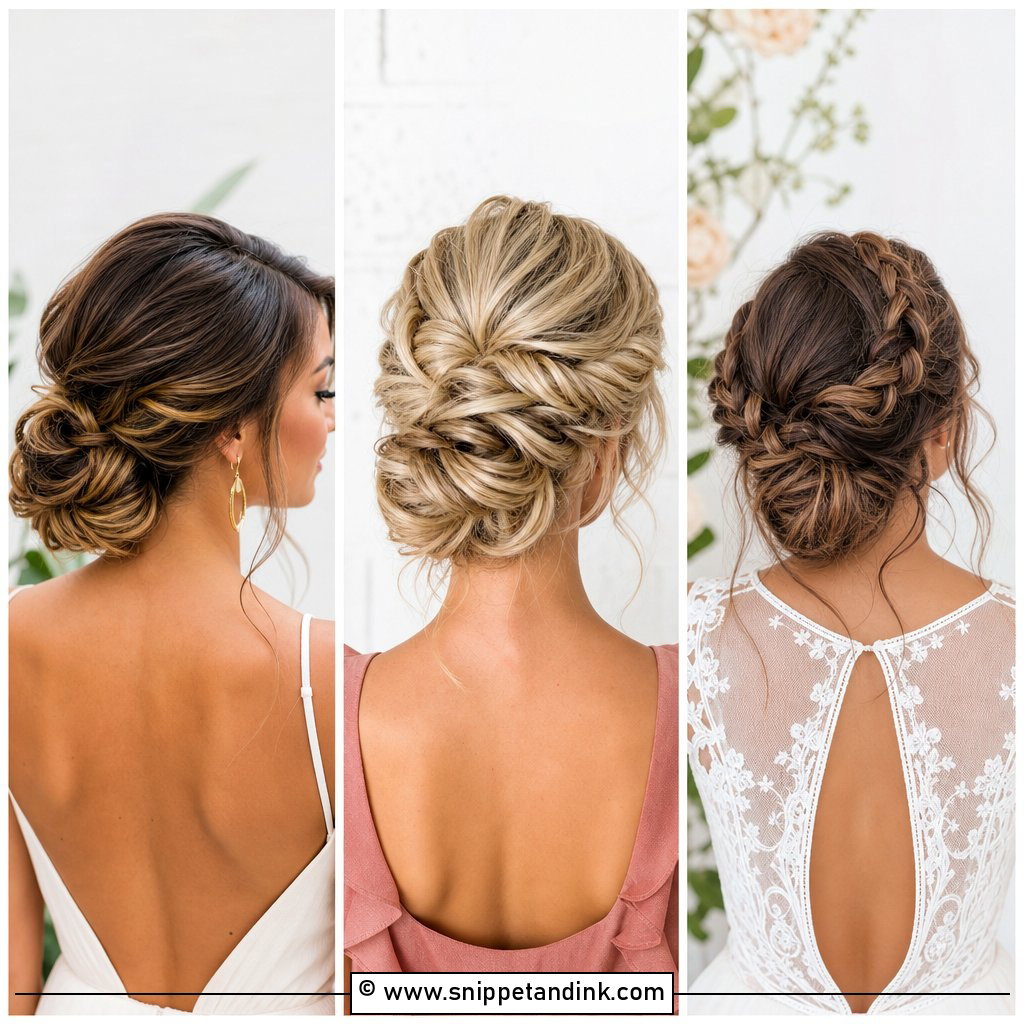
With a tiara, I keep the knot low or mid-low so the overall silhouette doesn’t get too tall. Chignon wedding hair with tiara detail works best when the crown has soft volume behind the band, which supports the tiara and stops it pressing into the scalp. I secure it with small pins through the loops at each end, criss-crossed under the hair. The tiara is the main piece, so keep other accessories minimal. It suits ball gowns, cathedral veils and formal venues.
16. Chignon Wedding Hair For Thin Hair
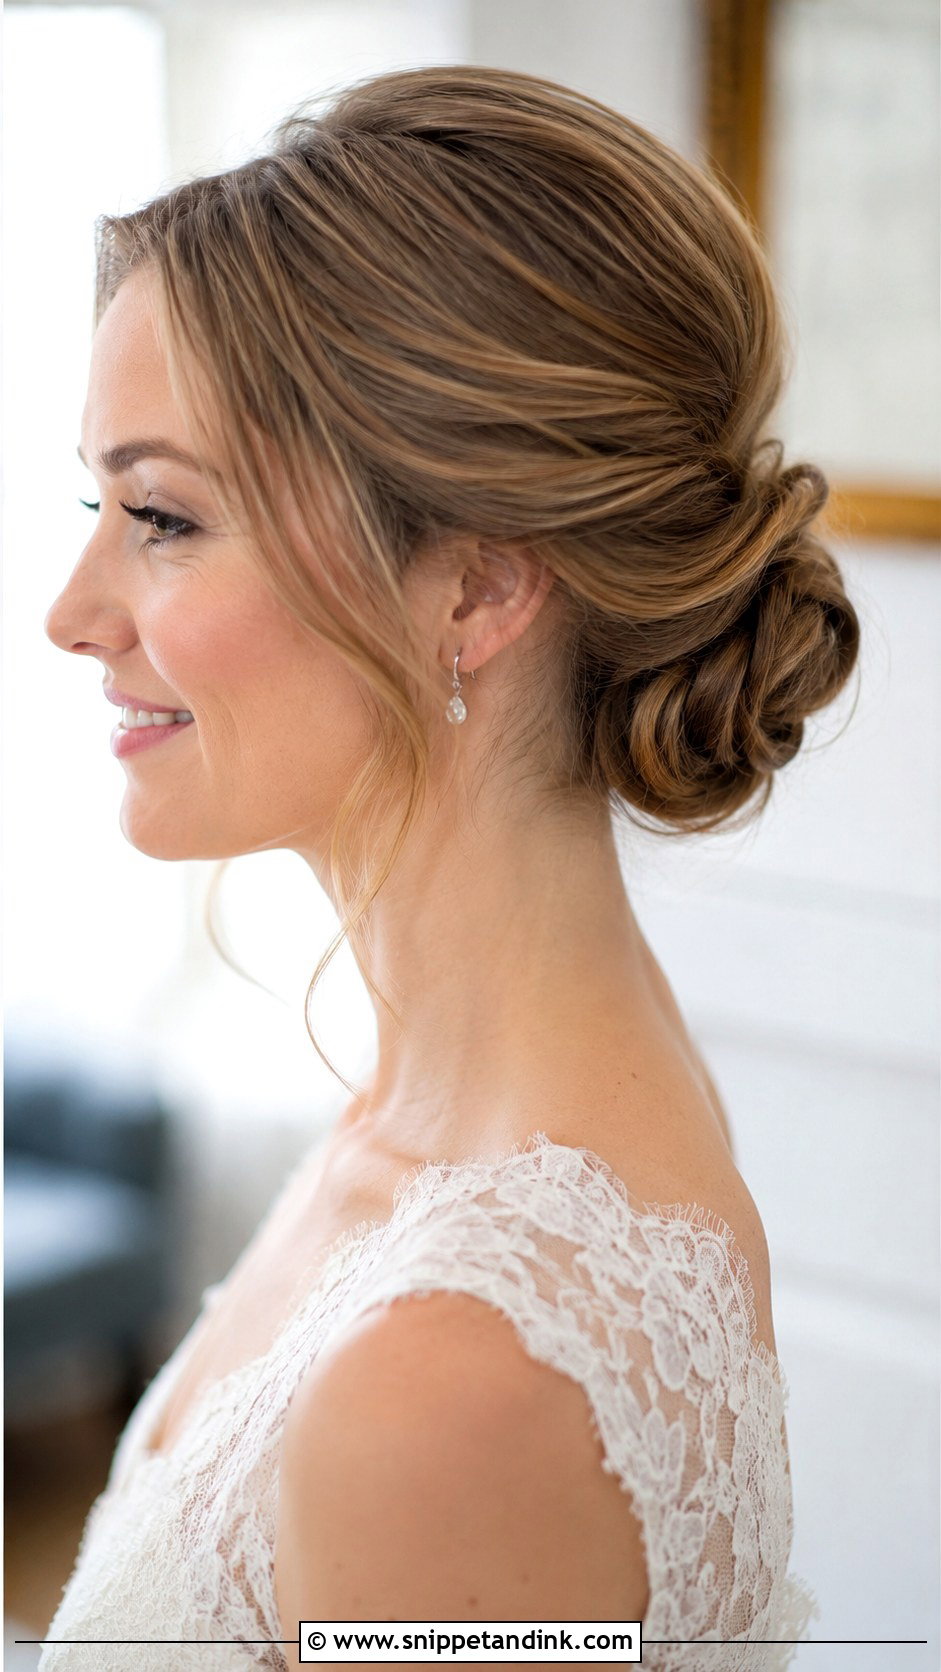
Thin hair can carry a full chignon with the right build. I create width first, using root lift, a texturizing spray and soft curls, then pin the knot wide and flat rather than tall and tight. A small bun form or clip-in pieces fill the rest. Bring honest photos of your hair to your stylist and discuss extension options early, because clip-ins need to be matched in color and sometimes cut to blend. Soft pieces around the face also make the hair look fuller at the front.
17. Chignon Wedding Hair For Long Hair
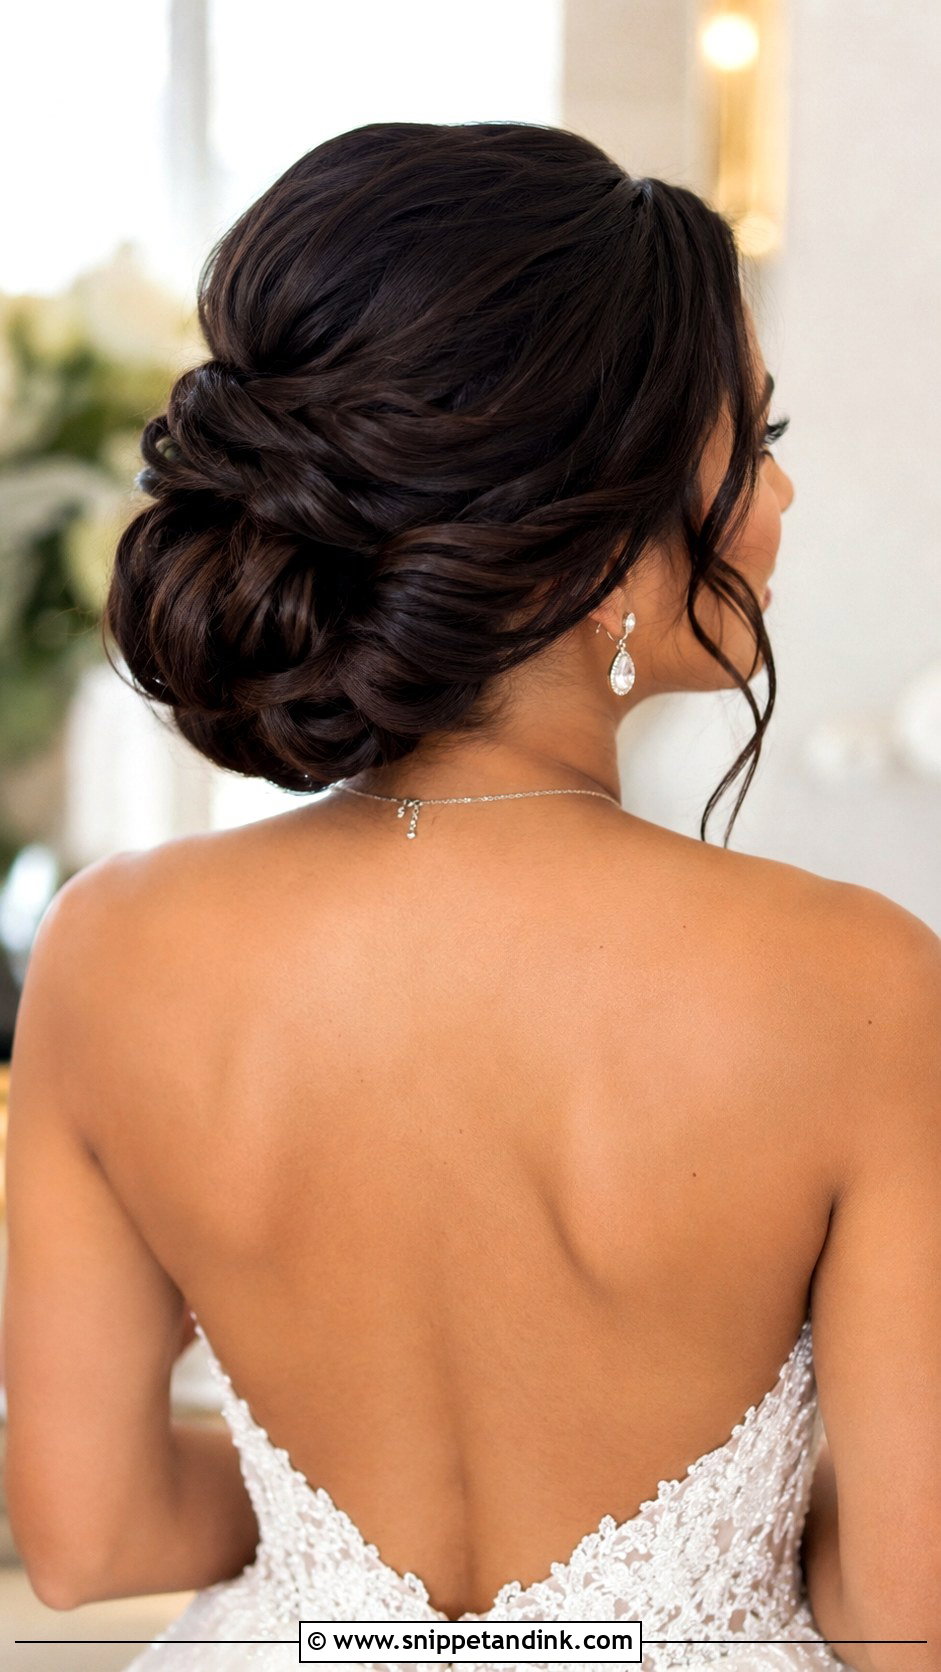
Long hair gives me plenty to work with, but weight is the problem. A long-hair chignon can pull at the scalp and sag by the evening if it’s built as one big knot. I divide the lengths into two or three smaller sections, pinning each one flat against the head so the weight is spread across the back. It suits open backs, detailed necklines and long veils. If your hair is thick as well as long, expect your stylist to use a lot of pins; that’s what keeps it close to the head.
18. Chignon Wedding Hair For Medium Hair
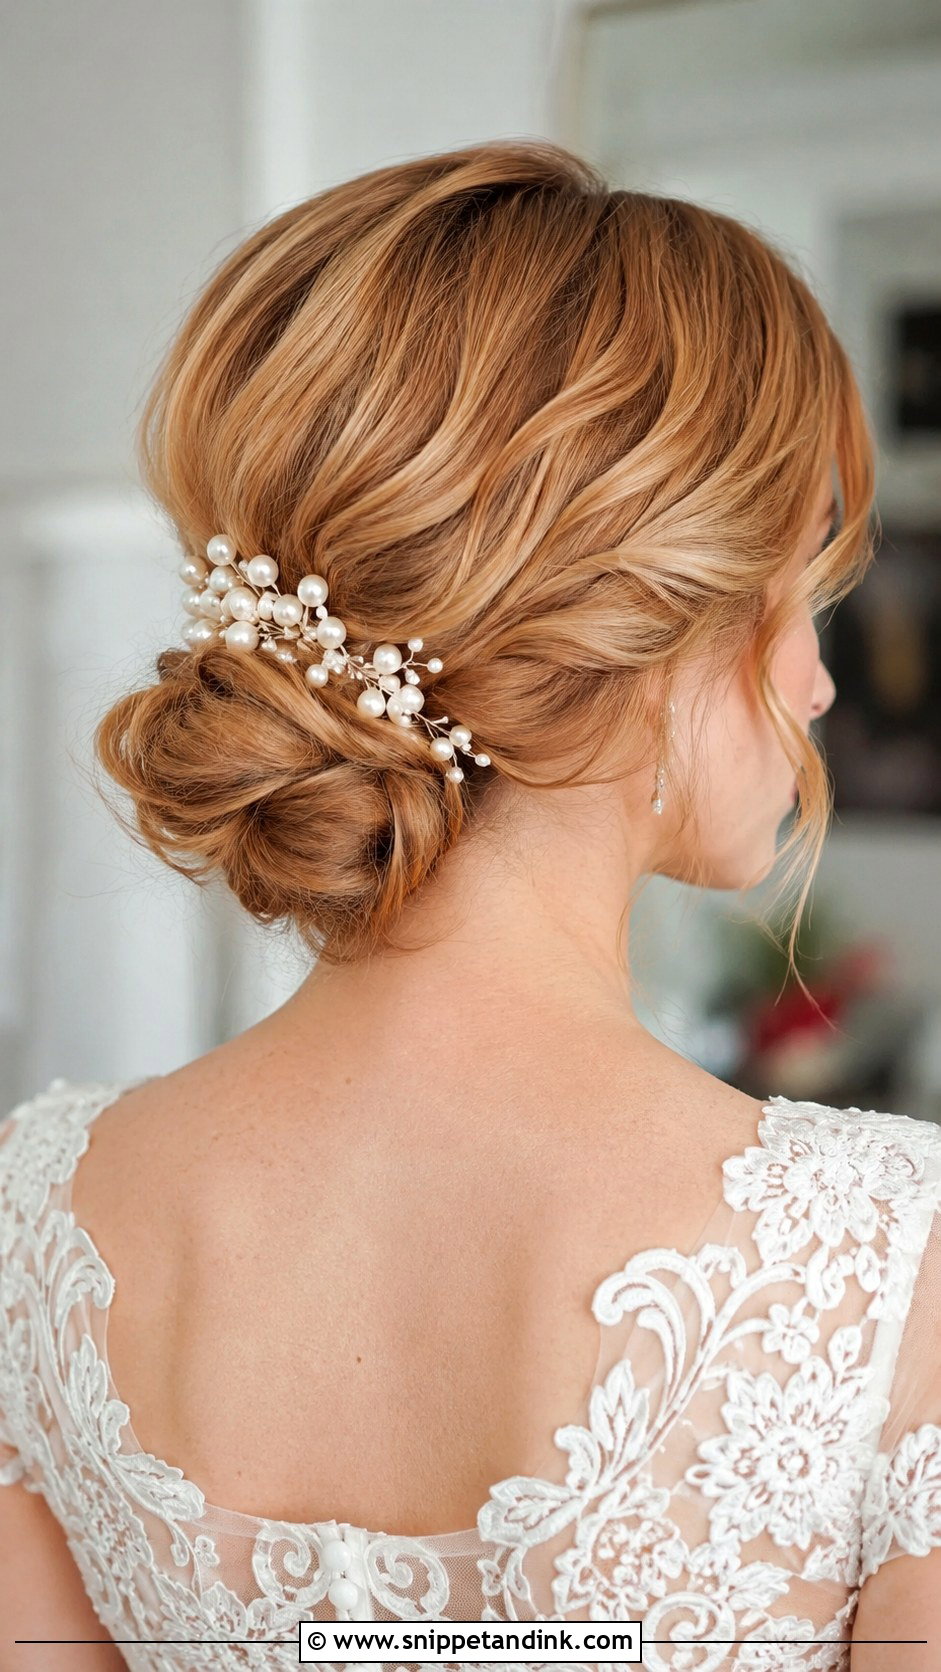
Shoulder-to-collarbone length is enough for a soft low chignon, and I do this version more often than brides expect. I curl the hair first so it has grip, then tuck and pin it into a small rounded knot. Shorter layers are the challenge; I secure them with fine pins and a little texture paste so they don’t escape. If the finished knot looks small, a hair comb placed beside it makes it look fuller without extensions.
19. Chignon Wedding Hair With Face Framing Pieces
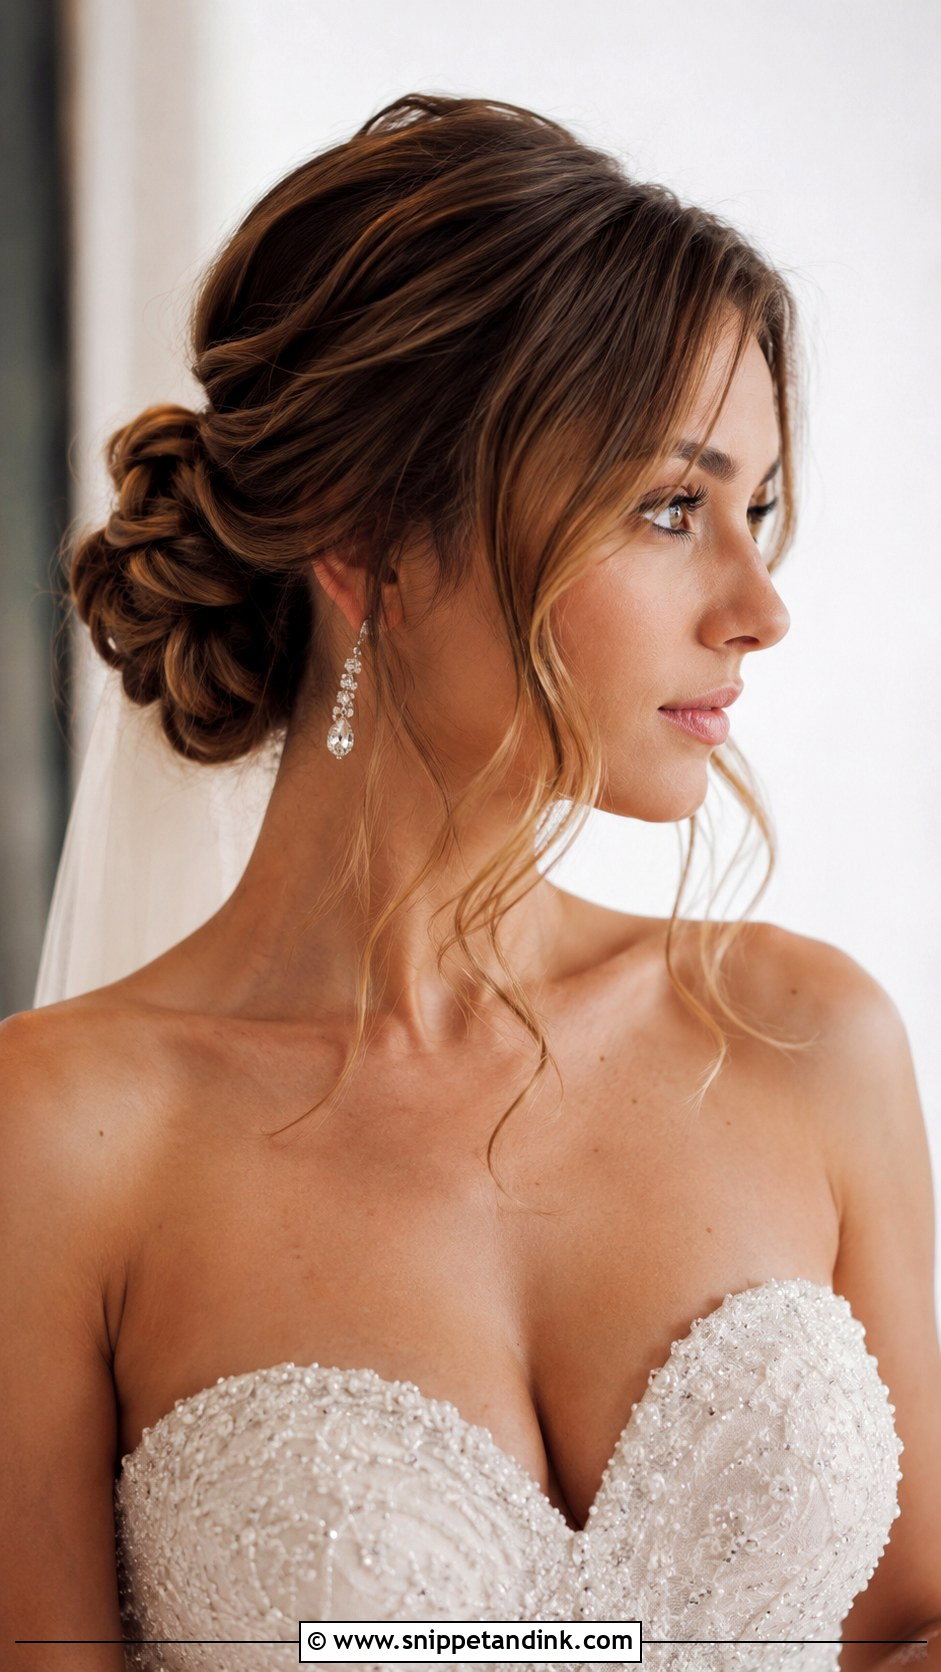
Face-framing pieces soften a chignon around the eyes, cheeks and jaw, and suit anyone who dislikes everything pulled back. Length is the decision that matters. Pieces cut too long hang flat and look unfinished, and pieces curled too tightly look dated. I aim for soft bends ending near the cheekbone or jaw, set with a medium iron and brushed out so they move. Lightweight hairspray keeps them in place without stiffness.
20. Modern Chignon Wedding Hair
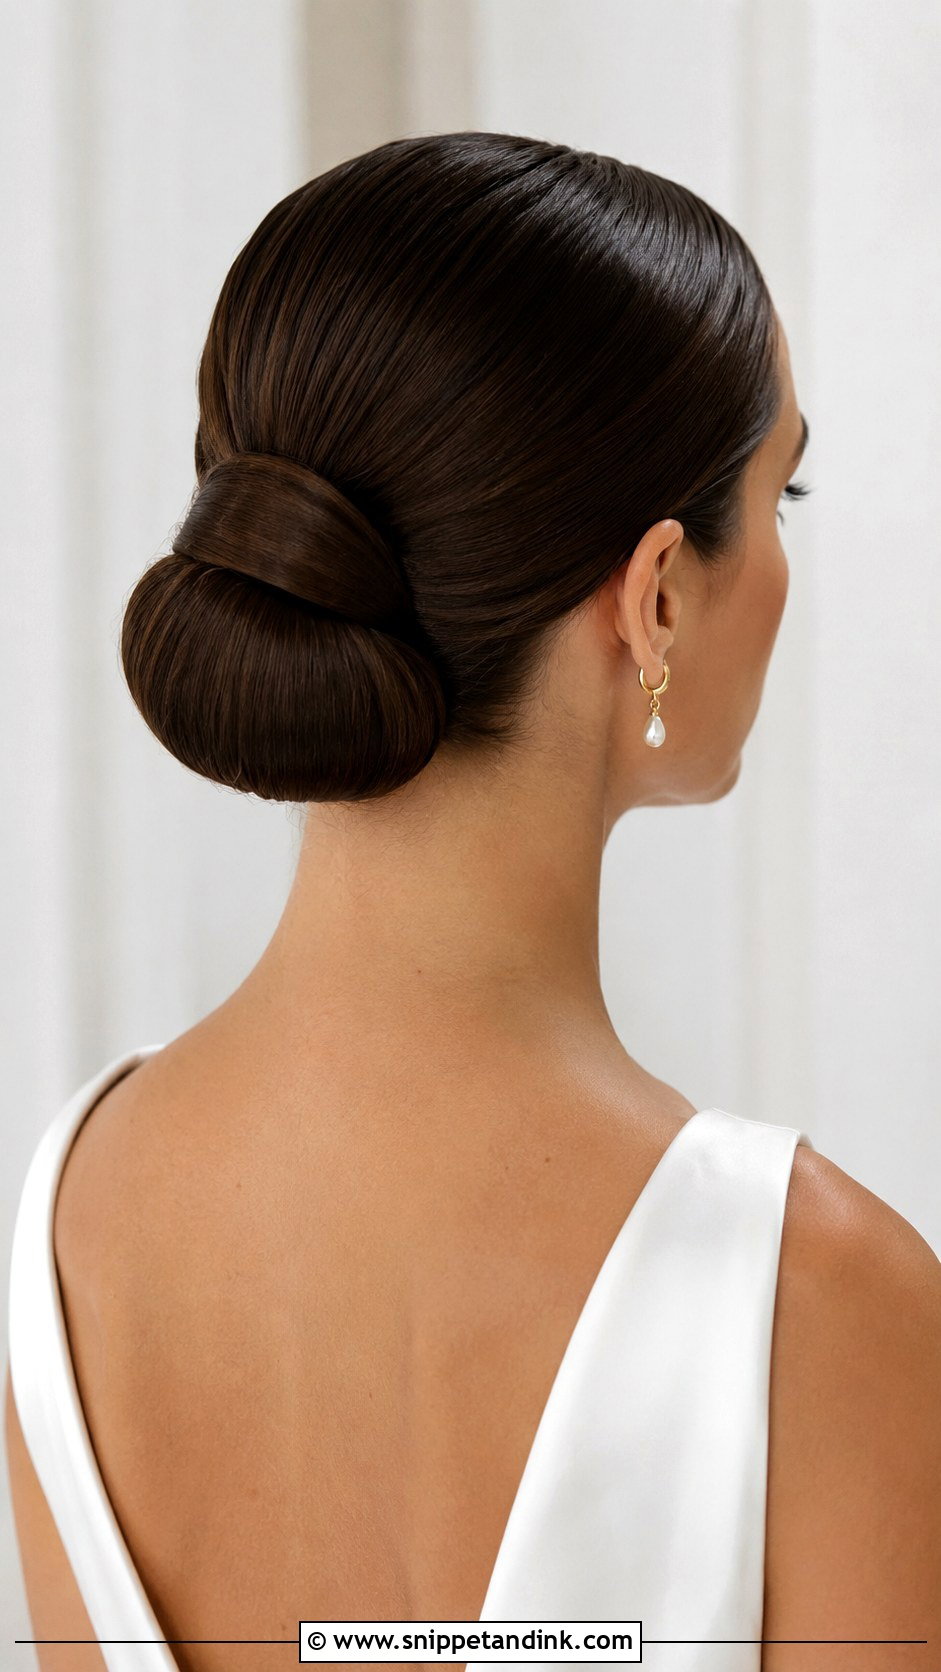
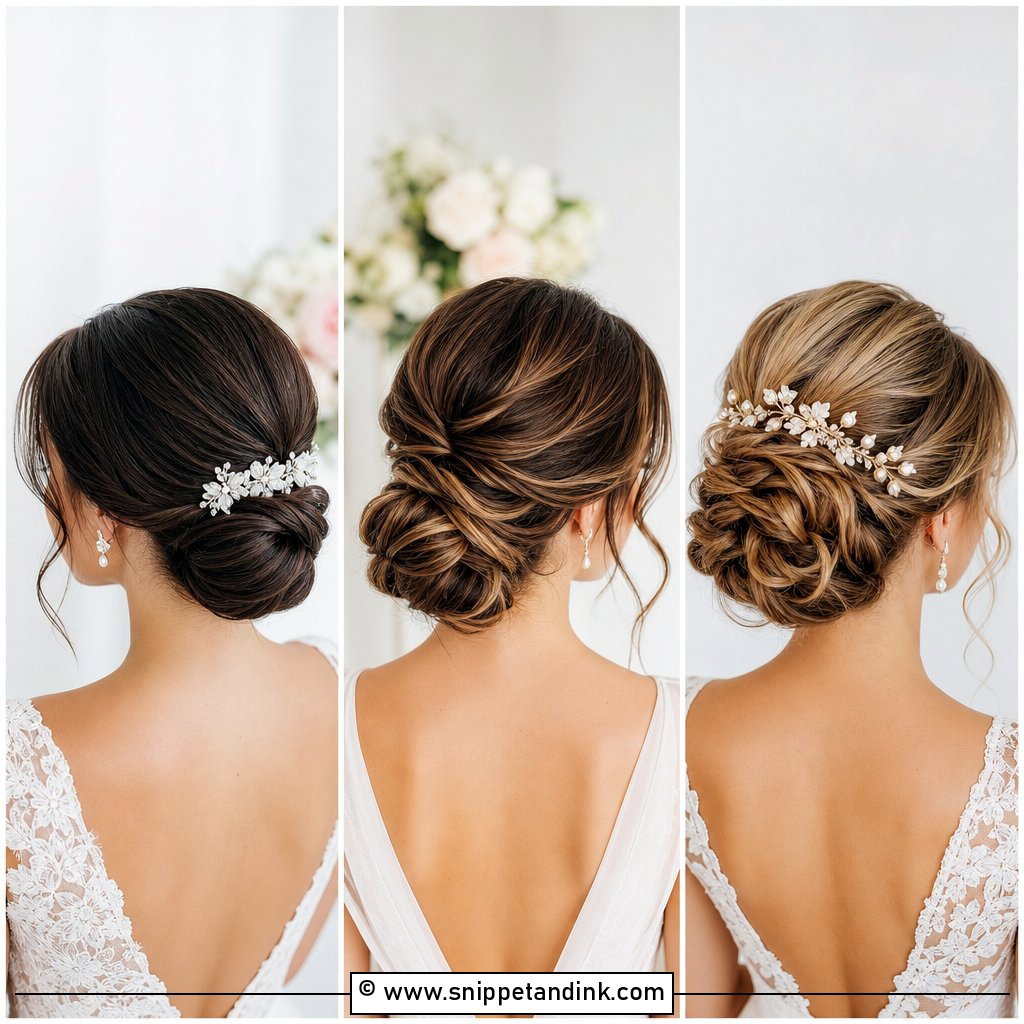
The modern version is all about shape: a center part, a glossy finish, smooth sides and a neat low knot with few loose pieces. It suits simple gowns, square necklines and silk. Since there’s little decoration, the silhouette has to be right from every angle, and I check it from the side and back as well as in the mirror; side and back are the angles your guests see during the ceremony. It looks sharp and confident when it’s done right.
Should You Wash Your Hair on the Morning of a Chignon?
It depends on your hair, and I’d rather you asked your stylist than followed a rule. Freshly washed fine or silky hair is slippery, and pins slide straight out of it. For those brides I suggest washing the evening before, drying it fully, and arriving with clean but not just-washed hair. Thick, coarse or curly hair often does better washed the same morning, because it gets heavy or frizzy after a night’s sleep.
Either way, skip heavy oils and serums on the day; they make the hair too smooth to hold a pin. A color appointment about a week before gives the shade time to settle, and a light trim two or three weeks out tidies the ends without leaving fresh blunt edges that poke out of the knot.
Unpinning at the End of the Night Without Breakage
A well-built chignon can hold forty pins or more, and pulling them out in a rush at two in the morning breaks hair. Work from the outside of the knot toward the base, feel for each pin and slide it out in the direction it went in. Once the hair is loose, don’t brush it while it’s stiff with spray. Rinse with warm water and conditioner, then detangle gently with your fingers or a wide-tooth comb. Keep a small box or bag ready so you don’t lose the pearl pins or the comb you want to keep.
One Knot, Twenty Versions, and Where Your Trial Should Start
A chignon adapts to almost any dress because you can change its height, finish and decoration without changing the basic structure. It keeps the hair secure all day and gives your veil and accessories a firm place to sit. Before your trial, save photos that show the front, side and back of the version you like, and think about your hair length, texture, neckline and the weather. If it feels comfortable and looks like you, you’ve found the right one.
You'll Like These Ideas:


Leave a Reply