
Fondant rewards a home baker who plans and punishes one who rushes. It gives you sharp edges and a surface you can paint, quilt or drape, but every air bubble and fingerprint shows. A wedding cake is also a structure as much as a dessert, so the skills that matter most are the unglamorous ones: leveling, a firm ganache coat, rolling to an even thickness and stacking on proper supports. The twenty fondant designs below run roughly from forgiving to demanding, and for each one I’ve noted the step I’d practice first.
Counting Back From the Cutting, Day by Day
Most home-baked wedding cakes go wrong because everything gets squeezed into the last two days. I plan backward from the cutting instead, and I’d suggest you do the same.
- Two to three weeks out: make sugar flowers, bows and anything else that has to dry hard, and store them in cardboard boxes in a cool, dry room.
- One week out: run a full test of the covering on a dummy tier or a small cake, and buy boards, dowels and boxes in the exact sizes you need.
- Three days out: bake the tiers and wrap them well; a day of rest makes the sponge firmer and easier to level.
- Two days out: level, fill and ganache, then let each tier settle so it won’t bulge under the fondant later.
- One day out: cover, dowel and decorate each tier separately.
- Wedding day: stack at the venue, or at home only if a central dowel runs through every tier and the drive is short and flat.
Pick fillings that are safe at room temperature for as long as the cake will sit out. Ganache, buttercream and jam are reliable. Fresh cream and custard aren’t, because a finished fondant cake usually can’t go back in the fridge without sweating.
1. Fondant Wedding Cake With Sugar Flowers
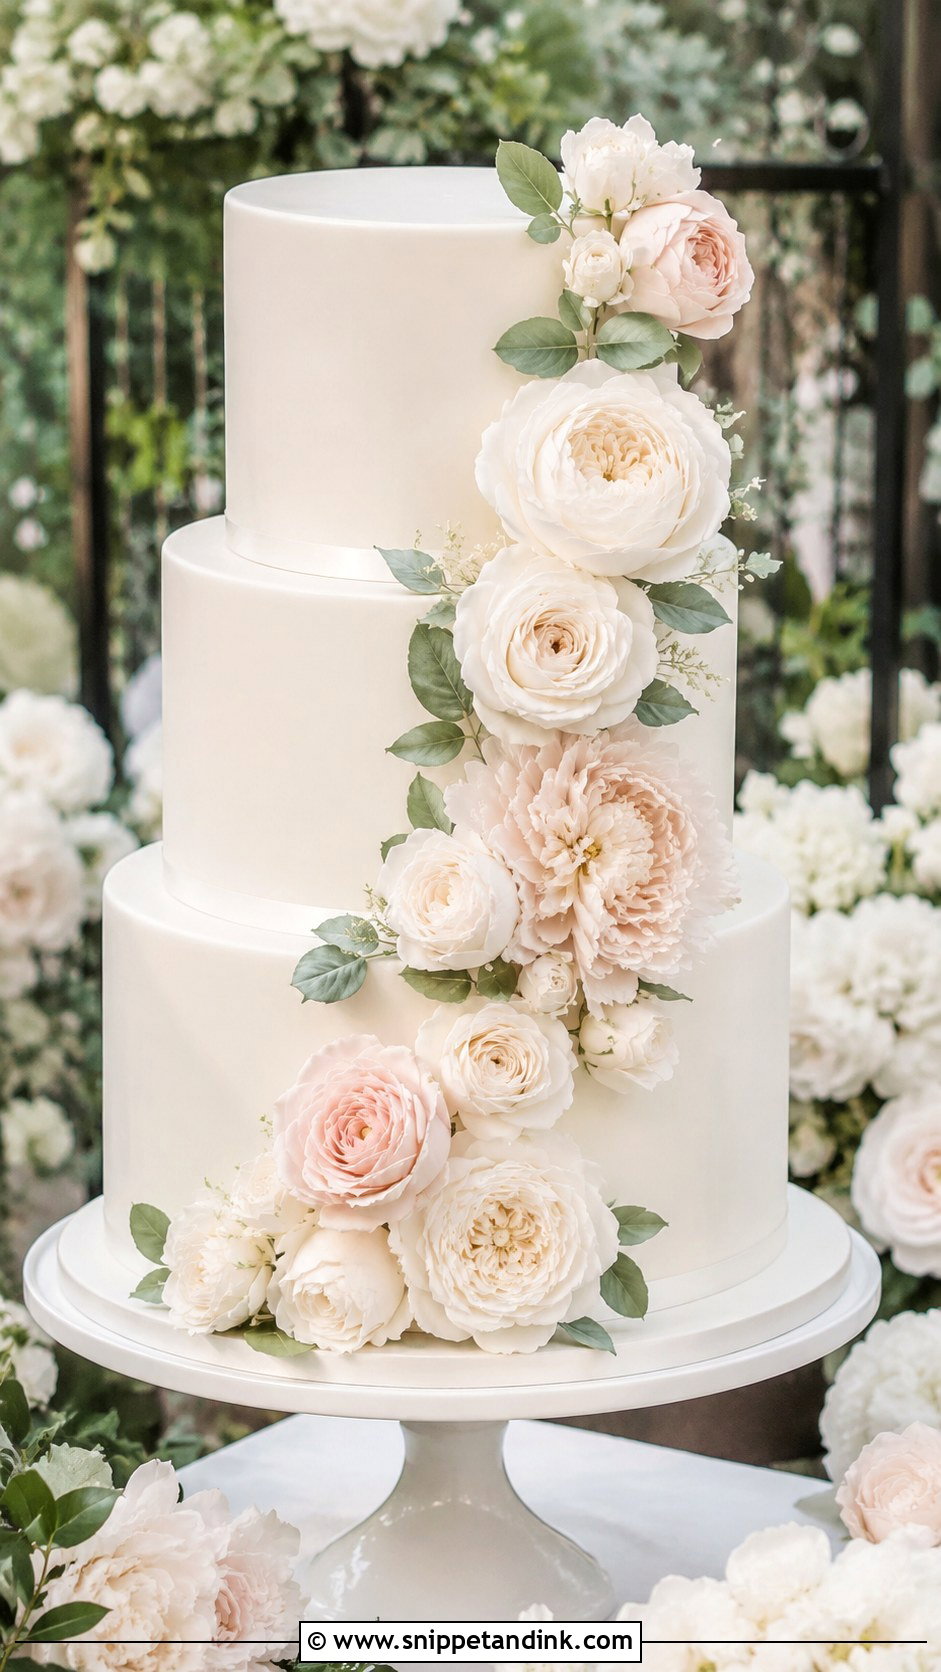
Sugar flowers are the part to start earliest, not last. Gum paste petals need several days to dry hard, longer in a humid kitchen, so I make roses and blossoms a week or two ahead and store them in a cardboard box, never sealed plastic, which traps moisture and softens them. For the covering, a chilled, ganache-coated tier gives the fondant a firm shell to grip. Smooth the top first, then work down the sides, lifting and easing out pleats instead of pressing them flat. The largest flower goes low on one side, and the rest build upward from it.
2. Three Tier Fondant Wedding Cake
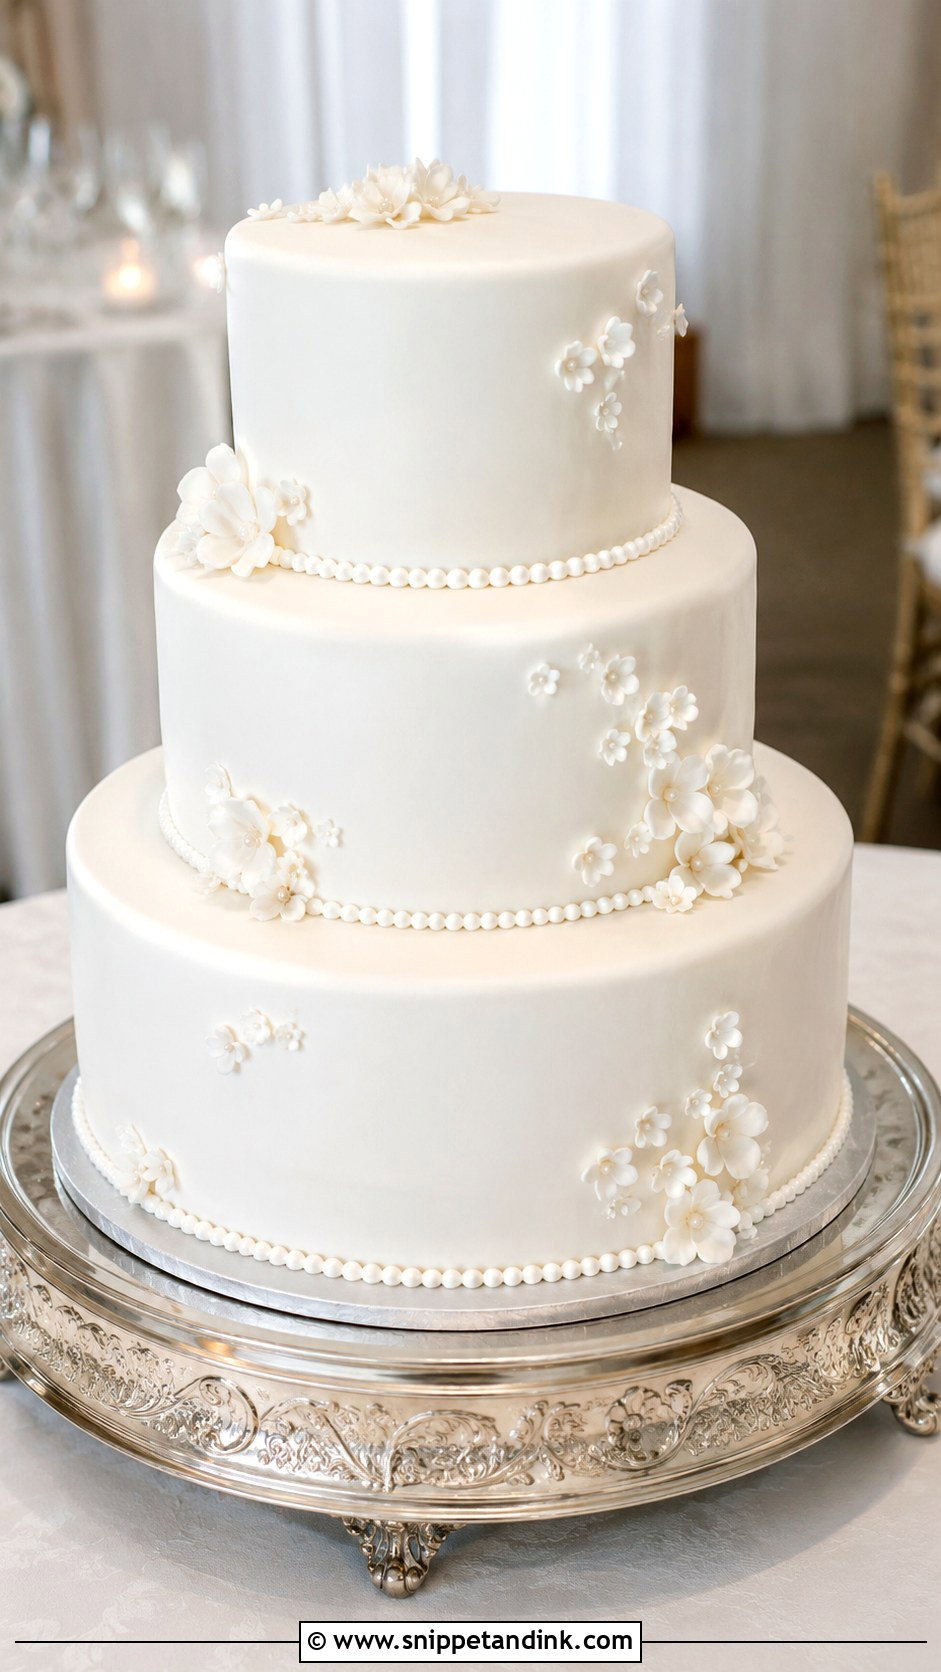
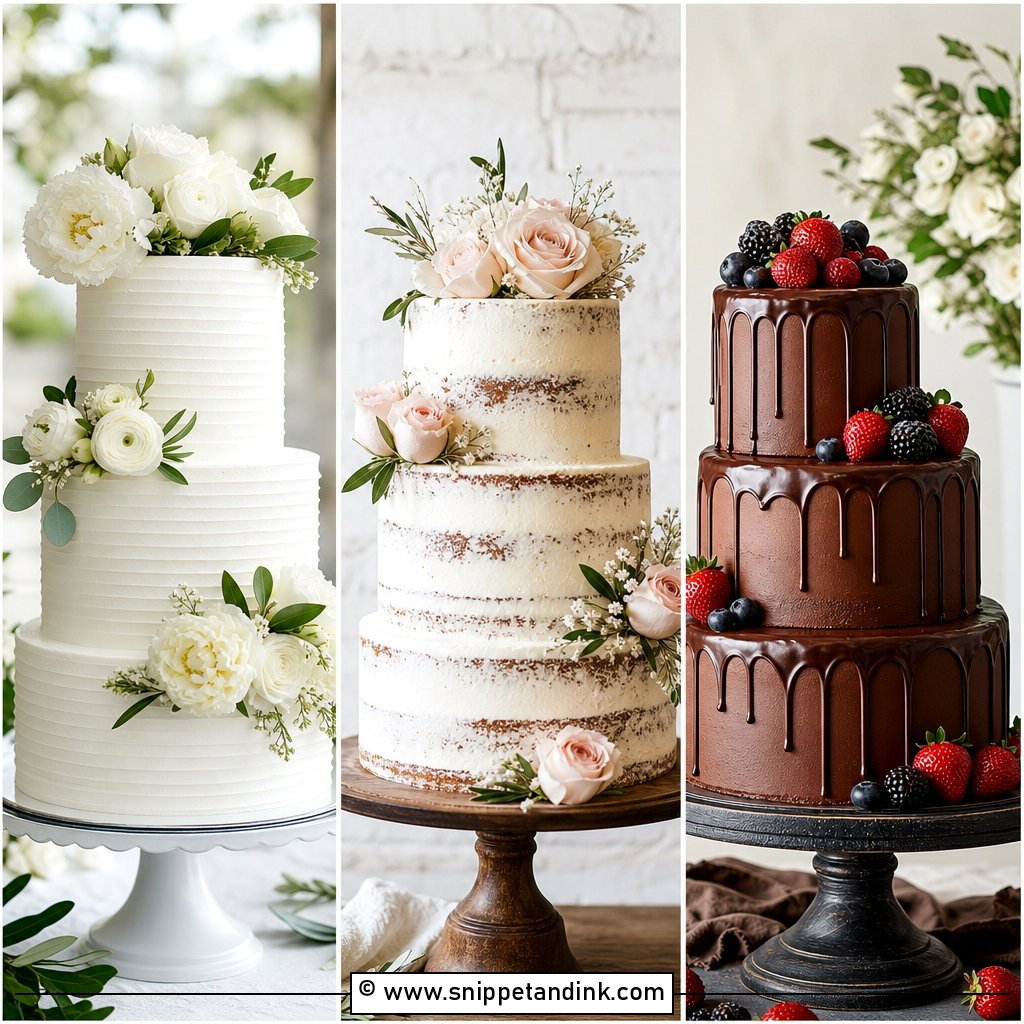
A three tier fondant wedding cake is really a lesson in engineering. Each tier sits on its own thin cake board cut to its exact diameter, and the tiers below carry the weight on dowels or wide plastic straws trimmed level with the cake’s surface. Skip that and the top tier sinks into the middle one within hours. When stacking, step back and check the center line from the front and both sides, because a lean you can’t see up close is obvious in photos. Pearls or a few sugar flowers are all the decoration it needs.
3. White Fondant Wedding Cake
Plain white fondant is the hardest finish to fake. Every crumb, fingerprint and speck of dust shows, so I clean the bench, wash my hands often and roll on a dedicated mat dusted lightly with cornstarch. Knead until it’s pliable but not sticky; over-dusted fondant dries out and cracks into what bakers call elephant skin. After covering, two smoothers working against each other sharpen the top edge. If you’re new to fondant, start here, because it trains the technique every other design depends on.
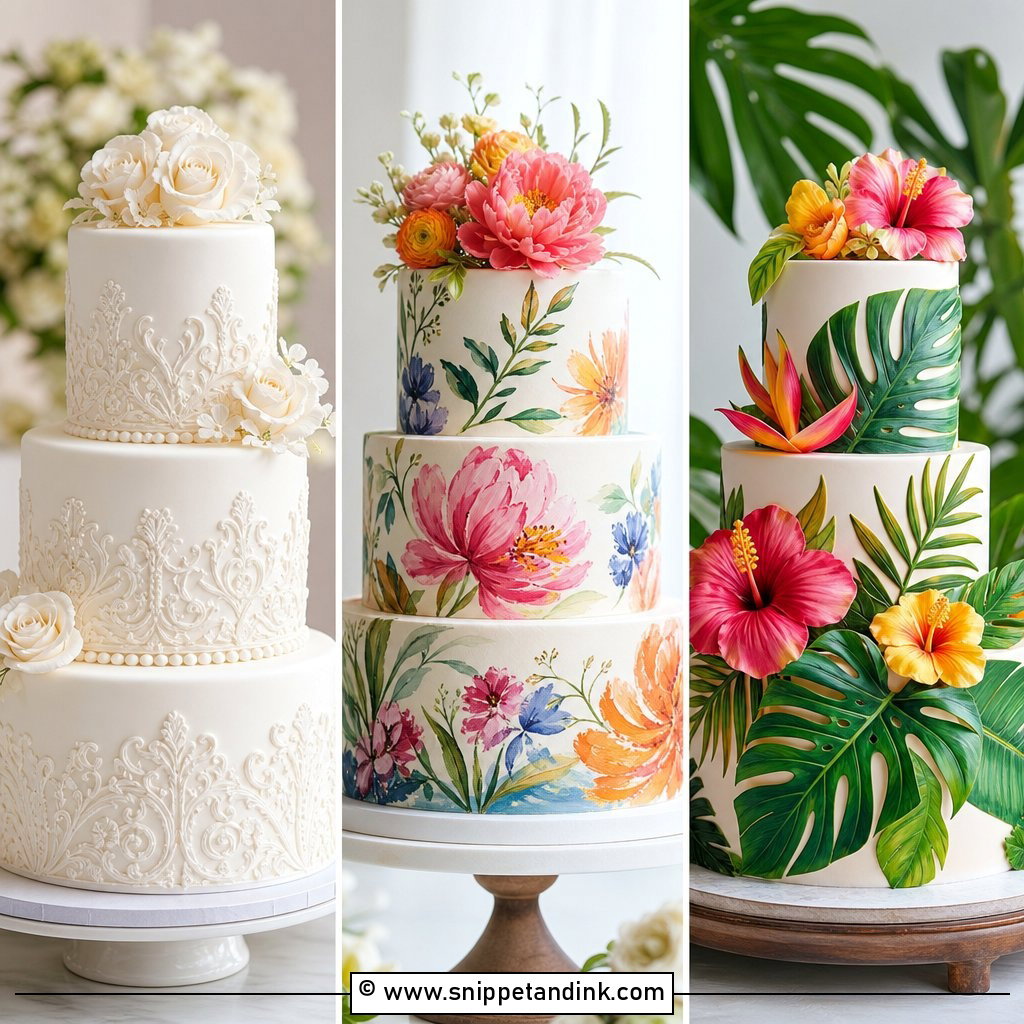
4. Fondant Wedding Cake With Lace
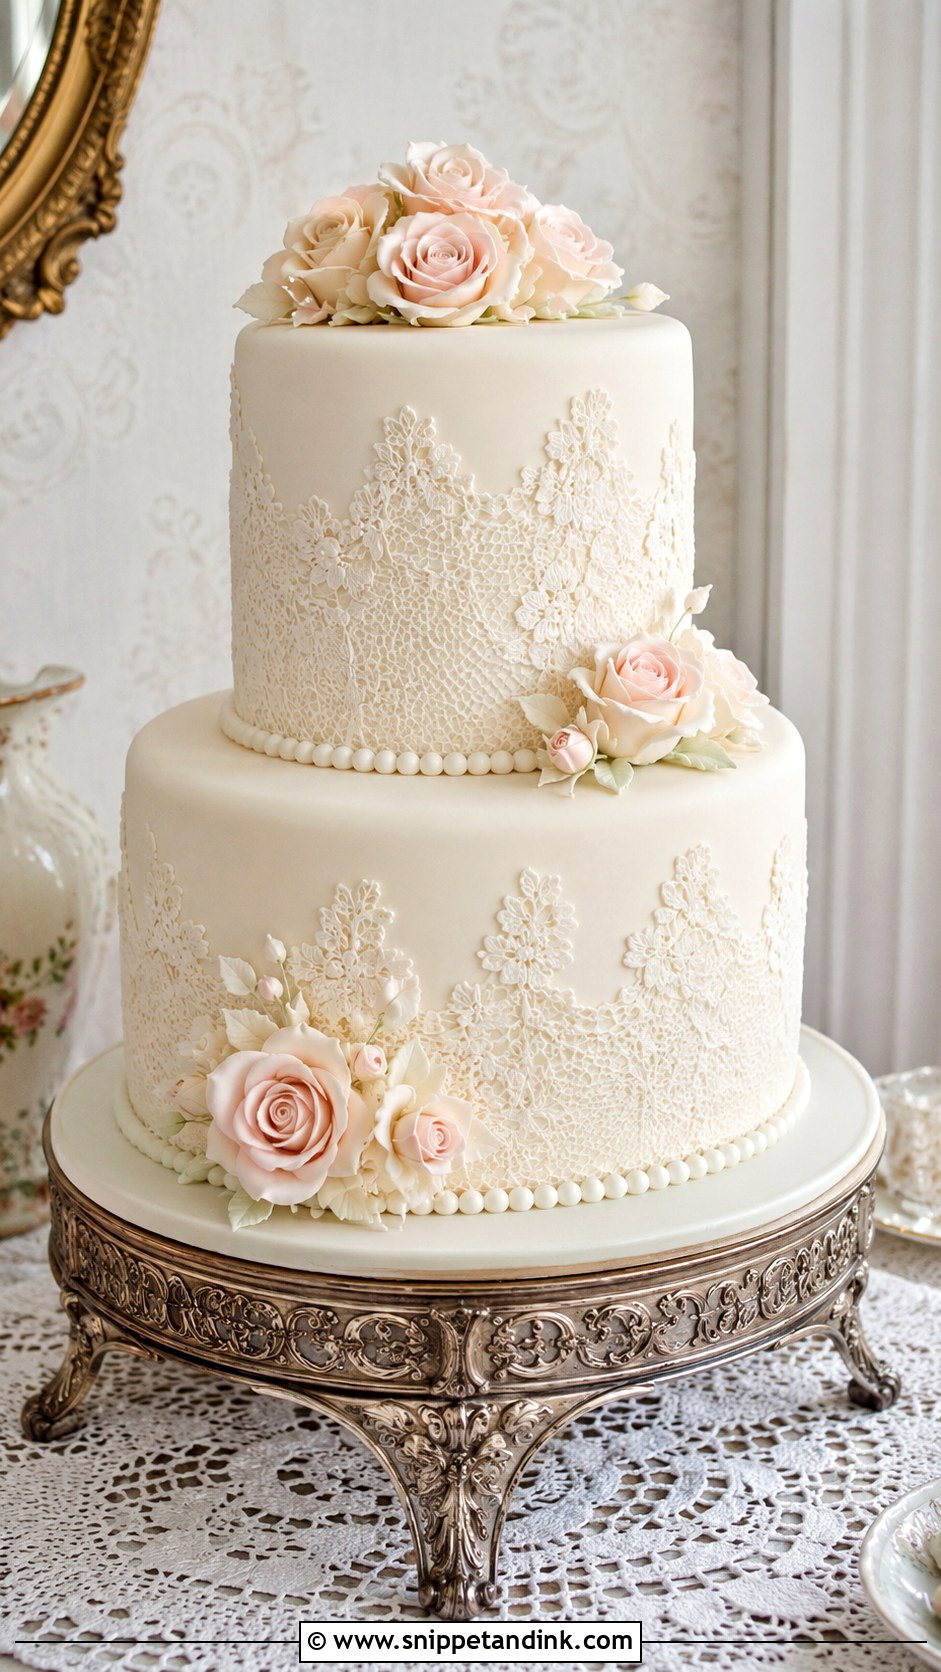
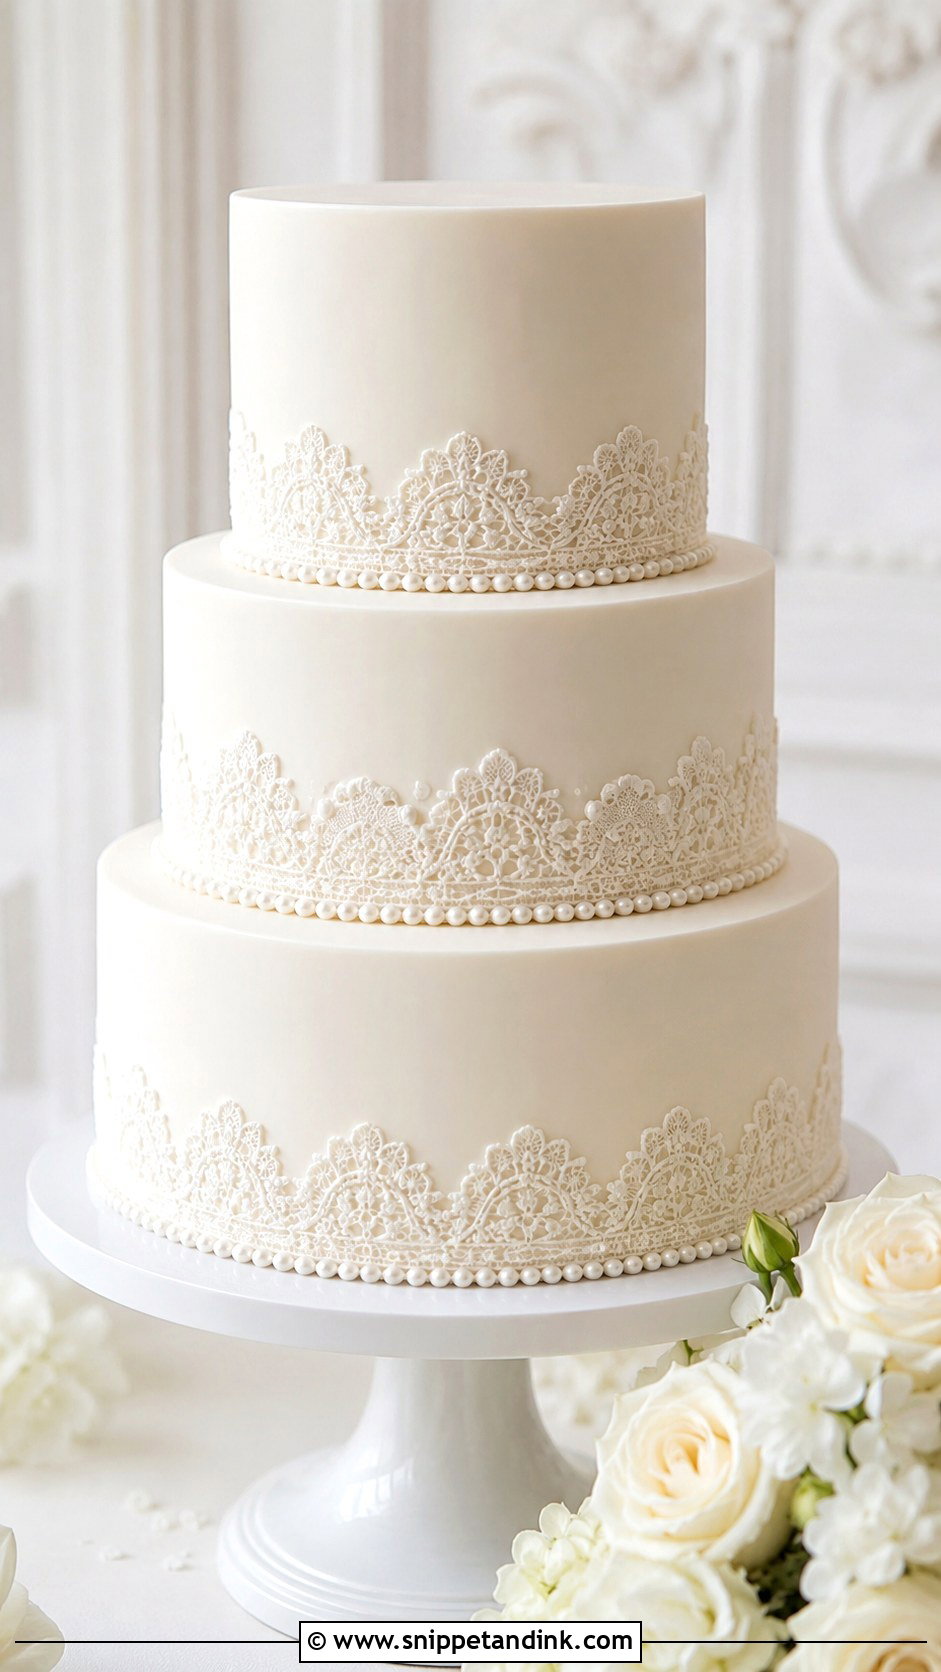
Lace sits best on a flawless surface, since the pattern draws the eye to every bump around it. I spread edible lace a day ahead and let it set on the mat until it peels away cleanly but still bends. Too dry and it snaps as you wrap the tier; too fresh and it tears. Brush on a thin coat of edible glue, wrap with gentle pressure and keep the seam at the back. Humidity softens lace, so on a damp summer day the finished cake should wait in an air-conditioned room.
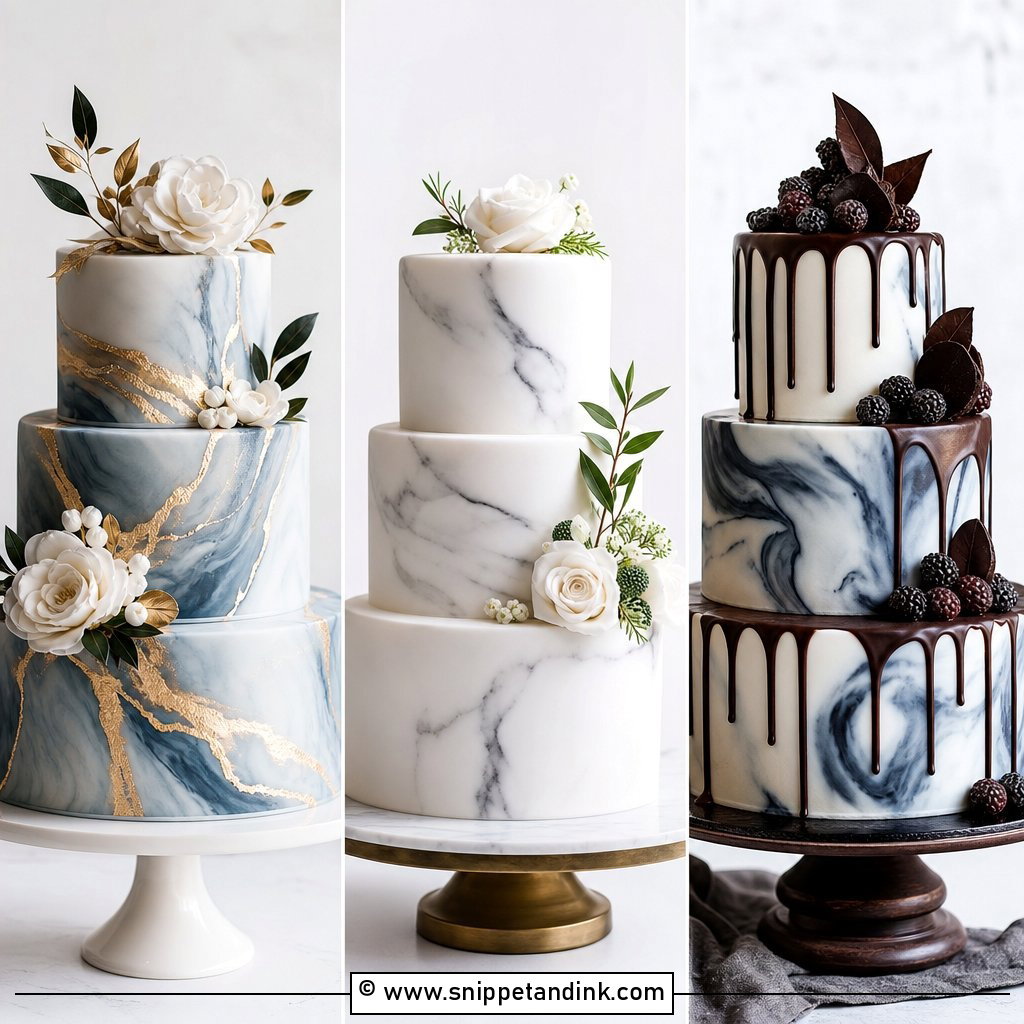
5. Marble Fondant Wedding Cake
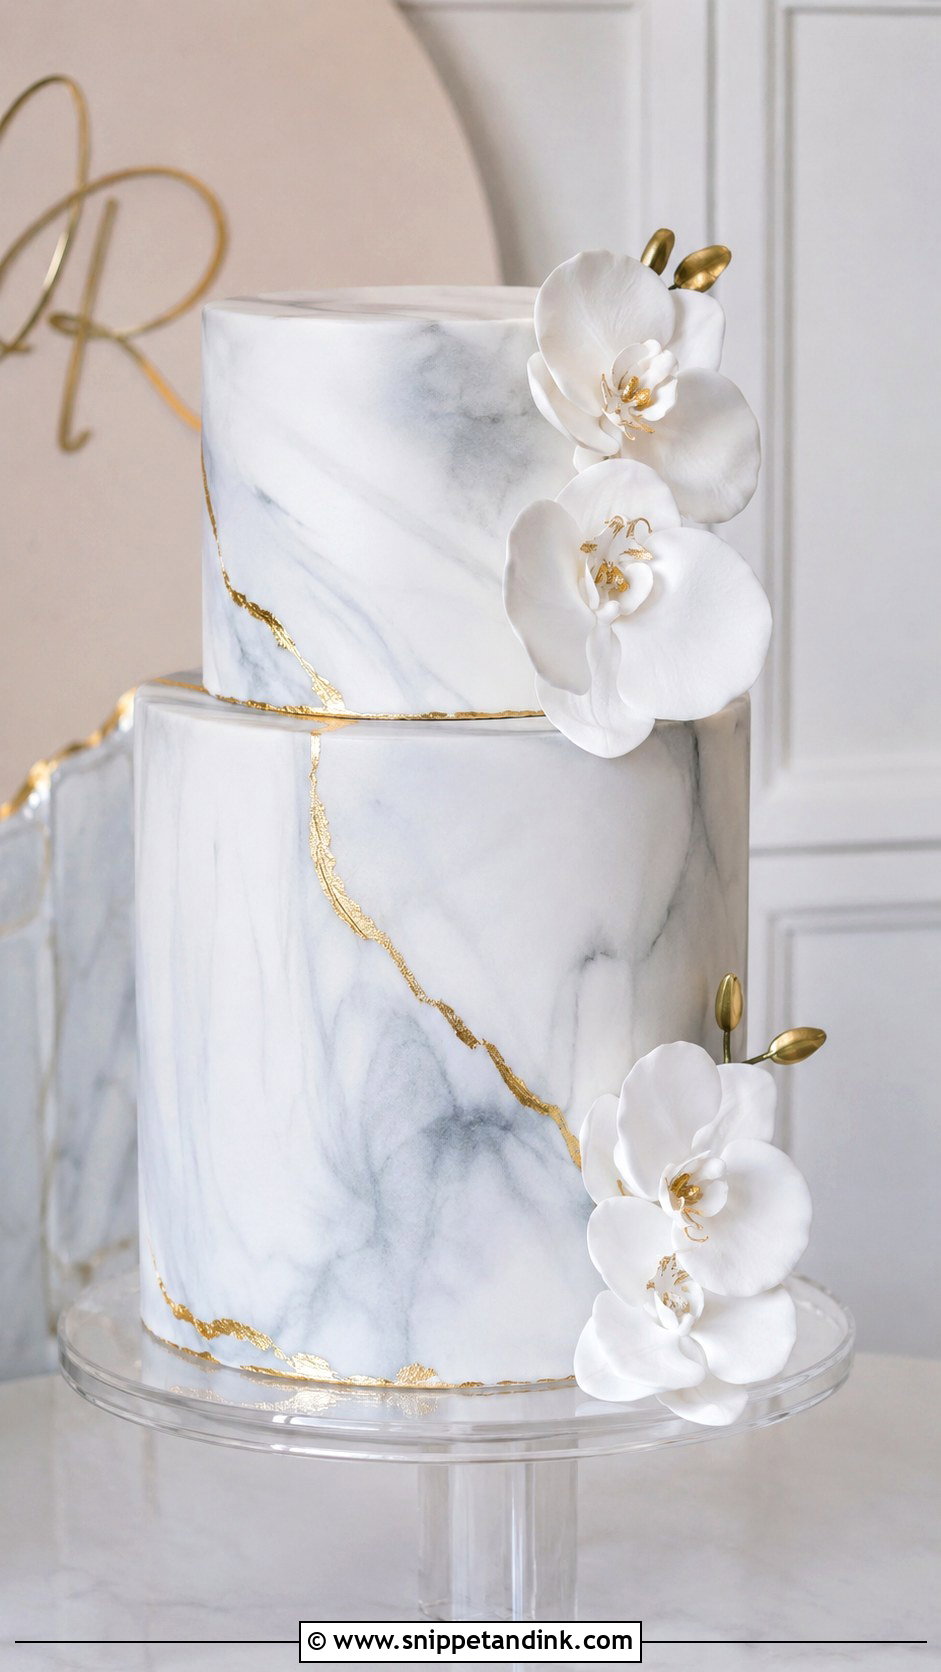
Marbling is about stopping early. I twist white fondant with a small piece of grey, beige or blush, fold it two or three times and roll it out; each extra fold muddies the veins into a flat, uniform tint. Cover quickly, and expect the pattern to stretch as it drops down the sides, so the veins near the bottom edge always look longer. A few thin gold lines painted along the veins look modern. If your first batch turns murky, use it on a lower tier and mix a fresh one for the top.
6. Fondant Wedding Cake With Gold Trim
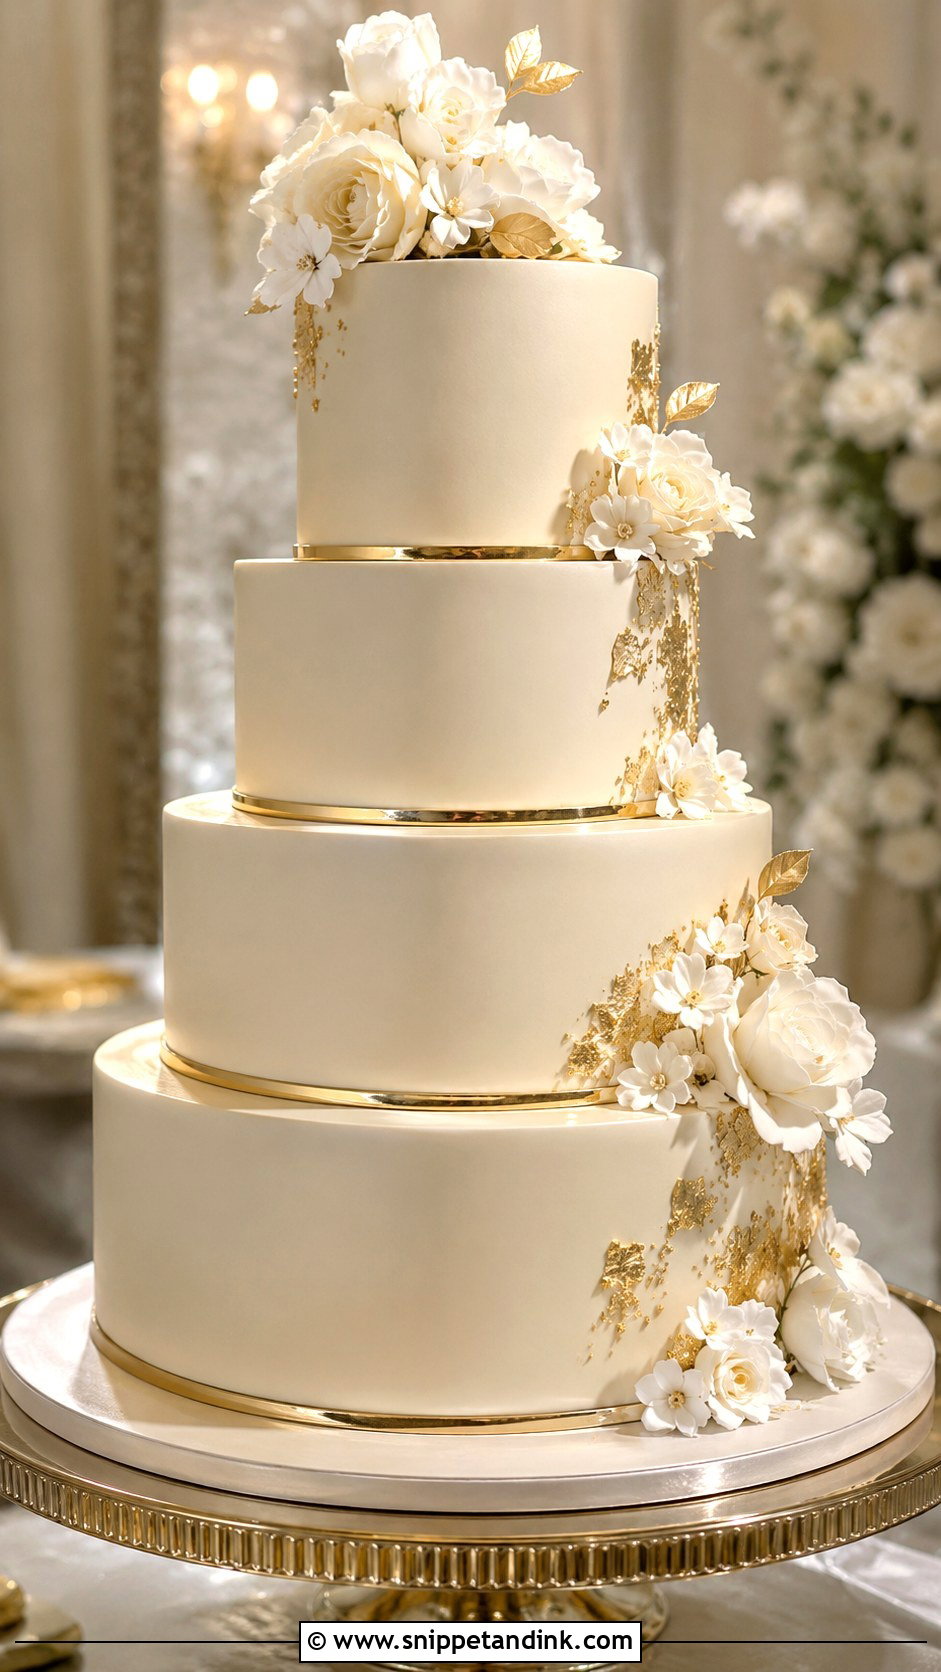
Fondant needs to firm up for an hour or so before you paint gold trim on it, or the brush drags the surface. I mix gold luster dust with a few drops of clear alcohol into a thin paint, which dries fast and doesn’t leave the fondant sticky the way water does. For borders, I paint fondant ropes or strips before attaching them, which is far neater than painting a line freehand. Uneven gold leaf near the edges reads more modern. Check the label, too: some metallic products are marked non-toxic but not edible, and only food-grade ones belong on a cake people will eat.
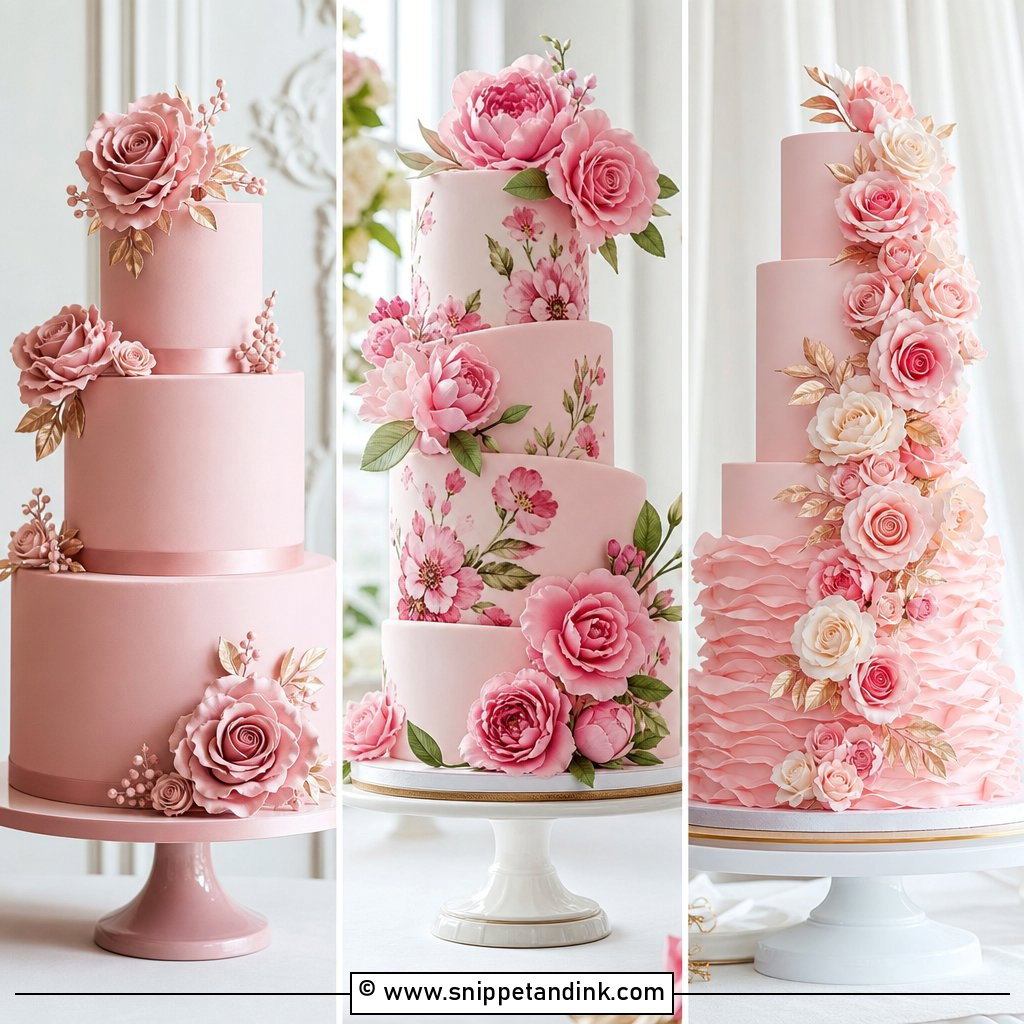
7. Blush Fondant Wedding Cake
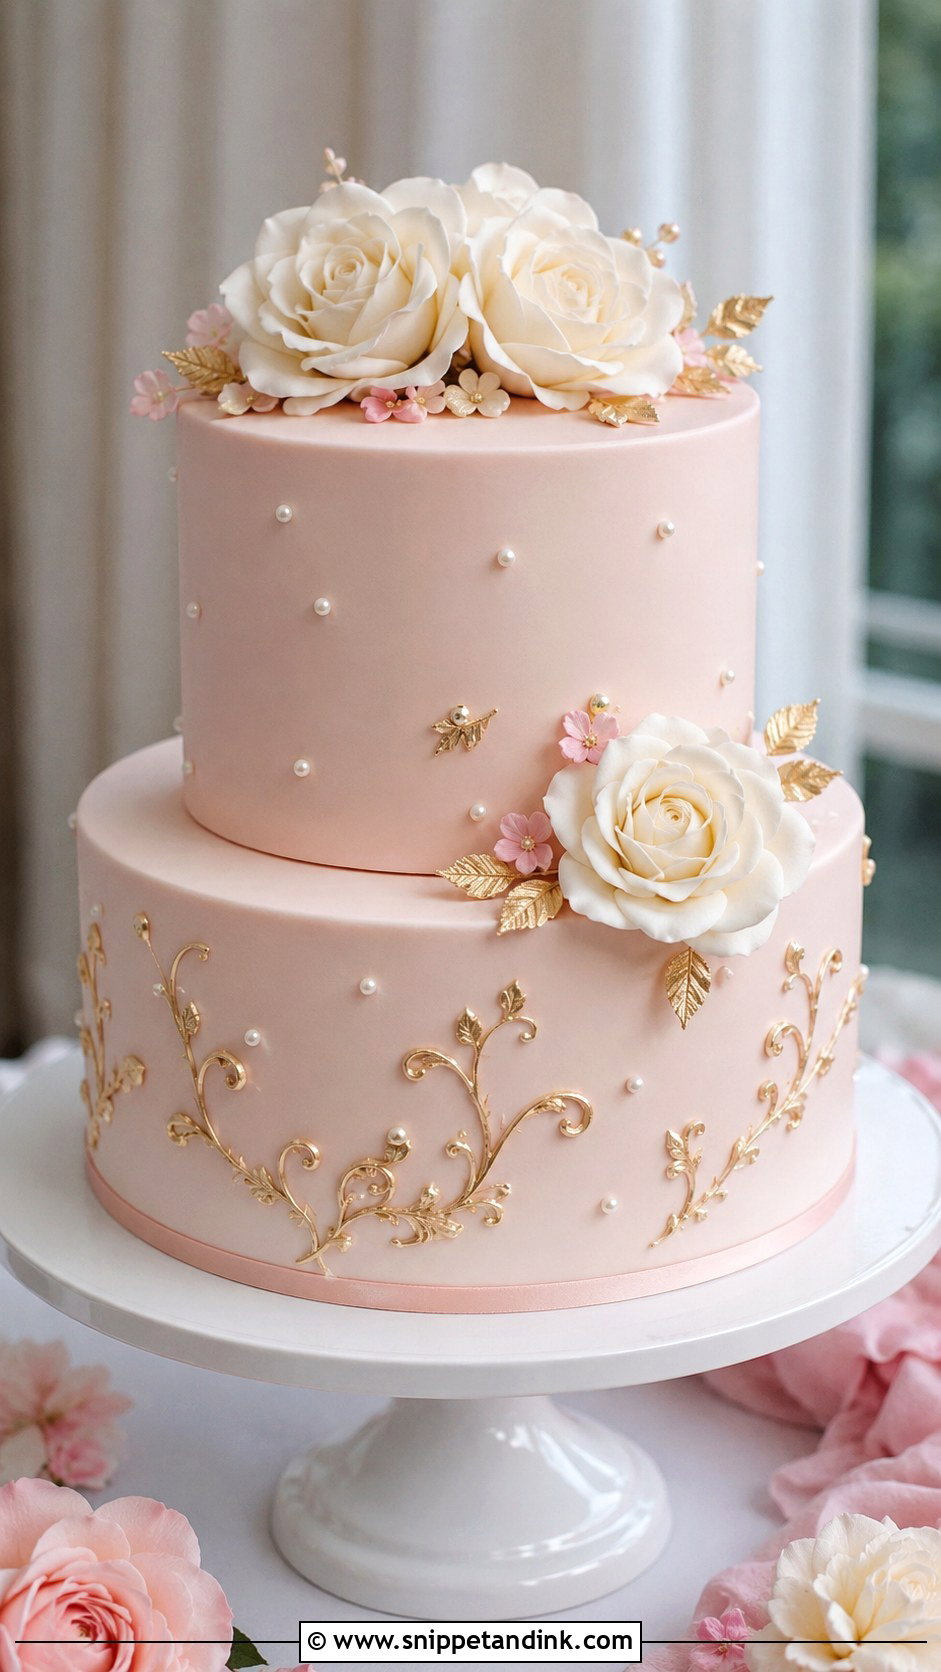
Pink gel color is strong, and fondant looks darker once it dries on the cake, so I add color with a toothpick and stop a shade lighter than I want. Mixing one batch for every tier at once avoids slight shade differences between them. Blush can also fade in strong light, which matters if the cake table sits near a sunny window for hours. White sugar flowers or a pearl border are enough decoration, and alternating blush and ivory tiers adds depth without adding detail.
8. Fondant Wedding Cake With Ruffles
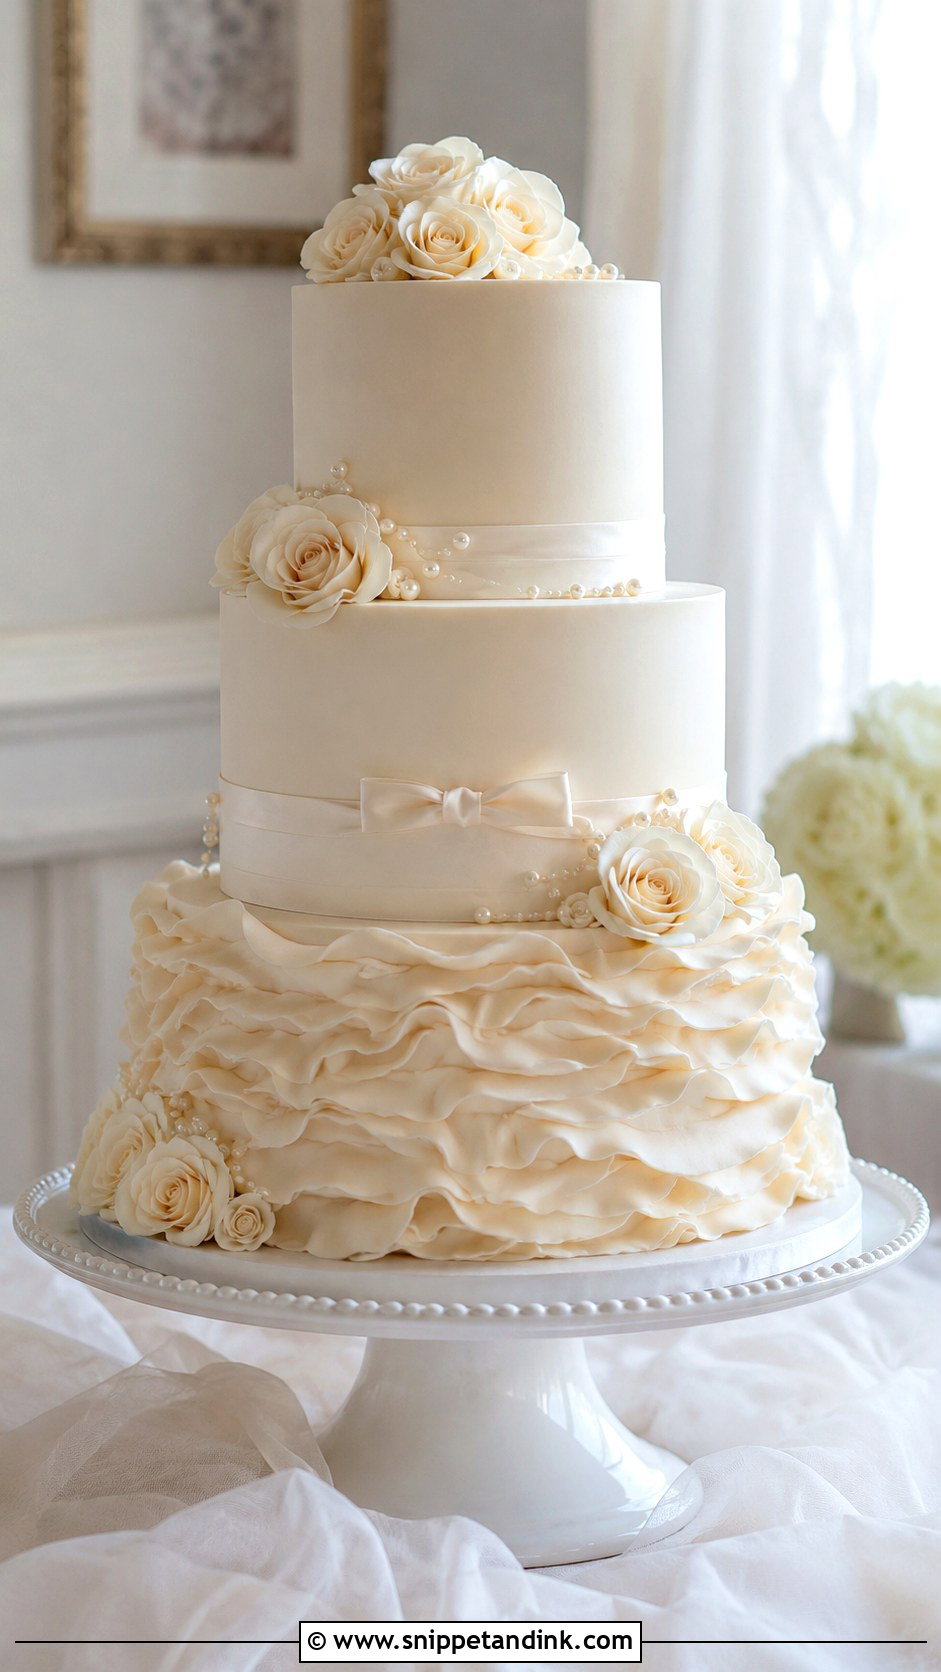
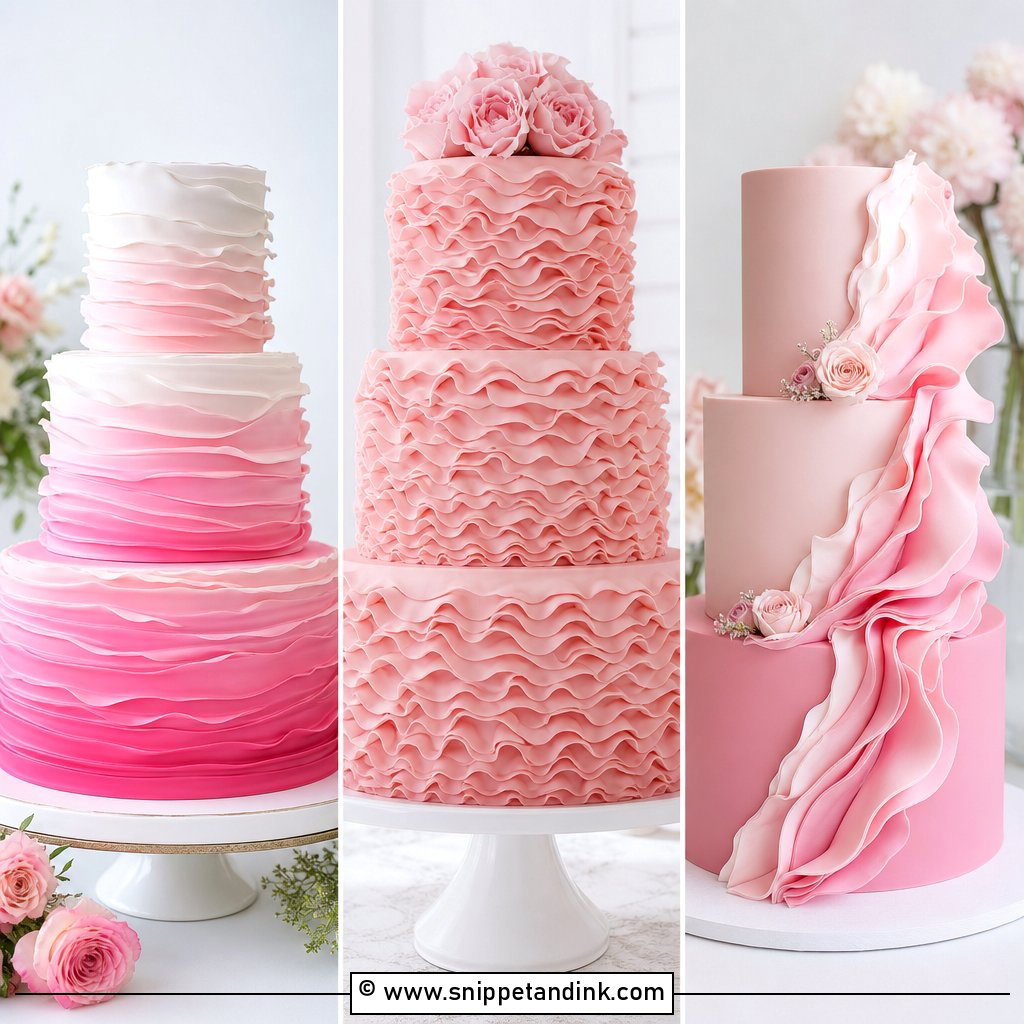
Ruffles are forgiving to make and slow to finish. I roll strips thin, thin one edge further with a ball tool on a foam pad until it frills, and attach each strip with edible glue so it overlaps the row below. Work from the bottom up, so every new row hides the top edge of the last. One fully ruffled tier between smooth ones keeps it from looking heavy. Ruffles also hide a cover that didn’t go on perfectly, which makes this a useful rescue design.
9. Fondant Wedding Cake With Quilted Pattern
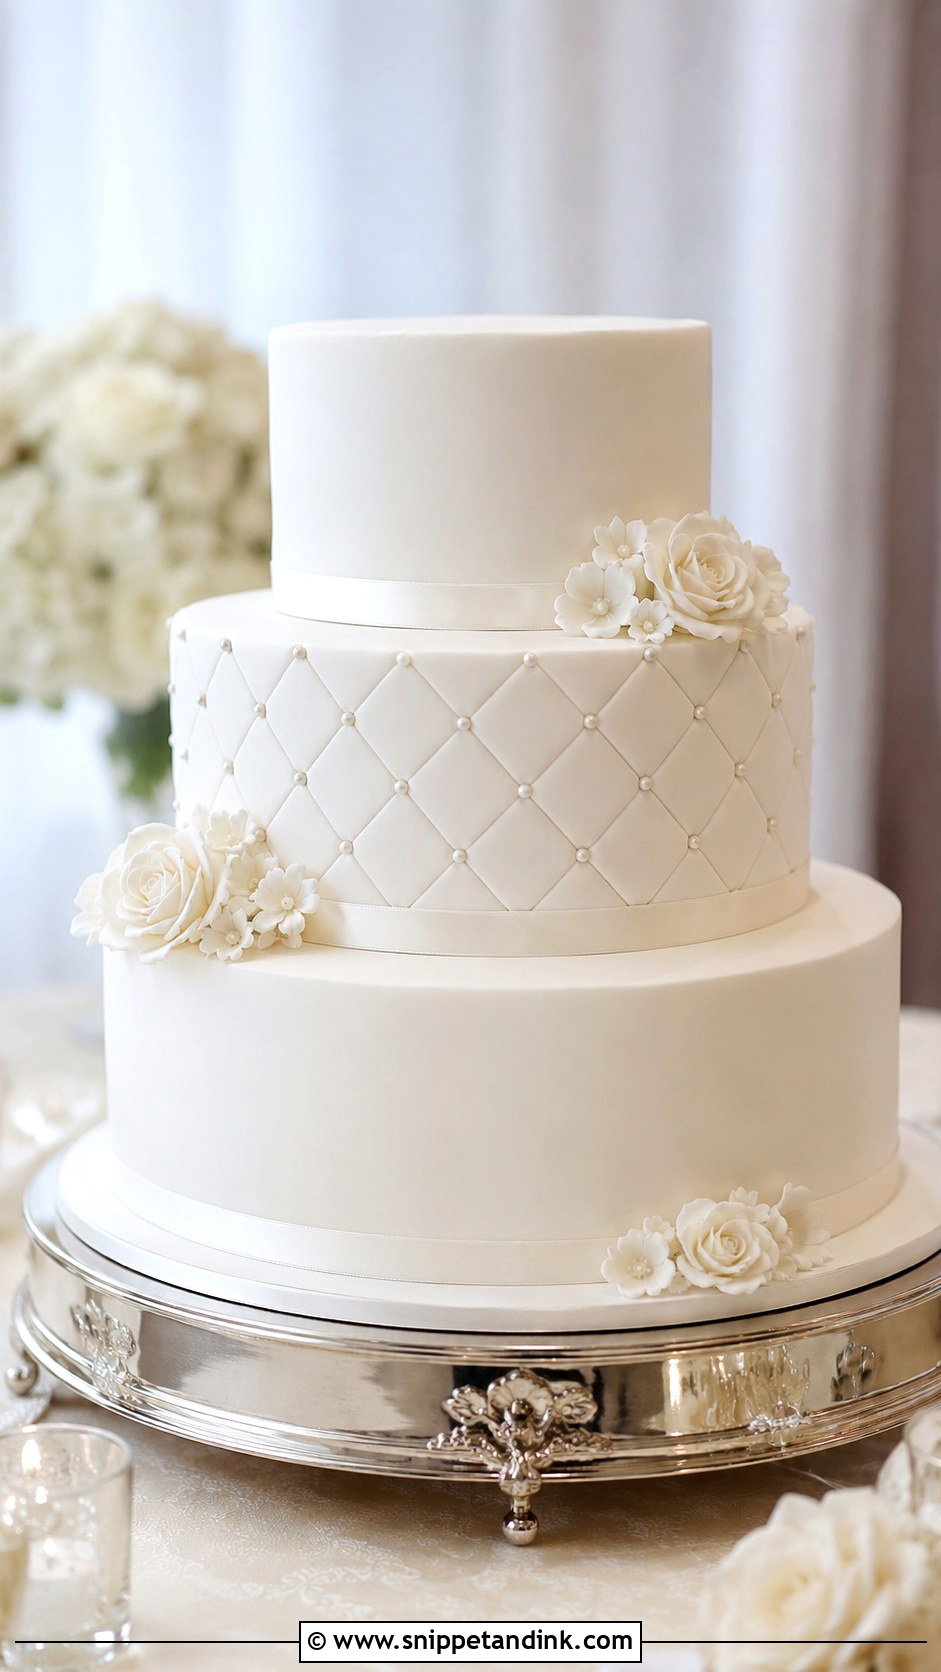
Quilting comes down to spacing. I let the fondant firm for ten or fifteen minutes after covering, then mark diagonal lines with a ruler and a quilting wheel, measuring every line from one starting point so the diamonds don’t drift as I go around. Press too hard and the fondant tears; too lightly and the lines vanish under reception lighting. An edible pearl at each crossing hides small slips. I’d quilt one feature tier and leave the others smooth.
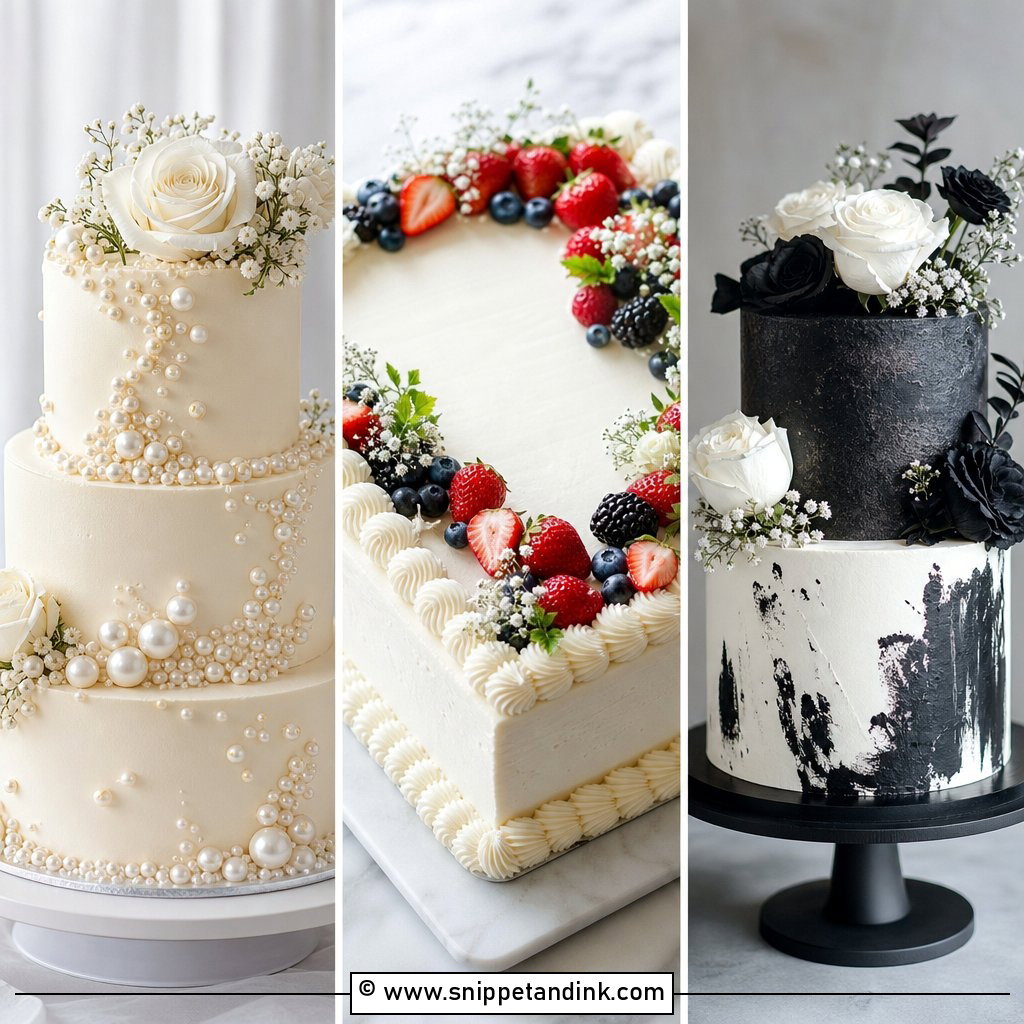
10. Fondant Wedding Cake With Pearl Details
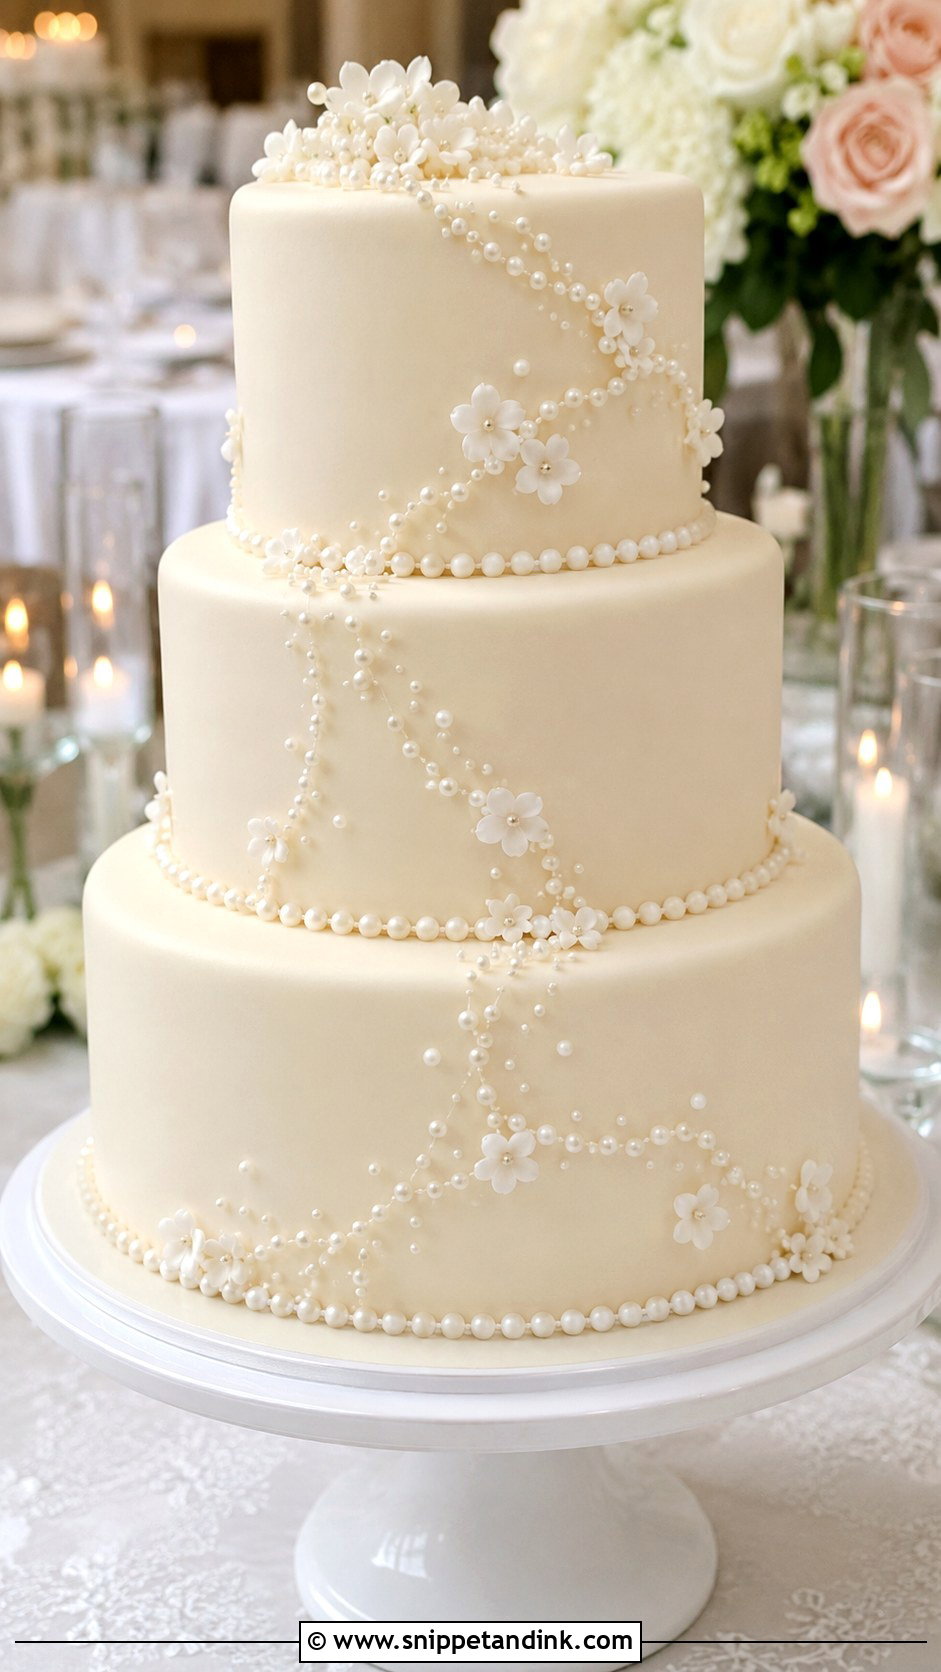
Pearls are a beginner’s friend because they hide small flaws at the base and along seams. I plan the placement first, marking dots lightly with a pin, then attach rolled fondant balls, sugar pearls or royal icing dots. Rolled fondant pearls look softer and take luster dust well. Very hard bought dragees are better as a single border than in a dense pattern guests will bite into. One row at the base of each tier is classic and quick.
11. Fondant Wedding Cake With Floral Cascade
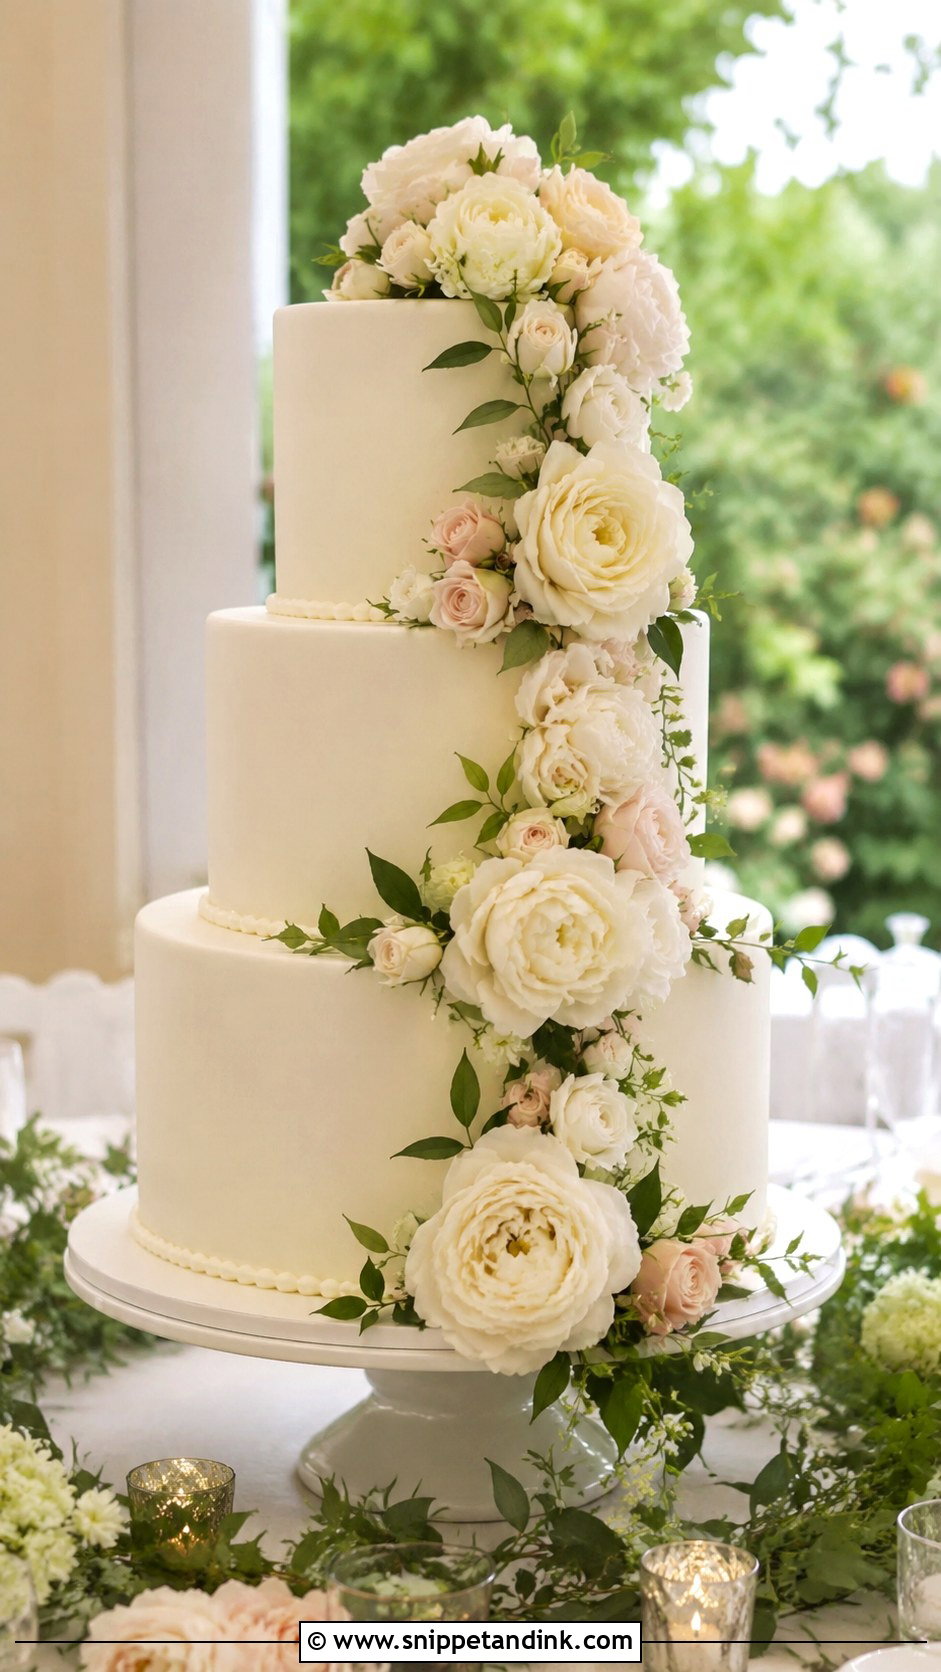
Before a single flower touches the cake, I lay the cascade out on the table beside it and photograph it. That way the curve is planned and nothing gets pressed into the fondant twice. It usually starts near the top edge and sweeps down the front or side, with the large sugar flowers placed first and smaller blossoms, buds and leaves filling around them. Heavier blooms need a food-safe flower pick inserted into the cake. A bare wire should never be pushed into the sponge.
12. Fondant Wedding Cake With Monogram
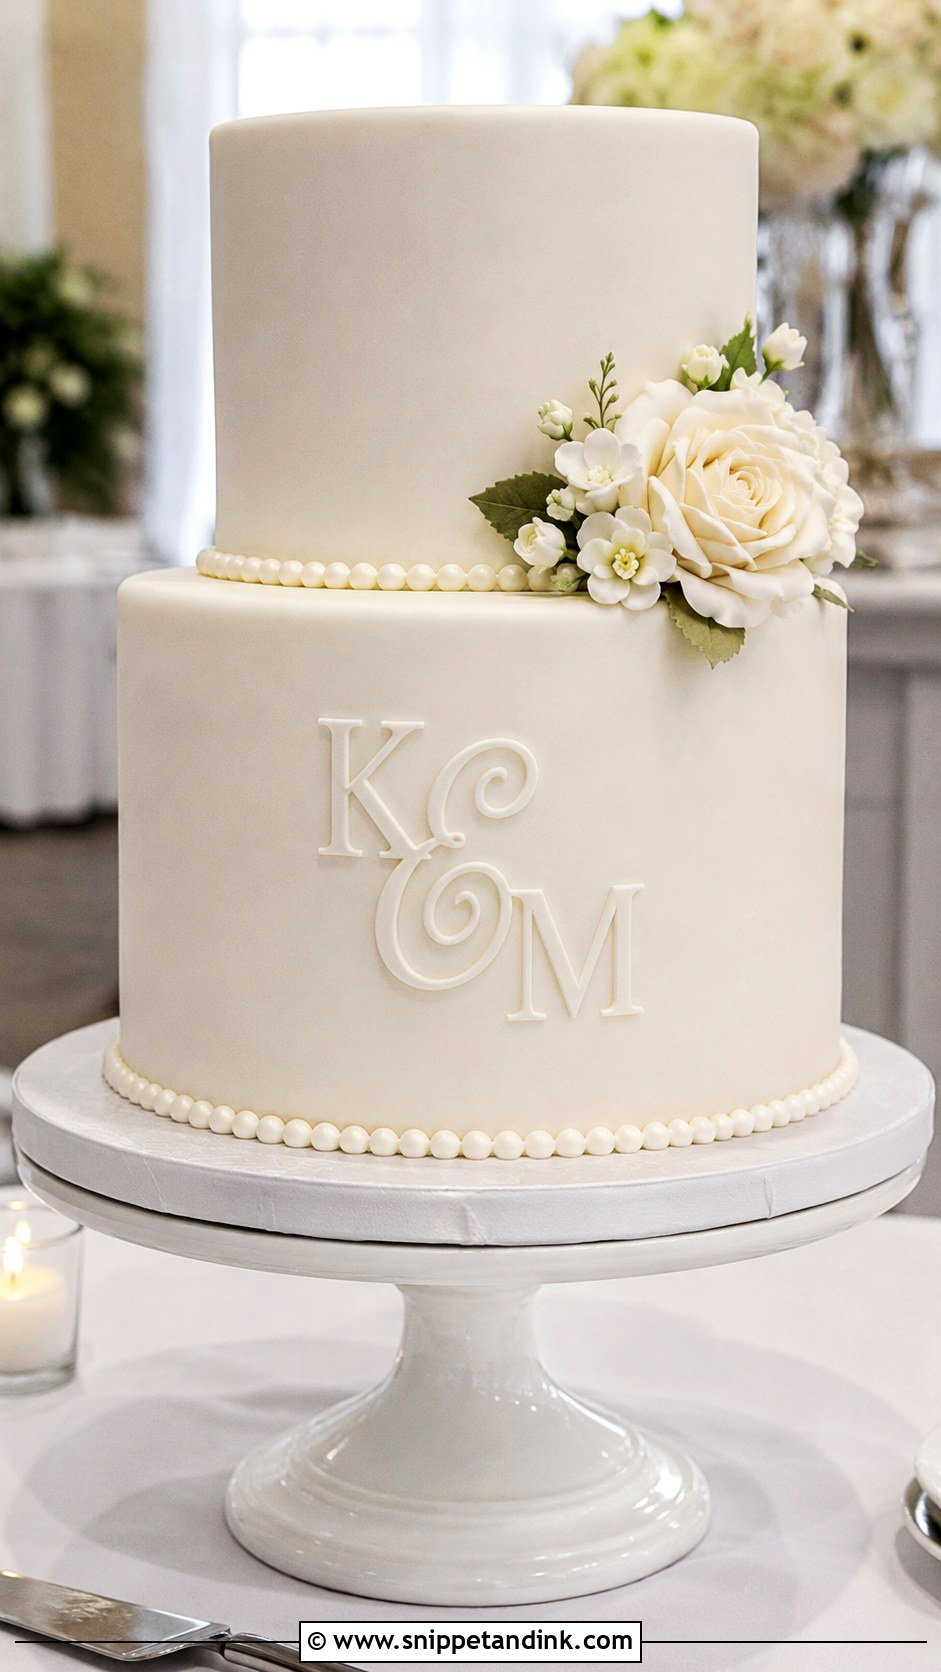
A monogram is small, but if it’s crooked the whole cake looks off. I cut letters from fondant that has rested a few minutes so the edges stay crisp, and let them firm before attaching. For a raised piped version, I trace the letters onto parchment, practice piping over them on the bench, then pipe onto the cake. Middle tier, front and center, is where photos catch it. It’s the simplest route to a custom cake that ties back to the invitations, and it fits a small cutting cake too.
13. Fondant Wedding Cake With Bow
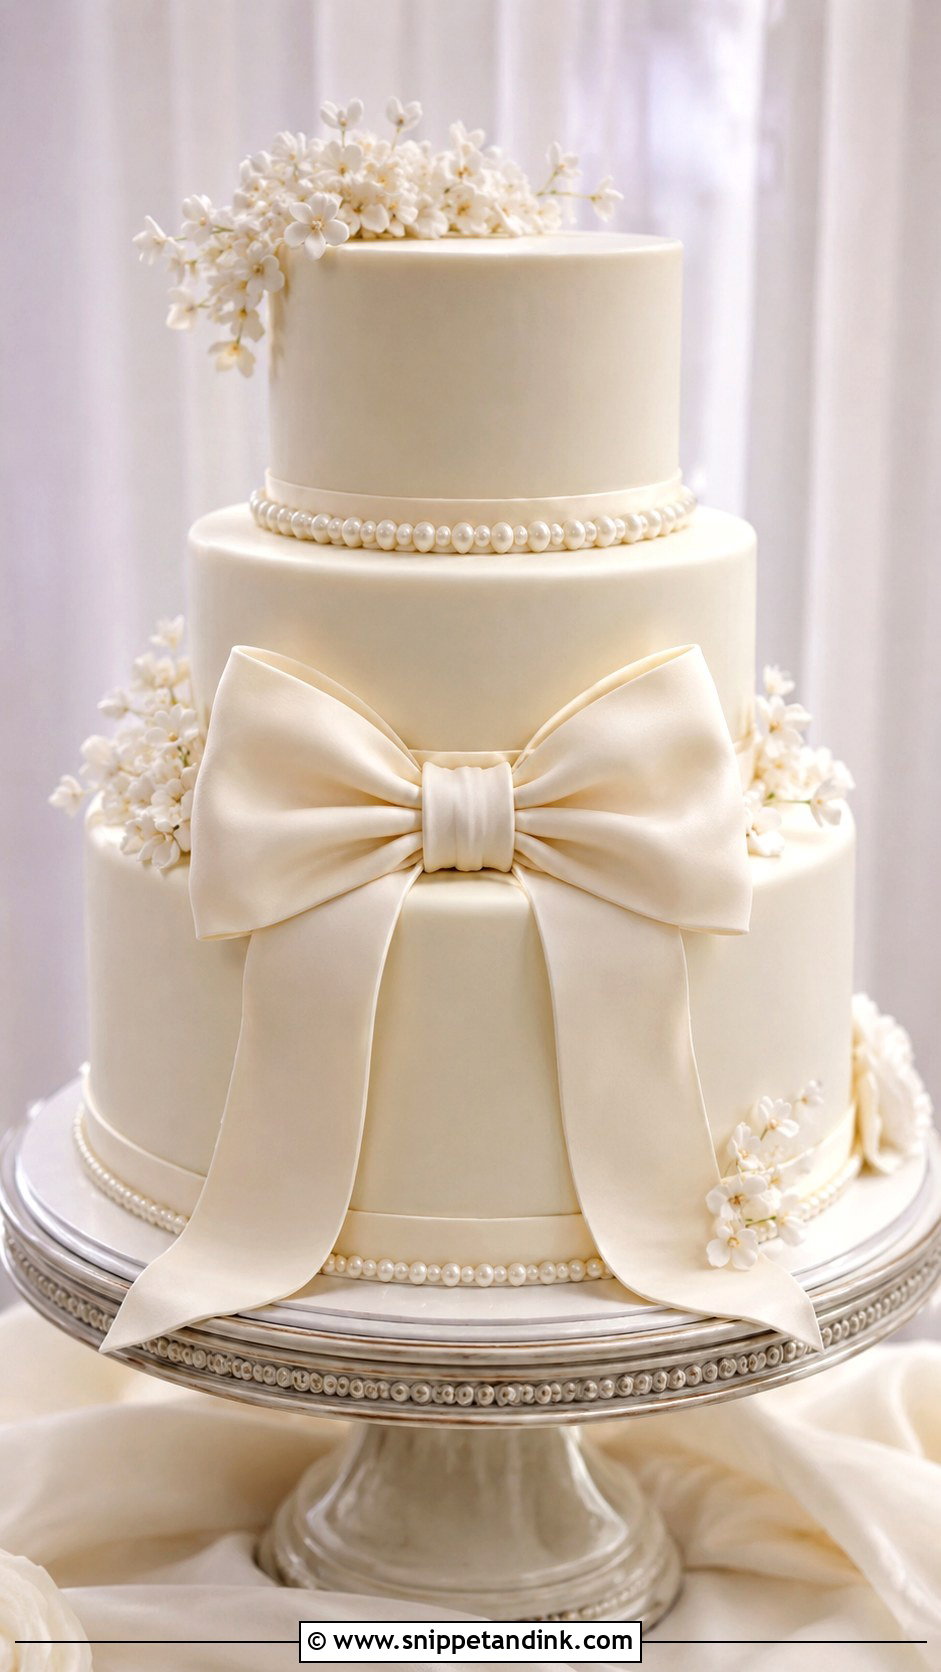
The bow has to be made first, at least two or three days ahead, so the loops dry hard. I knead a little tylose into the fondant so it sets firmer, cut even loops and stuff them with tissue or foam until they hold their shape. The ribbon bands, by contrast, go on fresh so they bend around the tier. The bow is attached last with a dab of royal icing. In a humid room a fondant bow can slowly droop, which is exactly why the extra drying time matters.
14. Fondant Wedding Cake With Draping
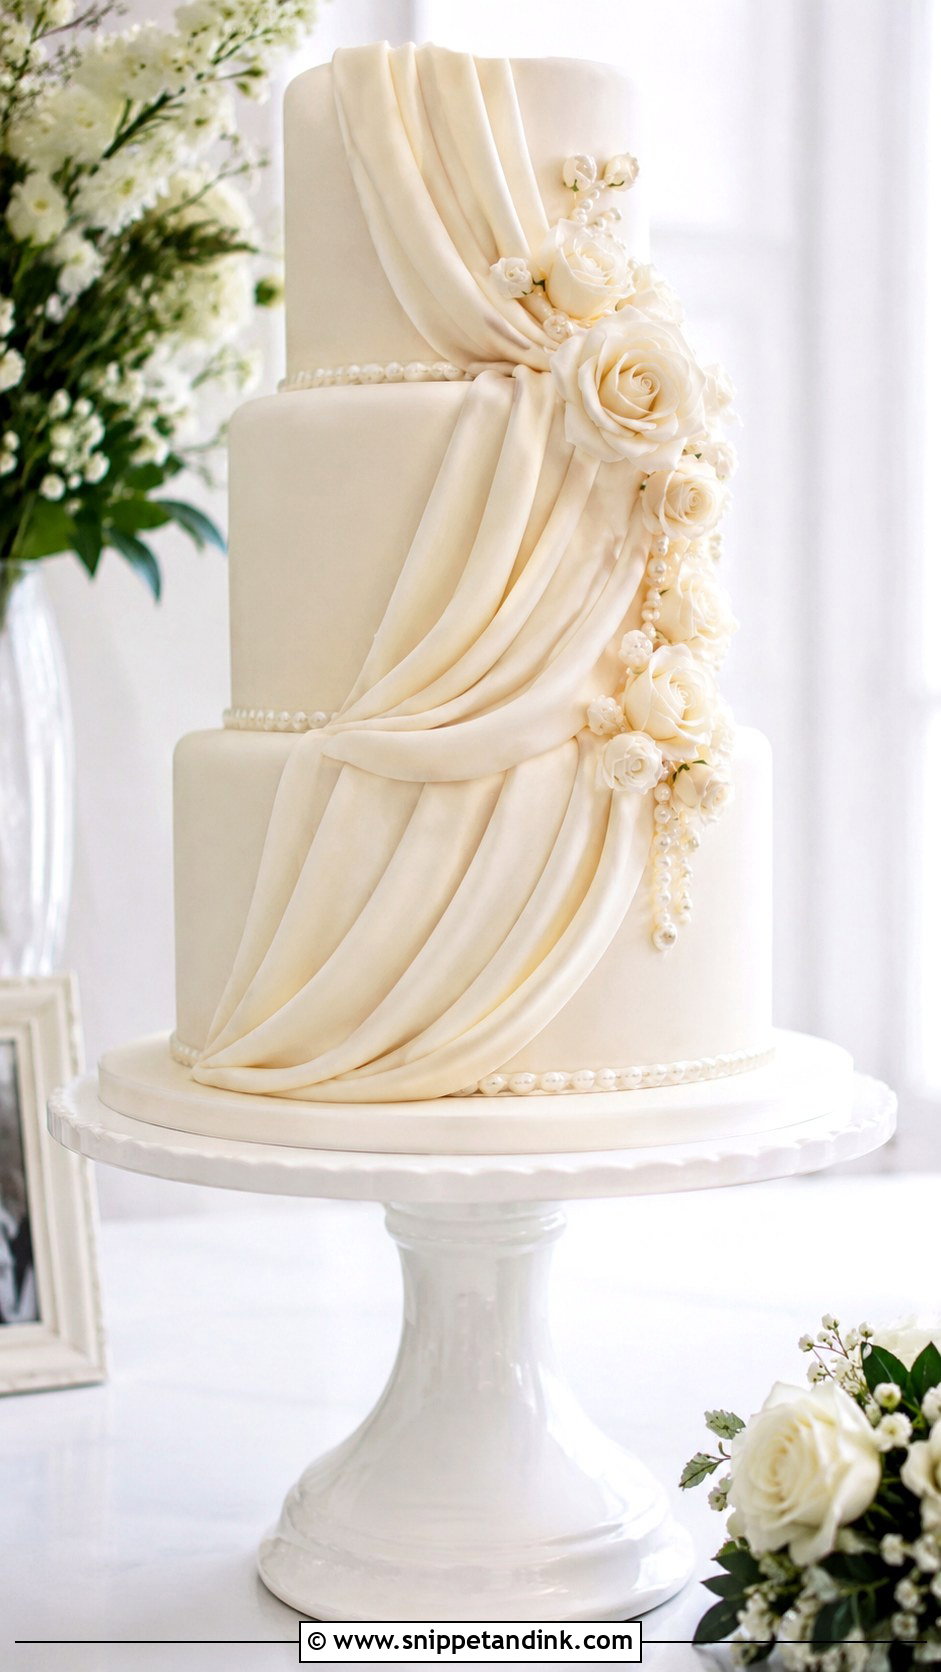
Draping is where fondant behaves most like fabric, and it only works with fondant rolled thin and kept soft. I cut a wide strip, pleat the top edge loosely with my fingers, attach it to the covered tier and let the bottom fall naturally. Work quickly, because a drape that starts drying cracks along the folds. A sugar flower where the drape begins hides the join. I’d practice the folds on a foam dummy tier before touching the real cake.
15. Fondant Wedding Cake With Hand Painted Flowers
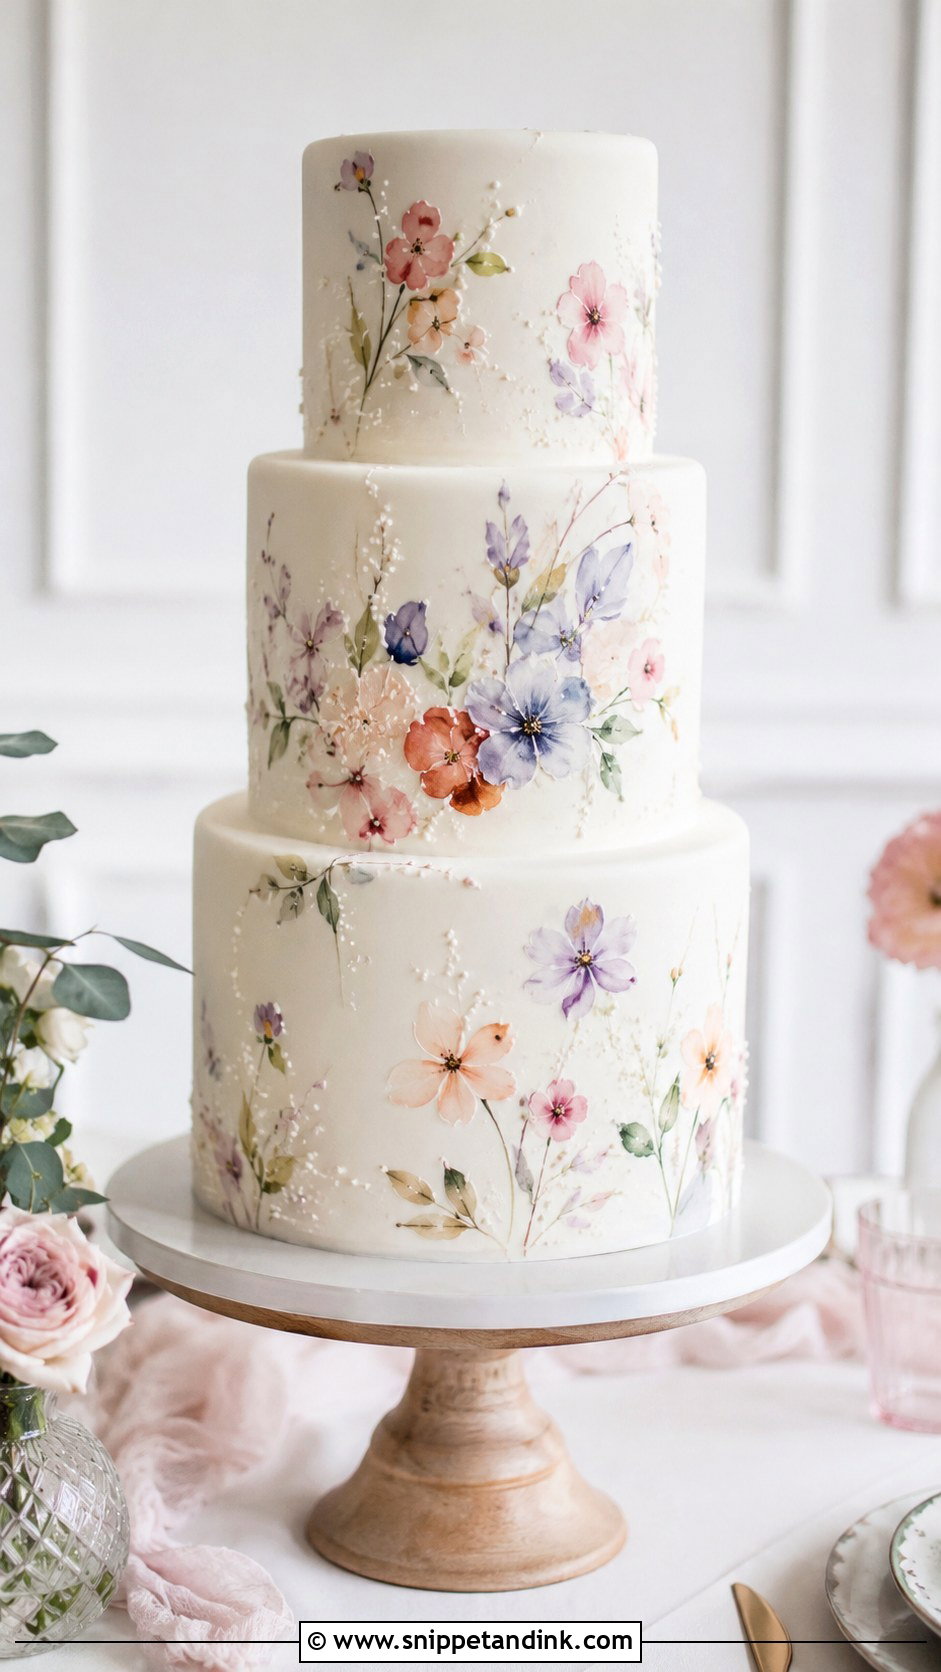
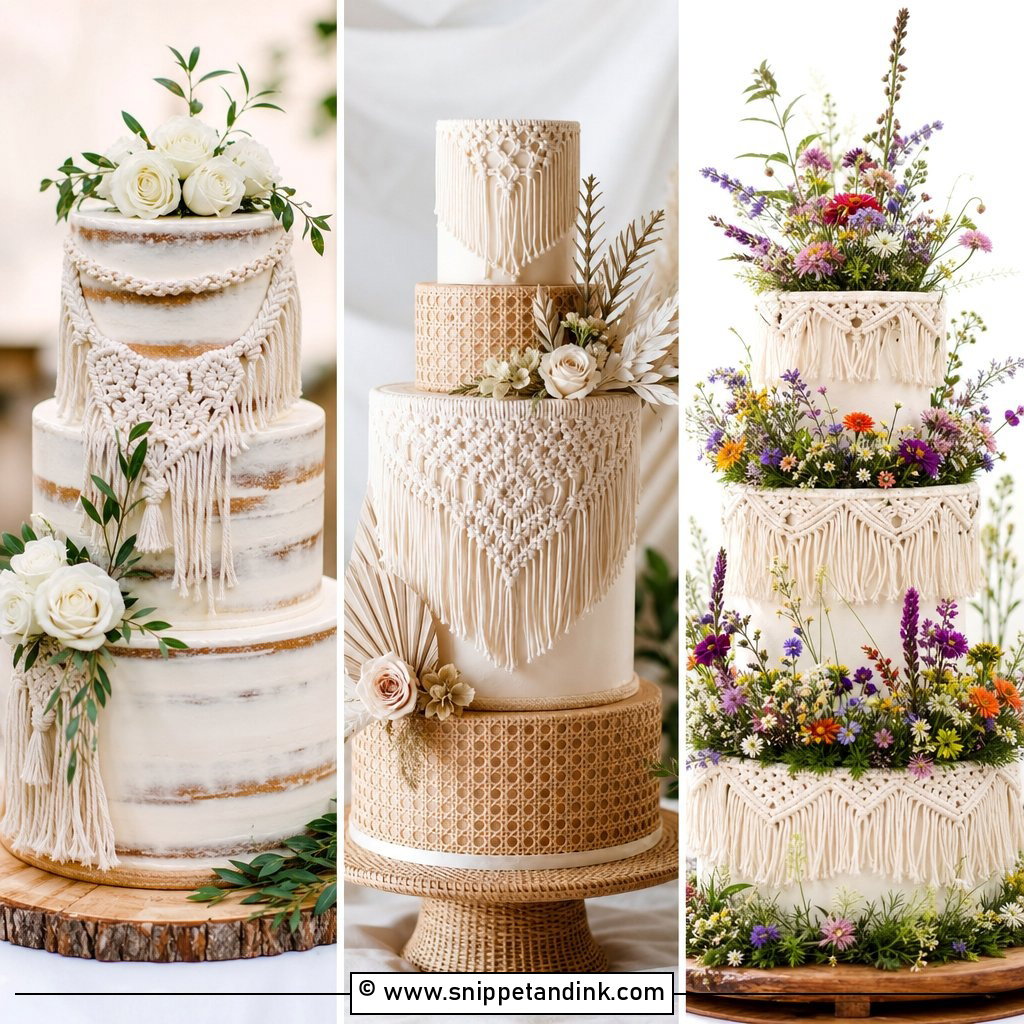
I let the fondant firm for a day before painting, so the brush doesn’t dent it. Gel colors thinned with clear alcohol or extract dry quickly and won’t leave the surface tacky. Paint the light washes first and deepen the centers last, the same way watercolor works. Practice on a spare piece of rolled fondant until your strokes feel loose rather than careful. This is the design to pick if you’re stronger with a brush than with gum paste.
16. Fondant Wedding Cake With Geometric Pattern
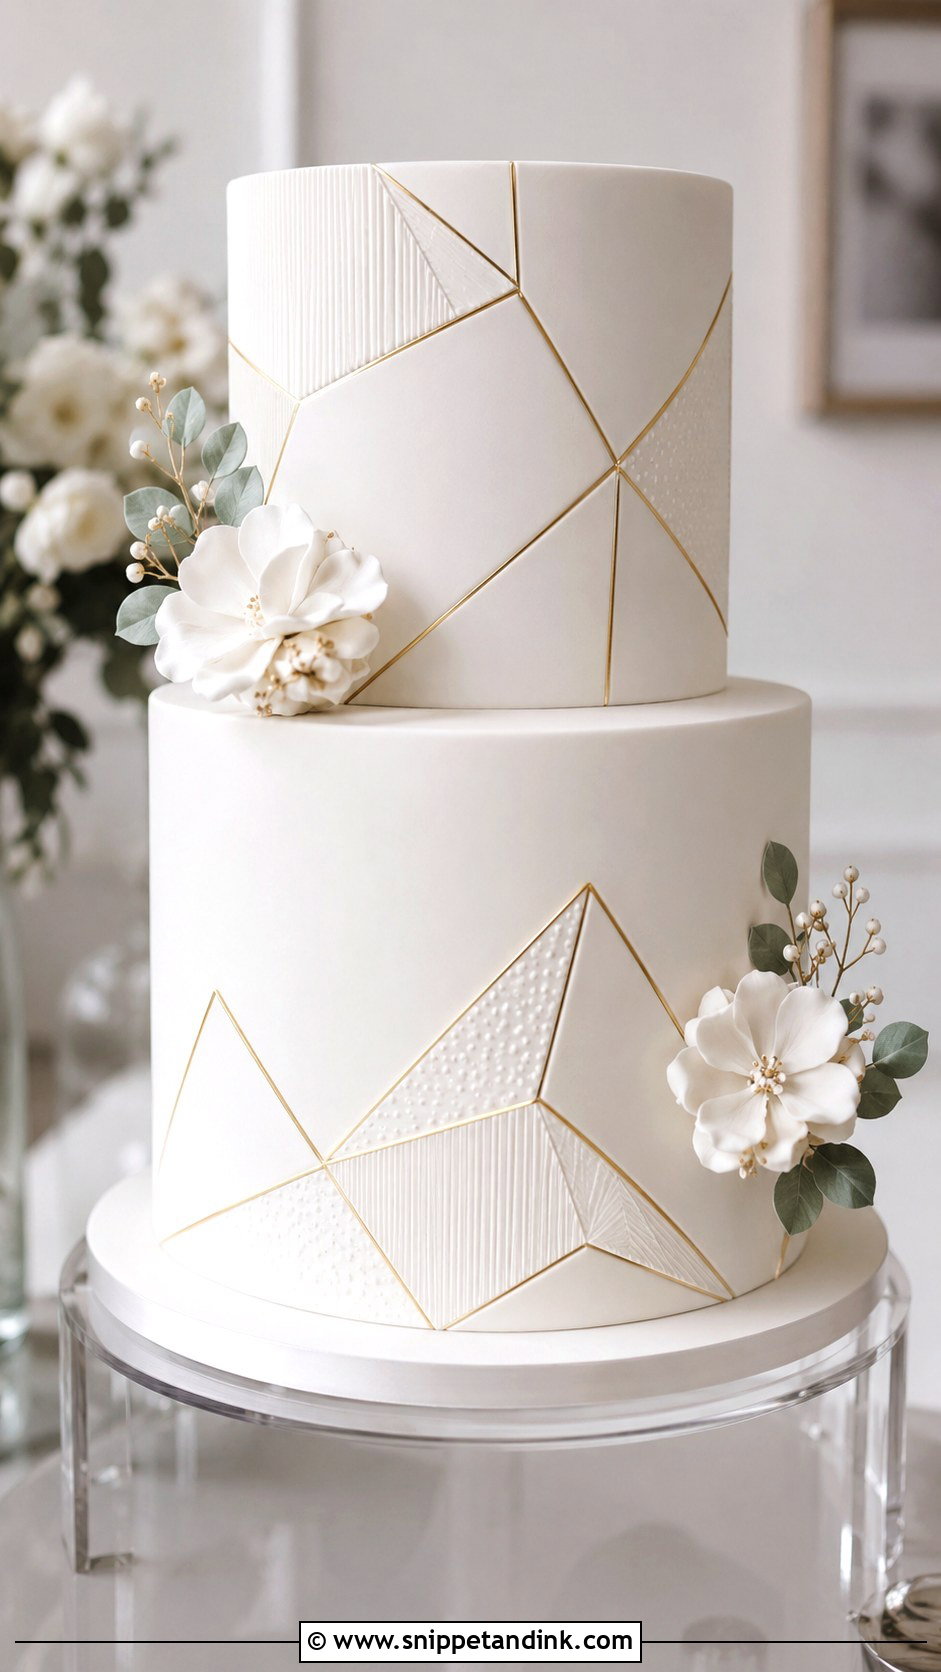
Straight lines show every bulge, so geometric designs need the sharpest cover you can manage, ideally over ganache. I cut shapes from fondant stiffened with a little tylose so they keep their edges, and lay the whole pattern out on parchment before gluing anything. A ruler and a few light pin marks keep the rows level. One geometric tier among plain ones looks clean. Three in a row starts to look busy.
17. Fondant Wedding Cake With Textured Tiers
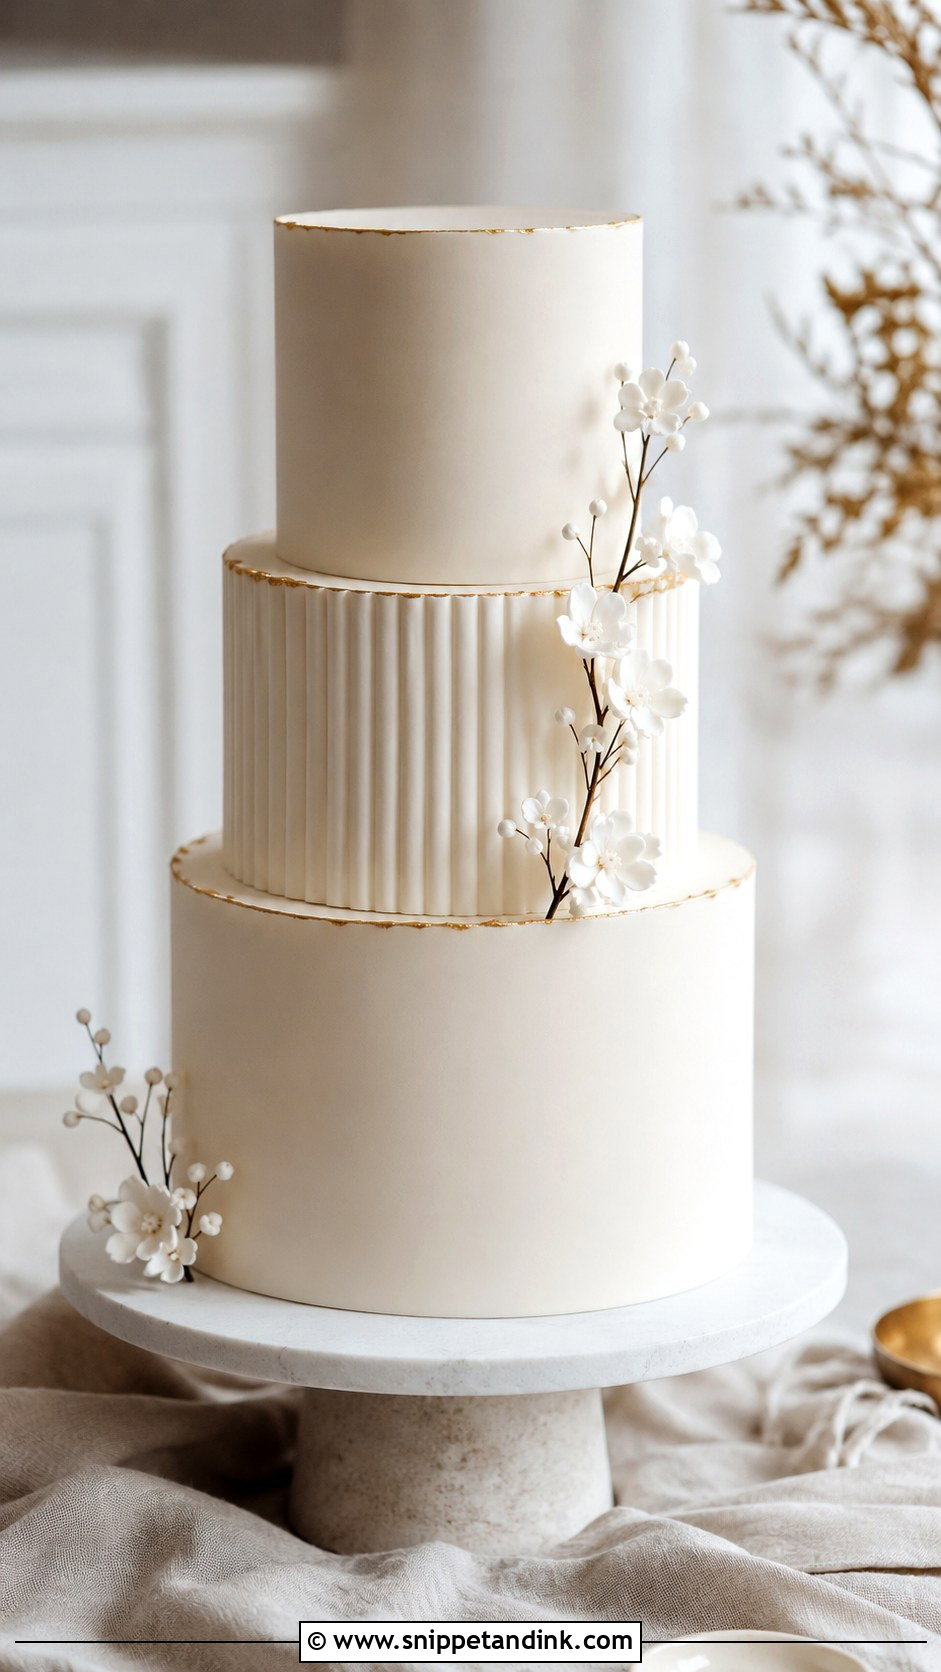
Texture is the most forgiving fondant finish, which is exactly why I suggest it to home bakers. Impression mats, veining tools or gentle scoring give linen, ribbed or stucco finishes, and they hide small flaws a smooth cover would show. The fondant must still be soft when you press it, so texture each tier right after covering it. Pair one textured tier with smooth ones and finish with a few small flowers or a gold edge.
18. Fondant Wedding Cake With Fresh Flower Look
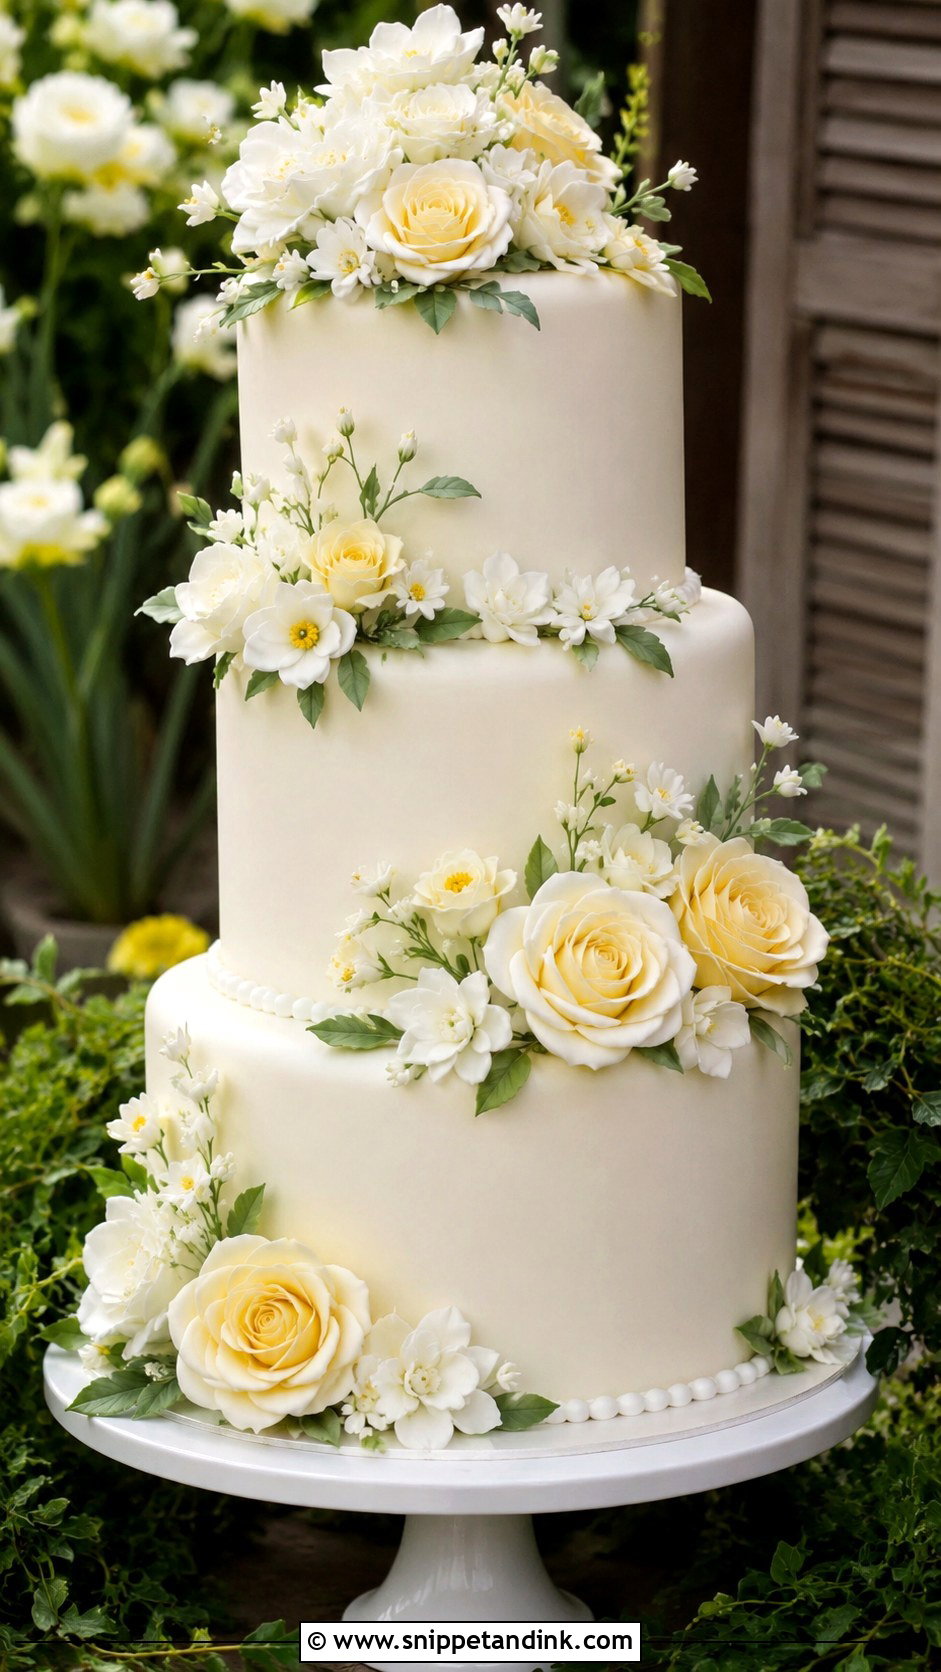
Gum paste flowers pass for fresh when the petals are rolled thin enough to let light through at the edges. I dust them in two tones, darker at the base, and pass them briefly through steam to set the color and remove the powdery look. Arrange them in small clusters with leaves and a few buds, leaving fondant visible between them. It’s a safe route when you love the fresh-flower look but don’t want real stems anywhere near the cake.
19. Fondant Wedding Cake With Vintage Piping
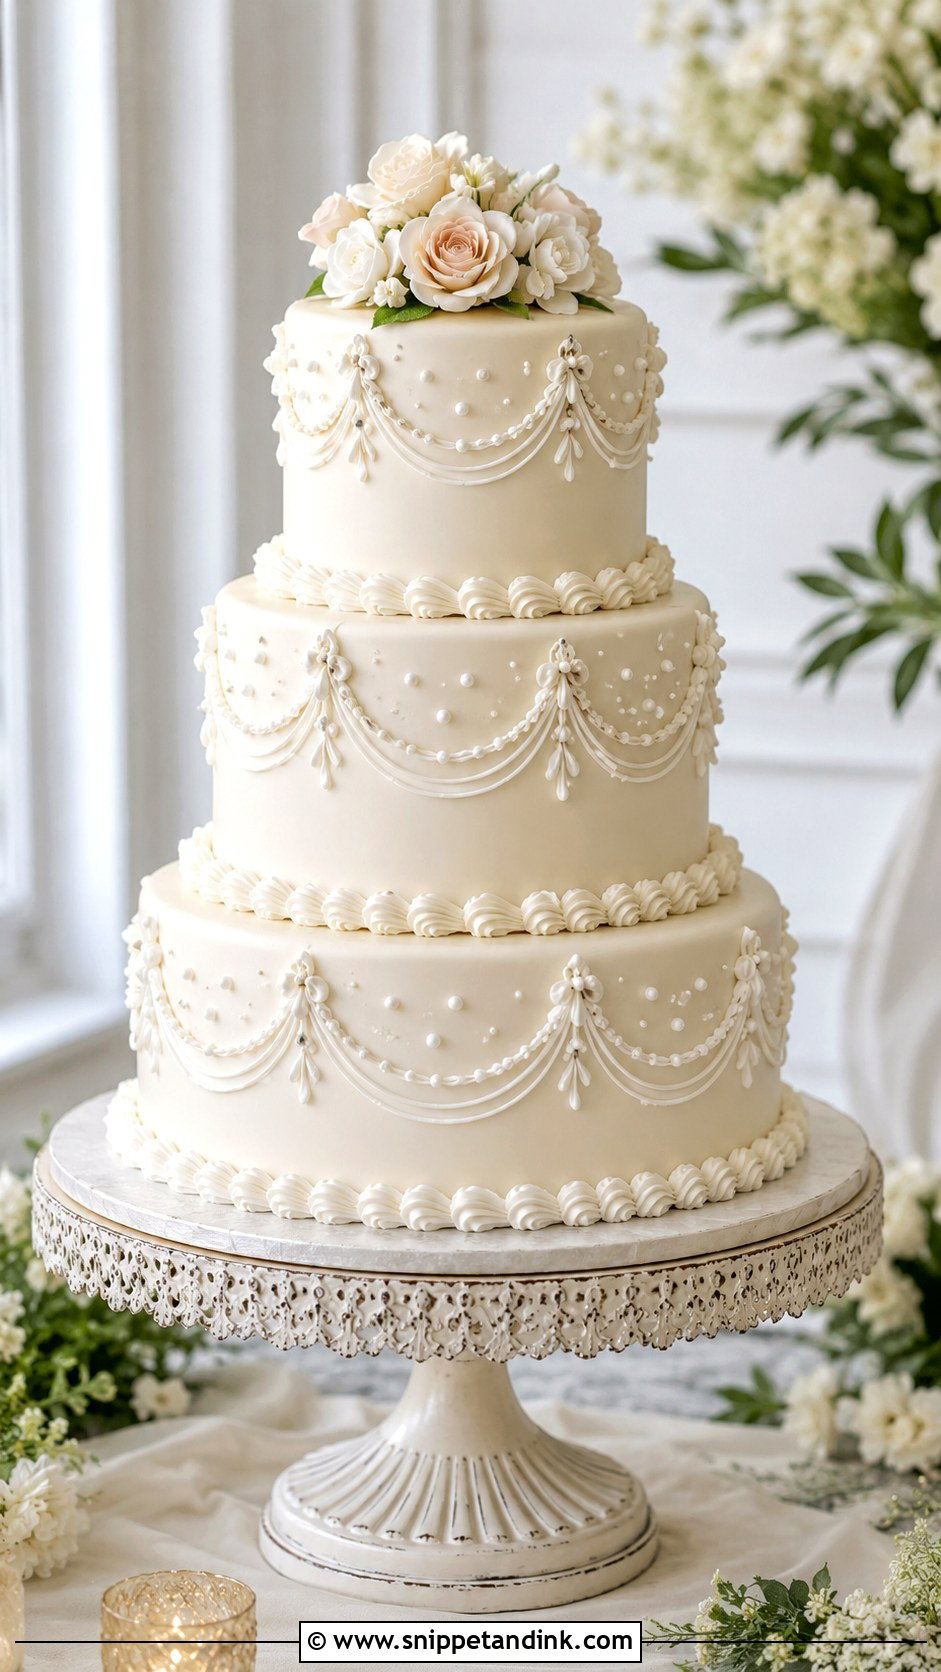
Royal icing piping on fondant needs guidelines, so I mark points around each tier with a pin or a paper template before starting. Most vintage piping relies on shells, swags, scrolls and drop strings, and drop strings in particular need steady pressure and icing at soft peak, not stiff. Practice on an upturned cake tin first. Royal icing dries hard, so the work holds up well in a warm room.
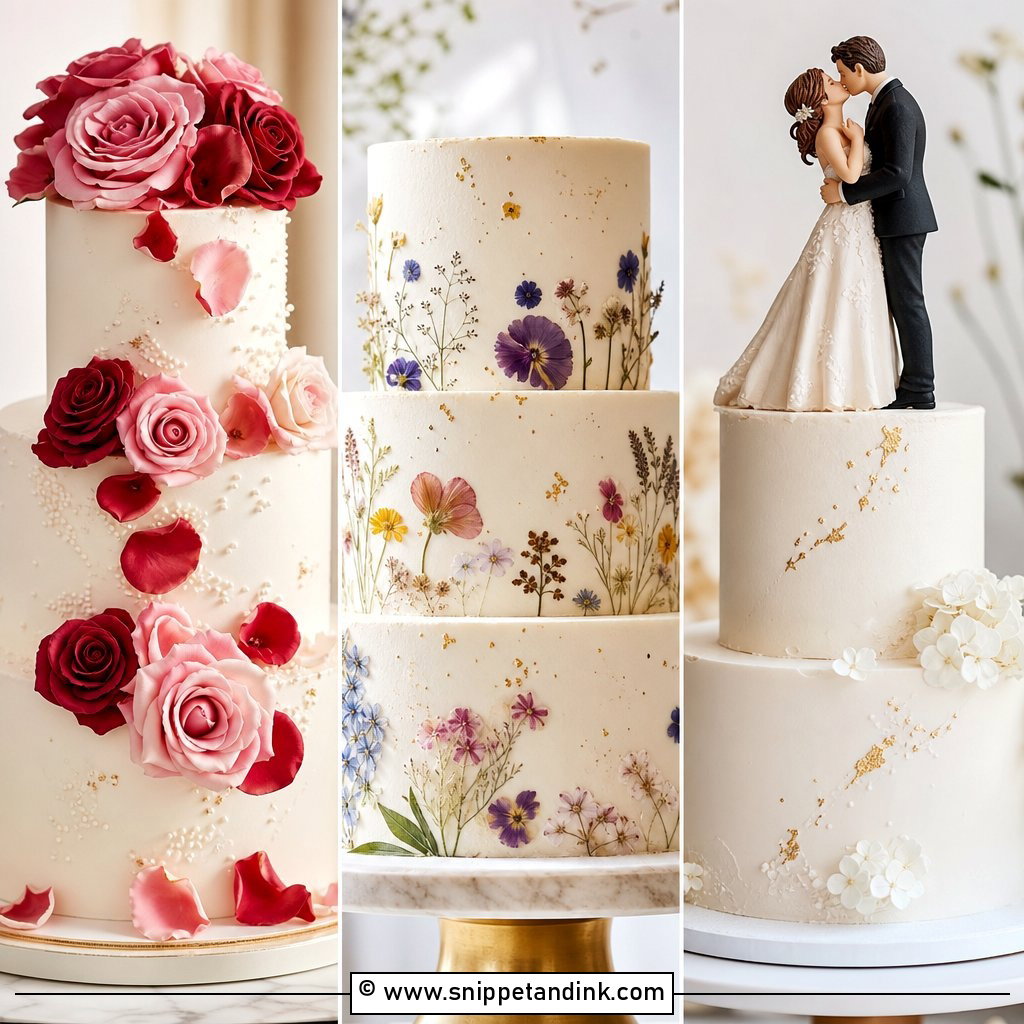
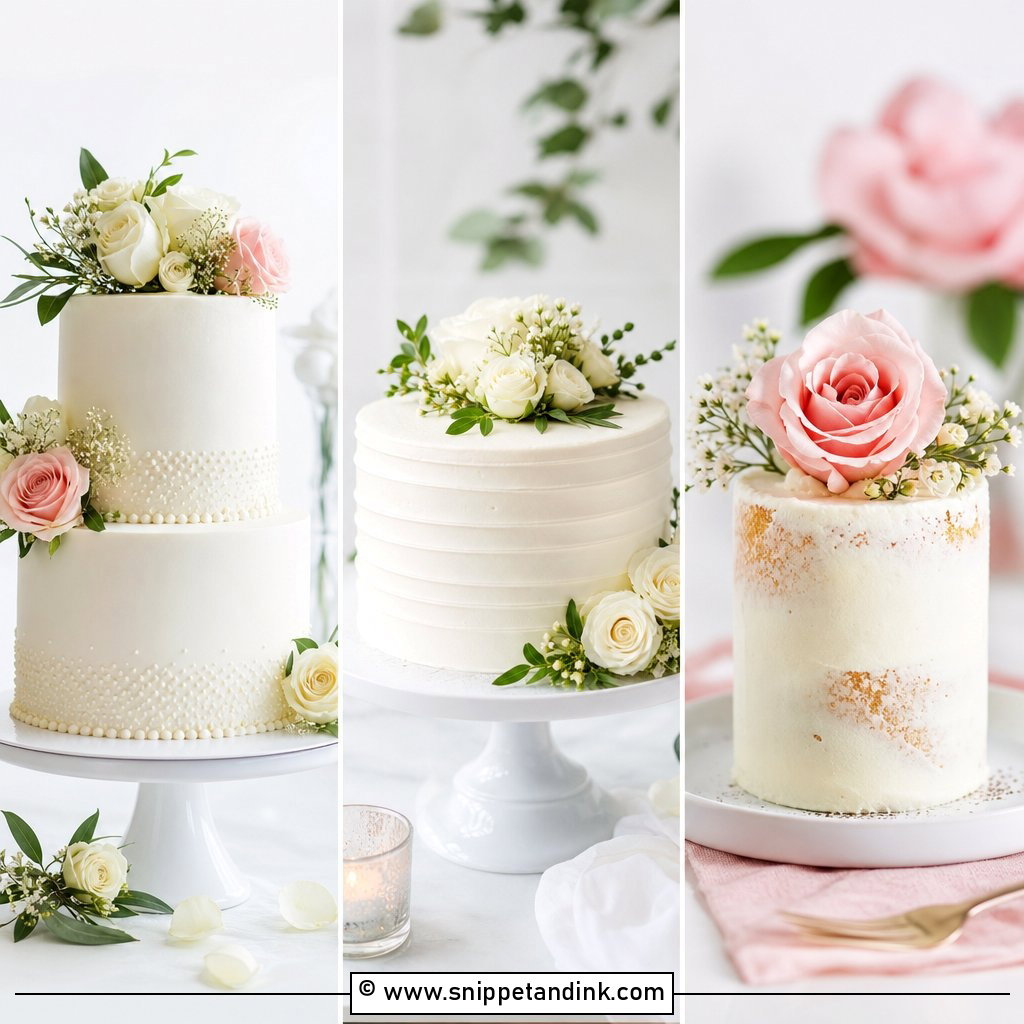
20. Small Fondant Wedding Cake
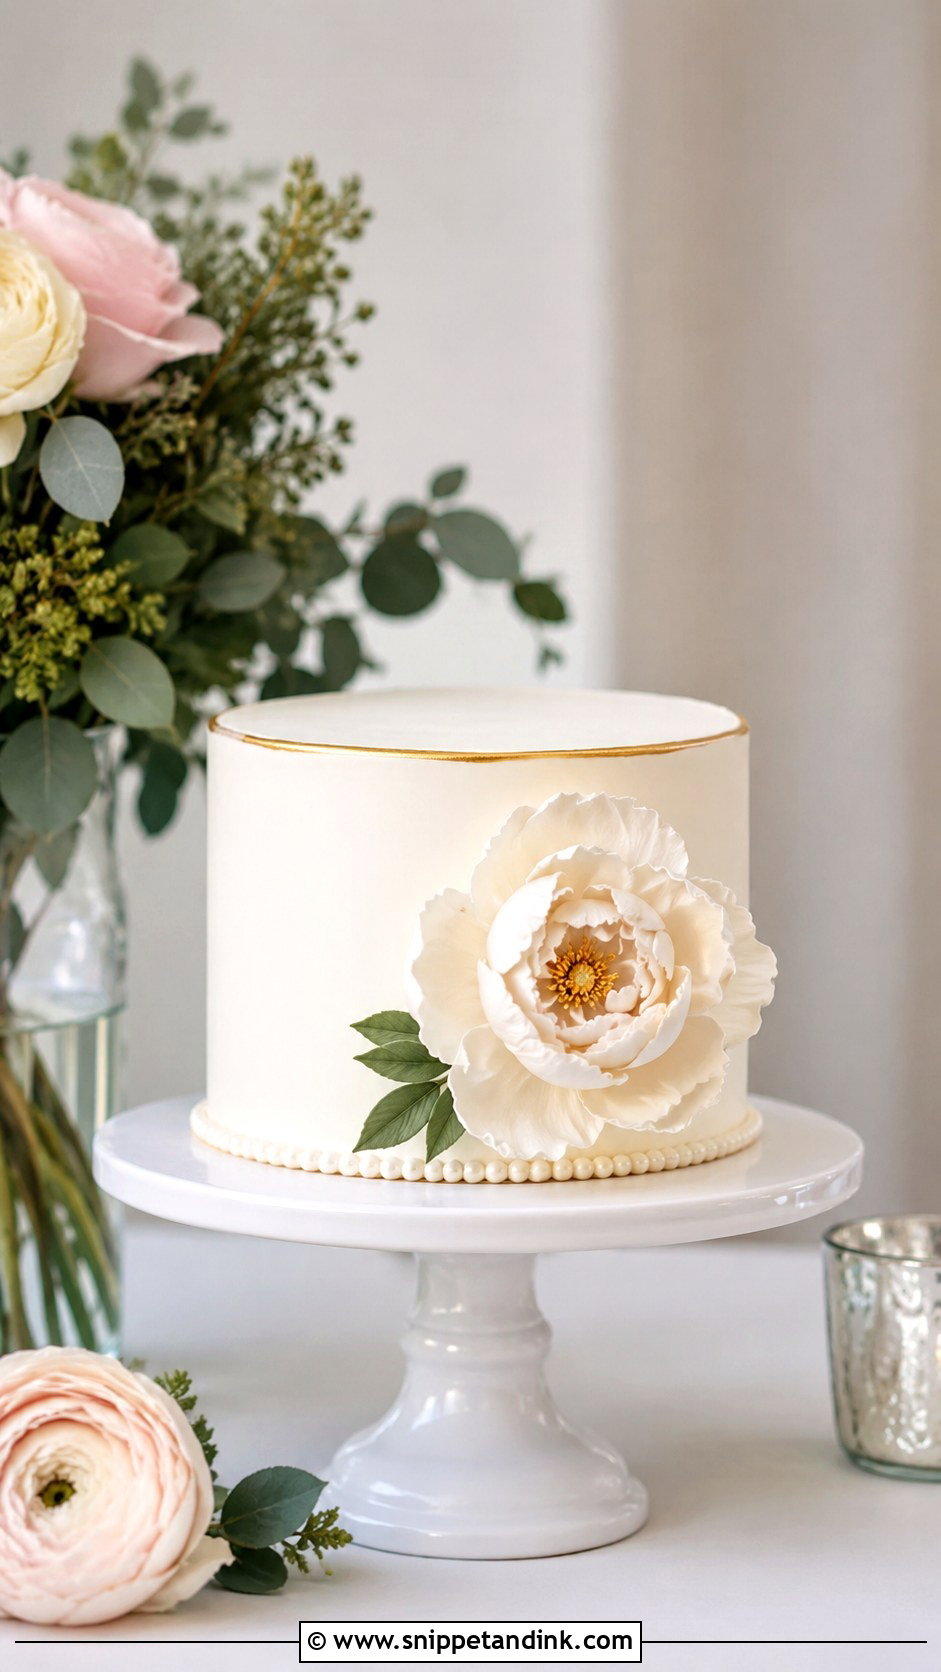
A one or two tier cake is where I’d point a first-time fondant baker, and it’s honestly the sensible size for an elopement or a cutting cake beside a dessert table. With less surface, you can put your effort into one feature, such as a sugar flower topper or a lace wrap. Use a sturdy sponge, thin layers of filling and a smooth ganache coat. It travels in a single box on a flat car floor, which takes most of the stress out of delivery day.
When Fondant Cracks, Bulges or Sweats
Every fondant baker meets these problems sooner or later. Most of them can be fixed if you catch them early.
Cracks and wrinkled edges
Fondant rolled too thin, or left out too long before covering, cracks at the top edge. Knead in a small dab of vegetable shortening before rolling, cover promptly, and rub a fine crack gently with a warm palm until it closes.
Air bubbles
Prick the bubble at an angle with a fine pin and press the air out with a smoother. Leave it alone and it grows as the cake warms up.
A bulge around the middle
That’s filling or trapped air being squeezed out under the weight of the cover. Letting filled tiers settle overnight before the ganache goes on, and piping a stiff ring of buttercream around softer fillings, prevents most of it.
Sweating
A cold cake brought into a warm room collects beads of condensation. Don’t wipe them, which smears color and leaves marks. Leave the cake untouched in a cool room with some air moving and the surface will dry on its own.
Practice the Covering Twice Before the Real Cake
Fondant wedding cakes still make sense when you want sharp lines and decorations that hold their shape through a long reception. Match the design to your skill: a small cake, pearls or a white tier if you’re new, then lace, quilting, marble or draping once covering feels routine. Sugar flower cascades come last. Whatever you choose, rehearse the covering, trimming and stacking on a dummy or a test cake well before the wedding week.
You'll Like These Ideas:


Leave a Reply