
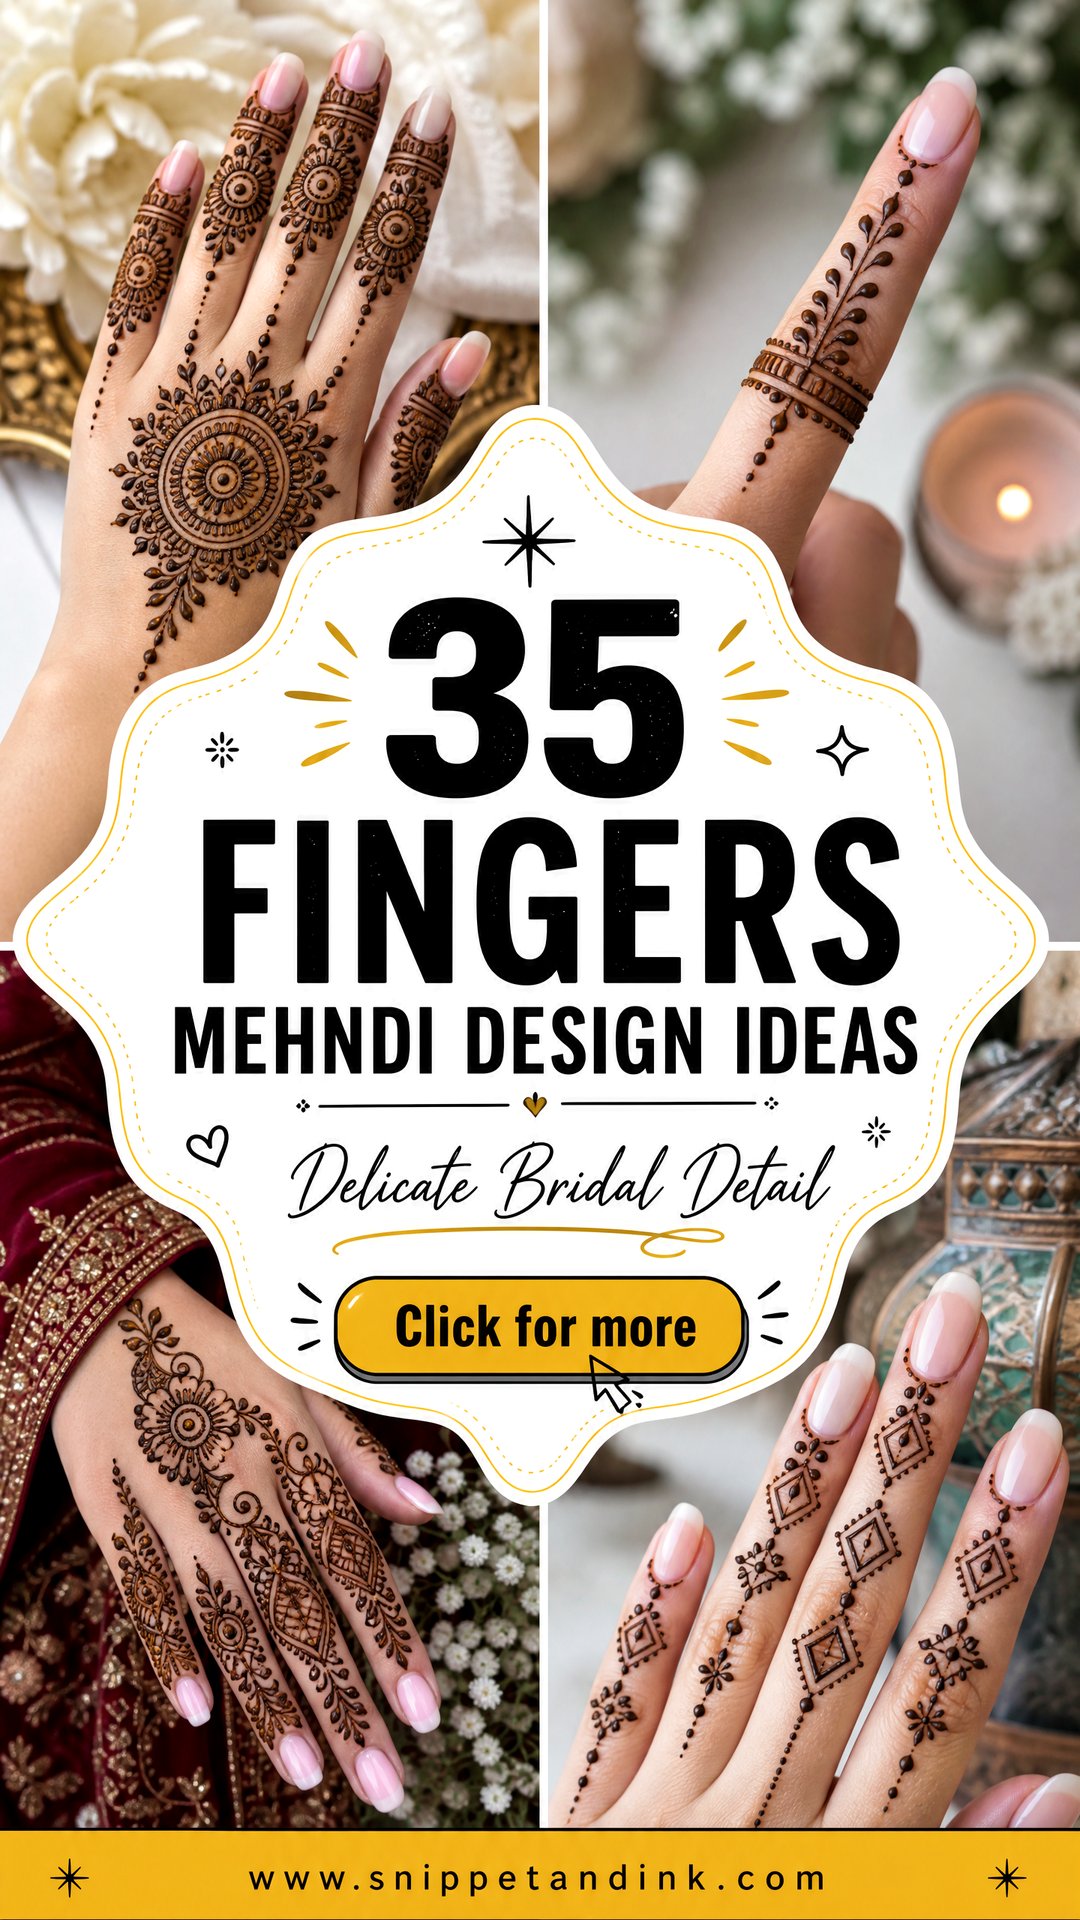
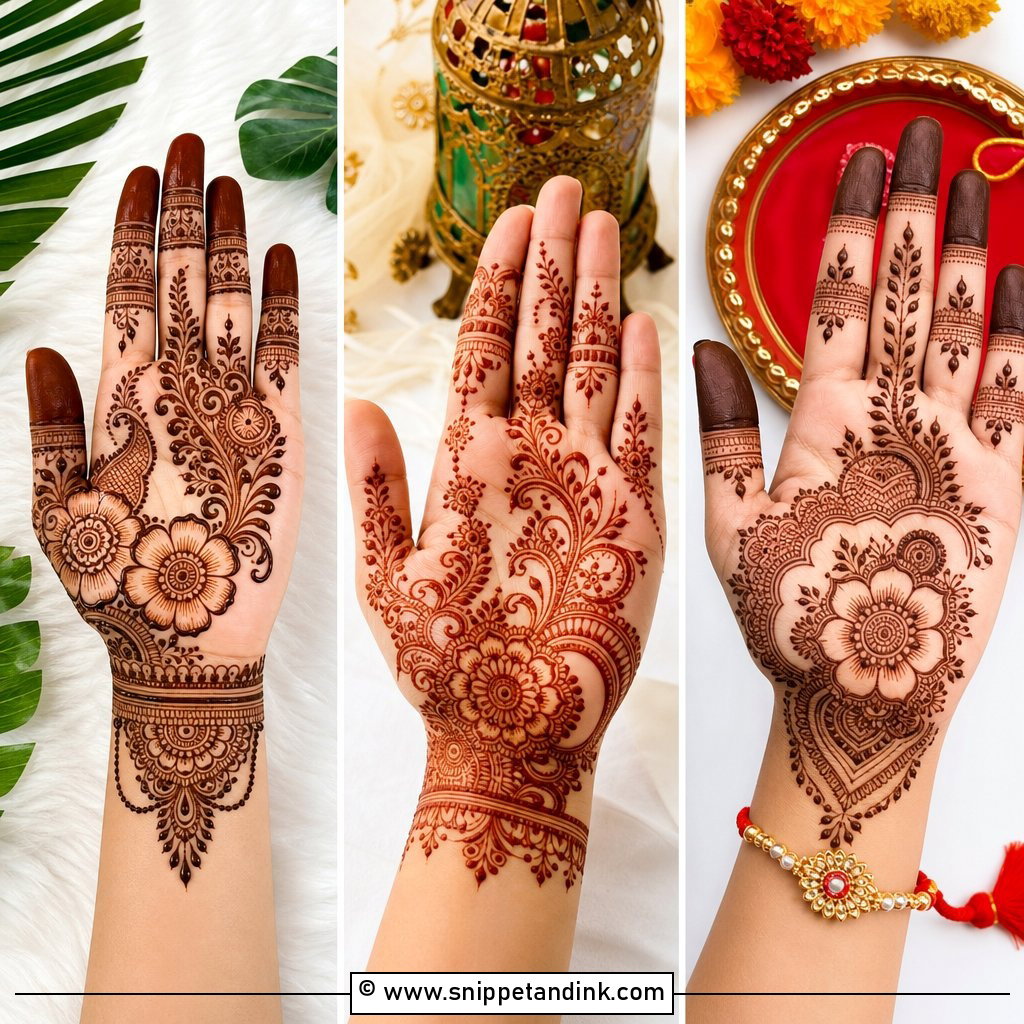
A lot of people who sit in my chair do not want a full palm. They want their fingers done well, with tips, knuckles, ring bands and maybe a line at the wrist, and they want to be able to eat dinner an hour later. Finger-focused henna can be as plain or as traditional as you like, and because fingers move constantly, it shows off a pattern in a way a still palm never does. Below you’ll find Arabic trails, Indian jaali, ring patterns and more, with notes on what each layout asks of your hands and how I draw it.
Mixing Paste and Rolling a Cone for Practice at Home
Several designs below are simple enough to try yourself, and the paste matters more than your hand. Here is how I’d set up a first attempt.
- Buy fresh, body-art-quality henna powder. It should be green and smell of hay or grass; brown, dusty powder has lost its dye.
- Sift it, then mix with strained lemon juice or water and a little sugar until it’s about as thick as toothpaste. Sugar helps it stick and stay flexible.
- Cover it and leave it somewhere warm for several hours so the dye releases. Dab a little on your palm; if it leaves an orange mark within a minute or so, it’s ready.
- Roll a cone from cellophane or mylar, fill it no more than two-thirds, and snip only the tiniest tip. You can always cut more.
- Practice ring bands and dots on paper before your skin. Steady pressure matters more than speed.
Cones you don’t use can go in the freezer and keep well for weeks. Thaw one at room temperature before you start, and knead it gently so the paste flows evenly again.
1. Simple Fingers Mehndi Design
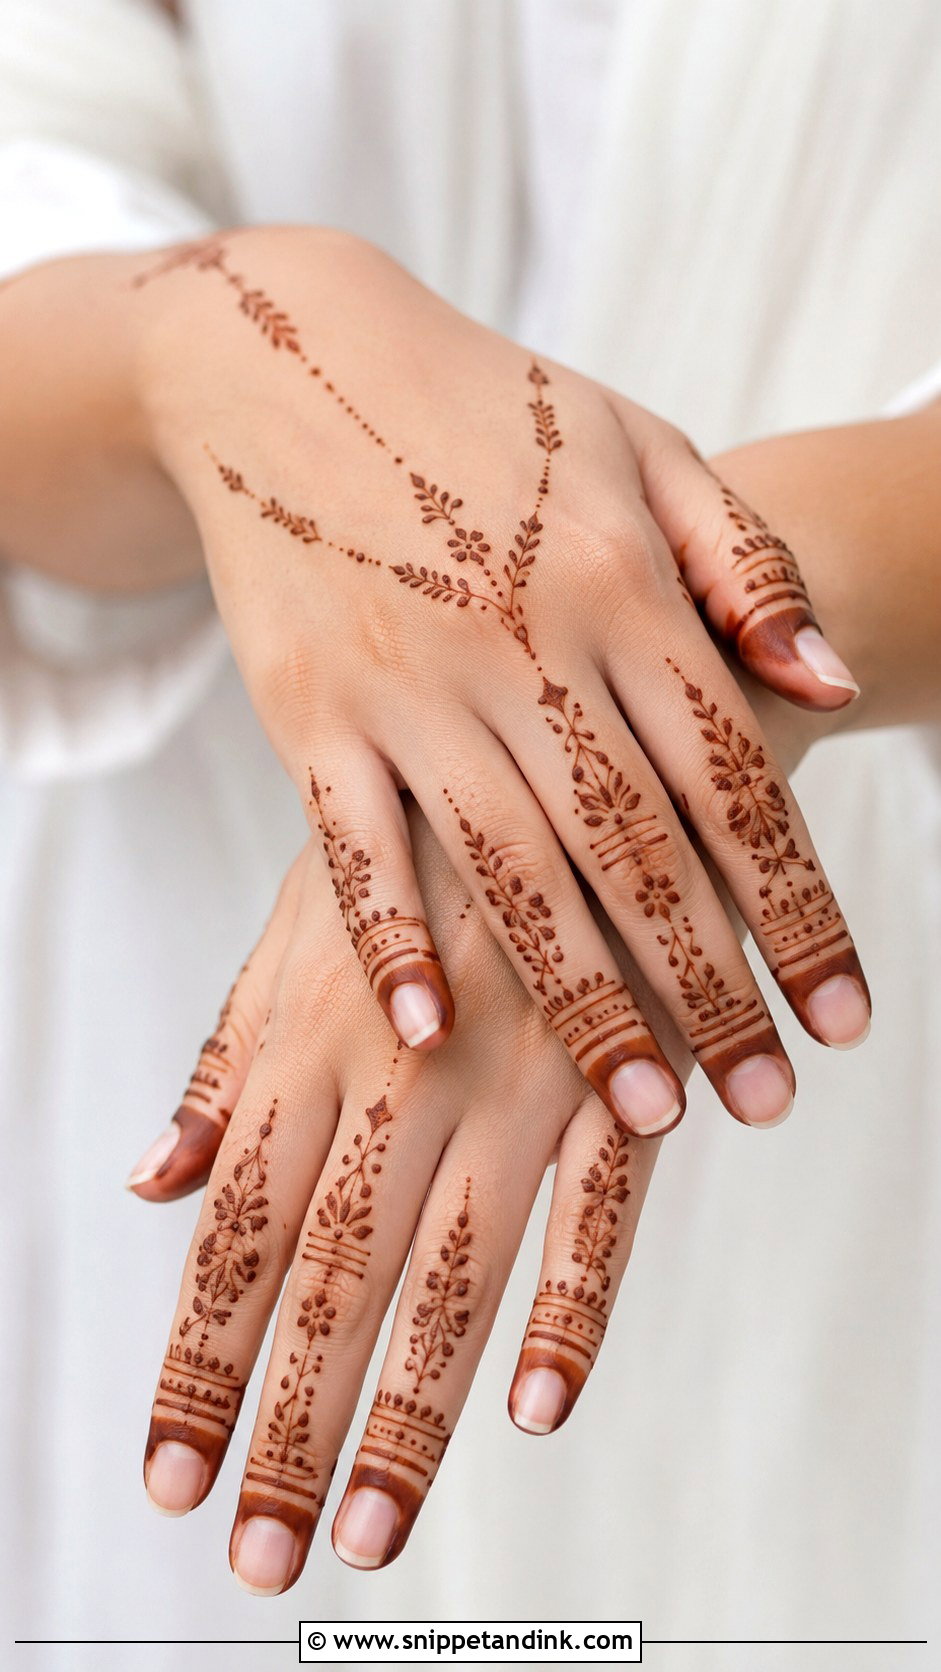
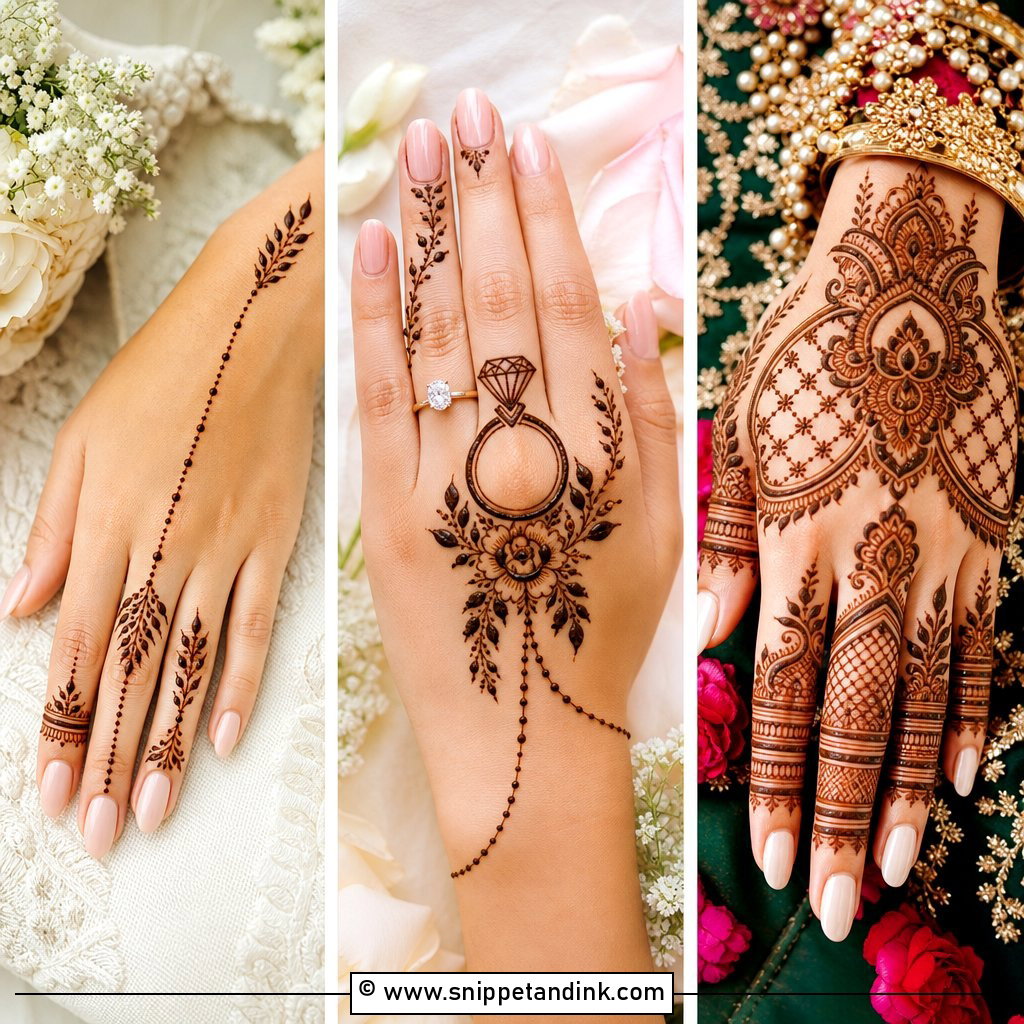
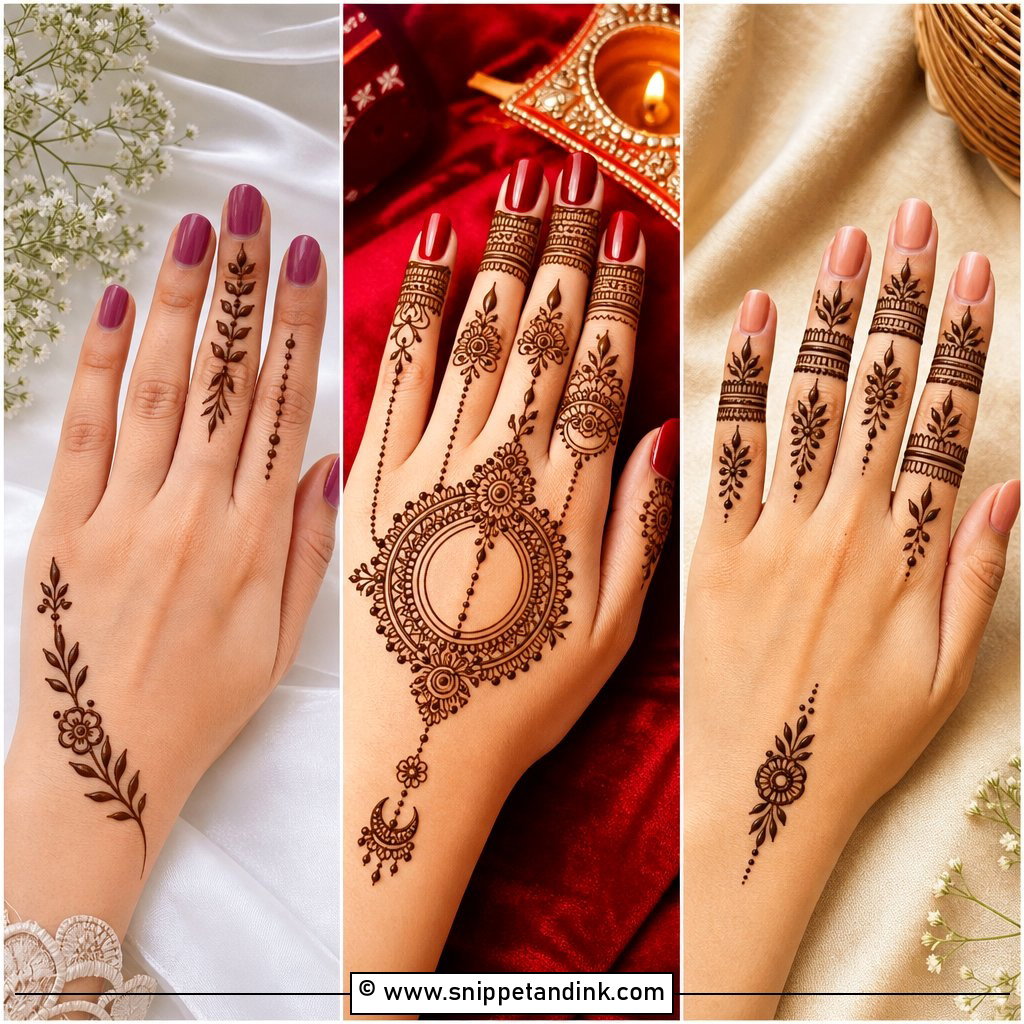
Thin lines, dots, tiny leaves and small floral accents on each finger, the palm left almost empty. Tips can be lightly filled or open. Nothing here needs dense shading, so it dries fast and suits a first-timer. My one addition is a slightly larger motif near the base of the index or ring finger, so the eye has somewhere to land.
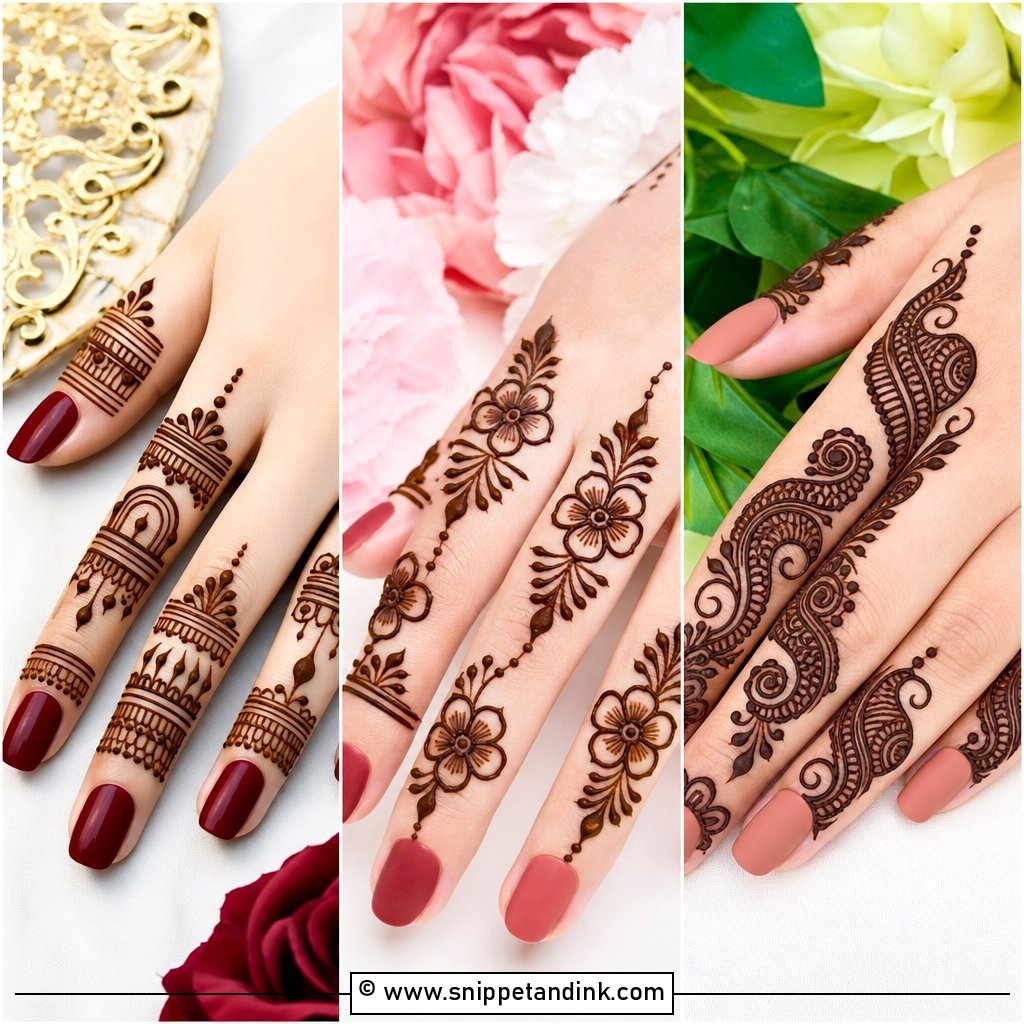
2. Arabic Fingers Mehndi Design
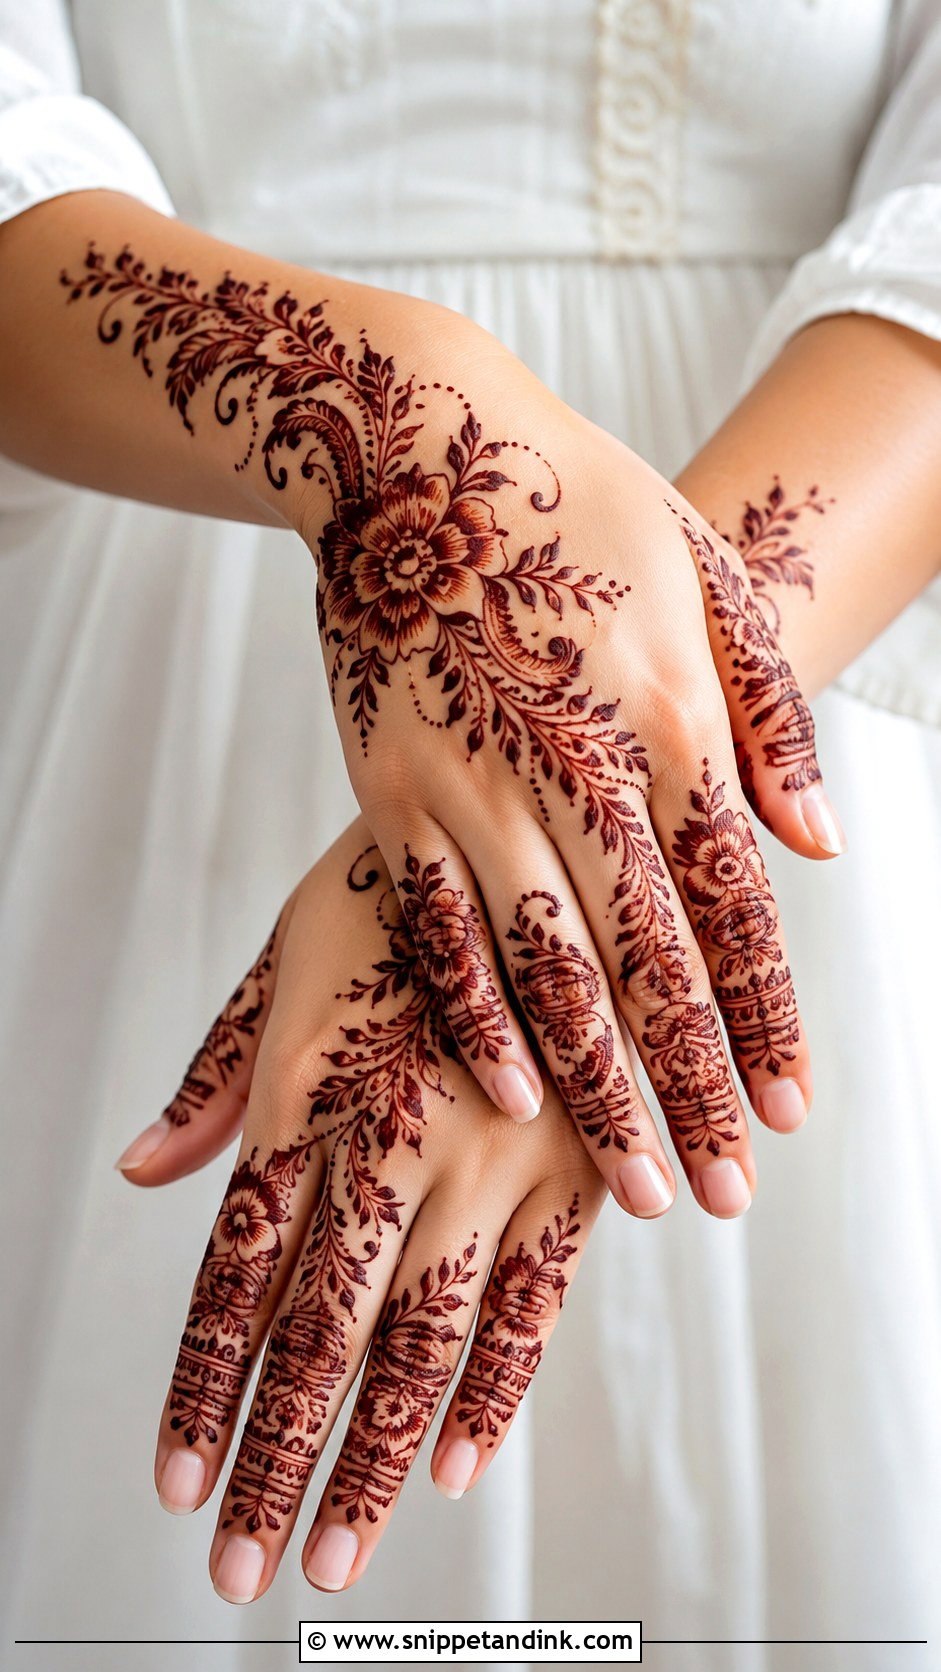
Arabic work starts at the fingertip and flows toward the knuckles in curved vines, leafy strokes and larger flowers, with gaps that let each shape breathe. The palm can stay bare, or the fingers can feed into a small trail on the back of the hand. What gives it that Arabic look is line contrast. I pipe the outlines thick and keep the inner details fine; when the two weights are the same, it reads as an ordinary floral.
3. Back Hand Fingers Mehndi Design
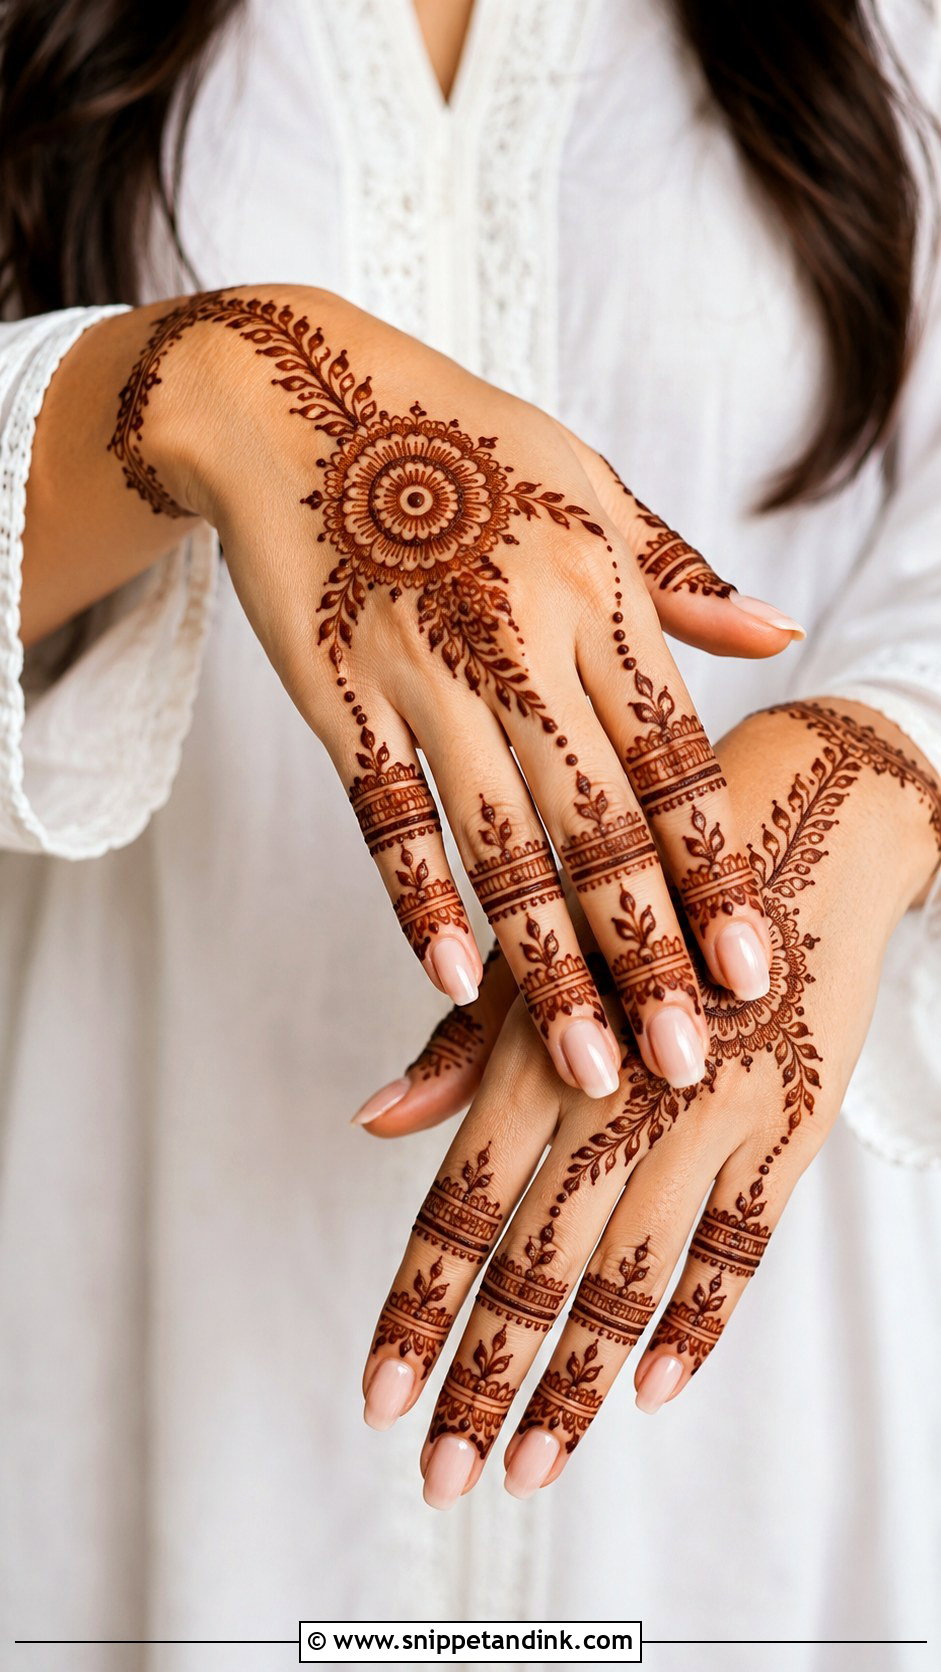
You see the back of your fingers every time you hold a clutch or adjust a bangle, so this is the placement guests notice. Coordinated bands, leafy vines and small mandalas near the knuckles, with the middle of the hand open or joined to the wrist by a slim connector. I balance it like a see-saw. Heavy fingers get a simple hand; minimal fingers can take a soft central motif.
4. Front Hand Fingers Mehndi Design
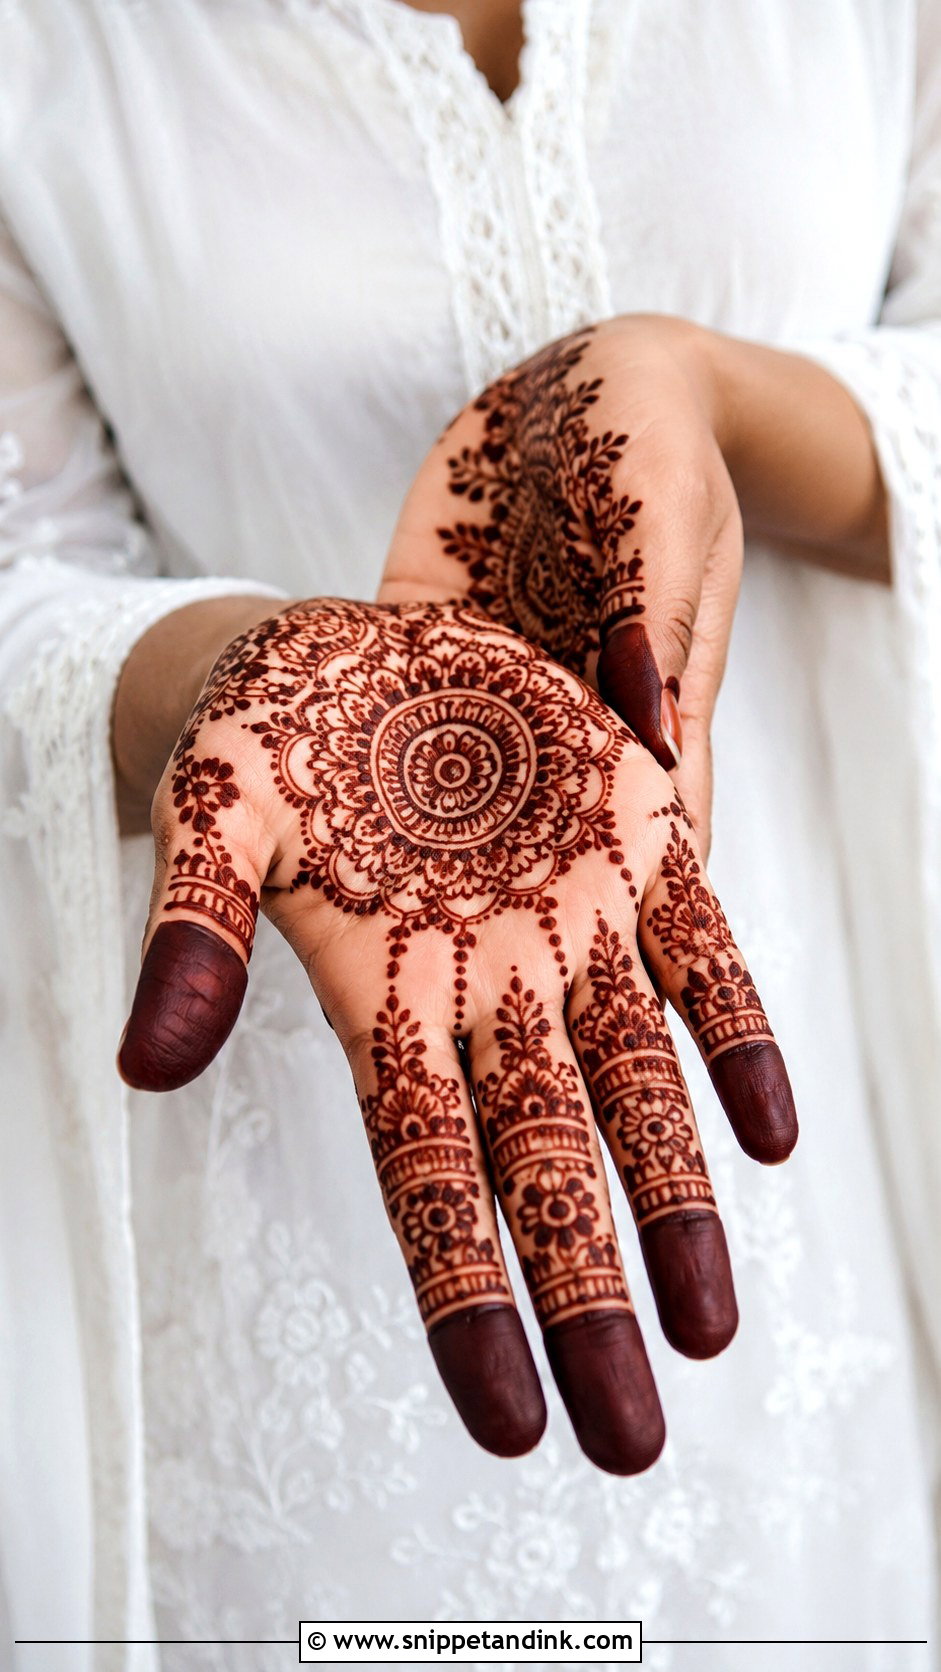
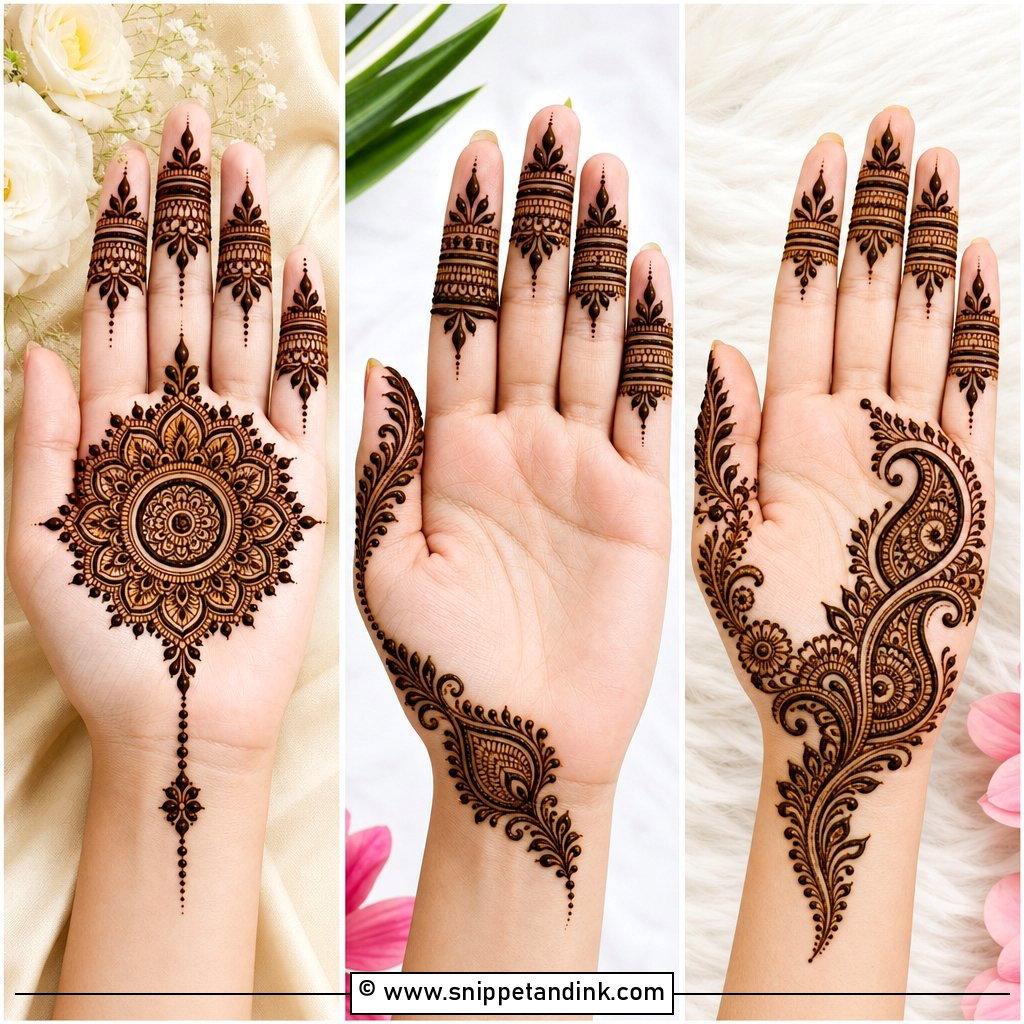
The palm side is where henna stains deepest, which makes front-hand finger designs come up rich even when the linework is light. Fingertip filling, small dotted chains, half-flowers and fine lines run down each finger, with a little mandala or floral patch at the base and the rest of the palm airy. It’s my standard suggestion for a pre-wedding event where the bride wants visible color without the full sitting.
5. Bridal Fingers Mehndi Design
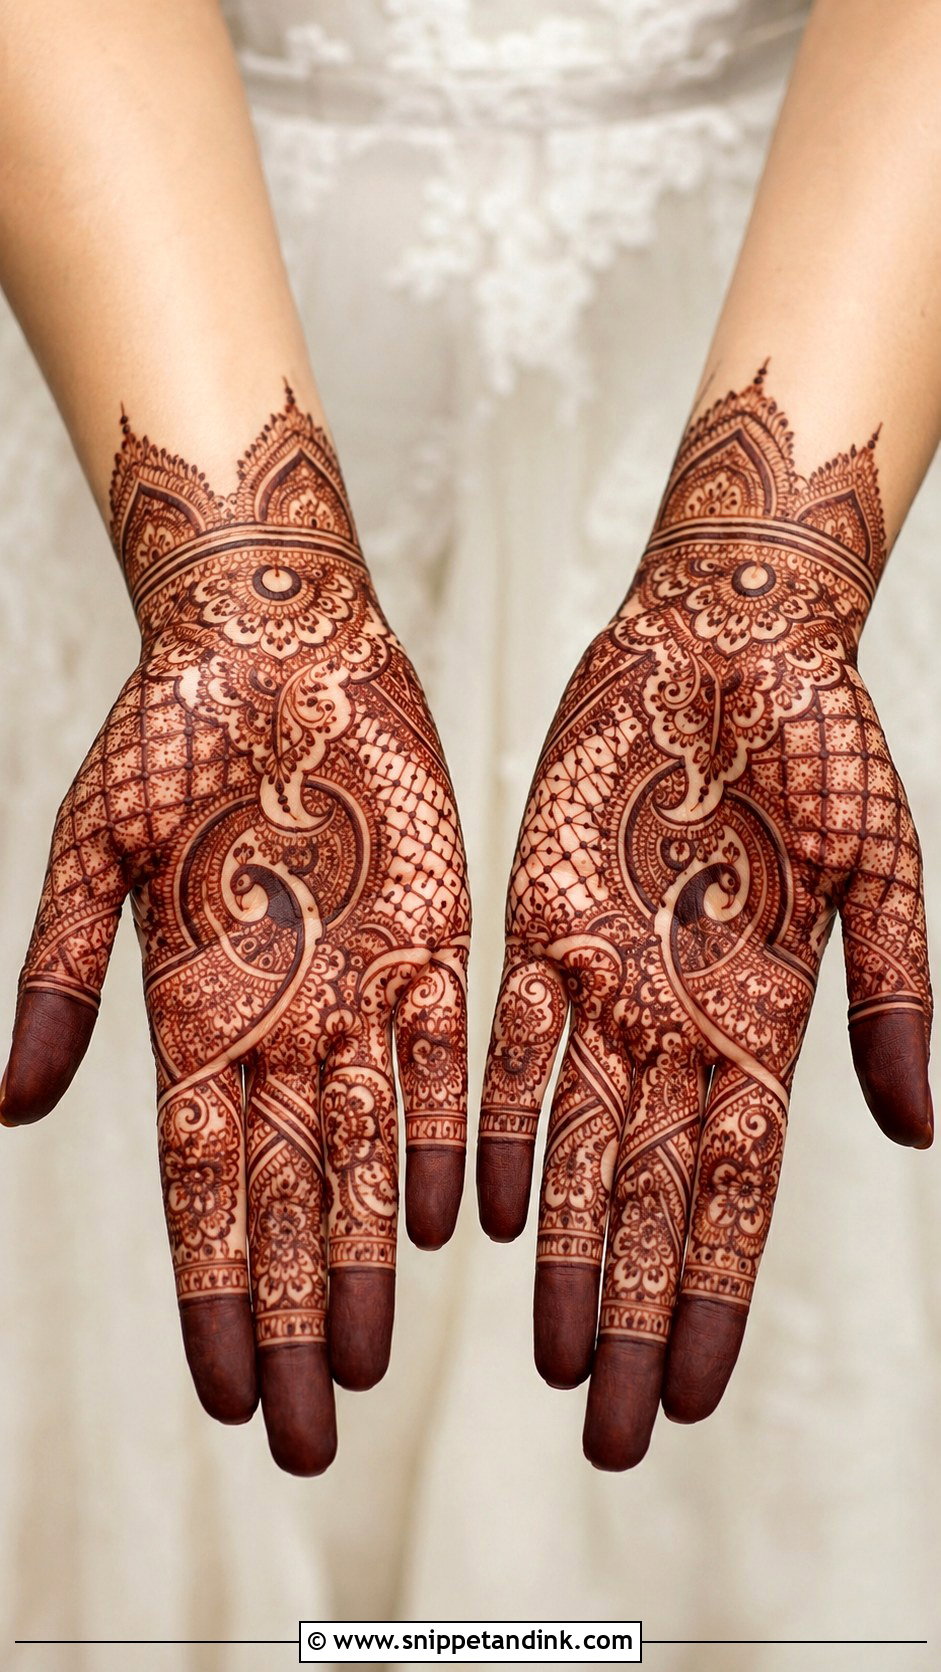
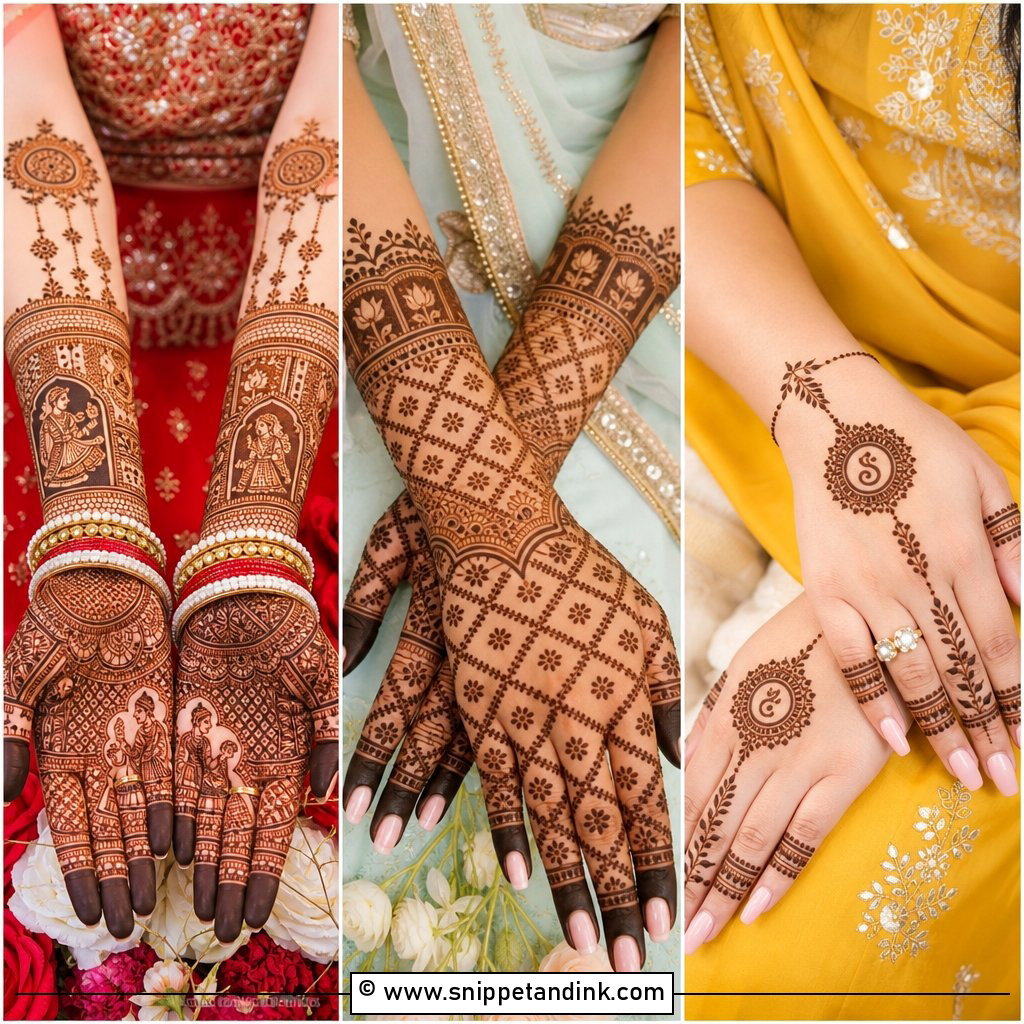
For a bride, finger work should still feel connected to the rest of her mehndi. I can fit peacock curves, paisley tips, tiny jaali panels, ring bands and lace filling onto the fingers alone, with dark tips for contrast against the fine lines below. Initials or small symbols can go in, but I place them where they won’t crowd the joints. This suits engagement brides and anyone who wants detailed hands with lighter coverage than a traditional full-hand design.
6. Minimal Fingers Mehndi Design
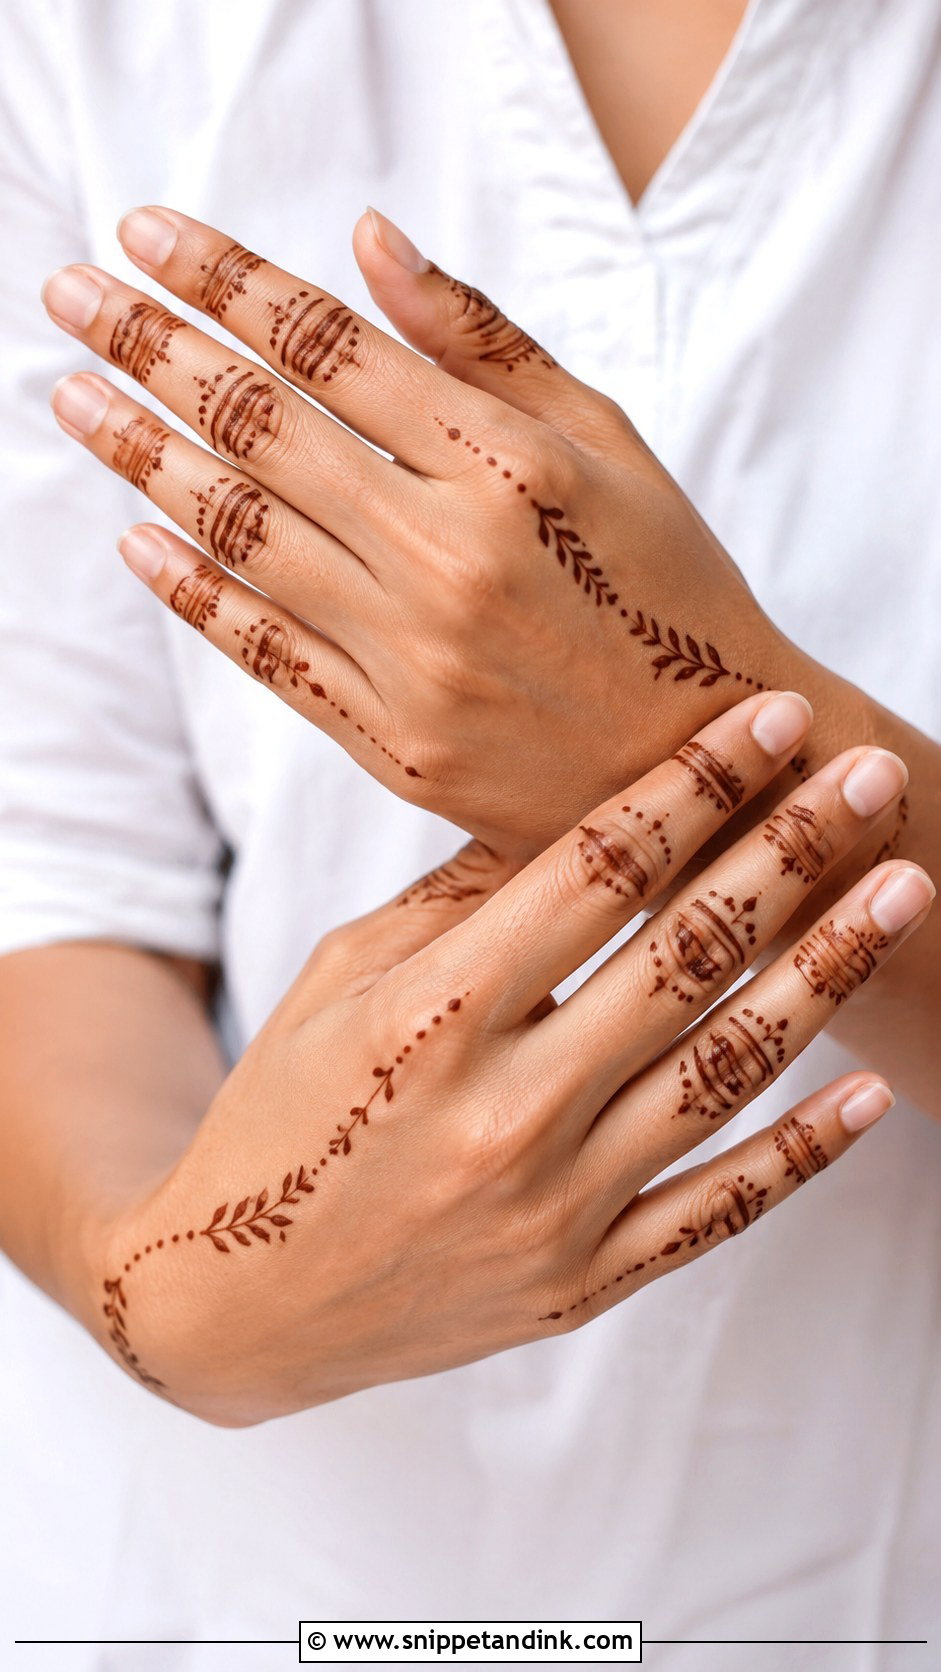
Thin strokes, tiny dots, small leaves and lots of bare skin. Decorate two or three fingers per hand, or put matching ring bands on all of them; tips can stay bare or get a small crescent. If you dislike the sticky, heavy feel of a lot of paste, this is the style for you. Every line has to be crisp, because a minimal design with a shaky line just looks unfinished.
7. Full Fingers Mehndi Design
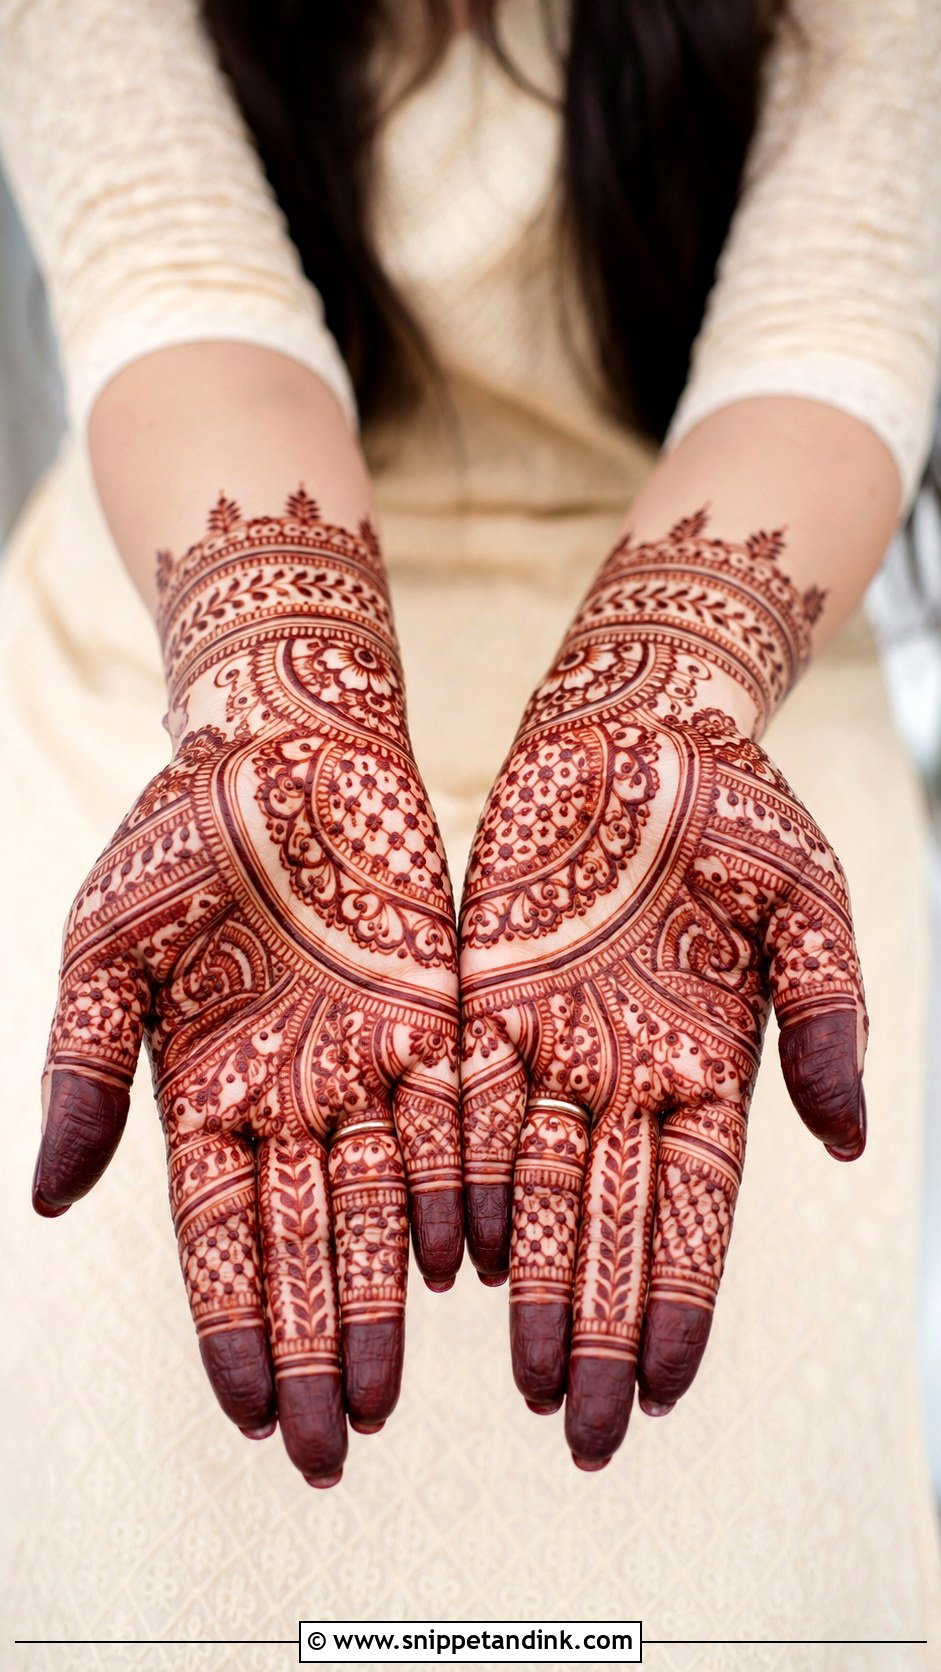
Every finger covered from tip to base, palm left clean. To keep it from looking crowded, I give each finger its own section, perhaps jaali on one, leafy bands on the next and floral filling on another, but hold the spacing the same across all of them. It shows off long fingers best. On short fingers I’d rather do half-finger coverage than squeeze full motifs into a small space.
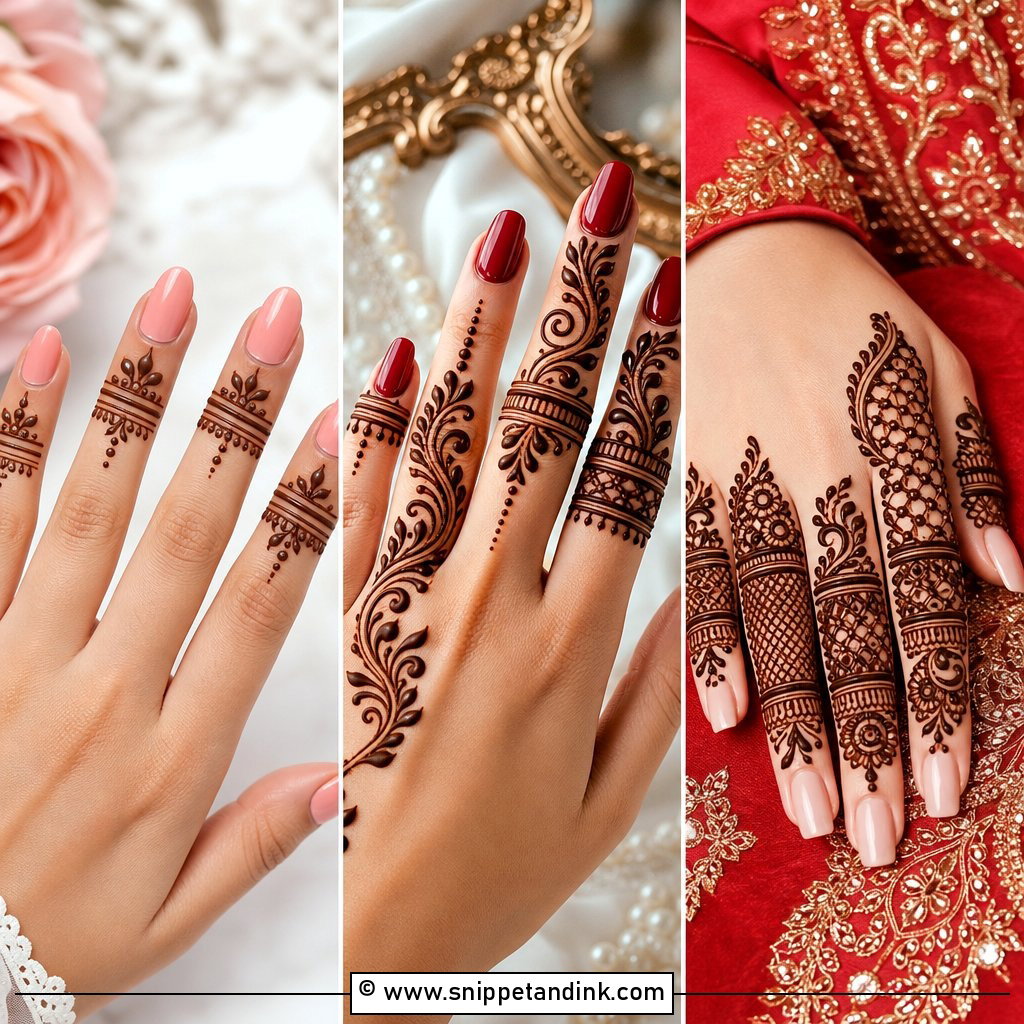
8. Ring Fingers Mehndi Design
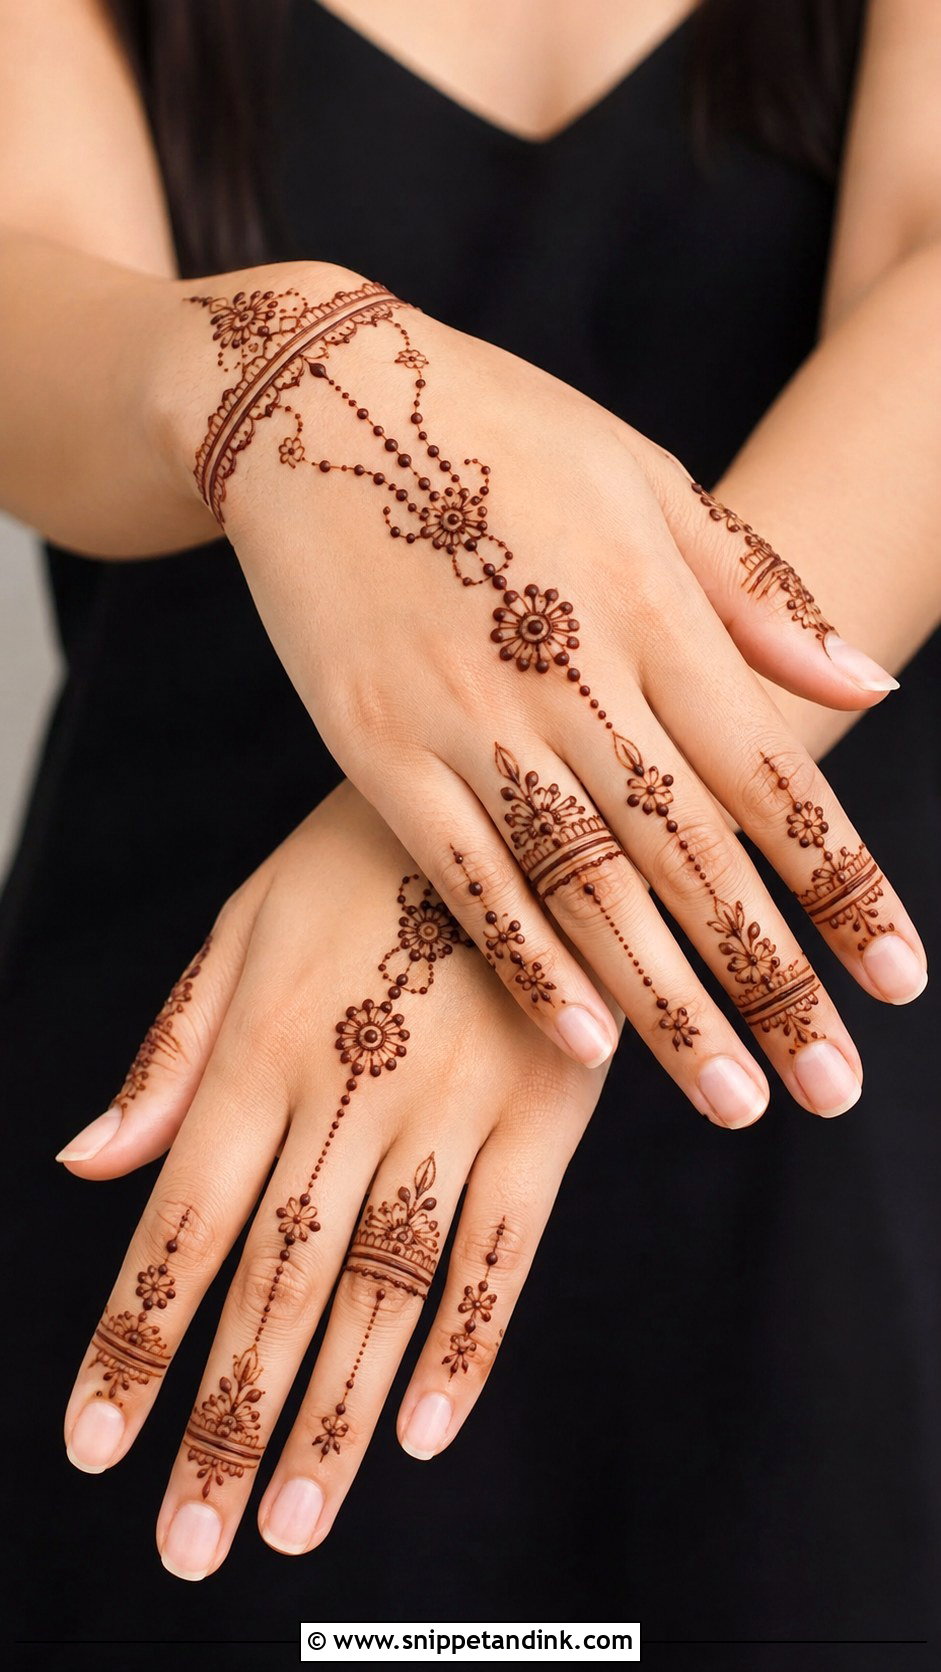
Ring fingers mehndi design draws jewelry in henna: bands around one or more fingers, linked by chains, dots, leaves or small florals, often with a bracelet on the back of the hand. One statement band looks clean, and stacked rings on every finger look decorative. Bands visually mark out each finger, which is why this layout flatters most hand shapes. I place them between joints, never on the crease, so they don’t crack when you make a fist.
9. Jewellery Fingers Mehndi Design
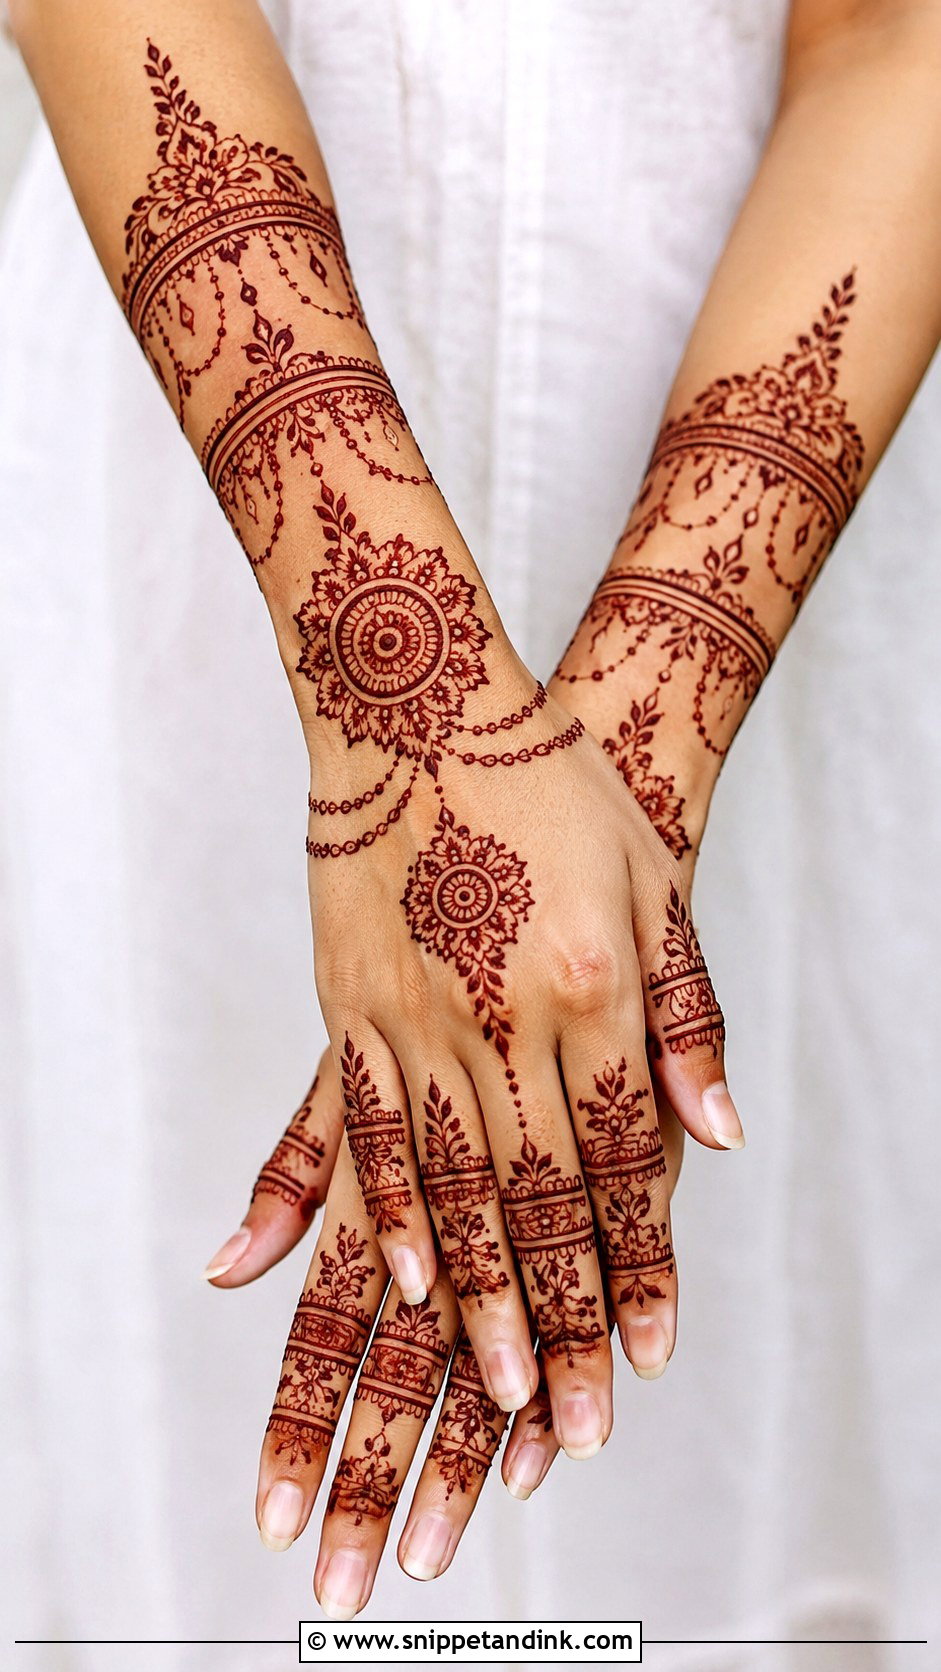
This is the haath phool done in henna: thin rings around each finger joined by dotted chains to a central flower or mandala on the back of the hand, with a bracelet detail at the wrist. It dresses the hand without a single piece of real jewelry. The structure has to be symmetrical and the chains evenly spaced, so I mark the center point on the back of the hand before drawing any chain toward it.
10. Mandala Fingers Mehndi Design
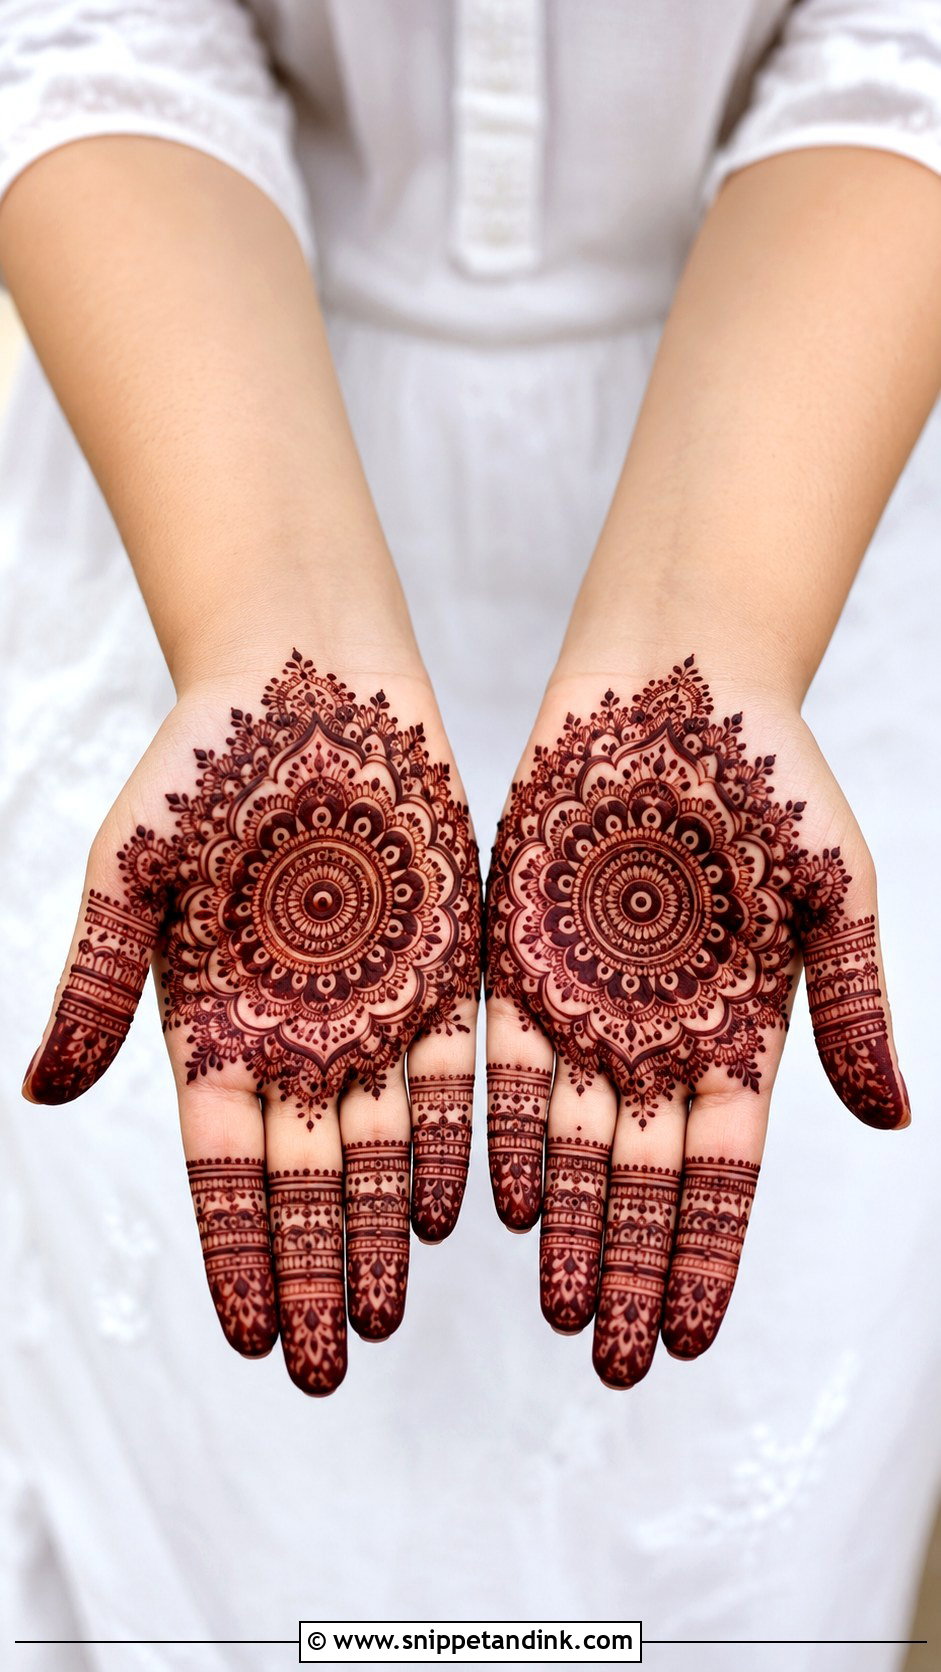
A mandala at the base of the fingers, in the palm or on the back of the hand, with petal bands, dots and lines on each finger. A small mandala with space around it reads modern; a filled one with detailed fingers reads festive, which suits Diwali, Eid and Raksha Bandhan. The trick I use to make it look planned is borrowing the mandala’s petal shape and repeating it on the fingers.
11. Floral Fingers Mehndi Design
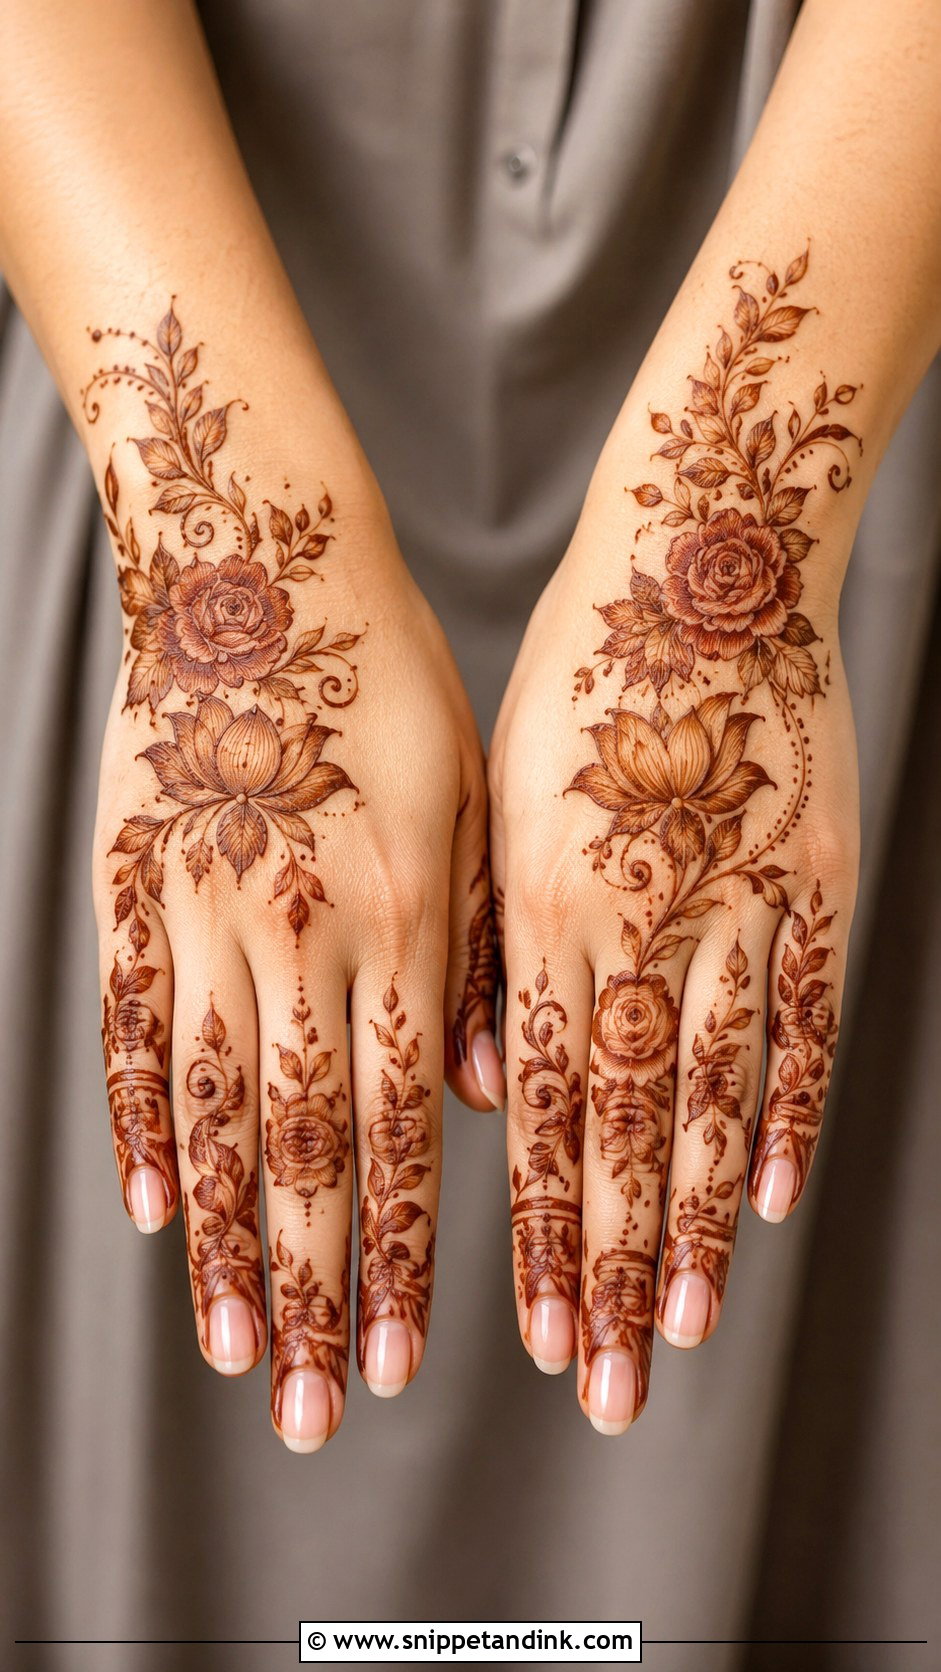
Small roses, lotus petals, daisies, stems and curling vines. A floral cluster near the knuckles with vines reaching up toward the tips is the layout I come back to. Arabic florals read bold, and Indian ones read intricate. Flowers can be scaled to any finger length, which is why I recommend them when someone can’t decide. Shade a few petals for depth instead of filling everything.
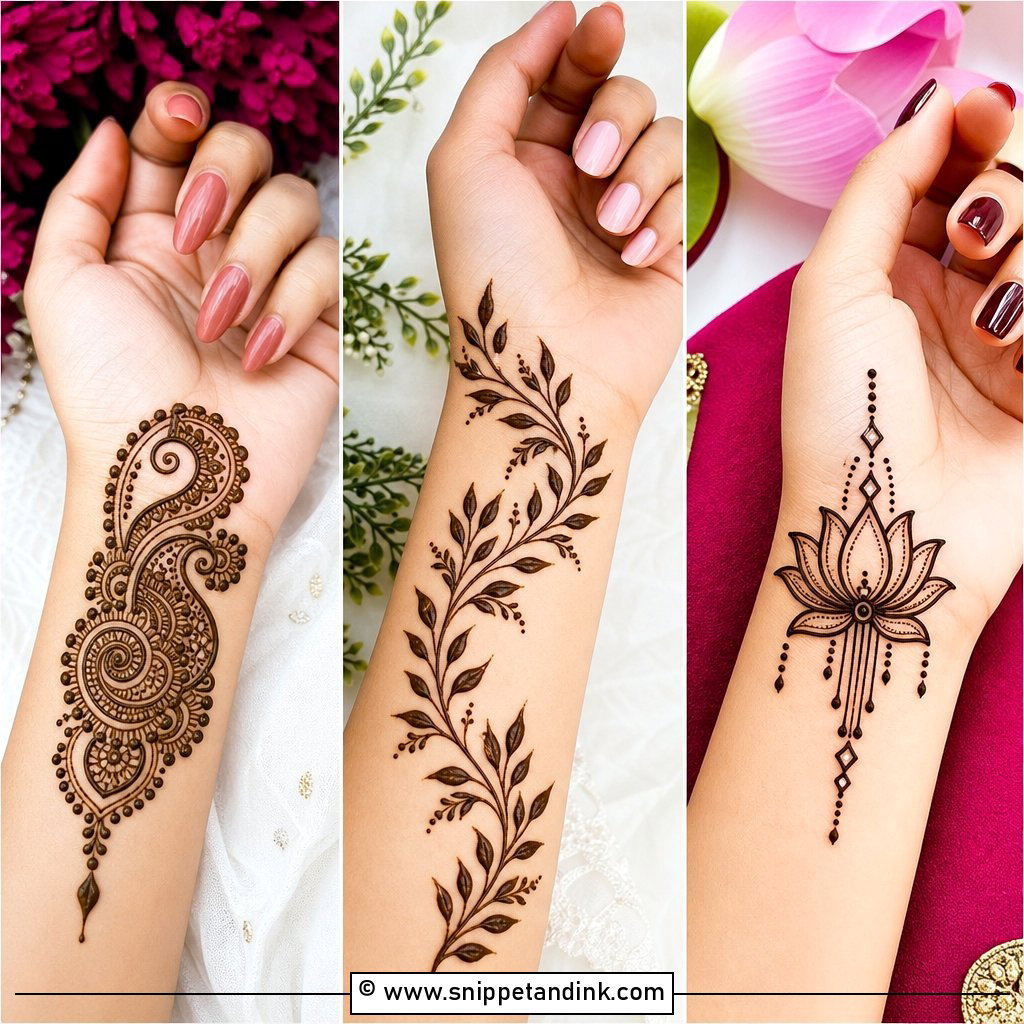
12. Leaf Fingers Mehndi Design
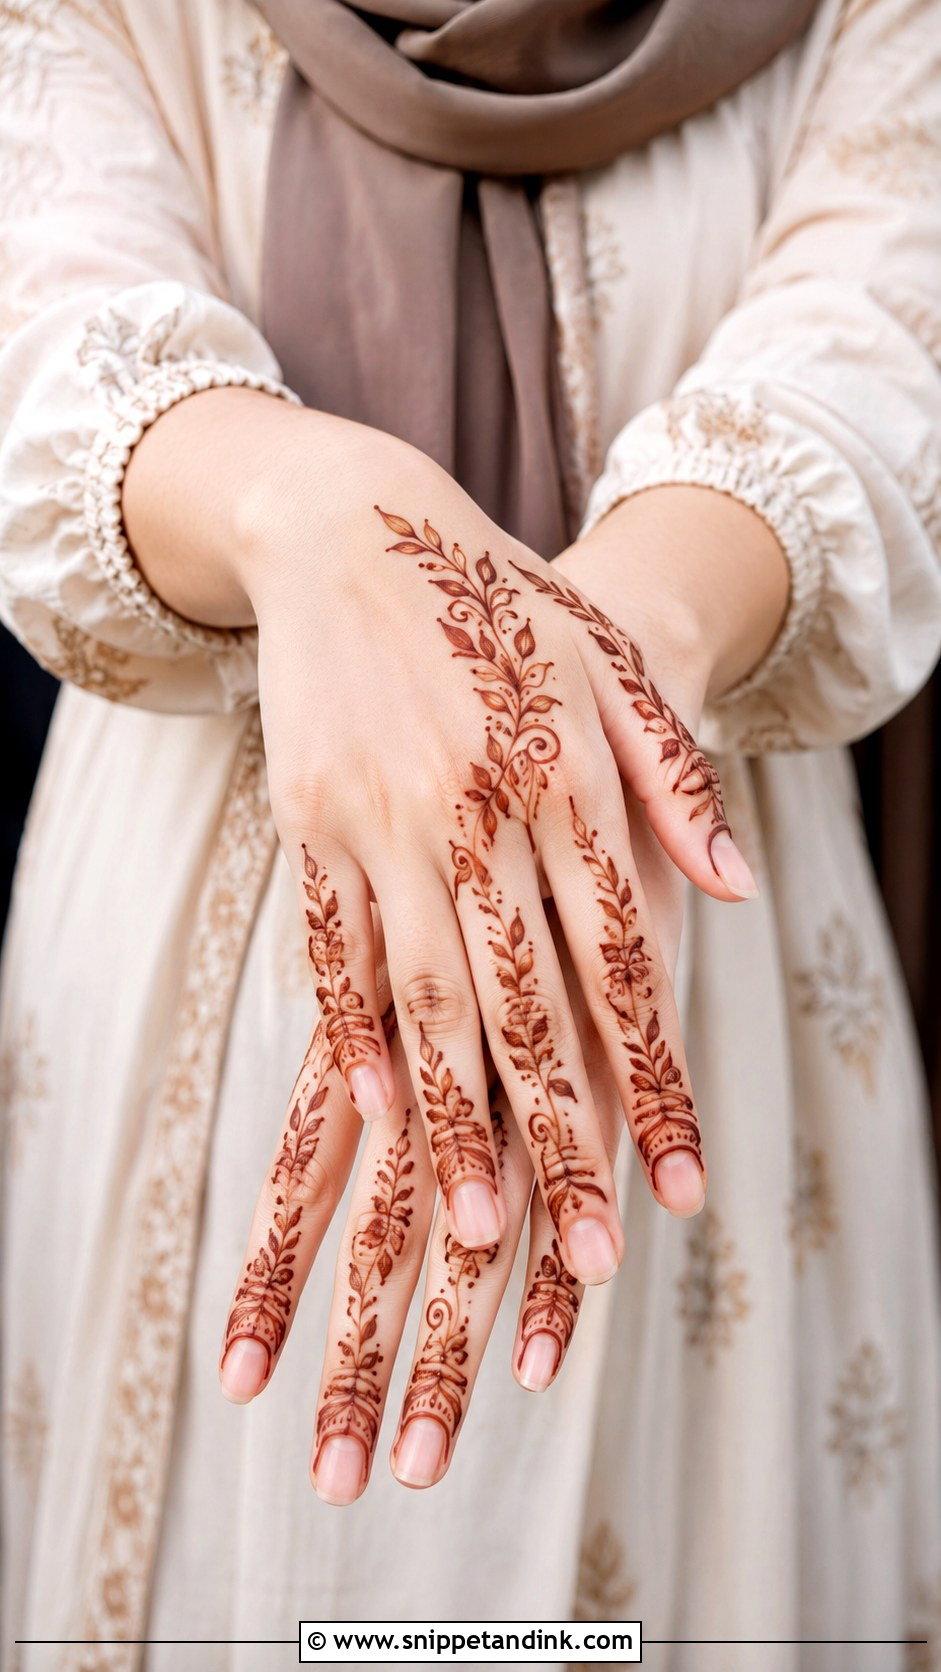
Leafy vines from fingertip to knuckle, with dots and thin curves in the gaps, or a diagonal leafy trail across the back of the hand for an Arabic feel. Leaves are the shape I teach beginners first because a slightly lopsided leaf still looks like a leaf. The thing that separates neat from messy here is leaf size: keep them consistent, and don’t fill the space between the fingers.
13. Paisley Fingers Mehndi Design
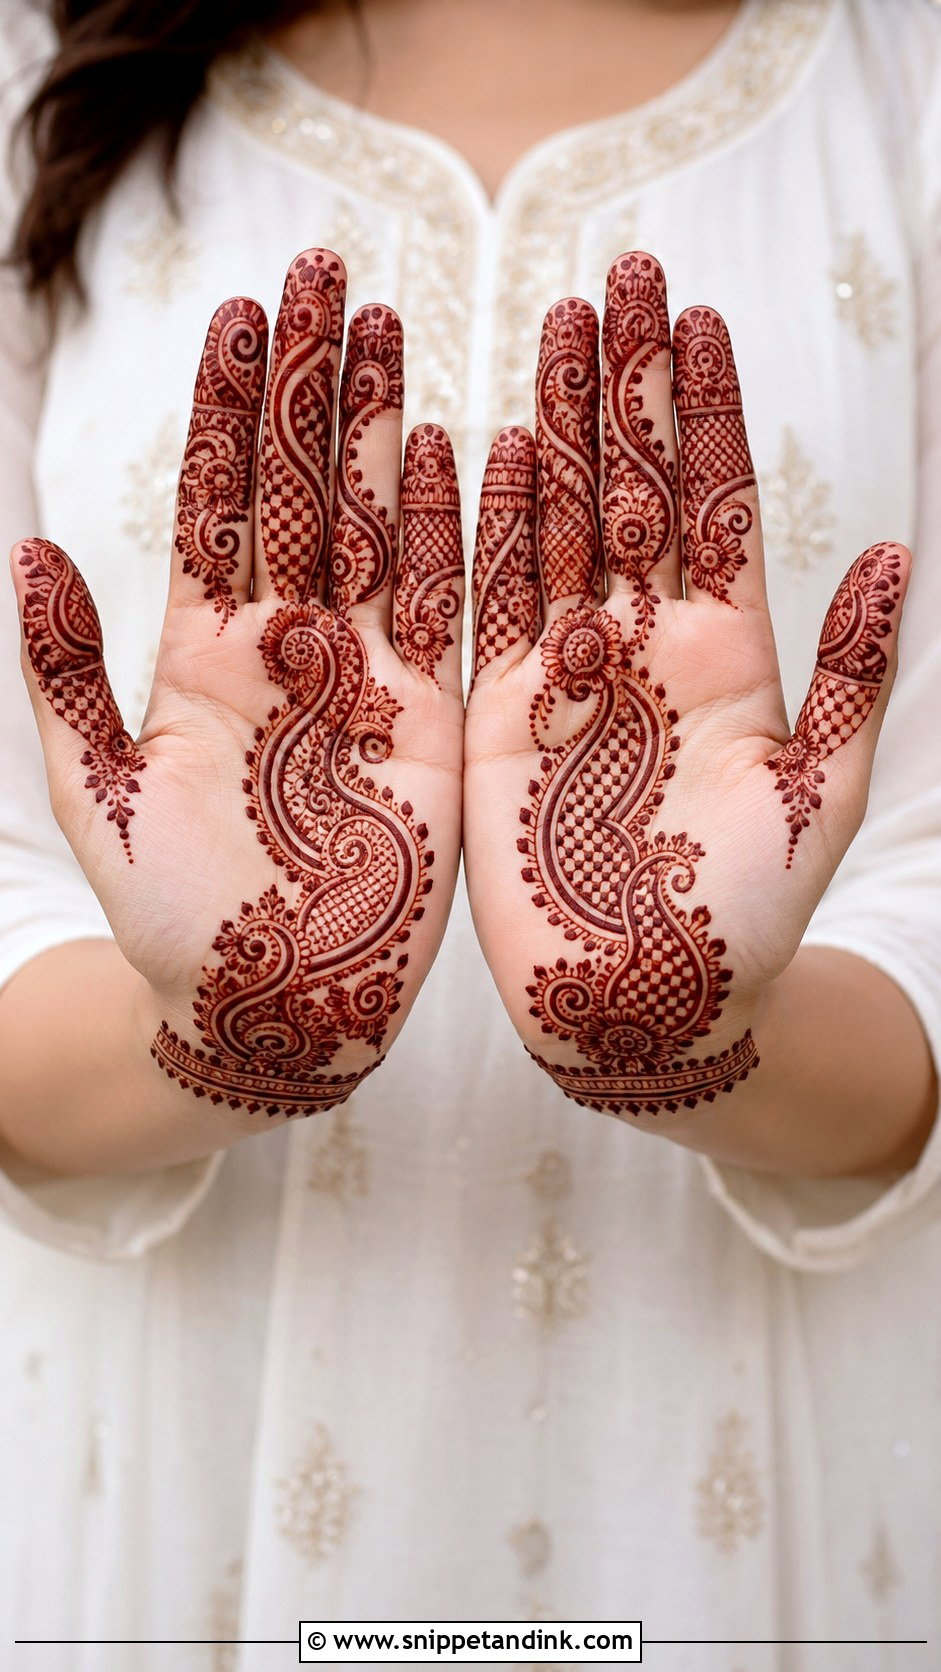
Paisleys fit at the tips, along the sides of the fingers or at the base where finger meets palm, each filled with tiny flowers, dots, curves or mesh. Paired with a small mandala or wrist border, they make a complete hand without full coverage. On narrow fingers I draw them slim and elongated. A fat paisley on a thin finger looks bulky and loses its curve.
14. Jaali Fingers Mehndi Design
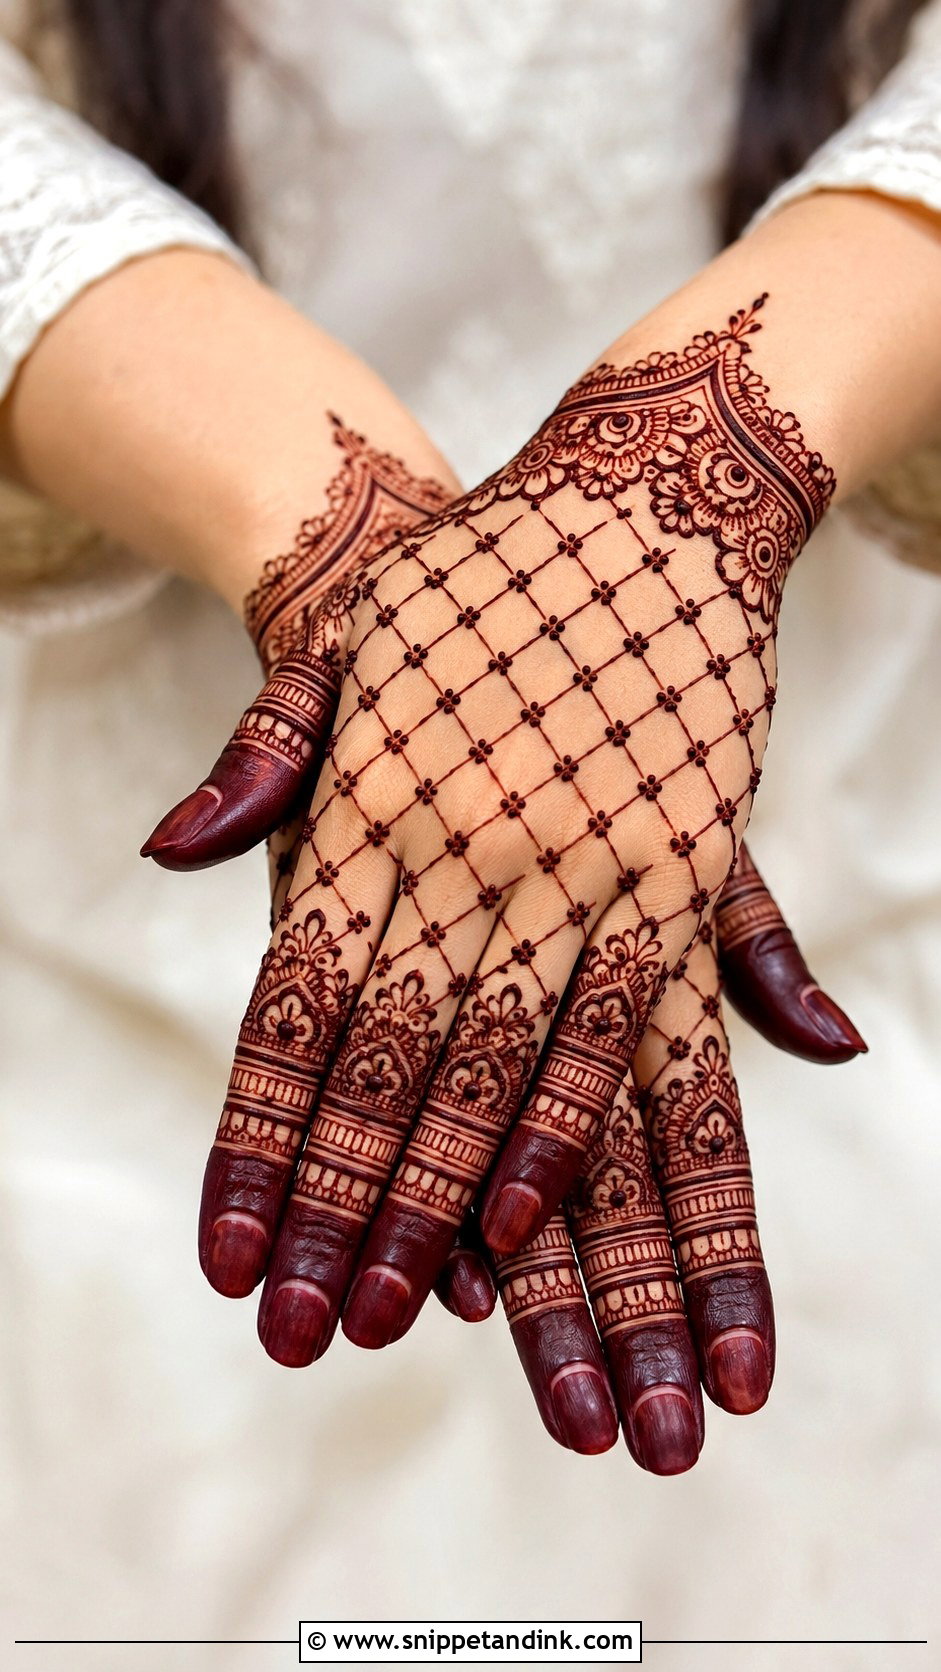
Crisscross lines, dots at each intersection, floral borders and dark tips for contrast give jaali its lace texture, front or back. Use it on every finger for a bridal feel or on two with simple bands on the rest. Grid spacing is everything. I draw the grid lightly and evenly first, and keep it a little wider than looks right, since lines thicken slightly as the paste settles and a tight mesh can fill in.
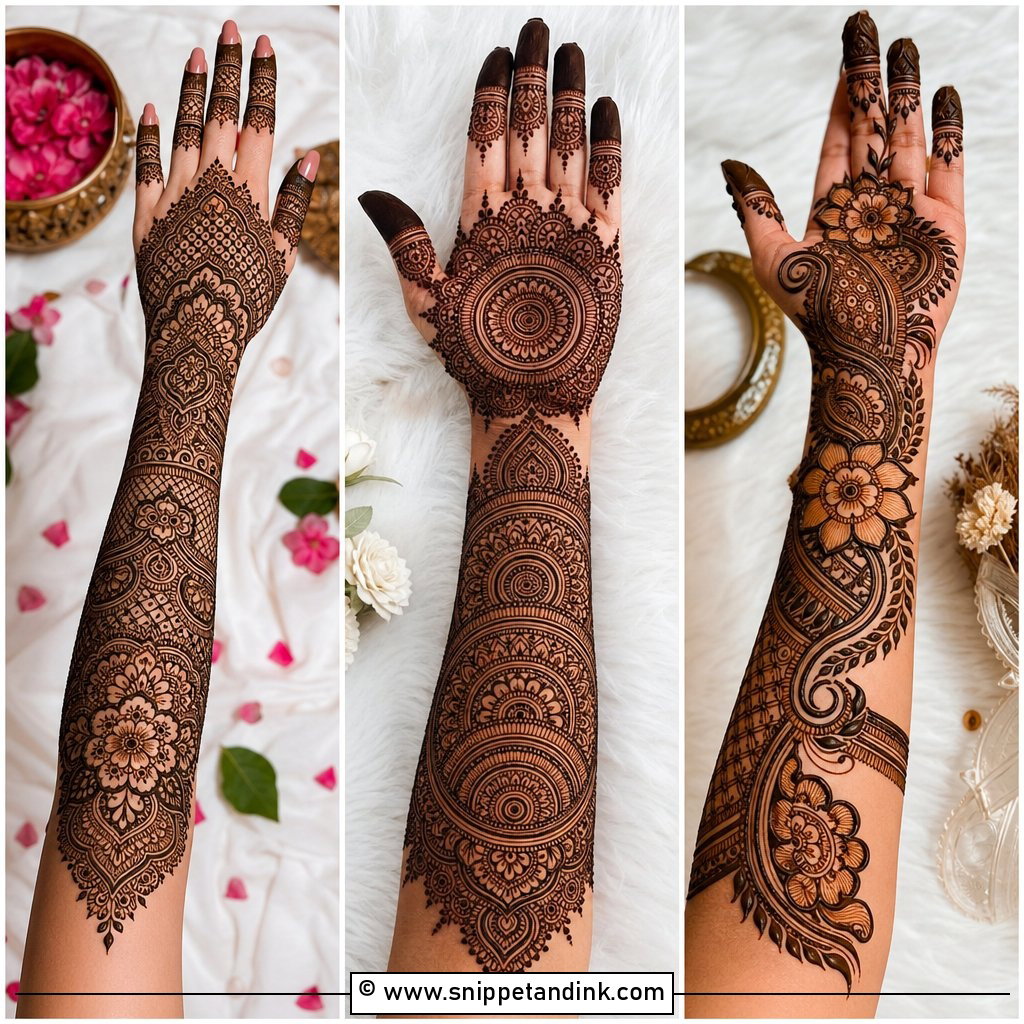
15. Geometric Fingers Mehndi Design
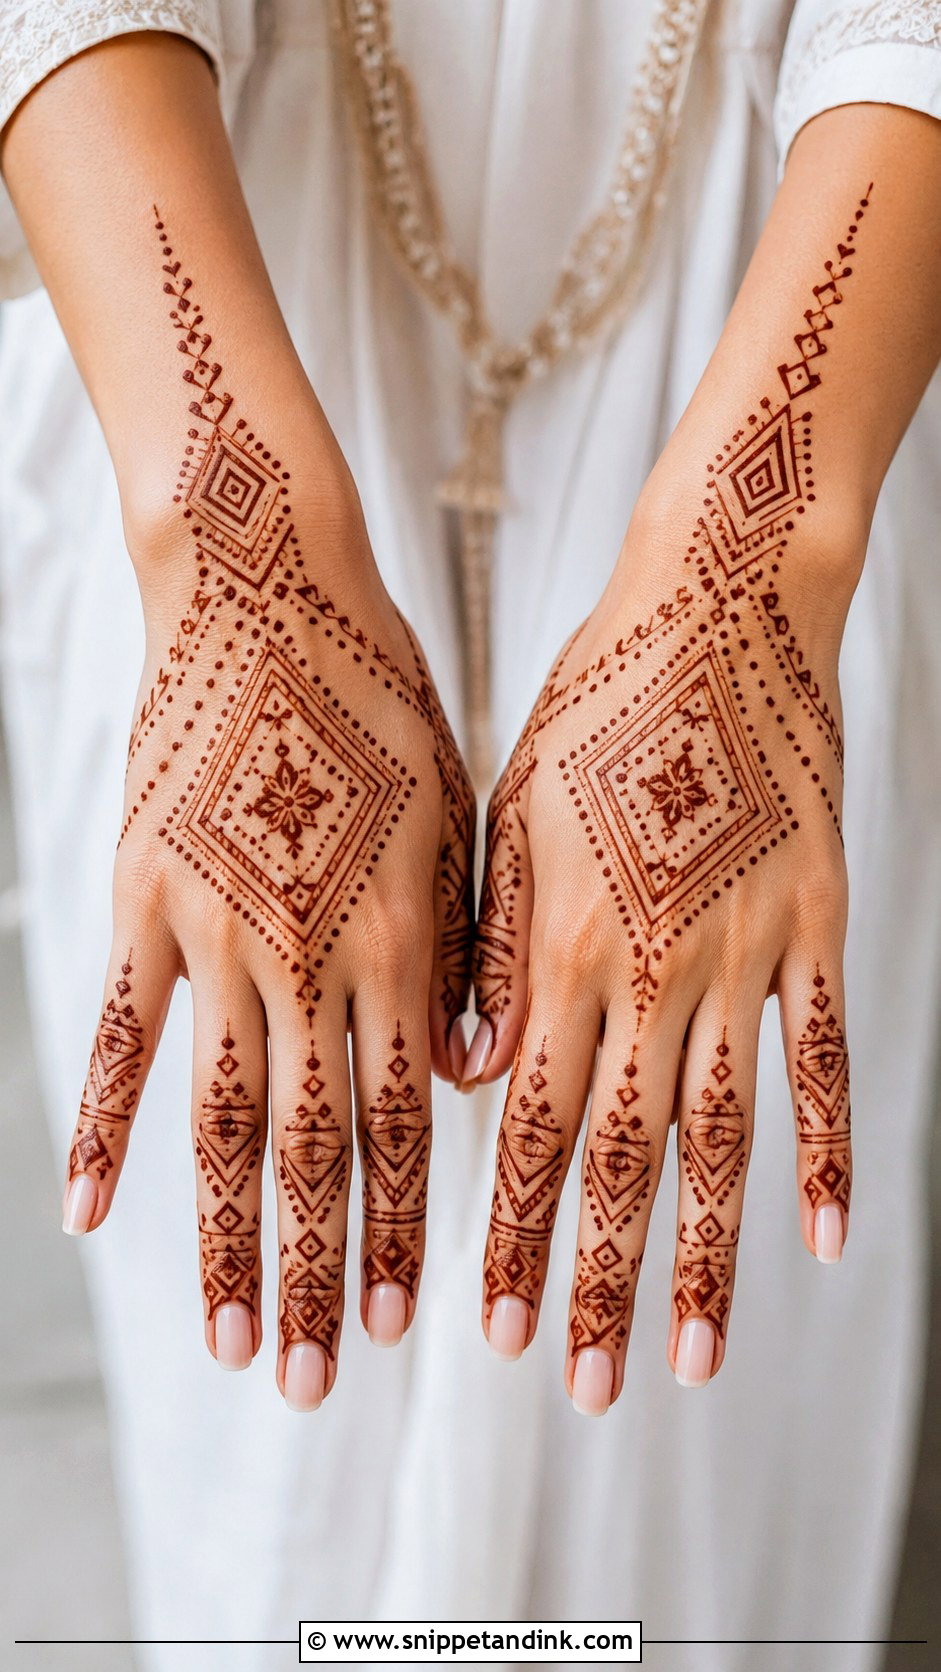
Triangles, diamonds, chevrons, squares, straight lines and dotted borders, with a small diamond motif on the back of the hand or palm to finish. It suits contemporary and Indo-western outfits. Straight lines on a rounded finger are harder than they look, and a crooked one is obvious in a geometric layout. If your fingers are short, favor vertical lines and slim shapes; horizontal blocks will shorten them.
16. One Finger Mehndi Design
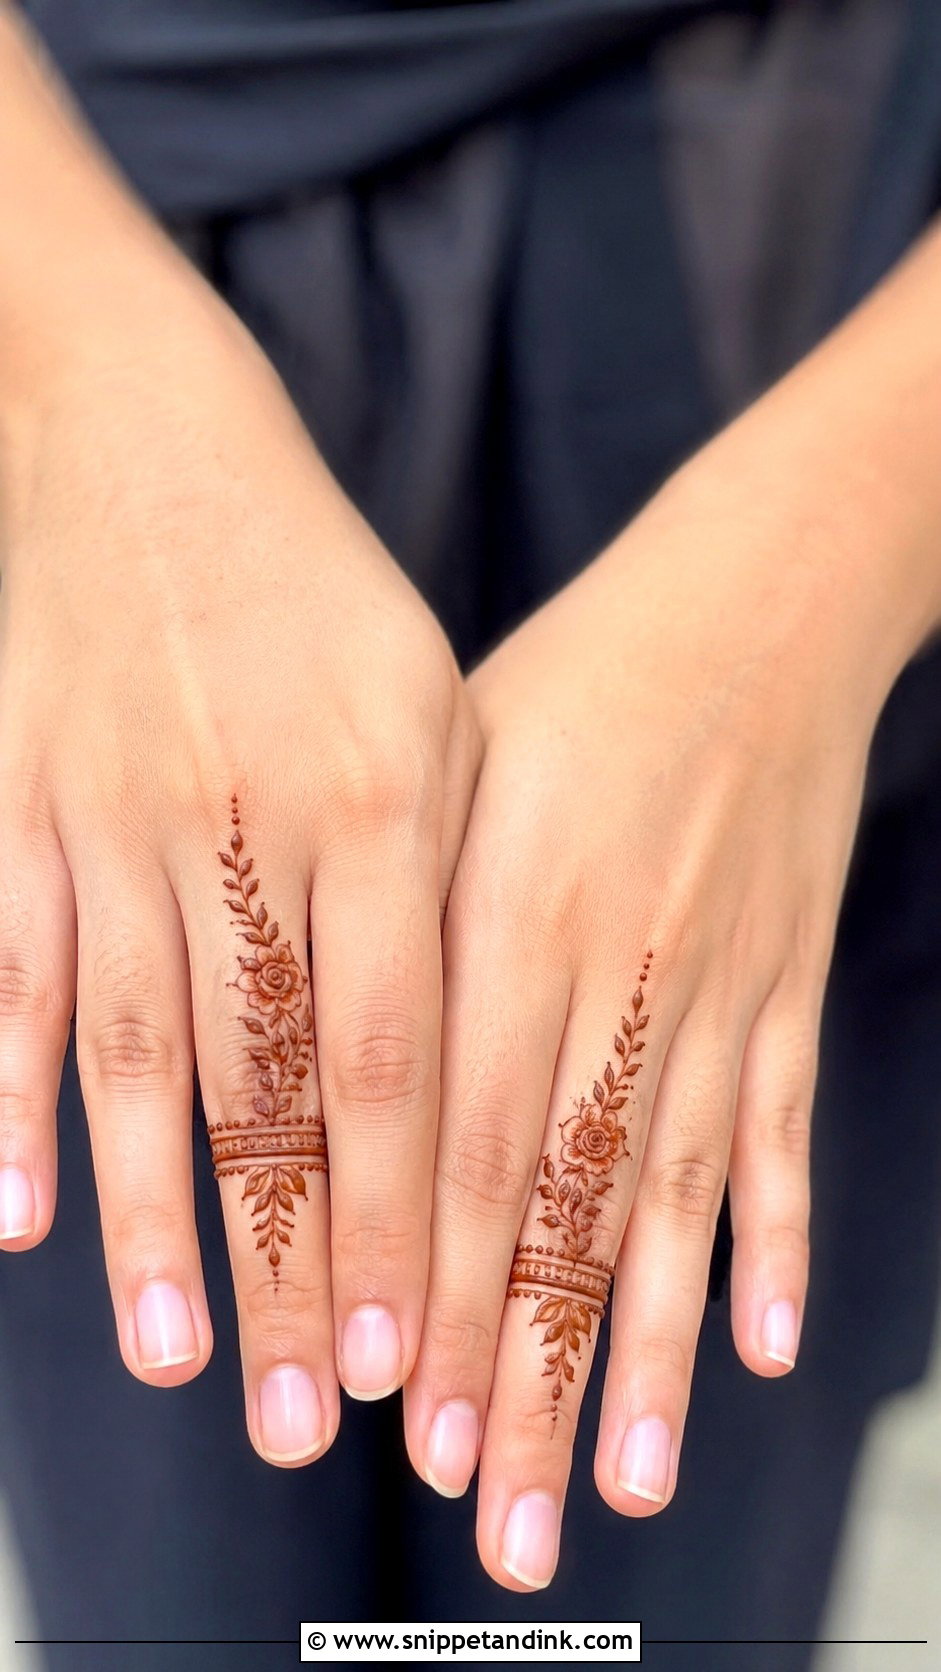
One finger, usually the index or the ring finger, carries a floral trail, ring bands, a vine or a thin mandala extension, and the rest of the hand stays bare or gets a few dots. It takes me minutes, which makes it ideal for a last-minute function or an office-friendly look. A small dot chain at the wrist or a tiny motif at the base of that finger stops it from looking accidental.
17. Two Fingers Mehndi Design
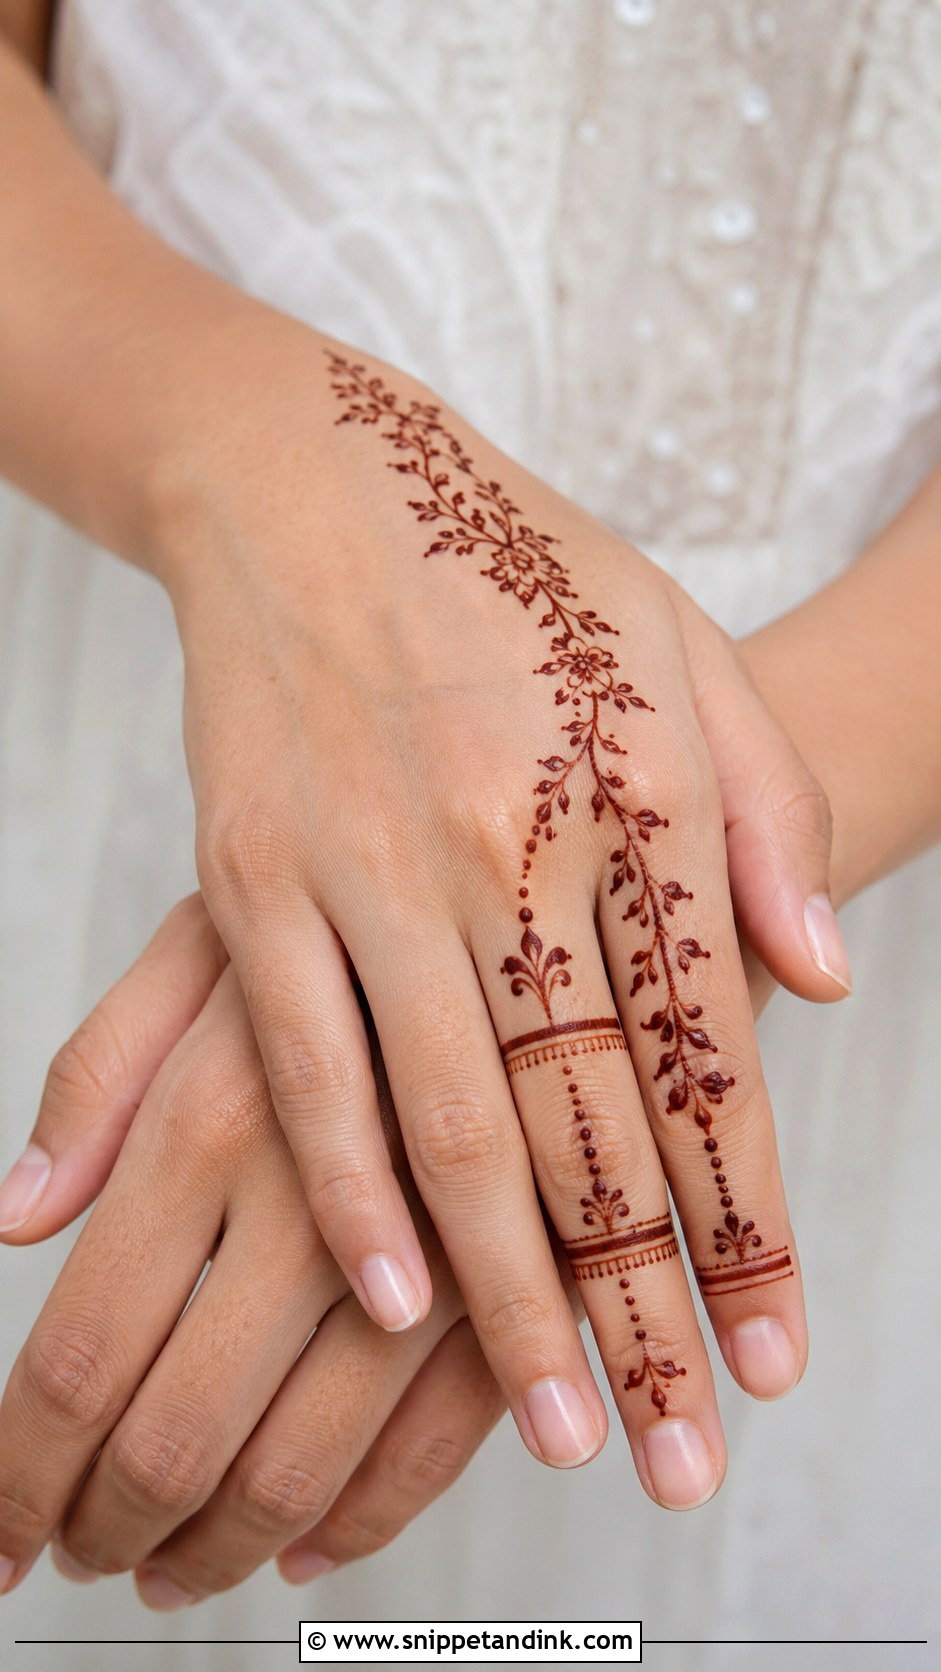
Two fingers, often the index and middle or the ring and little finger, with matching vines, ring bands, floral tips or geometric strips, and a small connector near the knuckles. Popular with teenagers, students and Eid mornings, and it dries quickly. I make the two fingers coordinated but not identical, varying the leaf direction or the band count, because a perfect copy looks stamped.
18. Finger Tips Mehndi Design
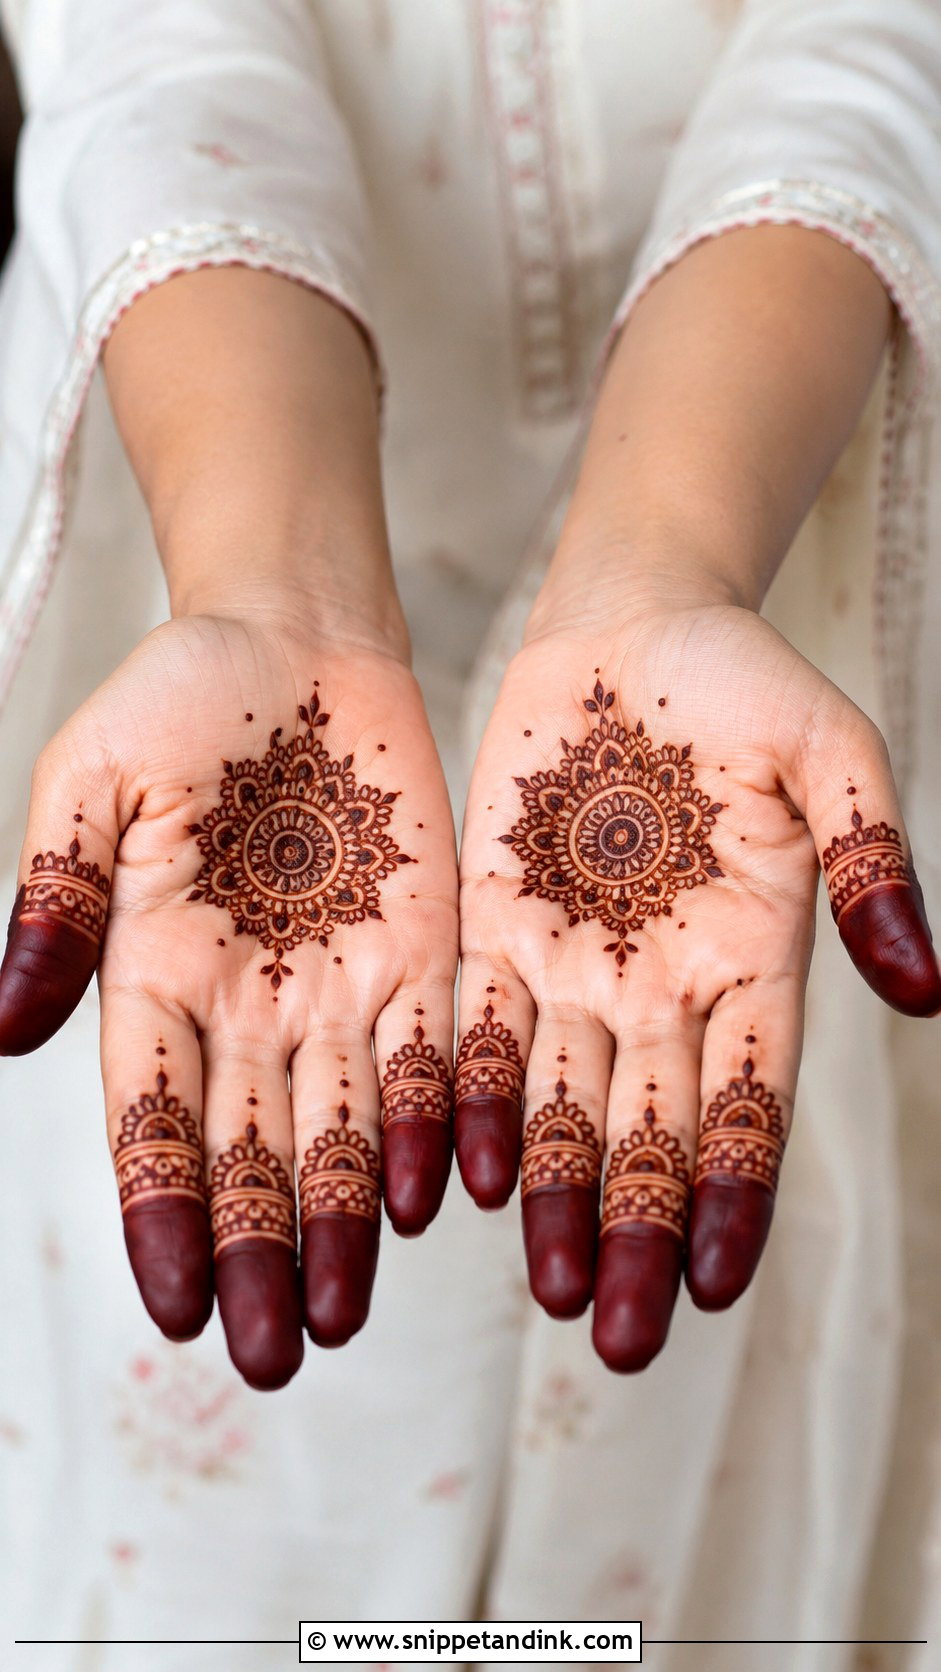
Filling just the fingertips is one of the oldest henna traditions, and it can be left plain or given dots, half-circles, petals or fine bands below. Tips stain darker than any other part of the hand, so the contrast is strong, especially on the palm side. Pair it with a small palm mandala, a bracelet border or nothing at all. I measure the filled tips by eye against the first joint so they all end at the same proportion.
19. Half Fingers Mehndi Design
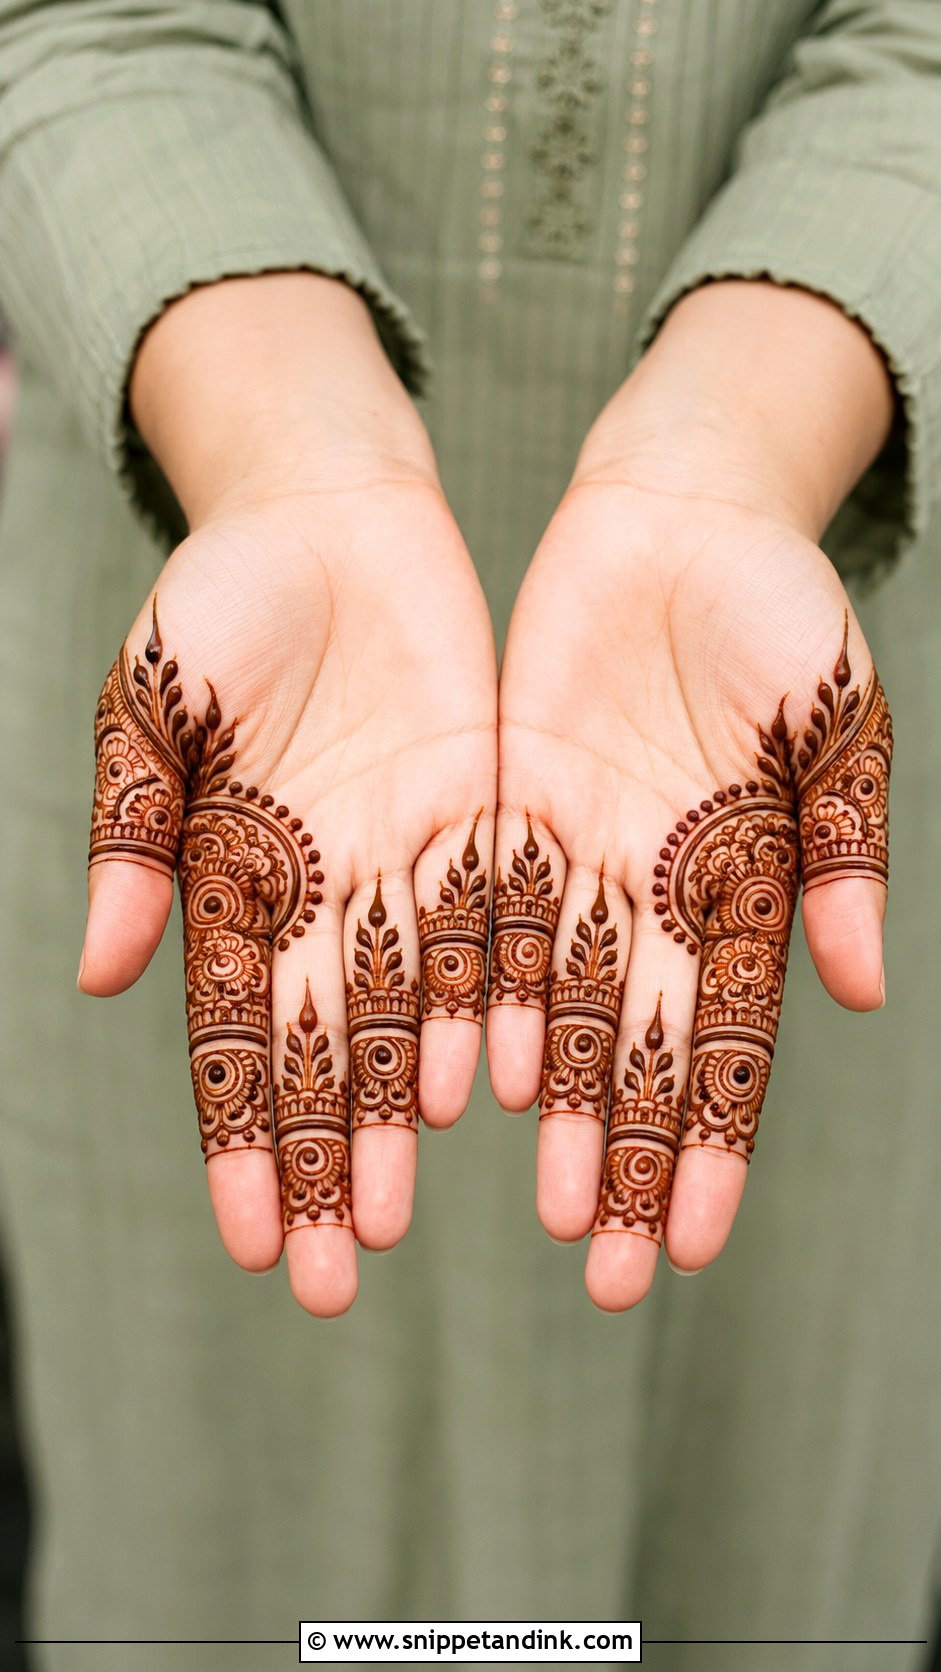
Half-finger designs cover either the tip to the first knuckle or the base to the middle joint, leaving clear skin on the other half. Bands, leaves, dots and small flower sections fill the decorated part. It’s more visible than minimal mehndi and lighter than full fingers, so it suits students and wedding guests. A thin dividing line between filled and empty sections is what makes it look deliberate.
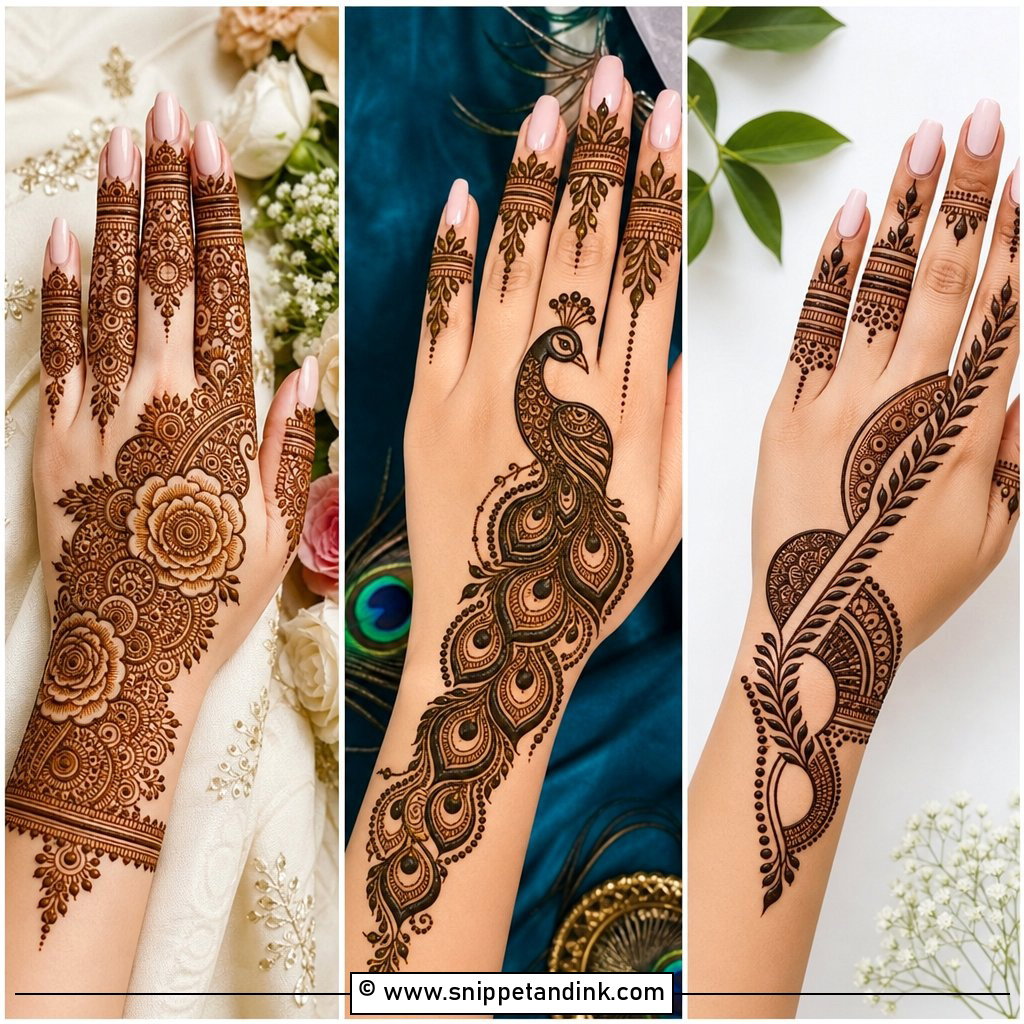
20. Shaded Fingers Mehndi Design
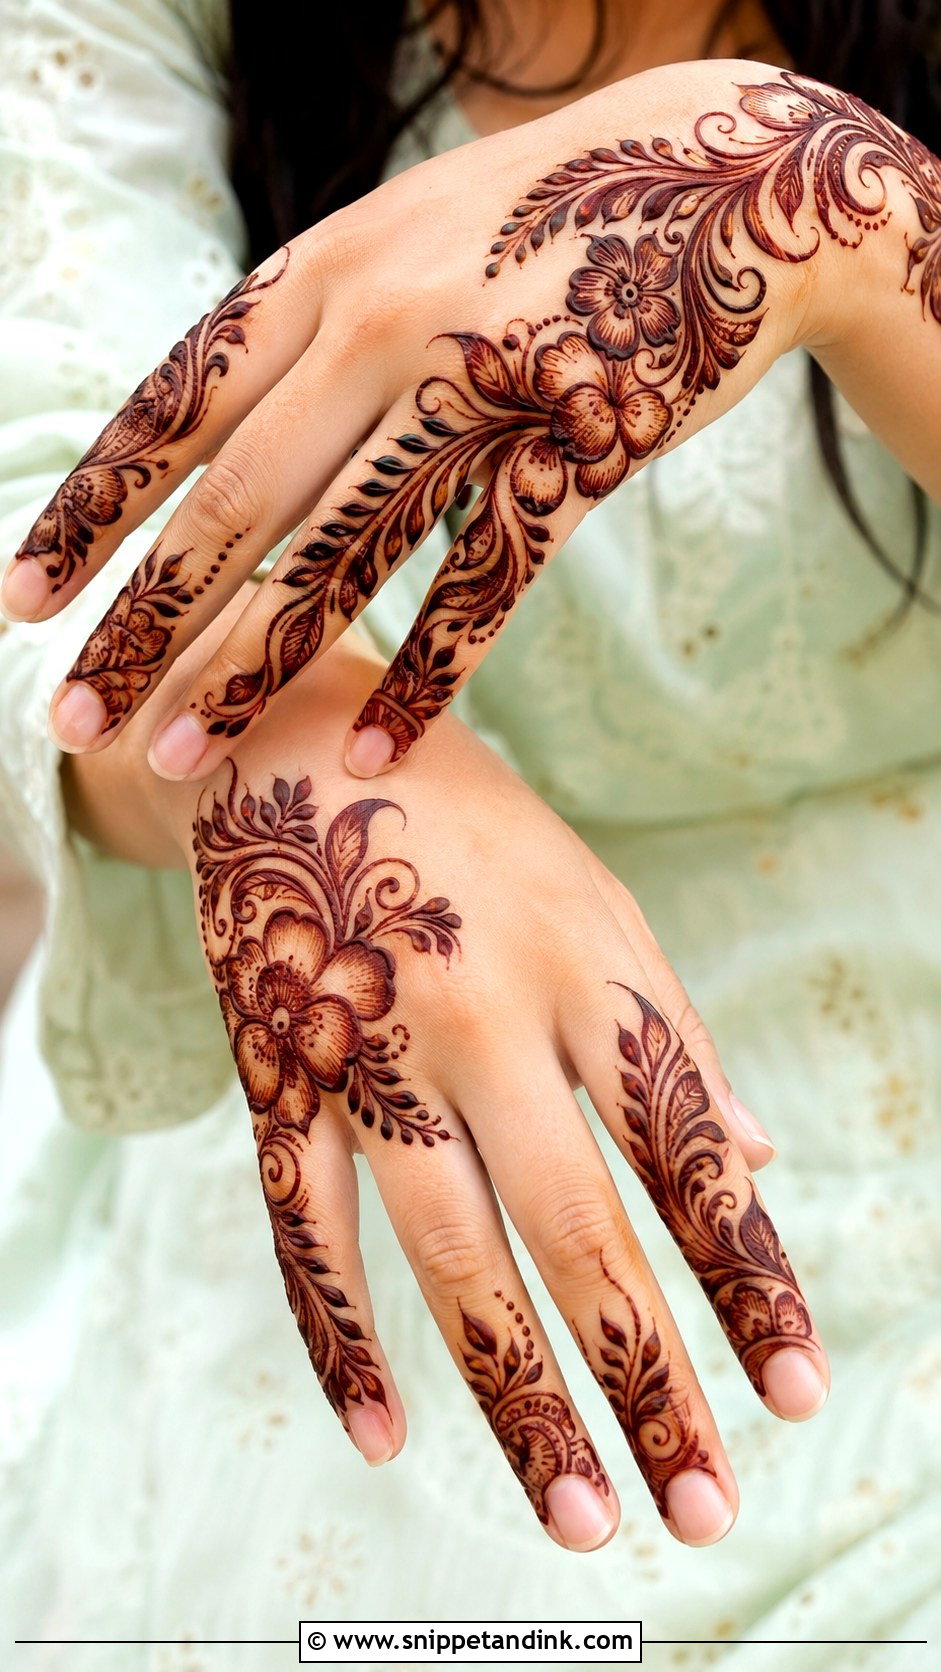
Flowers, leaves, paisleys or Arabic curves with light shading inside the petals and along the edges, usually on the back of the hand with the palm open. Shading gives fullness without dozens of tiny lines, and the stain gradient looks rich once it develops. Overdo it and the finger shape disappears. I shade petals only, or add a few light strokes inside vines, never every section.
21. Peacock Fingers Mehndi Design
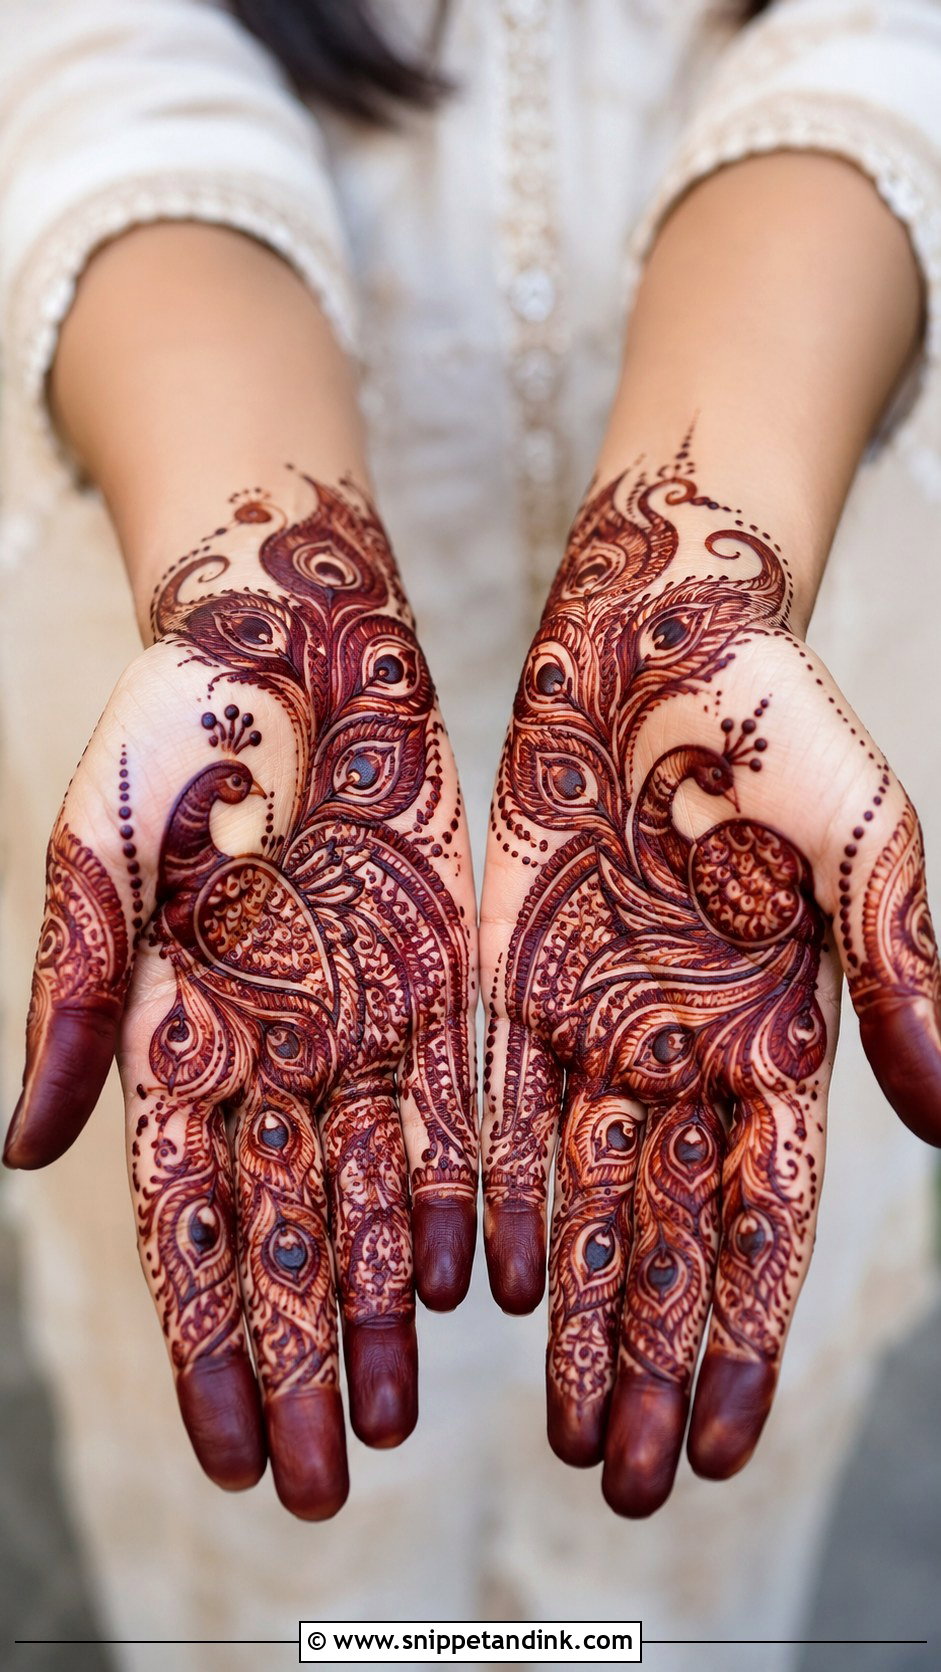
A peacock near the base of the fingers, with its feathers running up one or two of them, or small feather motifs on all five for balance. It feels festive and symbolic, so it belongs at weddings and cultural celebrations. Paisleys, dots and vines complete the hand. The feathers are what make or break it: they need very fine, smooth lines, so I ask clients to keep their hand completely still while I work on them. For a lighter version, one feather on the ring finger is enough.
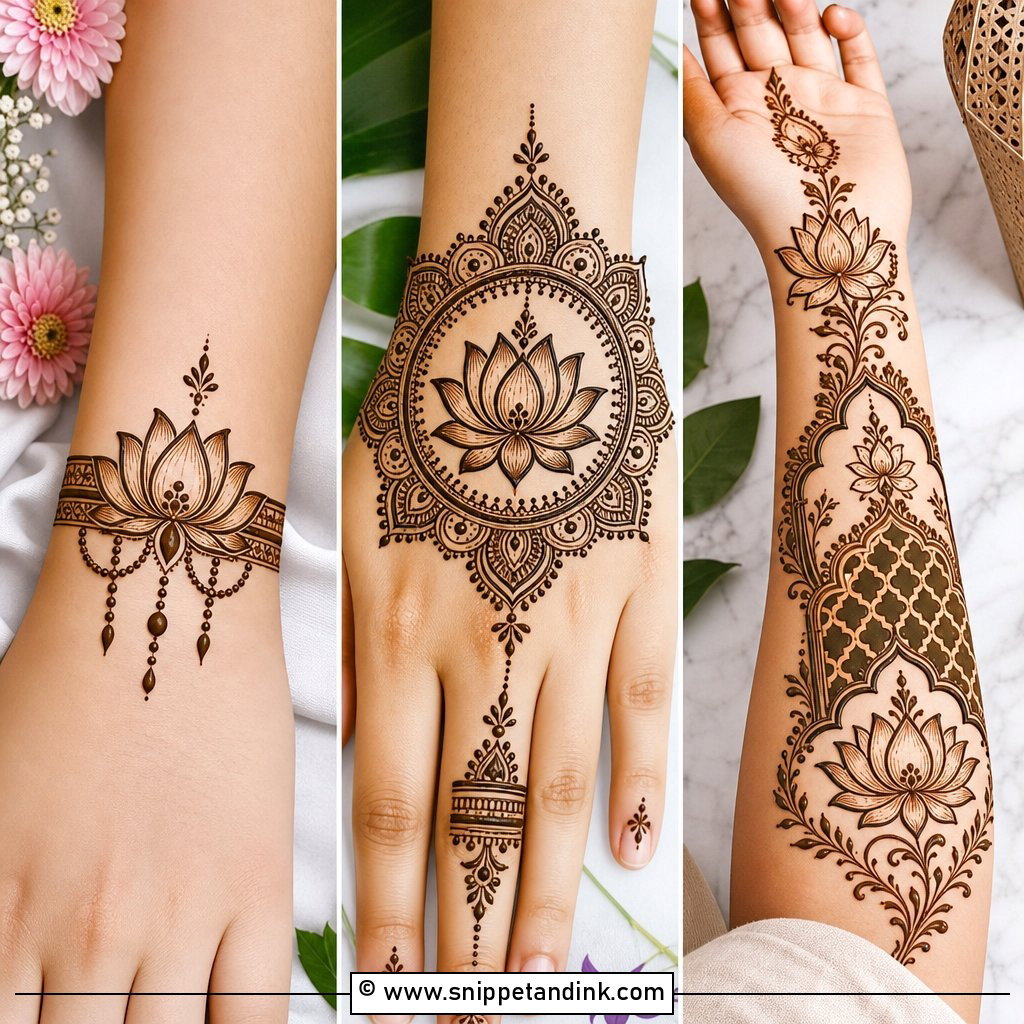
22. Lotus Fingers Mehndi Design
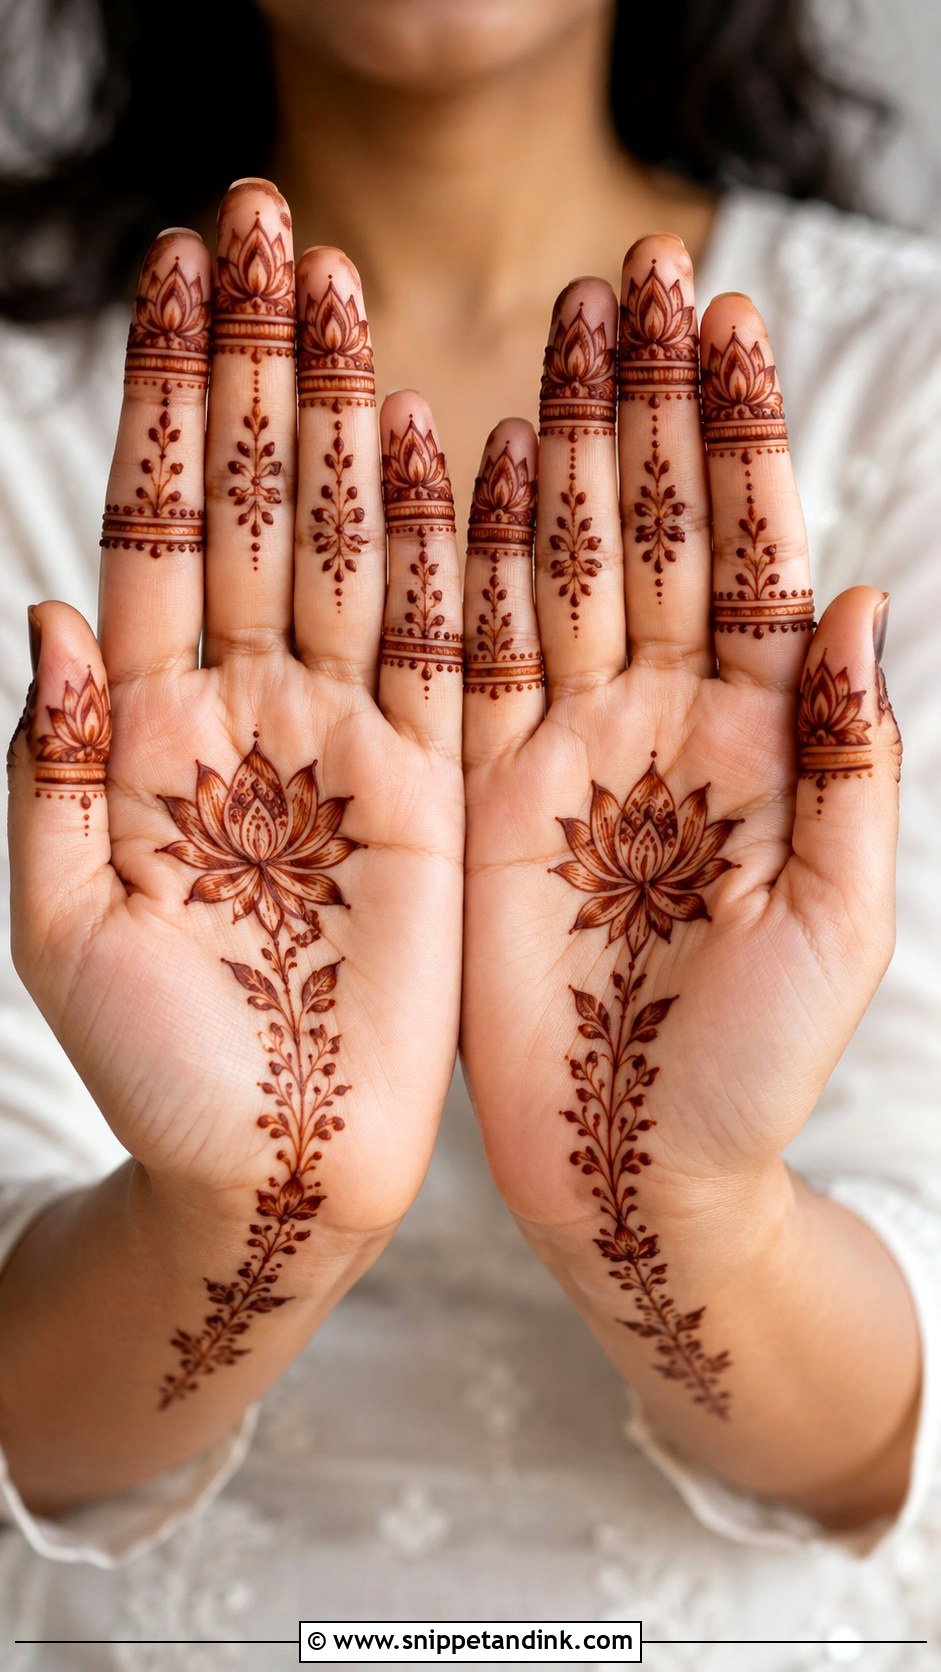
A lotus at the base of the fingers, in the palm or on the back of the hand, with petals reaching toward the tips and dotted borders, thin stems and ring bands around it. Families often request it for poojas, bridal showers and engagements. It can be bold with big petals or delicate with tiny repeated ones. Leave space around the flower so its outline stays clear.
23. Vine Fingers Mehndi Design
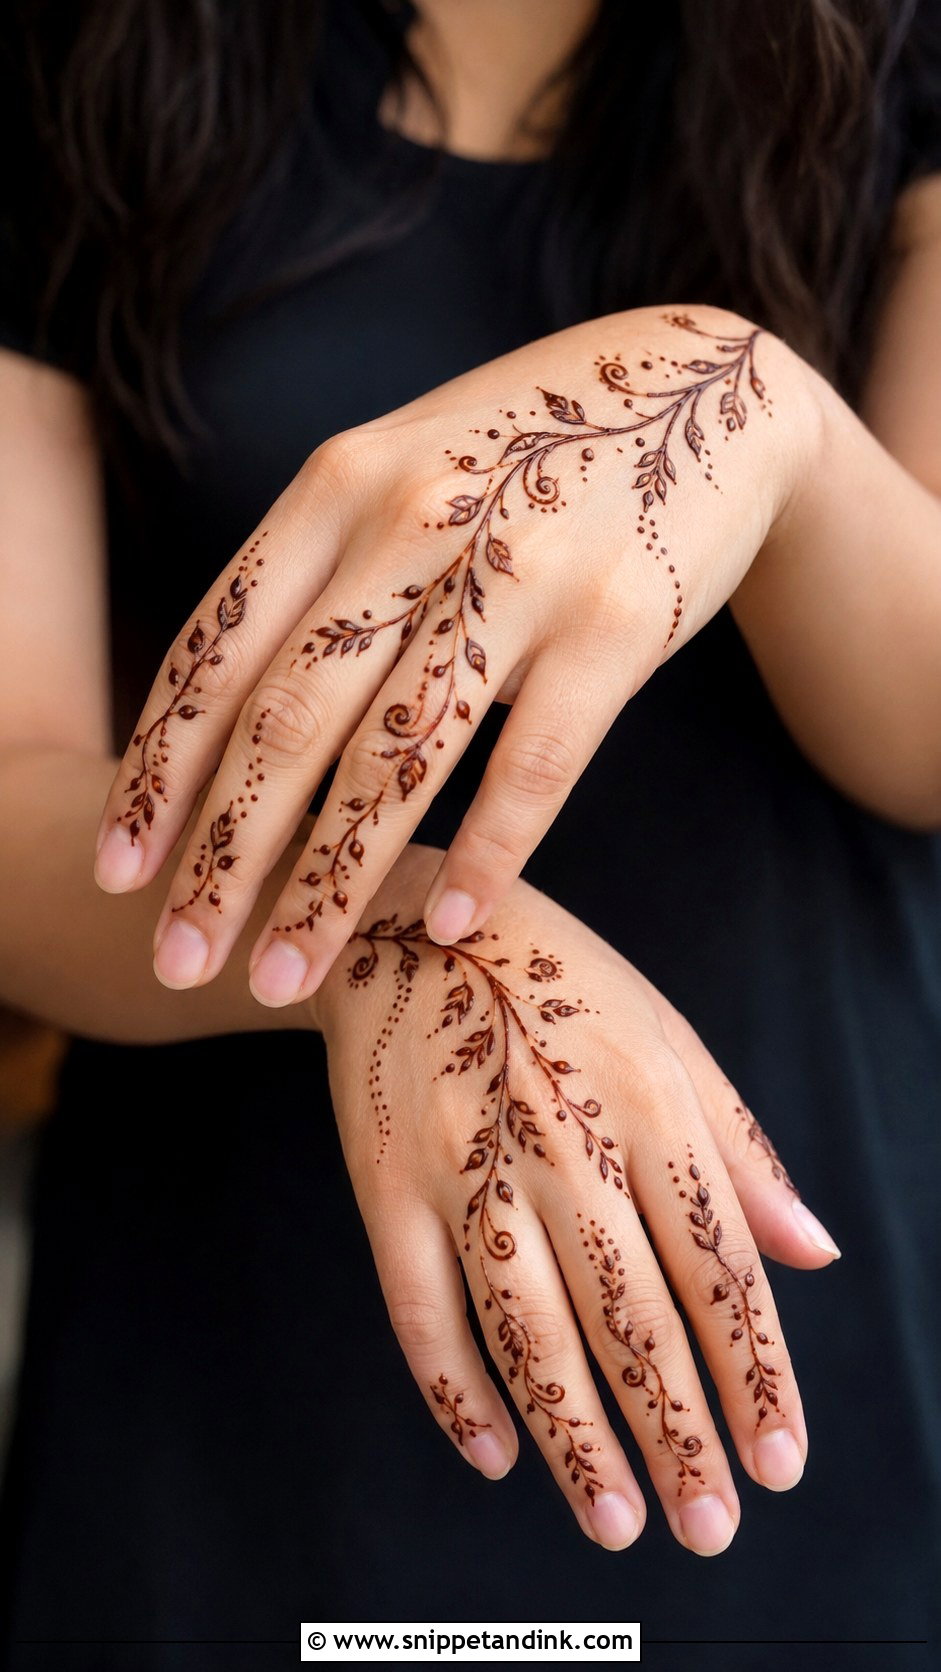
Vines follow the natural length of the finger, with stems, small leaves, dots and buds moving from tip toward the hand. Arabic vines are spaced out, Indian ones more filled. I like to let the vines from two fingers meet near the knuckles or run on into a small wrist trail. They lengthen short fingers, and the whole effect depends on smooth curves, so I draw each vine in one continuous stroke rather than stopping and restarting.
24. Bracelet Fingers Mehndi Design
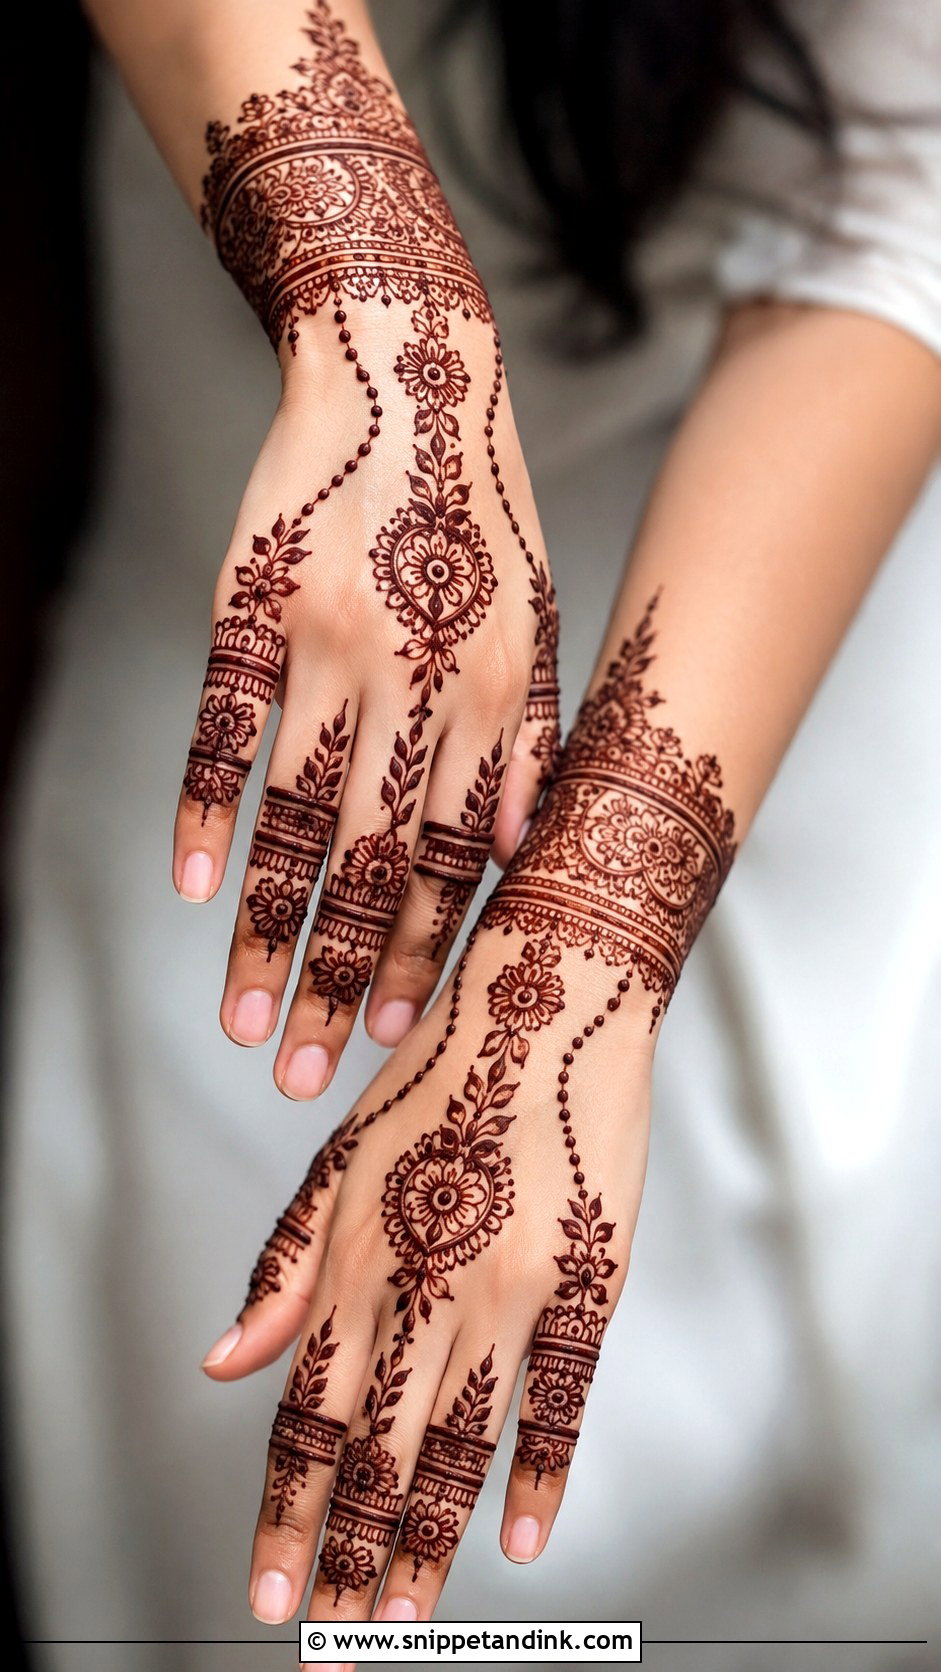
Finger patterns join a wrist band through a dotted chain or curved line across the back of the hand. The fingers can carry ring bands, chains, floral strips or leaf trails. It looks dressed up without palm coverage and sits well with bangles. Balance the two ends: a heavy wrist wants lighter fingers, and detailed fingers want a simple band. I center the bracelet on the wrist bone so it doesn’t look twisted when your arm hangs.
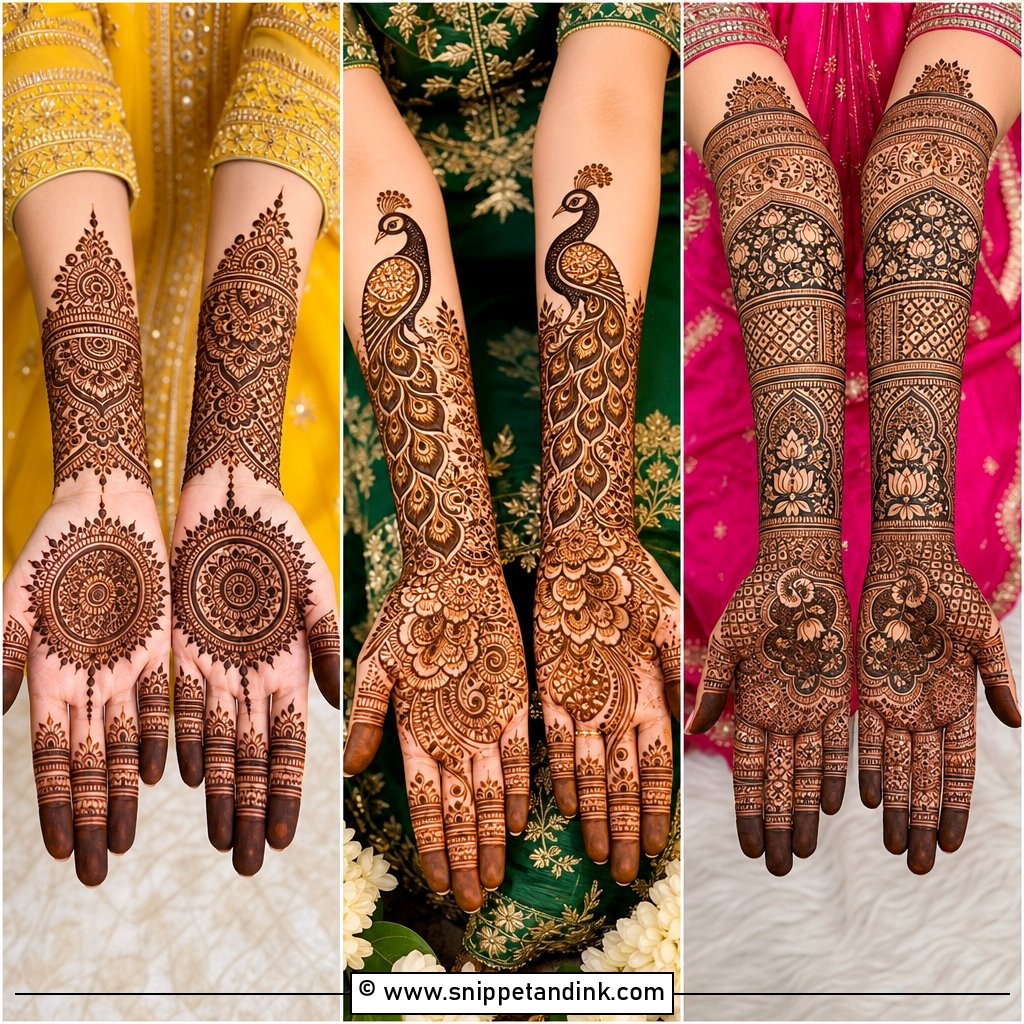
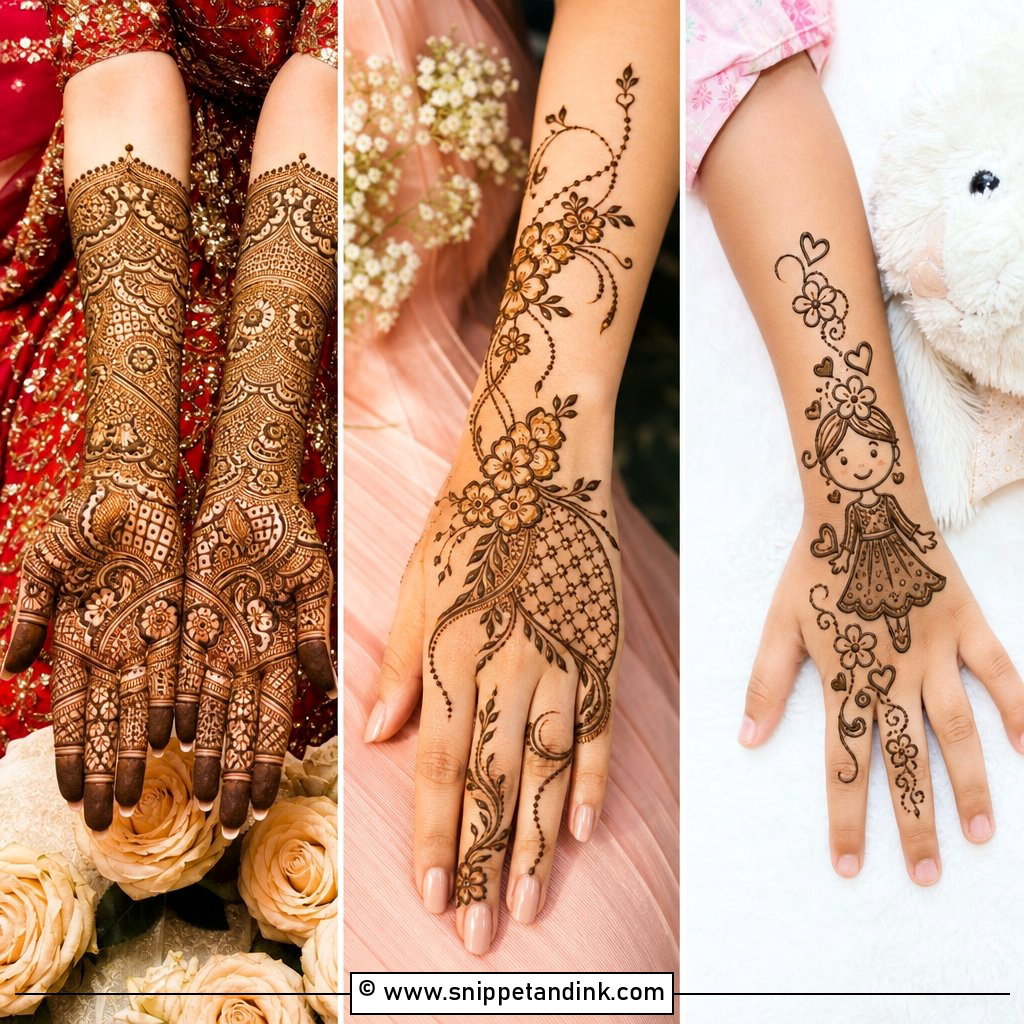
25. Indo Arabic Fingers Mehndi Design
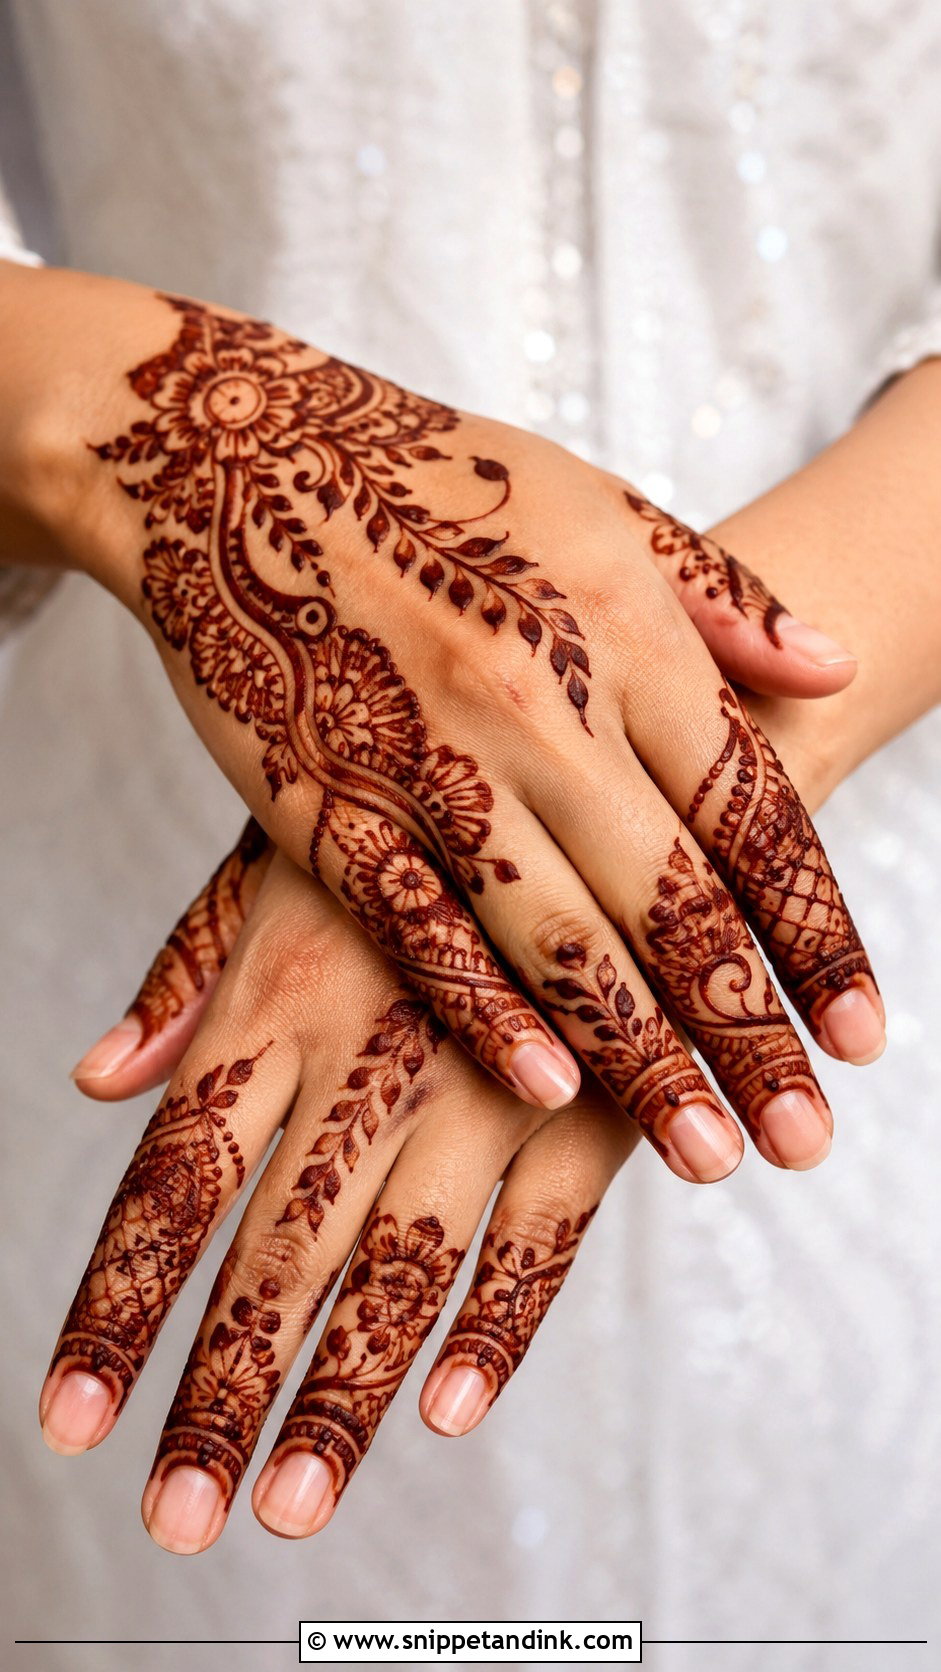
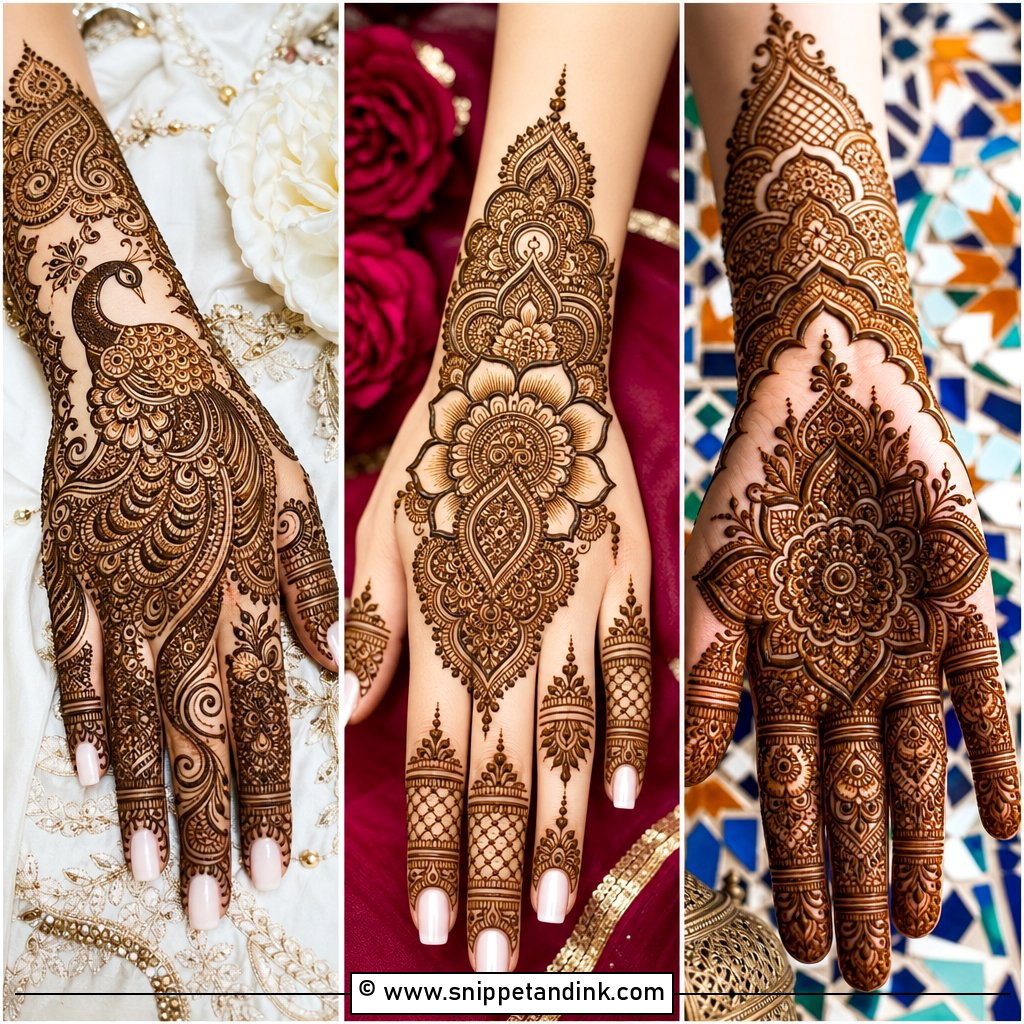
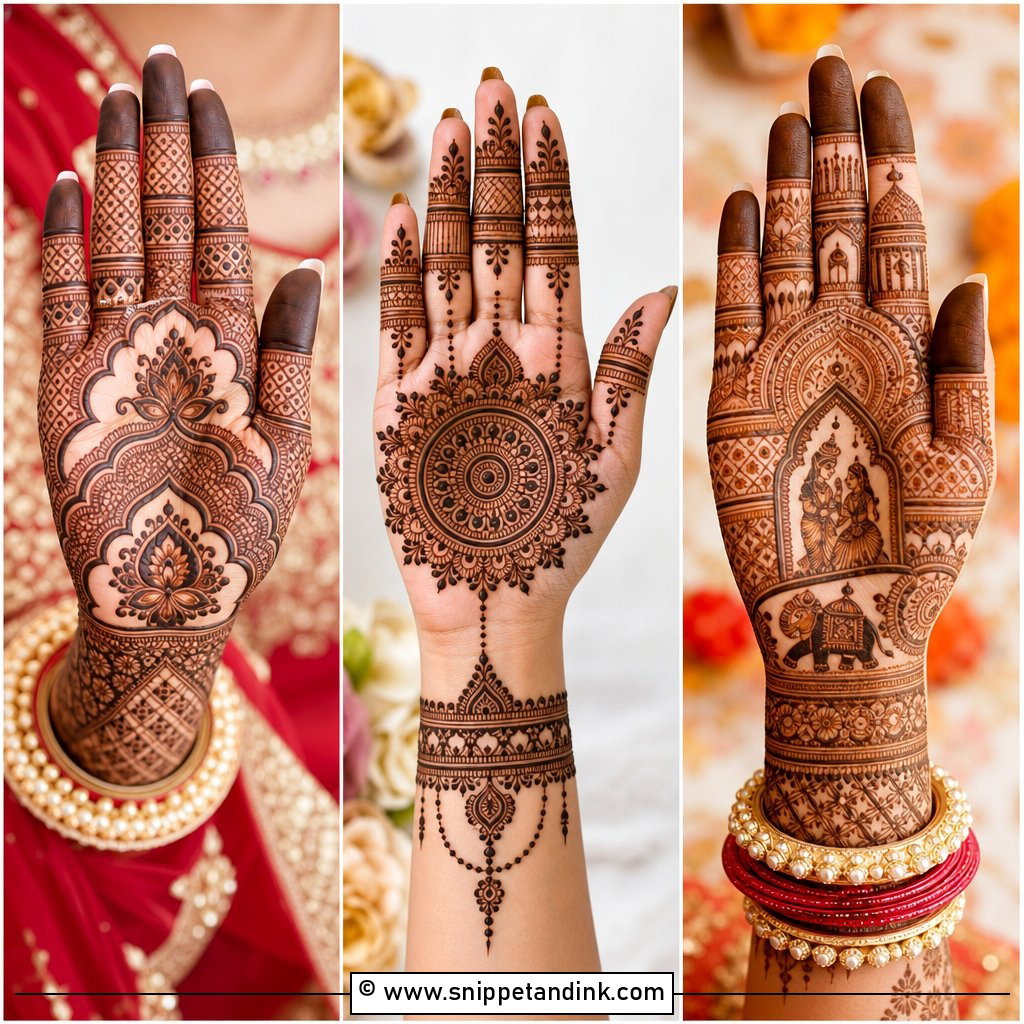
Large flowers, paisley curves, leafy trails, jaali panels and dotted fillers, with the open spacing of Arabic work and the fine detail of Indian mehndi. It suits both traditional and modern outfits, so bridesmaids and family members like it. The order I follow is bold outlines across all fingers first, then fine filling in selected areas. Done that way round, the contrast stays sharp.
26. Indian Fingers Mehndi Design
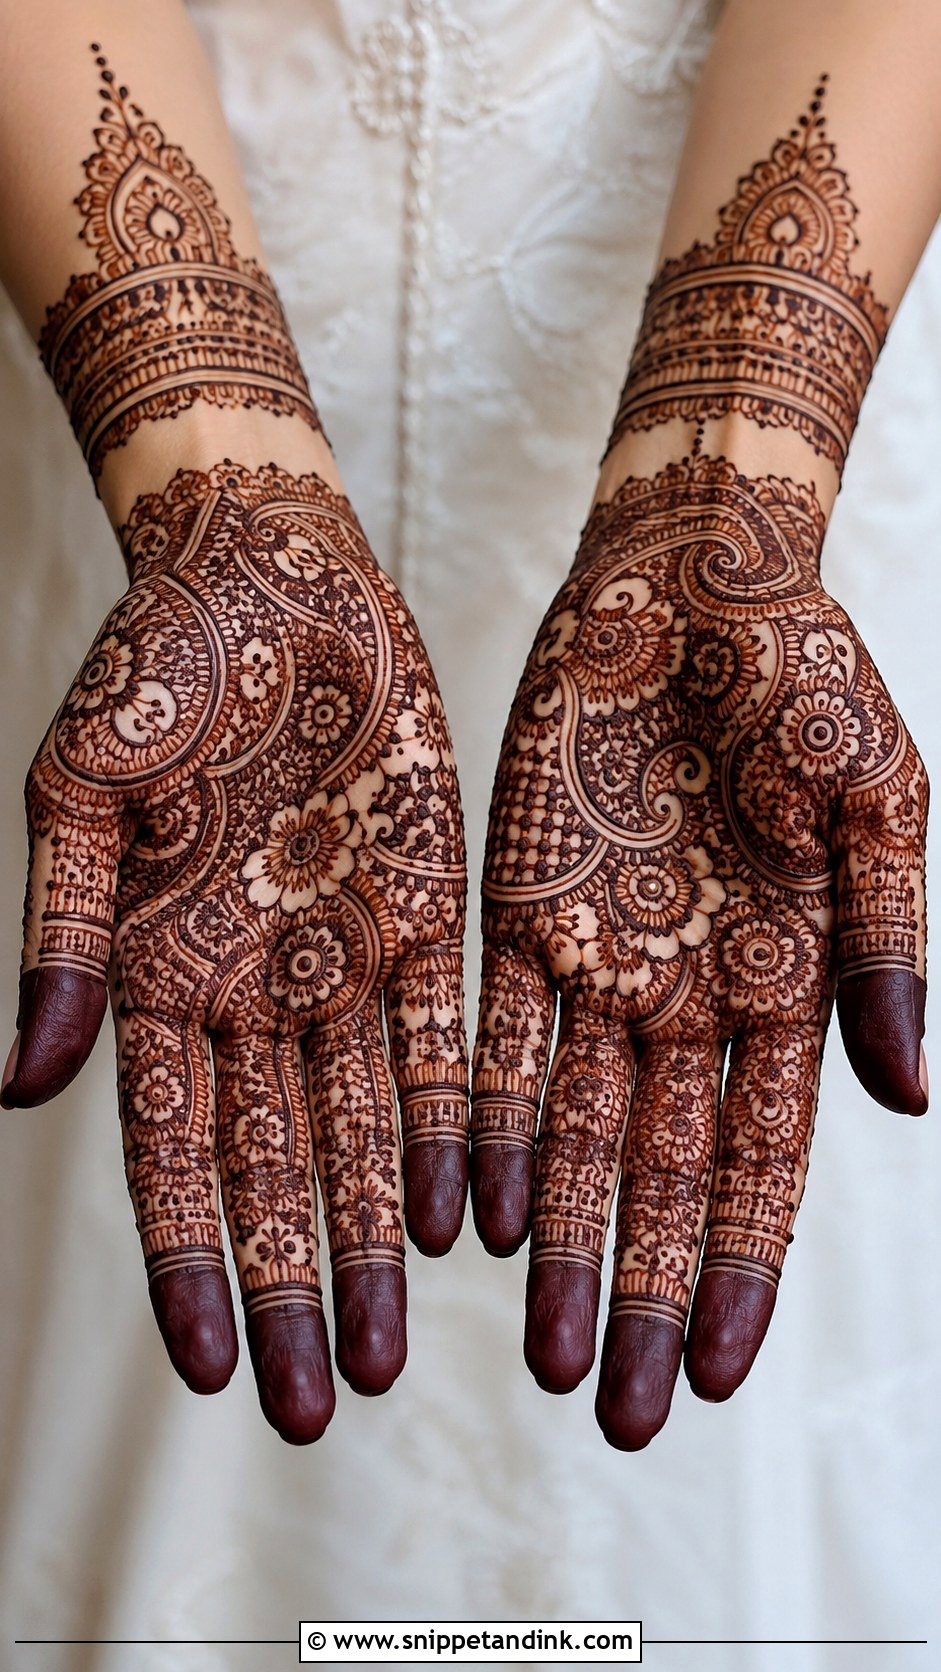
Paisleys, mandalas, peacocks, tiny flowers, checks, dots and fully filled tips, arranged symmetrically and with less empty space than Arabic styles. A palm mandala or wrist border makes it feel finished. Careful spacing matters more here than anywhere, and motifs must be small enough for the width of the finger. I use the finest cone tip I have for this style; a thick line ruins the detail.
27. Moroccan Fingers Mehndi Design
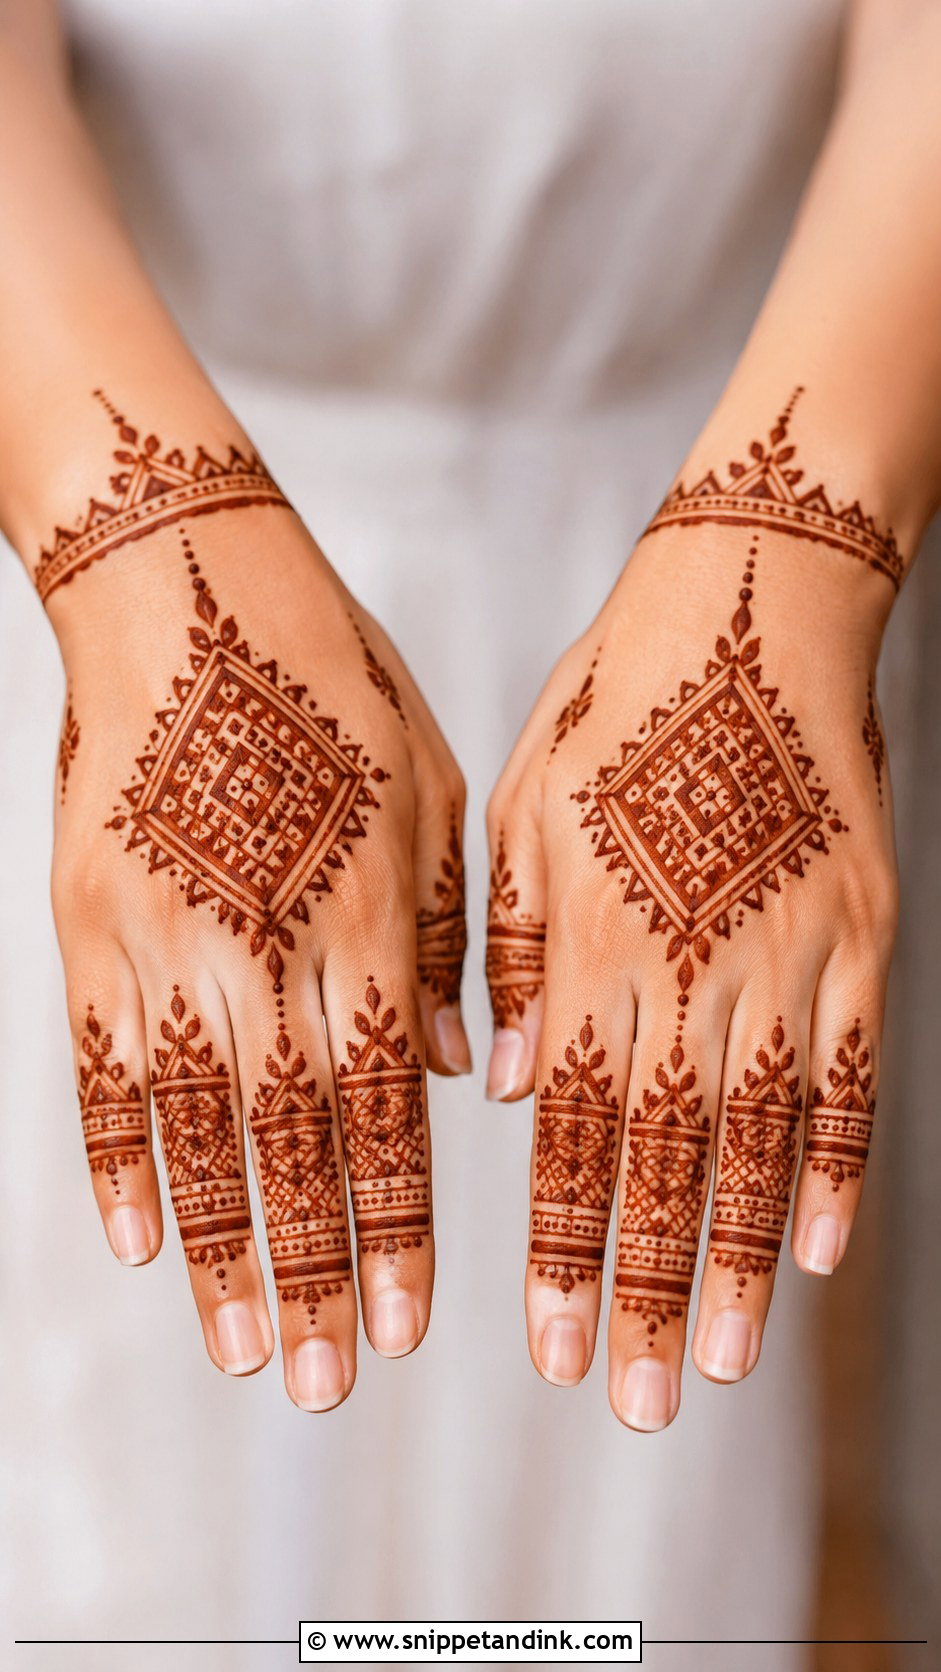
Moroccan fingers mehndi design swaps florals for sharp lines, diamonds, grids and geometric symmetry: stacked bands, triangle borders, dot rows and angular shapes on each finger, with a central diamond or bracelet extension on the back of the hand. The structure itself carries the look, which makes it work with short nails and plain outfits. I keep lines straight and spacing even, and I resist adding filler; precision is the whole point.
28. Gulf Fingers Mehndi Design
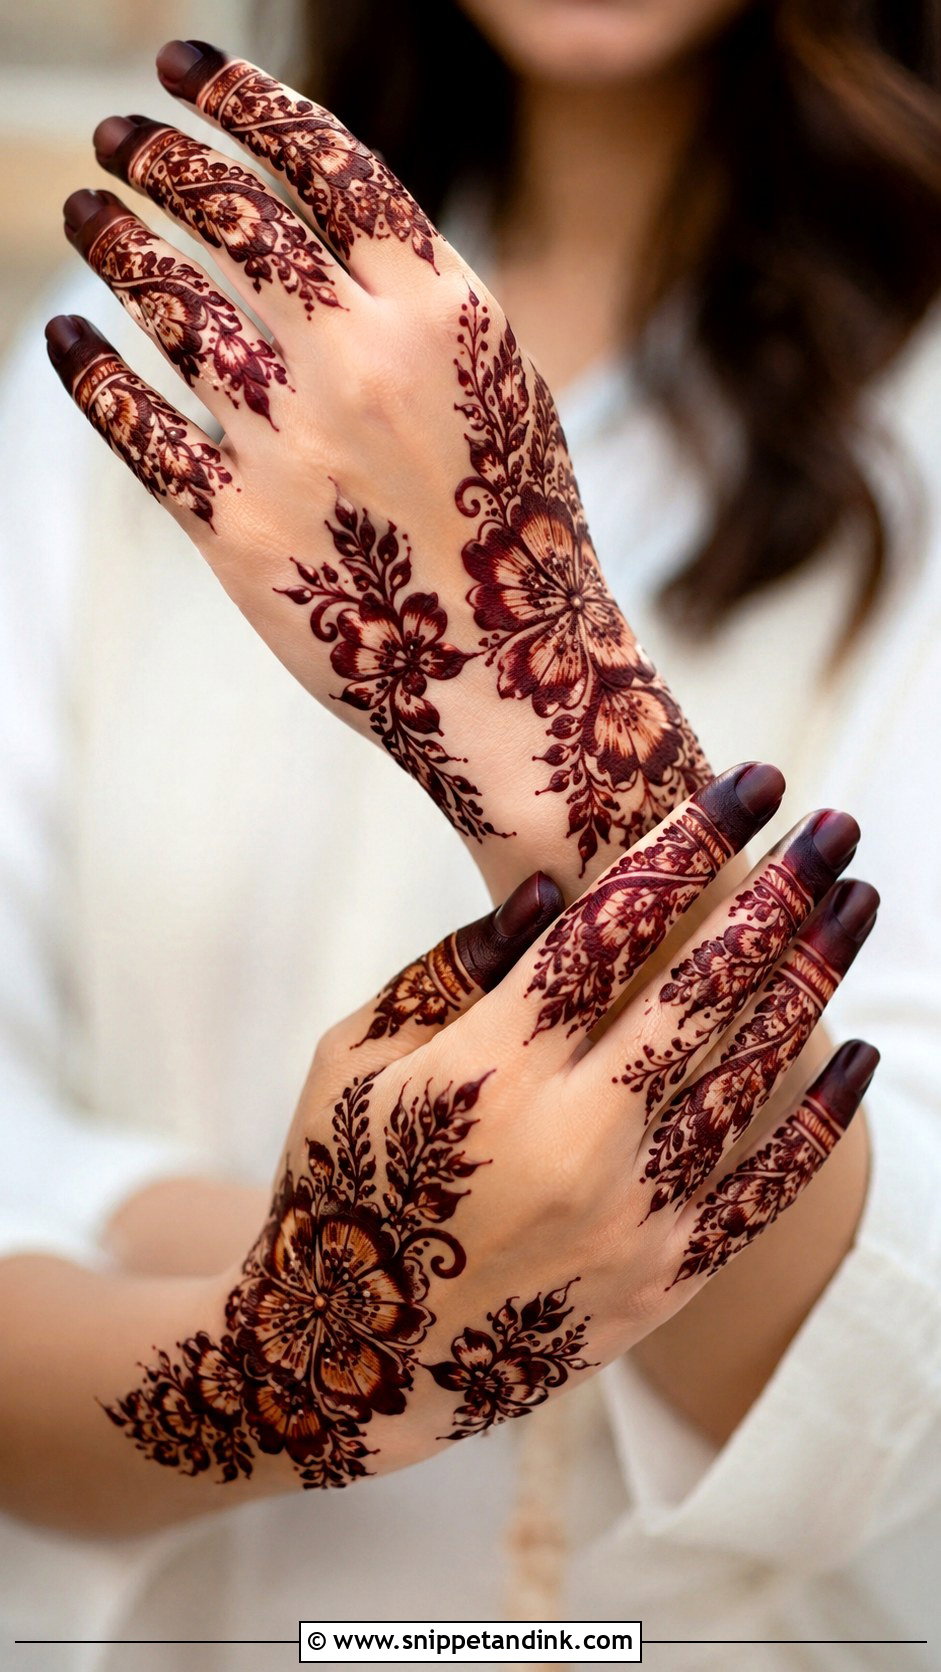
Khaleeji-inspired henna uses bold florals, leafy strokes, open space and strong fingertip accents, often with three or four fingers worked heavily and the palm or back of the hand mostly open. Big flowers near the knuckles connect to vines on the fingers. It looks rich at evening events and in photos. Thick outlines with soft shading inside give it the glamorous finish, and the open skin matters just as much as the drawn parts.
29. Modern Fingers Mehndi Design
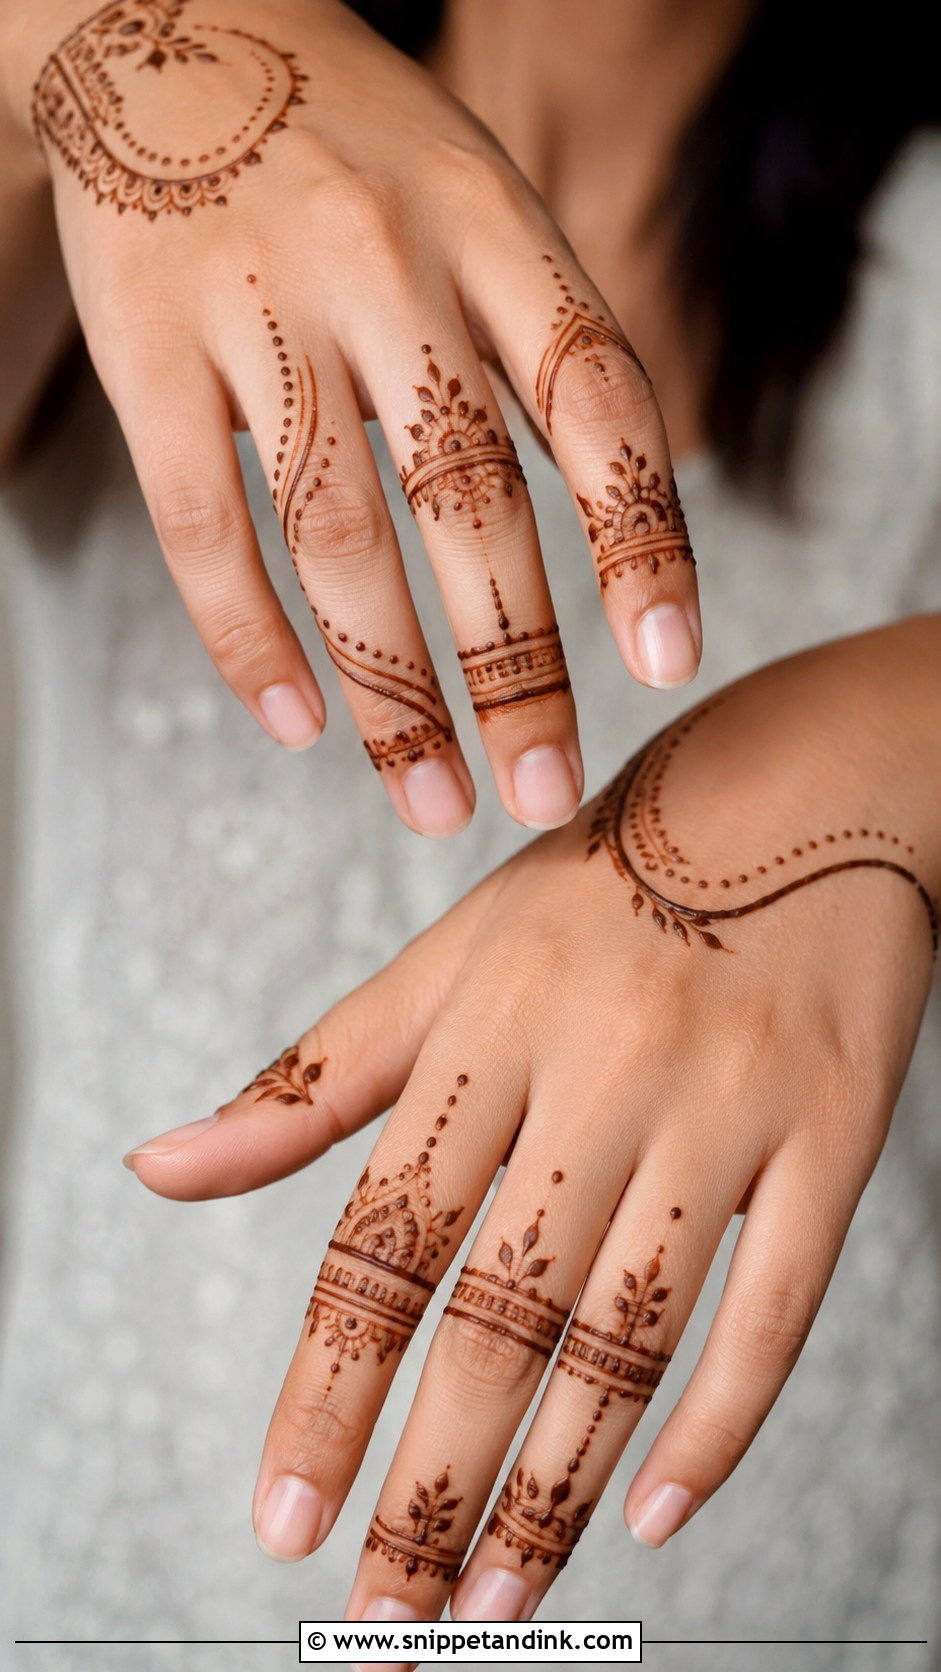
Modern fingers mehndi design highlights two or three fingers and leaves the rest simple, using negative space, slim bands, abstract curves, small florals or geometric strips in asymmetrical placement. A back-hand motif or a thin wrist line that echoes the finger pattern finishes it. The modern effect comes from restraint and confident linework. If I find myself adding a fourth element, I usually take one away.
30. Eid Fingers Mehndi Design
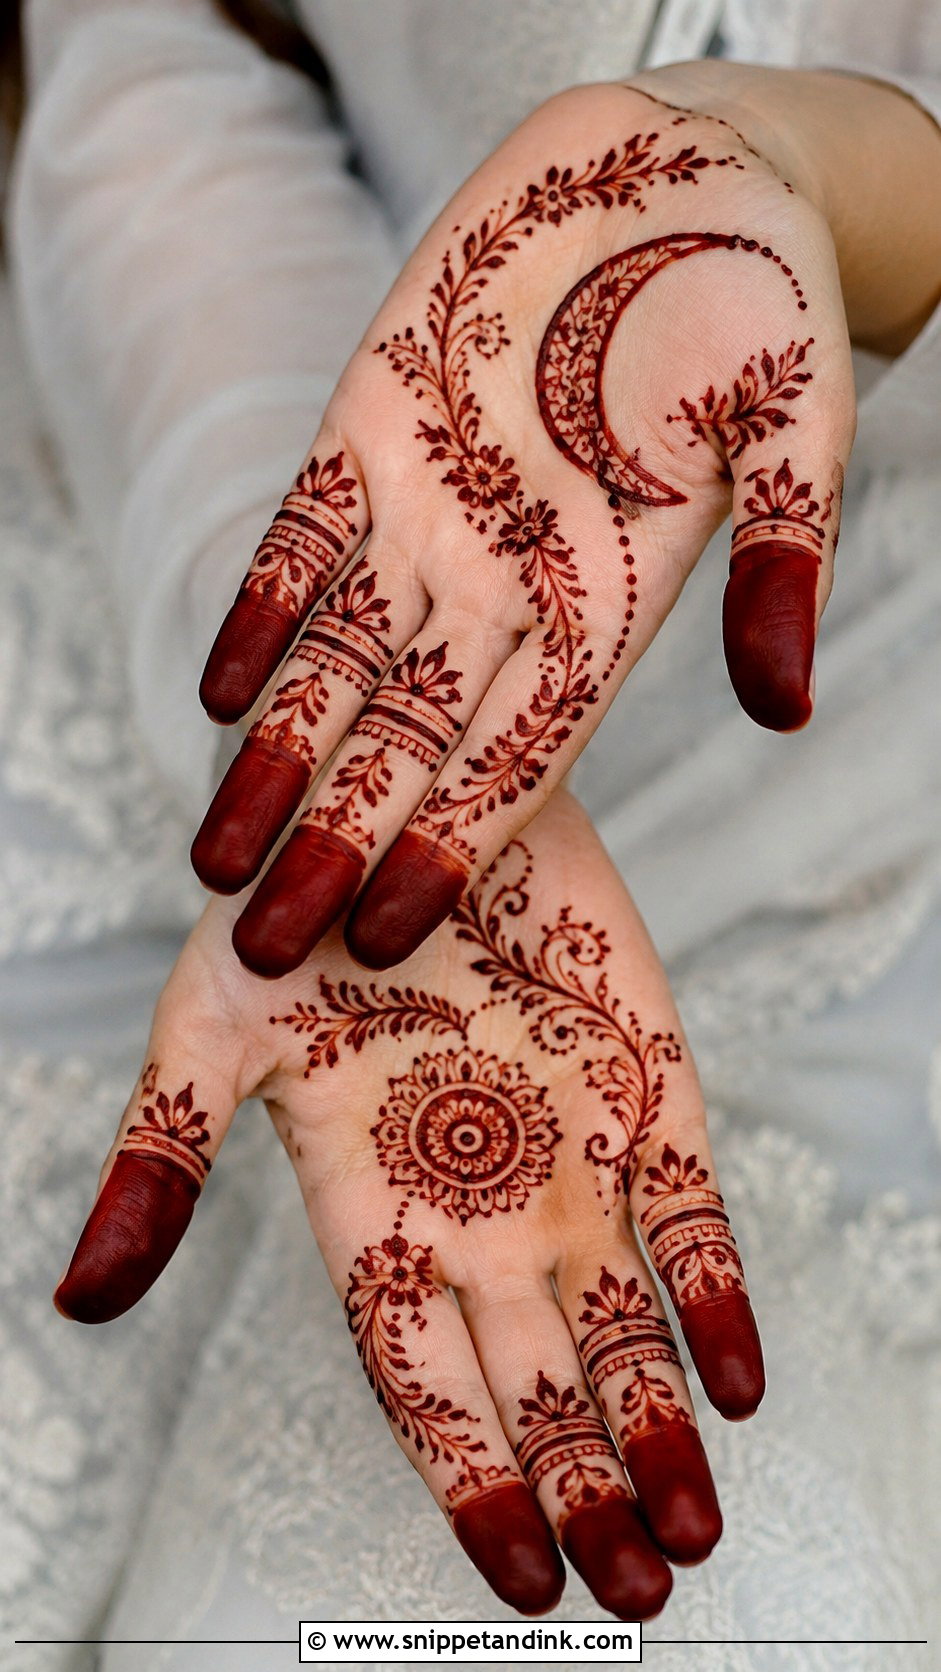
Eid hands go through a long day of greeting, cooking and eating, so I favor filled tips, floral vines, ring bands, crescent curves and dots, with the palm light. Applying it the night before is ideal, because the color keeps darkening through the next day. Choose a pattern that dries quickly if you’ll be sleeping on it, and keep the spacing open around the knuckles, which is where overnight smudges happen.
31. Diwali Fingers Mehndi Design
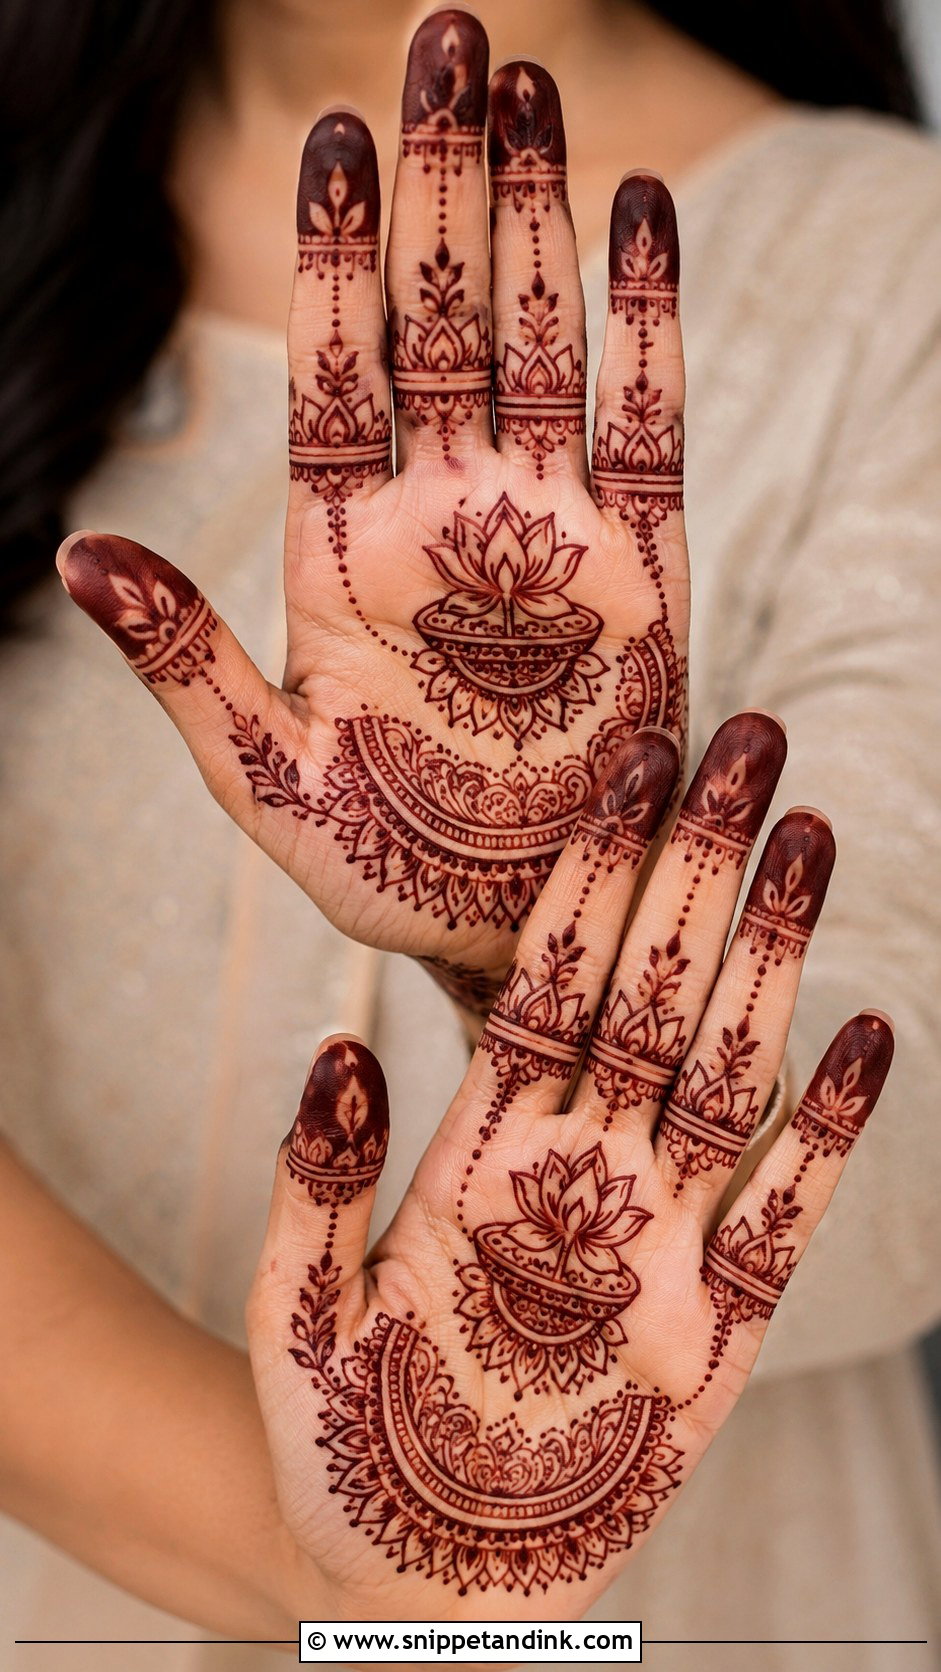
Fingertip filling, lotus motifs, diya-inspired curves, dotted chains and small mandala accents, with repeated bands and petals on the fingers and the palm or back of the hand left clean. Fine dots and small curves give a sparkle effect in henna form, which suits the festival. Finger-only coverage is also easier to live with on a busy festival day than a full hand. Keep it symmetrical.
32. Engagement Fingers Mehndi Design
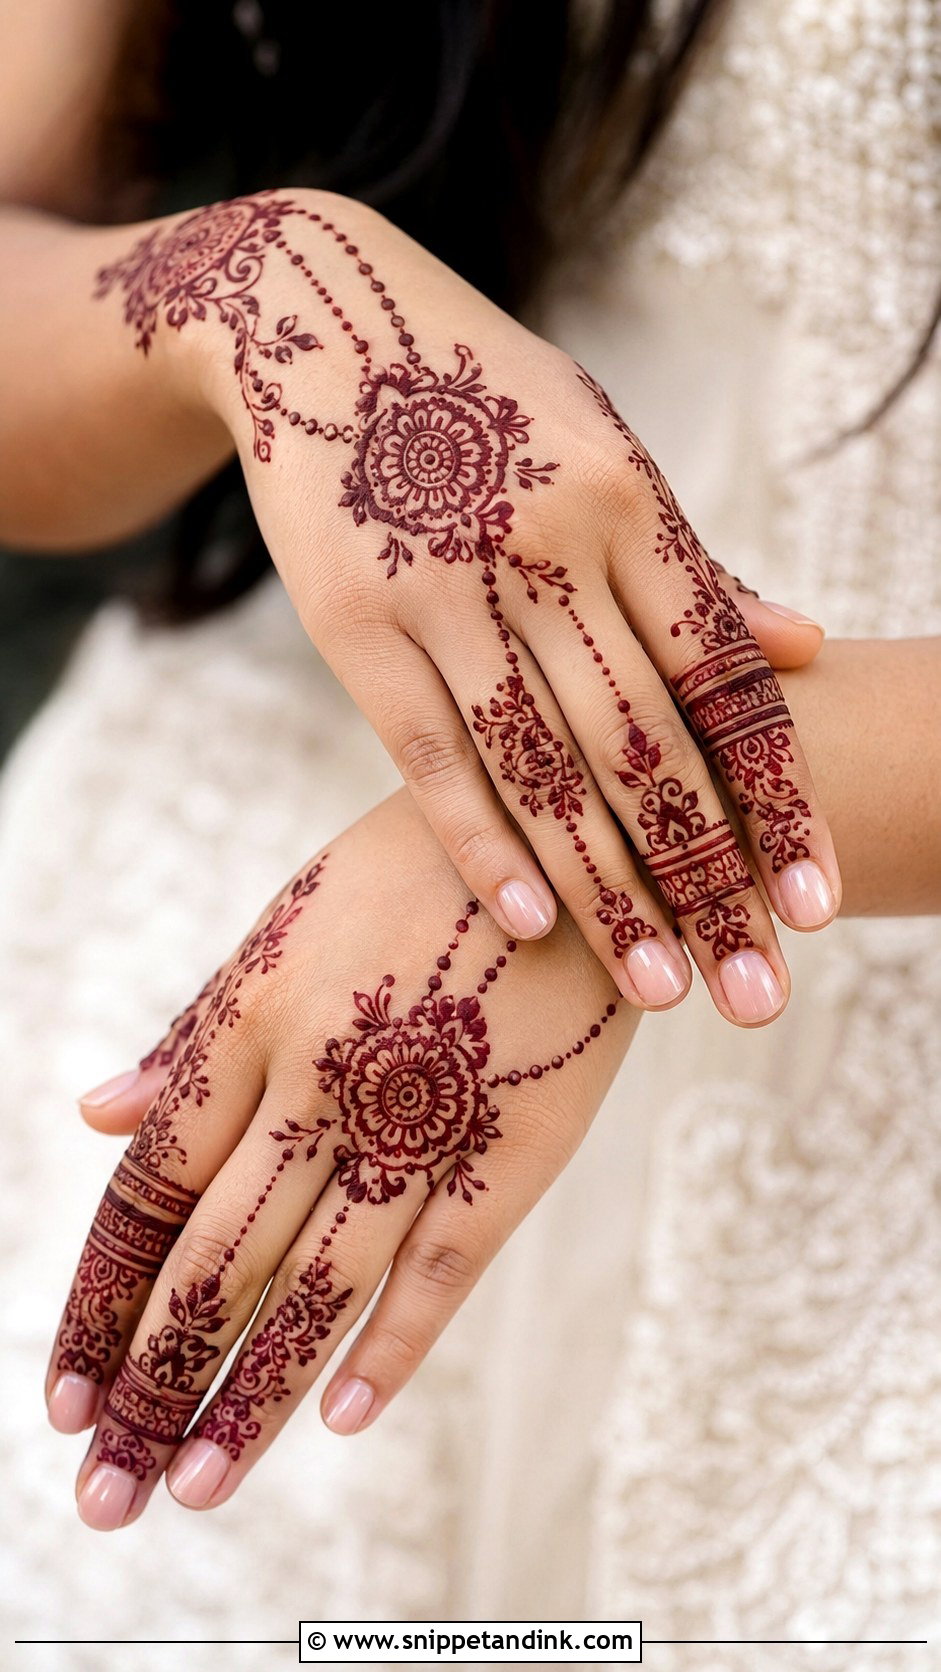
Engagement fingers mehndi design frames the ring finger with bands, dotted chains, floral trails and a small mandala or heart at its base, while the other fingers carry only thin lines and petals. The ring should be the focus of those close-up photos, so I never let the henna sit directly where the band goes. Add a bracelet connector on the back of the hand for a more traditional look, or keep detail to one or two fingers for a minimal one.
33. Wedding Guest Fingers Mehndi Design
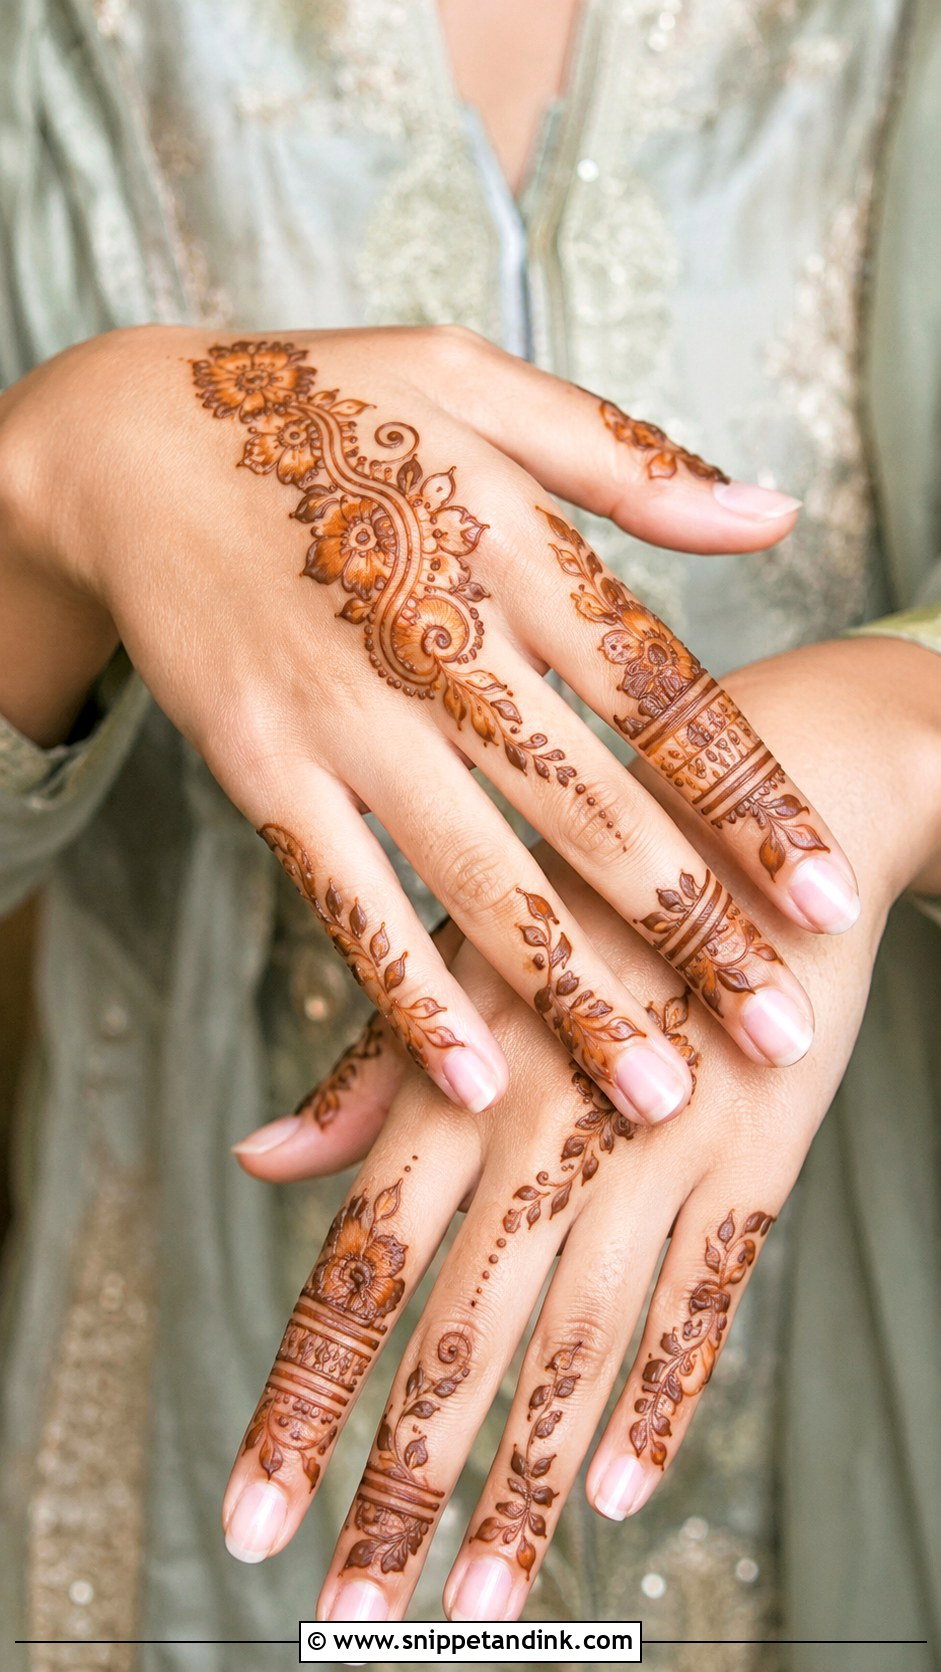
Guests want enough detail for wedding photos without looking bridal: floral finger trails, paisley bands, shaded leaves and a small back-hand motif. Arabic spacing reads bold, Indian filler more traditional. It applies quickly, which matters when an artist has a queue of cousins at the sangeet. I keep guest fingertips lightly decorated rather than fully filled if the bride is having dark tips, so the two don’t compete.
34. Kids Fingers Mehndi Design
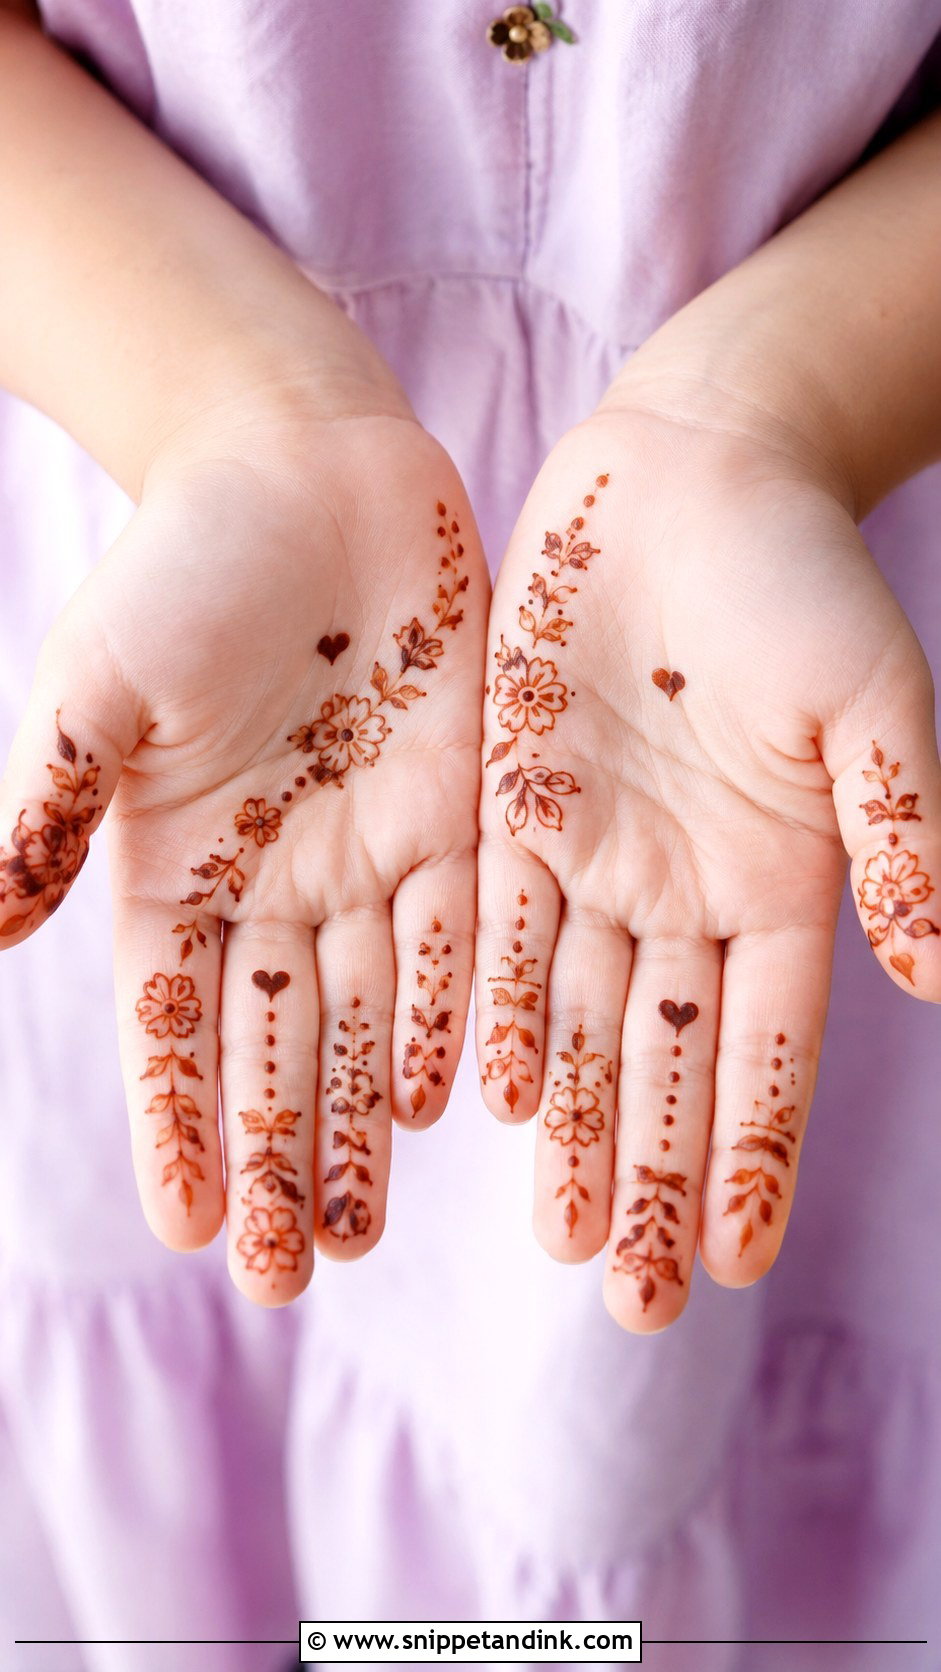
Children won’t sit still for long, so think tiny flowers, dots, hearts, leaves, stars and small tip accents, finished in minutes. Bold enough lines to show clearly, nothing dense. Fingers plus a tiny palm motif is plenty. Use only natural henna on children, with no added chemicals and no paste that promises a black stain, and I skip strong essential oils in the paste for young kids as well.
35. Easy Fingers Mehndi Design
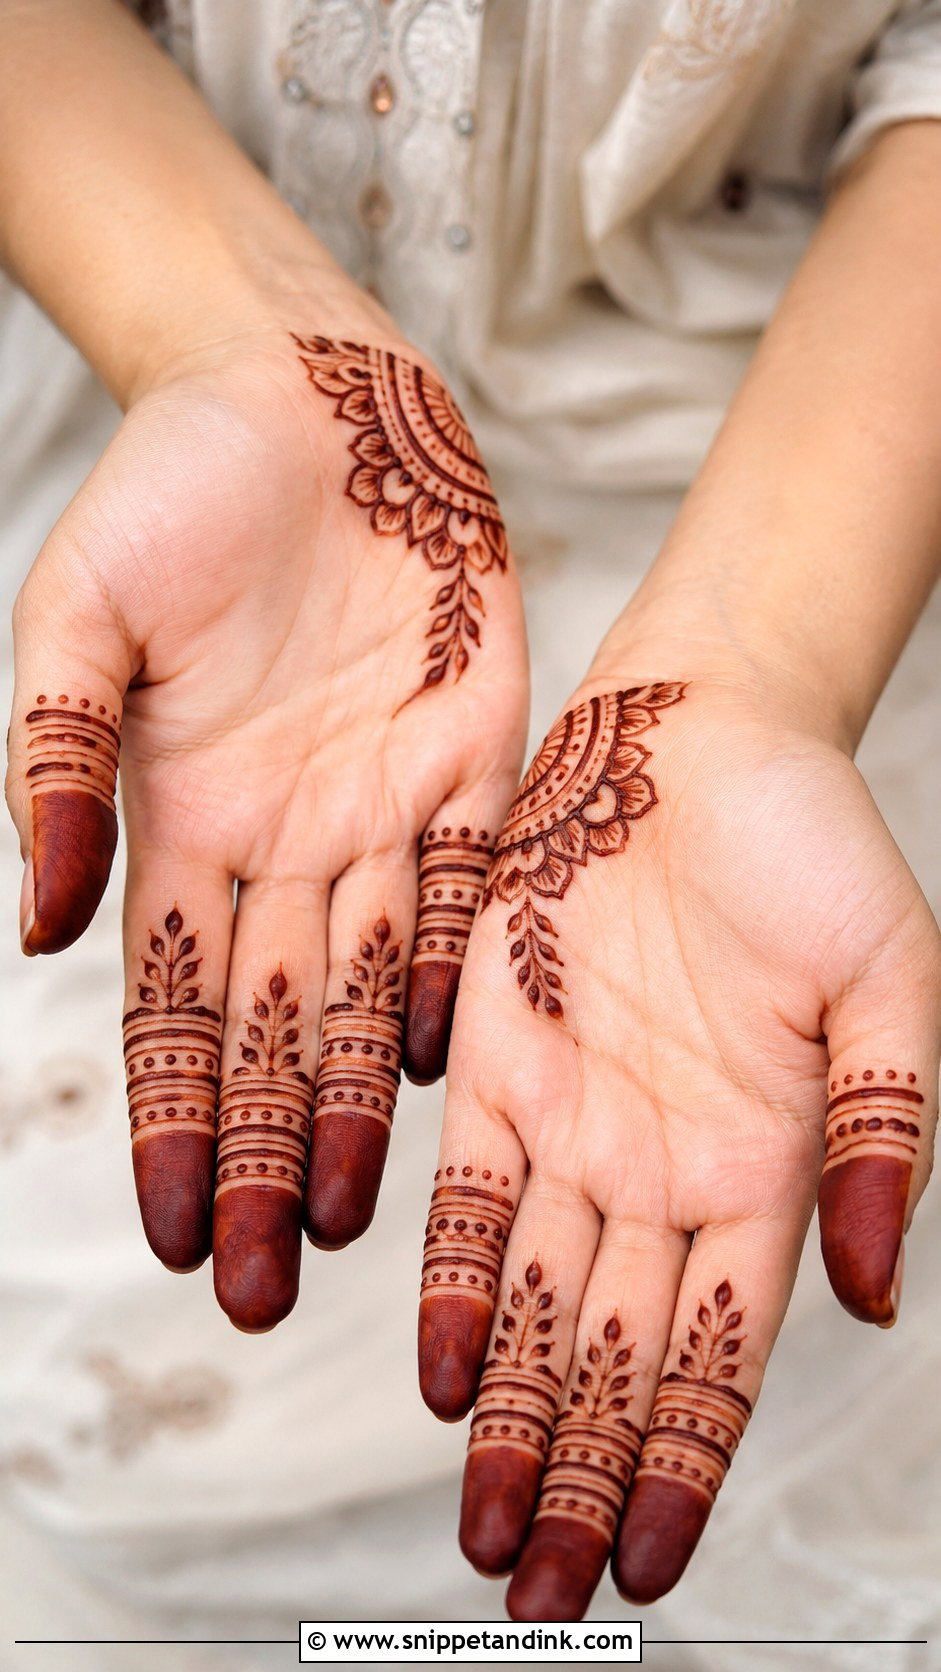
Repeated lines, dots, small leaves, half-circles and basic flowers are all you need. Start with one band on each finger, then add dots above and below it; fill the tips for a traditional finish or leave them bare for a modern one. A tiny wrist border or palm dot cluster completes the hand. Practice the spacing on paper first. It’s the spacing, not the motifs, that makes a simple design look clean.
When the Stain Comes Up Pale
A light orange on the first day is normal; finger stains keep deepening for up to two days. If it’s still weak after that, one of these is usually to blame:
- The paste came off too soon. Fingers need several hours of contact; scraping at the one-hour mark gives a faint result.
- Lotion, oil or sunscreen on the skin. Wash with plain soap and dry thoroughly before any paste goes on.
- Cold hands. A chilly room slows the stain, so I warm a client’s hands before I start and suggest she keeps them warm afterward.
- Water too early, or old powder whose dye had already faded.
Nothing fixes a pale stain once it has set, so plan the next one better rather than layering fresh paste on top.
Patch Testing Before a First Henna
True allergy to natural henna is uncommon, but some people react to the essential oils mixed into the paste. If you’ve never worn henna, I’d put a small dab on your inner arm a day or two before the event and watch for itching or redness. Anyone with sensitive skin, a G6PD deficiency or a history of reactions should check with a doctor first.
A Finger Design Can Take Ten Minutes or Two Hours
Finger mehndi lets you choose your effort level. One decorated finger takes minutes; full bridal fingers with jaali and jewelry patterns take far longer. Your occasion, outfit and hand shape should decide between minimal tips, traditional paisleys, geometric bands or Arabic flow. It also dries faster than a full hand and is easier to live with afterward. Pick two layouts from the list, show them to your artist, and let her tell you which one your fingers will carry better.
You'll Like These Ideas:


Leave a Reply