
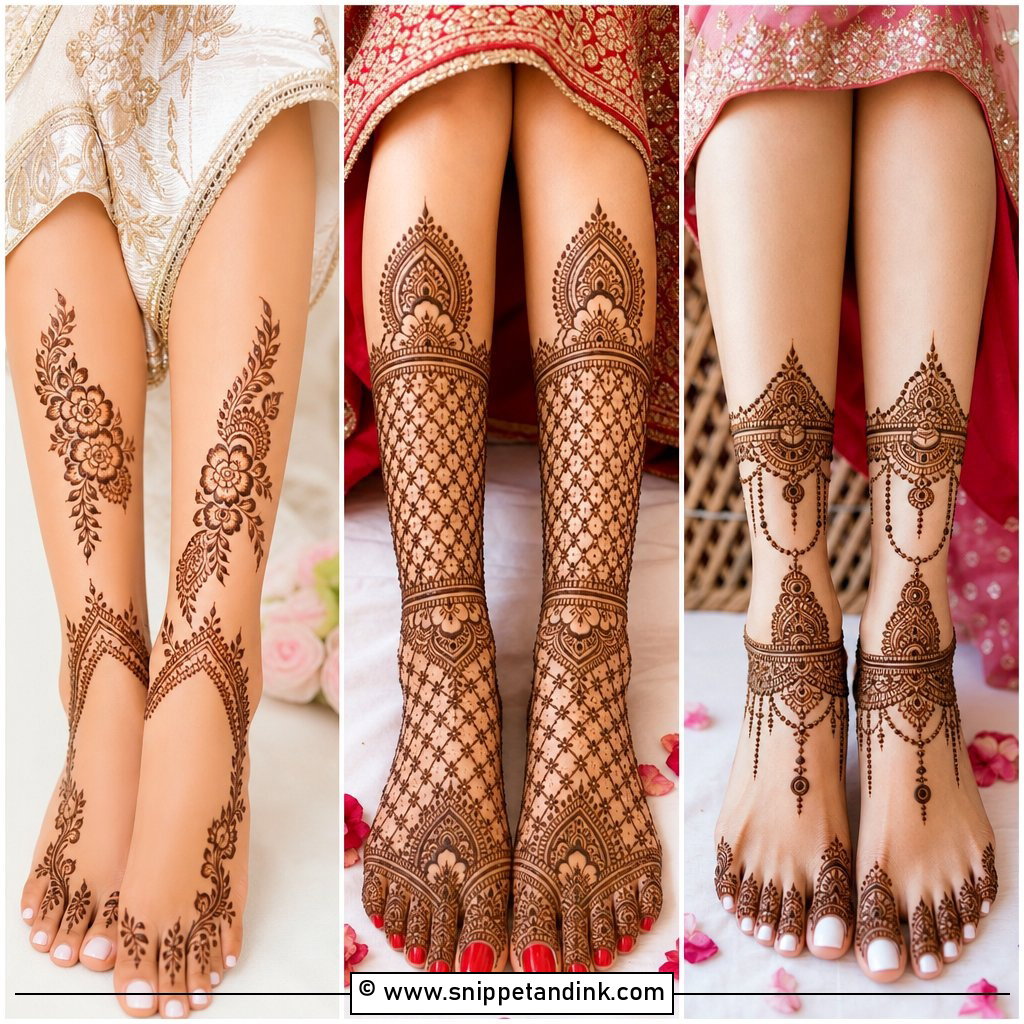
Not every bride wants henna climbing to her knees. A lighter leg design takes far less time in the chair, dries faster, and frames the feet so your payal and sandals still show. When I design simple bridal feet, I rely on anklet bands, a single mandala or paisley, a little jaali and neat toe caps, and I leave open skin on purpose so the stain reads clearly in photos. It sits comfortably under a lehenga hem, a saree or a sharara. Here are the leg and foot designs I suggest most often, with notes on placement, stain and how each one wears.

Getting Your Feet Ready a Few Days Ahead of Mehndi Night
Henna stains the top layer of skin, so anything that removes that layer after application removes the design with it. That is why the order of your pre-wedding appointments matters more on the feet than anywhere else.
- Book your pedicure and waxing two or three days before mehndi, never after. A pedicure scrub or soak afterwards strips the stain unevenly.
- Paint your toenails before the appointment, or leave them bare. Removing polish with acetone near fresh mehndi dries and lightens the stain around the toes.
- Arrive with clean, dry feet and no lotion or oil. Moisturisers sit between the paste and the skin and give a weaker colour.
- Wear loose bottoms that roll up past the knee, and bring open slippers so nothing touches the paste on the way home.
Timing the application itself also helps. I prefer to apply bridal mehndi one or two days before the wedding. The stain starts a bright orange and deepens over the next day or two, so it is at its darkest on the wedding day itself, not the night it’s applied.
1. Simple Bridal Foot Mehndi Design
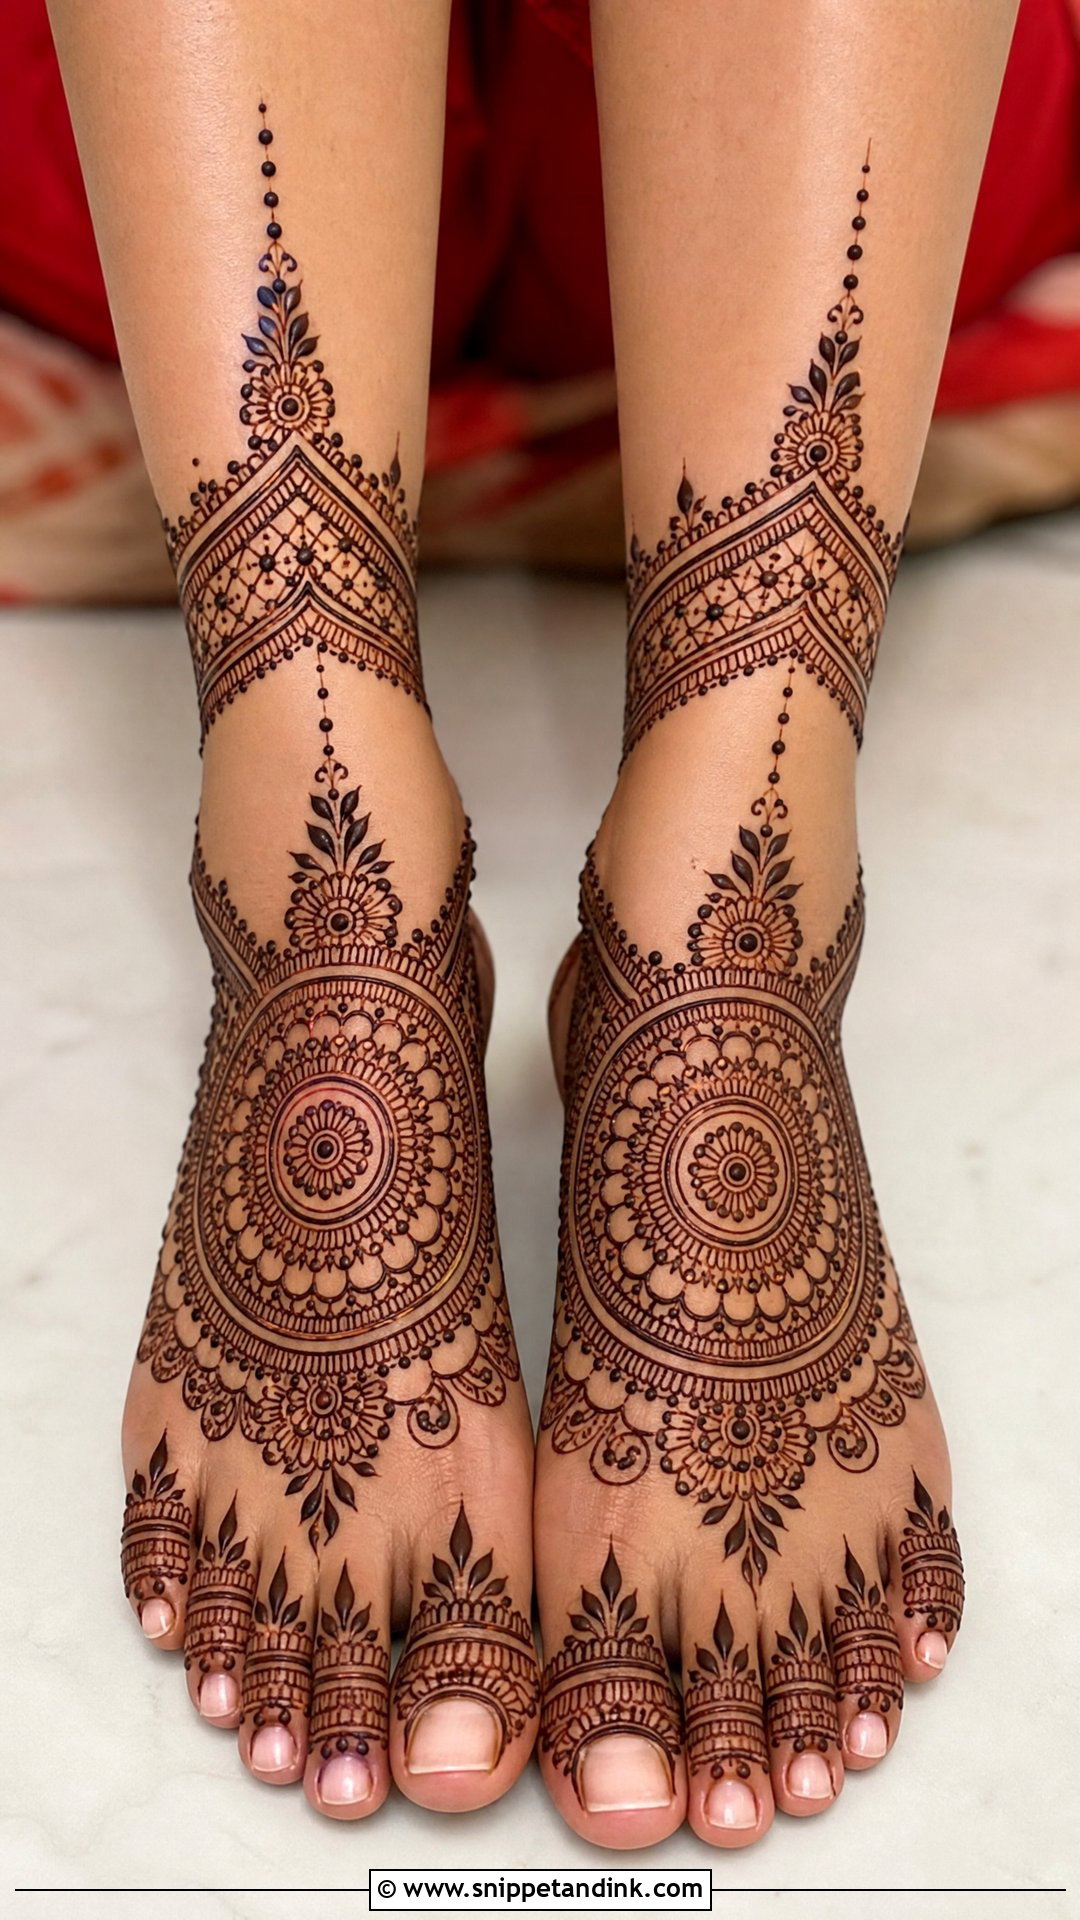
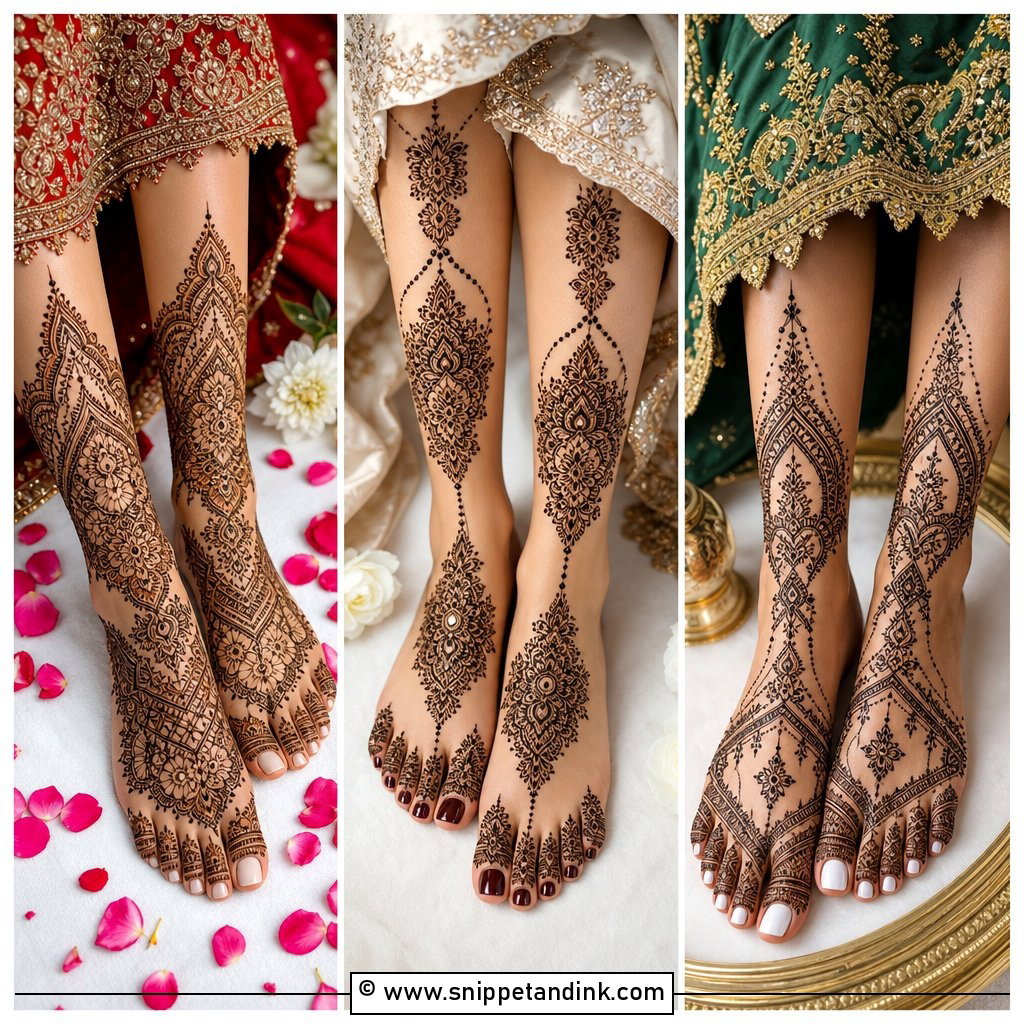
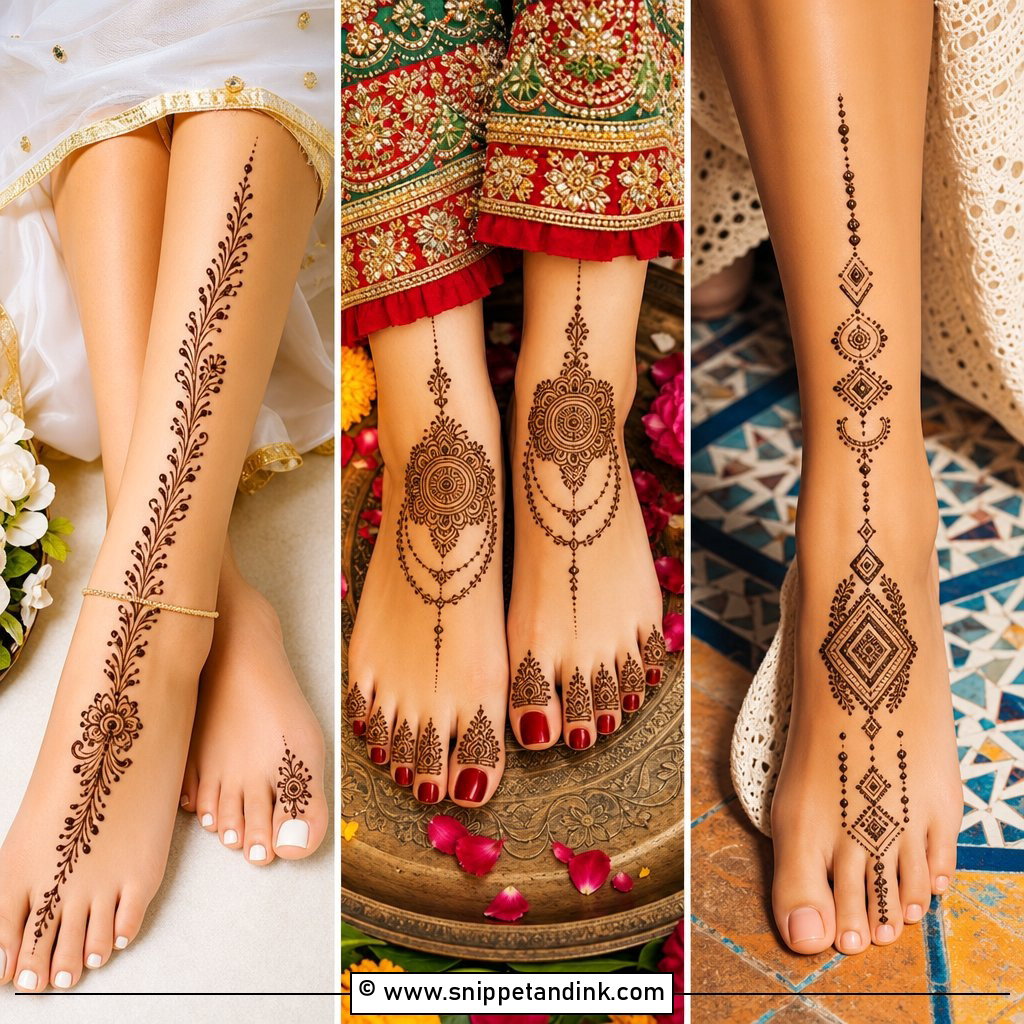
A simple bridal foot mehndi design is where I start most brides who are unsure. I place a small mandala or floral circle in the centre of each foot, run fine dots, vines and tiny leaves towards the toes, and finish with a slim band at the ankle. The open spaces are not filler left out; they are what makes each motif readable when the photographer gets close. I always draw the first foot, then mirror the second while the bride watches, because small differences in where the mandala sits are easy to spot once the feet are side by side.
2. Indian Bridal Leg Mehndi Design
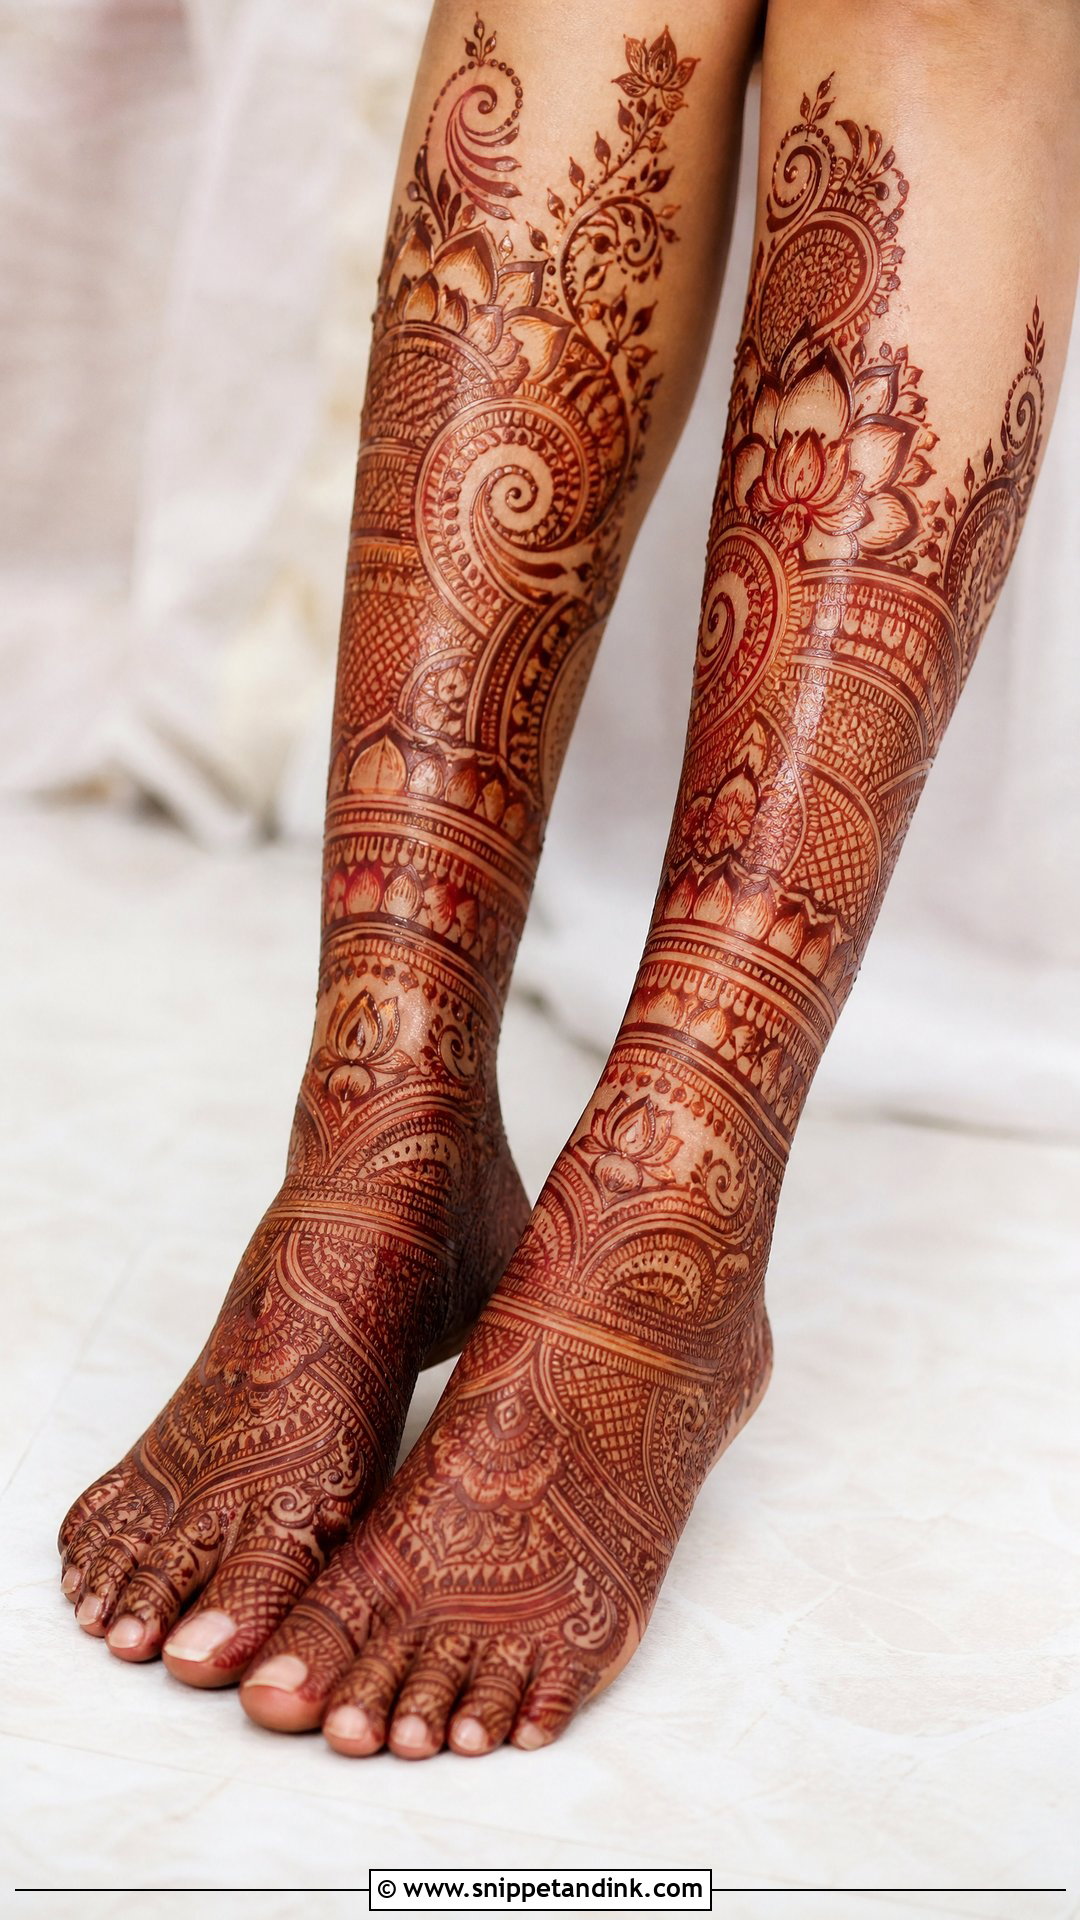
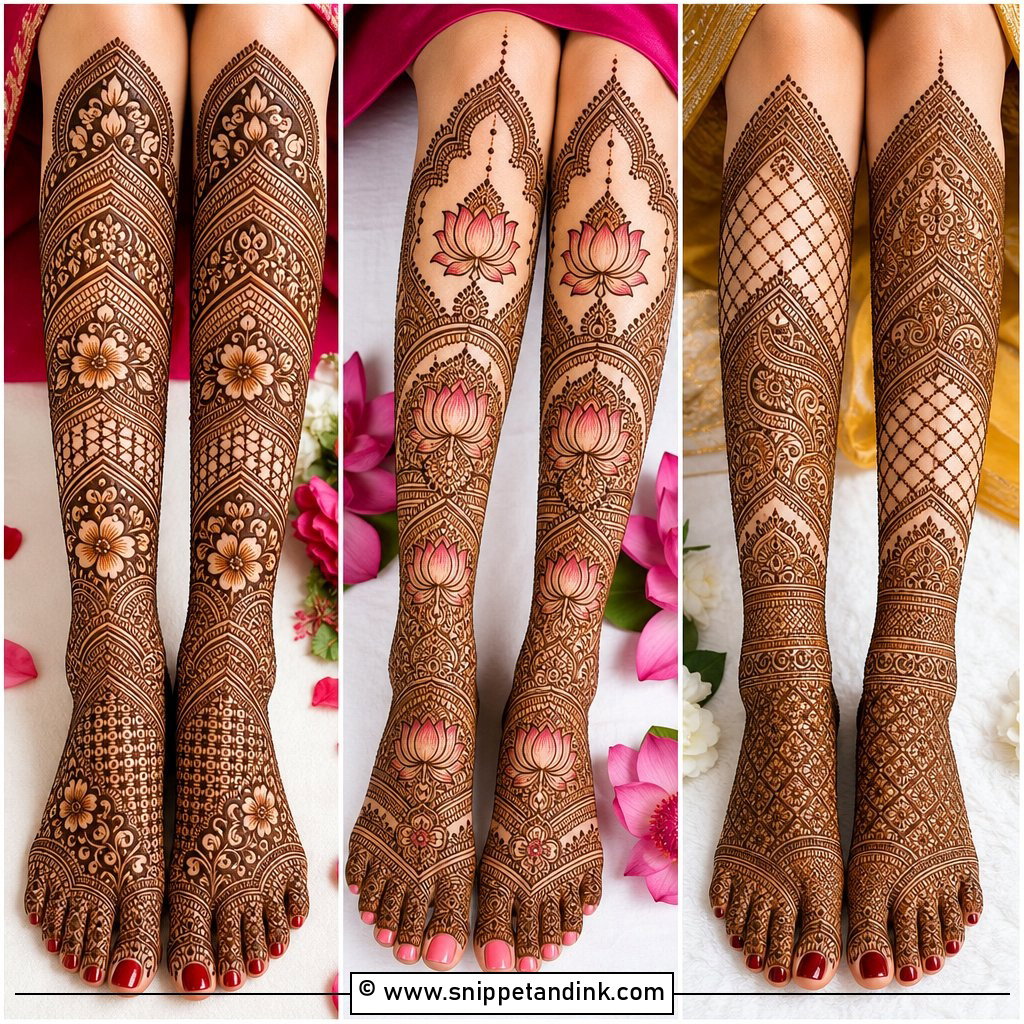
Leg mehndi can stay simple if the work stops a hand’s width above the ankle. Paisleys, lotus flowers, curved vines and dotted chains give the bridal feel, leafy tips fill the toes and a bangle-like band crowns the ankle. I keep motifs medium-sized here. Very fine lines on the top of the foot stain more weakly than on palms, so lacy detail that looks delicate in wet paste can fade to a faint orange. A slightly bolder line gives a clearer, darker result on the wedding day.
3. Bridal Anklet Mehndi Design
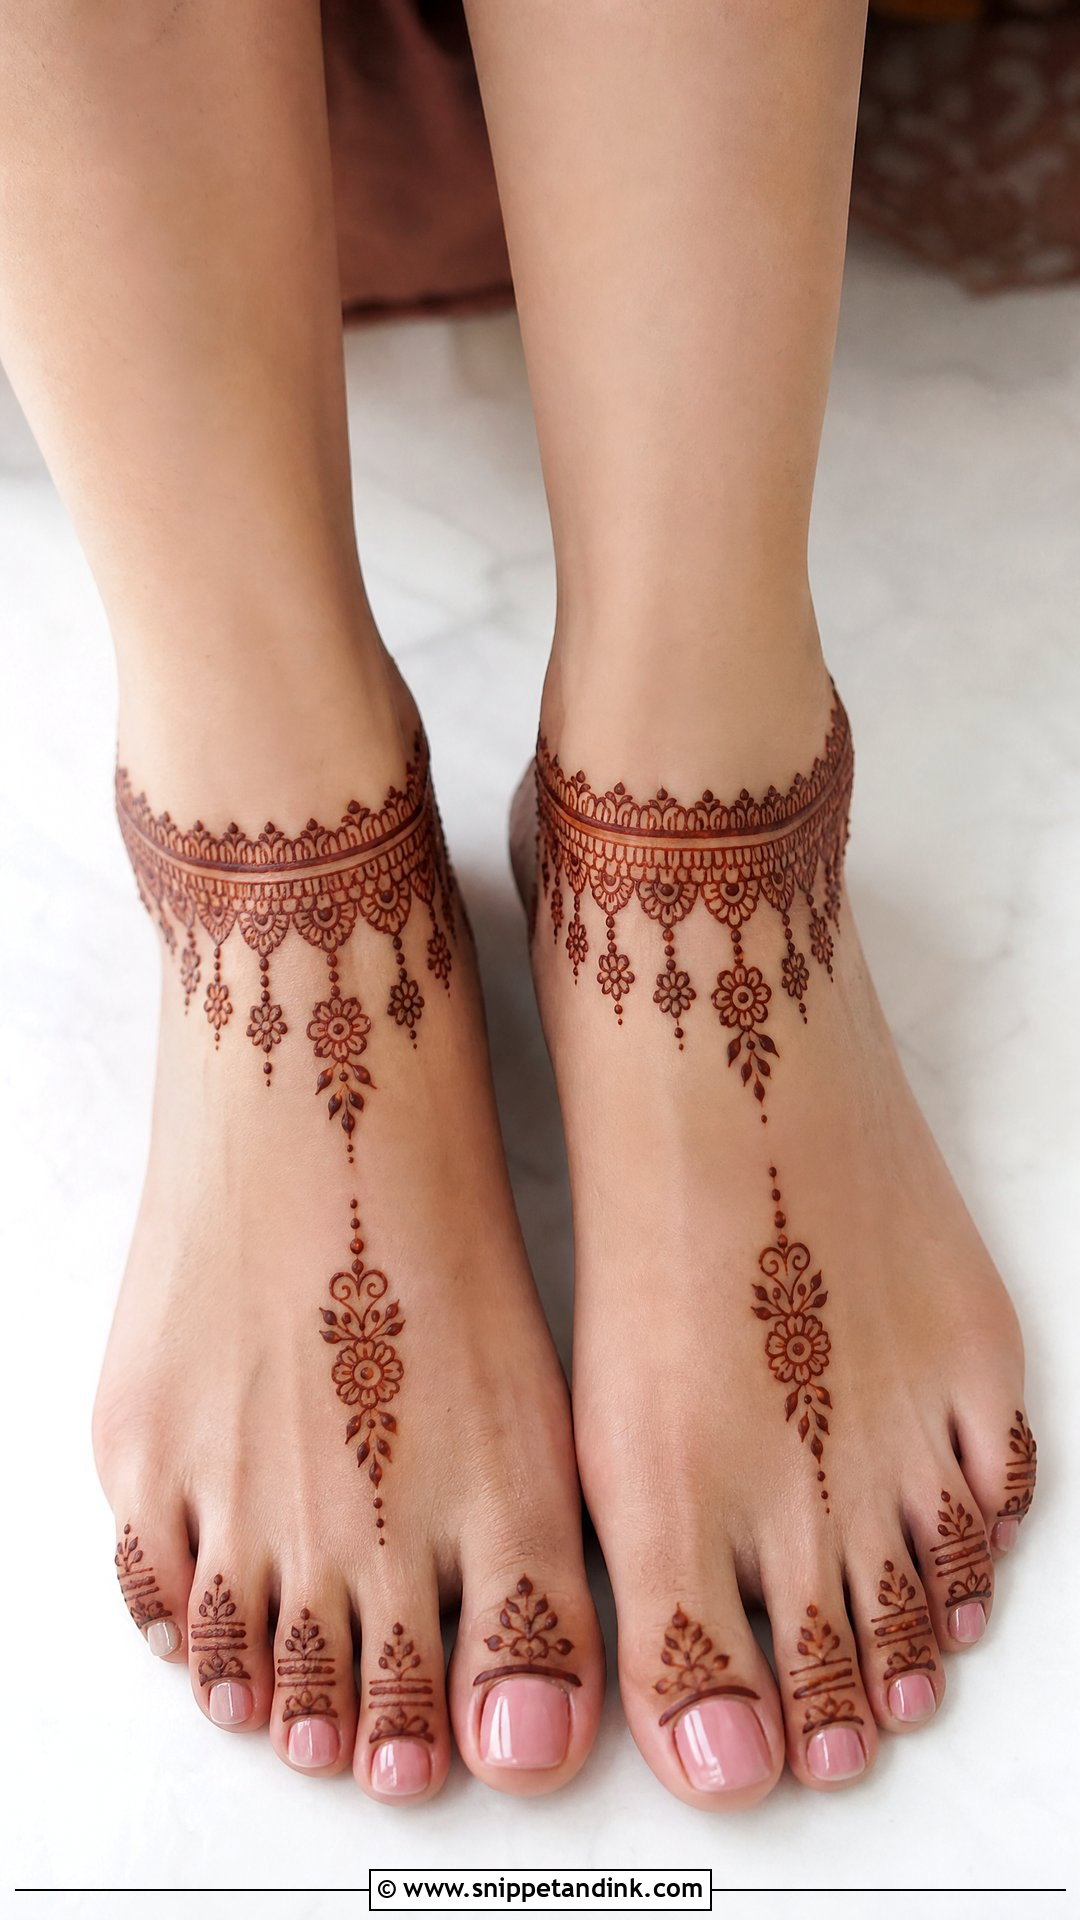
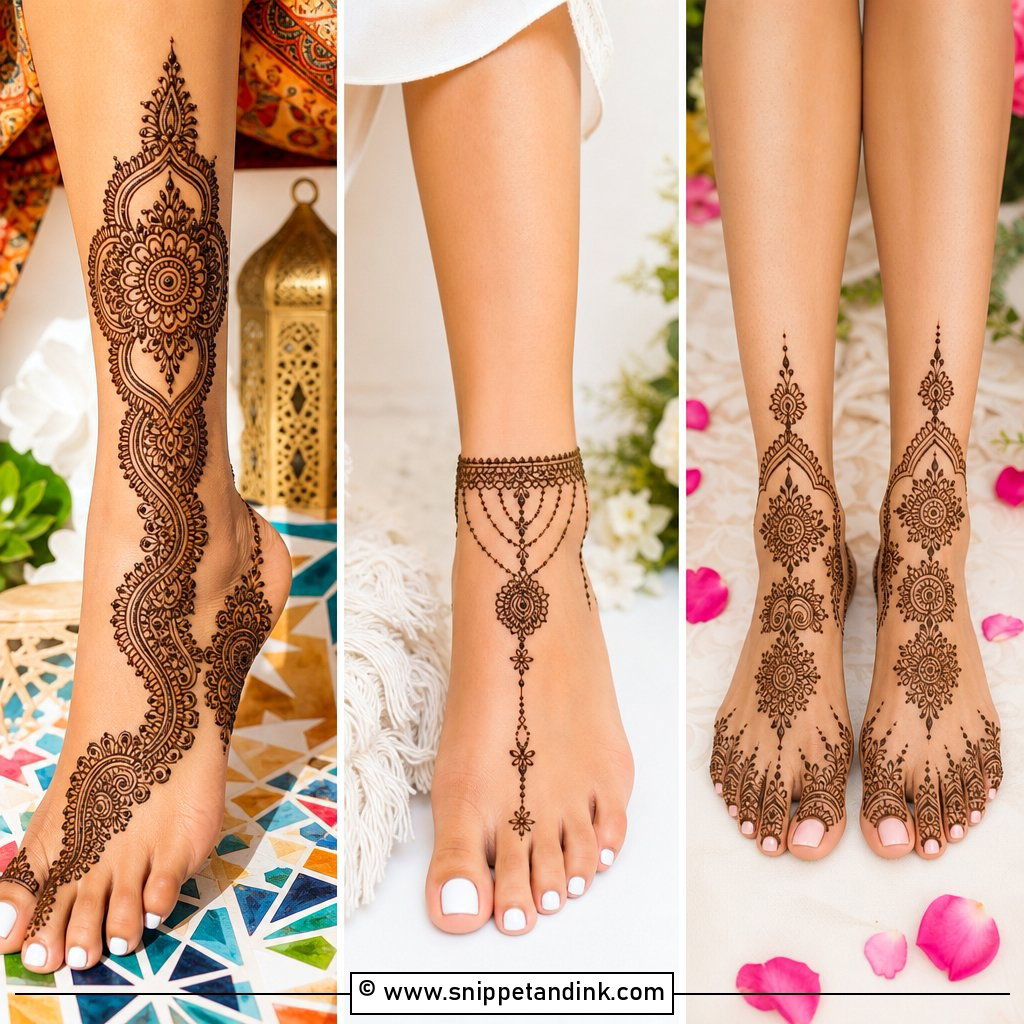
Bridal anklet mehndi design borrows its shape from jewellery: a band around the ankle with hanging dots, tiny bells, leaf drops and floral chains, and an open foot with one motif in the centre. Before I draw the band, I ask the bride to bring her real anklets. If the payal sits right on the henna band, the two fight each other; if I place the band a finger’s width lower, the metal frames the stain. Both legs need the band at exactly the same height, so I measure from the ankle bone on each side.
4. Simple Dulhan Foot Mehndi Design
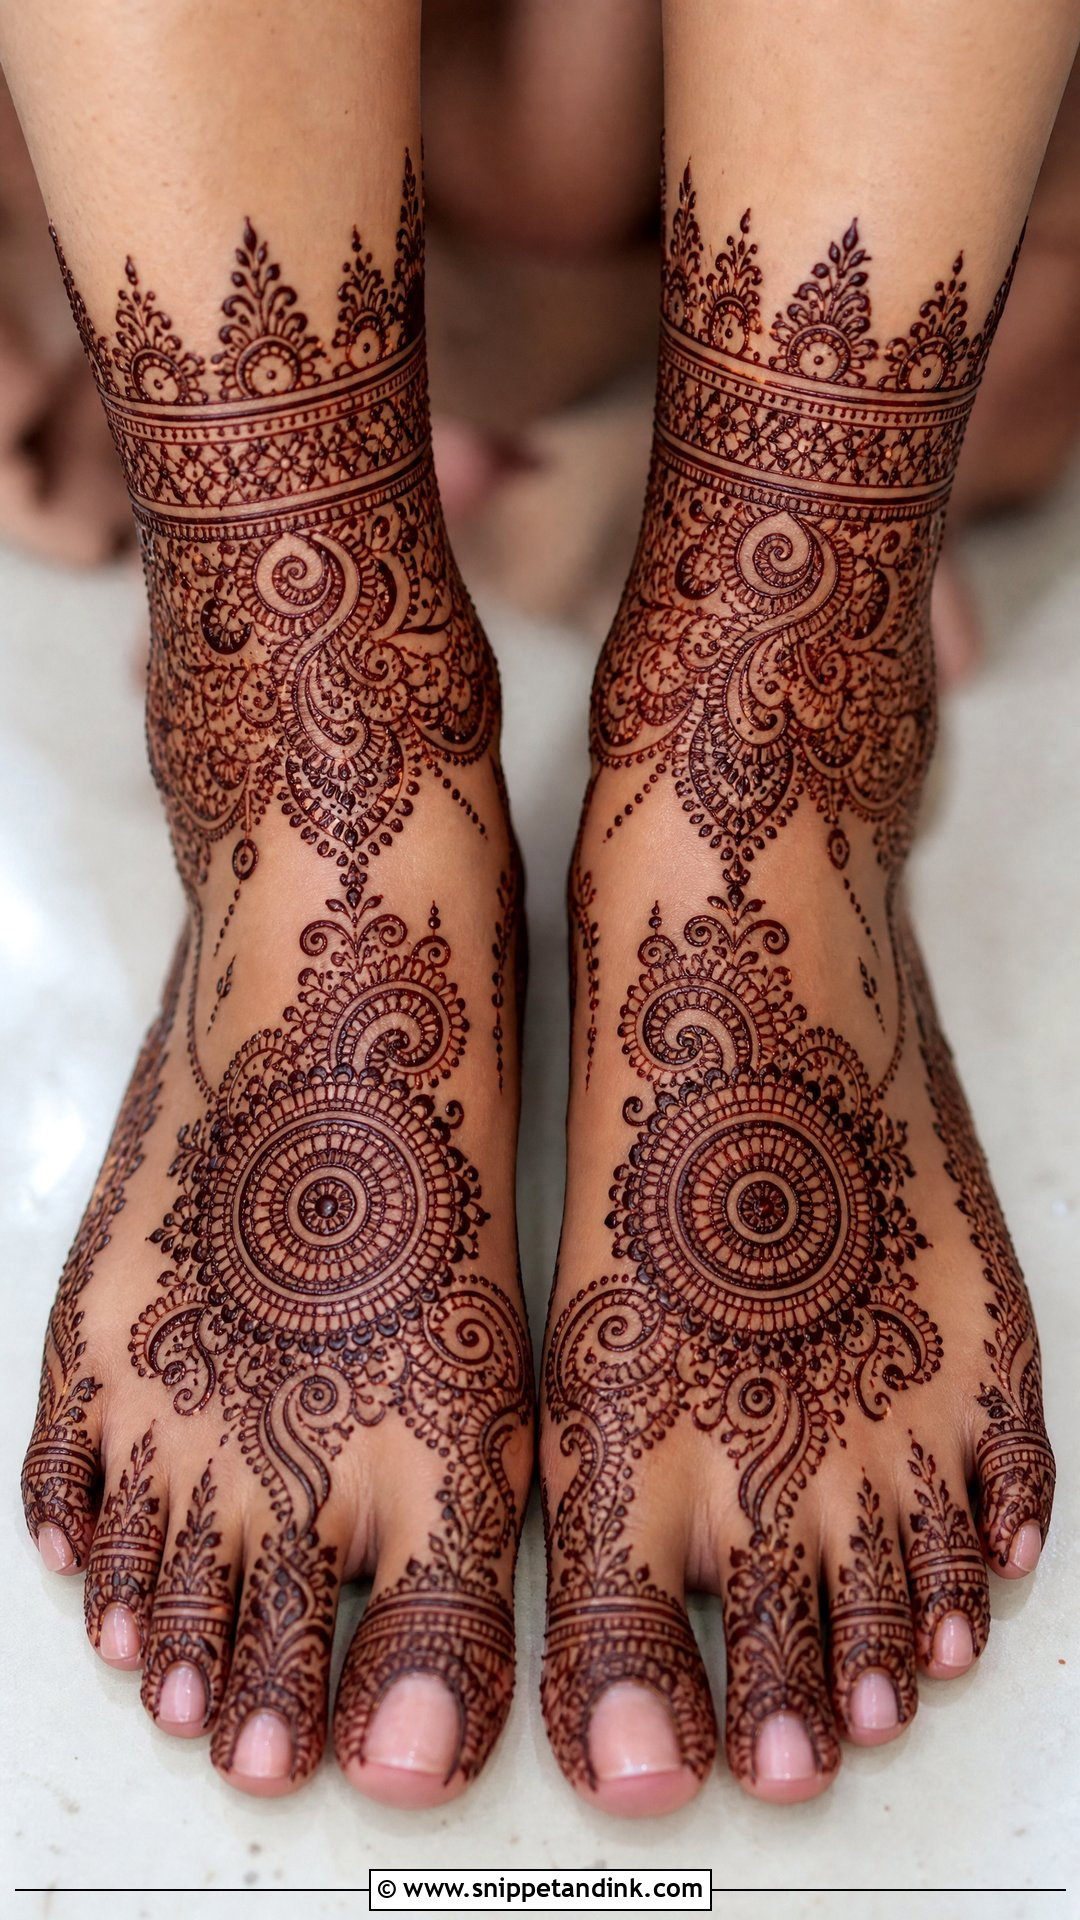
The charm of a light dulhan foot comes from symmetry and placement, not filling. A round central motif, paisleys curving along the sides, leafy trails on the toes and a delicate ankle cuff are enough. I keep the lines fine but not hair-thin; a line drawn too thin on the foot often breaks in the stain. This design takes far less sitting time than a heavy pattern, so I suggest it for brides with several back-to-back functions, or for anyone wearing pastel outfits and light jewellery who wants the feet to match that mood.
5. Full Foot Bridal Mehndi Design
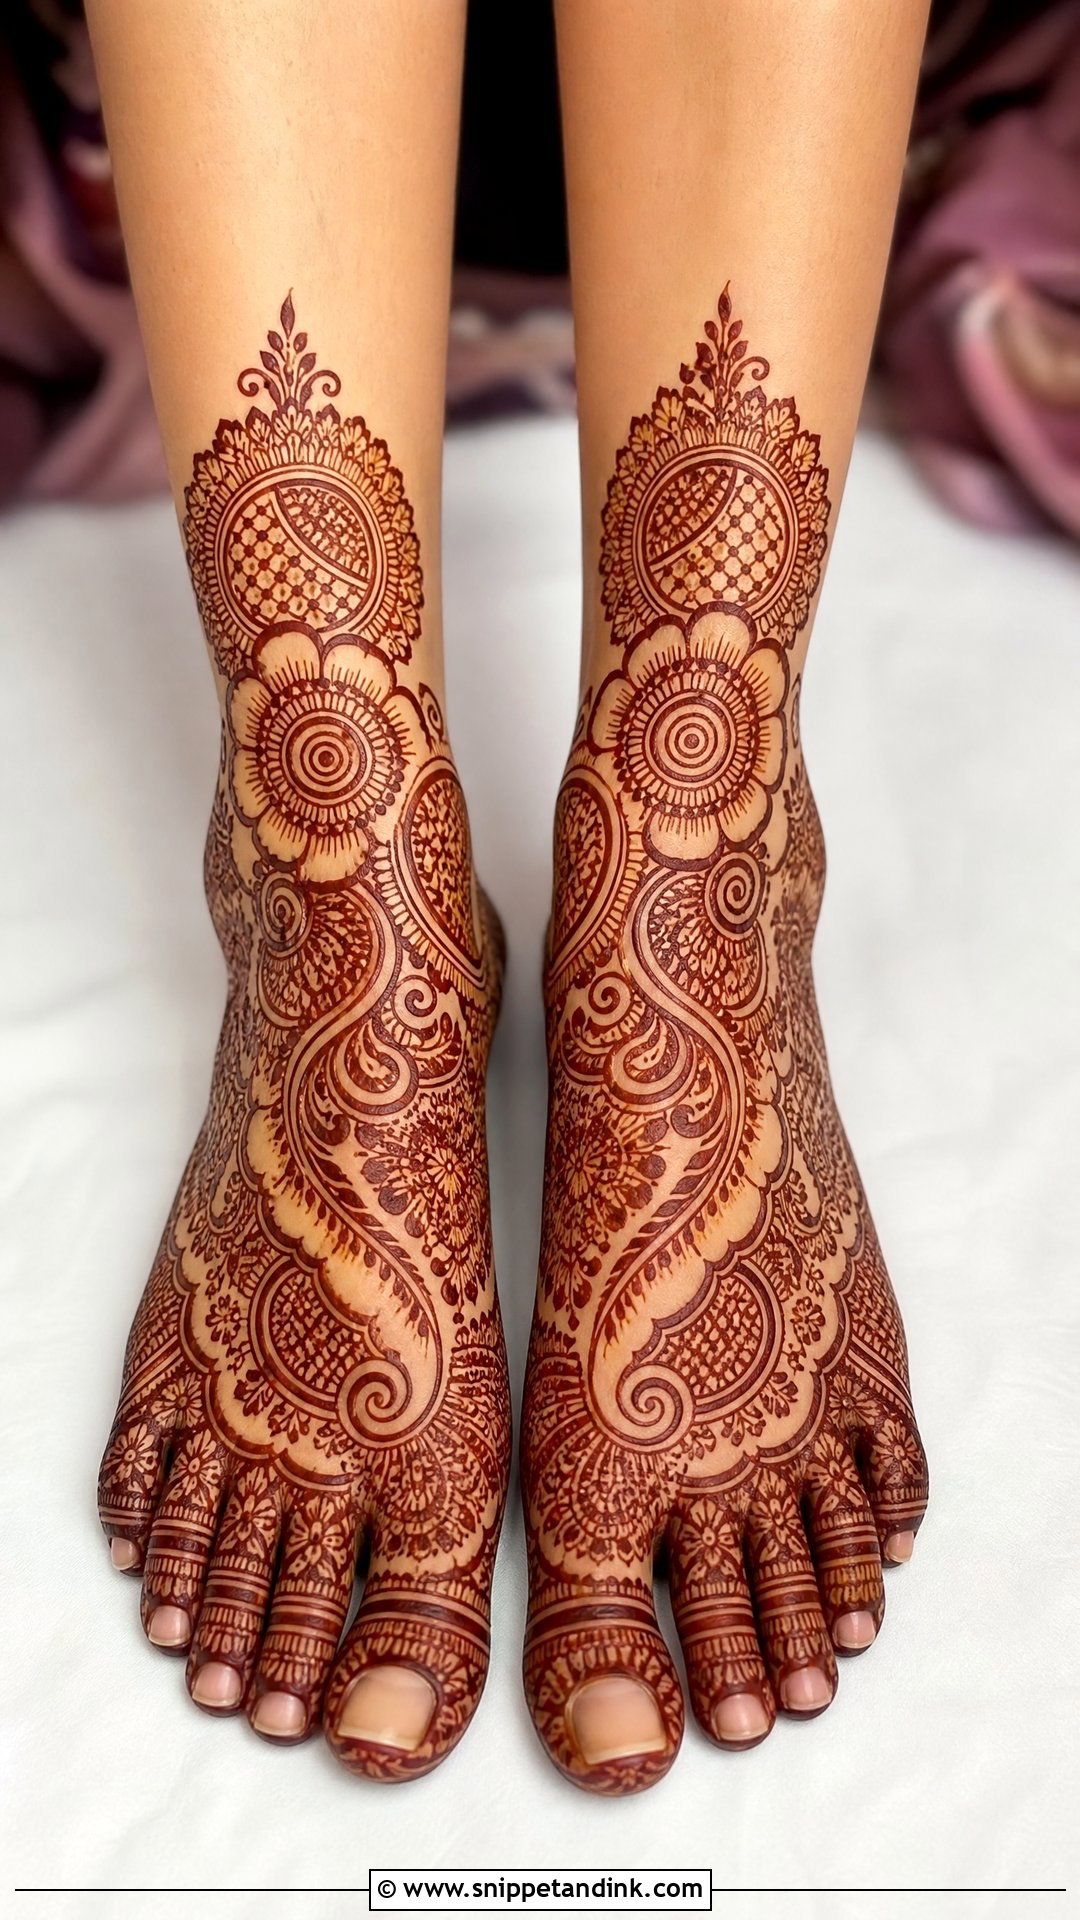
Full foot coverage can still look simple if the motifs have room to breathe. I cover the top of the foot from toes to ankle with flowers, paisleys and vines, but leave small gaps so each shape stays distinct. A circular centre, shaded petals and toe bands complete it. Coverage stops at the ankle, which keeps the leg clean under a lifted lehenga. If you’ll be barefoot for rituals or wearing open sandals, this is the design that looks finished from every side. Plan for a longer drying time, as more paste means more hours before you can walk freely.
6. Bridal Leg Mehndi With Mandala
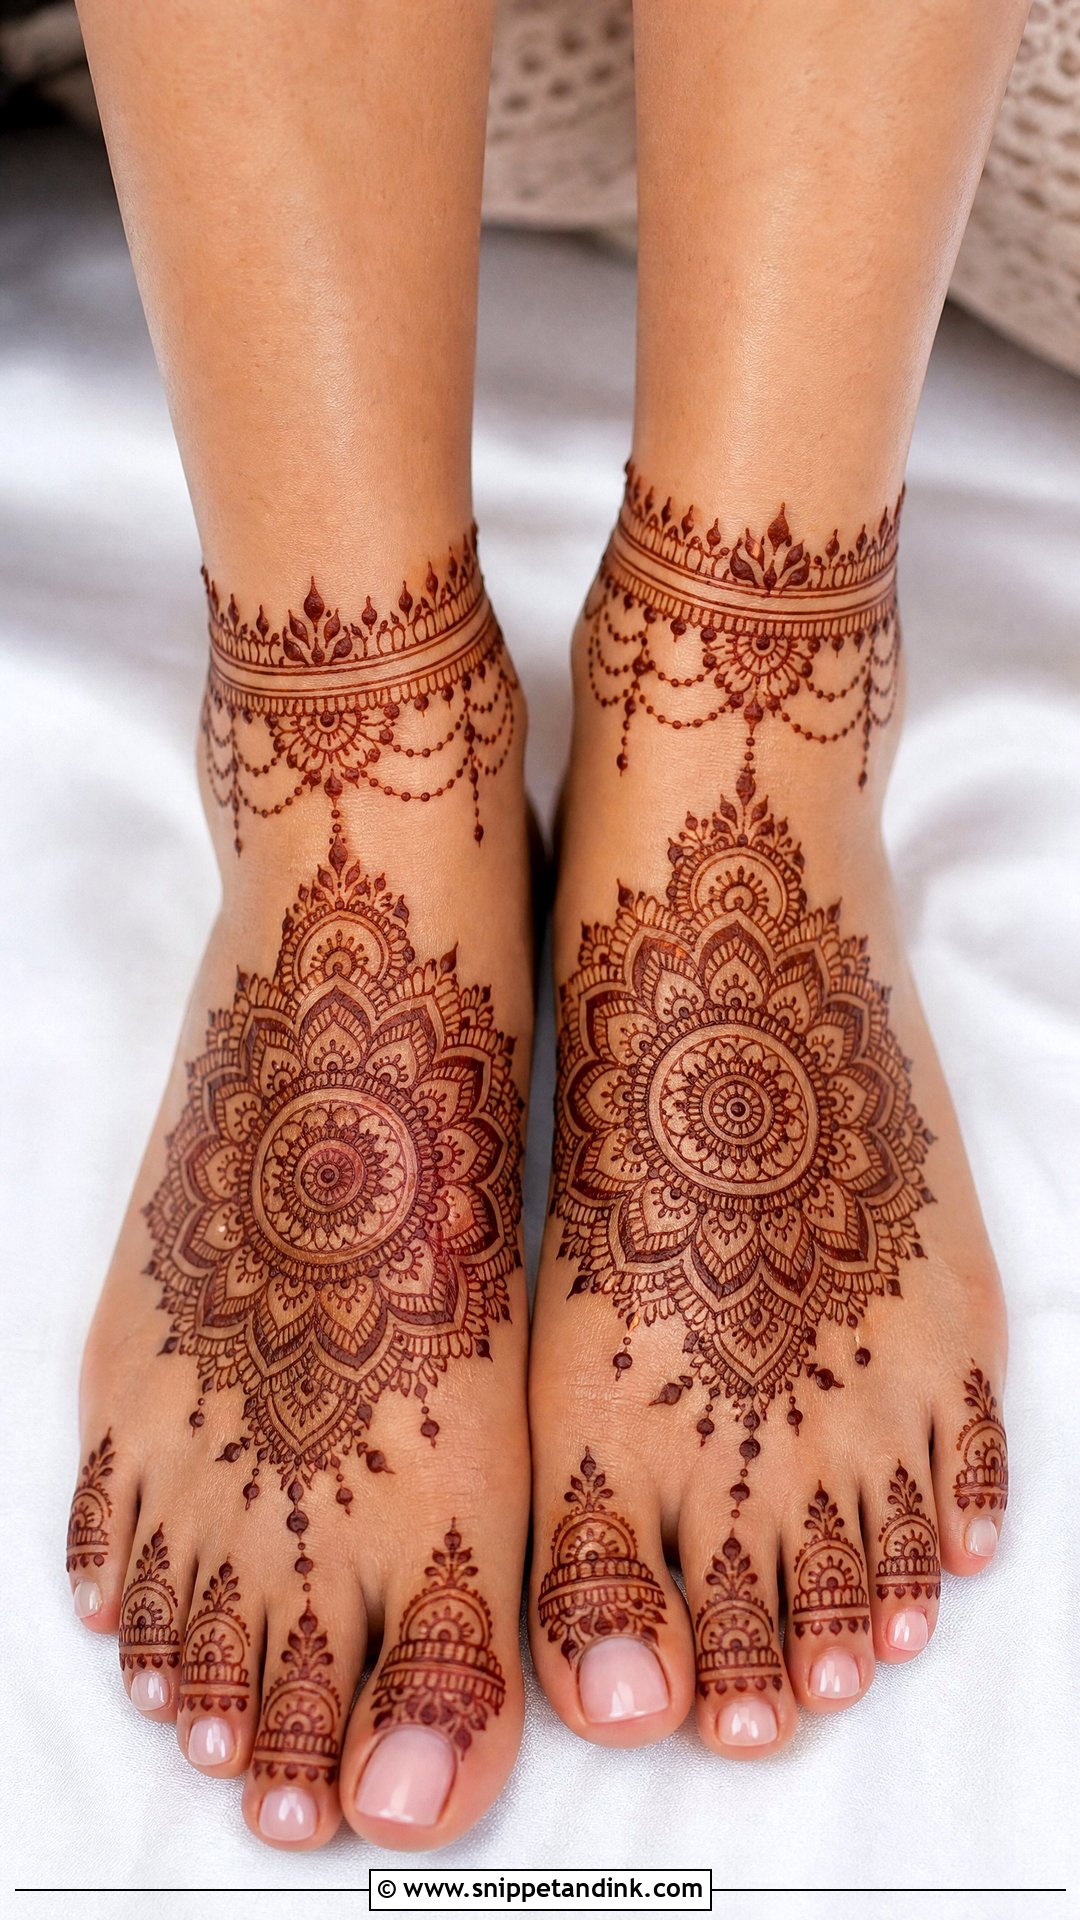
I like a mandala on the foot because it gives the eye a clear centre, which is exactly what a simple design needs. I place it on the highest point of the instep, where it sits flat and doesn’t distort when you walk. The rest can stay light: dots, a vine or two and a fine ankle border. The centre itself can be a simple flower, a sun shape or a layered ring. A mandala placed too close to the toes ends up hidden by sandal straps, so I check your footwear before choosing the spot.
7. Bridal Foot Mehndi With Paisley
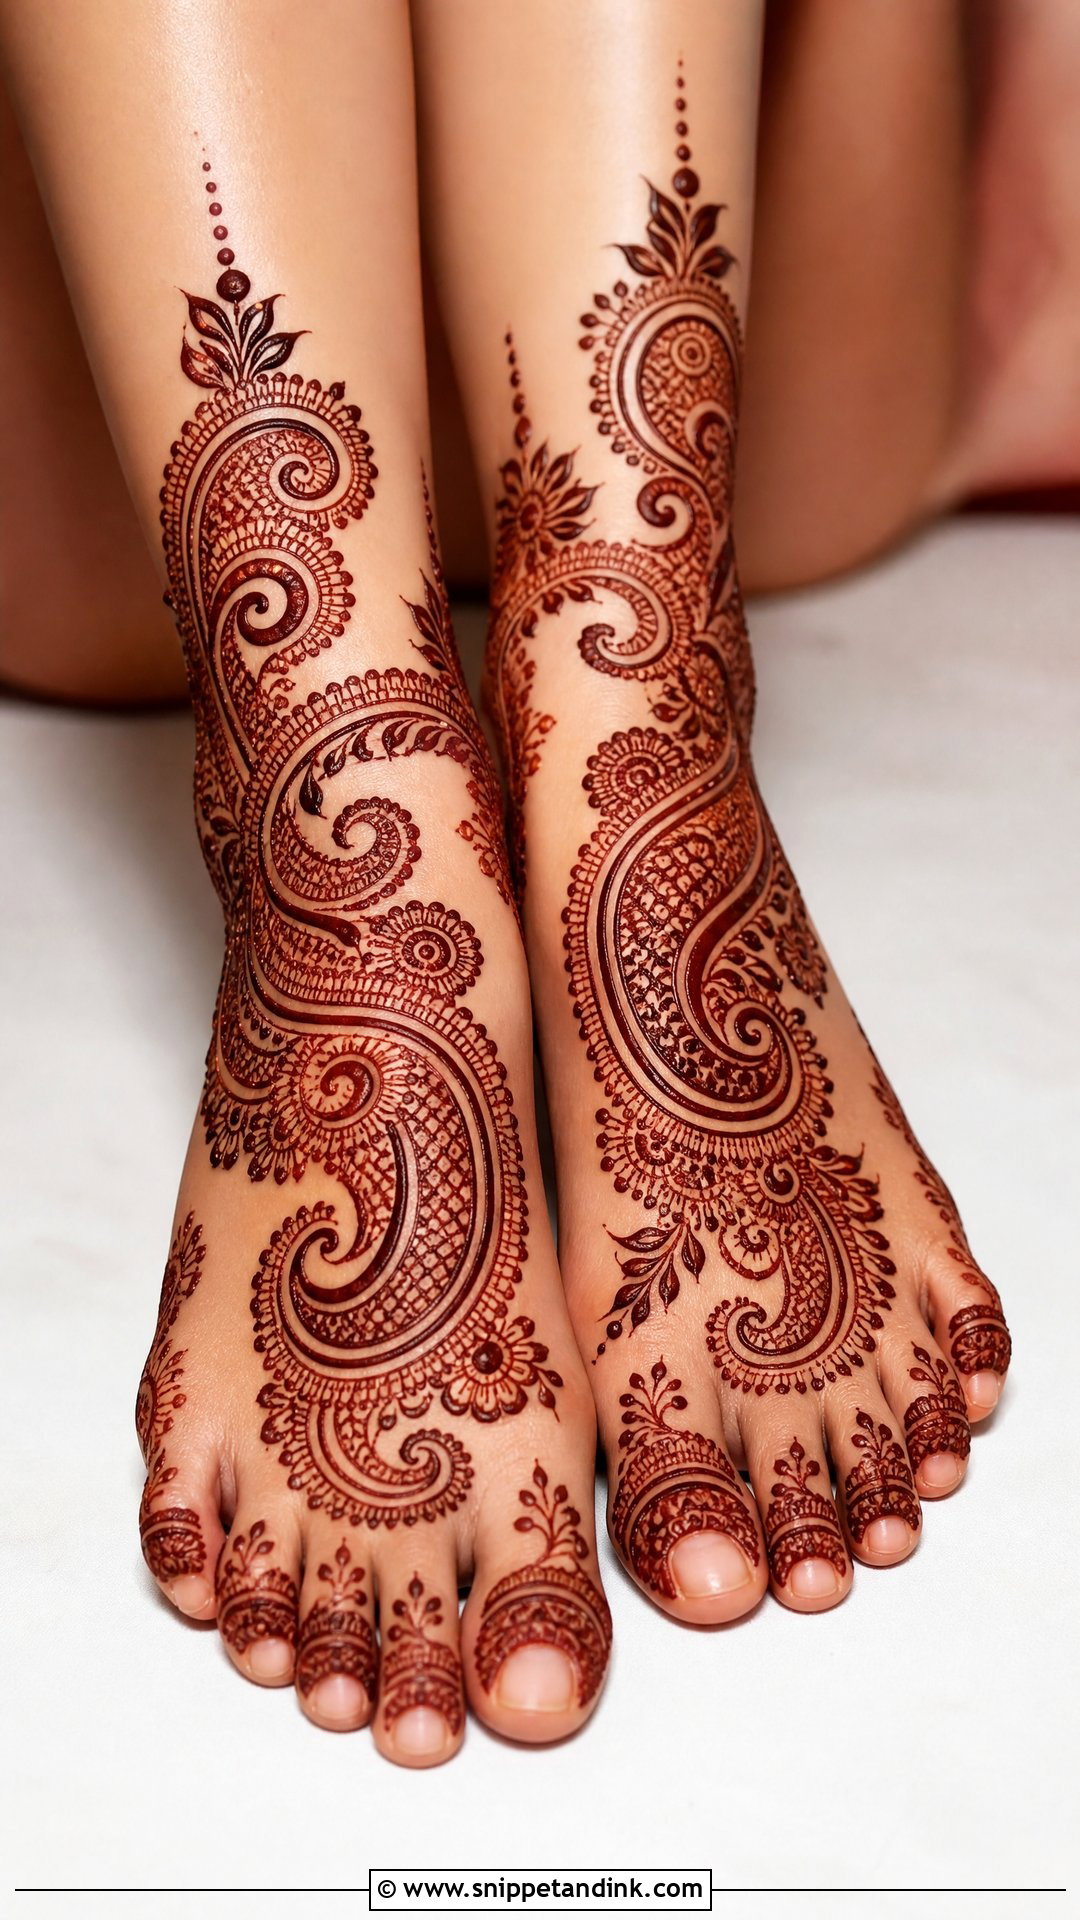
Paisley follows the natural curve of a foot better than almost any other motif. For a simple bridal version I draw one large paisley per foot, usually sweeping from the outer ankle towards the big toe, and surround it with small leaves, dots and floral fillers. The tail of the paisley is where I take care: if it’s drawn too long, it crosses the crease at the front of the ankle and smudges the first time you flex your foot. Red, maroon, gold, ivory and green outfits all sit naturally with it.
8. Simple Leg Mehndi Design For Bride
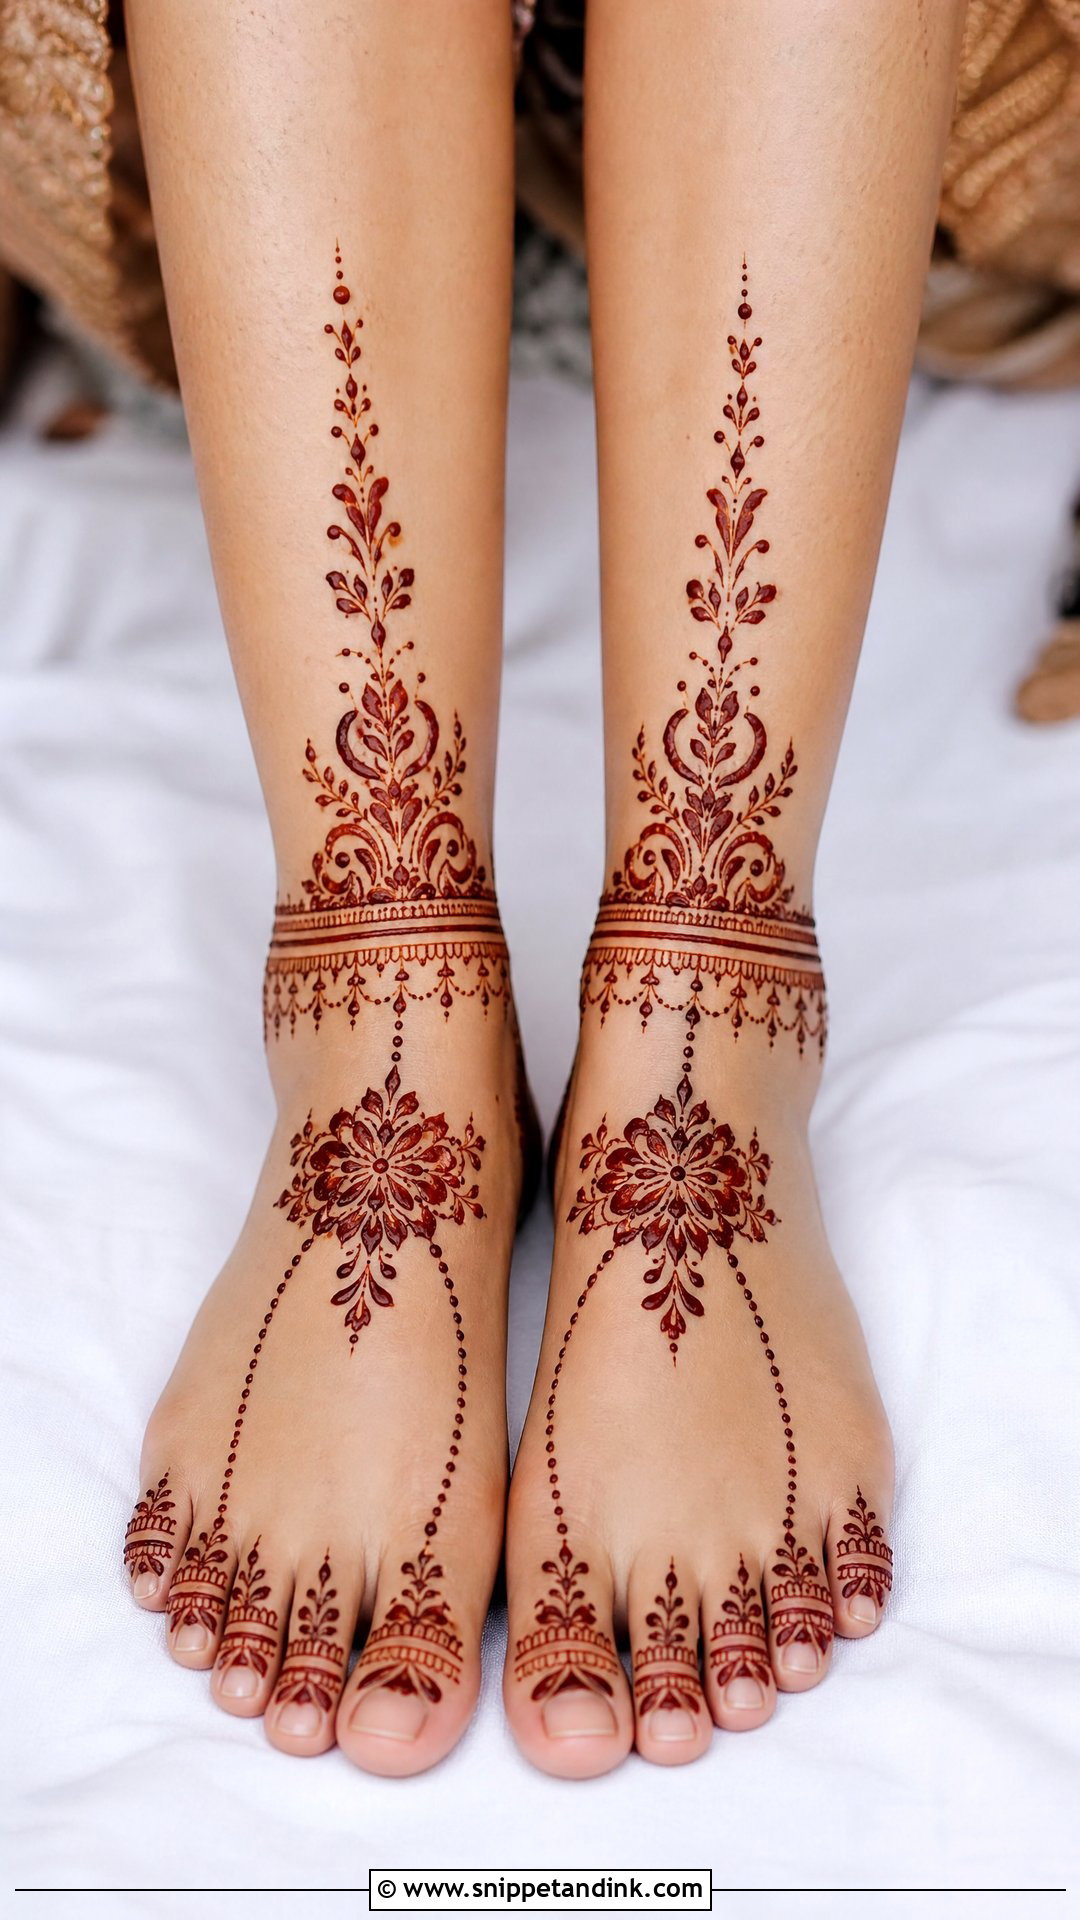
A simple bridal leg design should be easy to sit for and easy to live with. I cover the toes, the top of the foot, the ankle and a short stretch above it, using slim floral trails, dotted chains and small leaf clusters instead of dense net filling. Neat spacing is what makes it look expensive. For an intimate ceremony or a court wedding, this gives you bridal hands-and-feet without a long sitting. Both legs must match, so I work on them alternately rather than finishing one before starting the other.
9. Bridal Foot Mehndi With Jaali
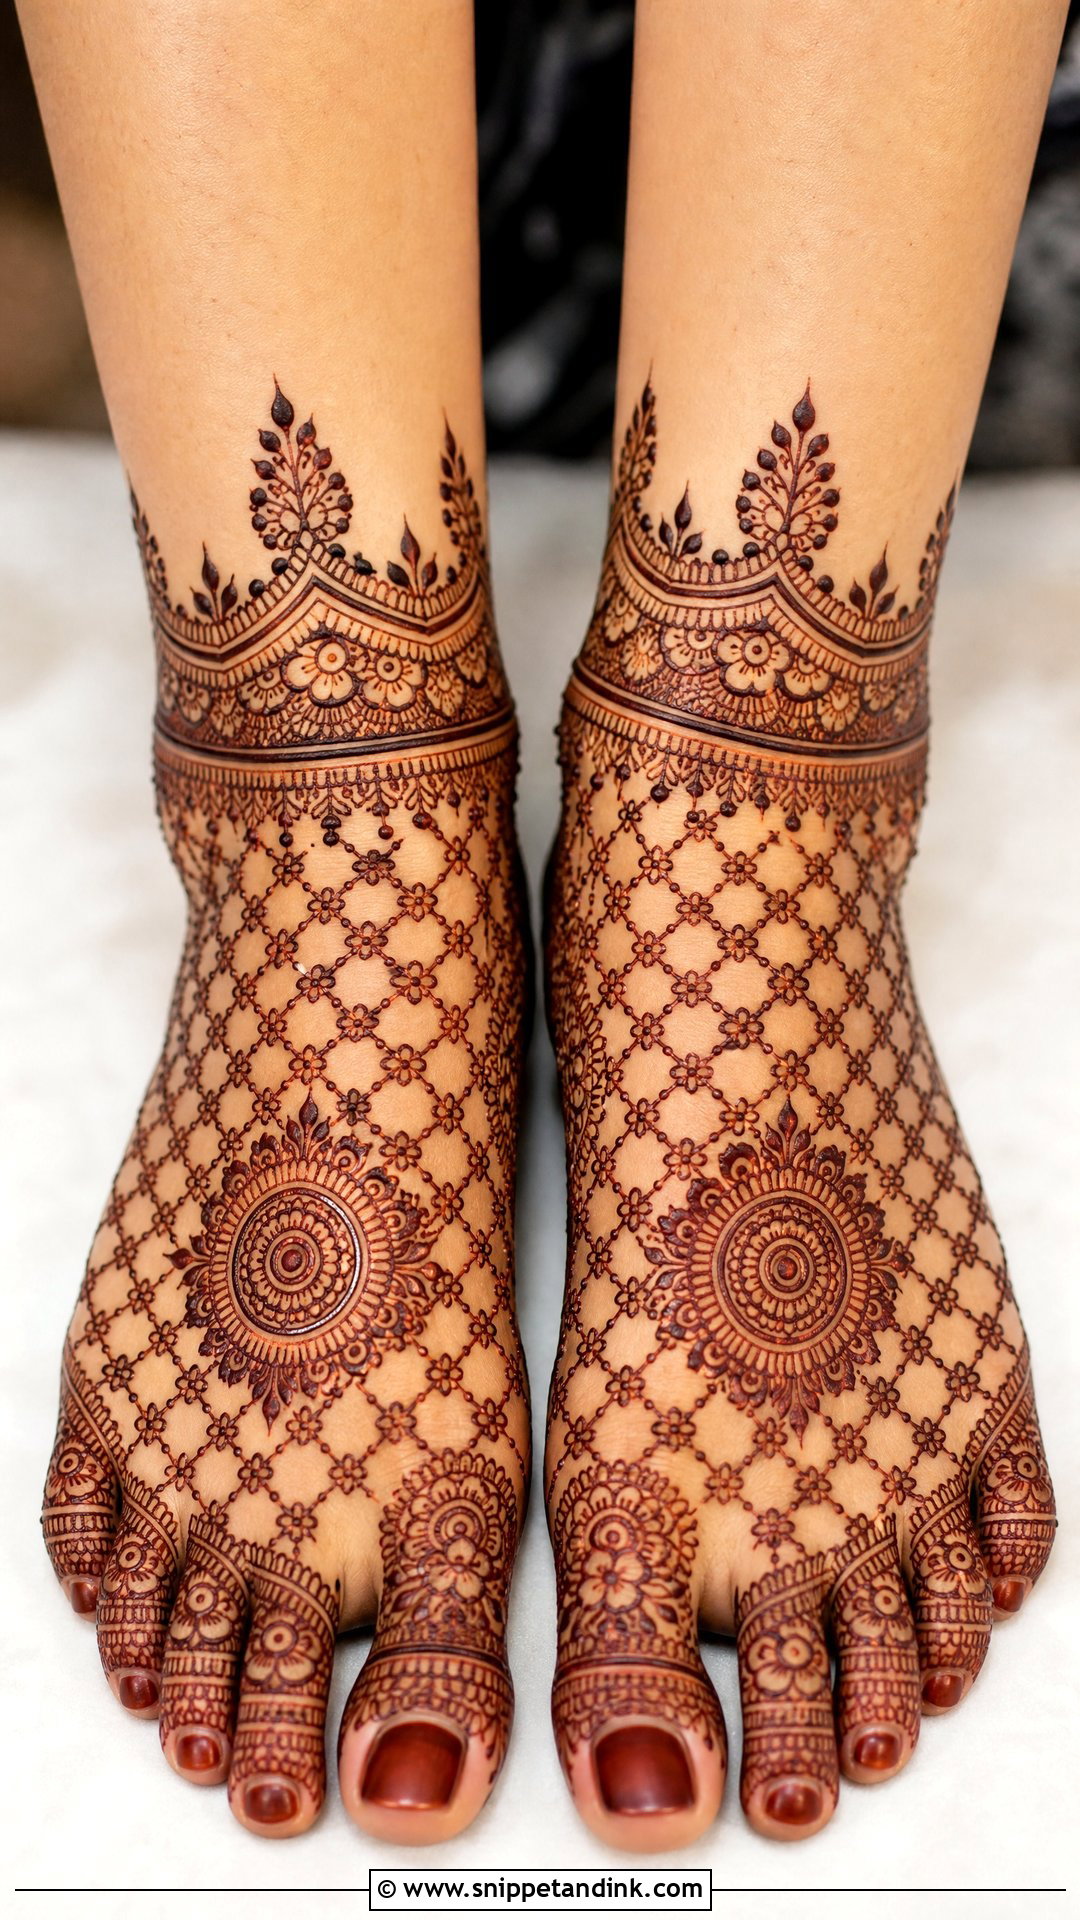
Jaali gives a lace effect, and on feet I use it sparingly. A small mesh panel on the side of the foot or across the ankle looks delicate next to sandal straps, echoing their crisscross lines. Covering the whole foot in jaali is a mistake: fine grids on thinner skin can blur as the paste spreads slightly in warm weather. For Indian bridal legs, I pair a small mandala on the foot with a jaali anklet band, which keeps the texture where it reads well.
10. Bridal Foot Mehndi With Lotus
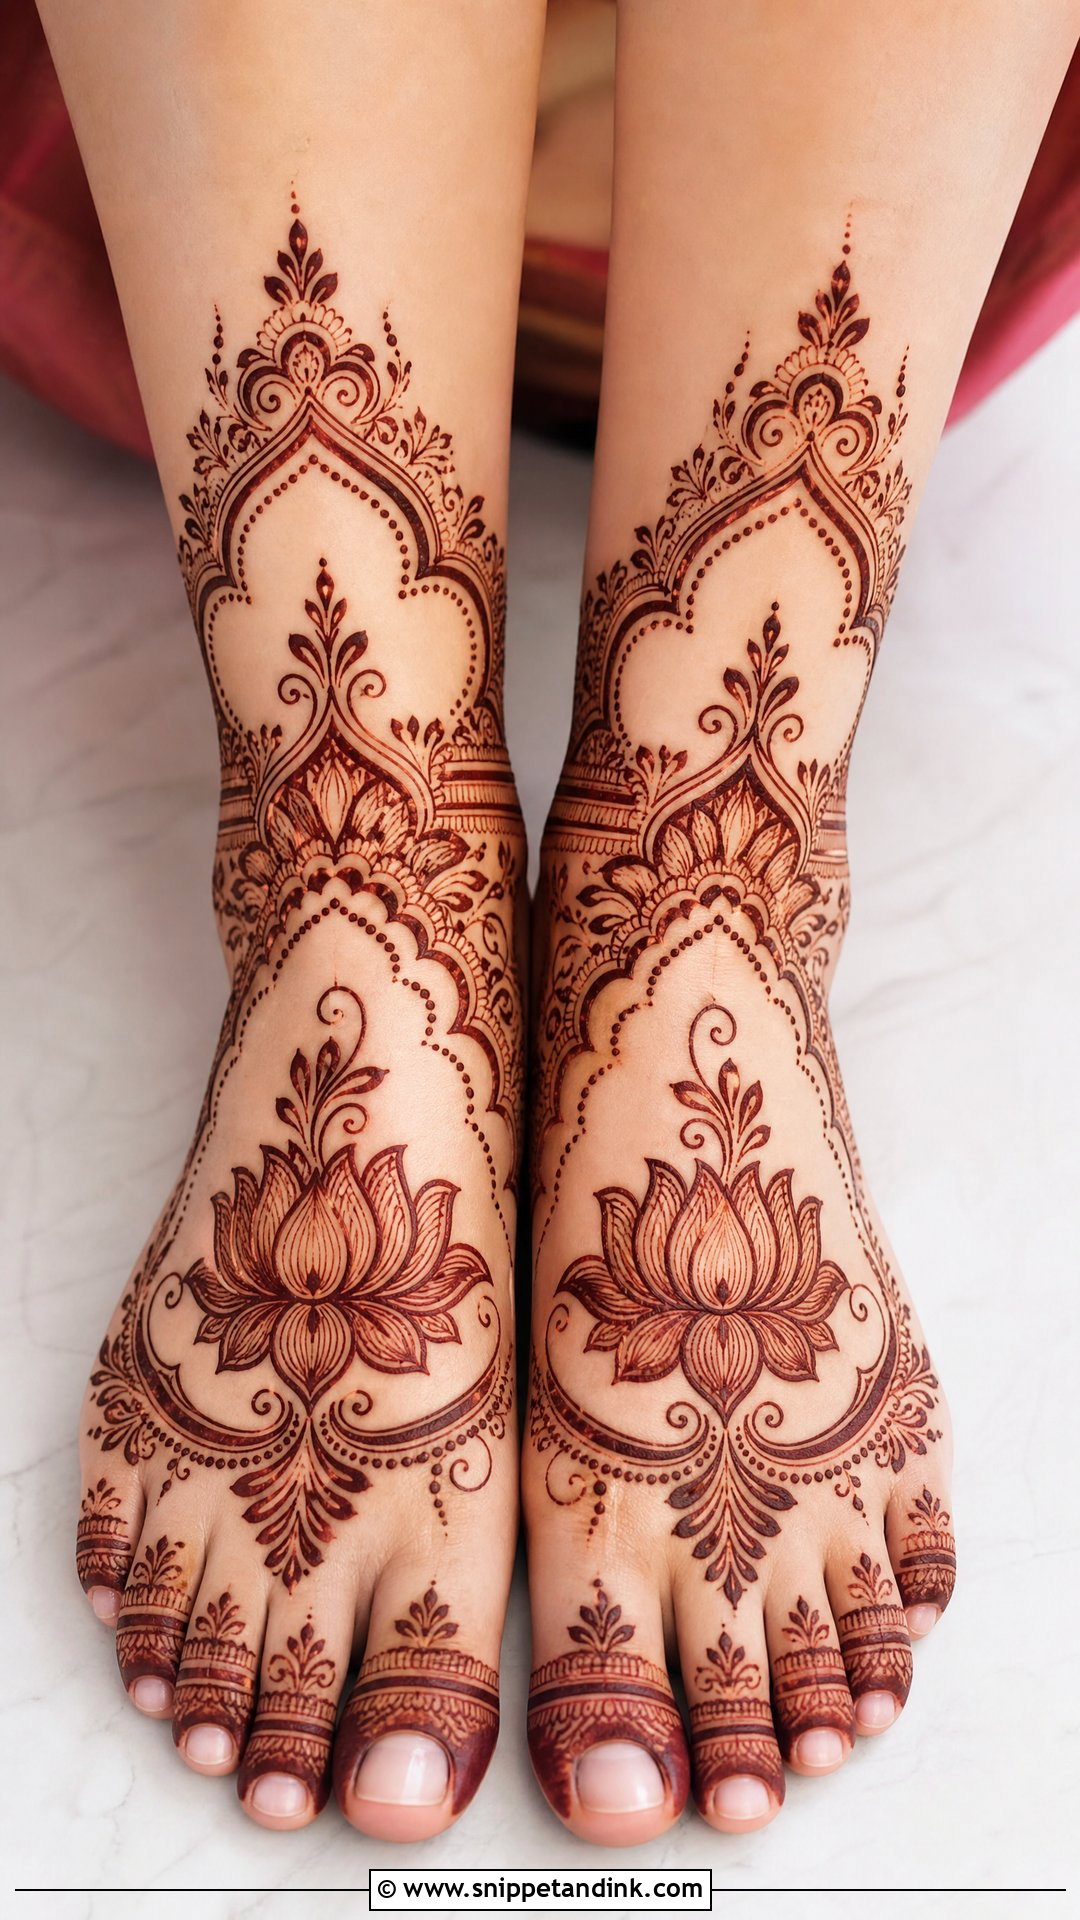
The lotus is my favourite single motif for a traditional bride. One clean lotus on each foot, with curved leaves, dots and a fine petal border, needs no heavy shading to look complete. I draw the petals a little bolder than on hands, because the stain on the top of the foot is lighter and thin petals can look patchy. It sits well beside temple jewellery and silk sarees. If close-up foot photos matter to you, tell your artist; we can position the lotus so it faces the camera when you sit.
11. Arabic Indian Bridal Leg Mehndi
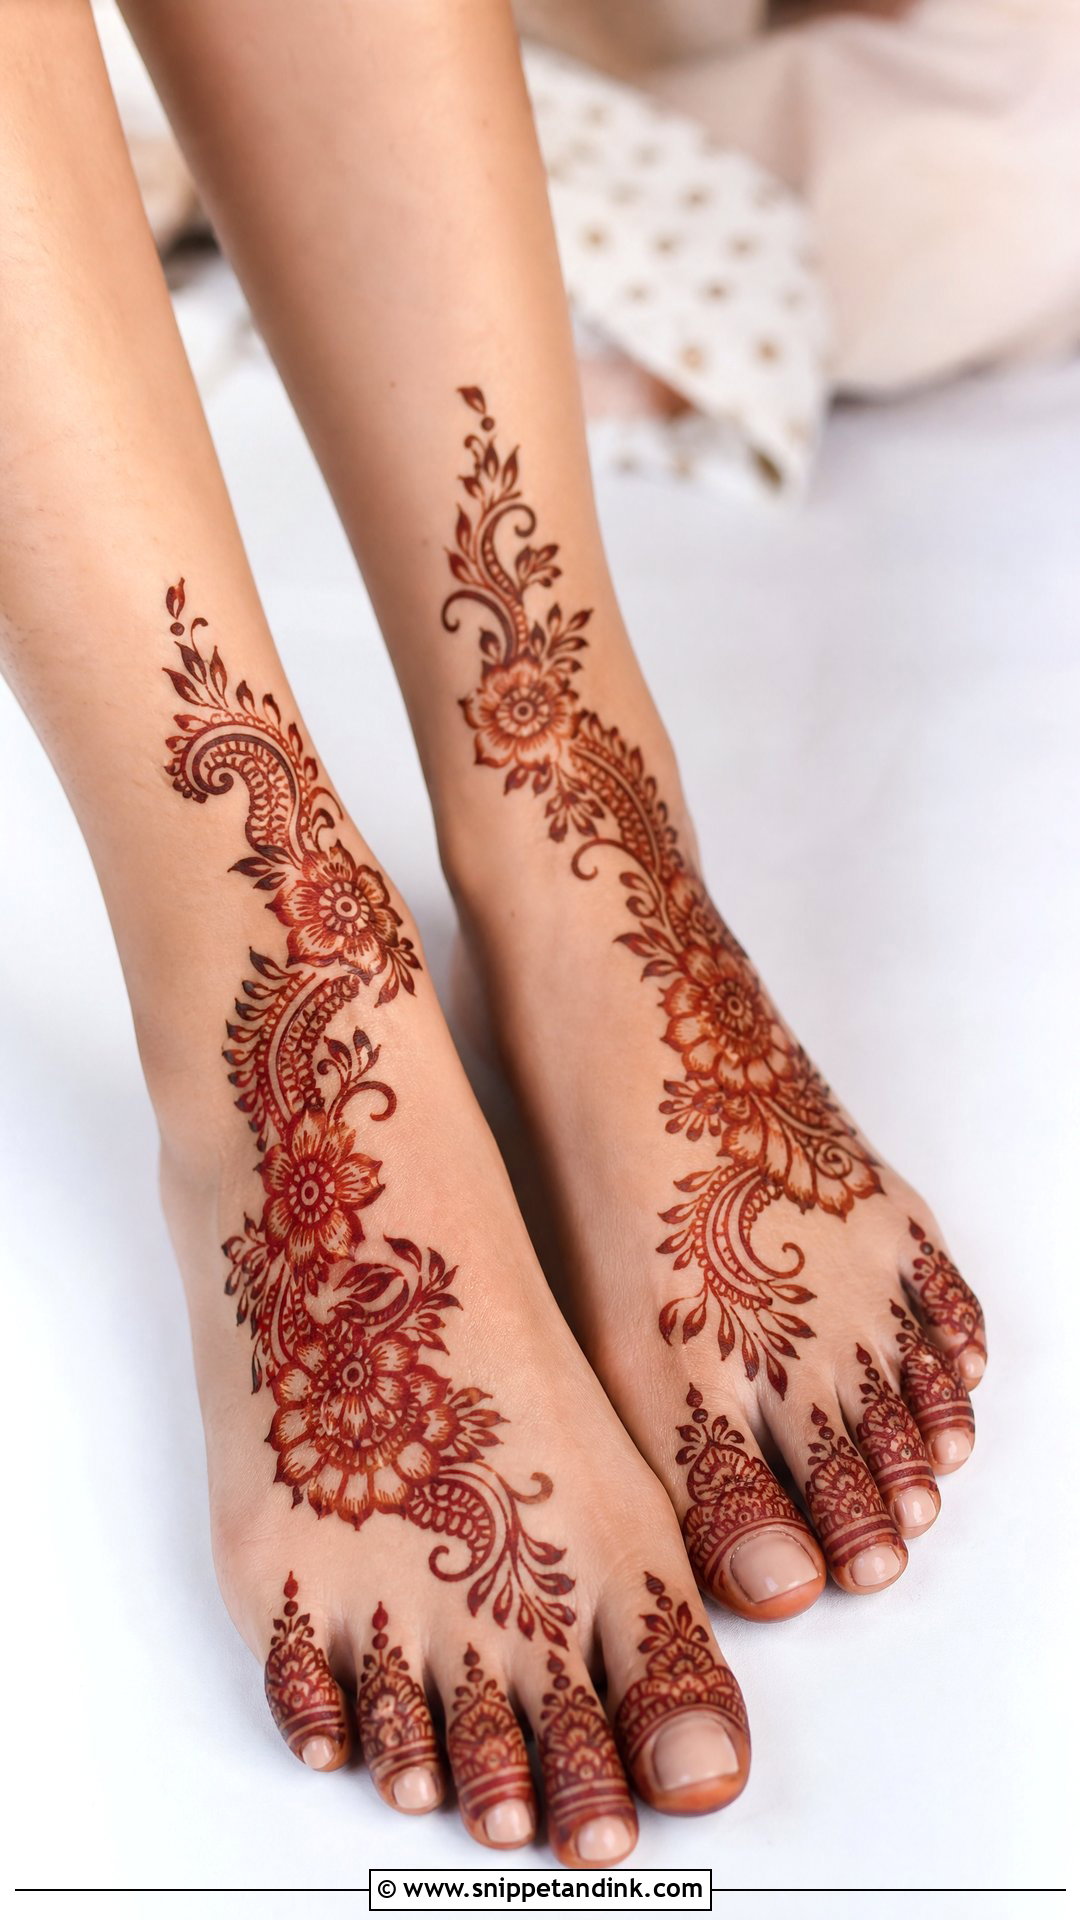
Arabic Indian bridal leg mehndi uses a diagonal trail of flowers, leaves and paisleys across the foot and ankle, with Indian borders, toe details and small traditional fillers. The open negative space makes it quicker to apply and lighter to look at. Placement is everything with a diagonal: I usually run it from the outer ankle to the big toe, which lengthens the foot. Run it the other way on a wide foot and it can make the foot look broader. I sketch the line with a few dots first and adjust before committing.
12. Indo Arabic Bridal Foot Mehndi
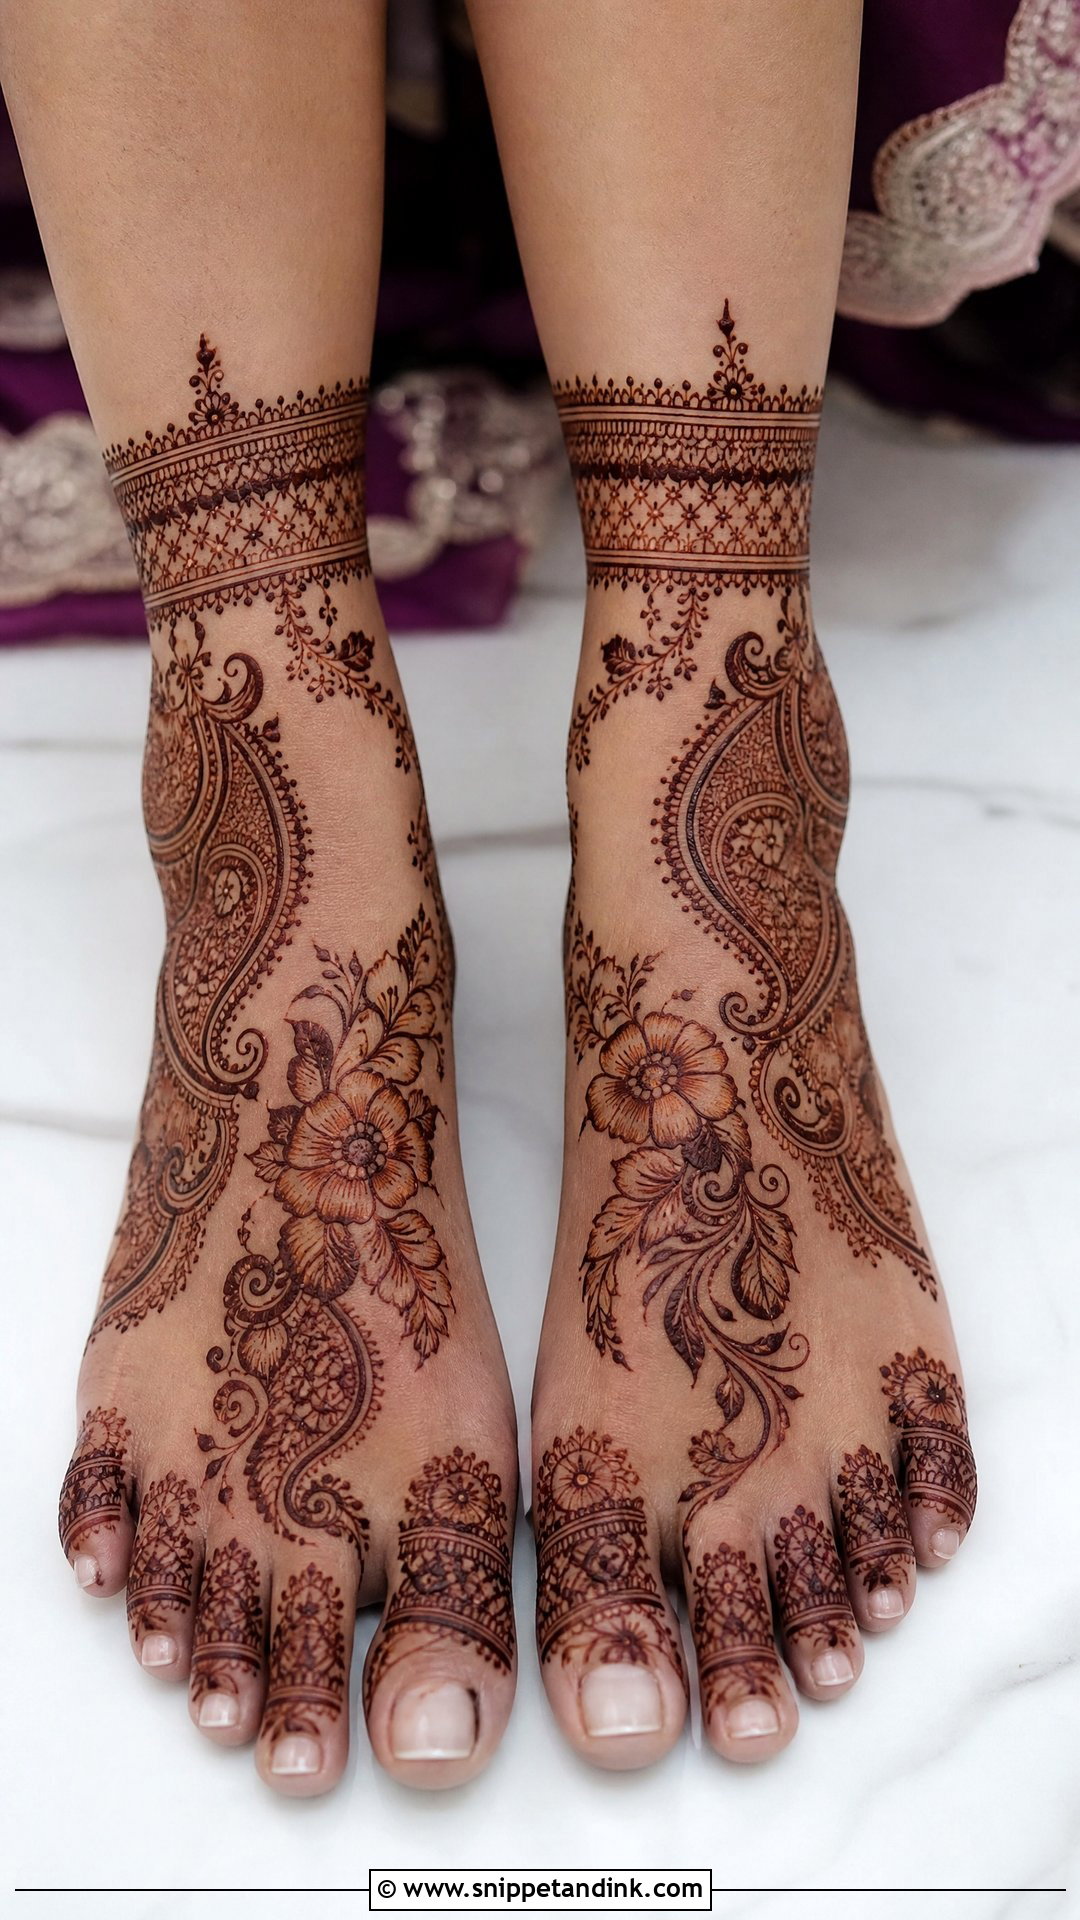
Indo Arabic foot designs combine bold Arabic spacing with fine Indian detail. I draw a strong floral trail from toes to ankle with a confident outline, then add paisleys, dots and borders inside it more lightly. That bold outline with lighter inner work is what keeps it clean from a distance. The foot keeps its open spaces while the ankle gets a neat cuff. Modern lehengas and traditional outfits both carry it. It’s also forgiving if you’re short on time, since the bold lines stain clearly even with a shorter paste time.
13. Bridal Toe Mehndi Design
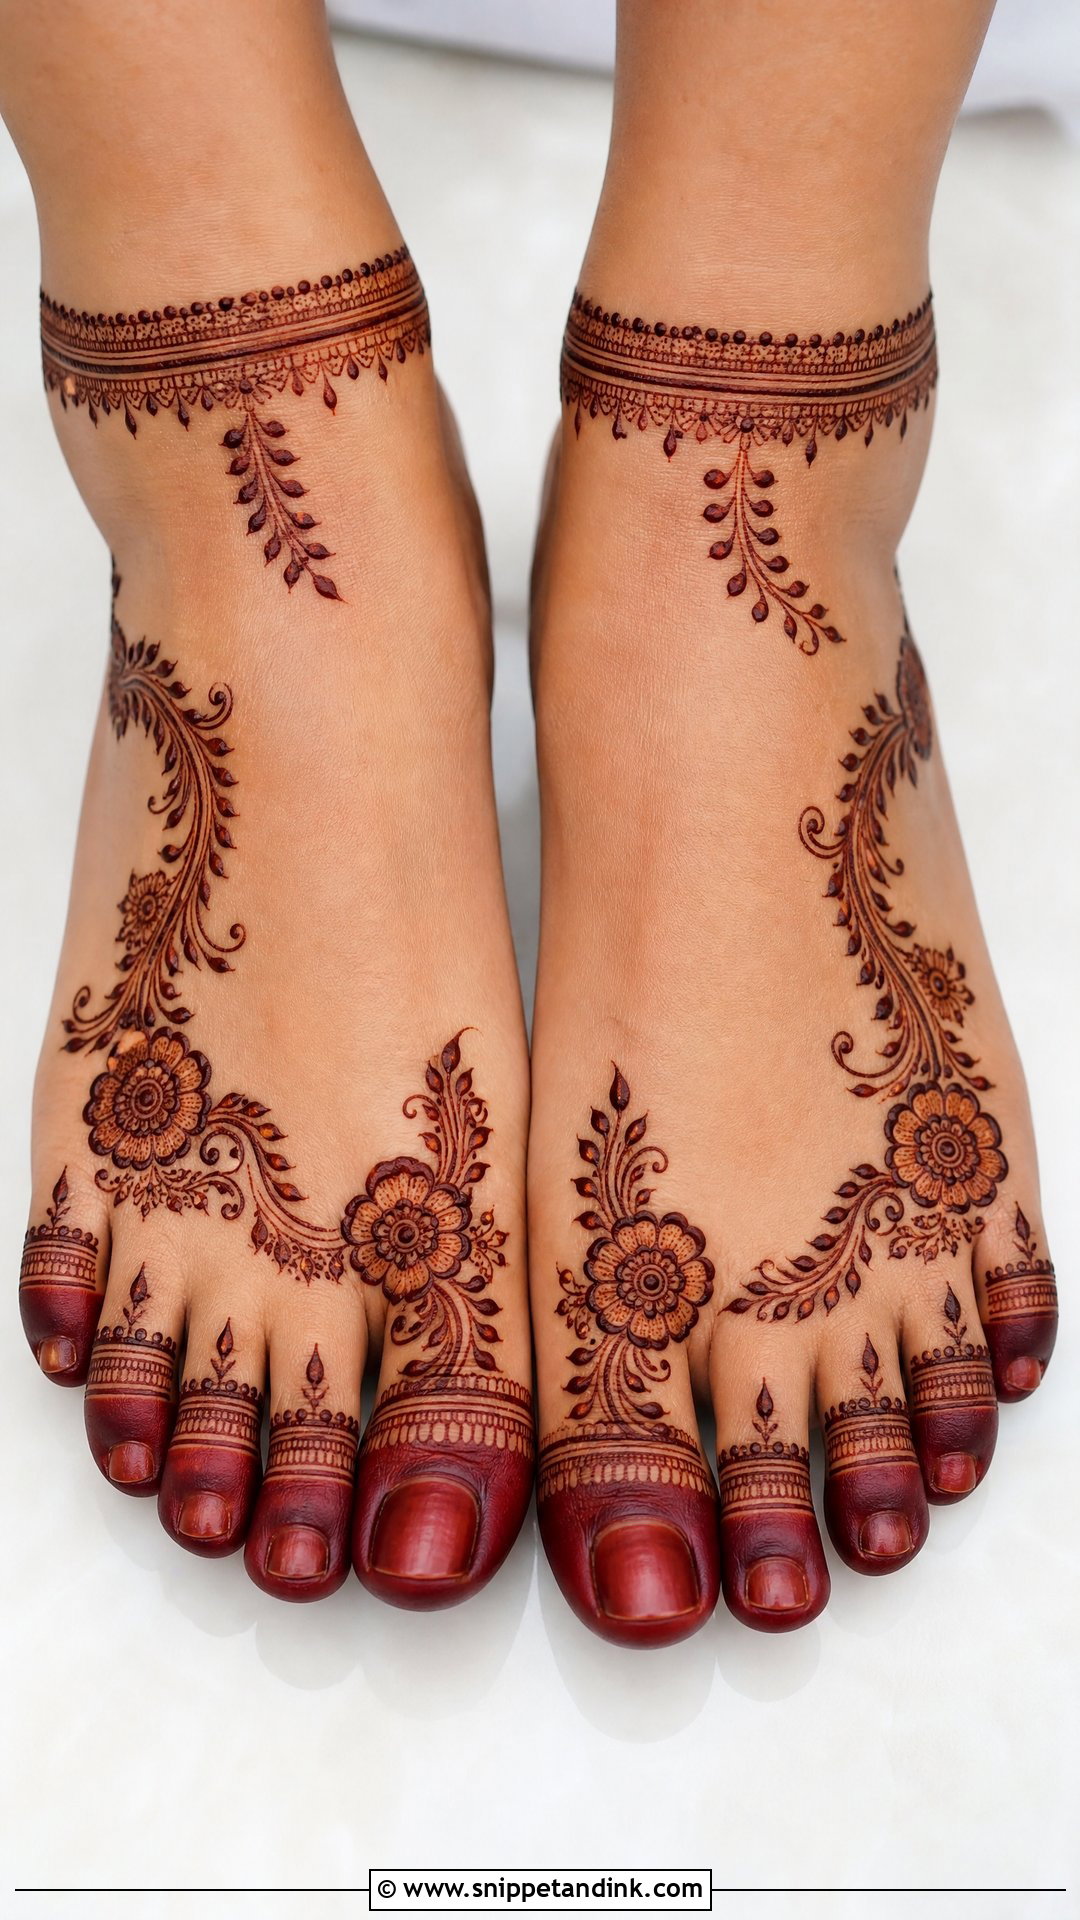
Toe work is what makes the feet look finished from the front. Each toe gets a tiny cap, a leafy curve or a ring-like band, and the top of the foot carries a simple floral or mandala pattern. If you’ll wear toe rings (bichhiya), tell me before I start. I leave the second toe clear where the ring sits, or draw a band that the ring will land on. Consistency matters most here; uneven toe caps are surprisingly noticeable in photos taken from above. A small anklet border connects the toes to the rest of the design.
14. Bridal Payal Mehndi Design
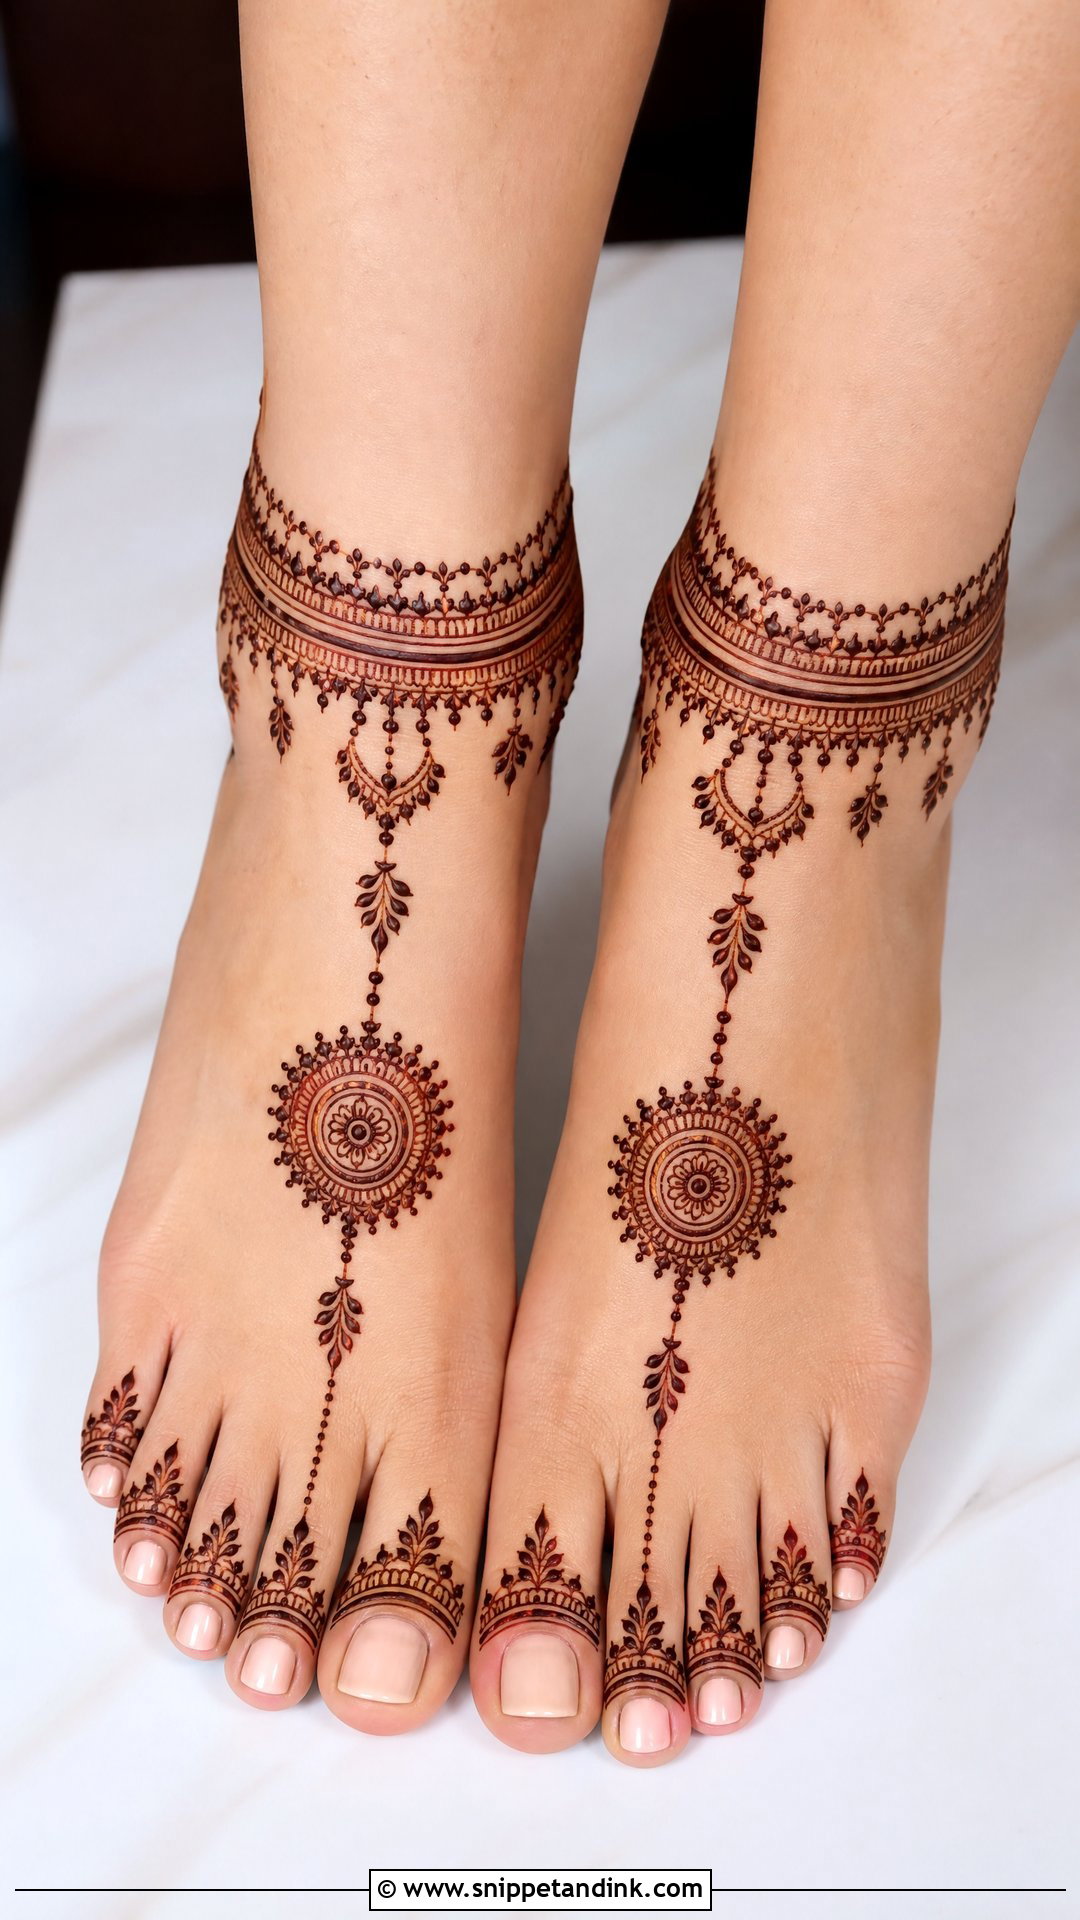
A henna payal gives the look of an anklet without the weight. I wrap the ankle in fine lines, dots, hanging leaves and curved chains, then keep the foot simple with a small mandala, lotus or paisley. The hanging drops are where I hold back: long drops reach the top of the foot where the skin folds as you walk, and they smudge before the paste has dried. Keeping them short also stops the design competing with real payal worn just above it.
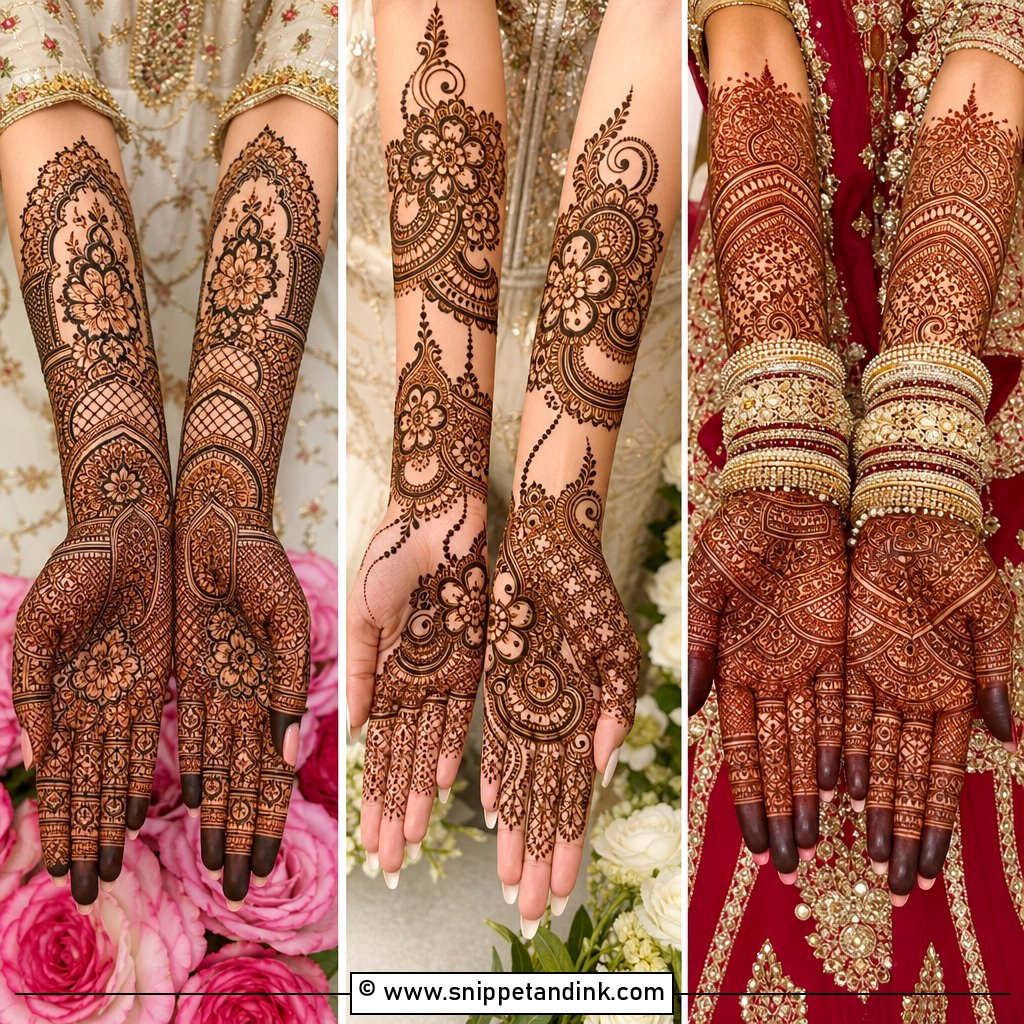
15. Minimal Bridal Leg Mehndi Design
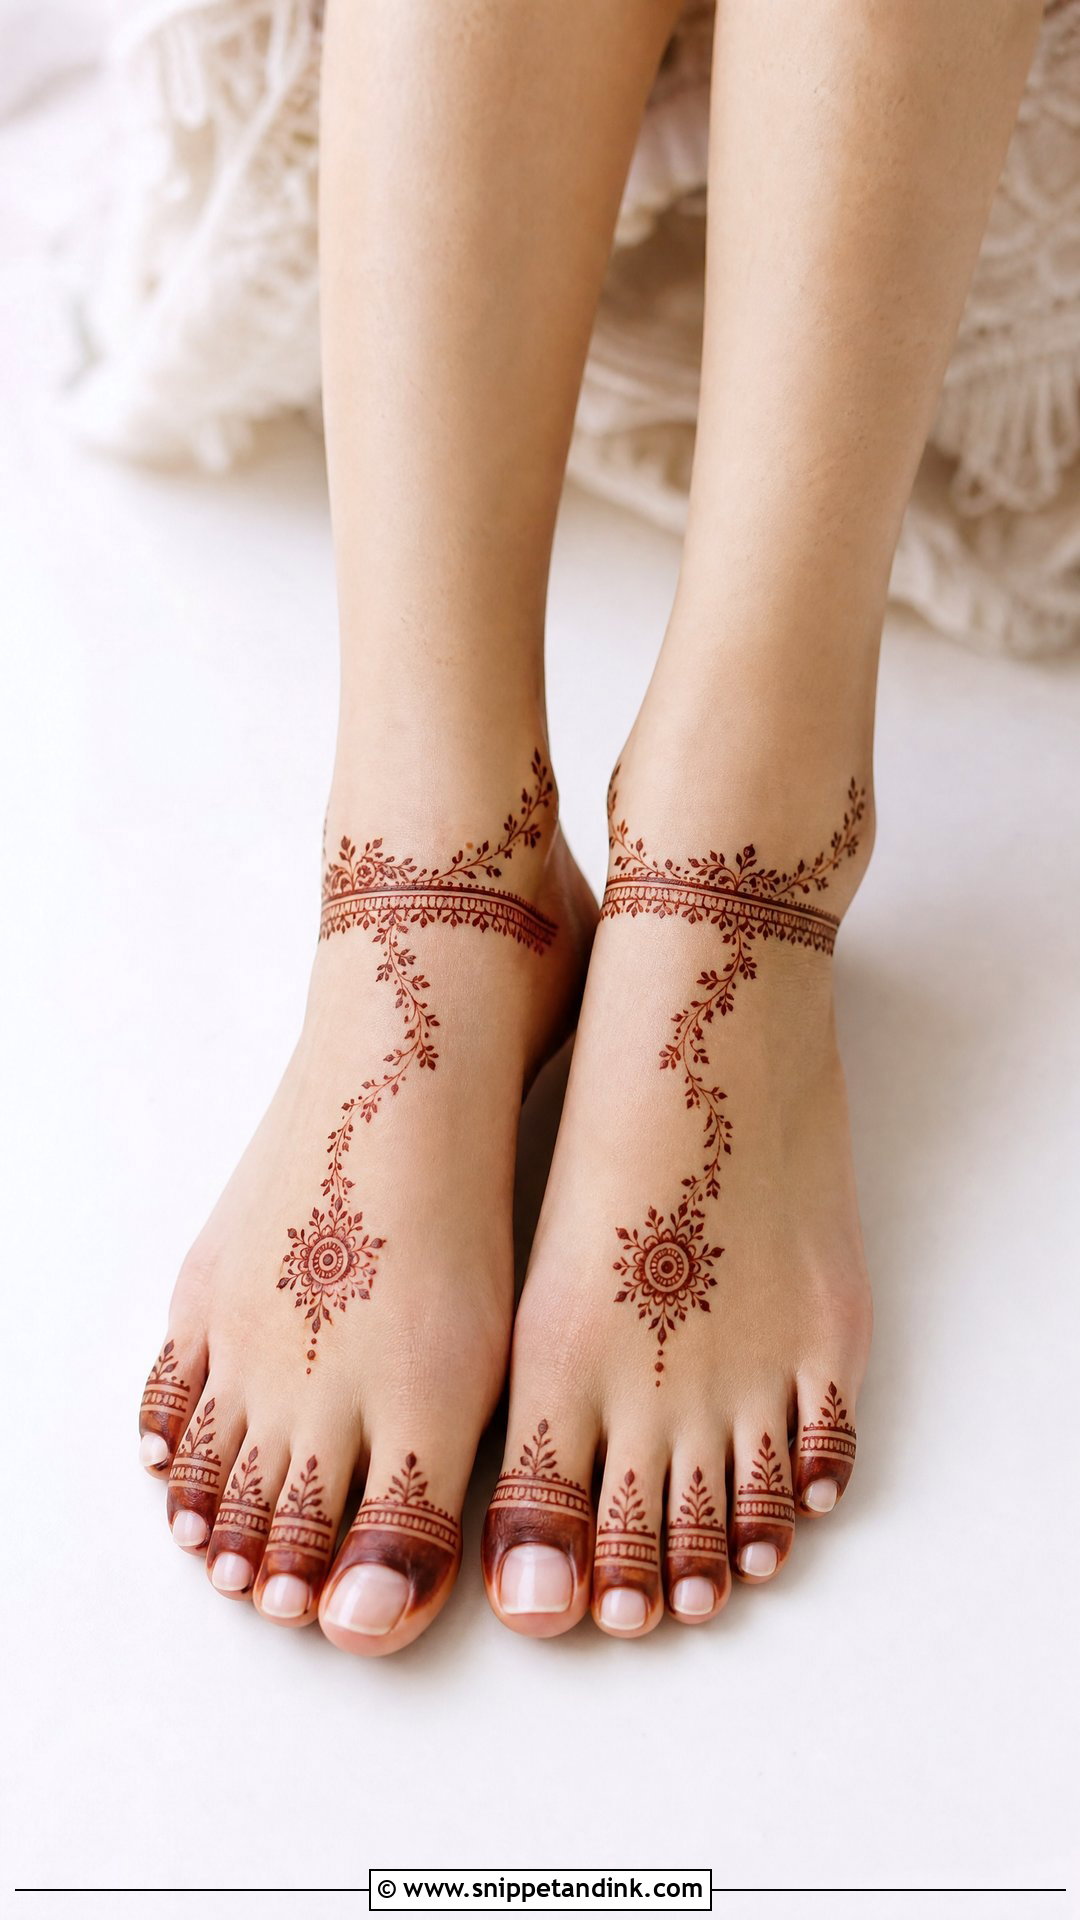
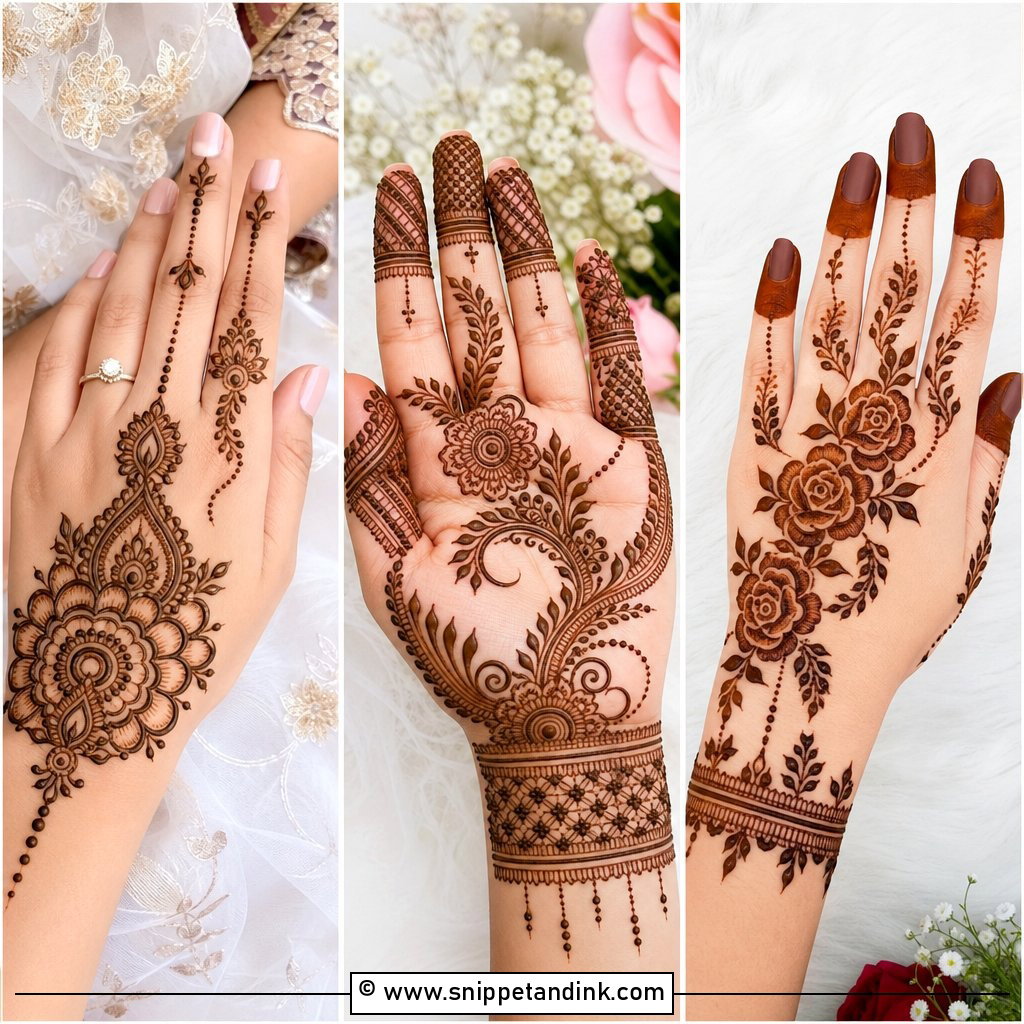
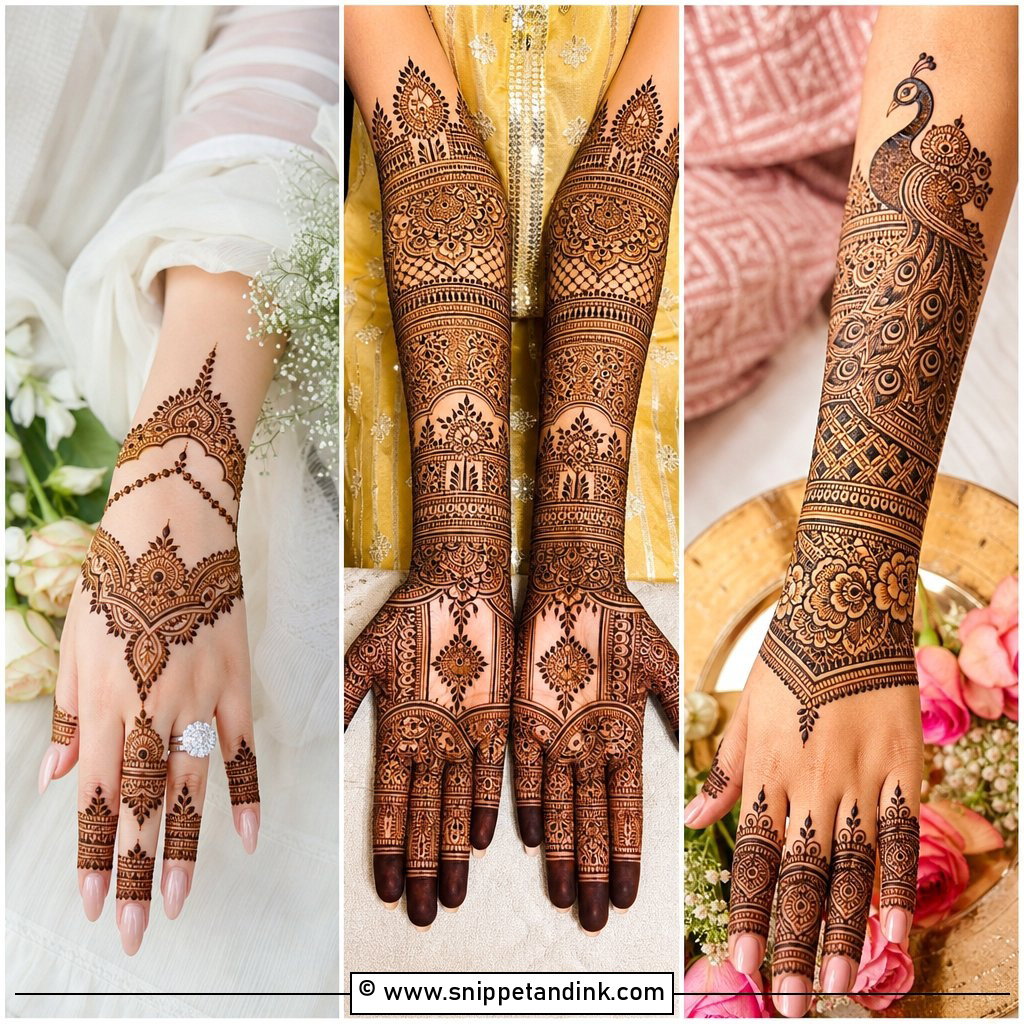
Minimal never means unfinished. A slim ankle band, a small floral trail, neat toes and one central motif on each foot give a clean, modern result, with the leg mostly open. Symmetry and careful placement are what make it bridal. This is the design I suggest for destination weddings, where travel and heat make long sittings uncomfortable, and for brides who put comfort first. Lotus suits a traditional outfit; simple florals sit more softly with pastels.
16. Bridal Leg Mehndi With Flowers
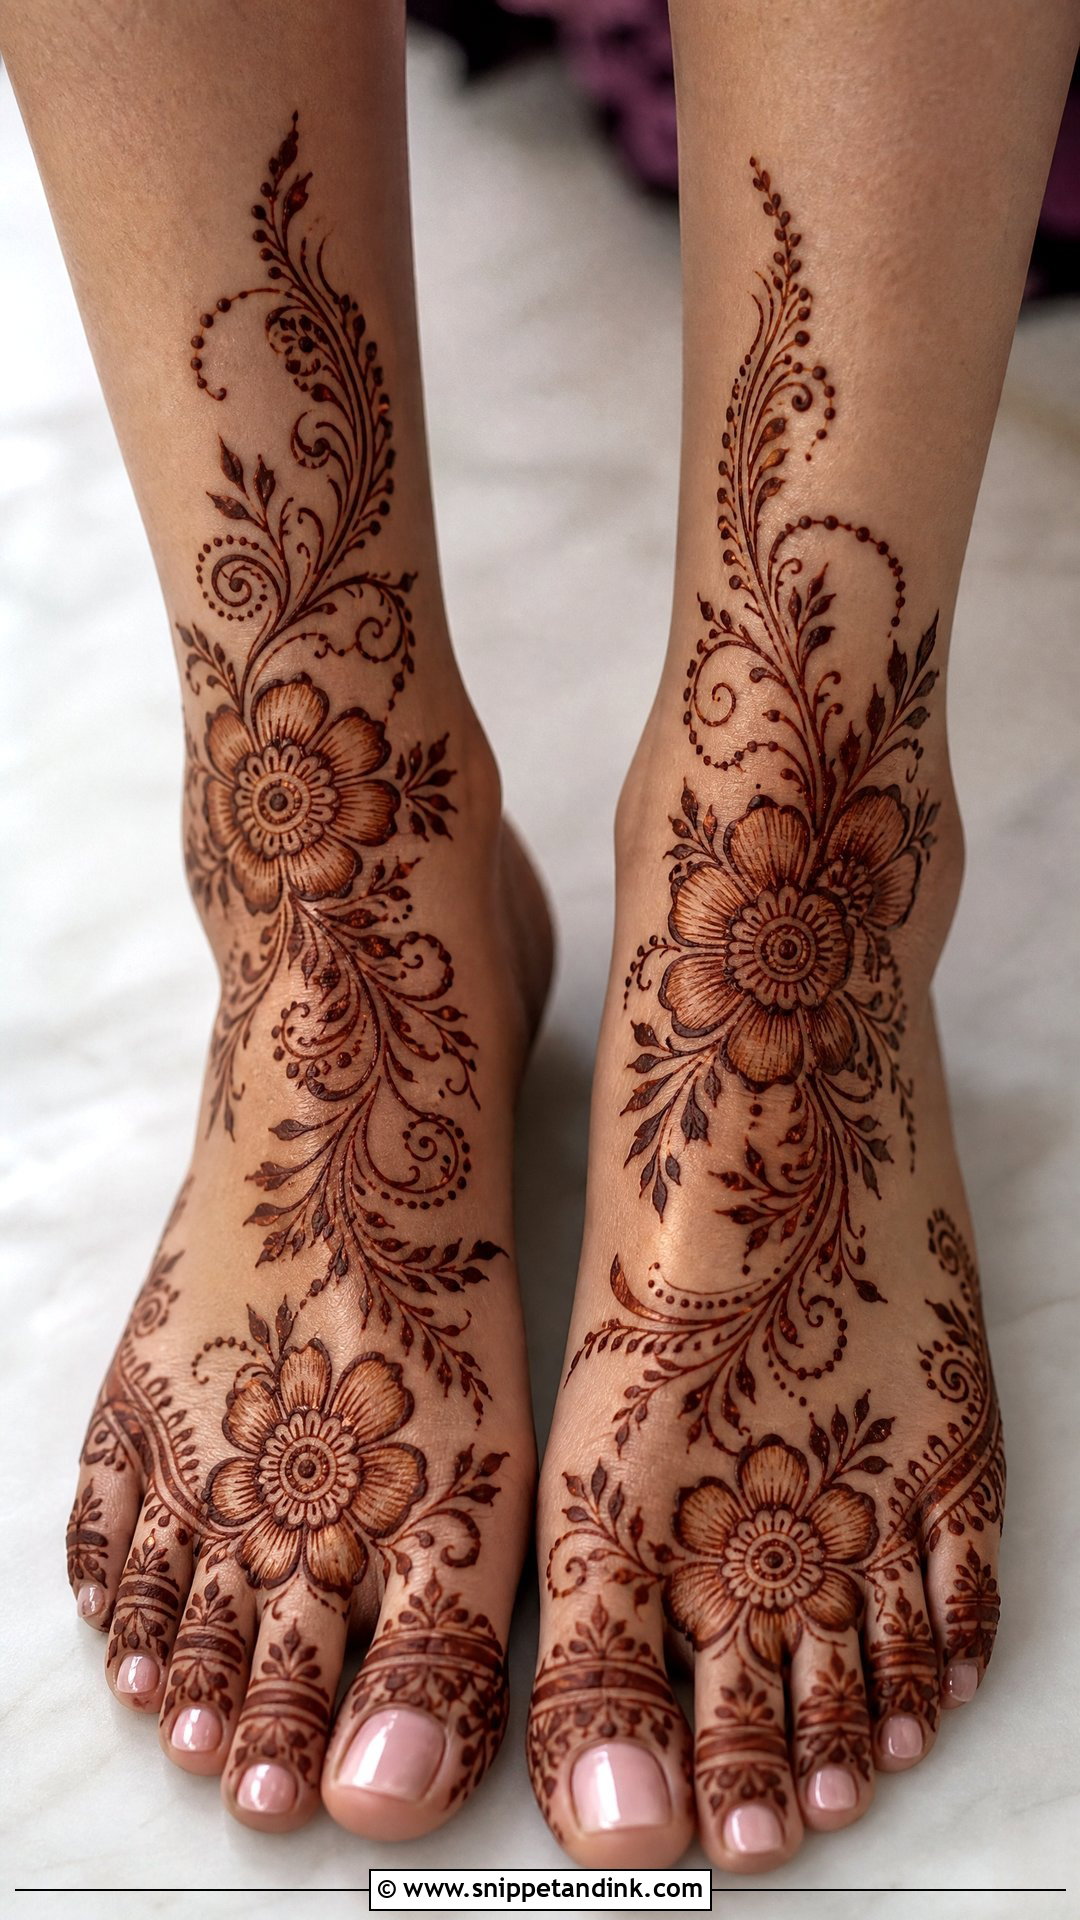
Florals are the most flexible choice I offer. They can sit across the foot, around the ankle and lightly above it, and they suit bold bridal reds as well as ivory or pastel outfits. The detail I change most is size: a few medium flowers read better than many tiny ones, because tiny flowers merge into one blob as the stain darkens. I connect them with thin vines, leaves and dotted curves, then finish with a small toe border and ankle band so the design looks complete from every angle.
17. Bridal Leg Mehndi With Peacock
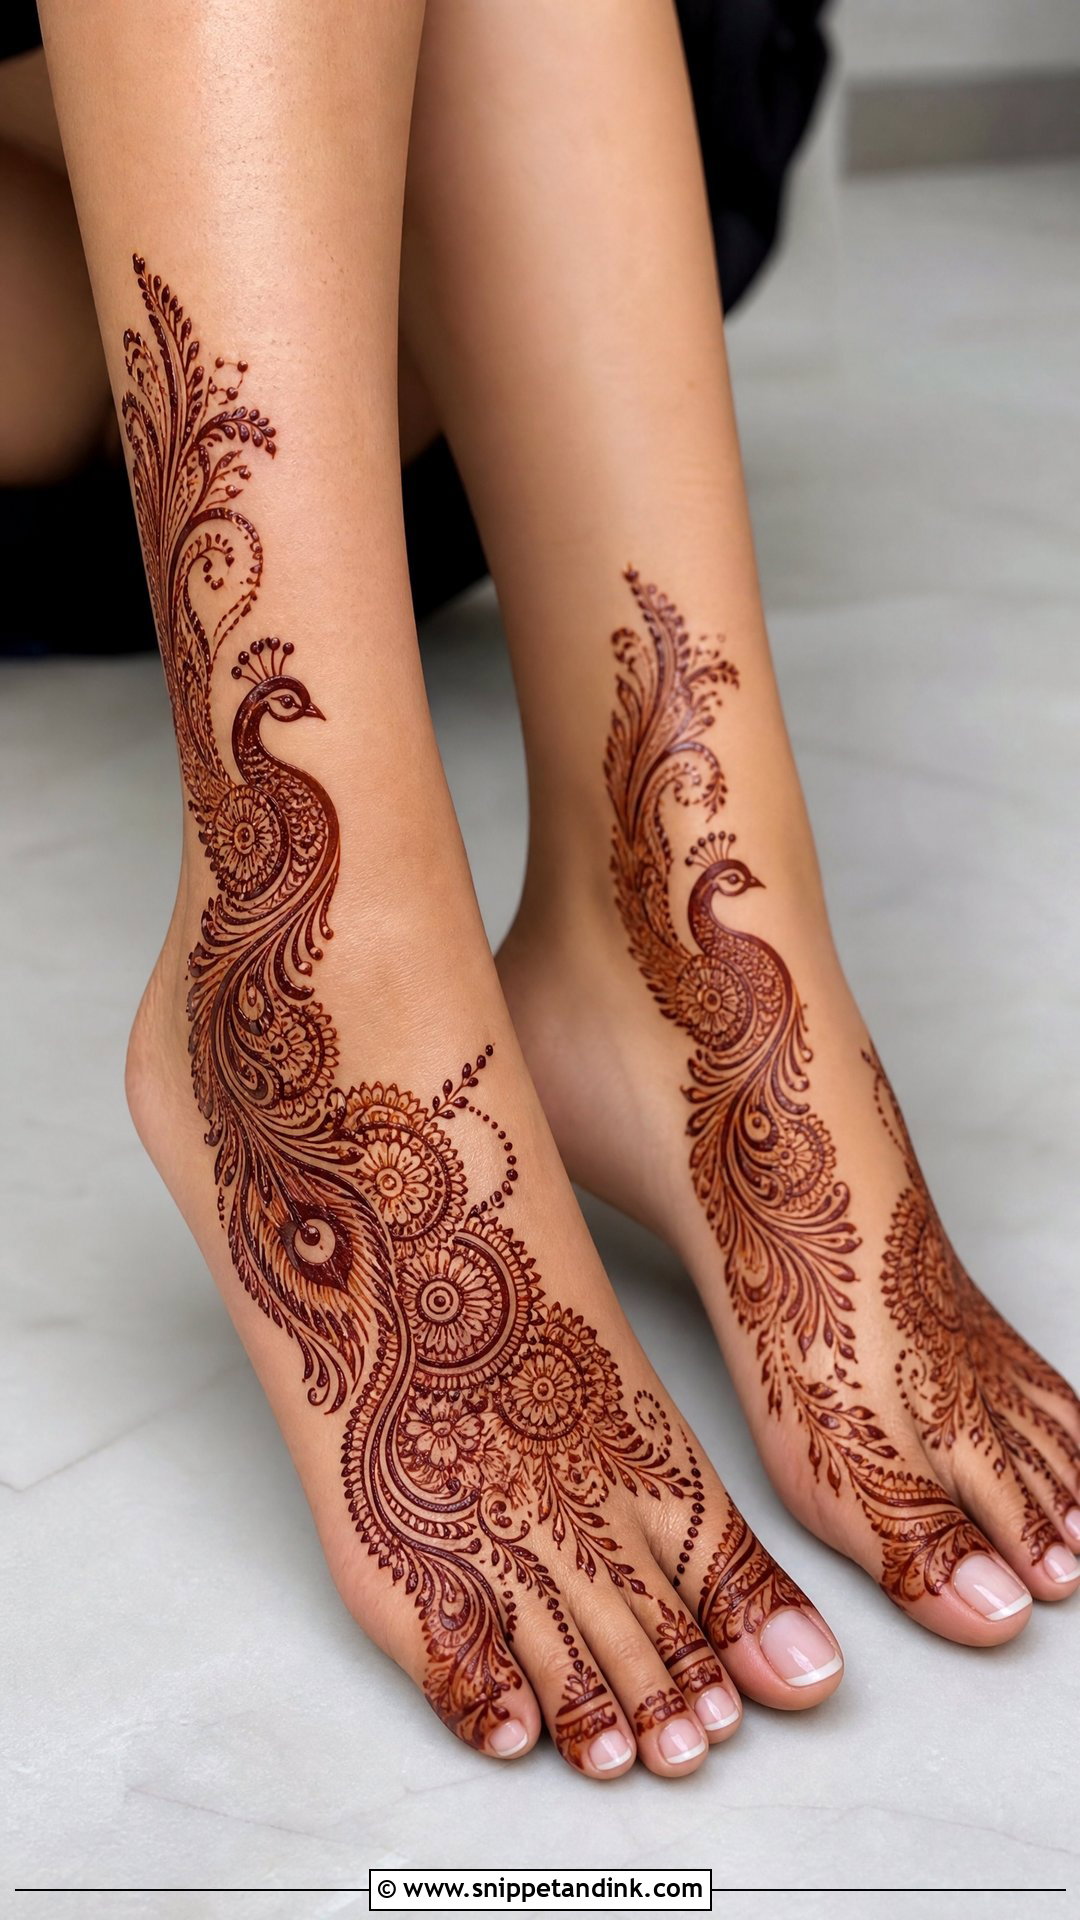
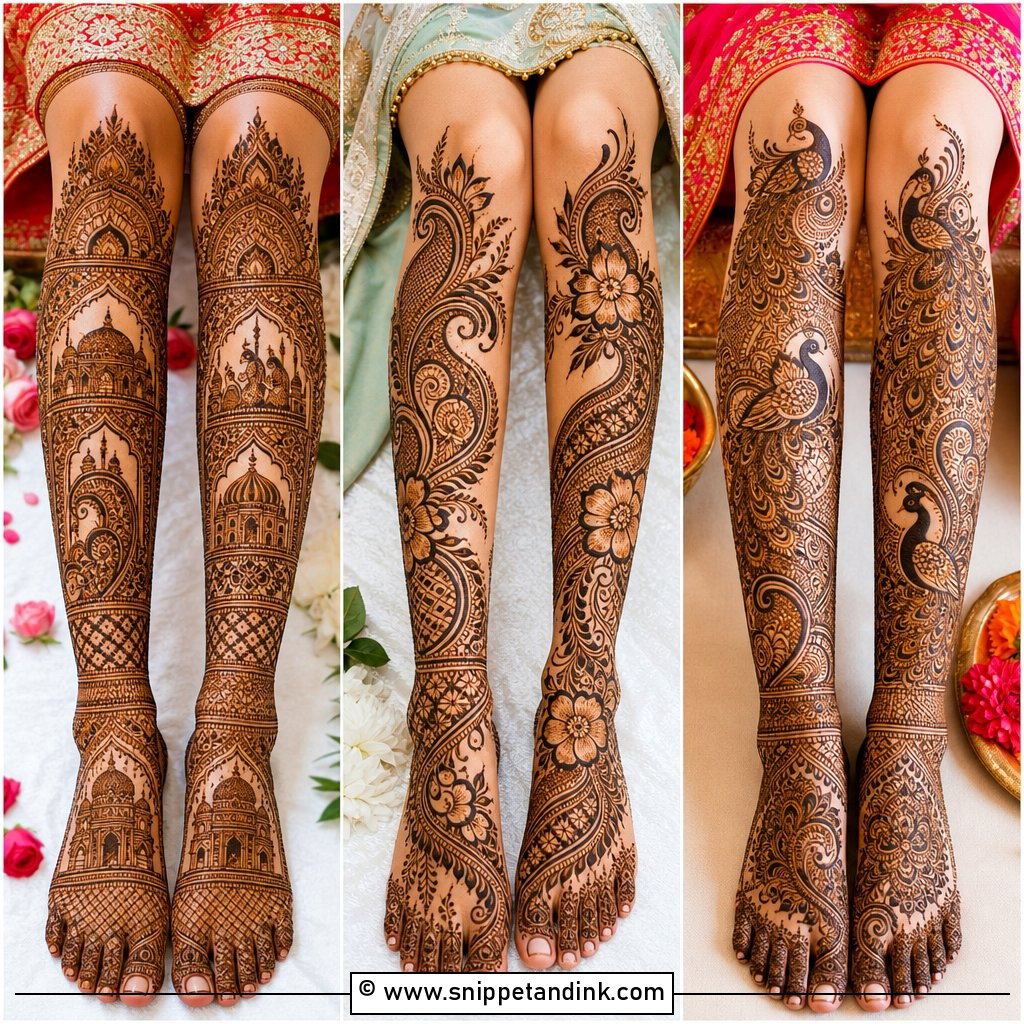
A small peacock on the side of each foot, with its feathers trailing into floral vines, brings a festive motif without a full heavy pattern. I leave the feather section light, using curves and dots rather than dense fill, because packed feathers lose their shape once stained. The pair should face inward towards each other when you stand, which looks balanced in photos. Peacocks suit royal palettes in red, maroon, emerald, navy and gold.
18. Bridal Foot Mehndi With Name
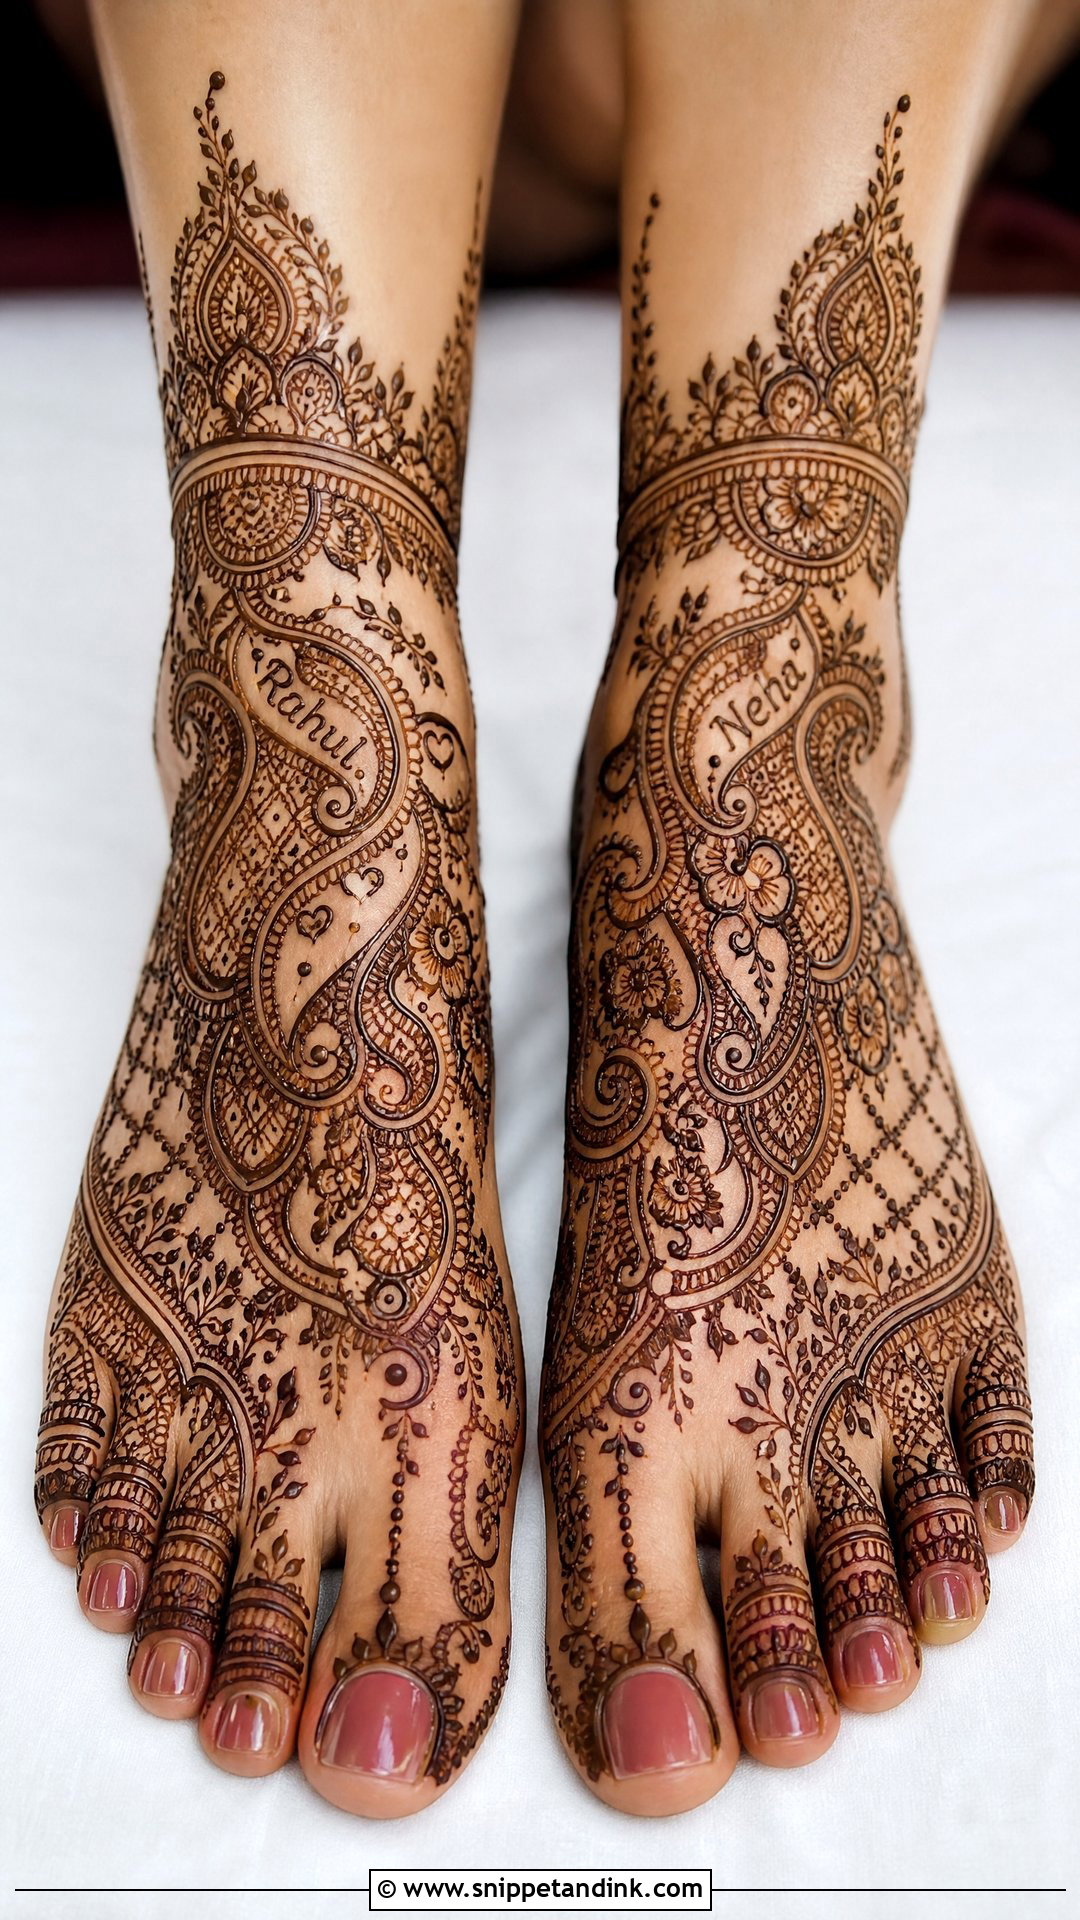
Bridal foot mehndi with name is a sweet tradition, and the groom searching for his name in it is part of the fun. I hide the name or initials inside a paisley, along a vine or within the anklet border. The rest of the design stays clean so the letters don’t vanish. Placement matters for legibility: I avoid creases at the ankle and the curve near the toes, where letters stretch or blur when the foot bends. Keep the lettering in a simple script; ornate calligraphy at that size turns into squiggles.
19. Rajasthani Bridal Leg Mehndi Design
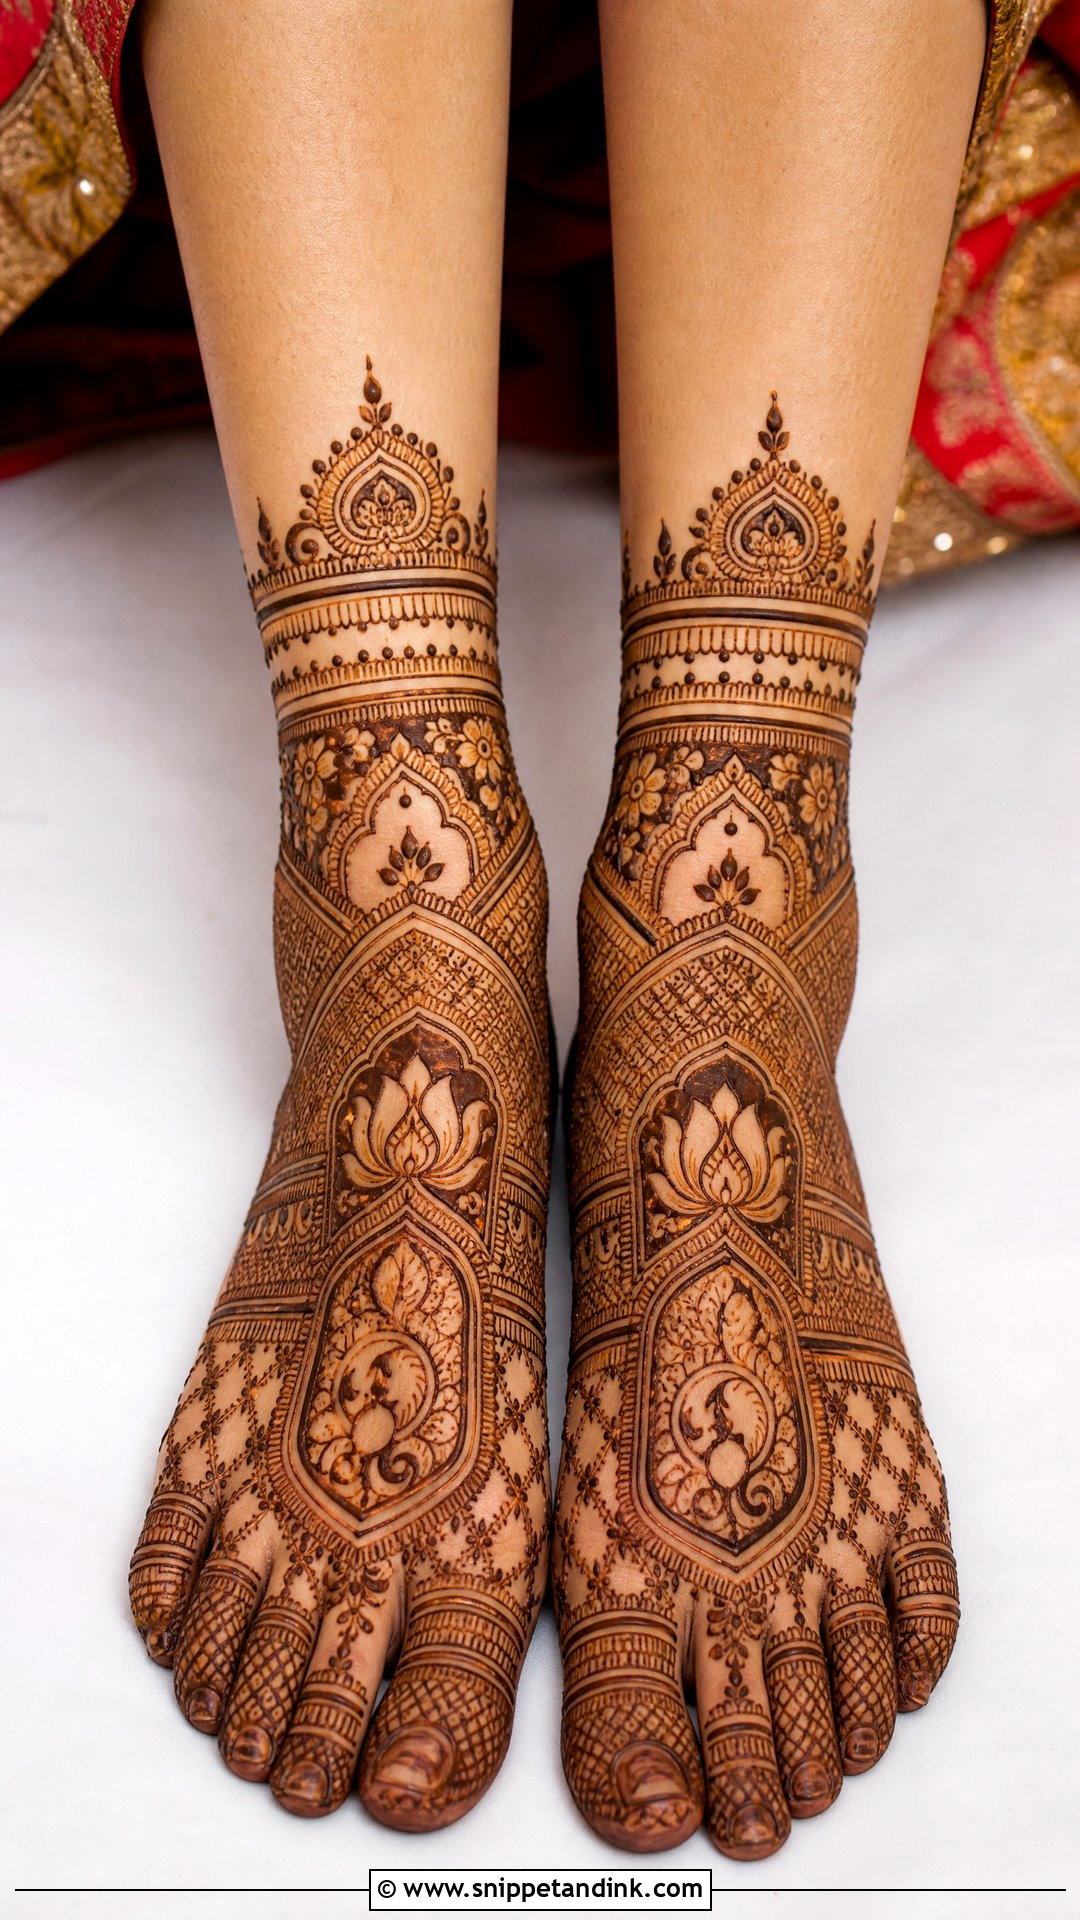
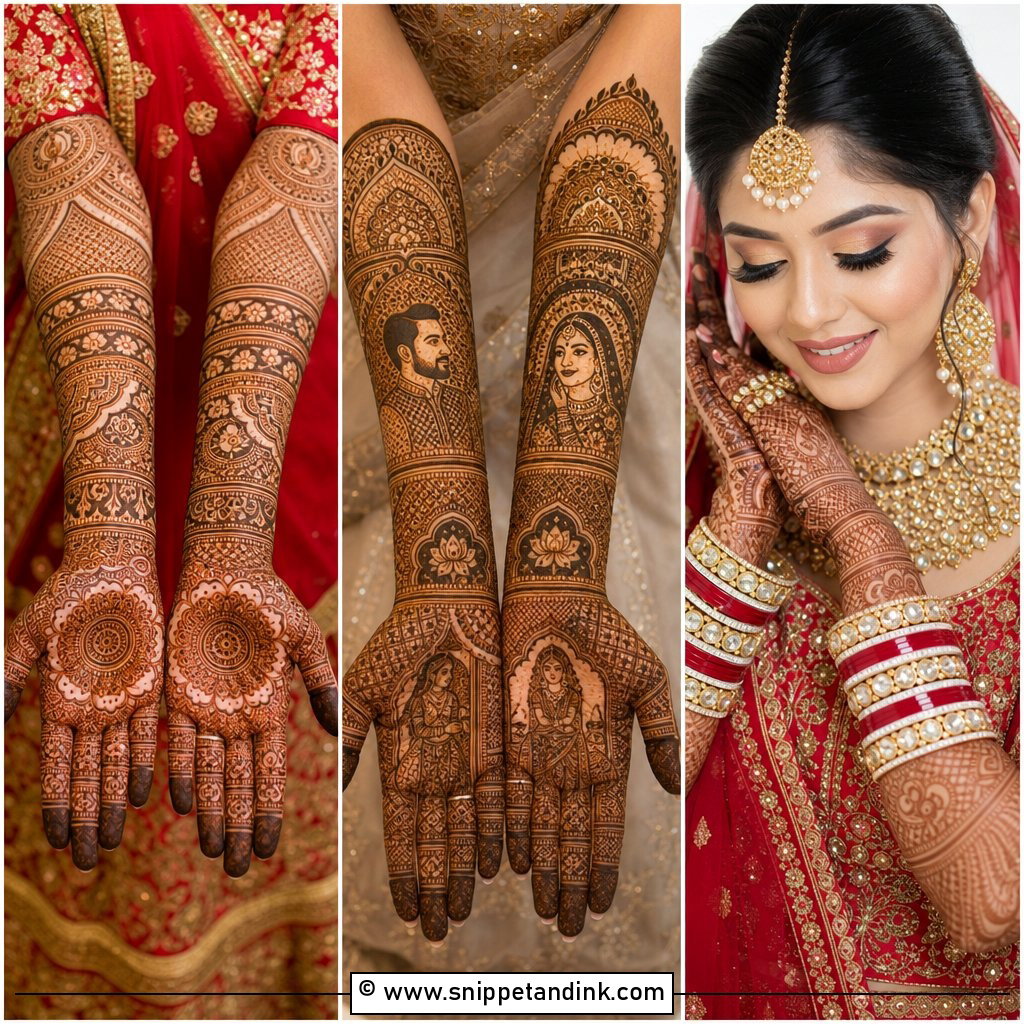
Rajasthani mehndi is famous for dense, storytelling work, and it simplifies well if you keep its ornamental side and drop most of the figures. Small arches, paisleys, lotus shapes and jewellery-style borders around the ankle carry the tradition, with a compact dulhan motif or decorative panel near the foot if you’d like one. Bandhani, gota patti and royal colour palettes suit it. Fewer figures mean less sitting time and a design that stays comfortable through a long wedding day.
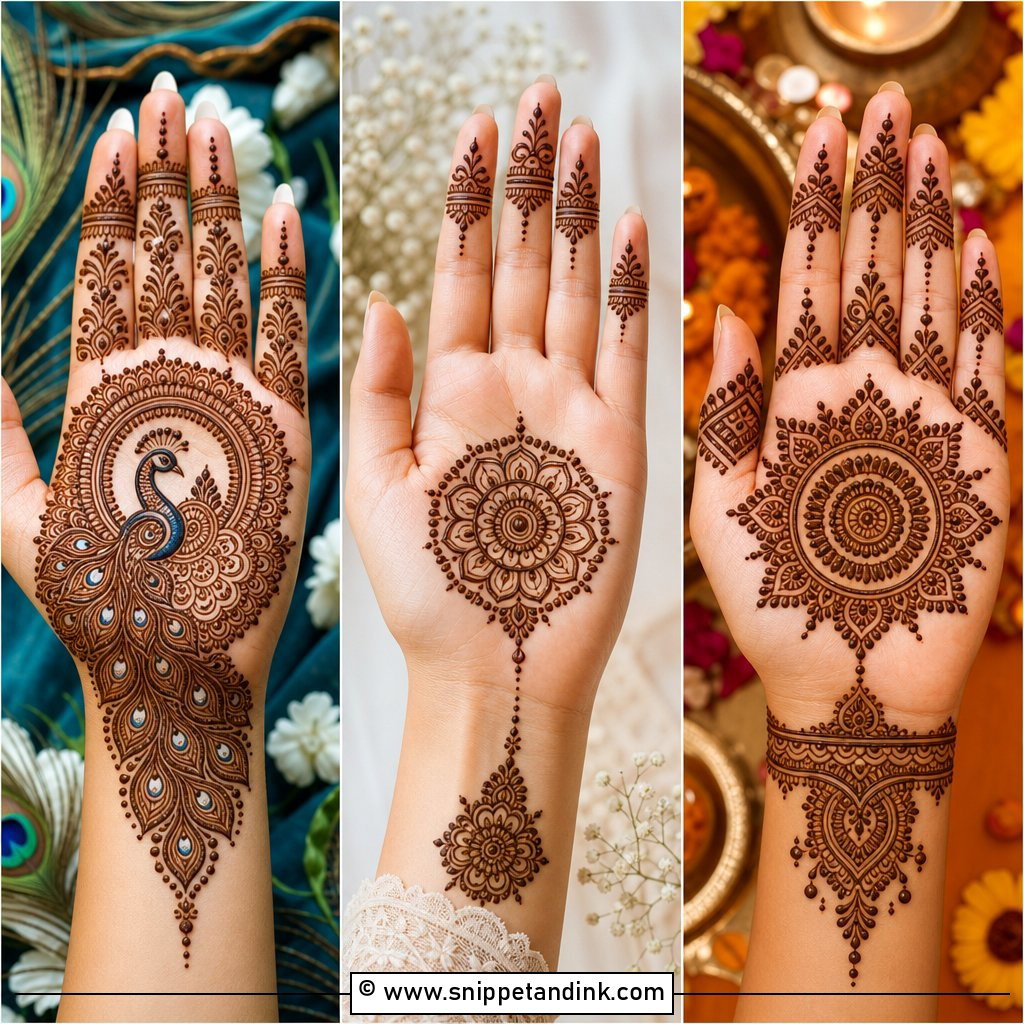
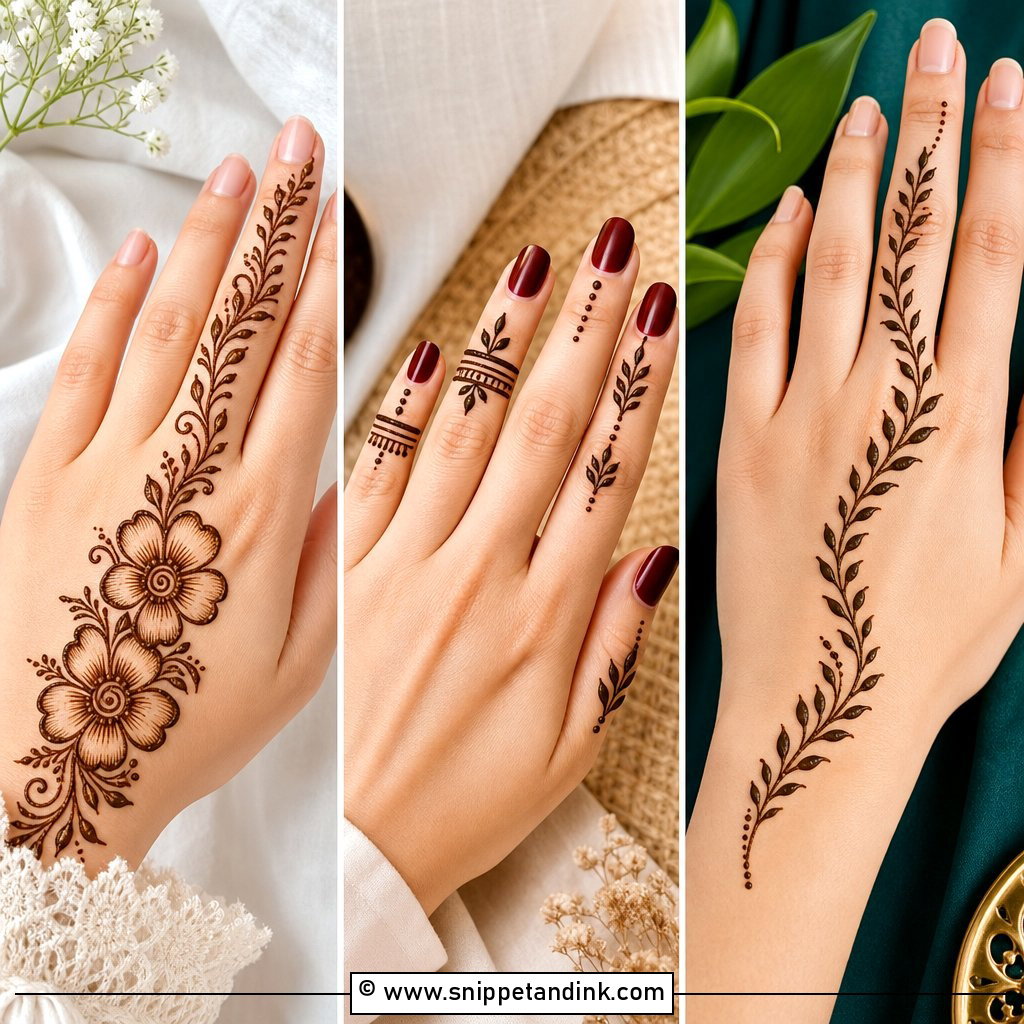
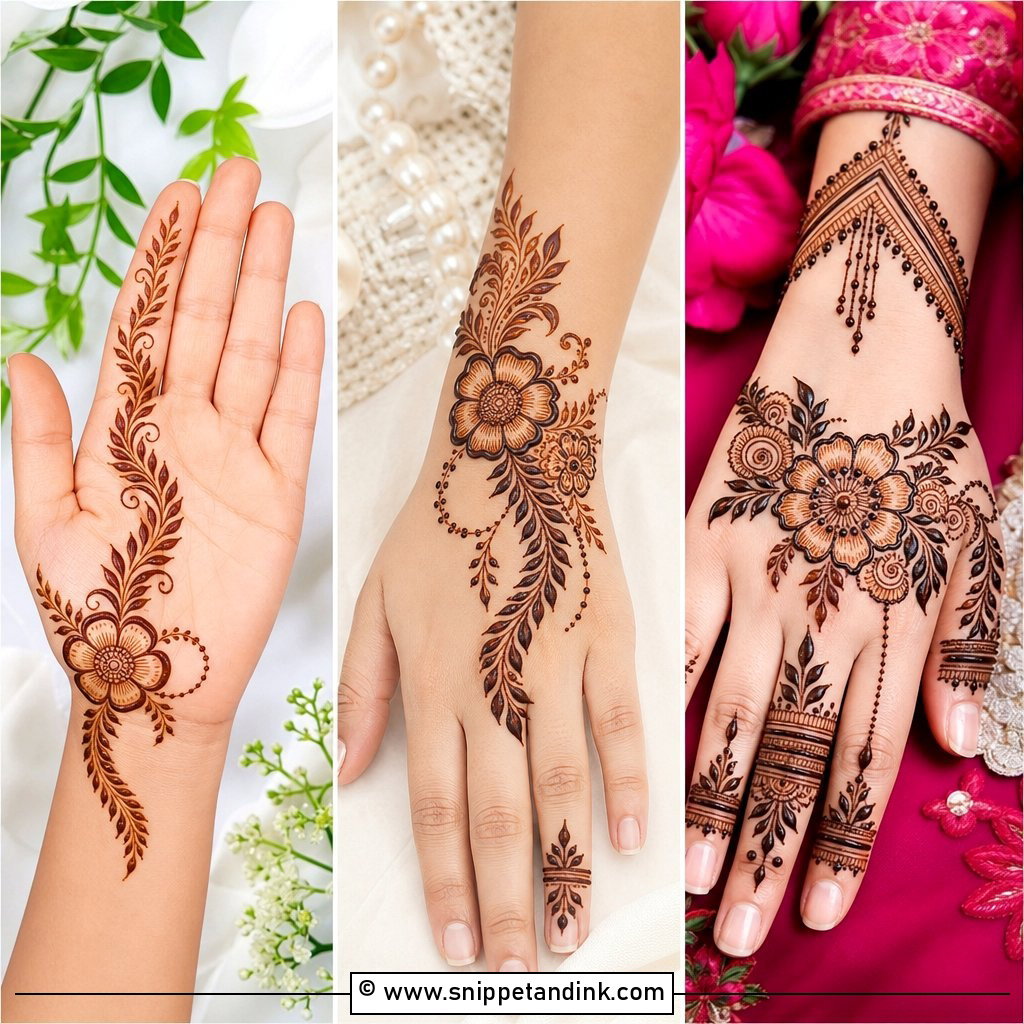
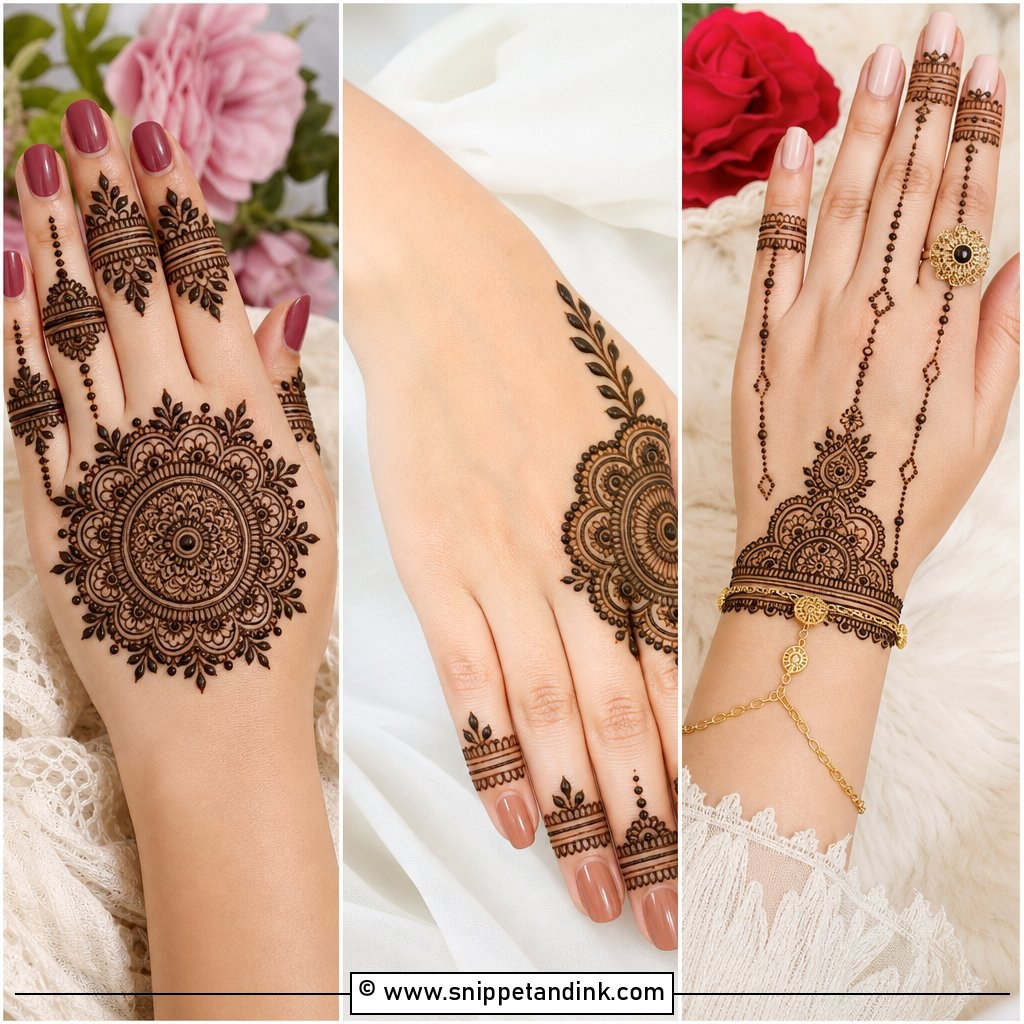
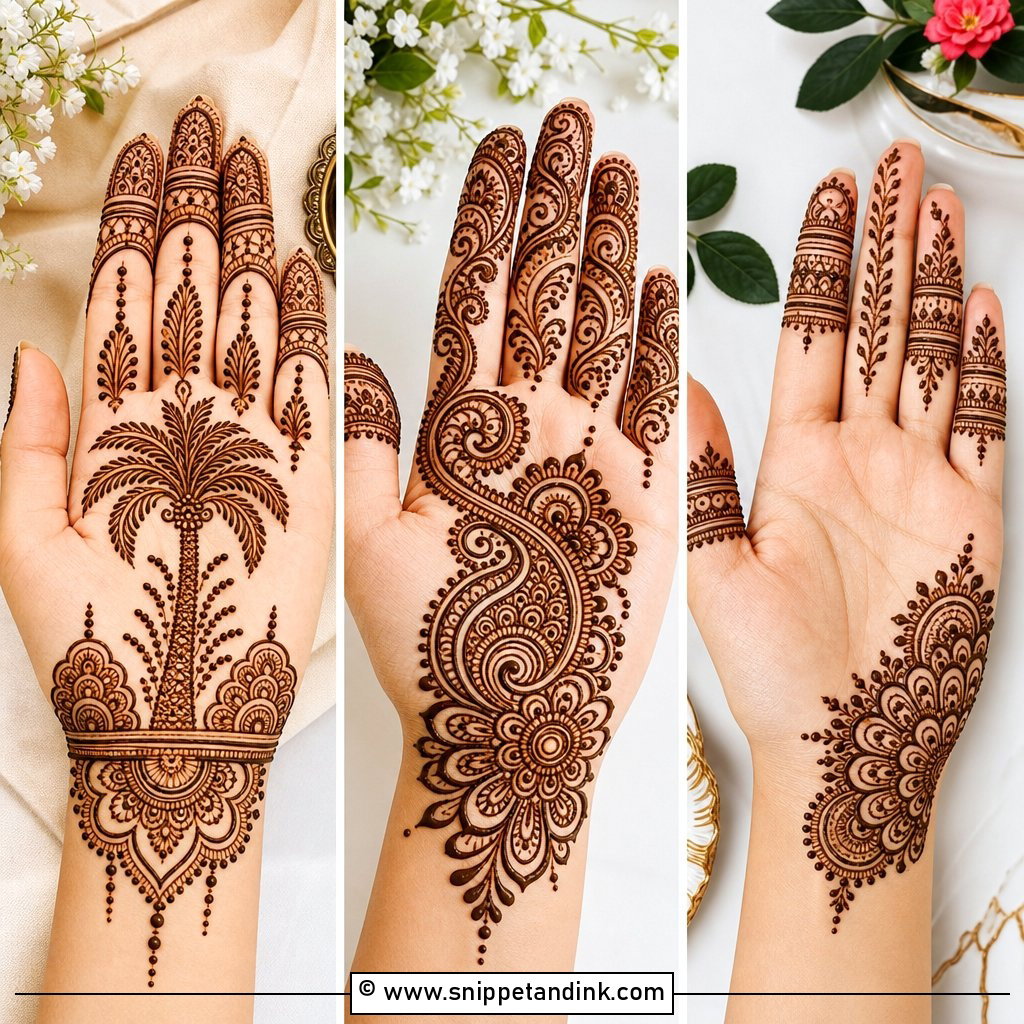
20. Front Leg Bridal Mehndi Design
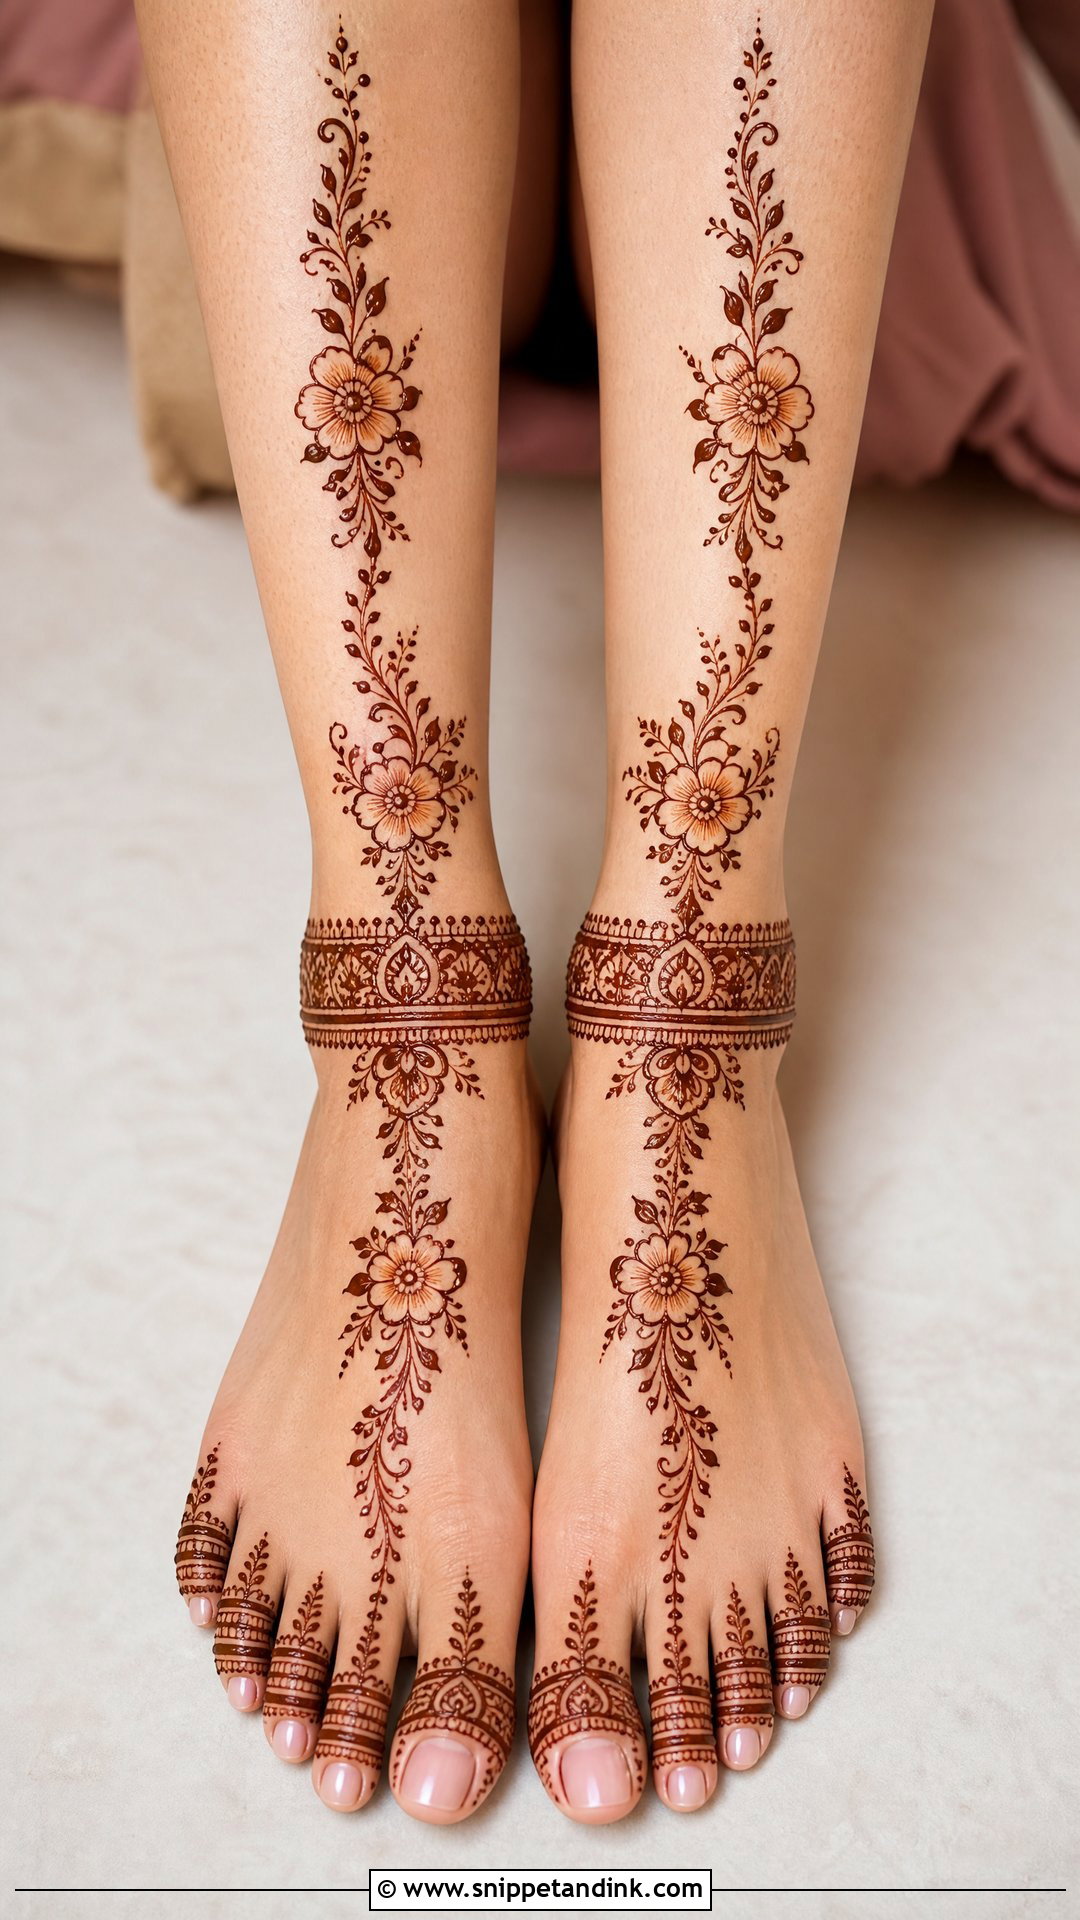
Front leg bridal mehndi design is built to be seen when you sit, walk or pose. The work runs from the toes up the front of the foot and the shin: toe bands, a central floral trail, an ankle cuff and a short vertical vine above the ankle. A vertical line lengthens the leg. I keep it centred over the shinbone, because a vine that drifts to one side looks crooked when you stand. It gives a little height without committing to full-leg coverage.
Sitting Still, Sleeping in Socks and Protecting a Foot Stain
Feet are harder to look after than hands because you need them to get around. Here’s what I tell brides once the paste is on.
The first few hours
Plan to sit with your feet up while the paste dries, usually the better part of an hour for a simple design. I dab a light lemon and sugar mix over dried paste to help it stick. Walking too early is the most common way a foot design gets smudged, especially the ankle band and toe caps.
Overnight and the next morning
- Keep the paste on as long as you comfortably can, ideally overnight. Wrap the feet loosely in tissue and pull on old cotton socks so the paste stays warm and in place.
- Scrape the dried paste off with a blunt edge or your fingernail. Don’t wash it off with water.
- Avoid water on the feet for as long as you can after removal, ideally most of the first day. Rub a little mustard oil or balm over the design if you must shower.
- Expect the soles and toe tips to stain darkest and fade first, since they get the most friction.
One safety note I give every bride: ask for natural henna only. Paste sold as black or instant henna can contain PPD, a hair dye chemical that causes serious skin reactions. Real henna paste is green-brown when wet and stains orange first; if an artist promises a black stain within an hour, choose a different artist.
Where the Stain Will Show Under Your Lehenga Hem
Bridal feet don’t need heavy coverage to feel complete. A clean mandala, an anklet band, a paisley trail, a lotus or a hidden name is often enough, as long as both feet match and the design sits where your hem, payal and sandals let it show. Choose traditional motifs and tight symmetry for a classic look, or more open space for something modern. Try your outfit on and look down at your feet in a mirror before the mehndi night; that’s exactly what your guests and photographer will see.
You'll Like These Ideas:


Leave a Reply