
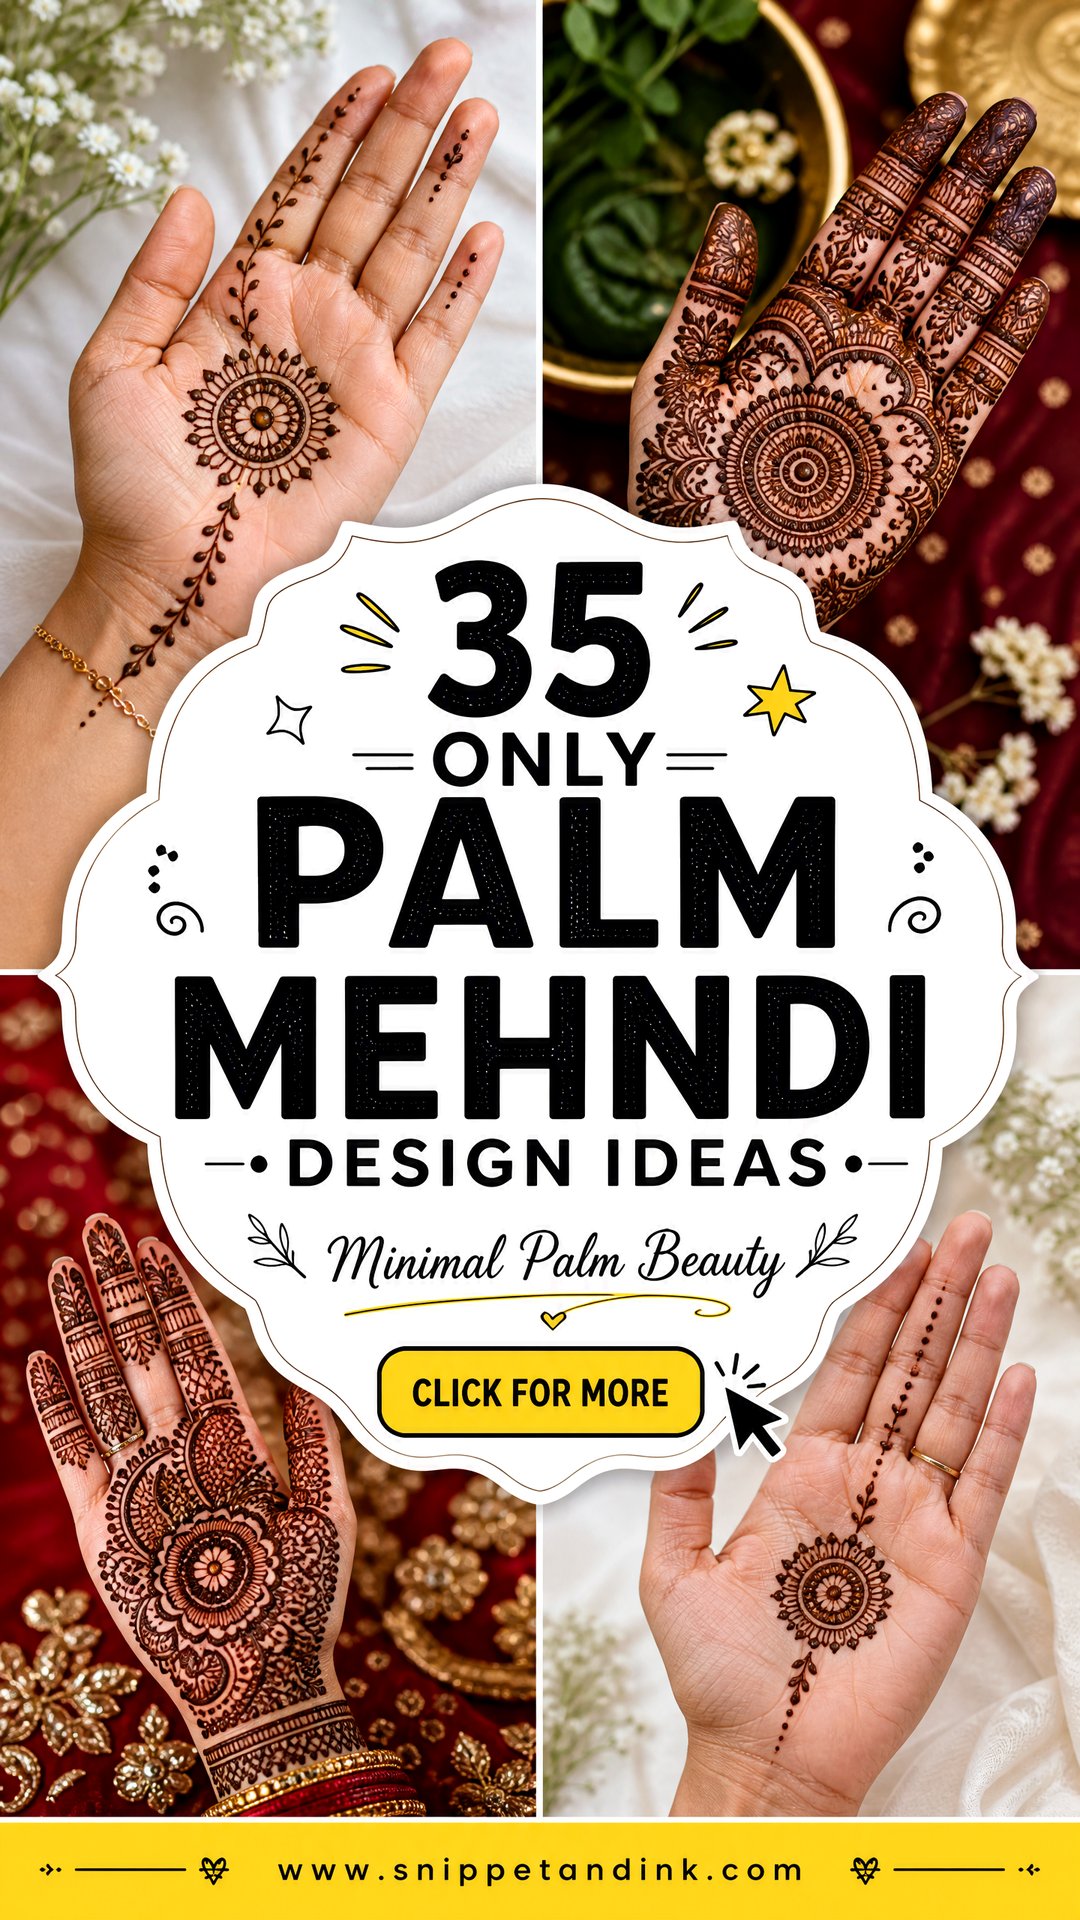
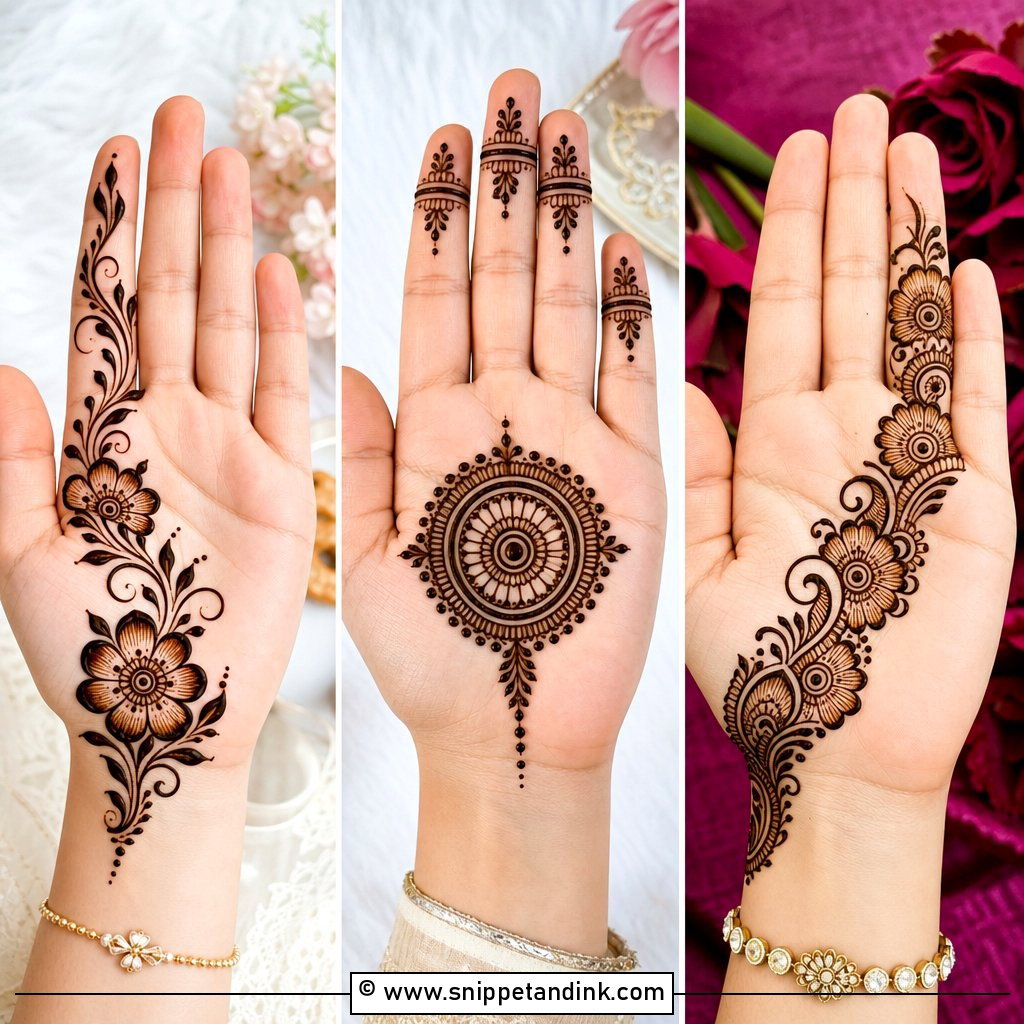
Palm-only work is the quiet favourite in my bookings. It keeps the backs of your hands and wrists bare, it dries sooner, and the palm is where henna stains darkest, so even a compact design comes out rich. These Only palm mehndi design ideas use that rounded space for mandalas, florals, paisleys, jaali, vines and festive motifs, and they suit Eid, Diwali, Karwa Chauth, weddings and school events alike. They’re also the easiest layouts to photograph: open the hand and the whole design faces the camera. Below are 35 palm designs, from beginner patterns to bridal layouts, with what I keep in mind while drawing each.
Working With Palm Creases Instead of Against Them
The palm isn’t a flat canvas. It has deep creases, a padded mound under the thumb, and skin that folds every time you hold a cup. A design that ignores that looks fine in the photo taken with your hand stretched flat and broken everywhere else.
- Before I draw, I ask you to relax your hand and slightly cup it, so I can see where the main creases fall.
- Fine detail placed directly inside a deep crease tends to stain patchily, because the paste lifts as the skin folds. I let borders follow the line of a crease rather than cross it.
- The centre of the palm, where it’s flattest, is where the main motif belongs. The thumb mound is curved and works better for vines or curved borders than for a circle.
- Closed hands hide the inner edges of the palm, so the most important part of the design should sit where it shows when your hand is half open.
Two Palms: Mirror Image or One Picture Split in Half?
Palm-only designs get shown as a pair more often than any other placement, held out side by side in photos. There are two ways I plan that pair. The first is a mirror: both palms carry the same design flipped, which reads calm and traditional. The second is a joined design, where each palm holds half of a single picture, a mandala or a pair of figures, that only completes when you press the outer edges of your hands together. Joined designs look clever in photographs but need careful measuring, since the two halves must meet at the same height. If your hands differ in size, as most people’s slightly do, mirrors are the safer choice.
1. Simple Palm Mehndi Design
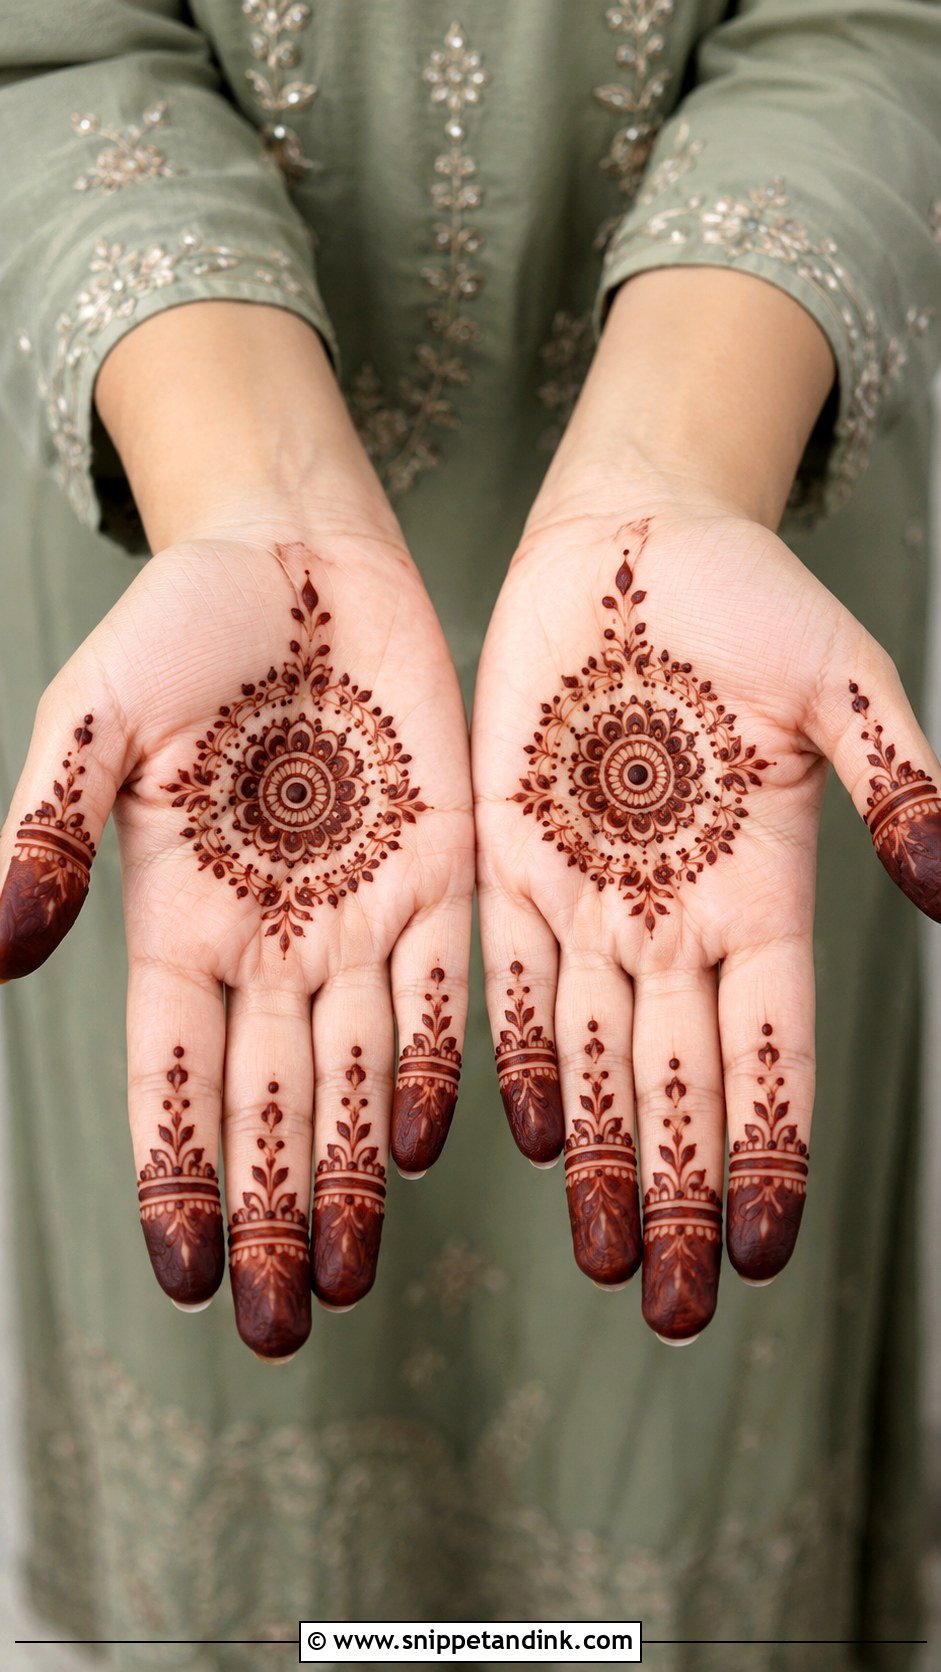
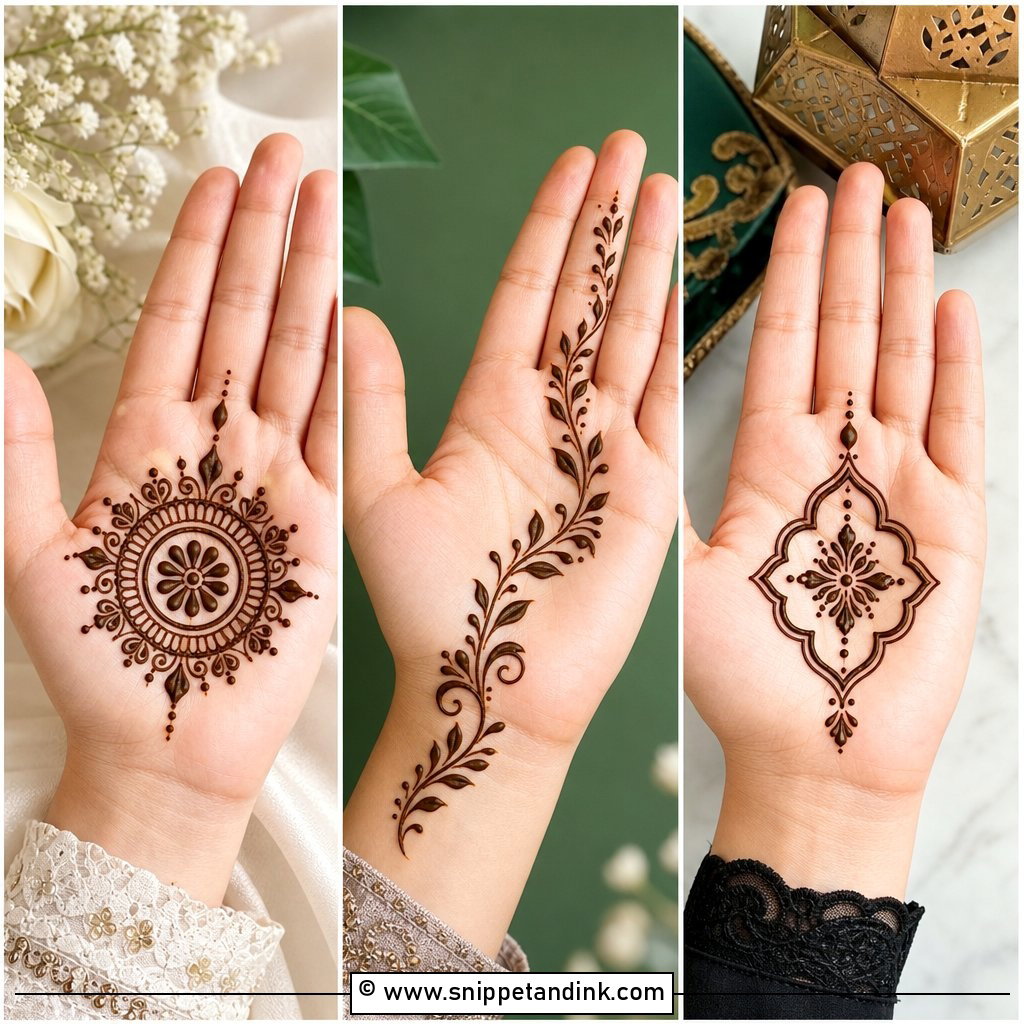
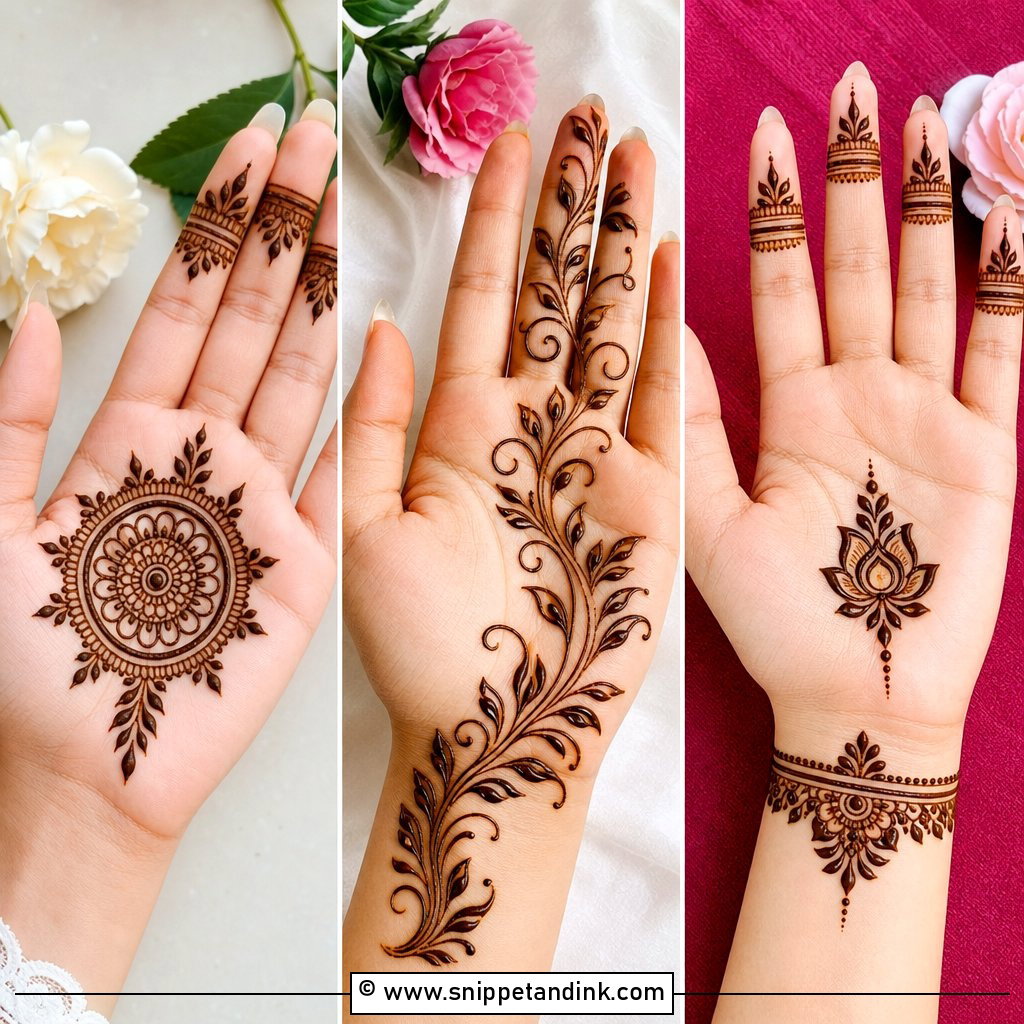
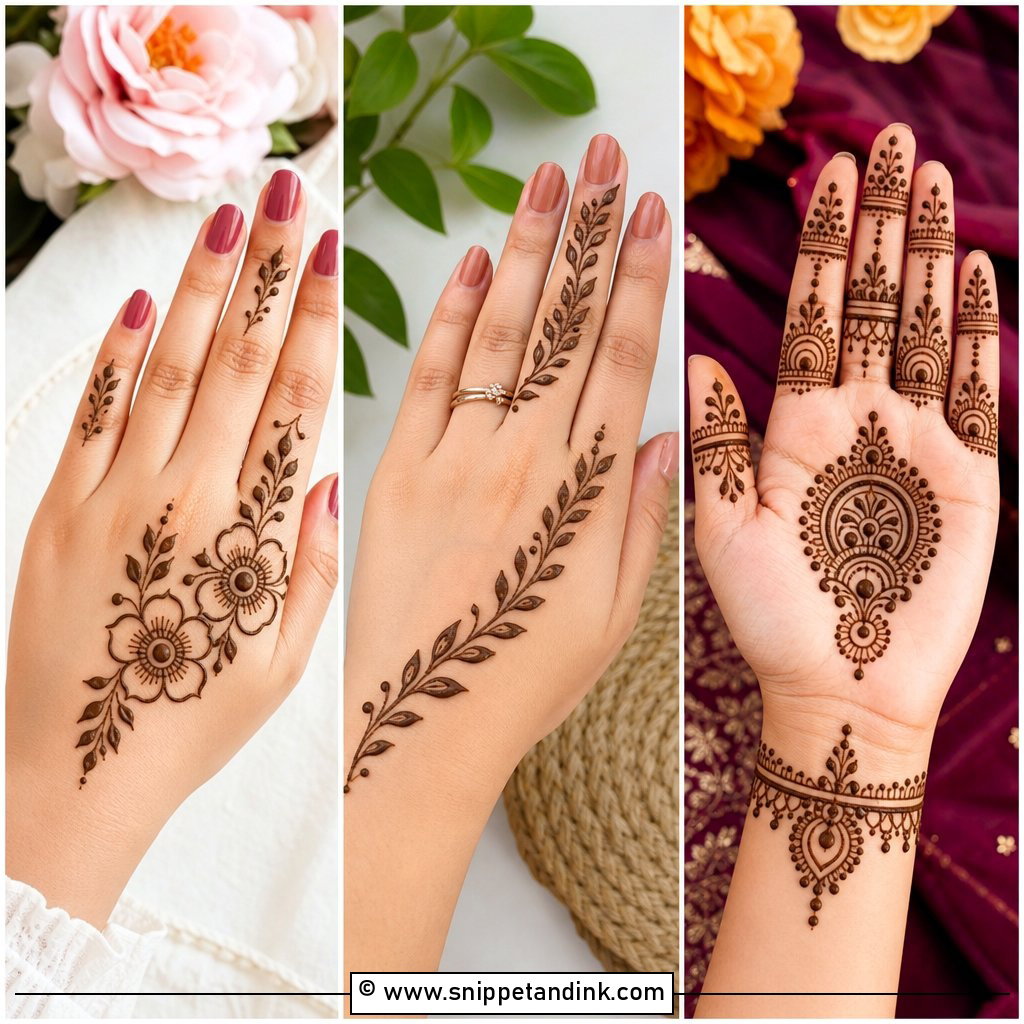
Small and centred. One round flower, mandala or paisley in the middle of the palm, then dots, tiny leaves and light detail on the fingers. Beginners do well with this because there’s no wrist to wrap around and you can work slowly. I either keep the outer edge of the palm bare or add a thin border on the thumb side, which balances it when the hand is held open. It’s my standard answer for a last-minute family function.
2. Full Palm Mehndi Design
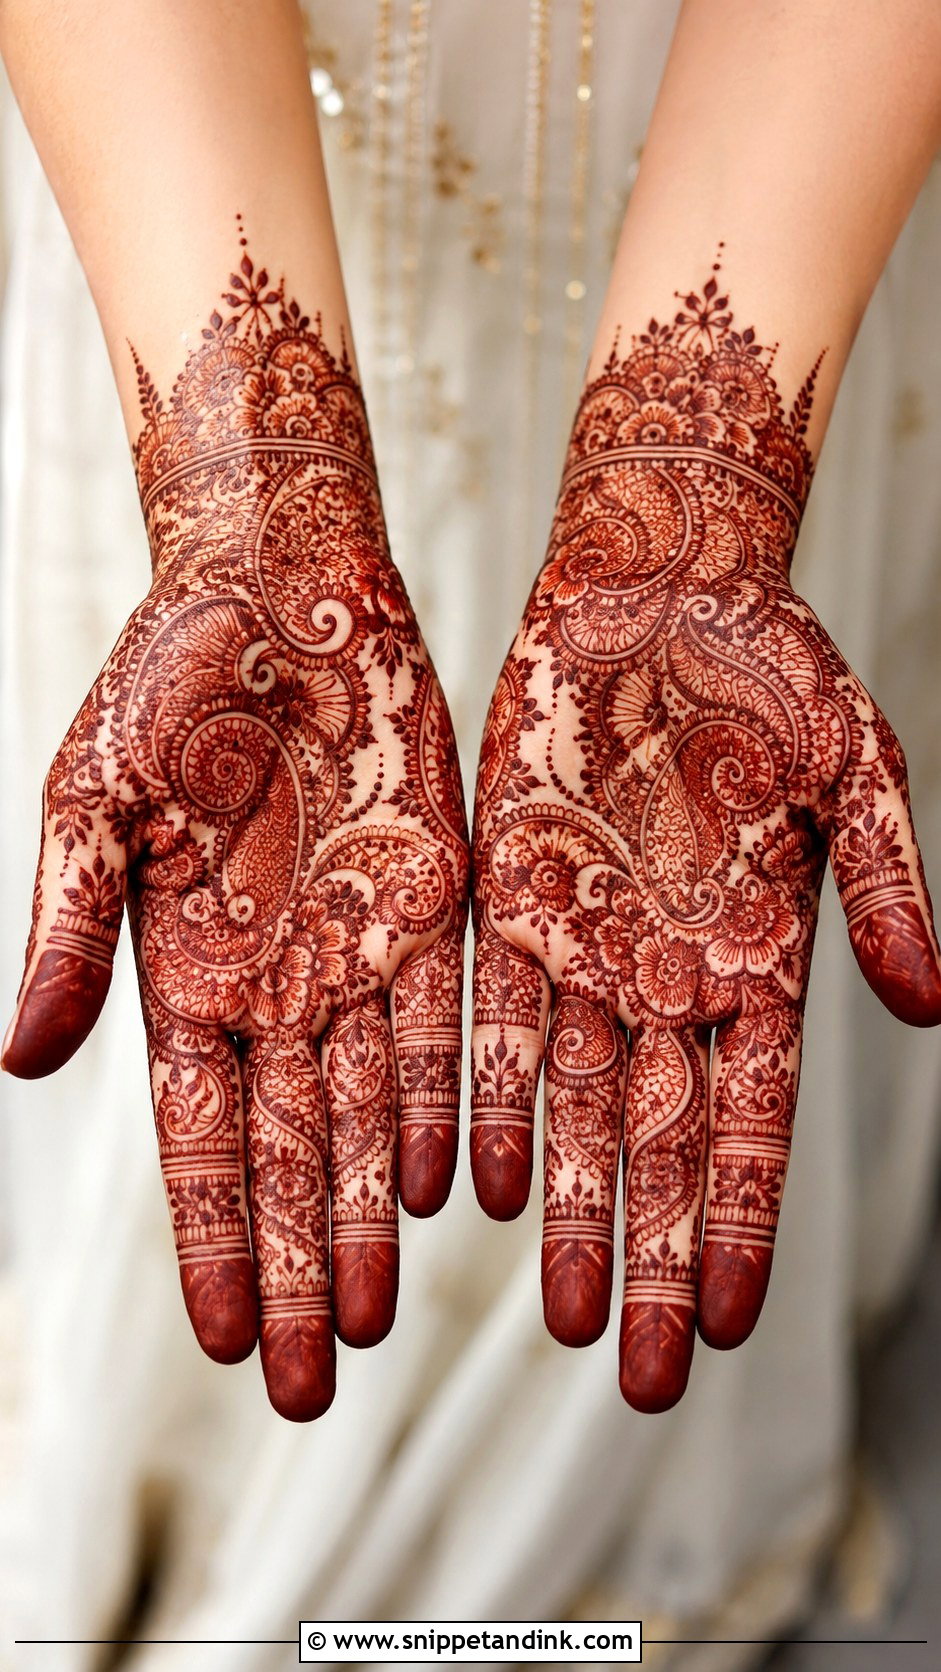
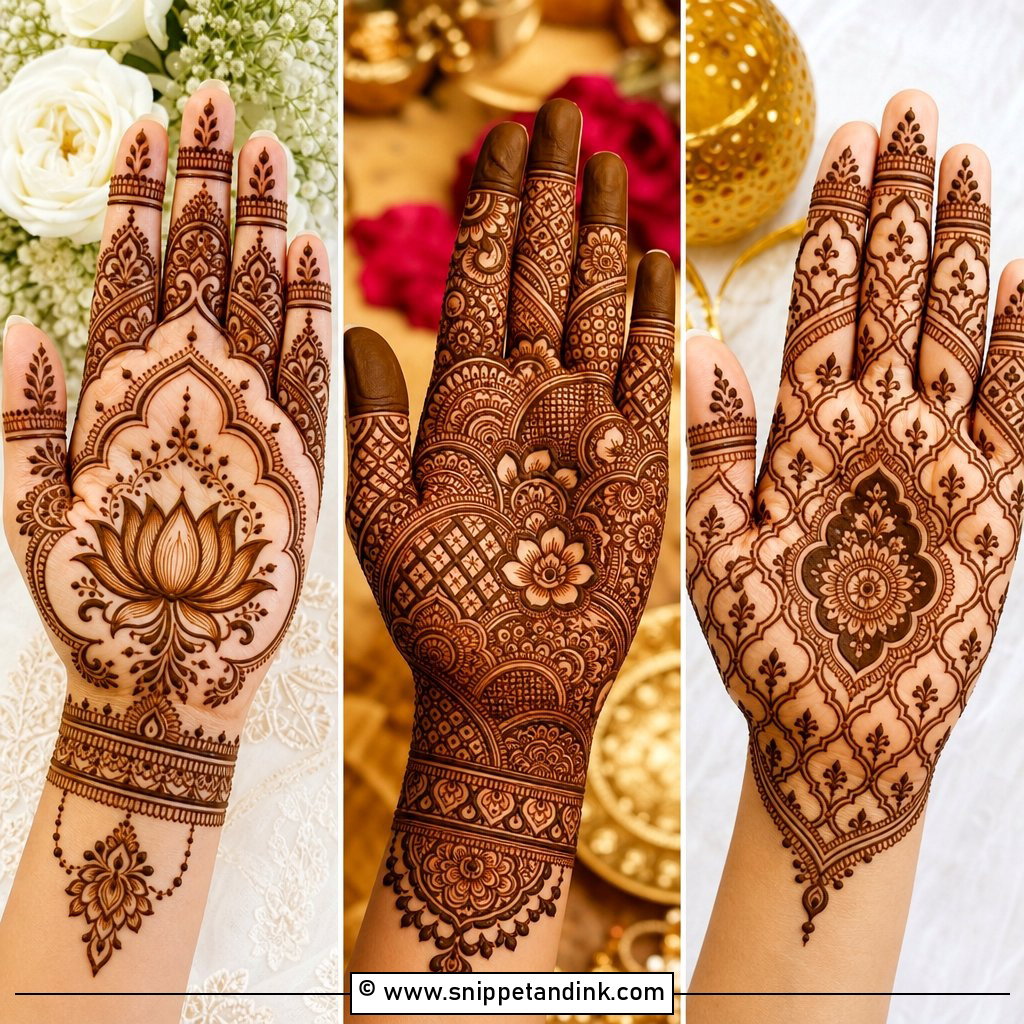
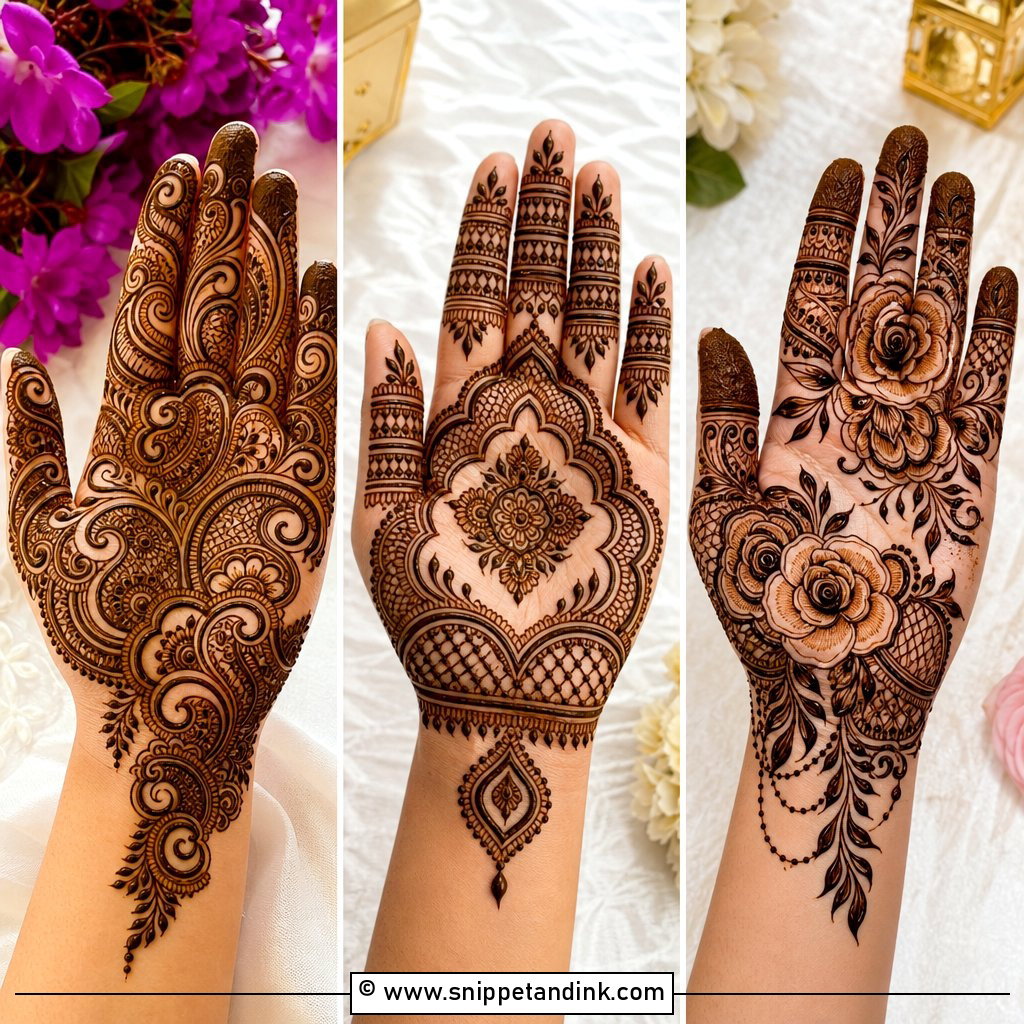
Full palm coverage stays inside the hand but fills it: a bold centre motif, then paisleys, leaves, florals, dots and fine curves packed around it, with matching bands or leafy tips on the fingers. It looks traditional and festive without travelling up the arm. Dense palms have one weak point, the creases. Lines drawn right across the deep folds break up as you flex your hand, so I let borders run alongside the main creases rather than over them. Tiny gaps between patterns stop the details from blurring as the colour darkens.
3. Palm Mandala Mehndi Design
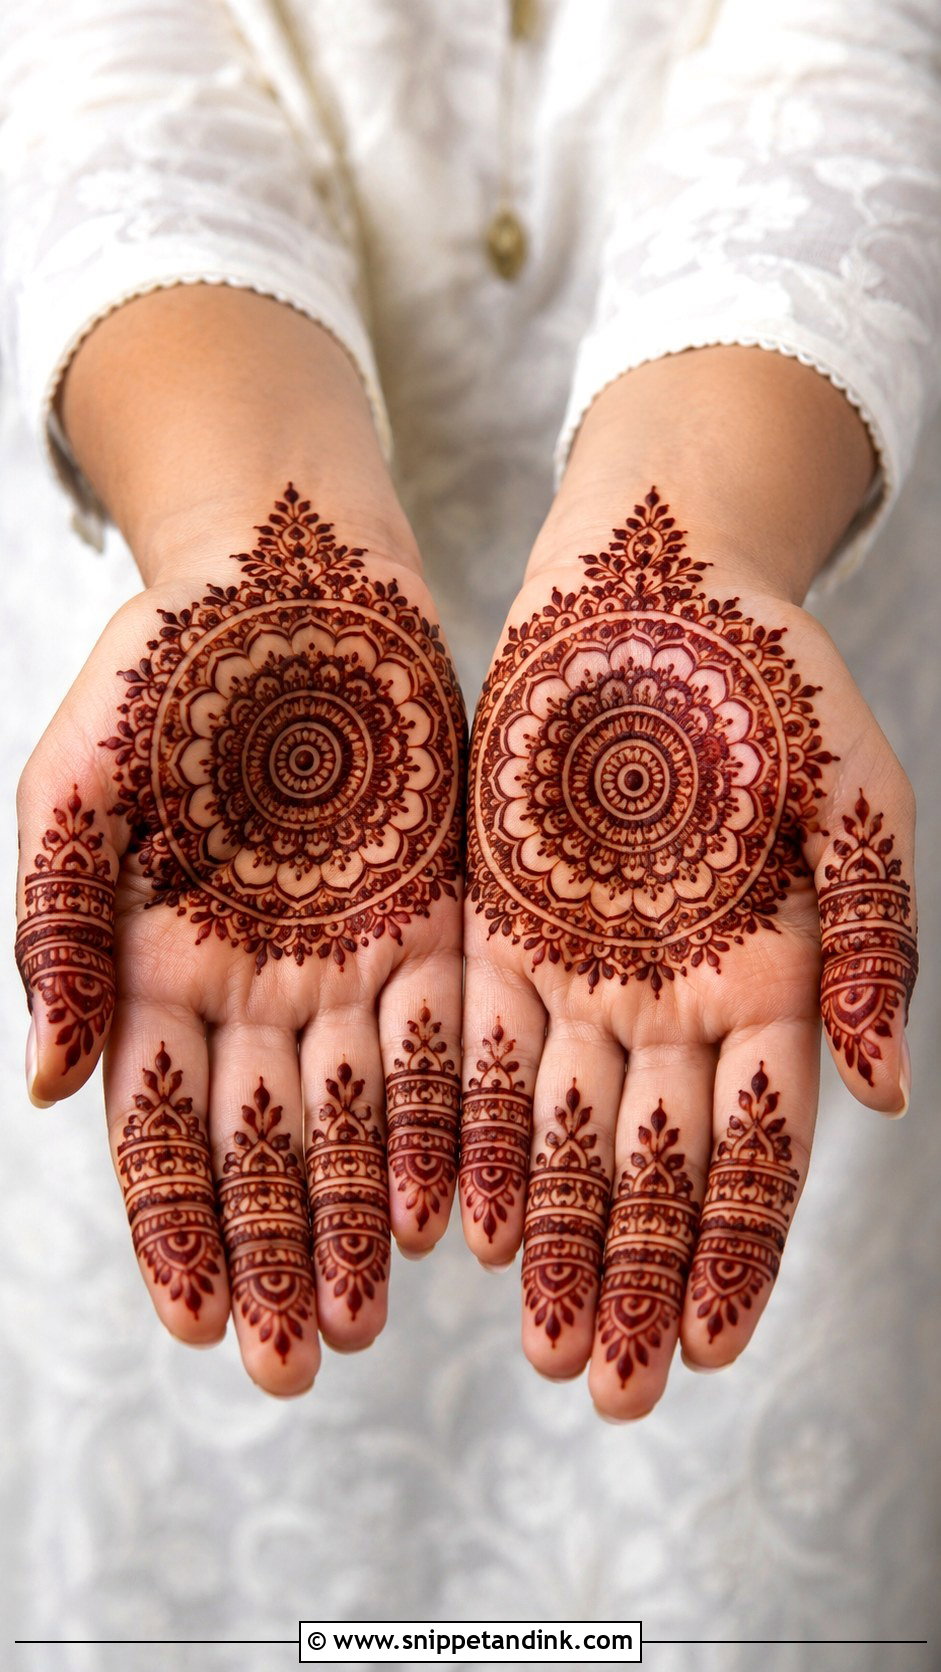
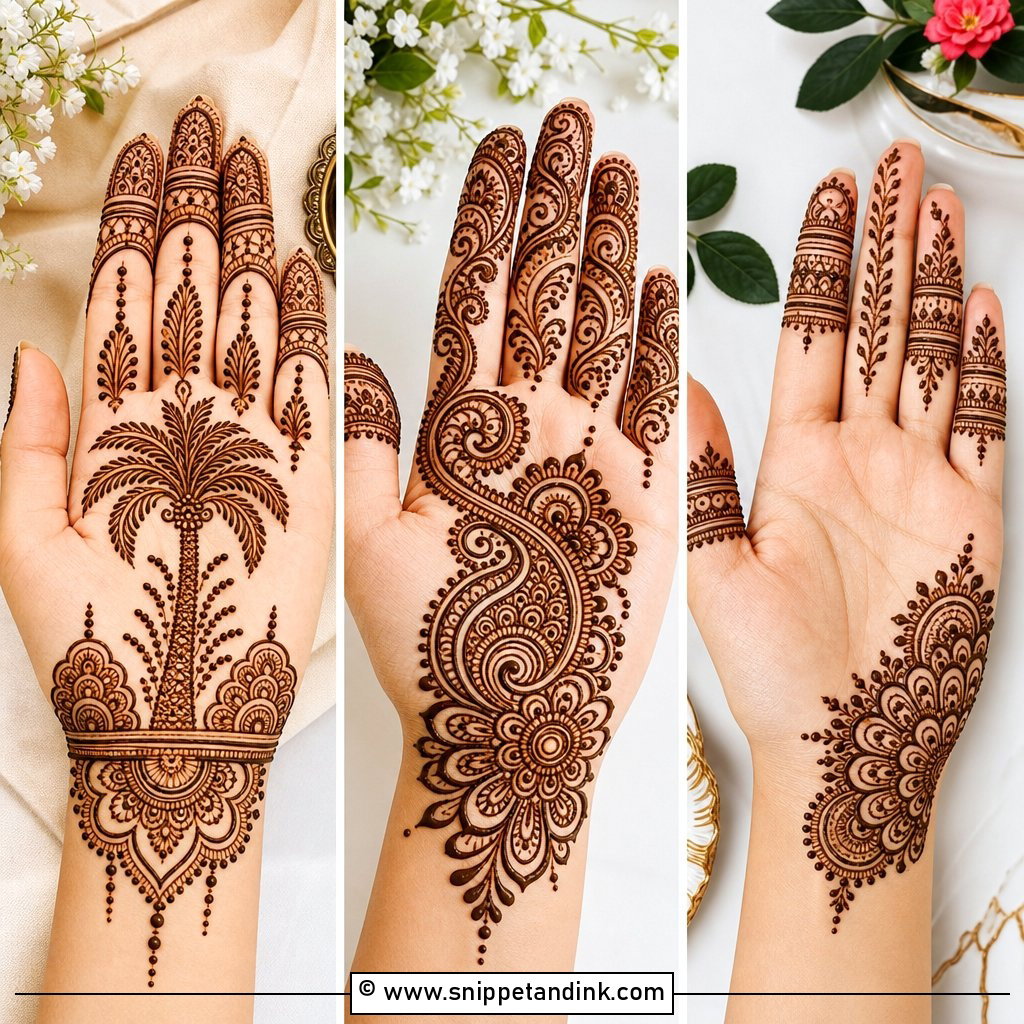
The palm is basically a circle waiting for a mandala. I start with a centre dot or flower and build outward in rings of petals, scallops, dots and fine lines, adding extra layers toward the base of the fingers for a festive version. Because it sits evenly in the middle, it suits nearly every hand shape, and it scales easily for kids, beginners or brides. A dark filled fingertip pairs well with the open centre. Whatever the size, the first circle must be round, or every ring after it shows the error.
4. Arabic Palm Mehndi Design
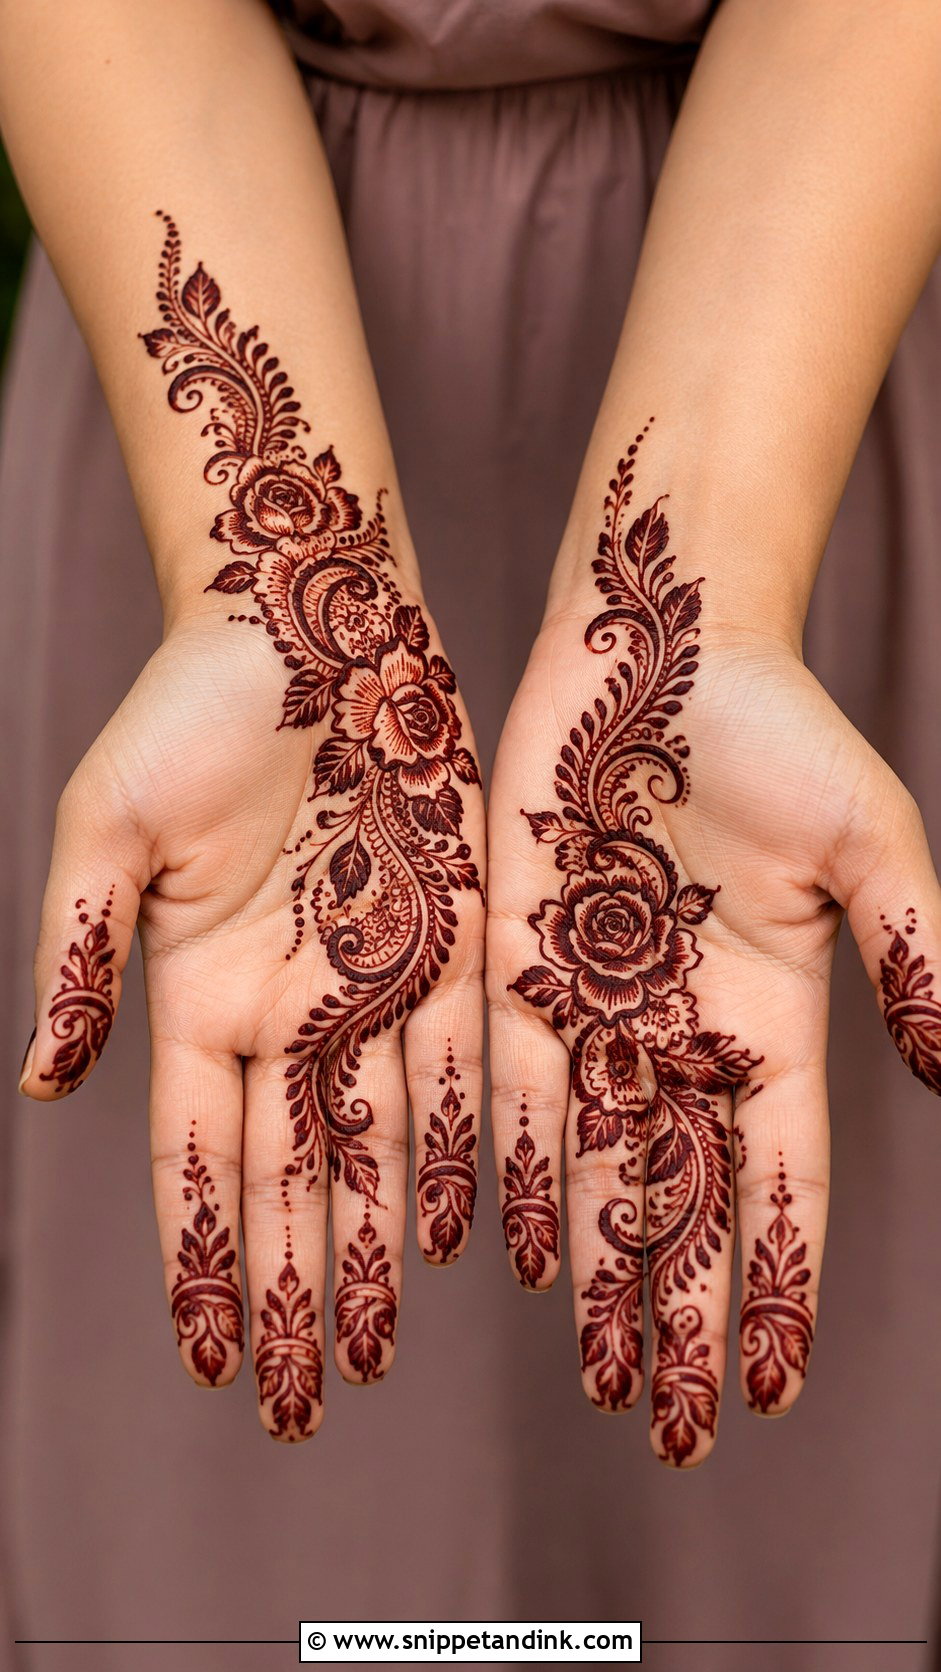
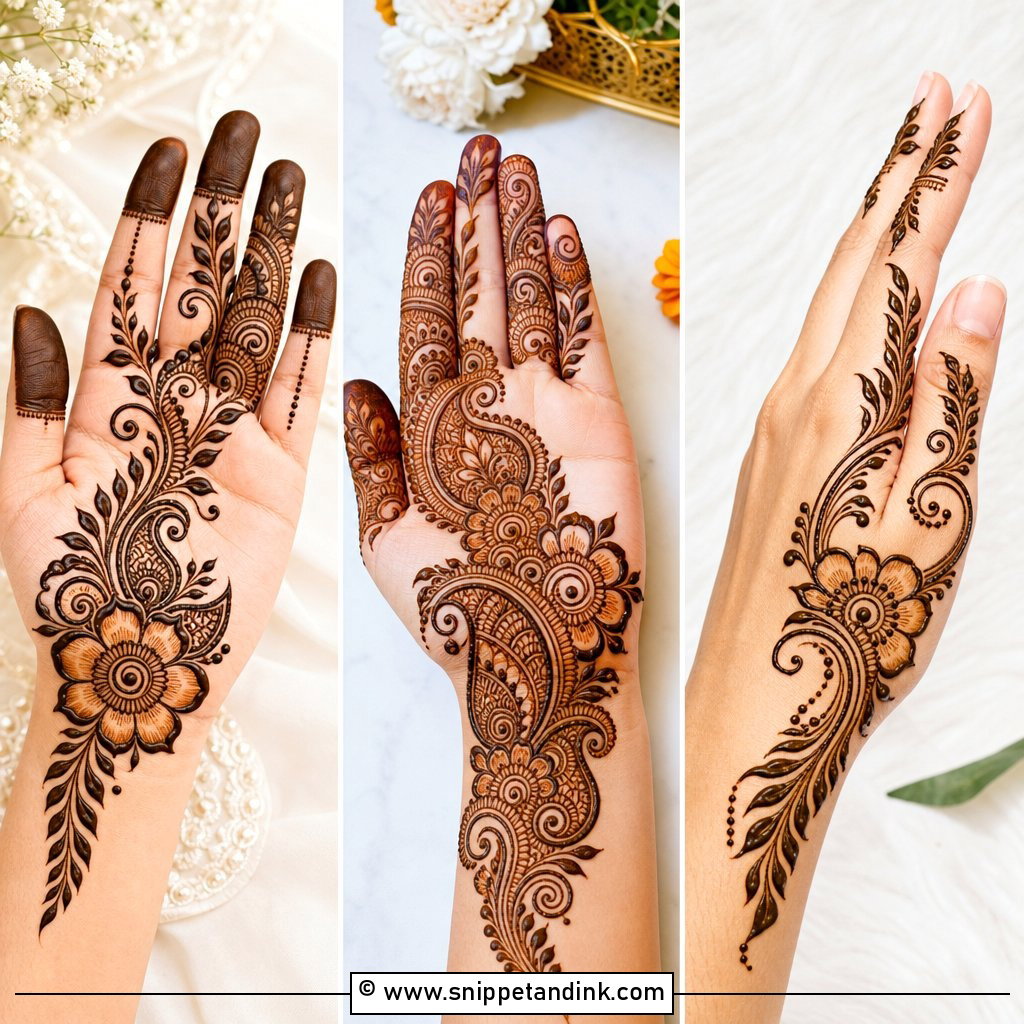
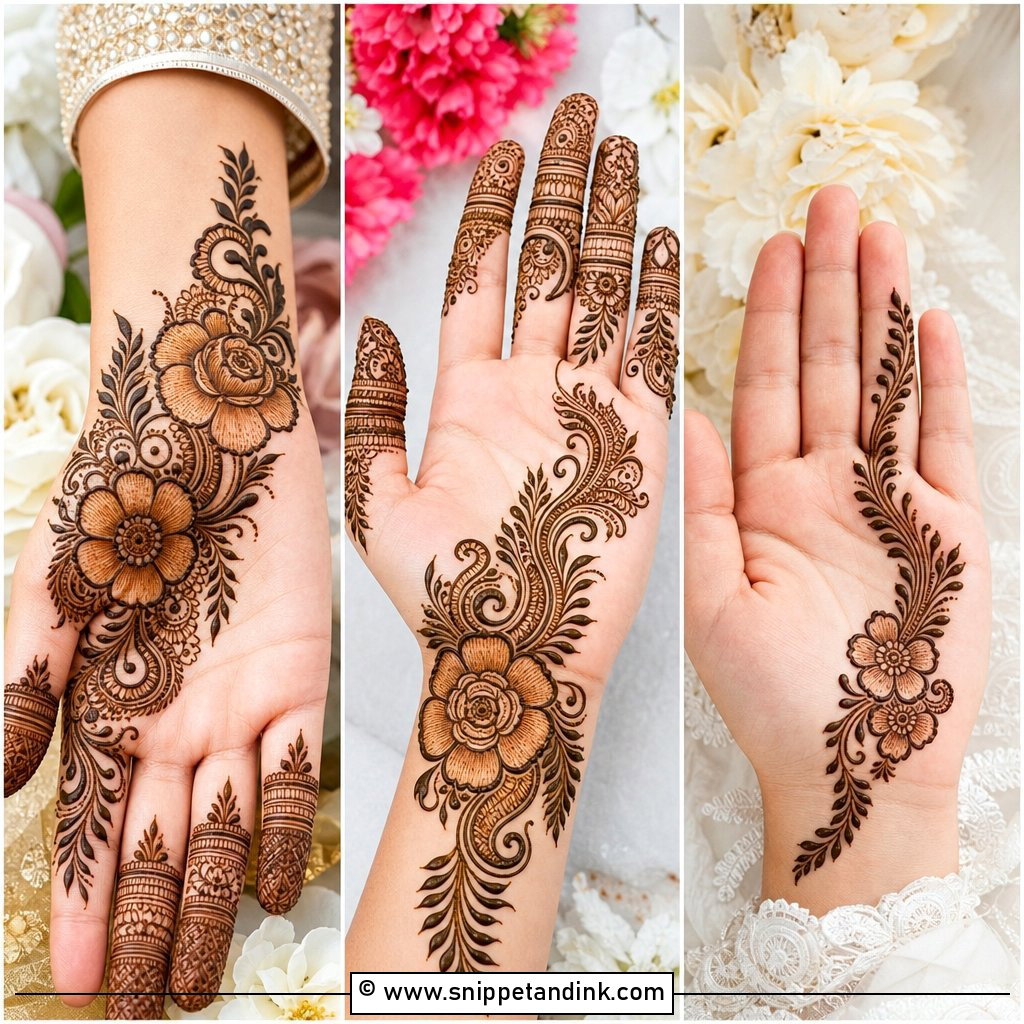
Arabic palm work trades filling for movement. A curved floral trail sweeps across the palm from the wrist side toward the fingers, surrounded by open skin, with roses, leafy vines, paisleys and shaded petals. The motifs are drawn bold so they hold up after the stain settles. I add dots and slim diagonal lines alongside the main trail to finish it. It looks decorative without crowding, which suits engagement functions and festive outfits.
5. Indian Palm Mehndi Design
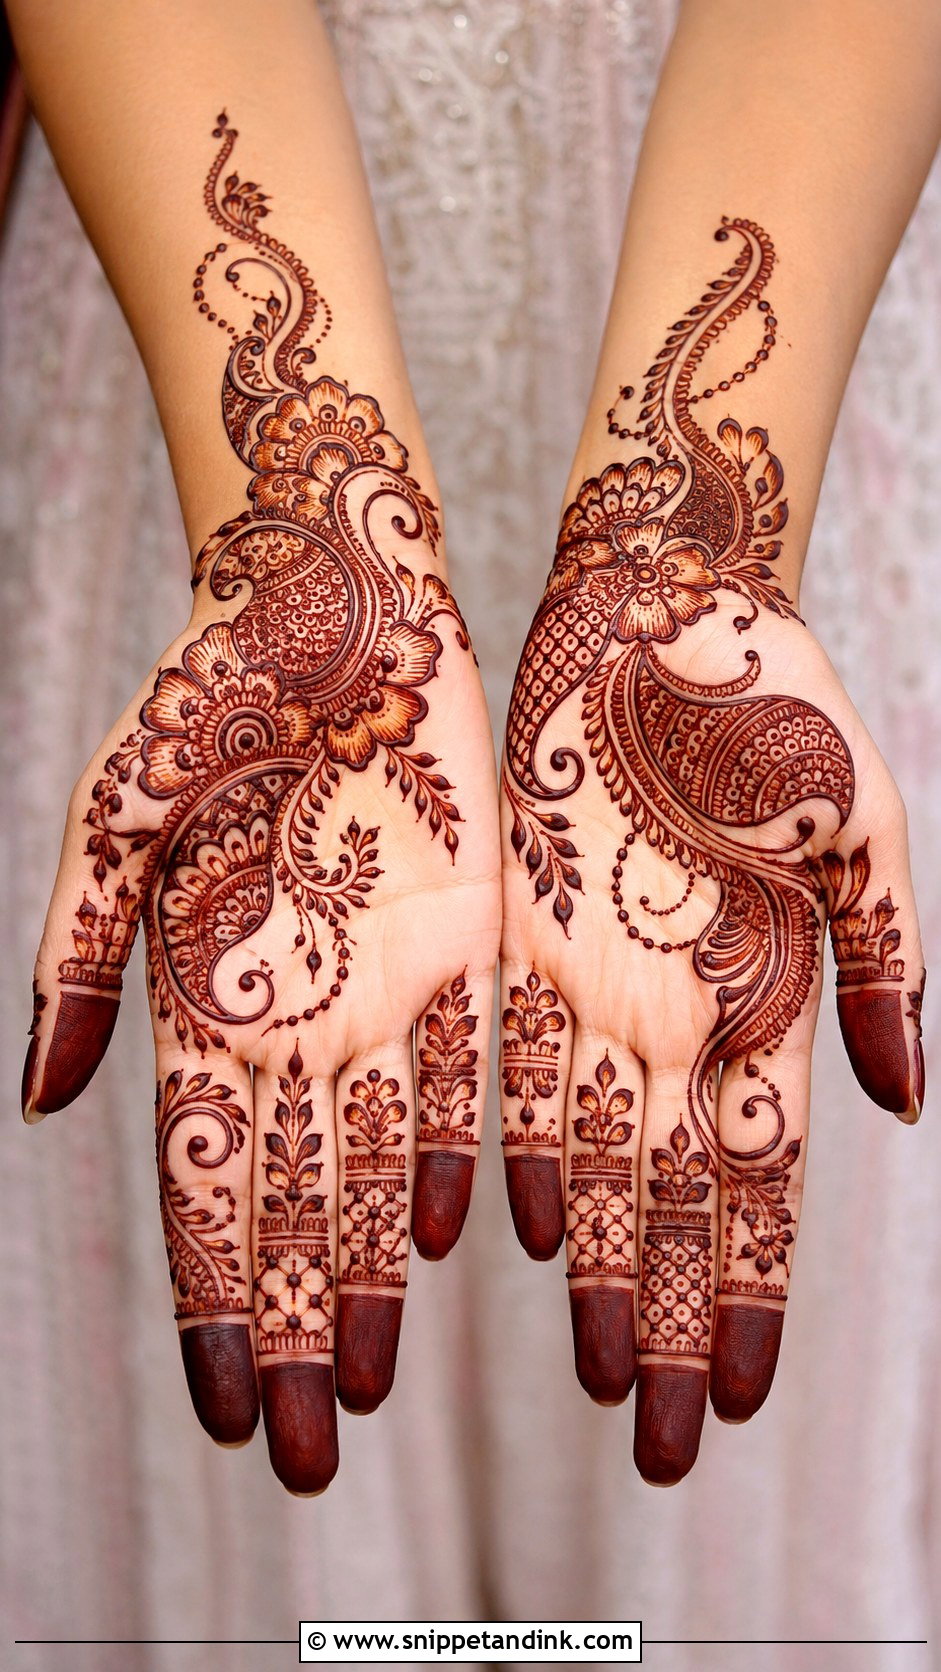
Indian palm designs carry the classic vocabulary: paisleys, flowers, small checks, peacock accents, curved vines and filled fingertips, arranged symmetrically around a centre or flowing more softly. Even confined to the palm it reads rich, so it fits weddings and religious occasions. The clarity trick is line weight. I outline the main motifs with a thicker line and switch to a finer cone tip for small details, so the eye can separate them. Full, yes, but each pattern still needs a sliver of breathing space.
6. Floral Palm Mehndi Design
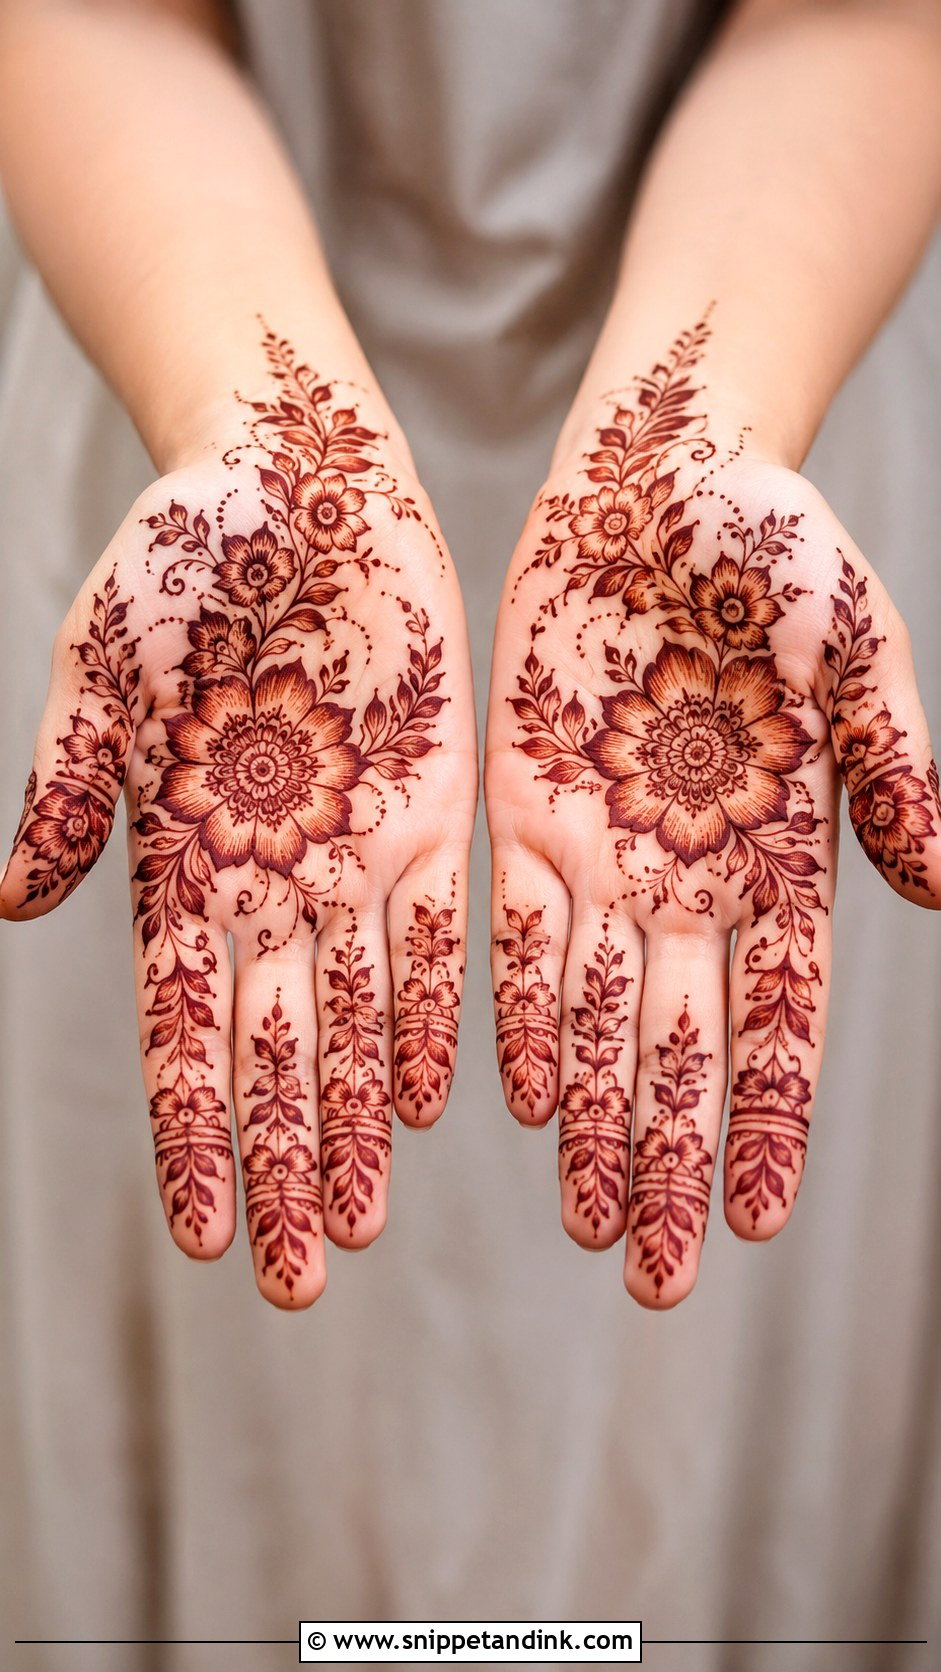
Flowers are the easiest motif to make look good on a palm. One large bloom in the middle, smaller blooms around it, then leaves, dots and curved stems. Lotus petals push it traditional, roses push it toward Arabic, and plain five-petal flowers keep it beginner-friendly. Young girls and bridesmaids ask for this one a lot. I keep the fingers light, just petal tips or dotted chains, so the palm stays the focus. Rounded petals stain more clearly than very pointed ones.
7. Paisley Palm Mehndi Design
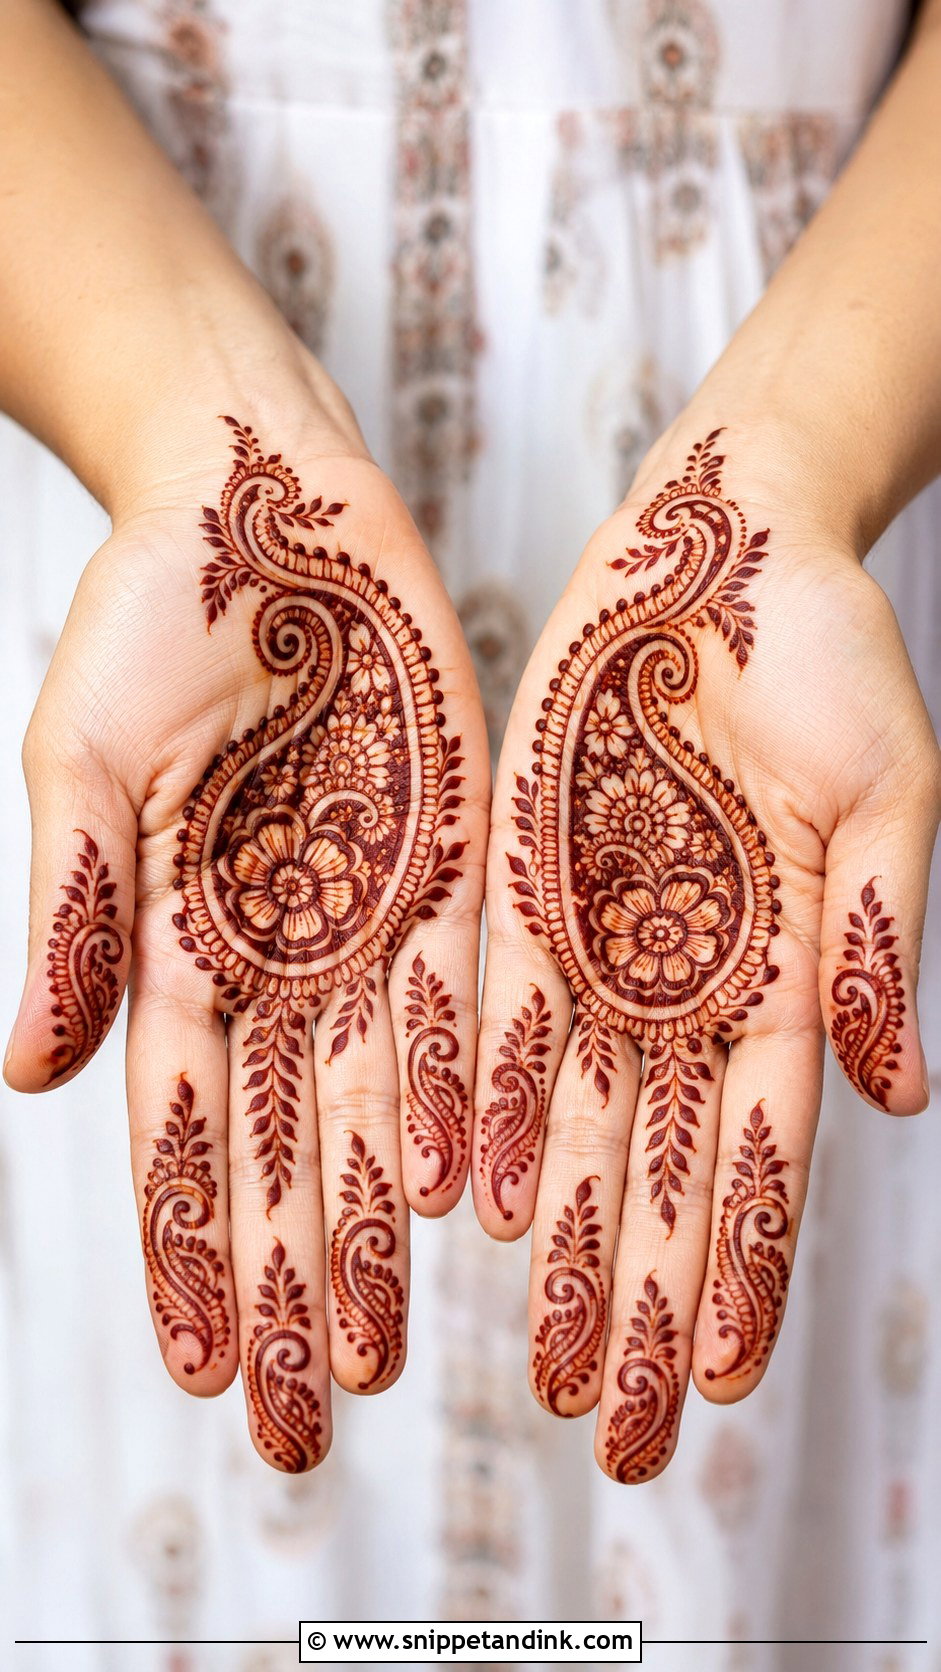
A palm can hold one large paisley, two mirrored ones, or a spiral arrangement that fills the space. Inside, I add small flowers, leaf veins, dots and curved bands. It’s a step up from a simple mandala without the time of a bridal layout. Paisleys stretch and curve to suit any palm size, which makes them adaptable. For a modern version, leave one side of the palm open and echo the paisley shape on the fingertips.
8. Peacock Palm Mehndi Design
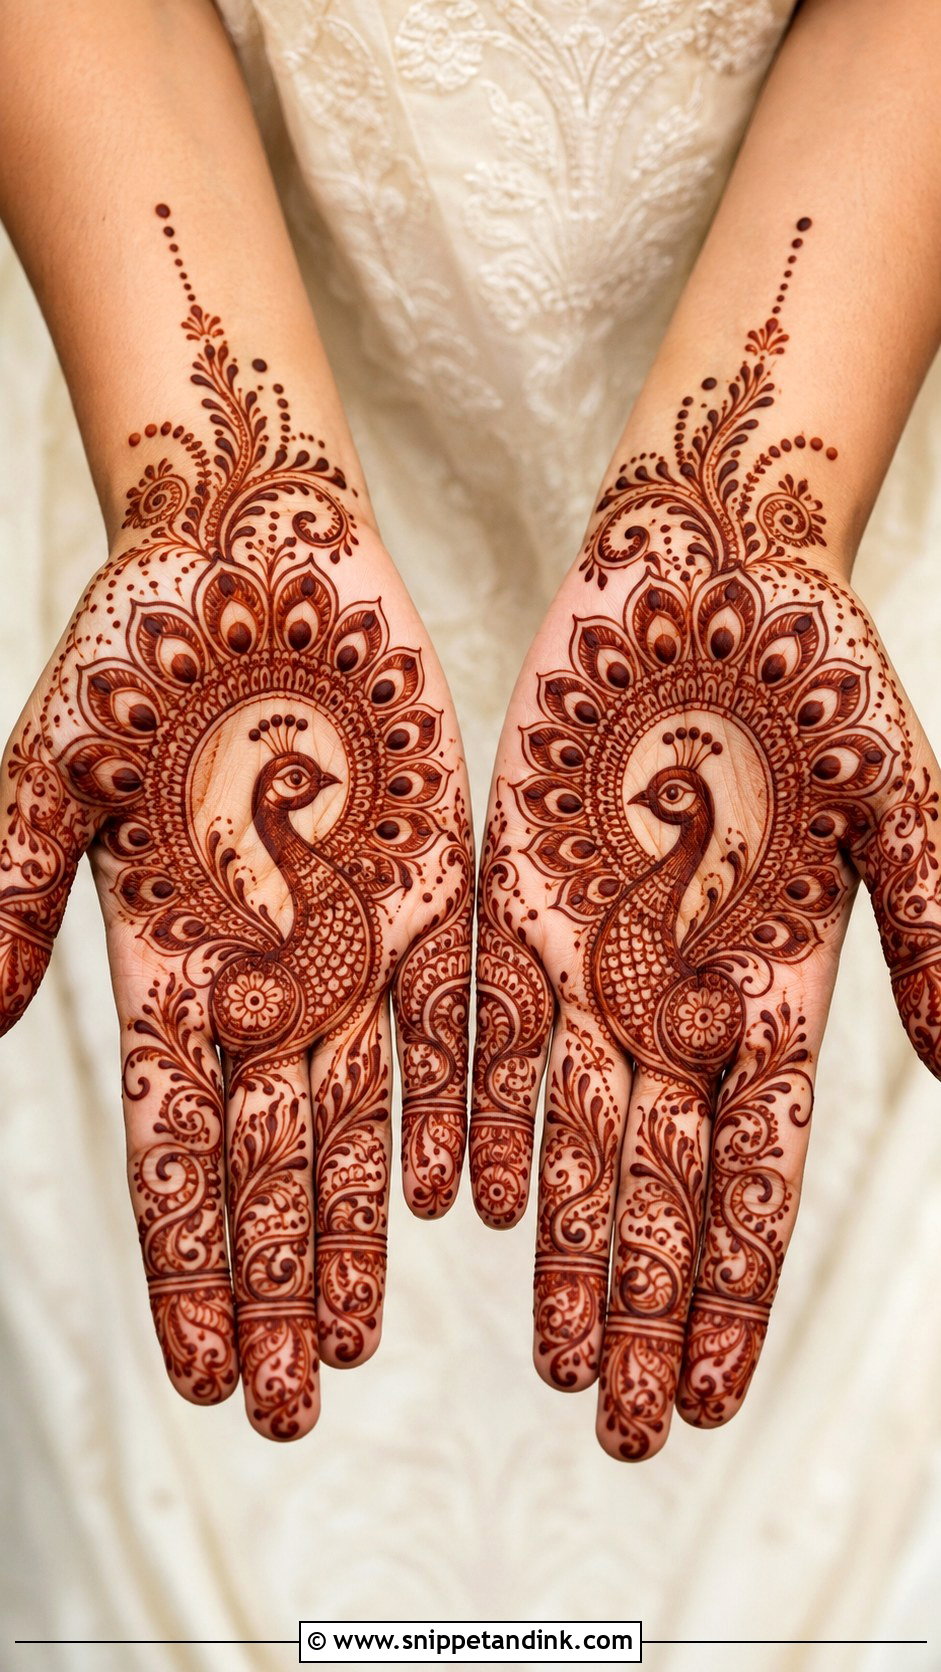
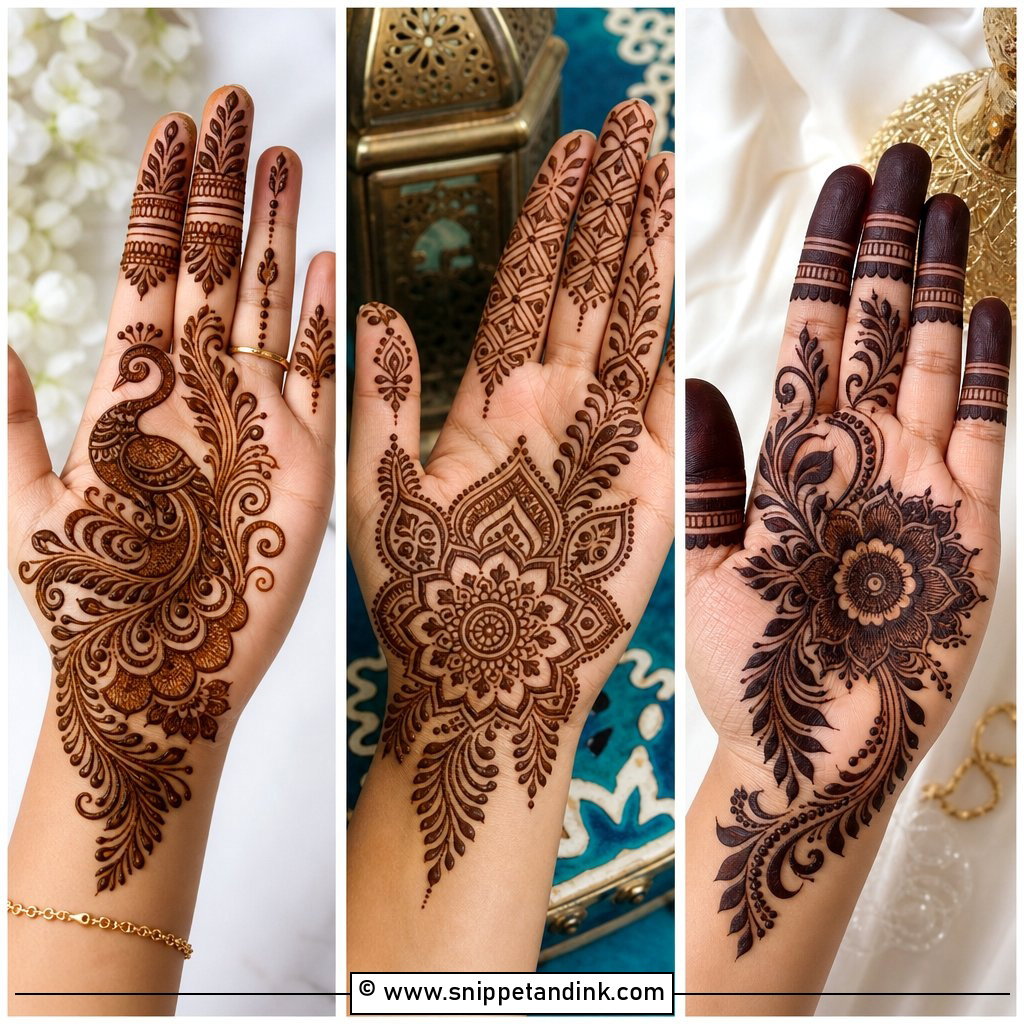
Peacocks sit in the centre of the palm with feathers opening toward the fingers, or curve in from the thumb side across the hand. I keep the body bold and use fine lines and small dots for the feathers and plume, then add lighter vines and floral fillers around it. That contrast between solid body and delicate feathers is what keeps the bird readable once the stain develops. A good fit for sangeet nights and traditional ceremonies.
9. Bridal Palm Mehndi Design
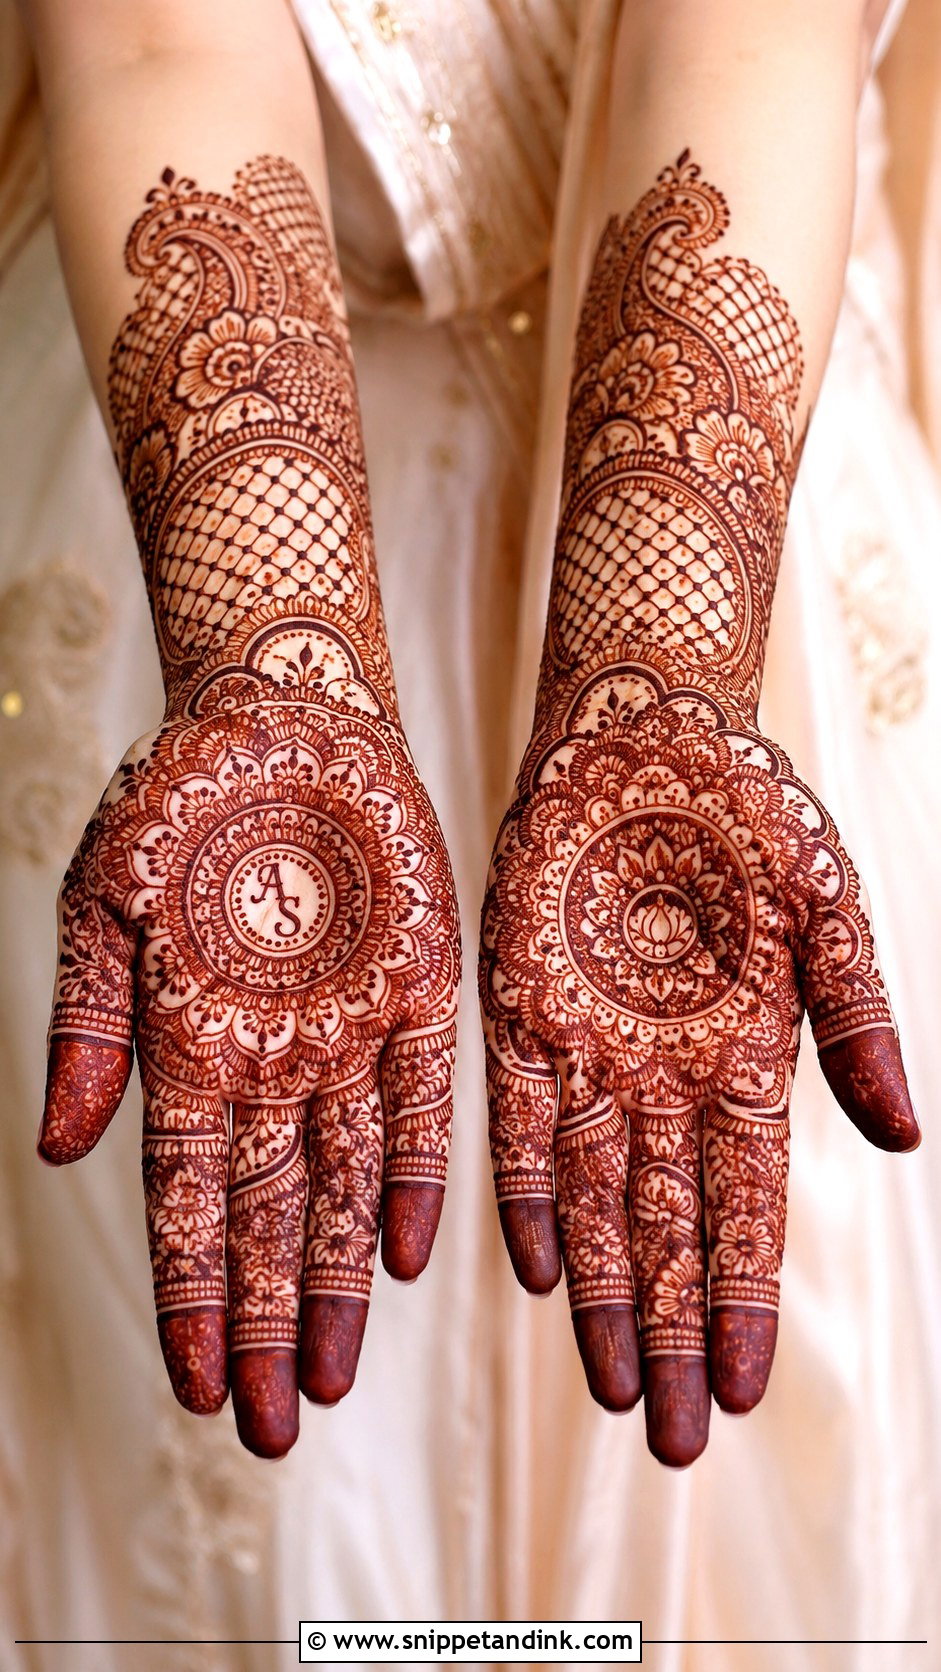
Bridal detail can live entirely on the palm. A mandala, dulha-dulhan art, initials, paisleys, florals and fine jaali can all fit, but the smaller space means planning before the first line. I place the most important symbol in the centre, usually the couple or the initials, then frame it with borders and fillers. It suits brides wanting lighter wedding mehndi, haldi and engagement functions, and bridesmaids wanting a bridal feel without hours in the chair.
10. Minimal Palm Mehndi Design
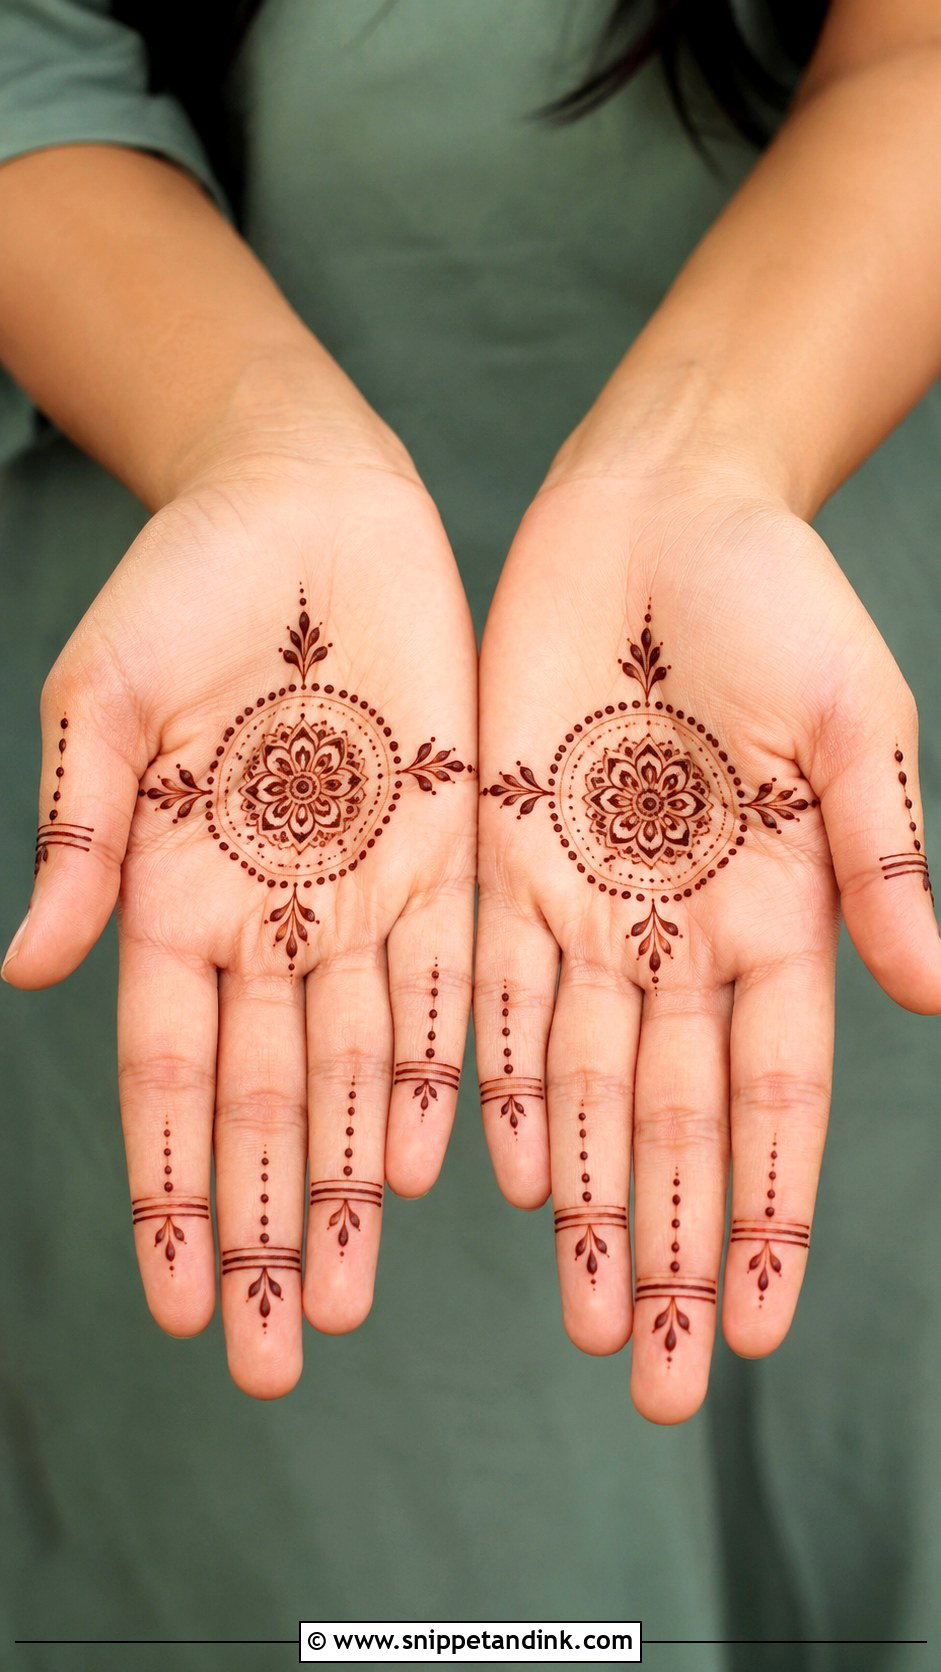
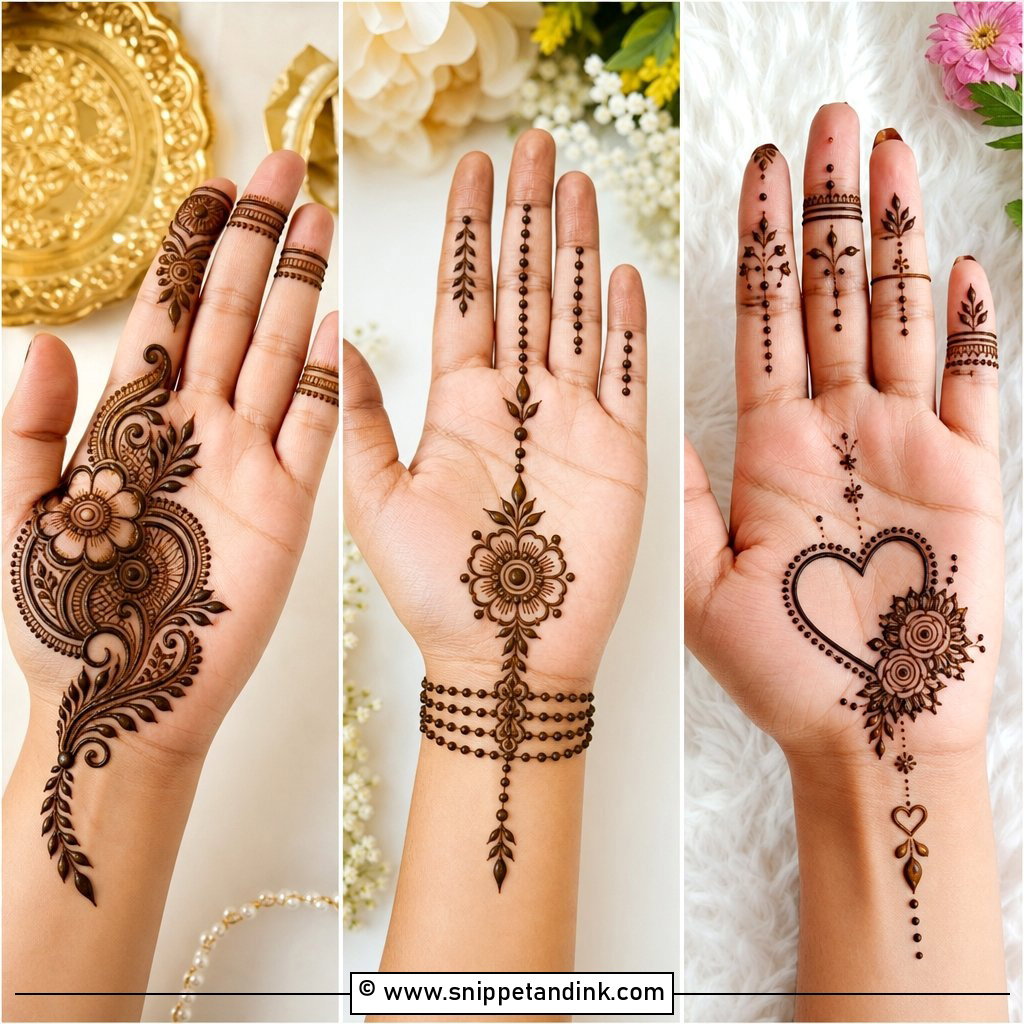
A minimal palm mehndi design uses a few placed motifs instead of filling: a tiny mandala, a slim floral vine, a dotted ring or a small paisley cluster. The bare skin is part of the design, so spacing has to be deliberate. Office-friendly occasions and people who dislike heavy henna suit it. Fingers get single dots, fine bands or small leaf tips. With so few elements, each one has room to stain clearly.
11. Easy Palm Mehndi Design
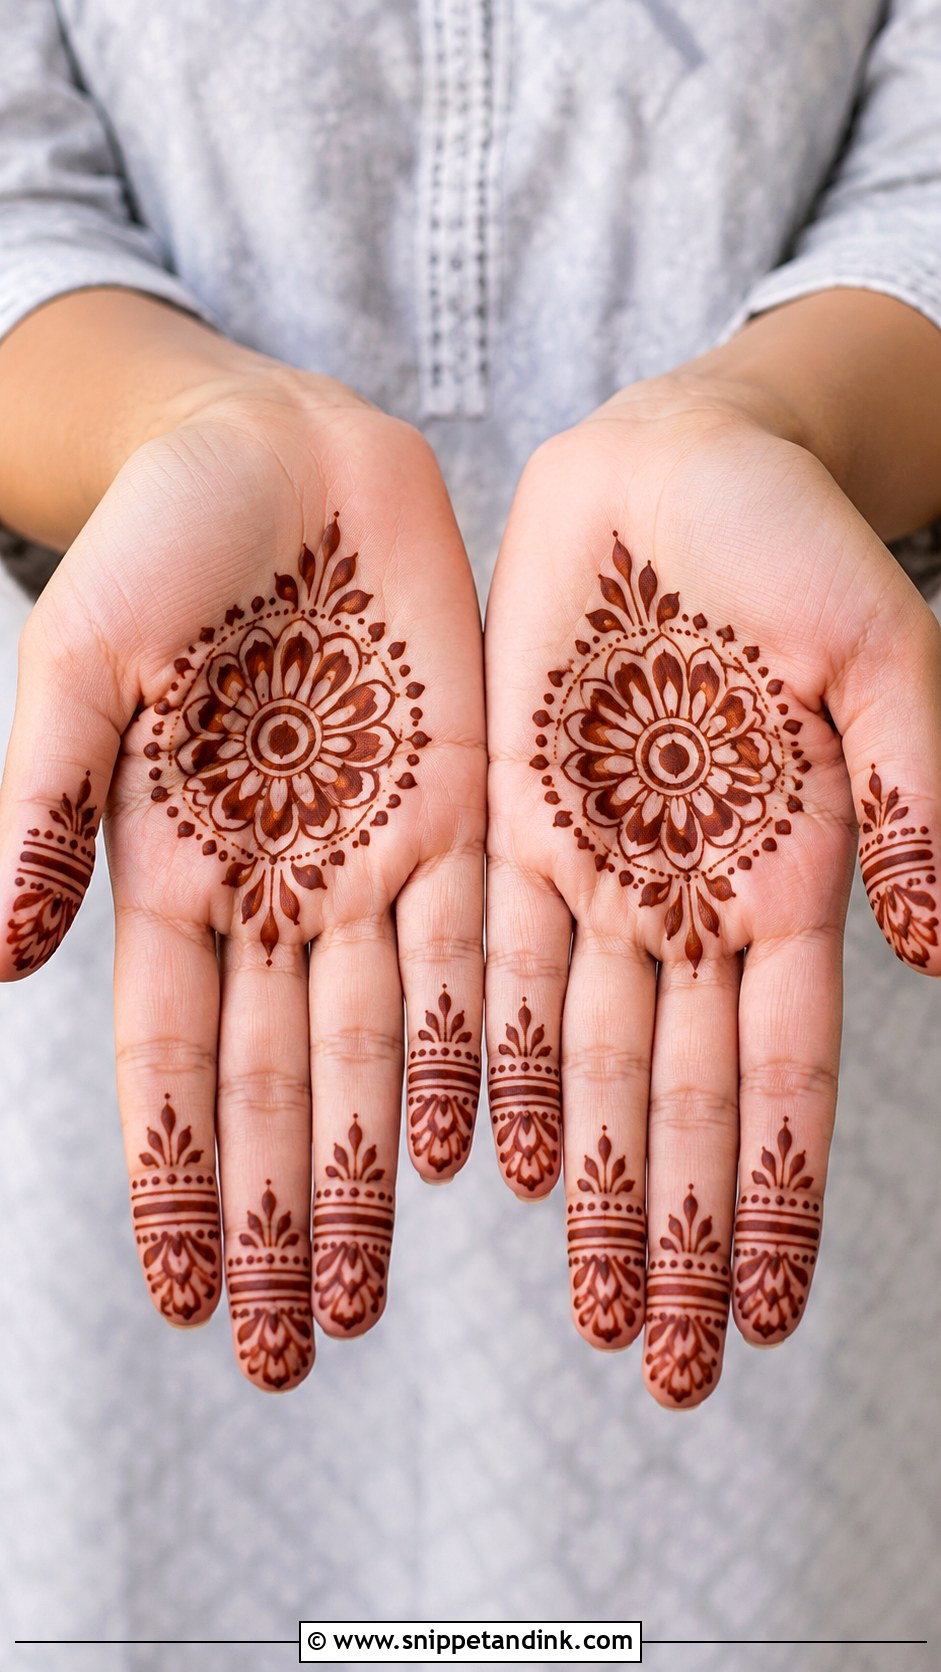
Easy doesn’t have to look basic. Start with a circle, a flower or a heart-shaped paisley in the middle, add dots around it, then simple leaves or curved lines toward the fingers. Repetition is the secret; one small shape repeated neatly reads as planned. Skip tiny complex filling while you’re new, because the palm is the part of the hand that touches everything, and it smudges first. Let it dry fully before you even reach for your phone.
12. Front Palm Mehndi Design
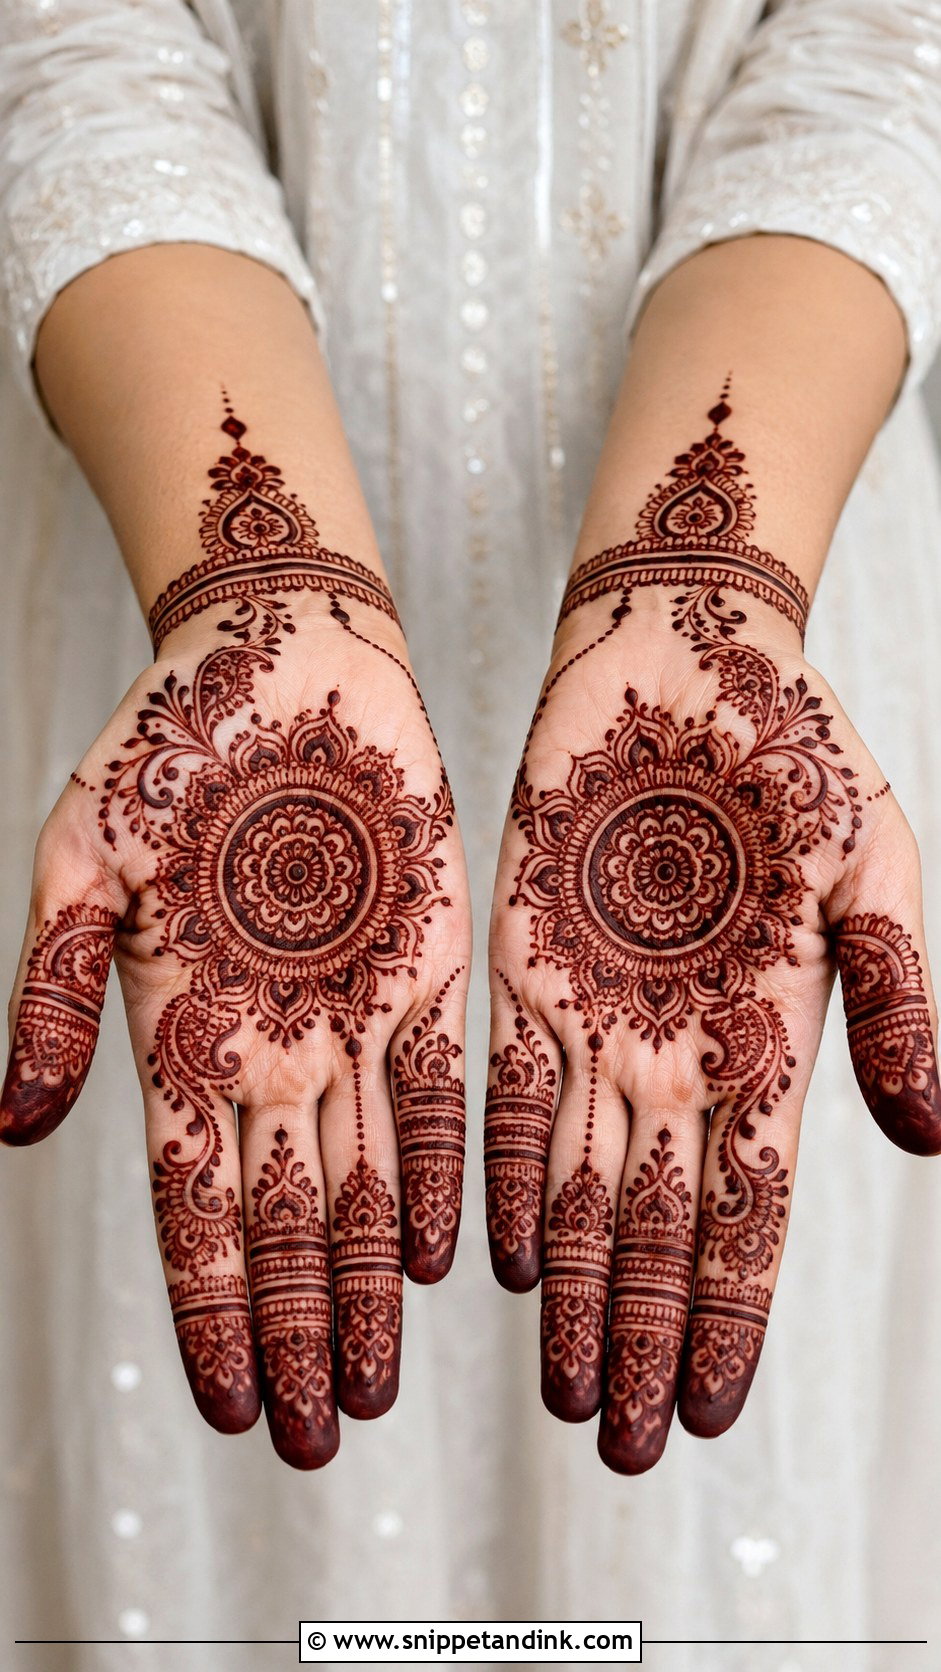
Front palm designs face the camera every time you open your hand, and the palm takes stain more deeply than any other part of the body, so the work shows clearly. A central mandala, a diagonal Arabic trail, a full floral layout or a traditional paisley arrangement all suit it. Fingers should match the palm without needing full coverage; thin bands, leafy caps or dotted tips are plenty. Greeting photos and ceremonies, where hands are held out, favour this placement.
13. Back To Palm Mehndi Design
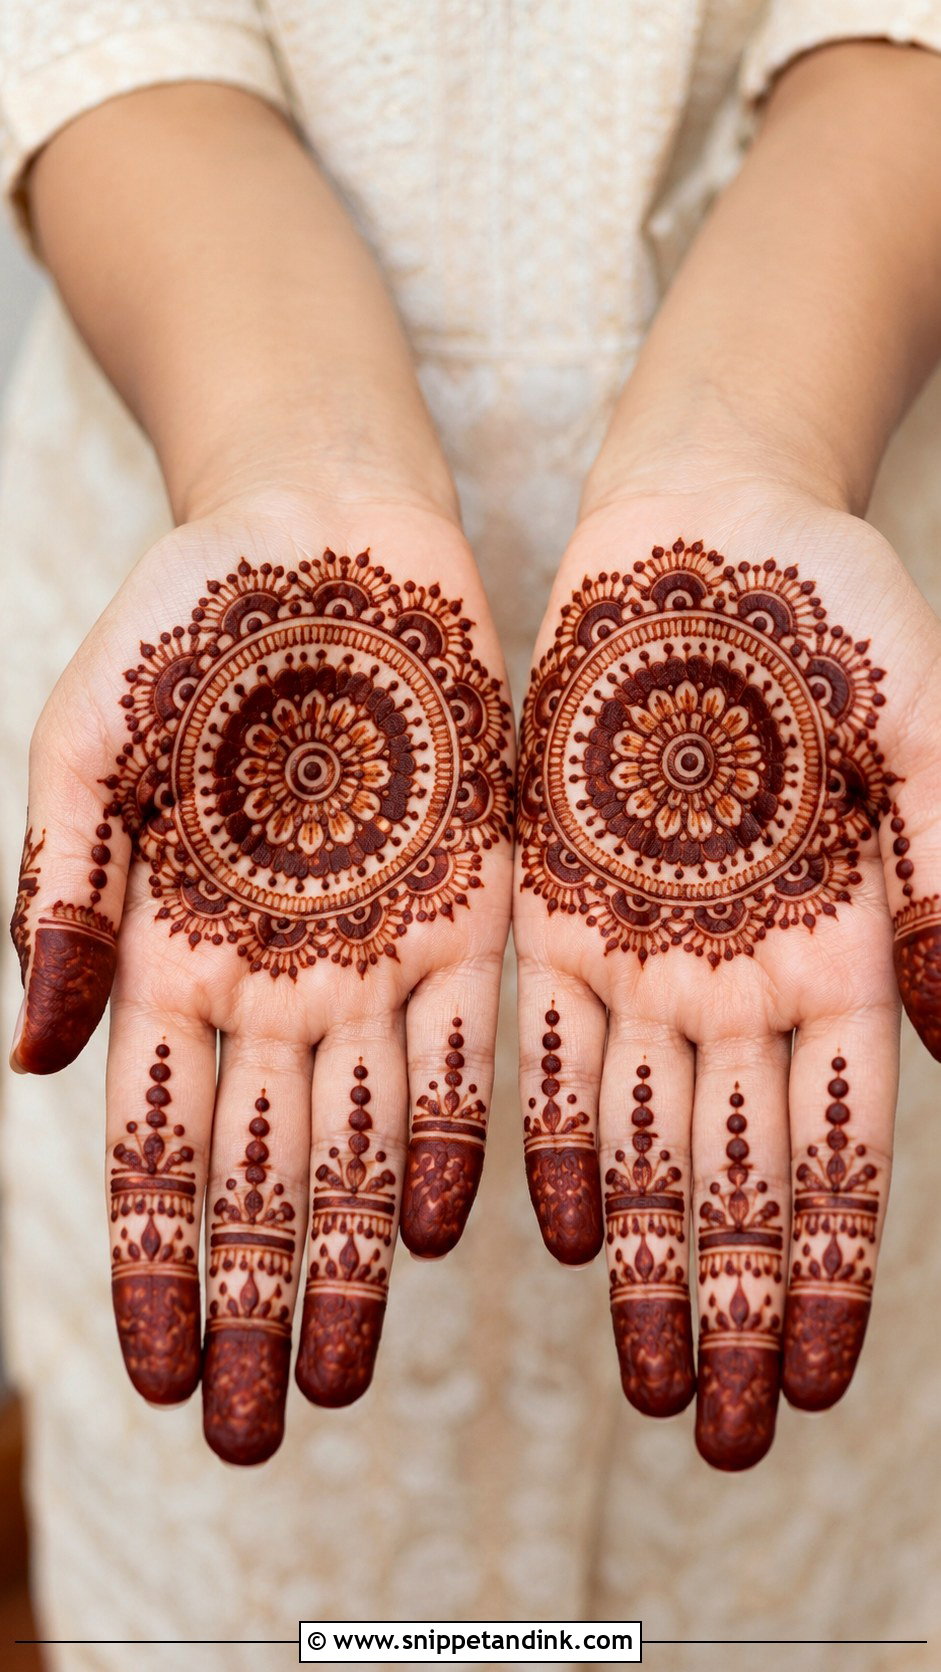
Here the palm carries a complete motif and the fingers get small matching details, and nothing else. A round mandala, a floral cluster or a neat paisley centre works. Unlike back-hand designs, it doesn’t depend on bracelets or wrist chains to look finished. It dries faster and feels lighter to wear, which makes it practical for casual functions. Just keep the finger details consistent so the hand reads as one design.
14. Palm Mehndi Design For Kids
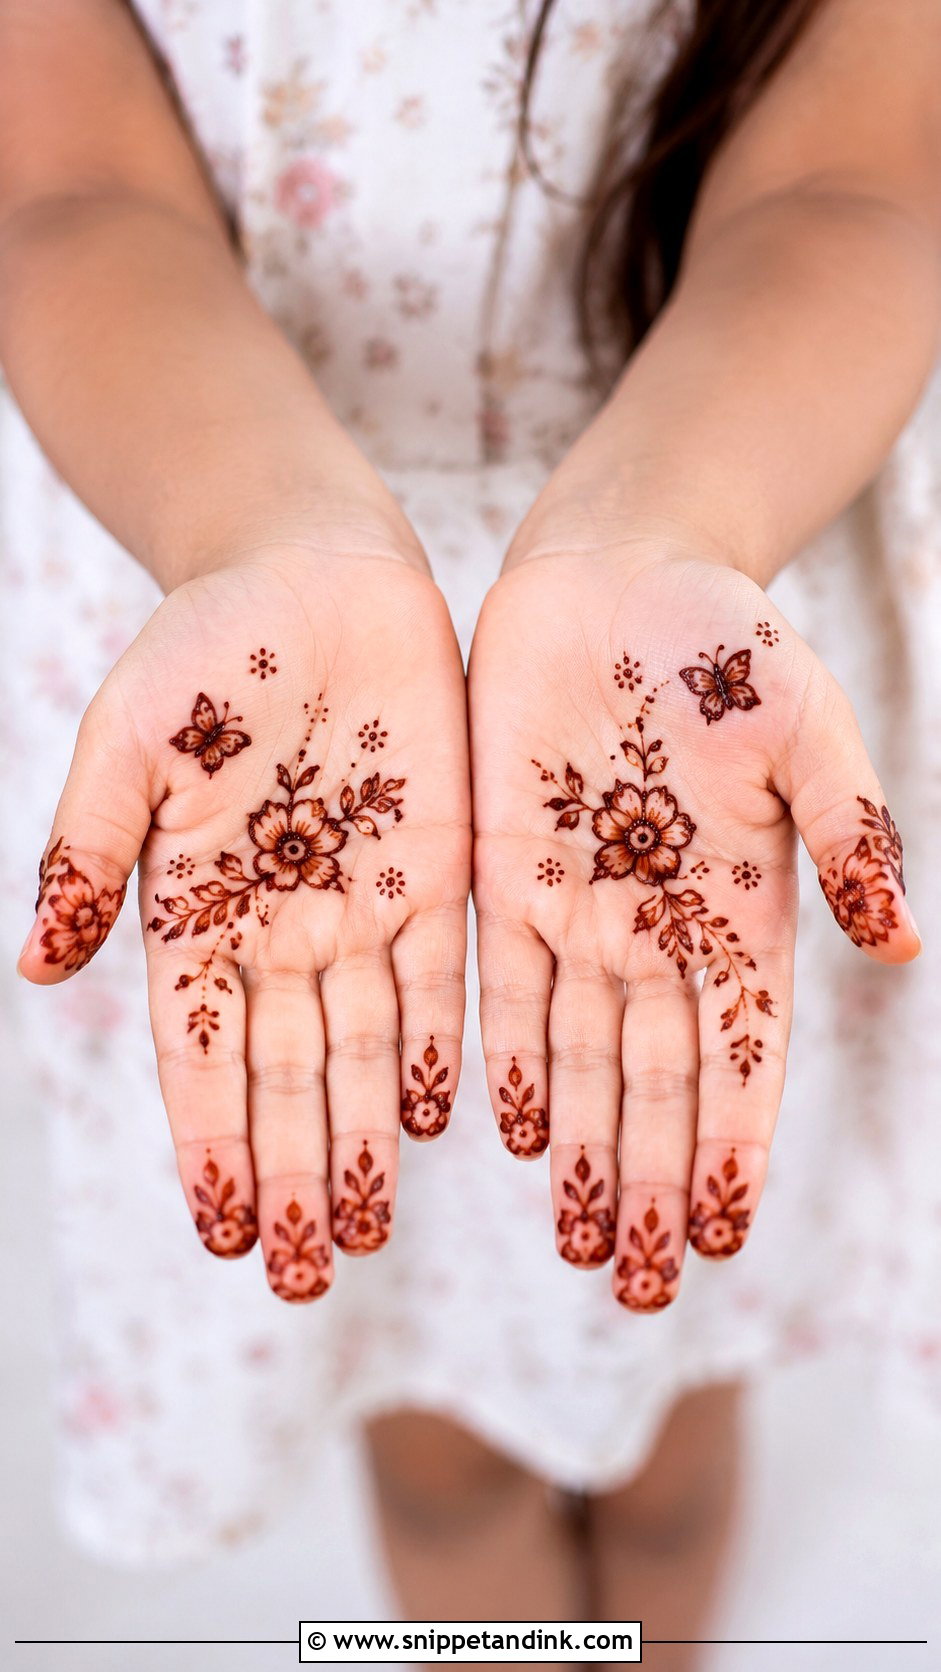
Children need speed and comfort more than detail. A palm mehndi design for kids works best as one small flower, butterfly, heart, star or simple mandala in the centre, with dots and tiny leaves instead of filling. I keep the fingers almost bare. Honestly, palms are a tricky spot for small children, since they grab everything, so I often suggest one hand at a time and keeping the other free. Natural henna only on kids, nothing that claims to stain instantly.
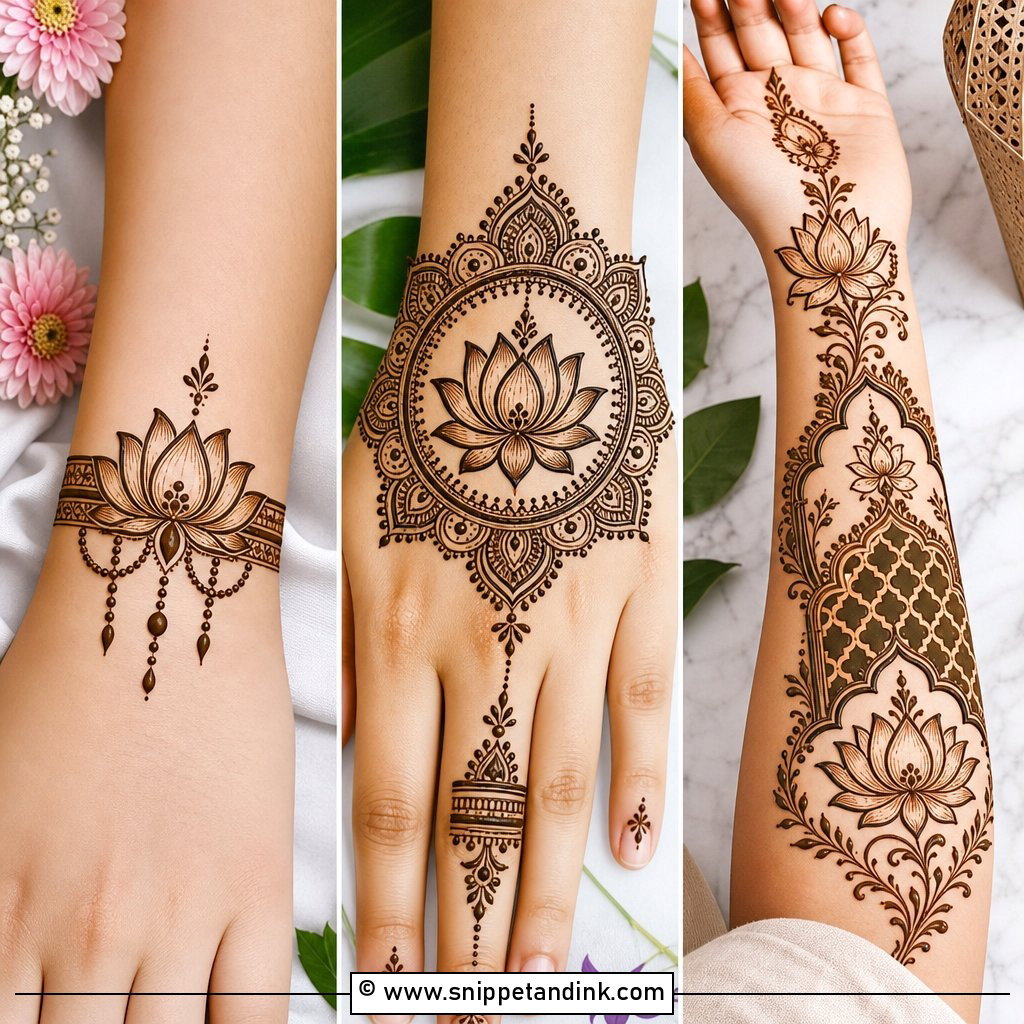
15. Palm Mehndi Design For Beginners
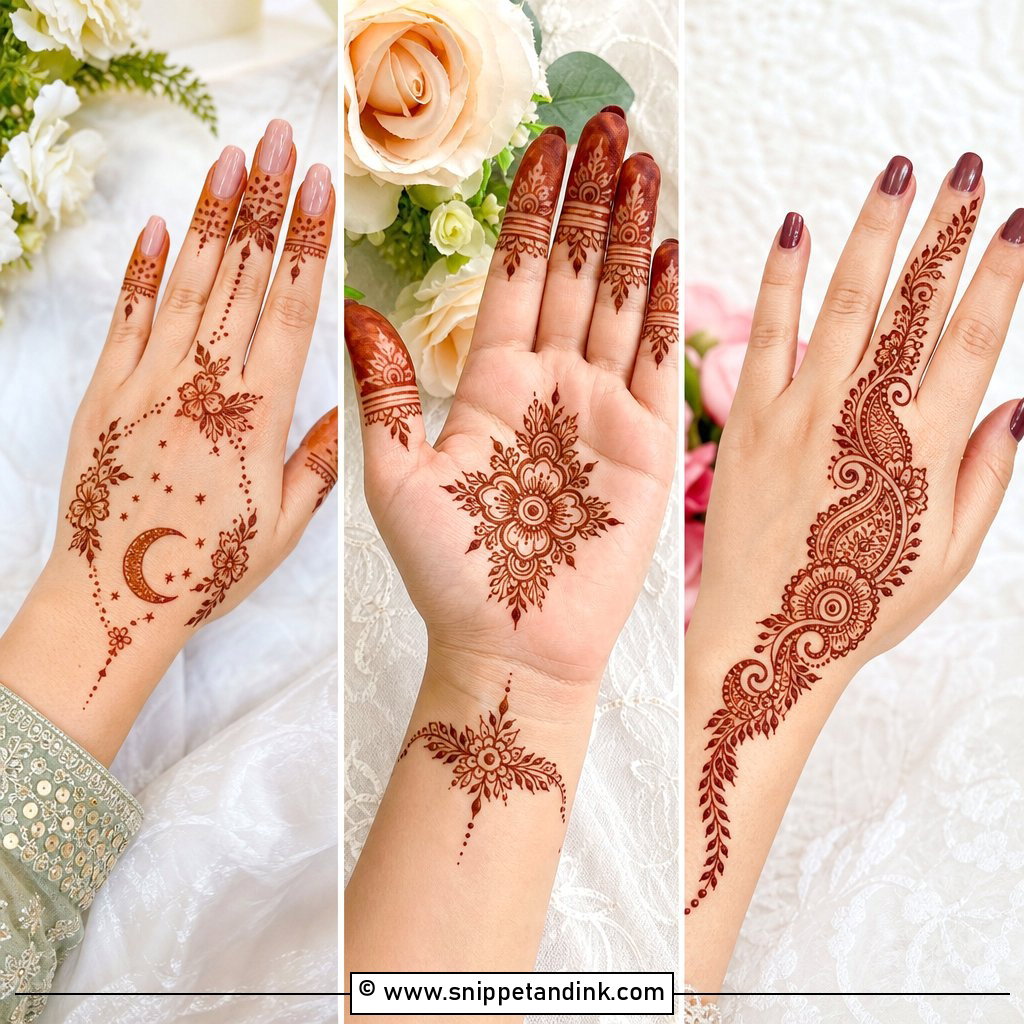
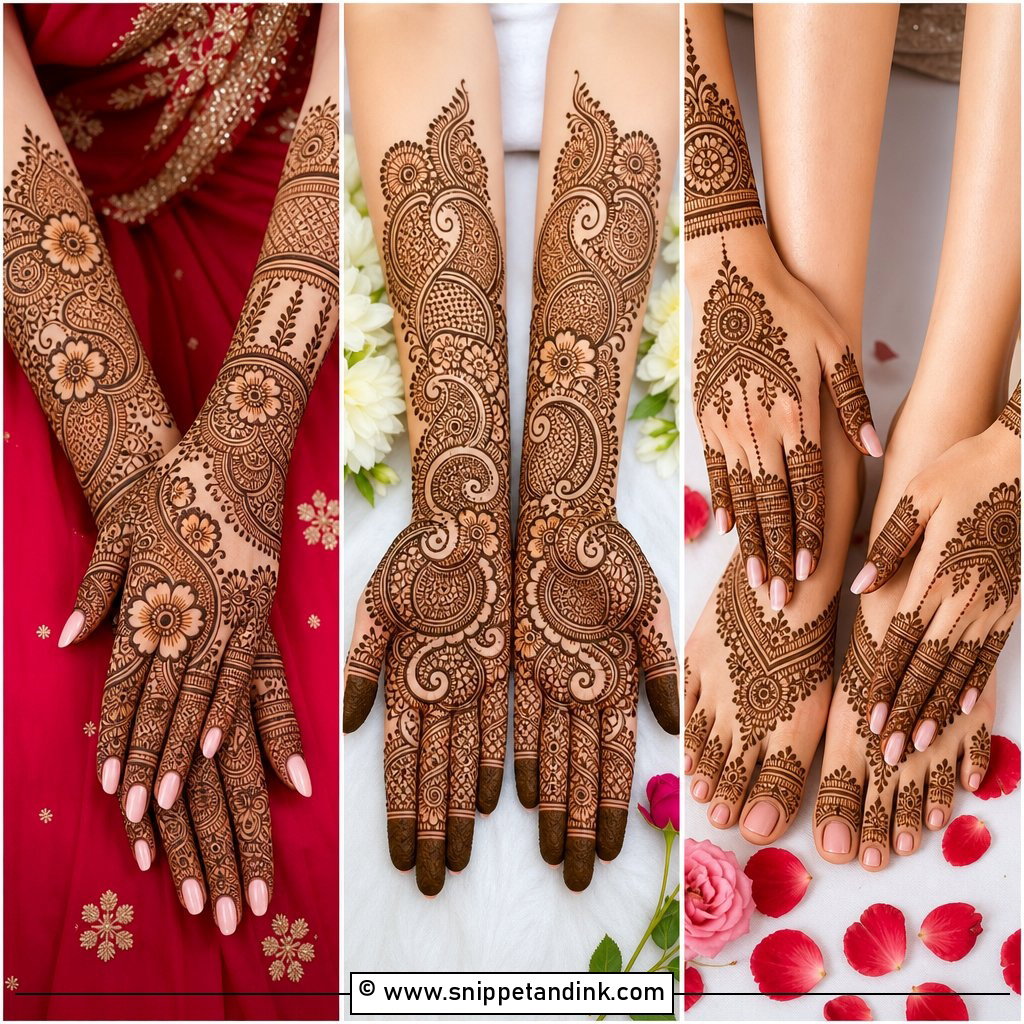
Learning henna? Start on your palm. It’s flat, it stains well and you can see your work clearly. Use shapes that are easy to control: circles, petals, dots, leaves and curved lines. Begin with a centre motif and build outward slowly. Perfect symmetry doesn’t matter; a slightly uneven handmade line still looks good once stained. Practise pressure by drawing the thicker outlines first, then thinner details inside. Overfilling is the most common beginner mistake, and a small, clean design will always beat a crowded one.
16. Modern Palm Mehndi Design
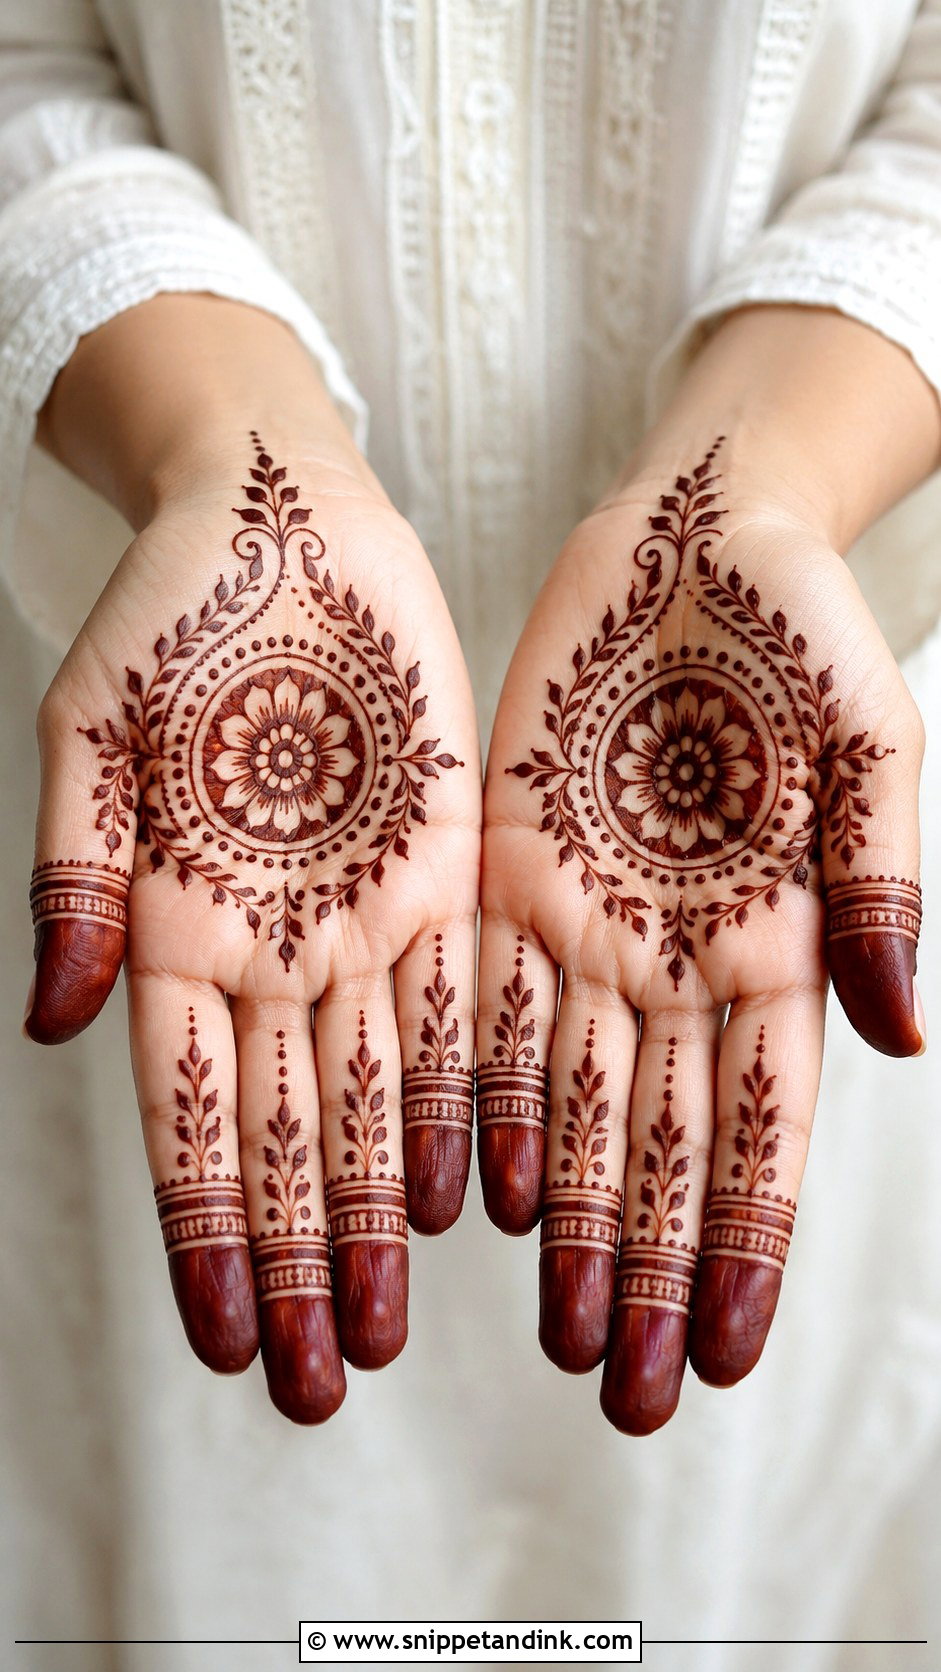
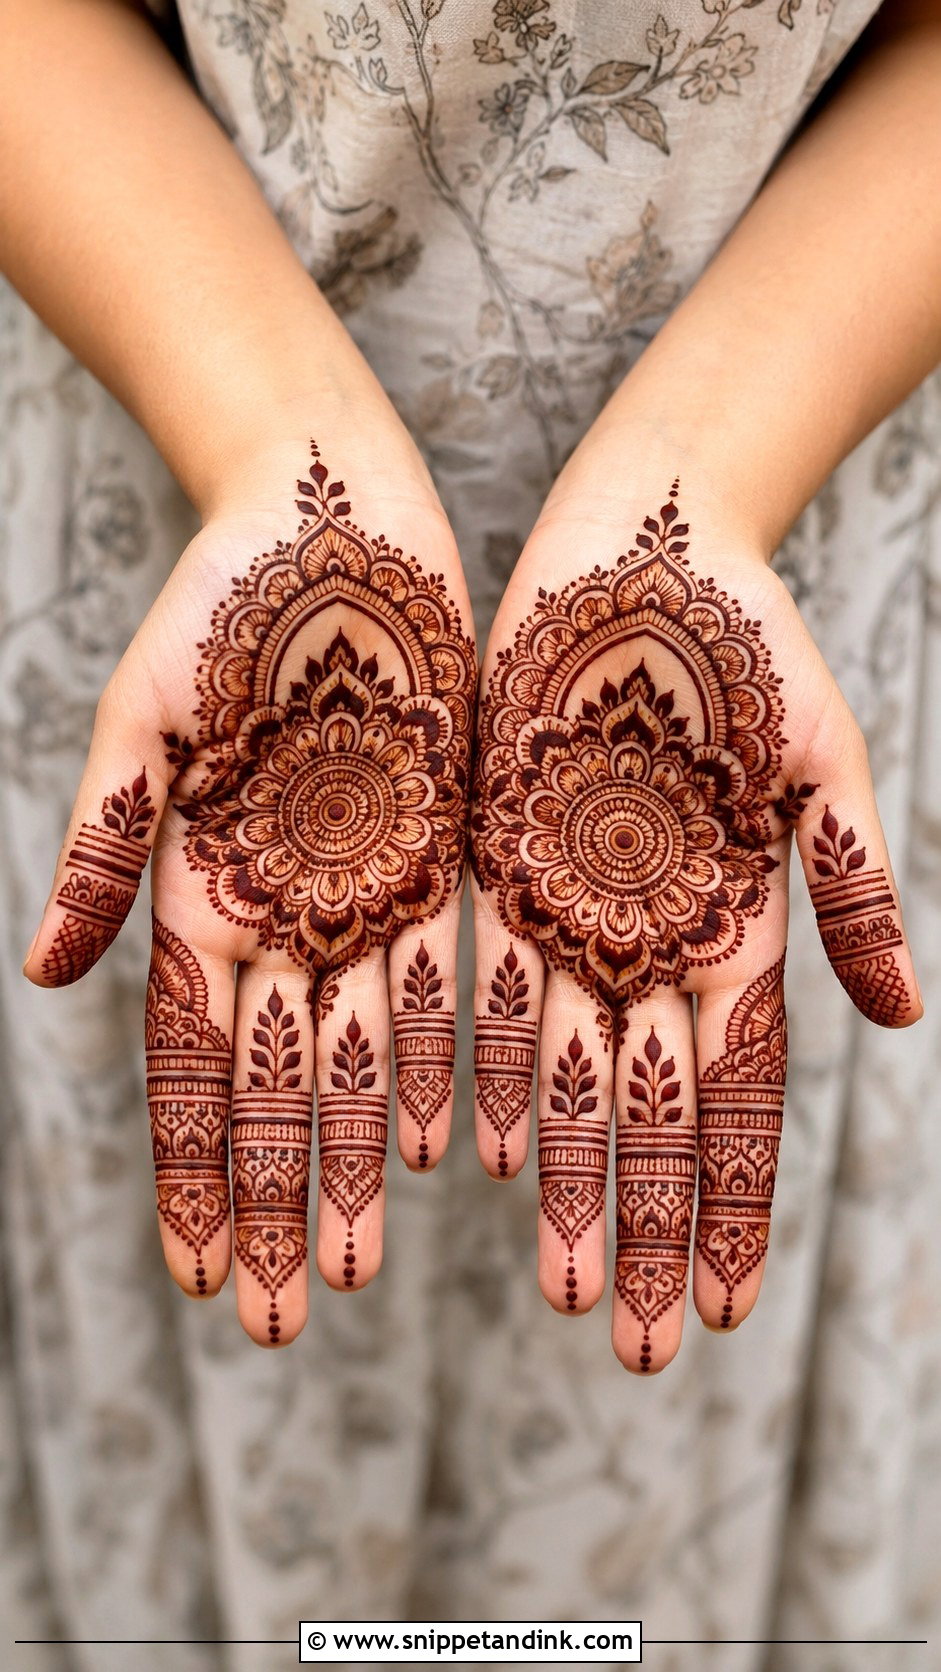
Modern palm work keeps traditional henna but edits it: one statement mandala, a half-palm floral arc, or a geometric pattern with dotted accents, surrounded by space. It sits well with fusion wear and contemporary outfits. Fingers get slim rings, vertical lines or negative-space tips. Sharp finishing matters more here than anywhere else, as a stray line on an open palm is obvious, so I keep a cotton bud nearby to lift mistakes while the paste is still wet.
17. Traditional Palm Mehndi Design
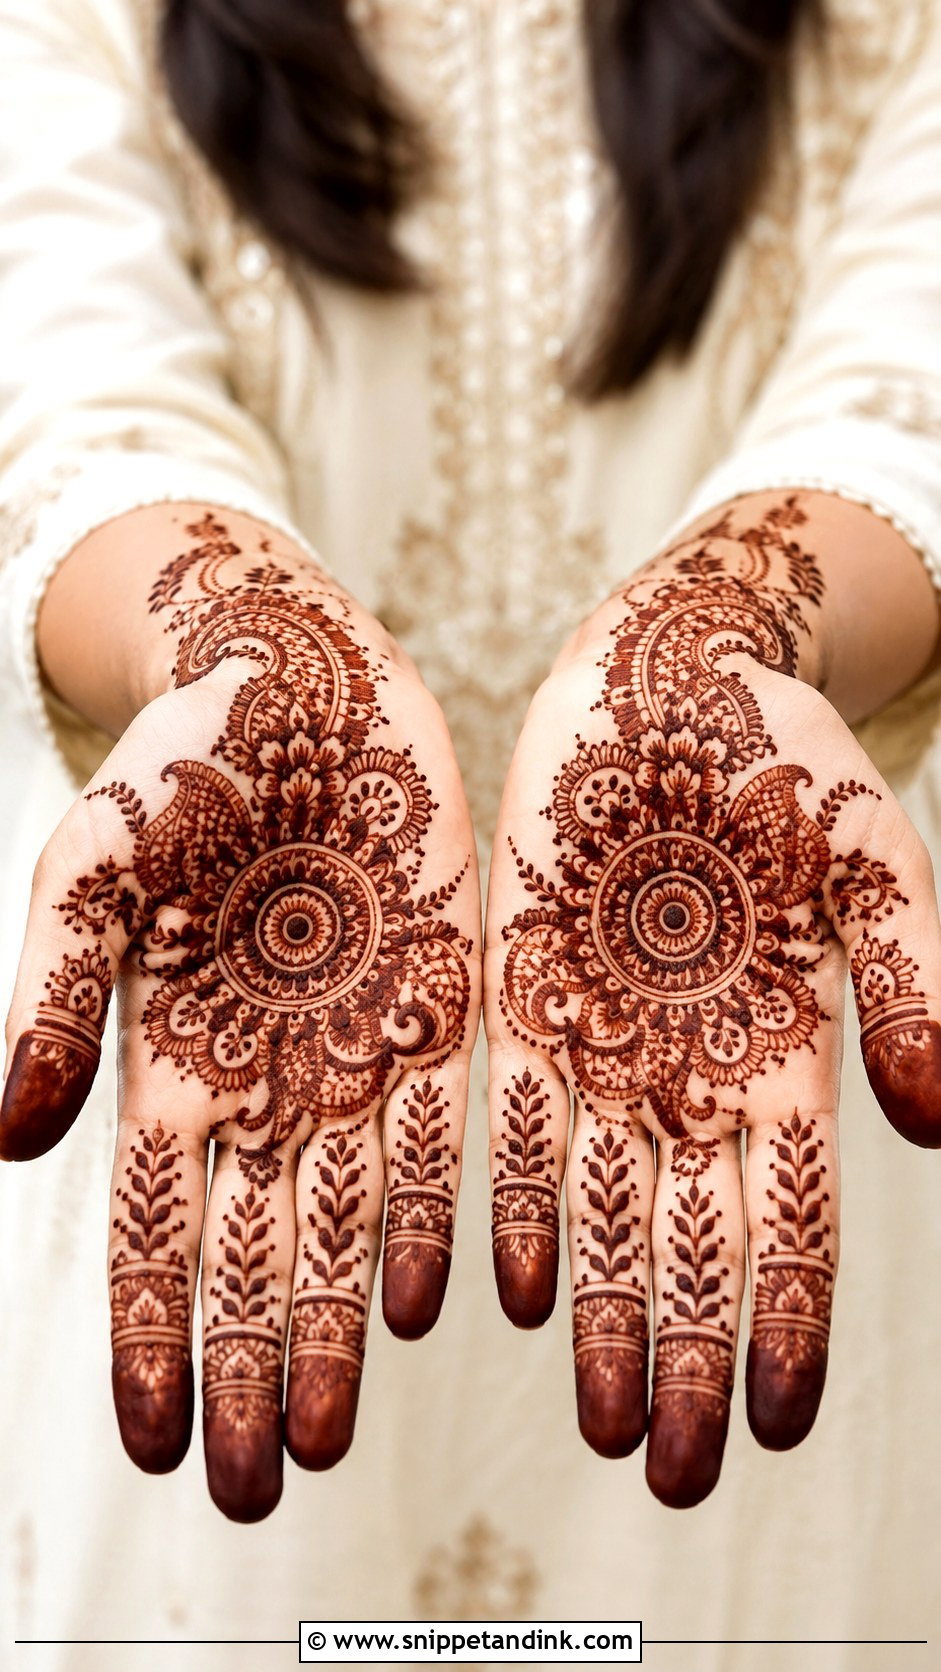
Traditional palm designs are balanced on both sides, so the thumb side and the little-finger side carry equal decoration: a round centre, paisley borders, small flowers, dotted chains, leaf vines and shaded finger caps. They fit festivals, family rituals and wedding ceremonies, either simple or dense. To keep it elegant, I stick to one tradition’s motifs in clear sections rather than mixing styles randomly. Mixing is where a traditional palm starts to look confused.
18. Half Palm Mehndi Design
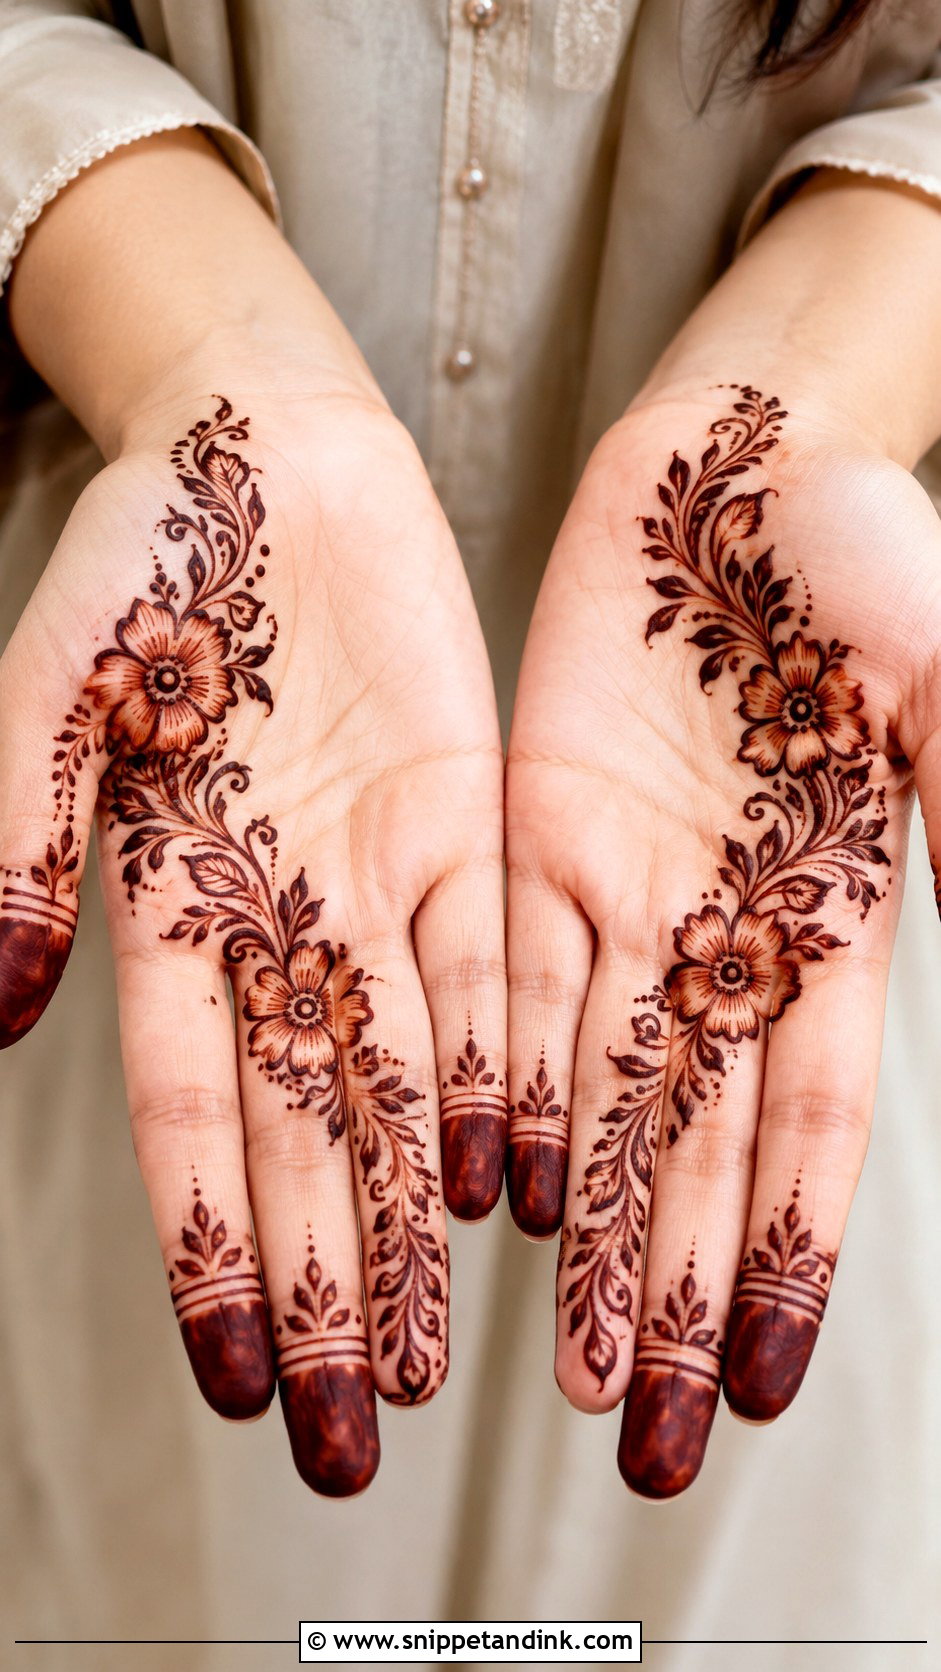
Half palm designs cover one side or section and leave the rest open. A diagonal floral trail from the wrist side up to the index finger is the most common layout; a half mandala on one edge with light finger work is another. The empty area makes the stained parts look darker by contrast. It’s quick to apply and comfortable to wear, a good pick for anyone who has to use their hands soon after.
19. Round Palm Mehndi Design
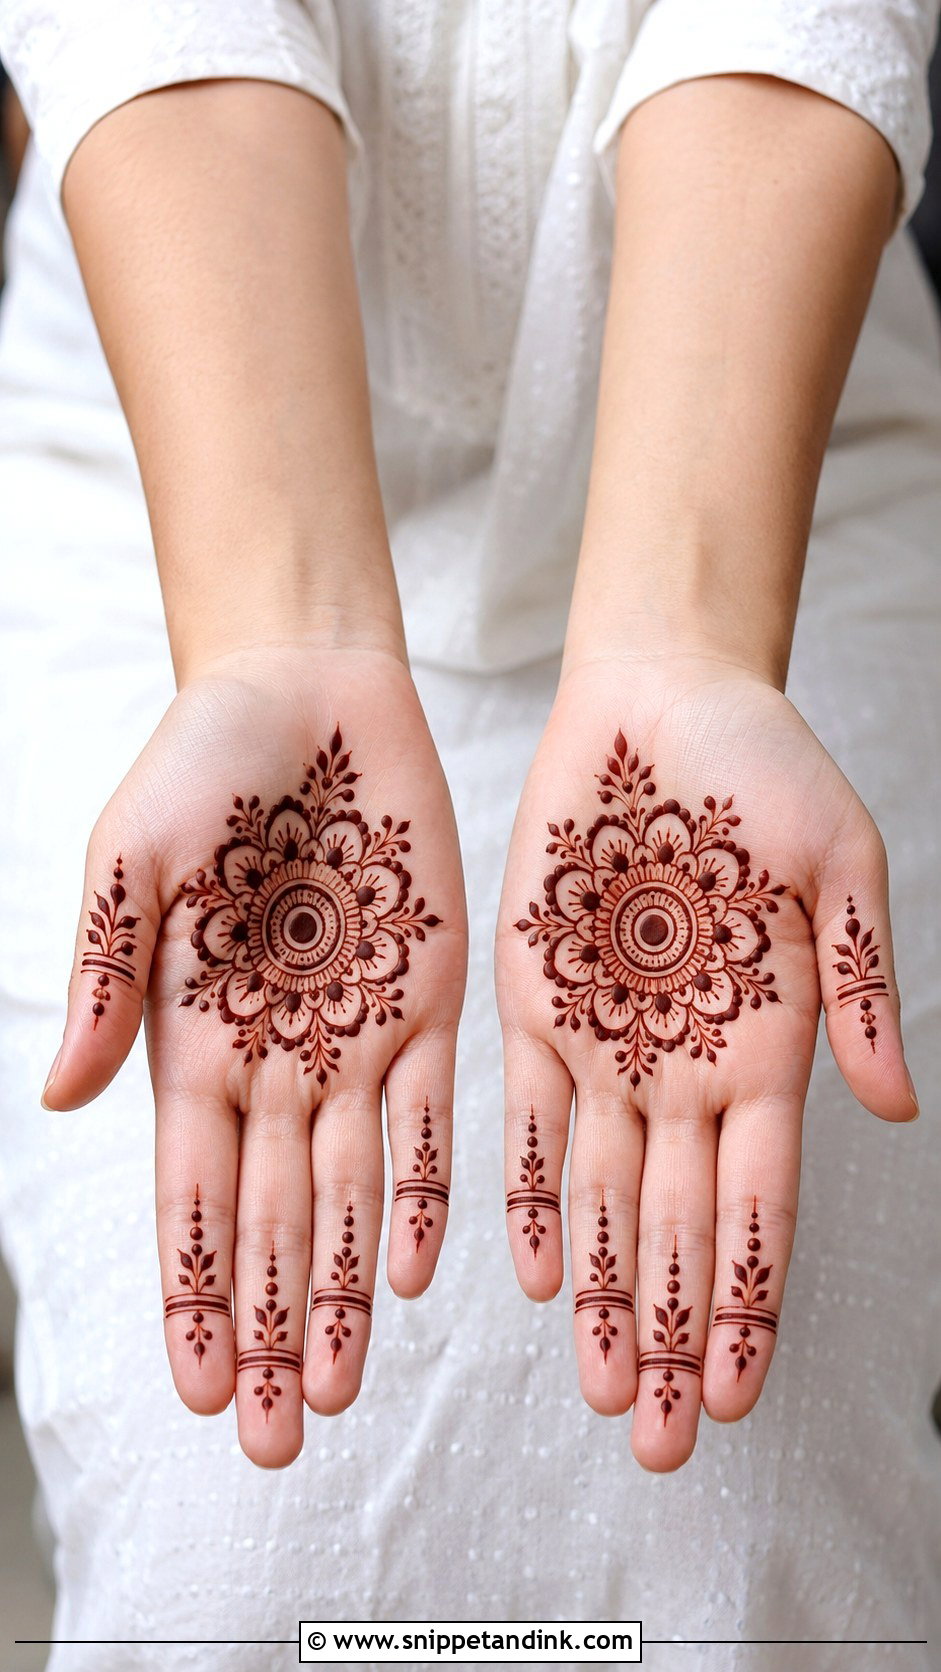
The palm’s natural shape suggests a circle: a bold mandala, a floral chakra, a dotted sunburst or layered rings. Centring matters. I position the circle with the hand open and relaxed, not stretched flat, because the palm’s centre shifts slightly when fingers are spread wide. One round motif reads simple; several layers read festive. Matching dotted bands or tiny petals on the fingers tie it together without pulling attention away.
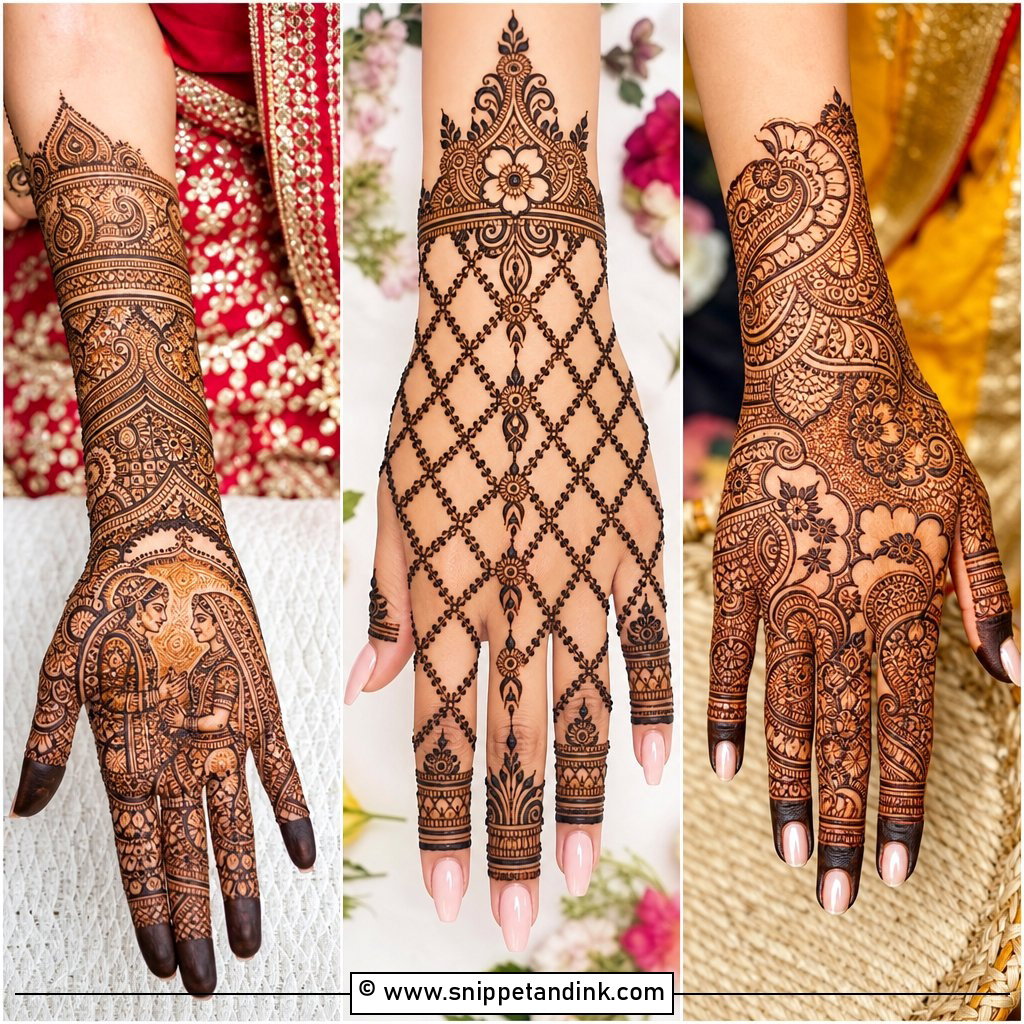
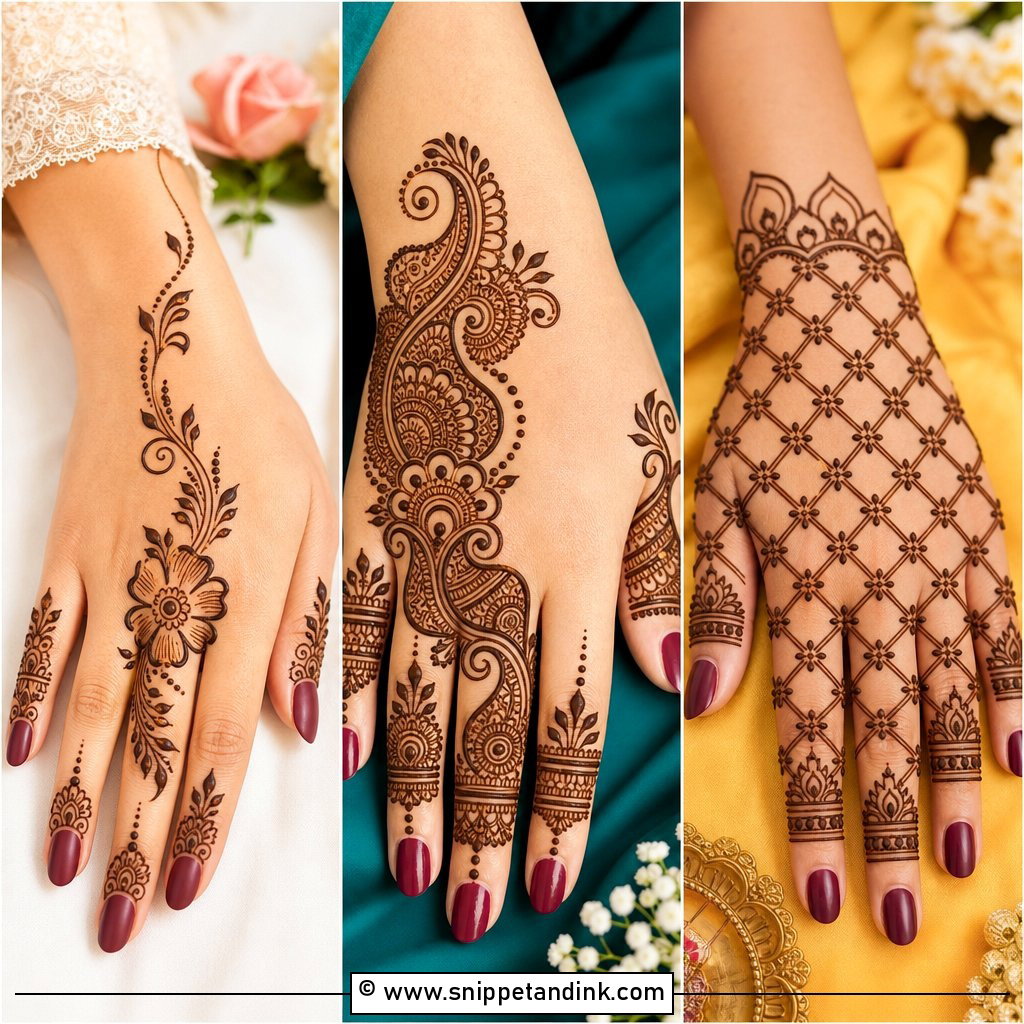
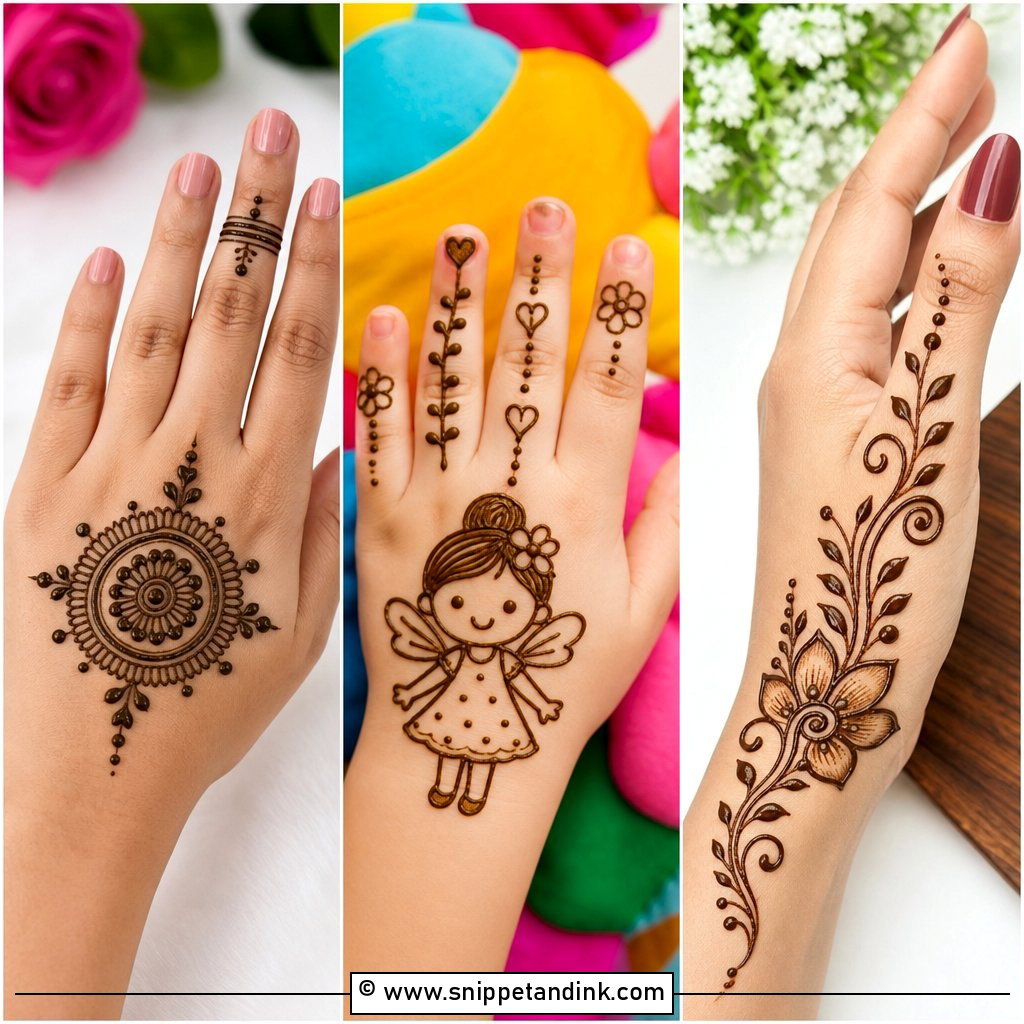
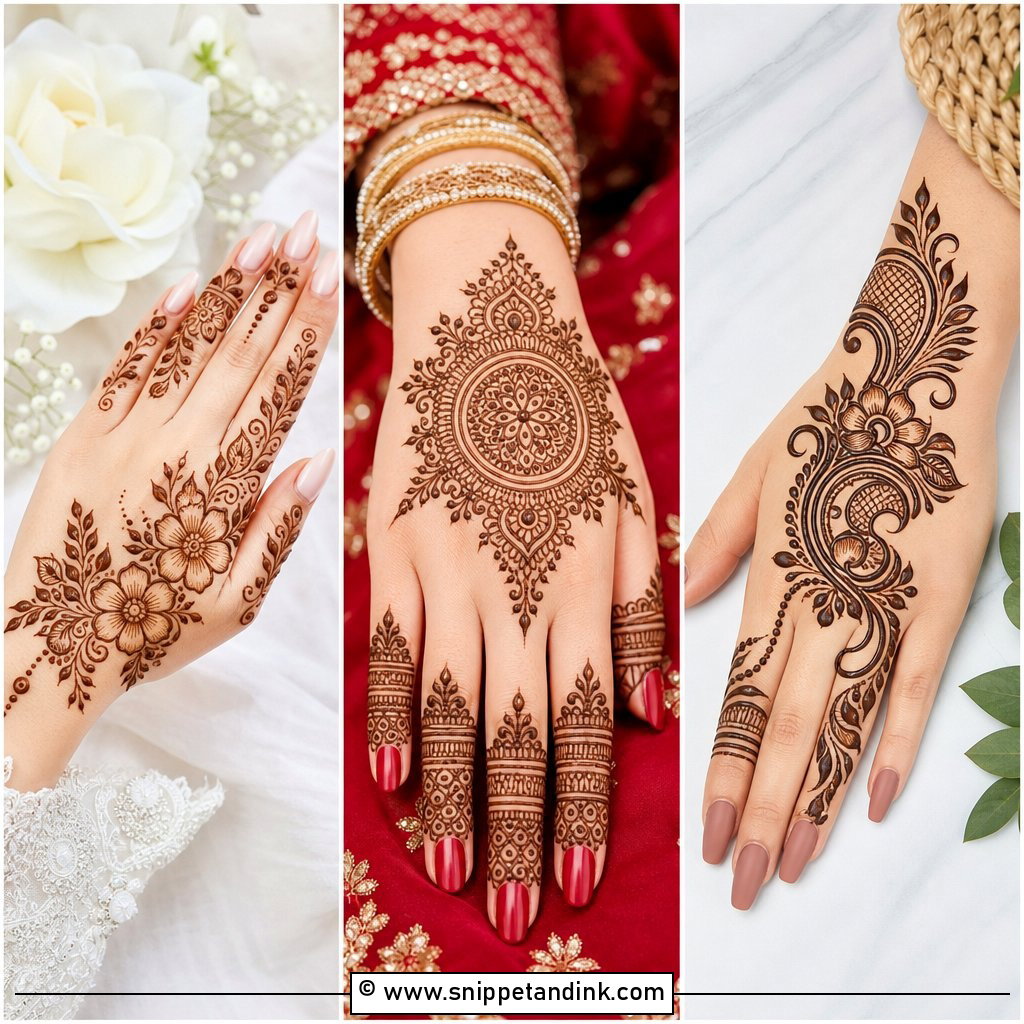
20. Lotus Palm Mehndi Design
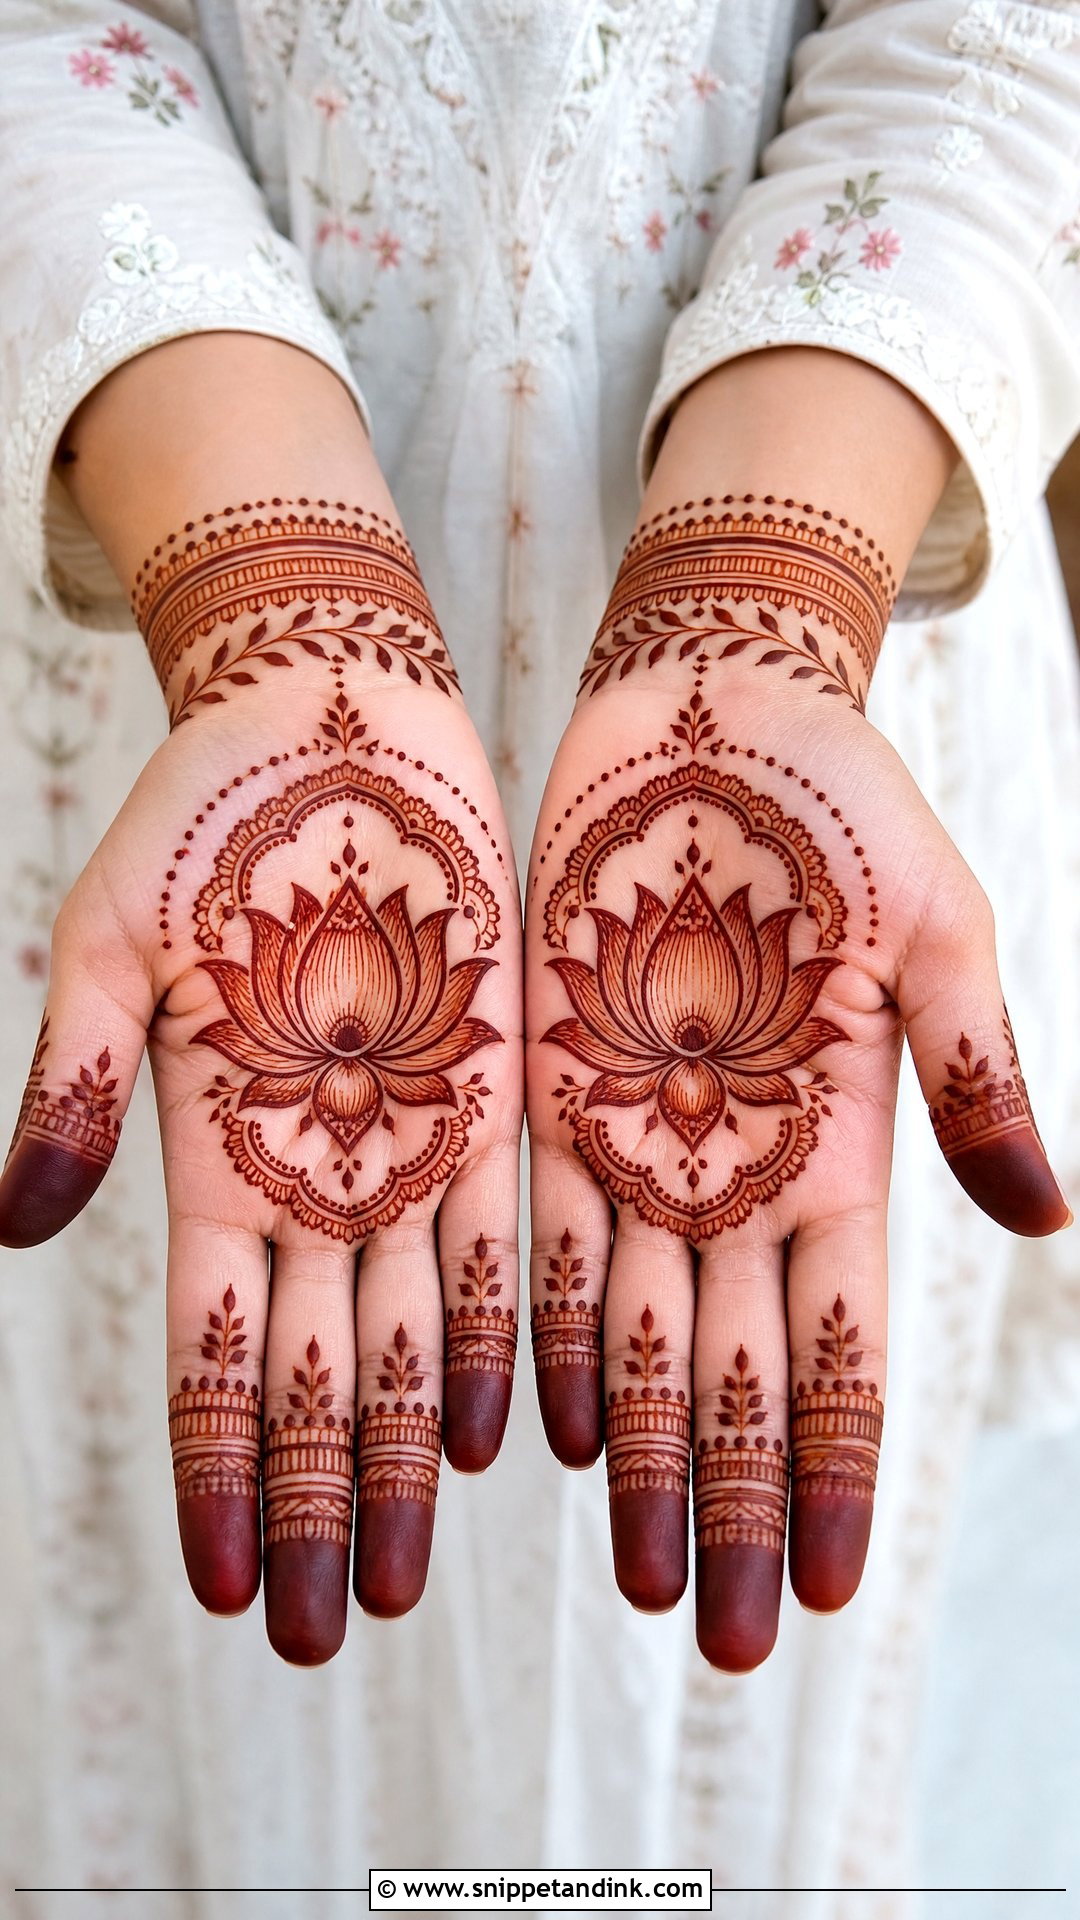
A lotus palm mehndi design can be one large central bloom, a half lotus near the wrist side, or repeated petals across the palm. Long, slim petals fill space without looking heavy. Fine dots, curved stems and small leaves soften it. For a cleaner version, keep the lotus bold and the surrounding skin open; for a richer version, add paisley fillers and finger bands. Pujas and engagement functions are where I draw lotuses most.
21. Rose Palm Mehndi Design
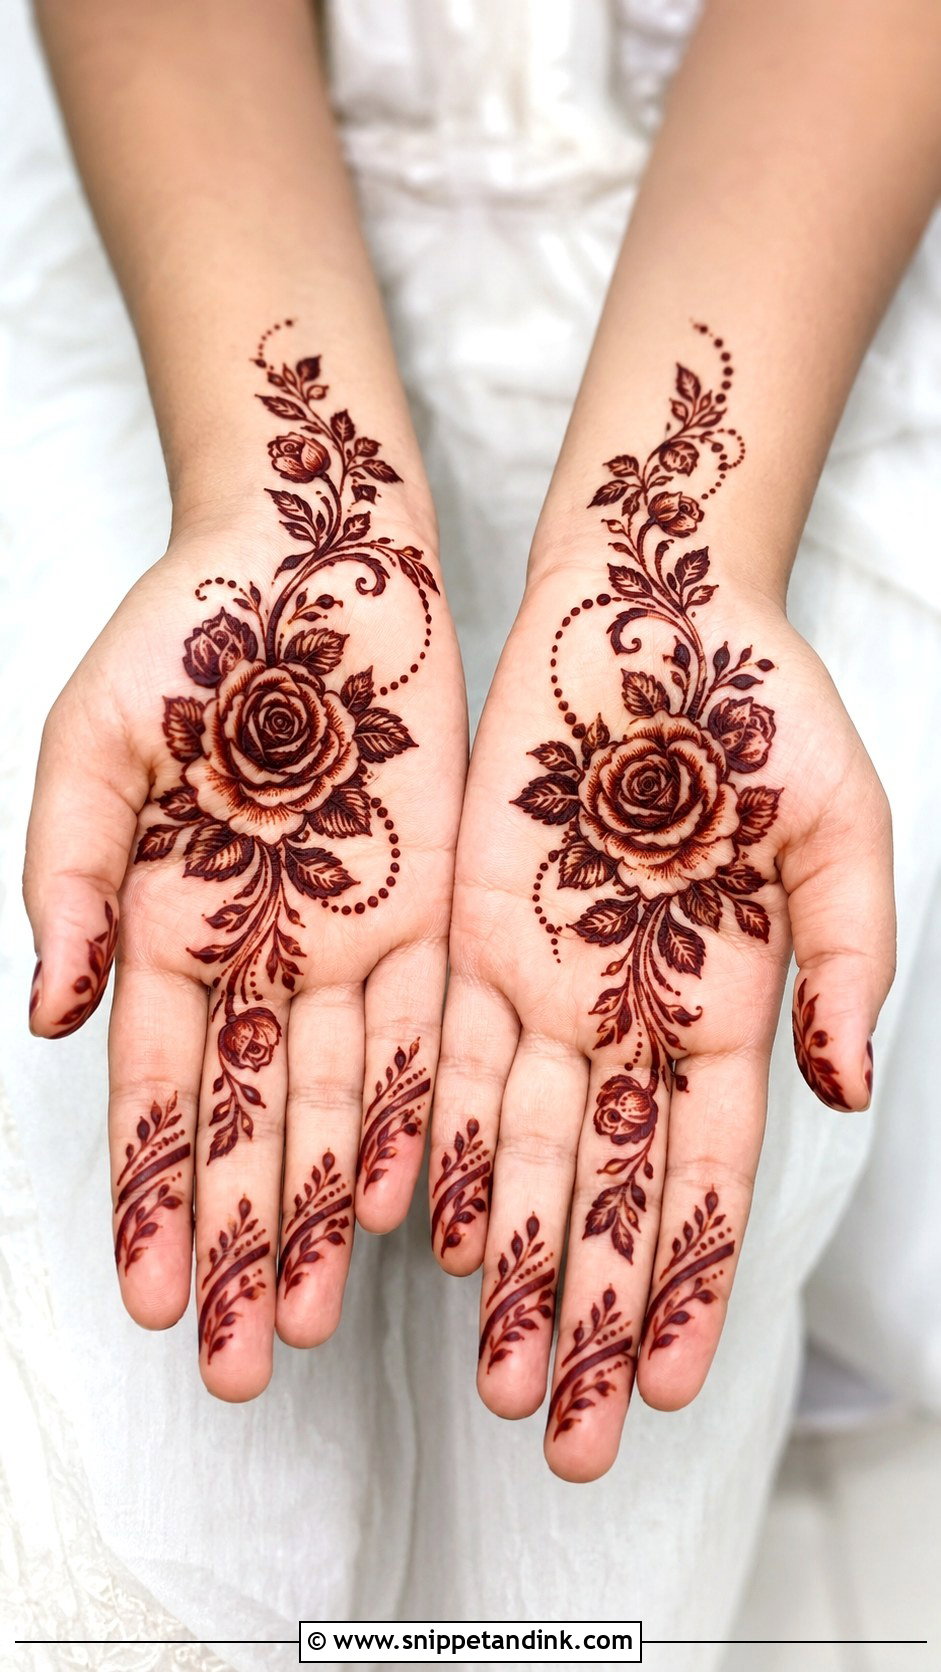
Roses give a palm an Arabic softness. The rose can sit alone in the middle or be part of a trail with leaves and buds. I build depth with curved petal layers rather than heavy shading, then scatter tiny dots and vines around it. Flower size adjusts easily to small or broad palms. Fingers stay simple, with leafy tips or fine diagonal bands, so the rose remains the main attraction. Bridesmaids and engagement guests ask for it often.
22. Jaali Palm Mehndi Design
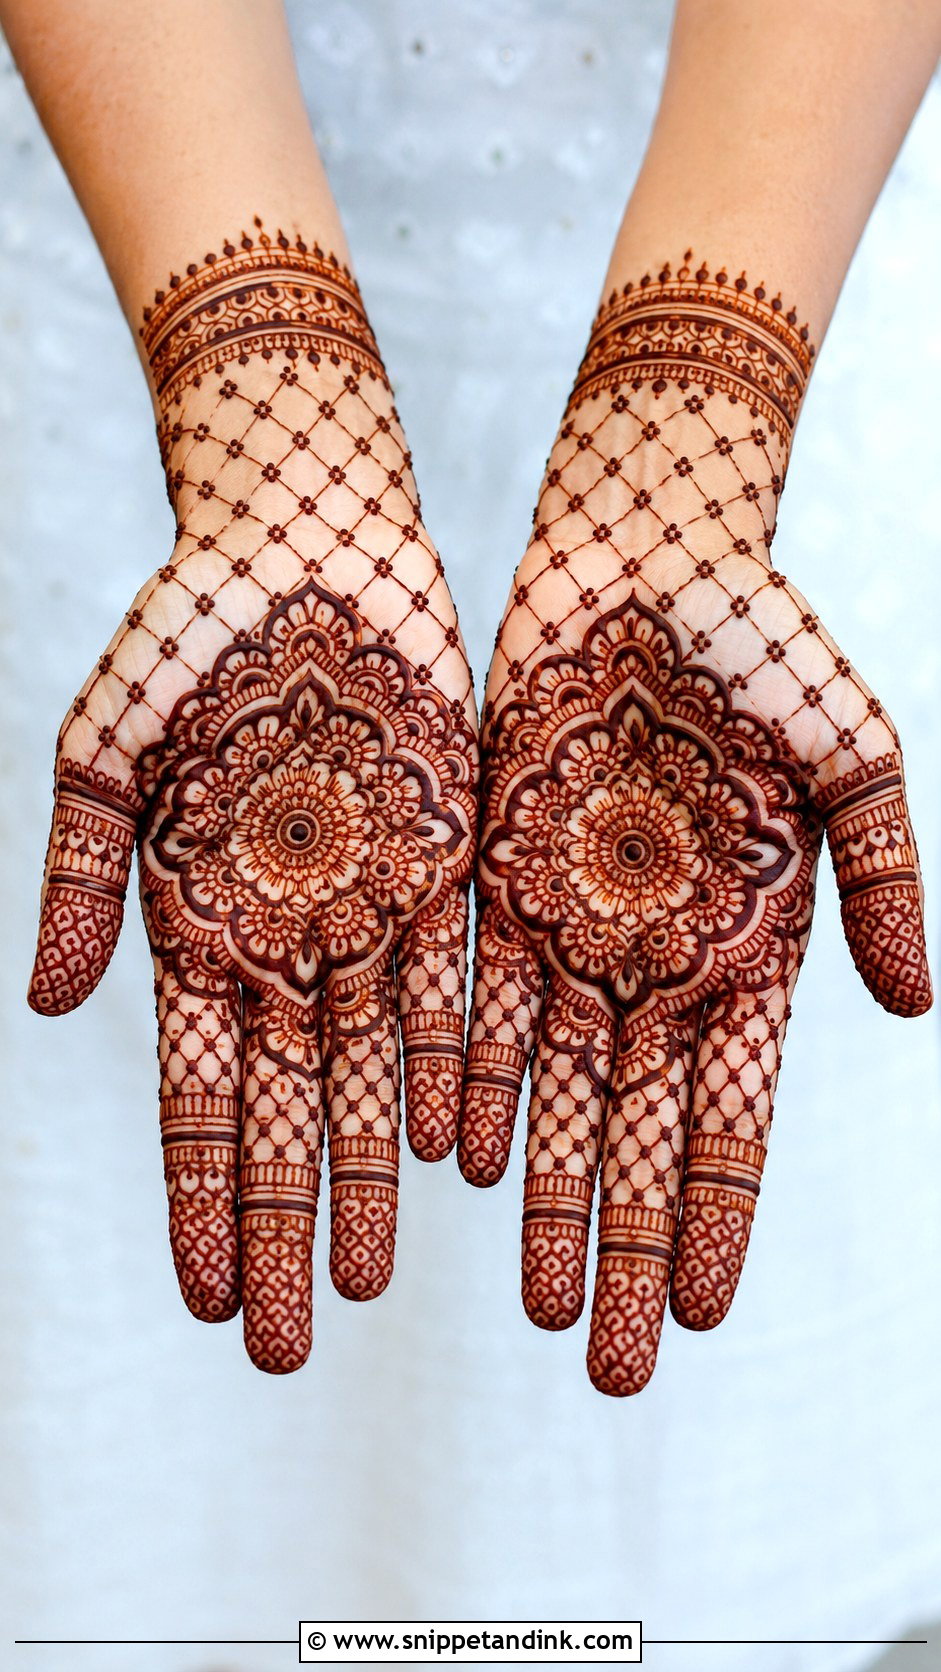
Jaali divides the palm: one section holds a mandala or flower, another gets neat crisscross mesh, with dots at the intersections for polish. It gives fine detail without solid filling. Spacing is the whole trick, as henna lines spread slightly while staining, and a tight mesh blurs into a dark patch. I keep the grid even and slightly wider than seems necessary, framed by bold borders. Weddings and Eid suit it well.
23. Moroccan Palm Mehndi Design
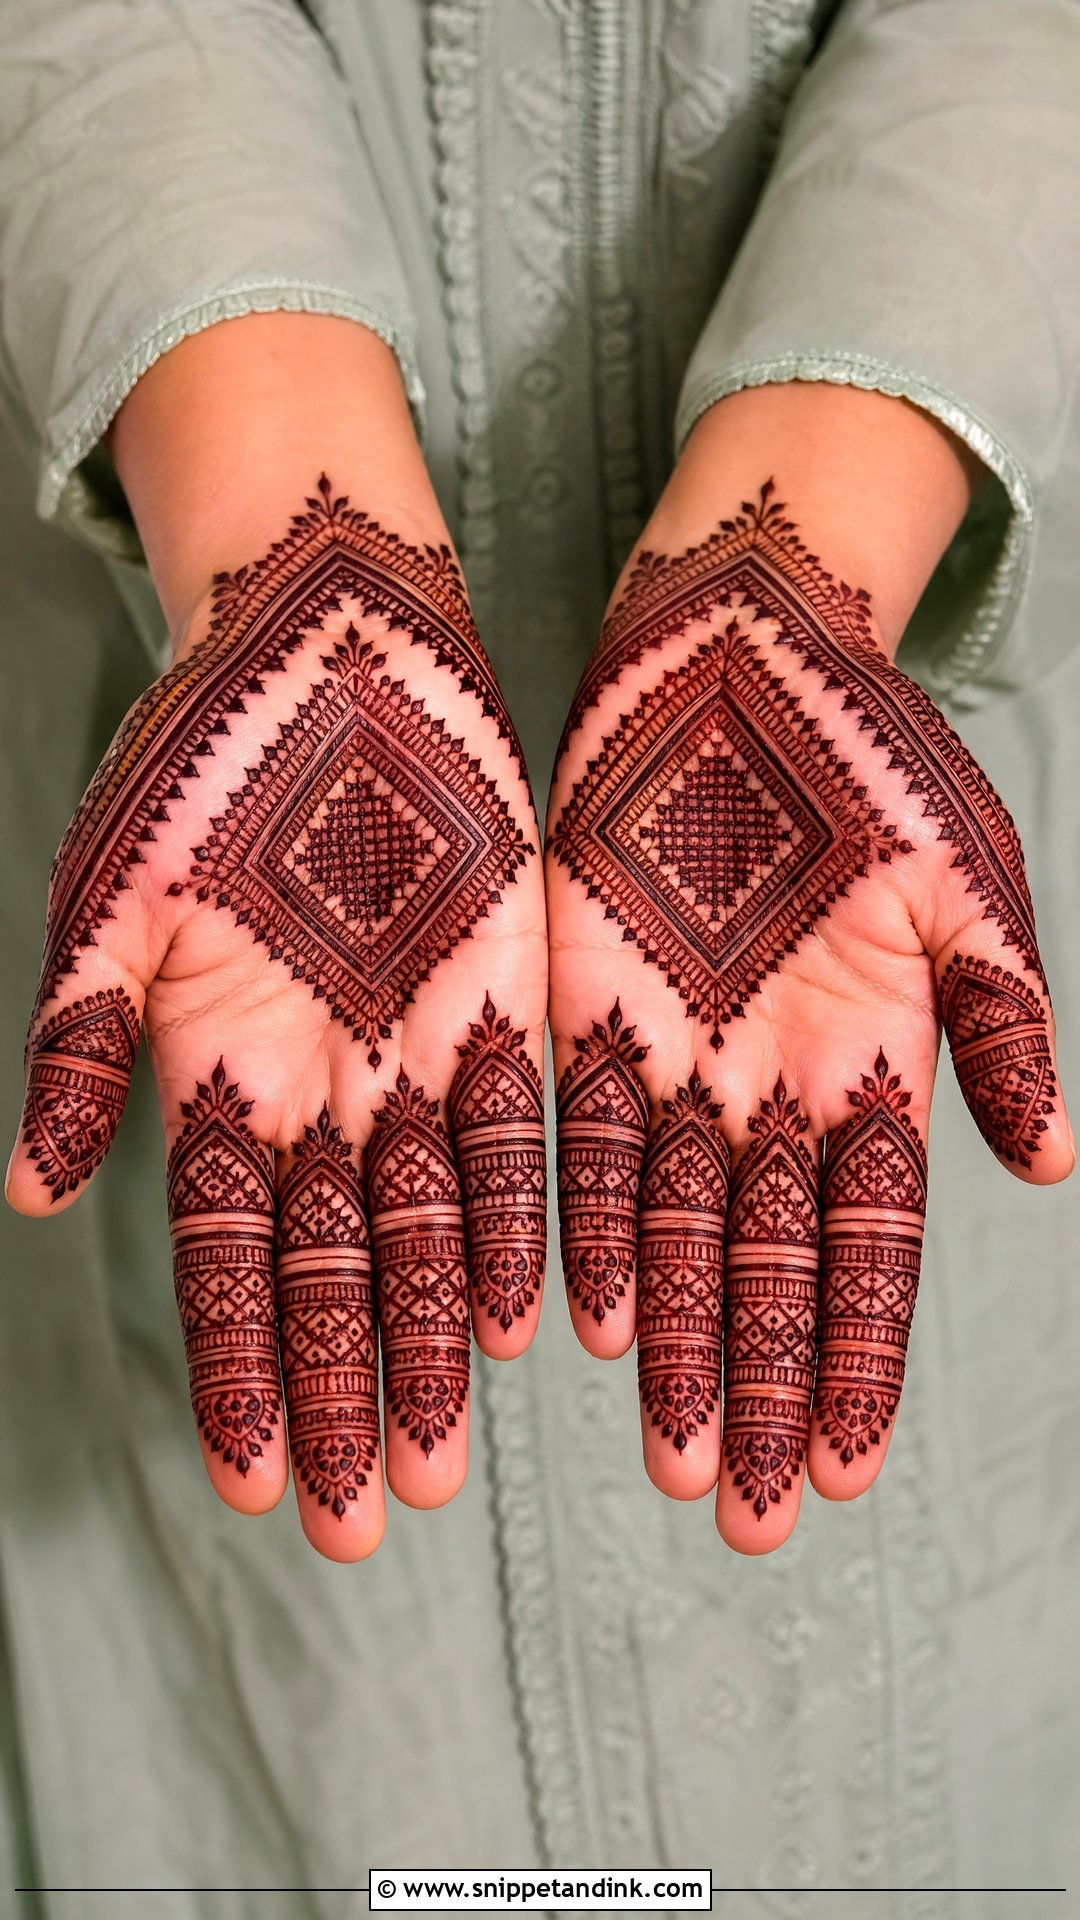
Moroccan palm work is geometry: diamonds, triangles, lines, dots and symmetrical shapes, arranged as a central diamond, a tiled grid or a bold band across the hand. It’s clean and unusual, and it’s one of the few styles I’m regularly asked for by men, along with minimal festival clients. Straight lines expose any wobble, so I mark key points with dots first and connect them. Fingers get simple line segments and dotted tips.
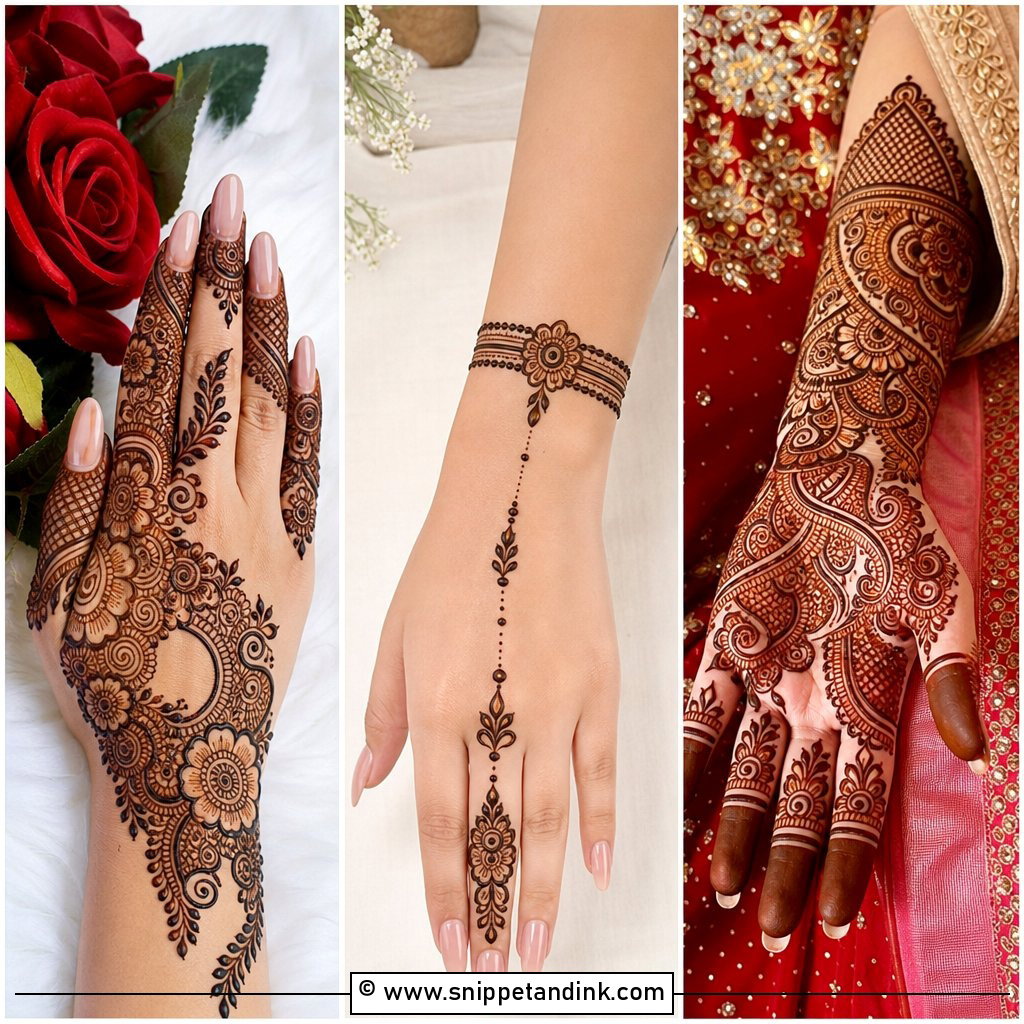
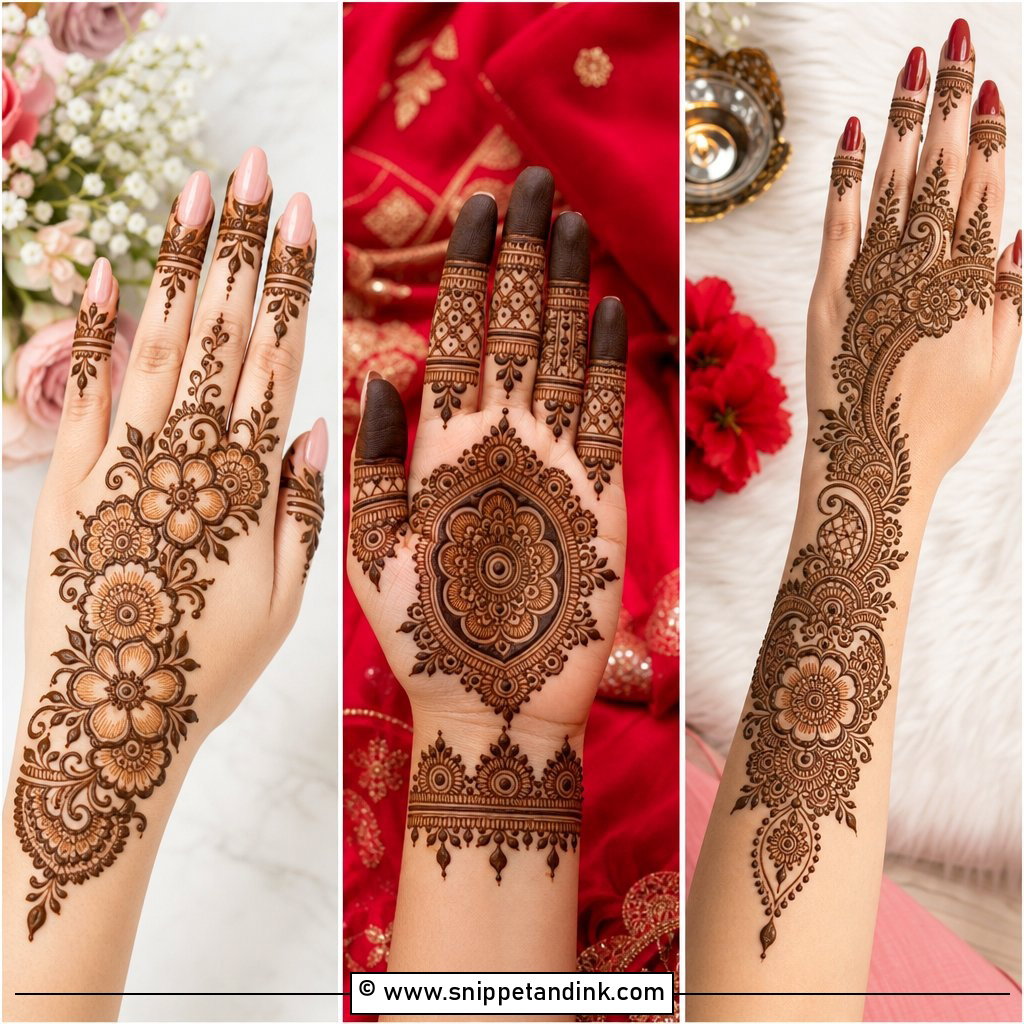
24. Indo Arabic Palm Mehndi Design
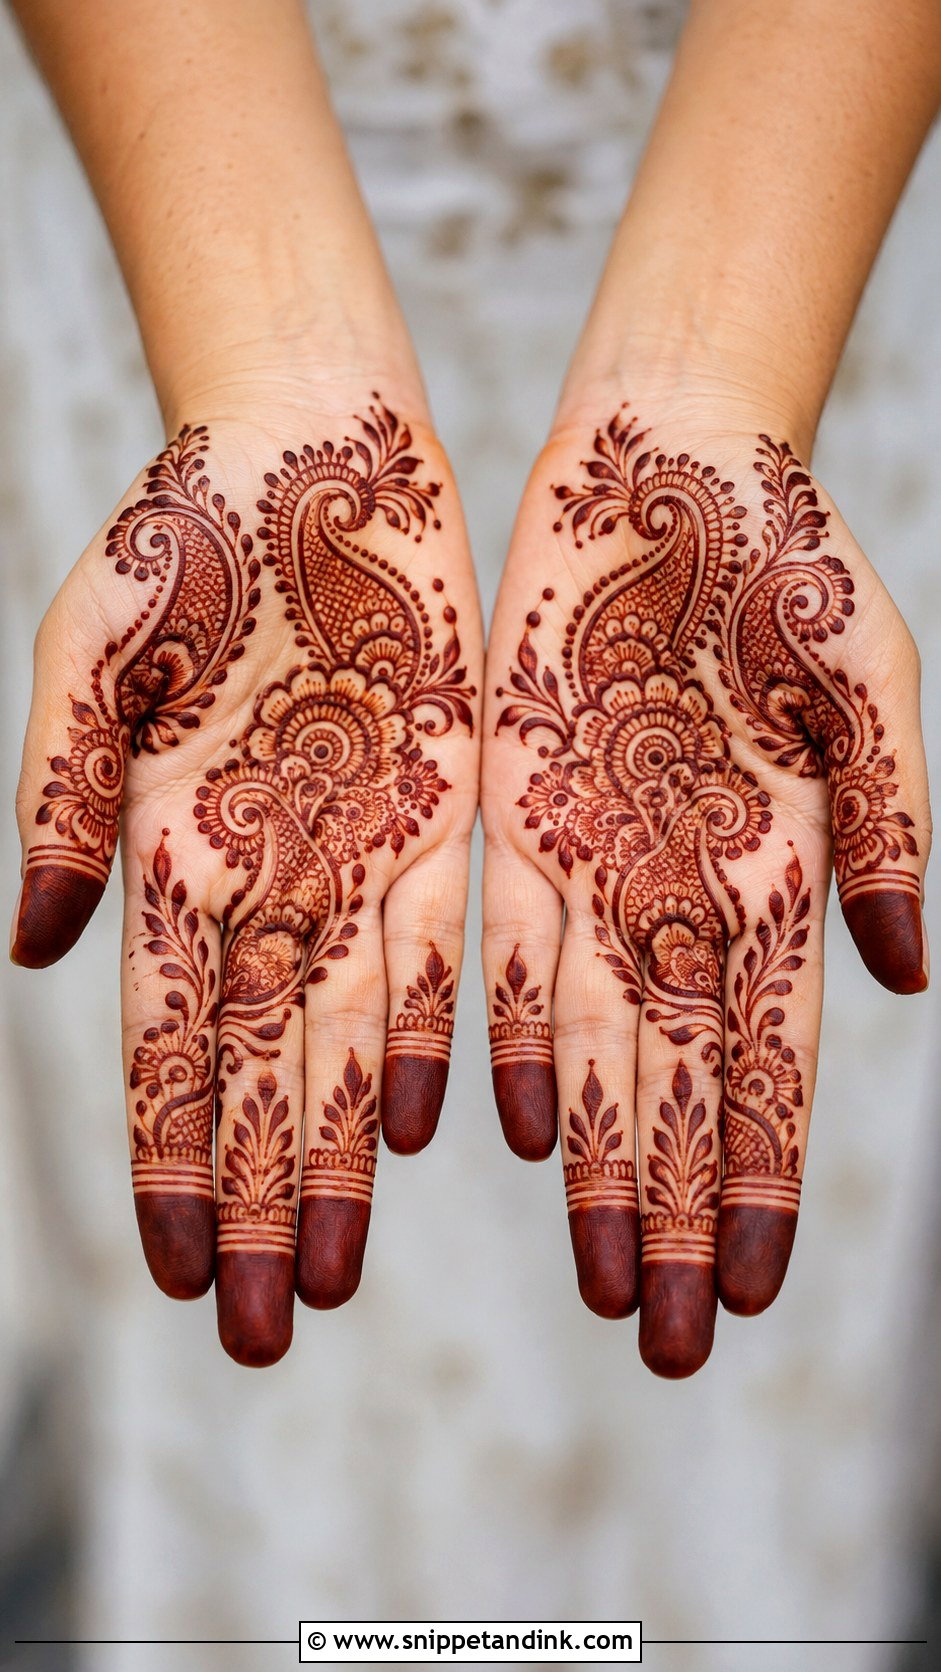
Indo-Arabic takes a large Arabic flower or paisley trail and fills it with Indian detail: fine filling, dots, leaves and small traditional motifs. It’s less dense than a full Indian palm and more decorated than a plain Arabic trail. Bold outlines for the main shapes with fine work inside them give the contrast that makes it readable. Weddings, Eid, Diwali and family functions all suit it.
25. Gulf Palm Mehndi Design
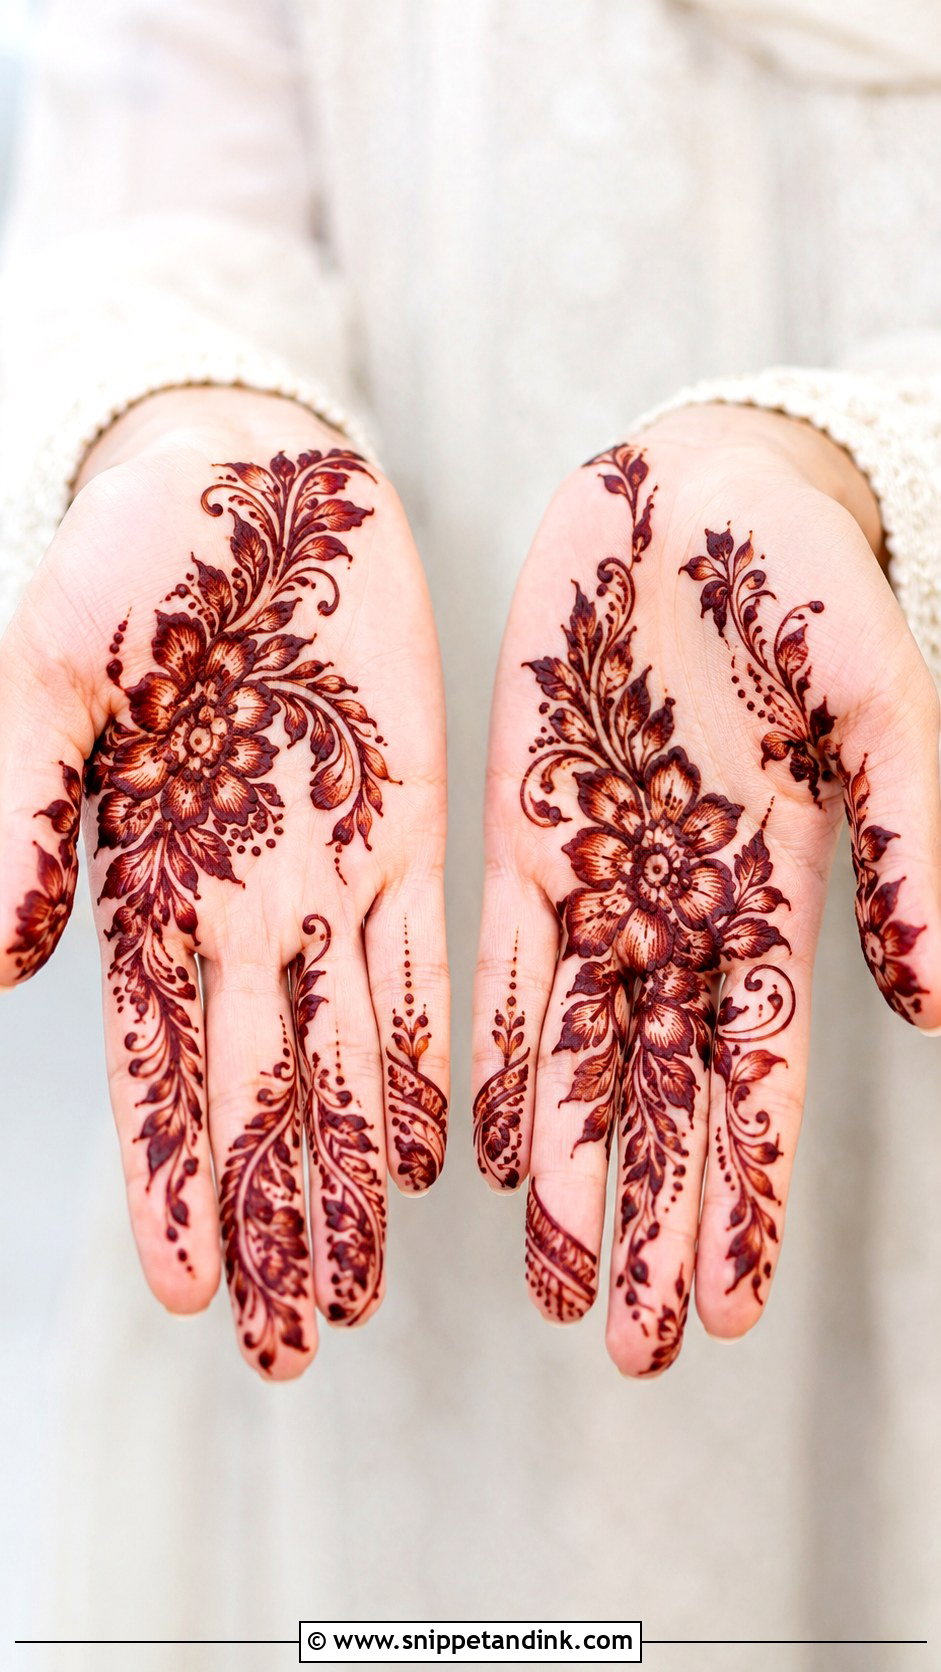
Khaleeji-inspired palm work uses big, dramatic flowers, leafy trails and lots of open space rather than fine filling. A large flower near the centre with vines moving toward the fingers sets the flow, with shaded leaves and dotted accents for softness. The bold lines read clearly from across a room. They need a well-filled cone and steady pressure, since a thin, hesitant stroke ruins the style. Keep the edges clean and resist overfilling.
26. Finger And Palm Mehndi Design
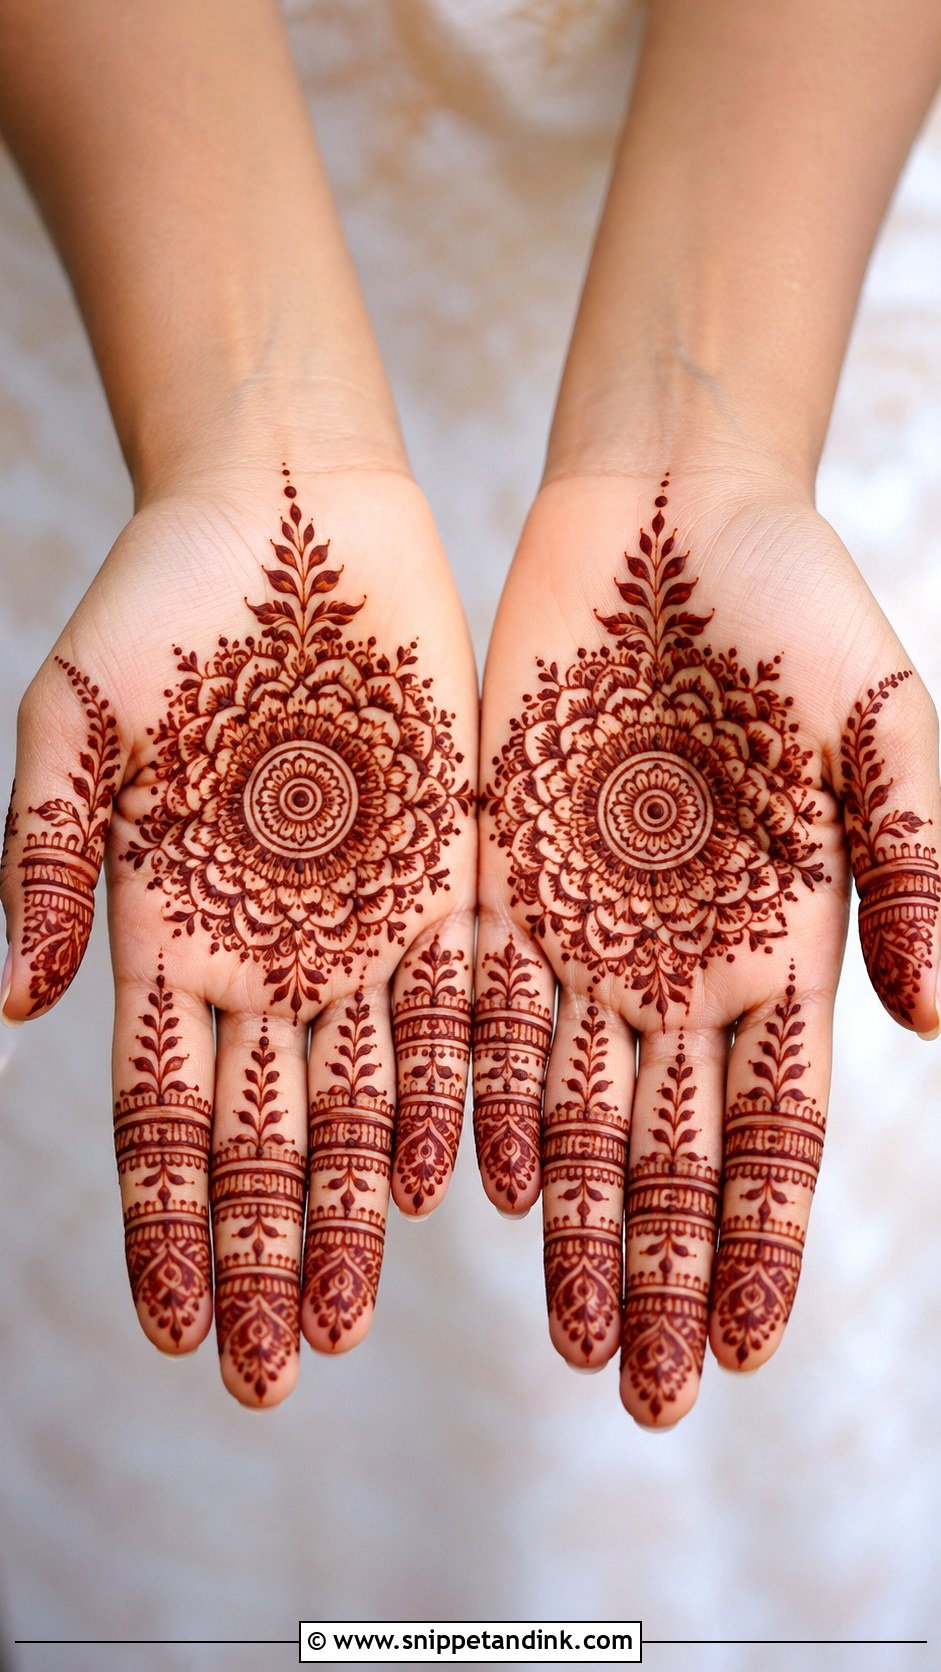
When the fingers are relaxed and slightly curled, the palm is partly hidden and the fingers show most. That’s why this layout connects a central mandala, floral cluster or paisley with bands, dots, leaves or small motifs on every finger. The hand looks complete with no wrist work at all. Keep the finger patterns consistent. For a simpler version, decorate only the fingertips; for fuller, add rings and vertical chains running back into the palm.
27. Palm Mehndi Design With Dots
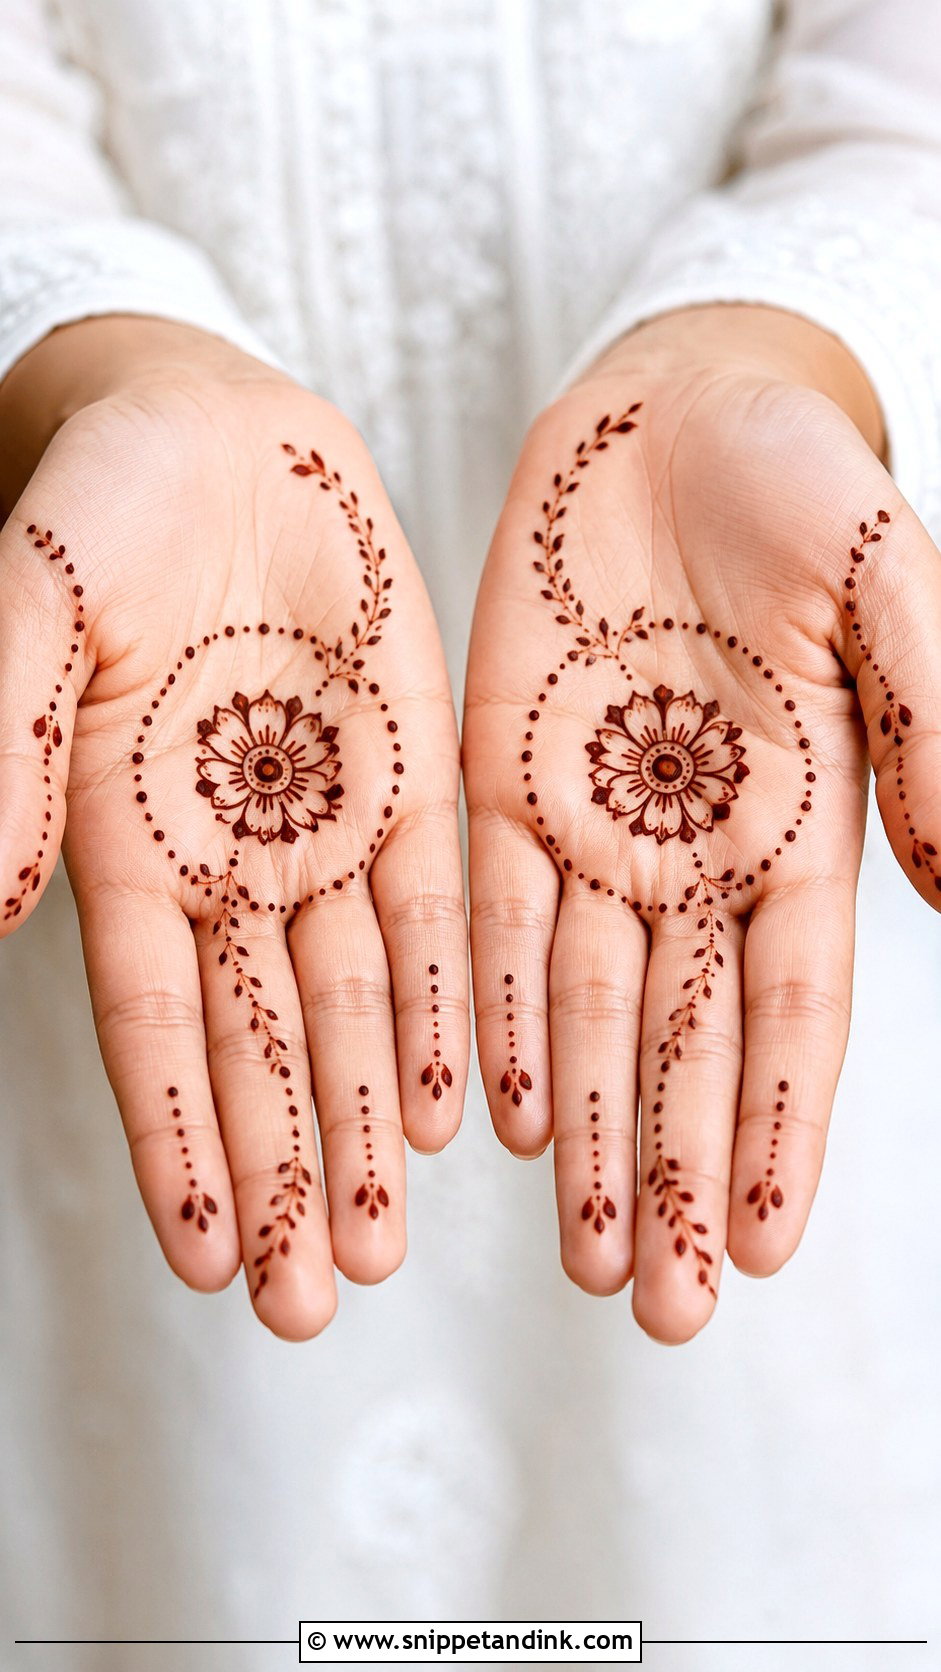
Dots are the most underrated tool in henna. A centre motif surrounded by dotted circles, dotted vines or dotted borders fills the palm lightly and looks festive. They’re good for beginners because a row of dots hides small wobbles in the lines beside them. Mix dot sizes for depth. The one rule is spacing: dots placed too close merge into a line once stained, so I leave a gap roughly the width of each dot between them.
28. Palm Mehndi Design With Leaves
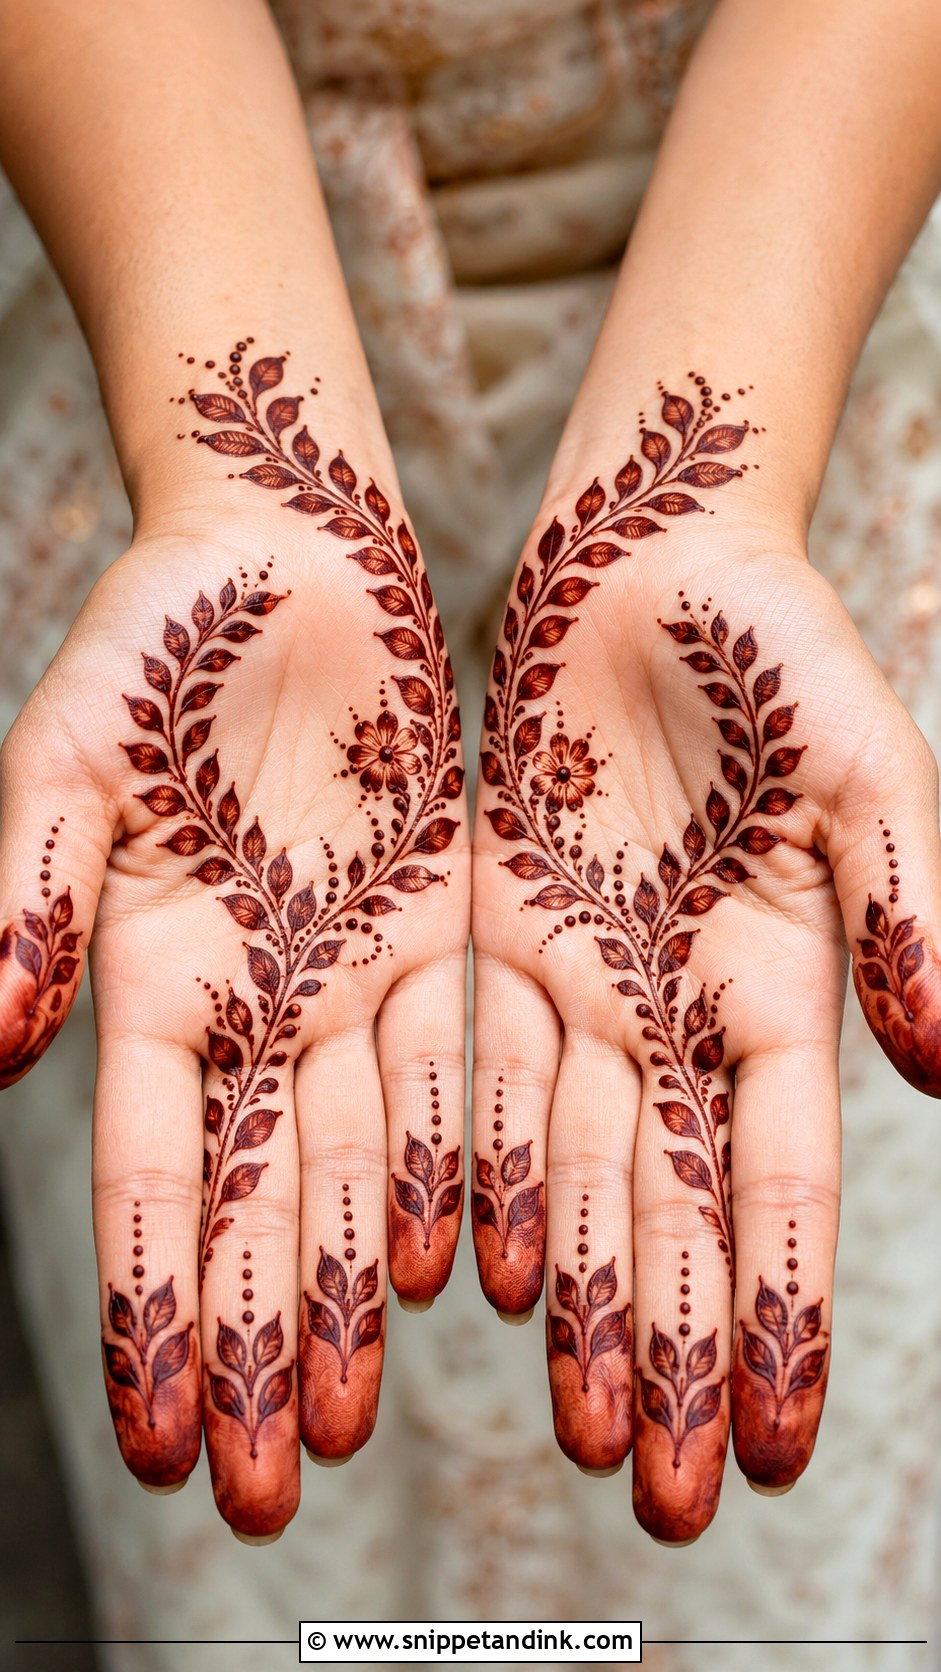
Leaves can curve across the palm in a vine, frame a mandala or fill the inside of paisleys and flowers, and they can be small, bold, shaded or simply outlined. For a clean look, I run one main vine from the lower palm toward the fingers and add dots around it; for a fuller one, I mix leaves with florals and curved bands. Each leaf is best drawn in a single confident stroke from base to tip, which gives a crisp point that stains cleanly.
29. Palm Mehndi Design With Names
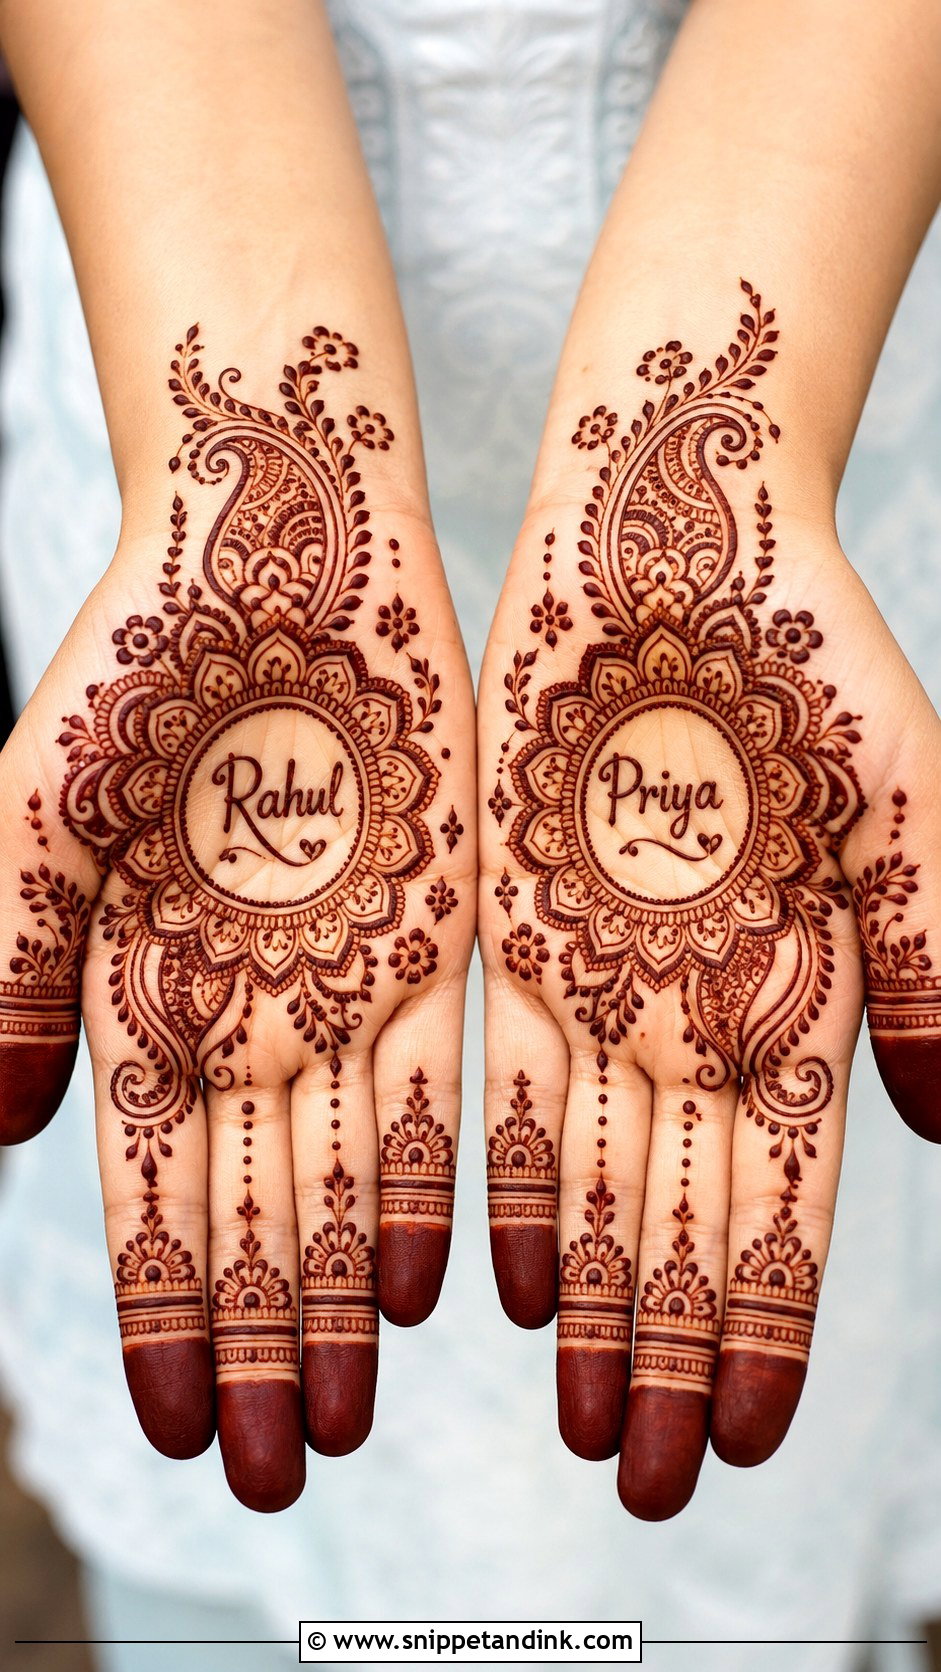
Names make a palm design personal. The name can hide inside a paisley, sit inside a mandala ring, run along a curved vine or be framed by small flowers. Brides, engagements and anniversaries are the usual occasions. Palm space is limited, so I keep lettering simple and slightly larger than feels natural, as thin henna letters close up and lose legibility as the stain deepens. Leave clear skin above and below the name, then finish with dots, leaves and small borders.
30. Eid Palm Mehndi Design
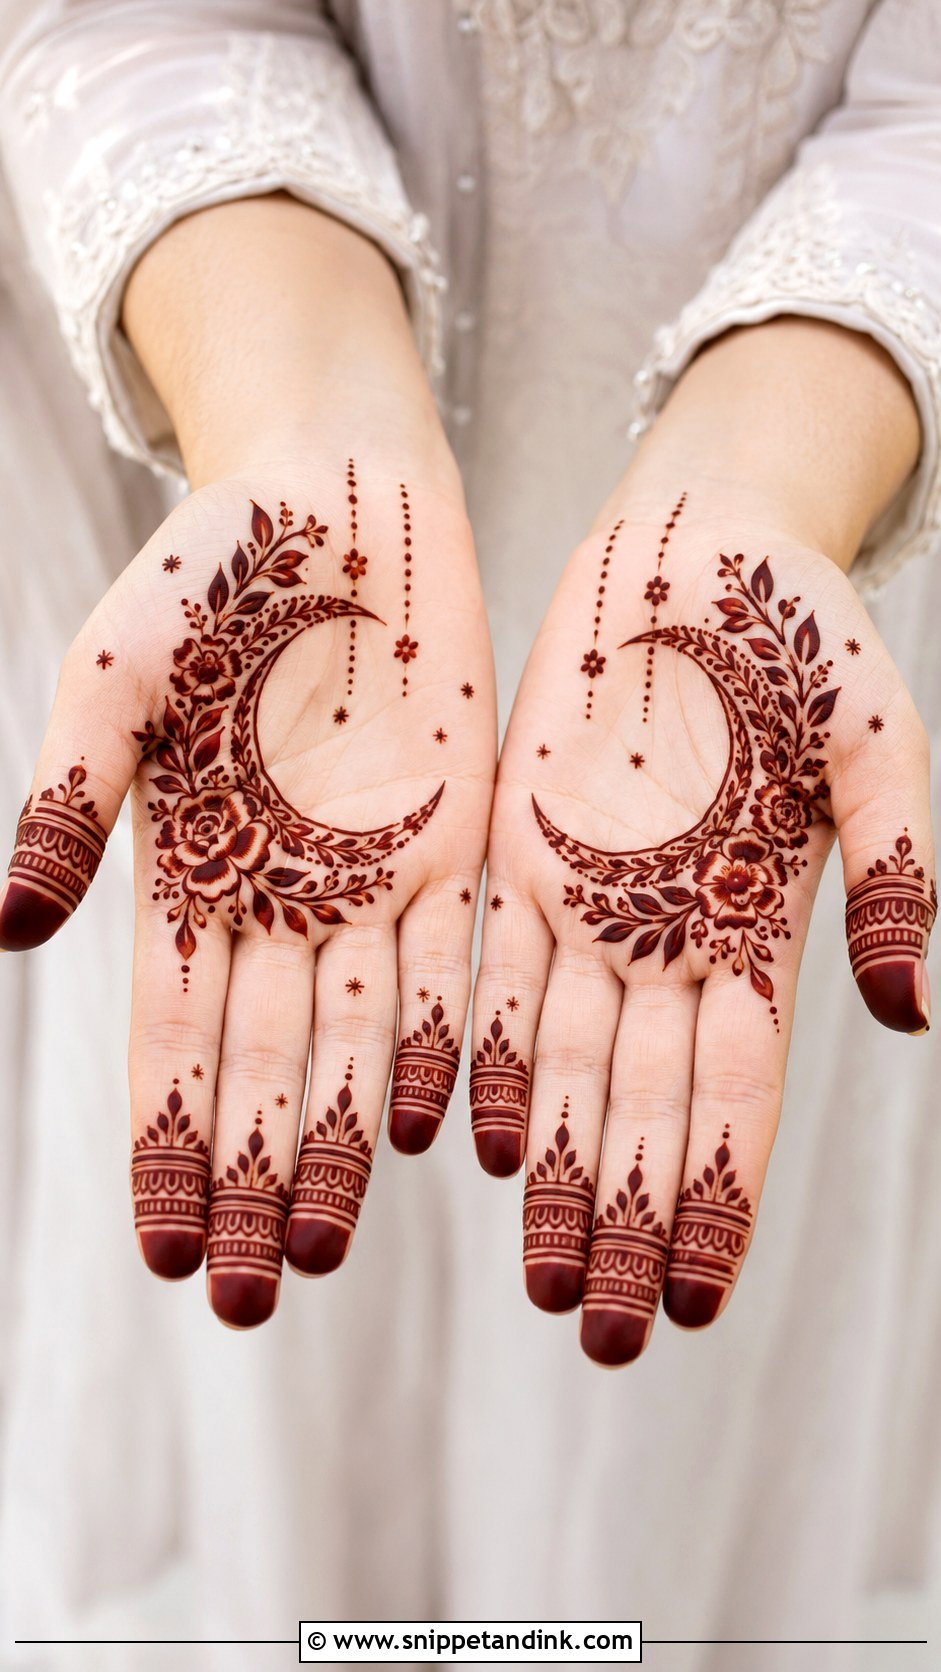
Eid mornings are hectic, which is exactly why palm-only works: it applies faster than full-hand mehndi. Crescent curves, floral trails, mandalas, leafy borders and dotted fingers are the usual choices, a simple centre for a soft look or a fuller Arabic trail for a dressier outfit. I apply it the night before so the colour has a head start; the stain keeps deepening for a day or two. Let the paste dry fully, and it will look rich with festive bangles.
31. Wedding Palm Mehndi Design
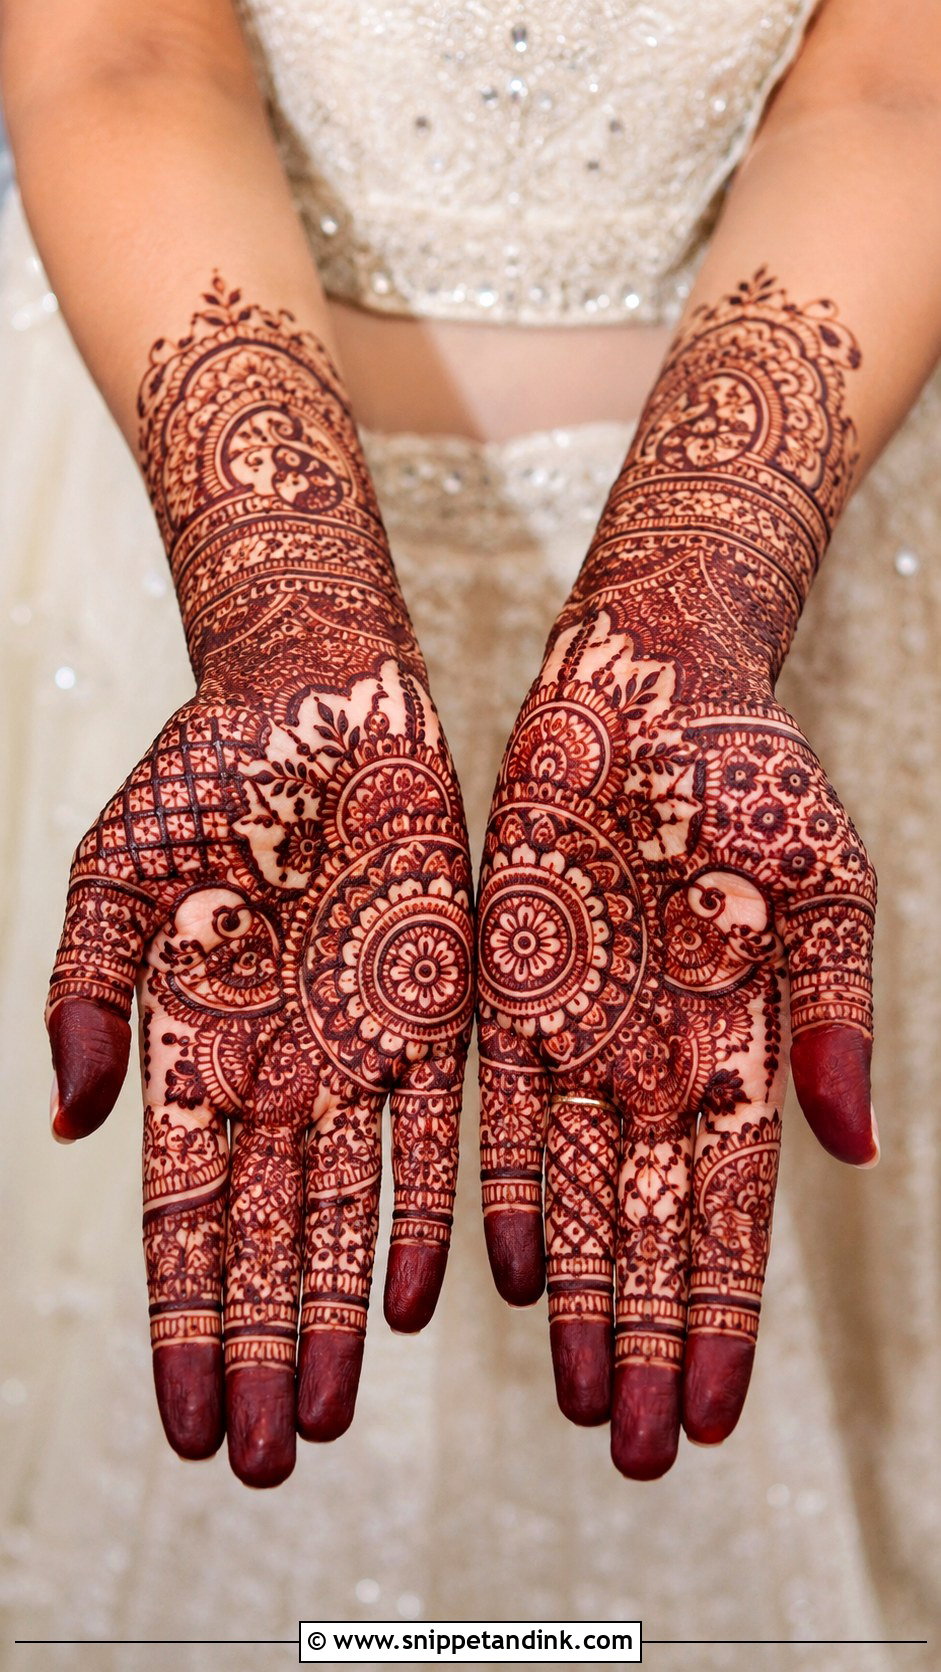
A wedding palm mehndi design for the bride’s sisters, cousins and bridesmaids should look detailed and festive while staying inside the palm. Paisleys, florals, peacock details, jaali and fine finger patterns all fit. A central mandala framed by paisleys rarely goes wrong; for a modern wedding, an Arabic floral trail with open spaces works too. Make sure the main motifs are bold enough to register in group photos, where hands are small in the frame.
32. Festival Palm Mehndi Design
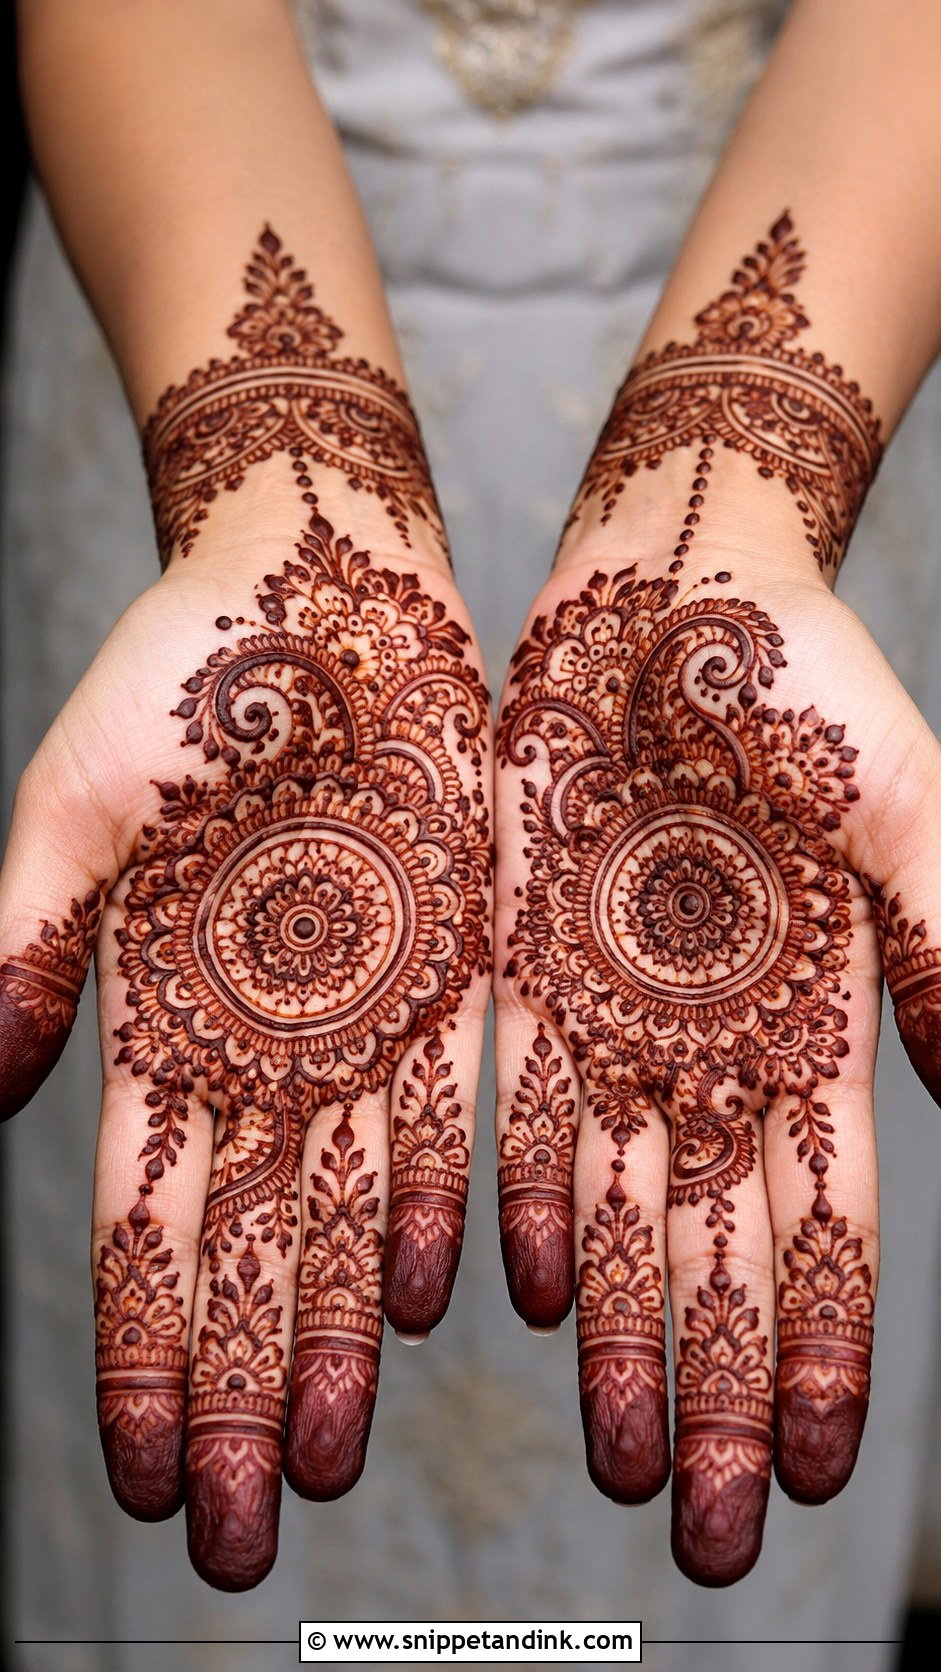
Festival days, whether Diwali, Teej, Karwa Chauth, Navratri or Eid, mean cooking, rituals and greeting people, so the design has to be comfortable. Mandalas, flowers, leaves, paisleys, dots and simple geometric bands are traditional and easy to adapt. For a brighter festive feel I fill the palm more than usual but keep small gaps between details, with matching bands or leafy trails on the fingers. It feels special without taking hours.
33. Small Palm Mehndi Design
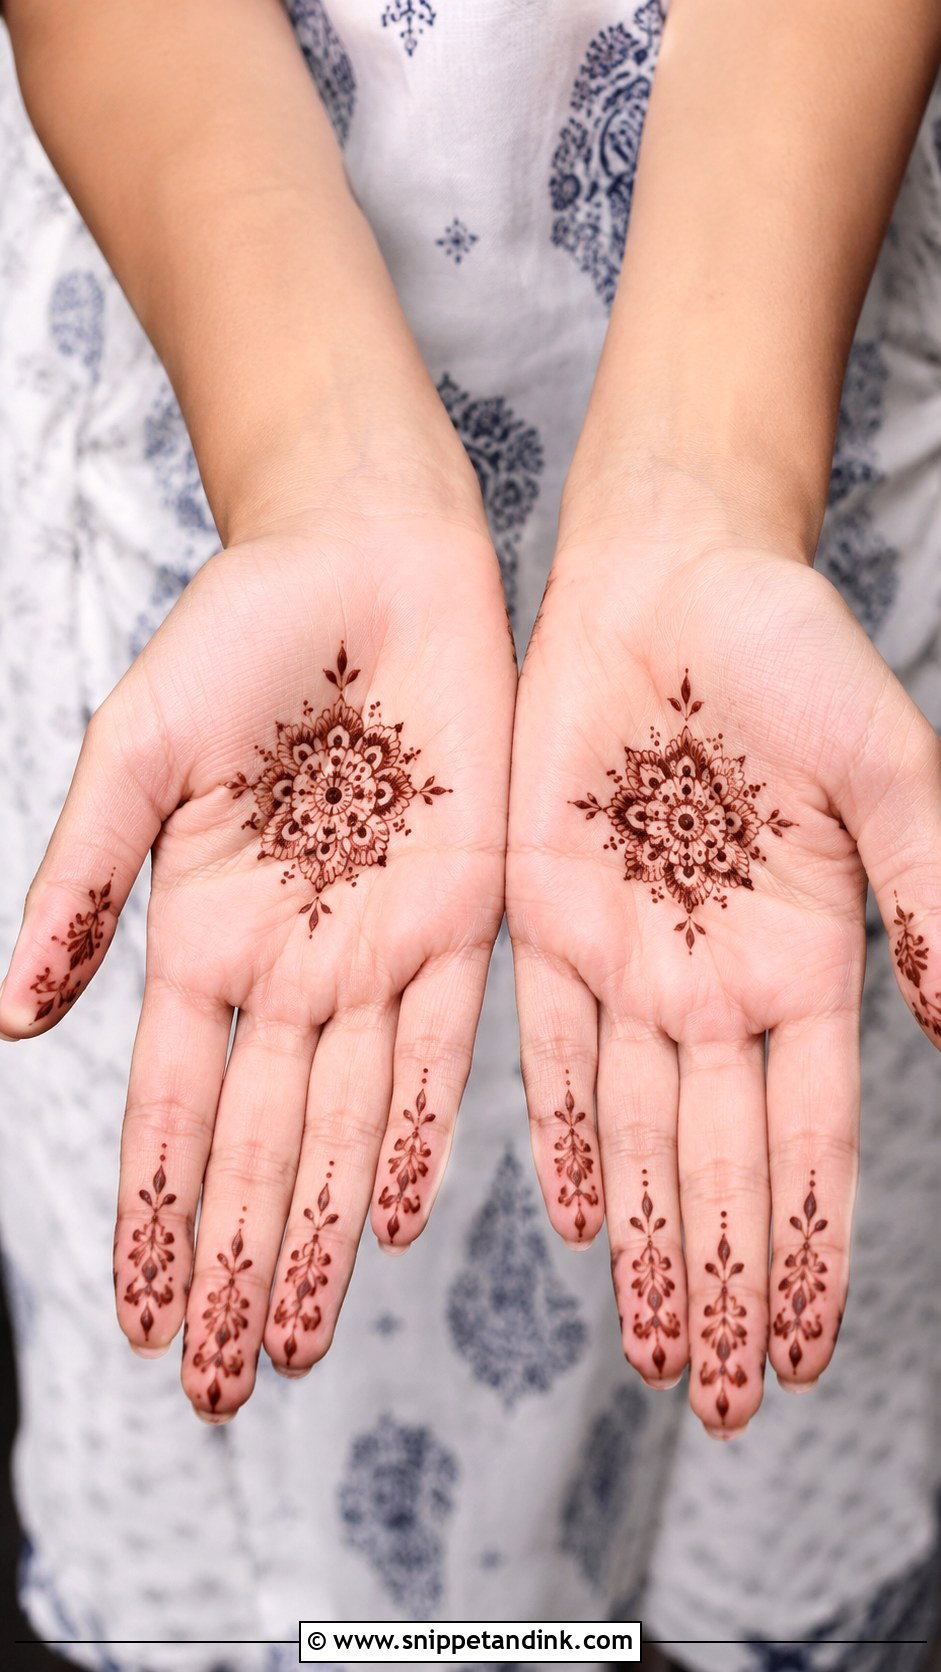
Small palms and younger hands need a design sized for them, not a heavy layout shrunk down. Shrinking a complex design just crowds it. One clear motif, a small mandala, flower, paisley or leafy circle, centred properly, with a few dots or tiny finger details, is enough. Avoid patterns that reach too far up the fingers. It’s quick, comfortable and suits office days.
34. Heavy Palm Mehndi Design
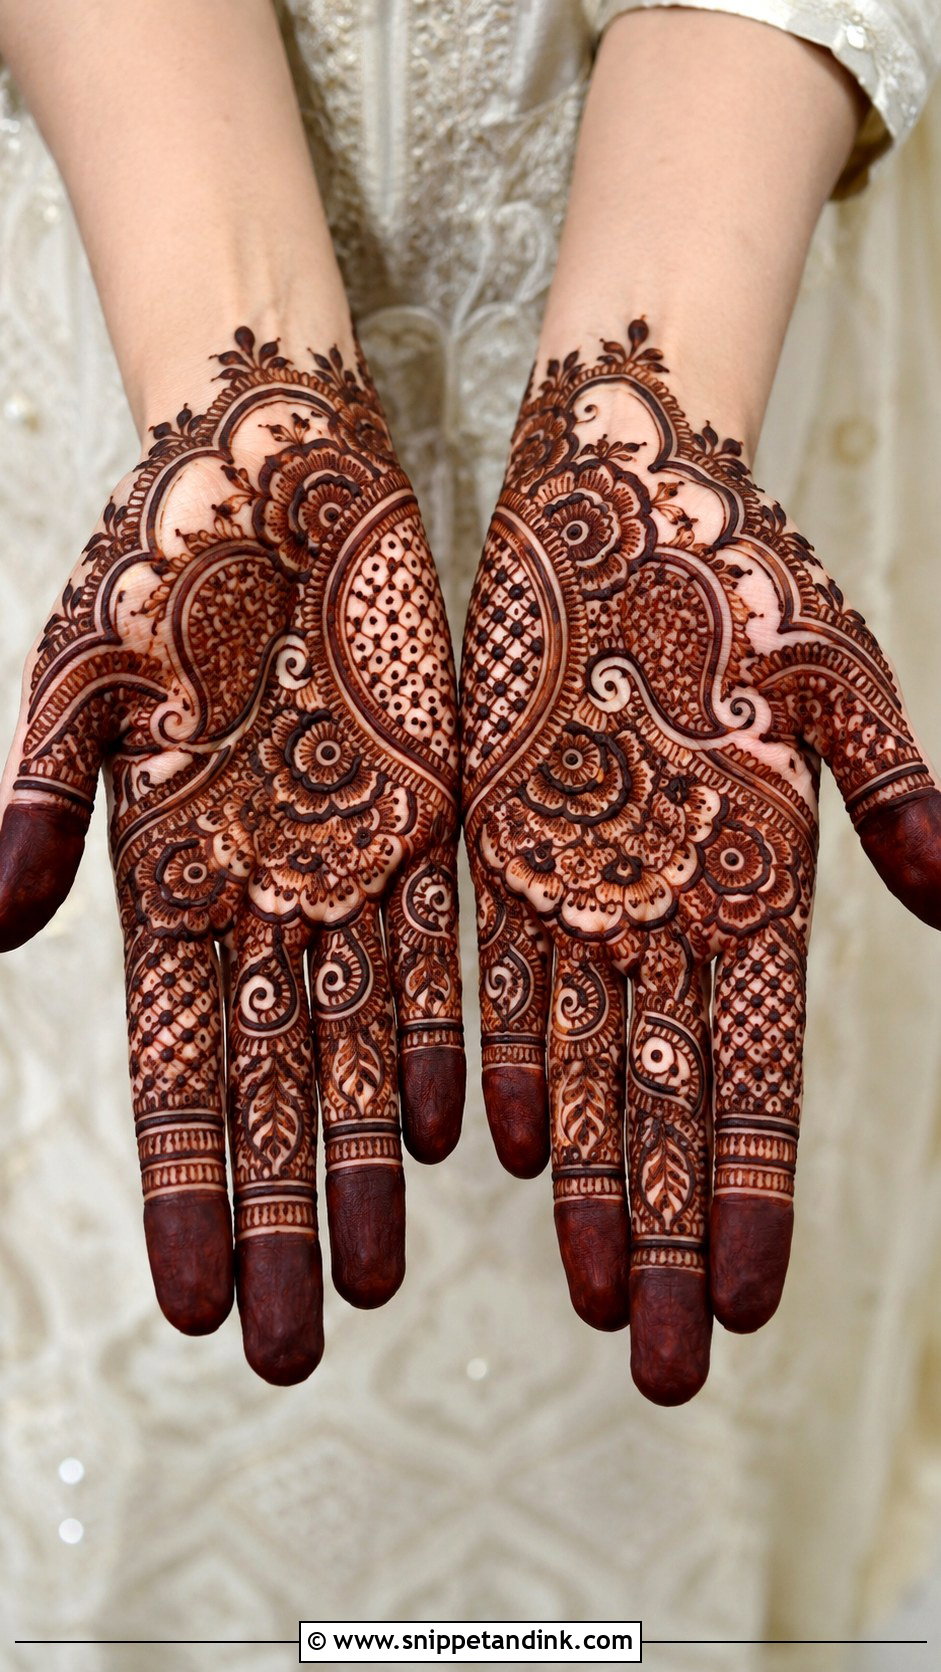
Heavy palms are the grand option: dense paisleys, layered flowers, jaali, mandalas, shaded leaves and filled fingers, for brides, bridesmaids and major celebrations. Clarity is the challenge. I separate sections with bold outlines and vary line weight, because when every line is equally thin the whole palm stains into a single dark mass. Tiny gaps between motifs prevent merging. Planned well, a heavy palm can look as impressive as full-hand mehndi.
35. Unique Palm Mehndi Design
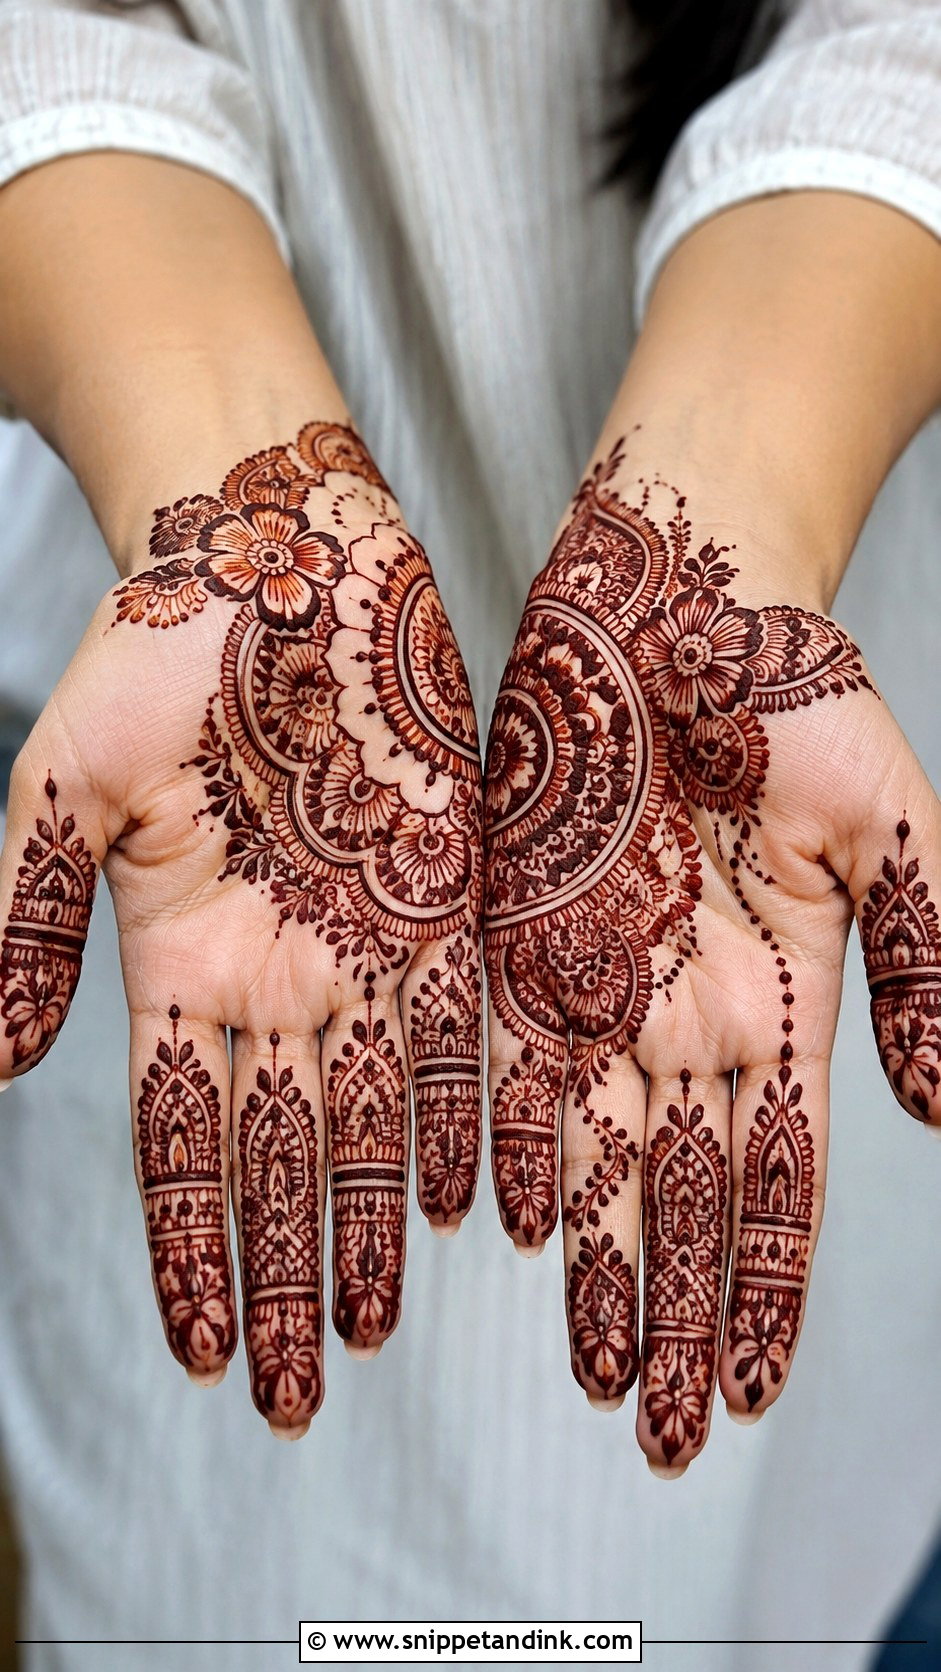
For something other than the usual centre mandala, try an asymmetrical floral trail, a split mandala, a geometric paisley mix, a hidden-name layout or a modern negative-space pattern. Unusual is fine; unfinished is not. Balance one bold focal point with smaller supporting details. Indian, Arabic and Moroccan influences can mix here for a fusion look. I sketch unusual layouts on paper with the client first, so we both know where every element sits before paste touches skin.
Sweaty Palms, Hand Washing and Making the Colour Last
Palms stain darkest, but they also work hardest. Here’s what affects a palm design from the moment I finish it.
While the paste is wet
Keep your hands open and still. If your palms sweat when you’re nervous or warm, sit somewhere airy or near a gentle fan, because moisture keeps the paste soft and smudge-prone. Don’t make a fist or grip anything until the surface feels dry to a light touch.
The first day
Leave the paste on as long as you can, ideally overnight, then scrape it off instead of washing. Keep the palms dry for as long as practical afterwards, because the stain is still developing and will darken over the next day or two.
The following week or two
Palm stains fade as the skin naturally sheds, and friction speeds that up. Wear gloves for washing up and cleaning, skip scrubs, and go easy on hand sanitiser and chlorinated pool water, which dry the skin and lighten the colour. A thin layer of a natural balm or oil before you wash your hands helps the stain hold a little longer.
A Palm Holds More Than It Seems
Palm-only henna gives you a lot for very little time: bold mandalas, delicate florals, classic paisleys, Arabic trails, geometric layouts and personal details all fit in that one space. Keep it minimal for everyday wear or build it up for weddings and festivals. Let your hand size, your comfort and the occasion decide the density. Then use natural henna, let it dry completely, scrape rather than wash, and give the colour a day or two to reach its deepest shade.
You'll Like These Ideas:


Leave a Reply