
Feet are the strangest canvas I work on. The top of the foot is bony and curved, the soles stain darker than anywhere else, and whatever I draw has to survive sandals, floors and a day of walking. That’s why good foot henna follows the arch and the ankle bone instead of fighting them. The thirty designs below run from full bridal coverage to a single anklet, with notes on where each one holds up and where it rubs away.
What Foot Skin Does Differently From Hands
The soles and the edges of the feet stain darker than almost any skin on the body, because the outer layer there is thick and holds the dye. The top of the foot is thinner and stains lighter, closer to the back of the hand. So when I balance a design, I expect the toe tips and the sole edge to go deep maroon while the instep stays a shade softer, and I put the bold motifs where the stain will be strongest.
Feet are also the slowest part of a mehndi session to live with. Once the paste is on, you can’t walk, and wet paste on a cold floor cracks and flakes. I usually do feet last or hand them to a second artist while I work on the hands.
- Wear loose trousers or a skirt you can lift above the calves.
- Have someone ready to carry things for you; you won’t stand for a while.
- Sit with your feet on a towel, not on tile, so the paste stays warm and intact.
1. Full Feet Bridal Mehndi Design
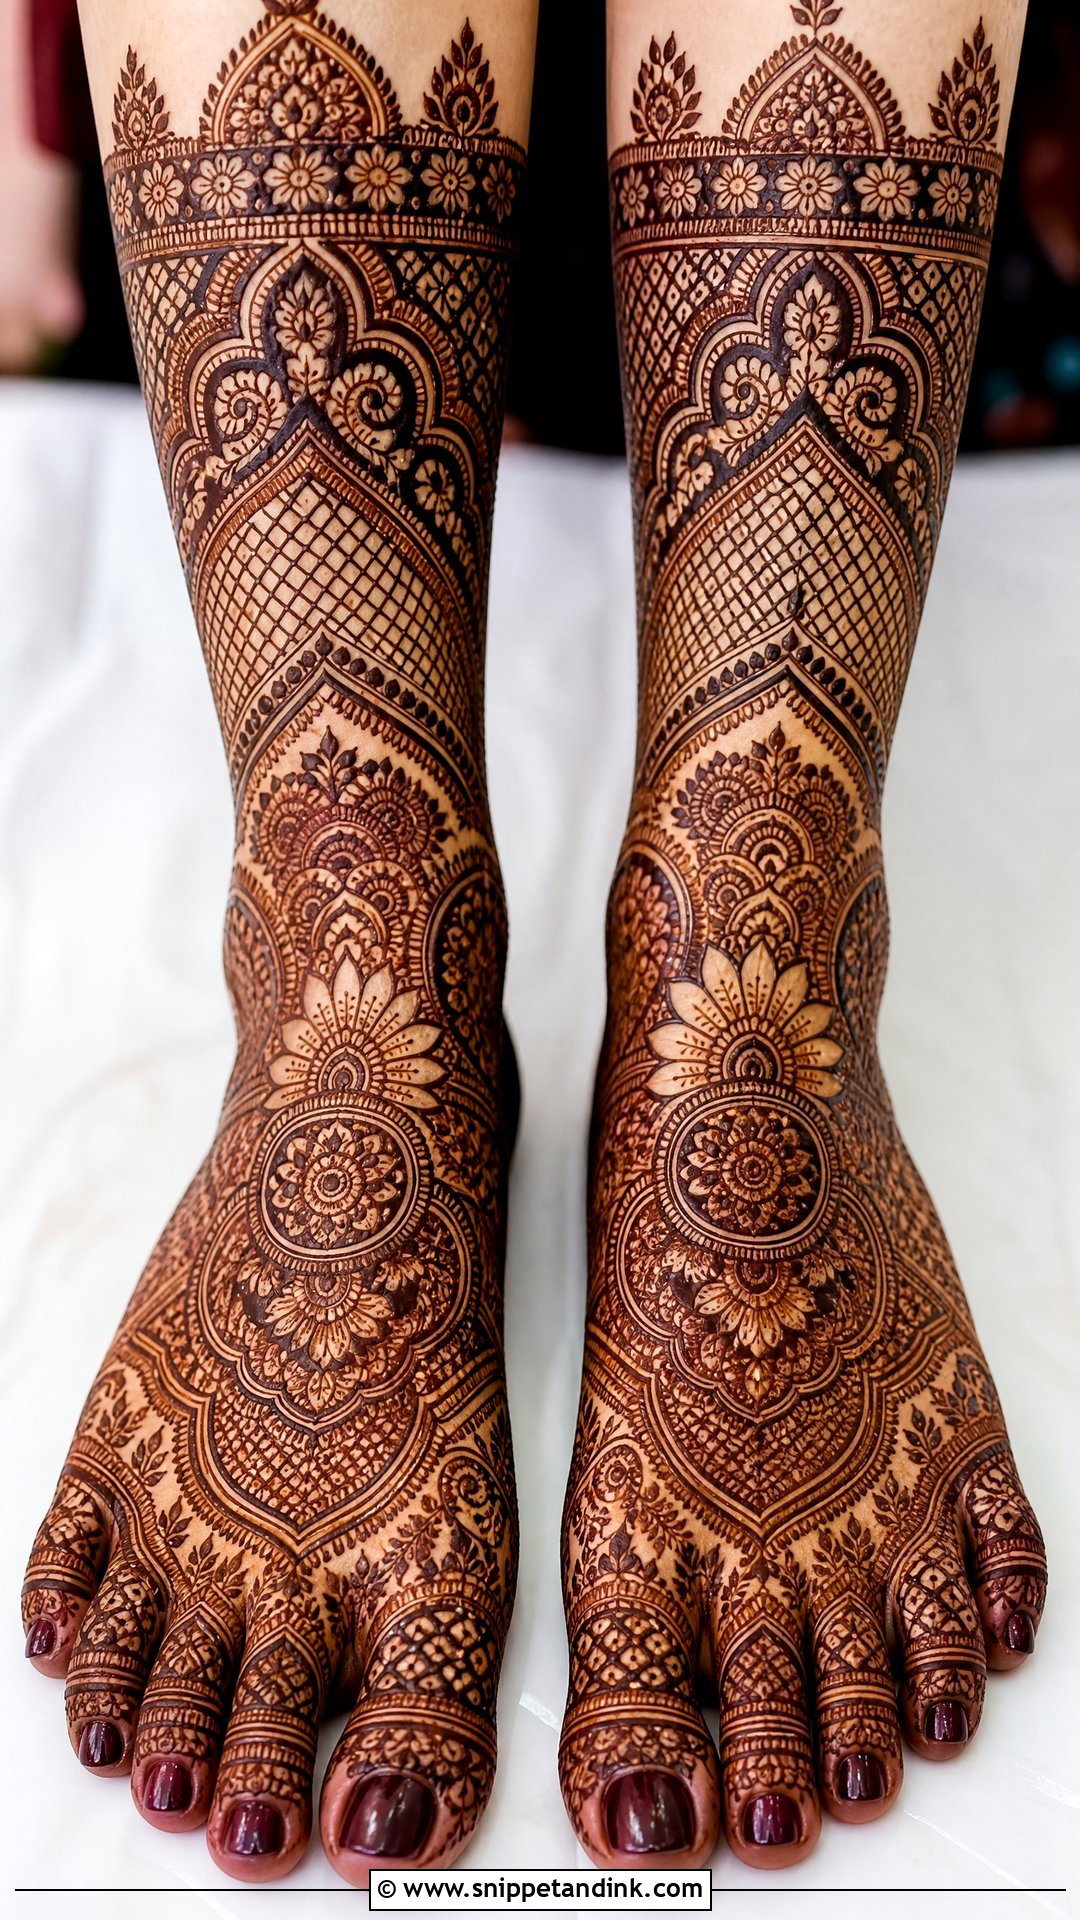
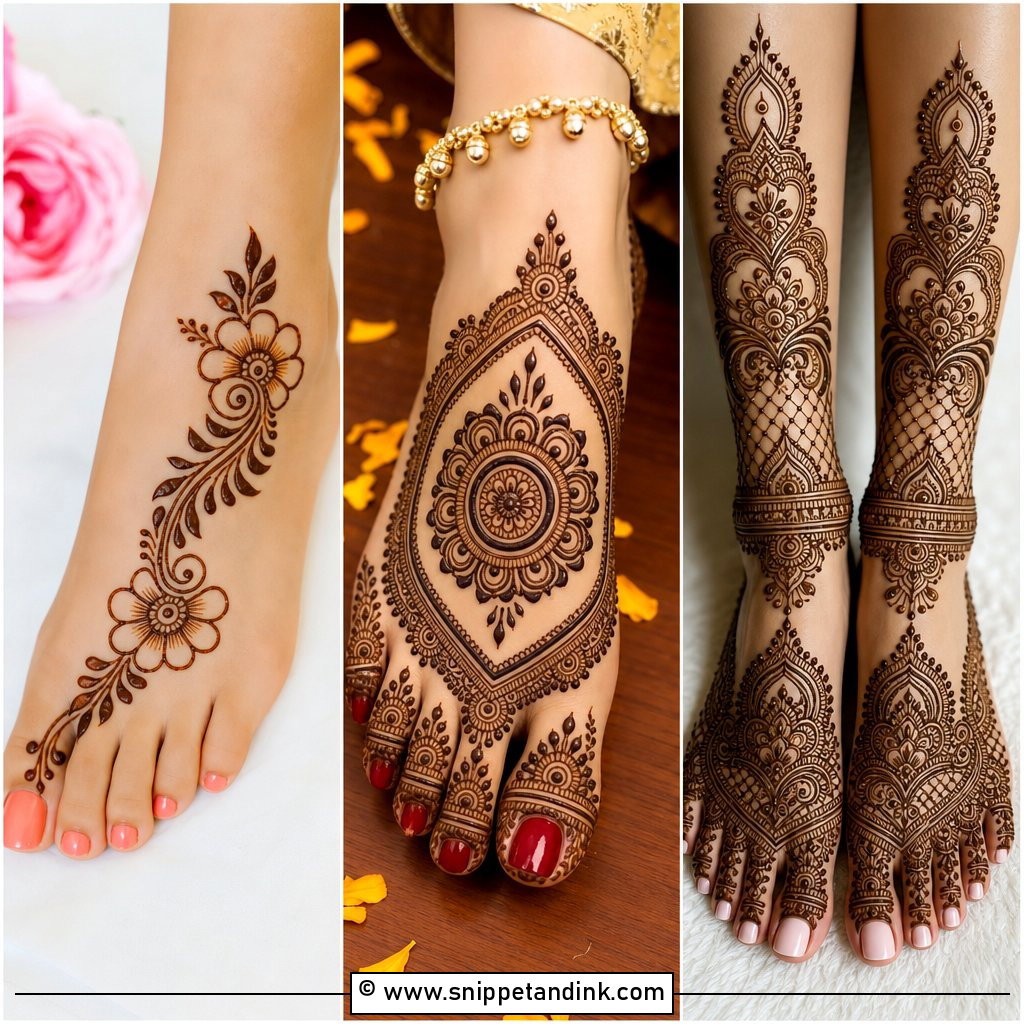
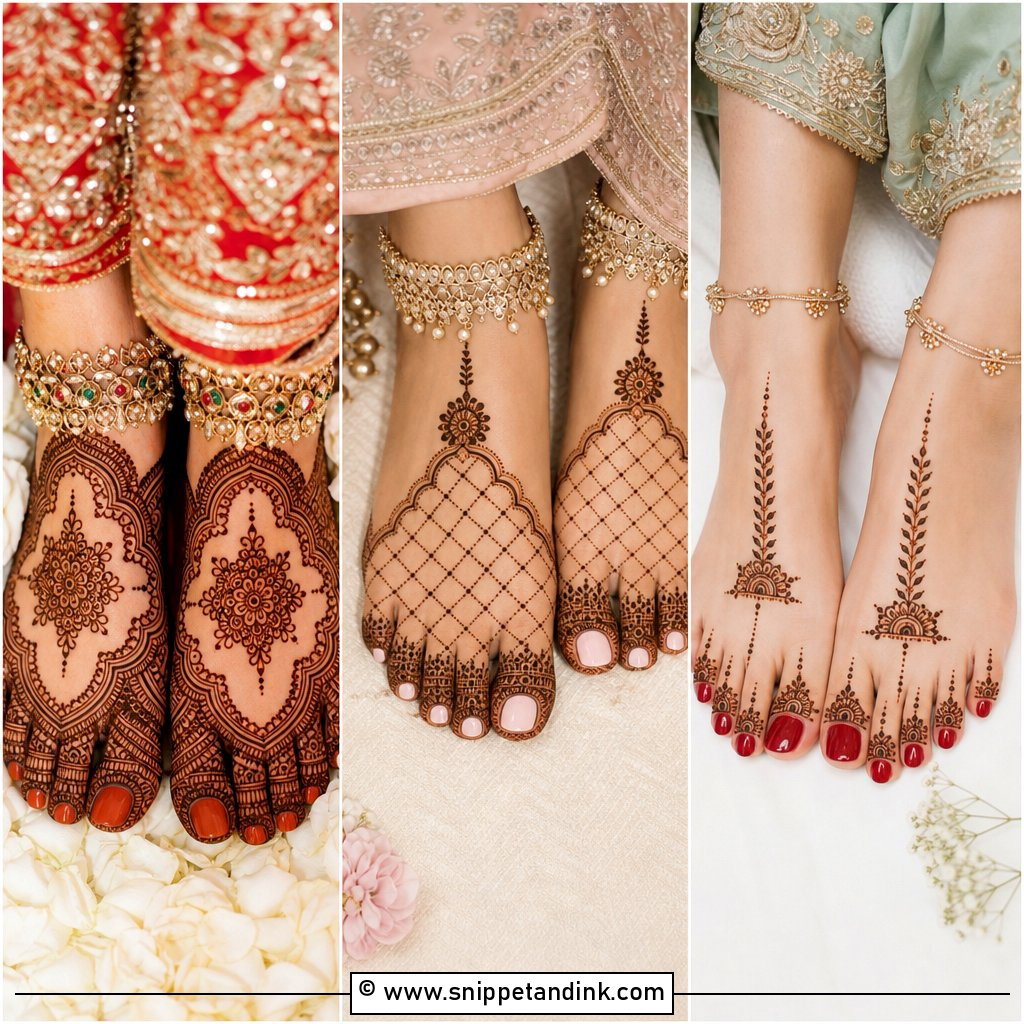
Full bridal feet cover the top of both feet, wrap the sides and climb toward the shin, packed with paisleys, florals and mandalas. Symmetry carries this design. I draw both feet in alternating sections so neither ends up more detailed than the other. Leave hairline gaps between motifs, because foot skin stains deep and dense work turns muddy fast. It looks rich with heavy payal and bridal sandals.
2. Simple Feet Mehndi Design
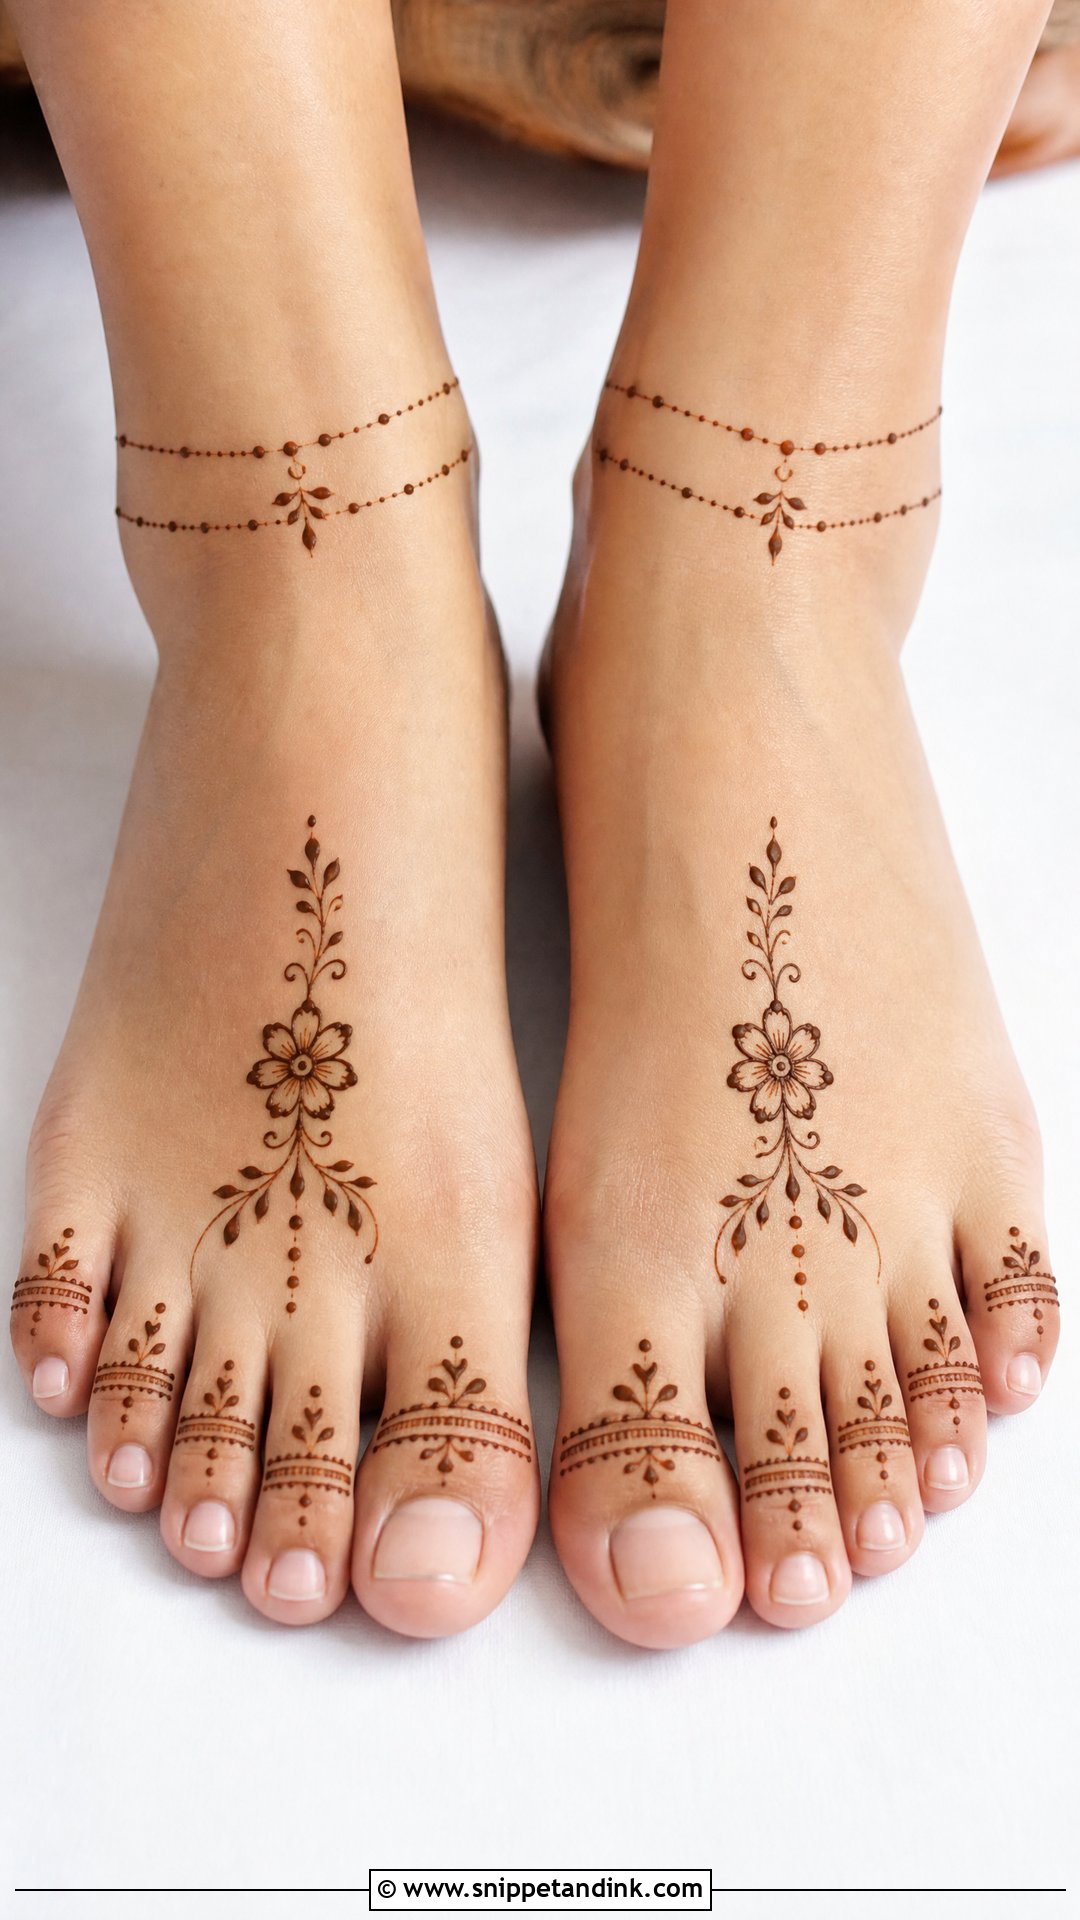
One floral motif on each foot, a few toe lines and a thin ankle border. That’s enough for a festive evening. It dries quickly, which matters because you can’t walk until it does. The open space lets the reddish stain show clearly on the top of the foot. Flats and simple sandals suit it; so does a cousin who has never sat for henna before.
3. Arabic Feet Mehndi Design
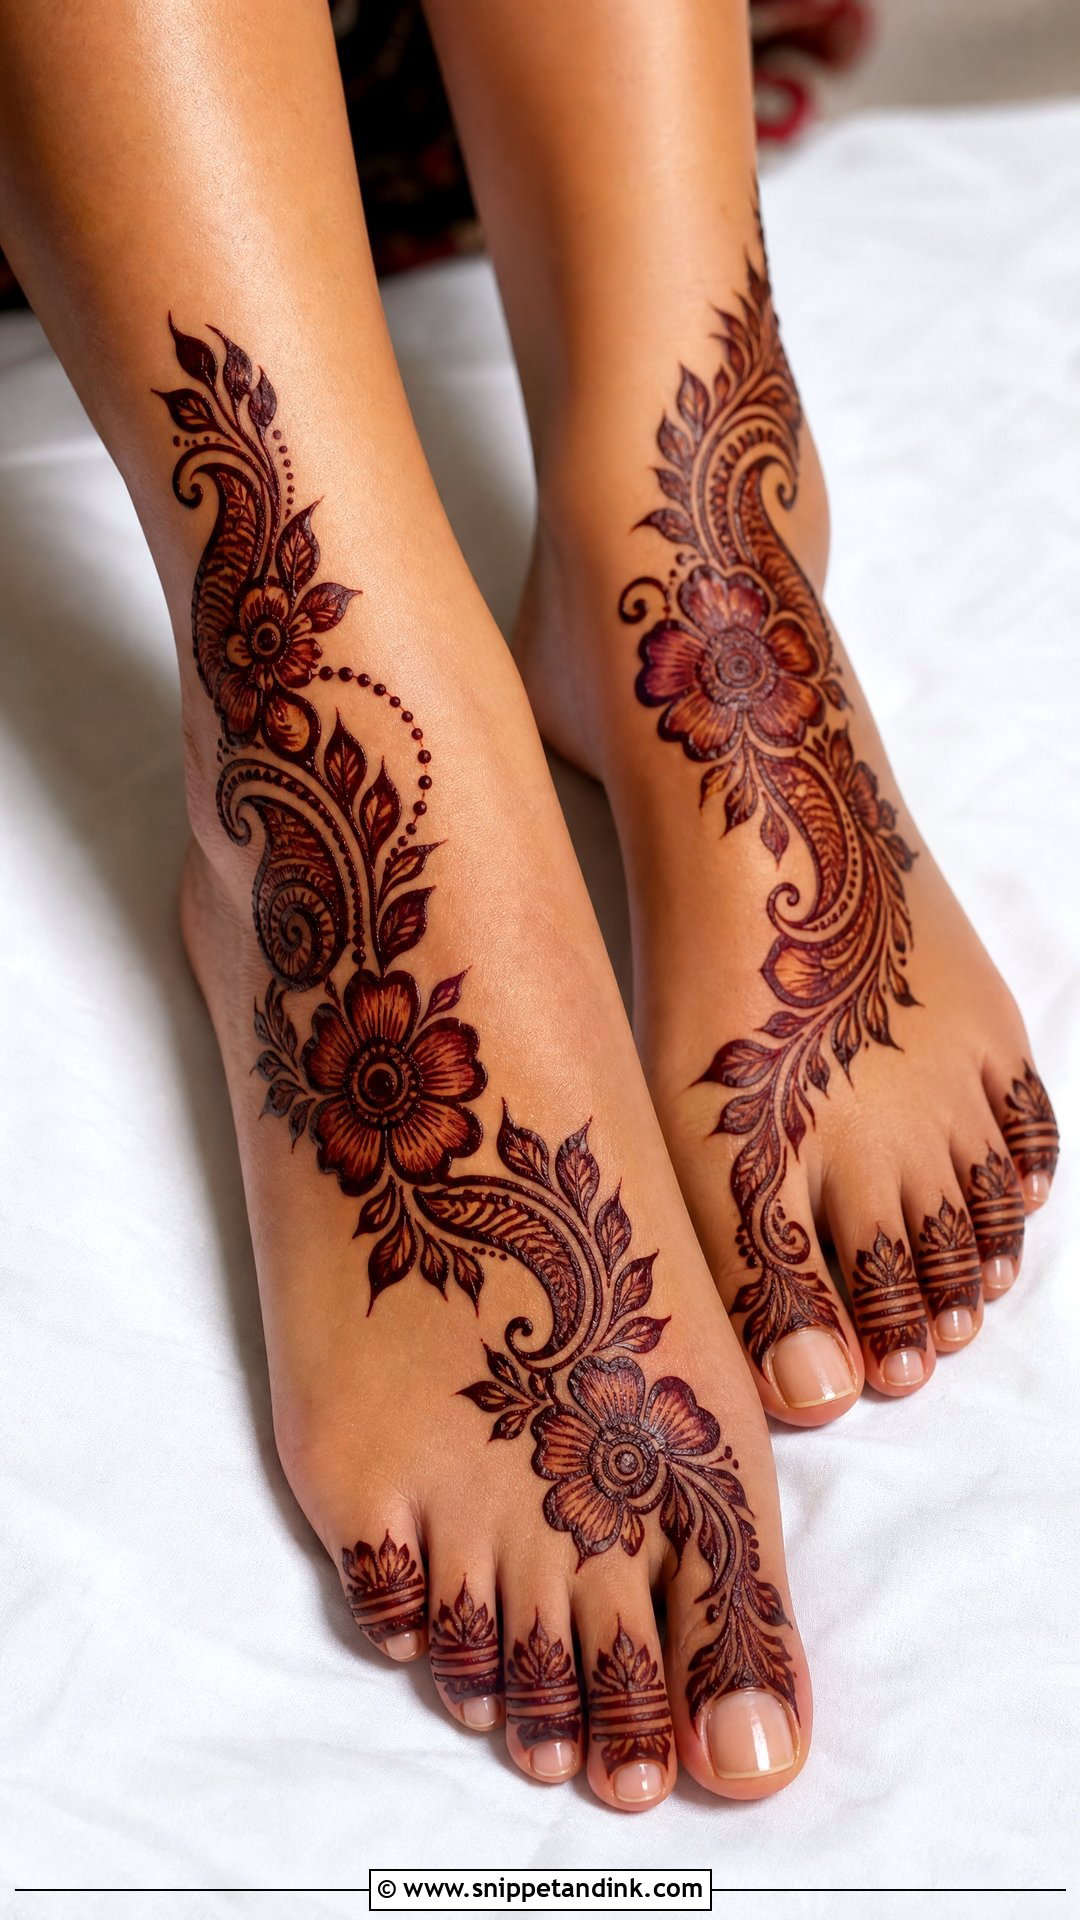
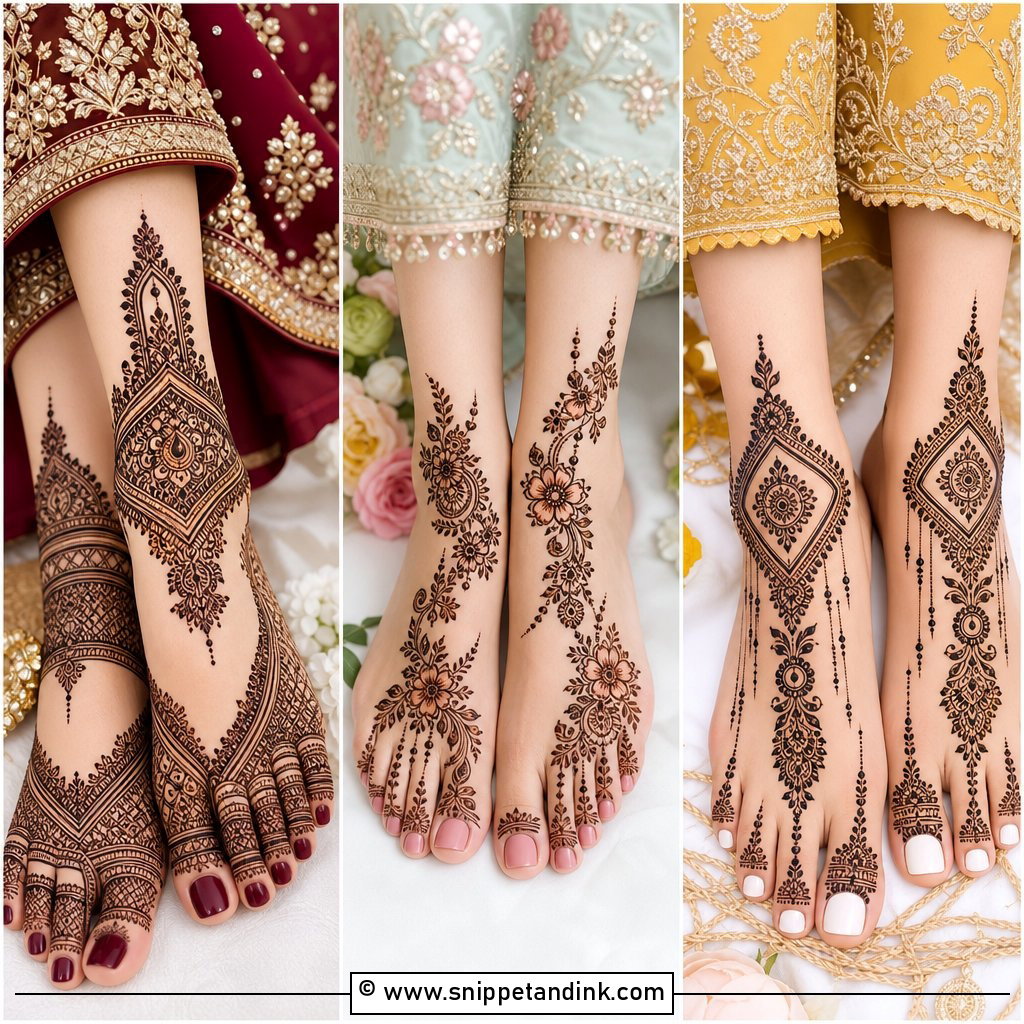
Arabic foot designs run diagonally from the big toe toward the outer ankle, with bold flowers and wide stretches of bare skin. I follow the line of the tendons on top of the foot so the trail looks like it belongs to the foot rather than being pasted on. Thick outlines stain clearly in photos. Bridesmaids and Eid guests like it because it takes a fraction of the time of bridal coverage.
4. Indo-Arabic Feet Mehndi Design
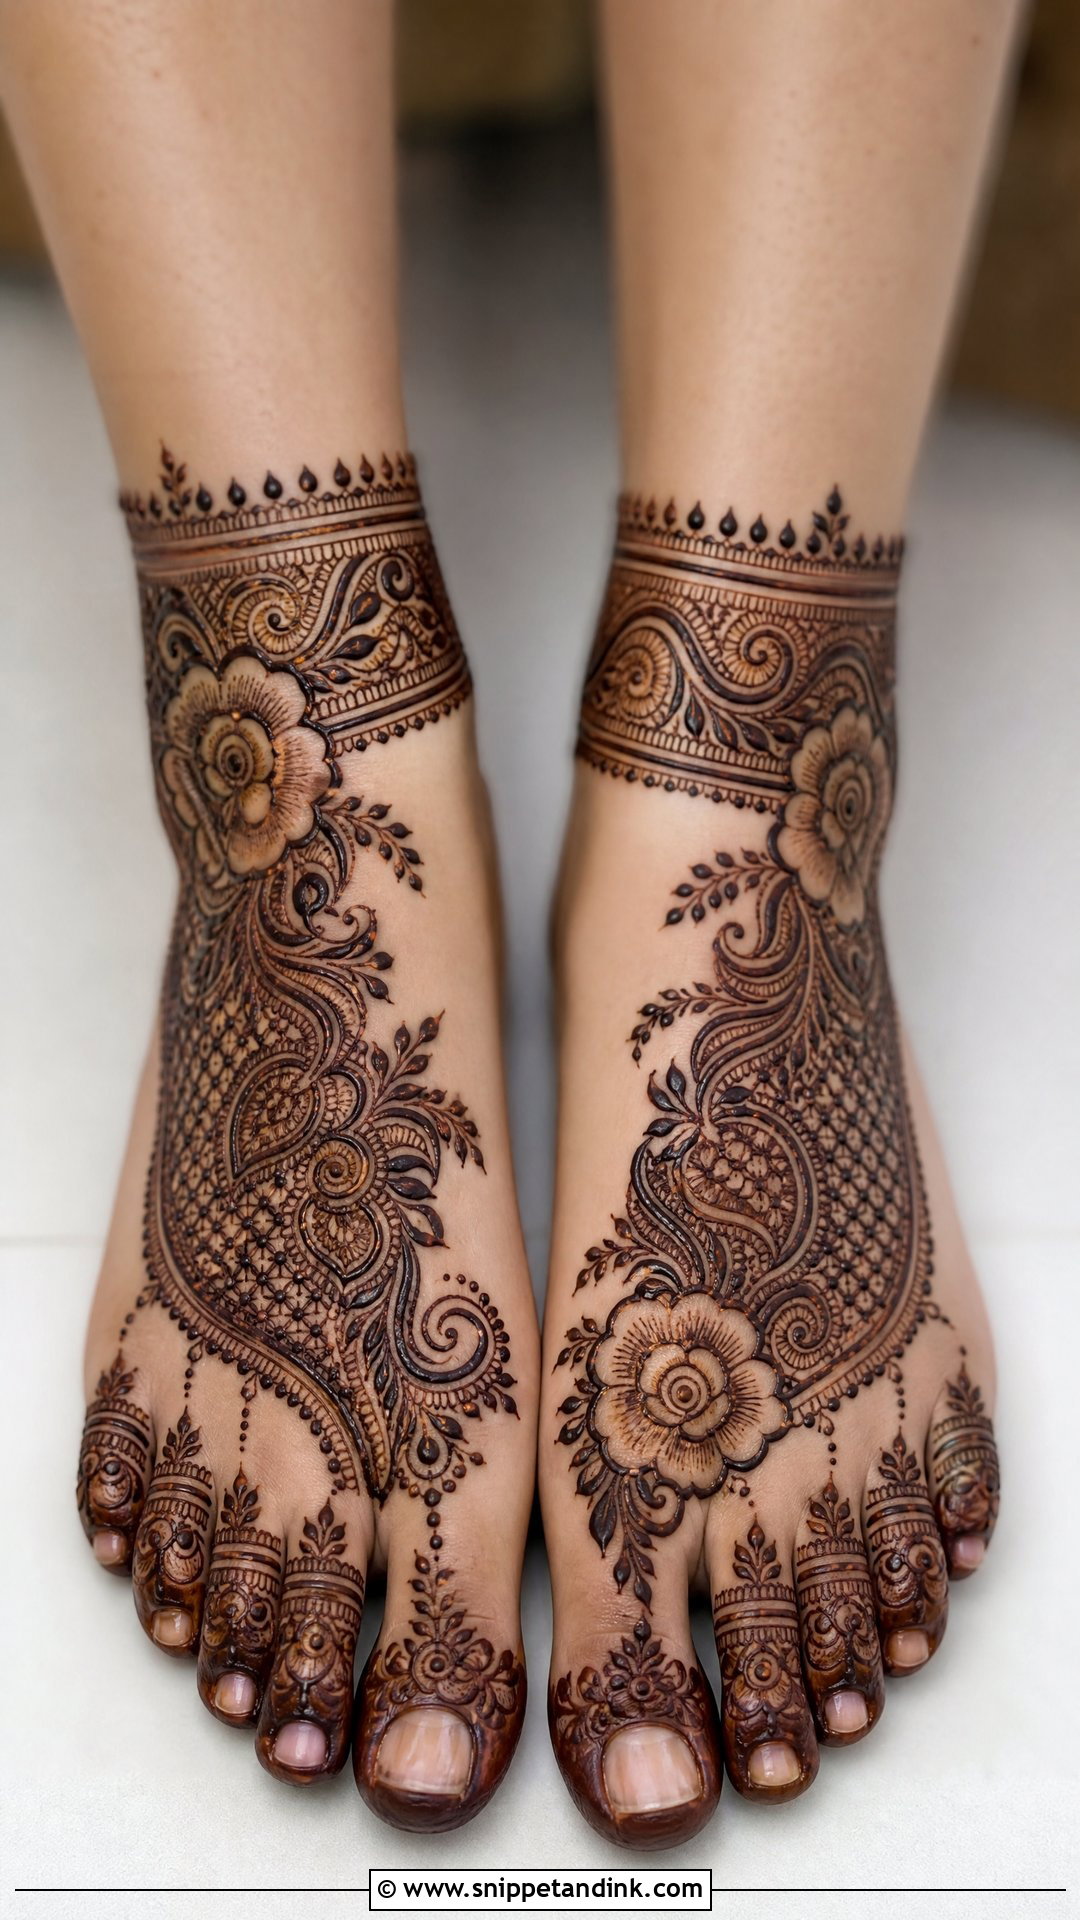
Indo-Arabic feet mehndi design keeps Arabic flow but fills the big motifs with Indian detail: fine lines, dots, small jaali patches. I place one large motif at the centre of the instep and close it with a bracelet band at the ankle. Matching toe patterns pull the look together. It’s dressy enough for a sangeet without the hours a bridal foot takes.
5. Mandala Feet Mehndi Design
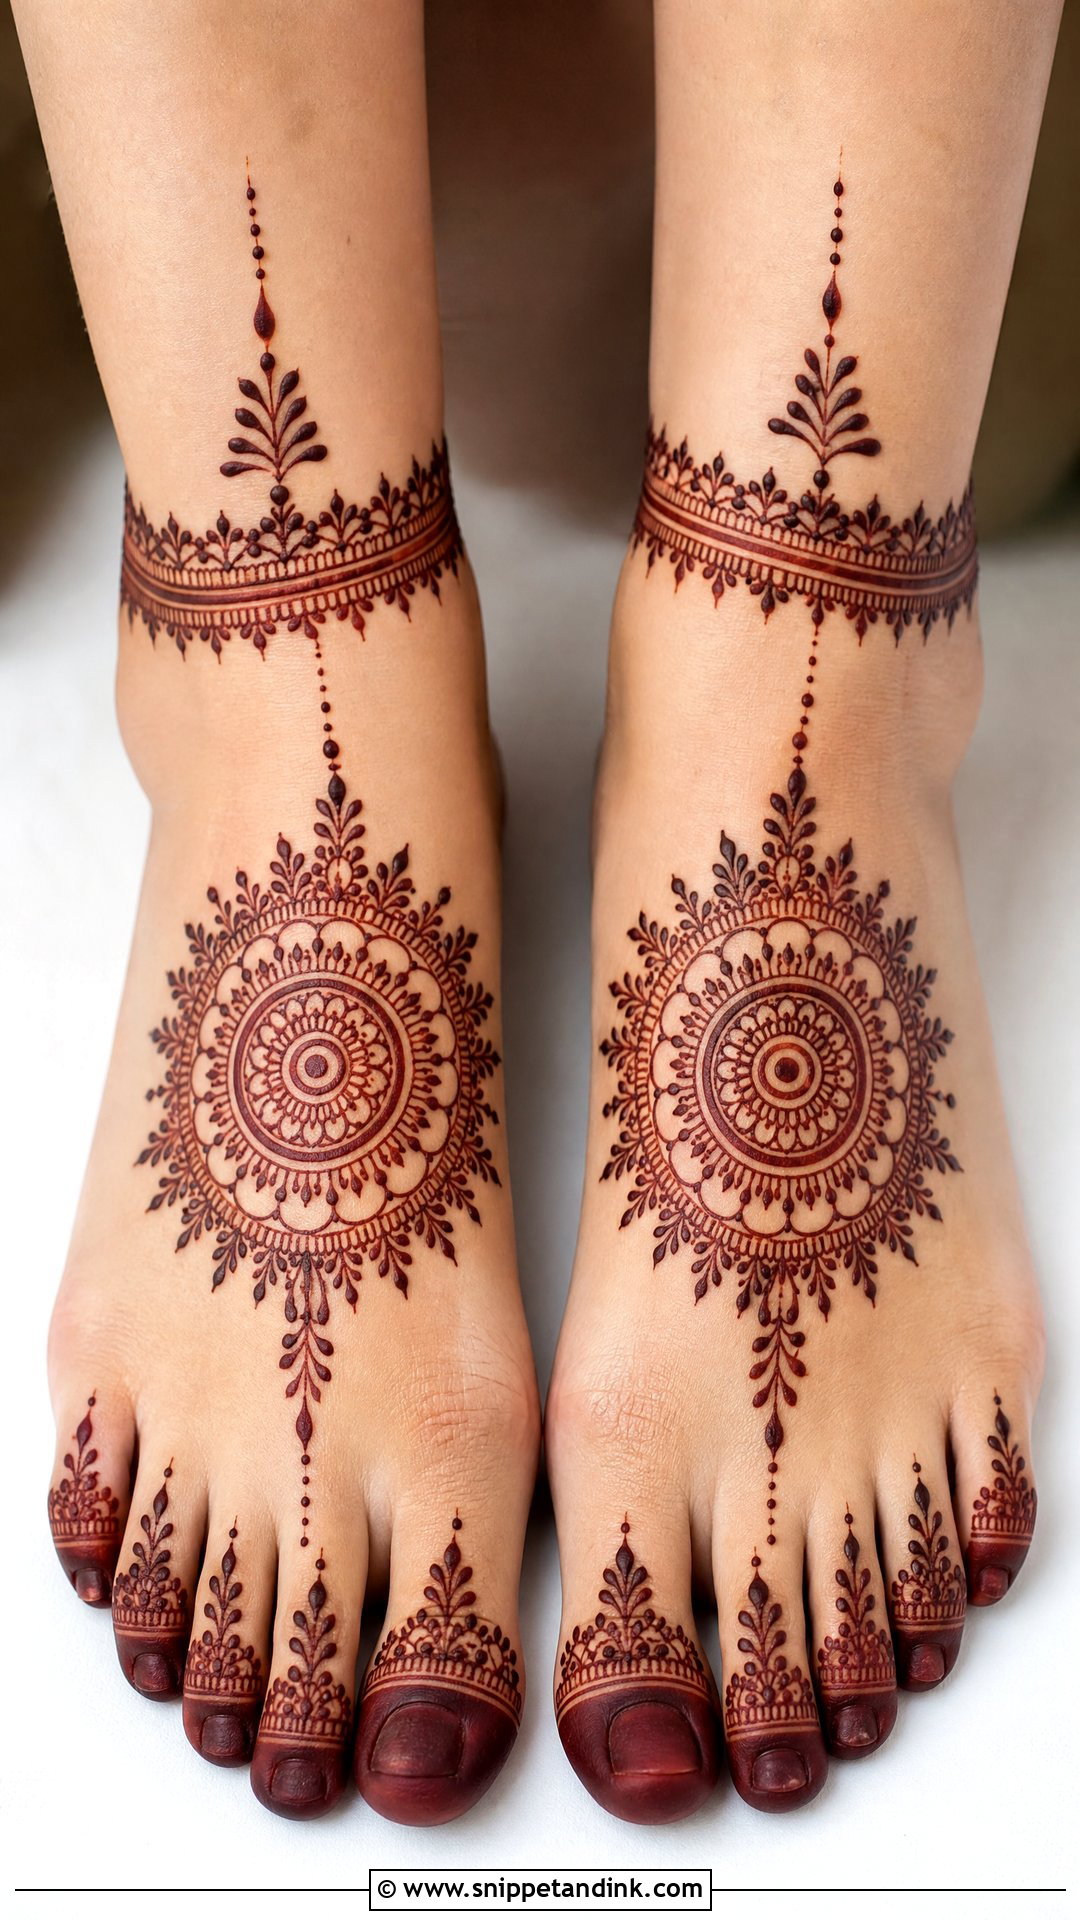
The top of the foot is the flattest area I have, which is why a mandala sits there so well. Small and minimal or large enough to cover most of the instep, the round shape centres the eye. I add dots and petal chains around it and connect to the toes. For a cleaner look the ankle stays bare; for a fuller version the mandala links to an anklet border.
6. Peacock Feet Mehndi Design
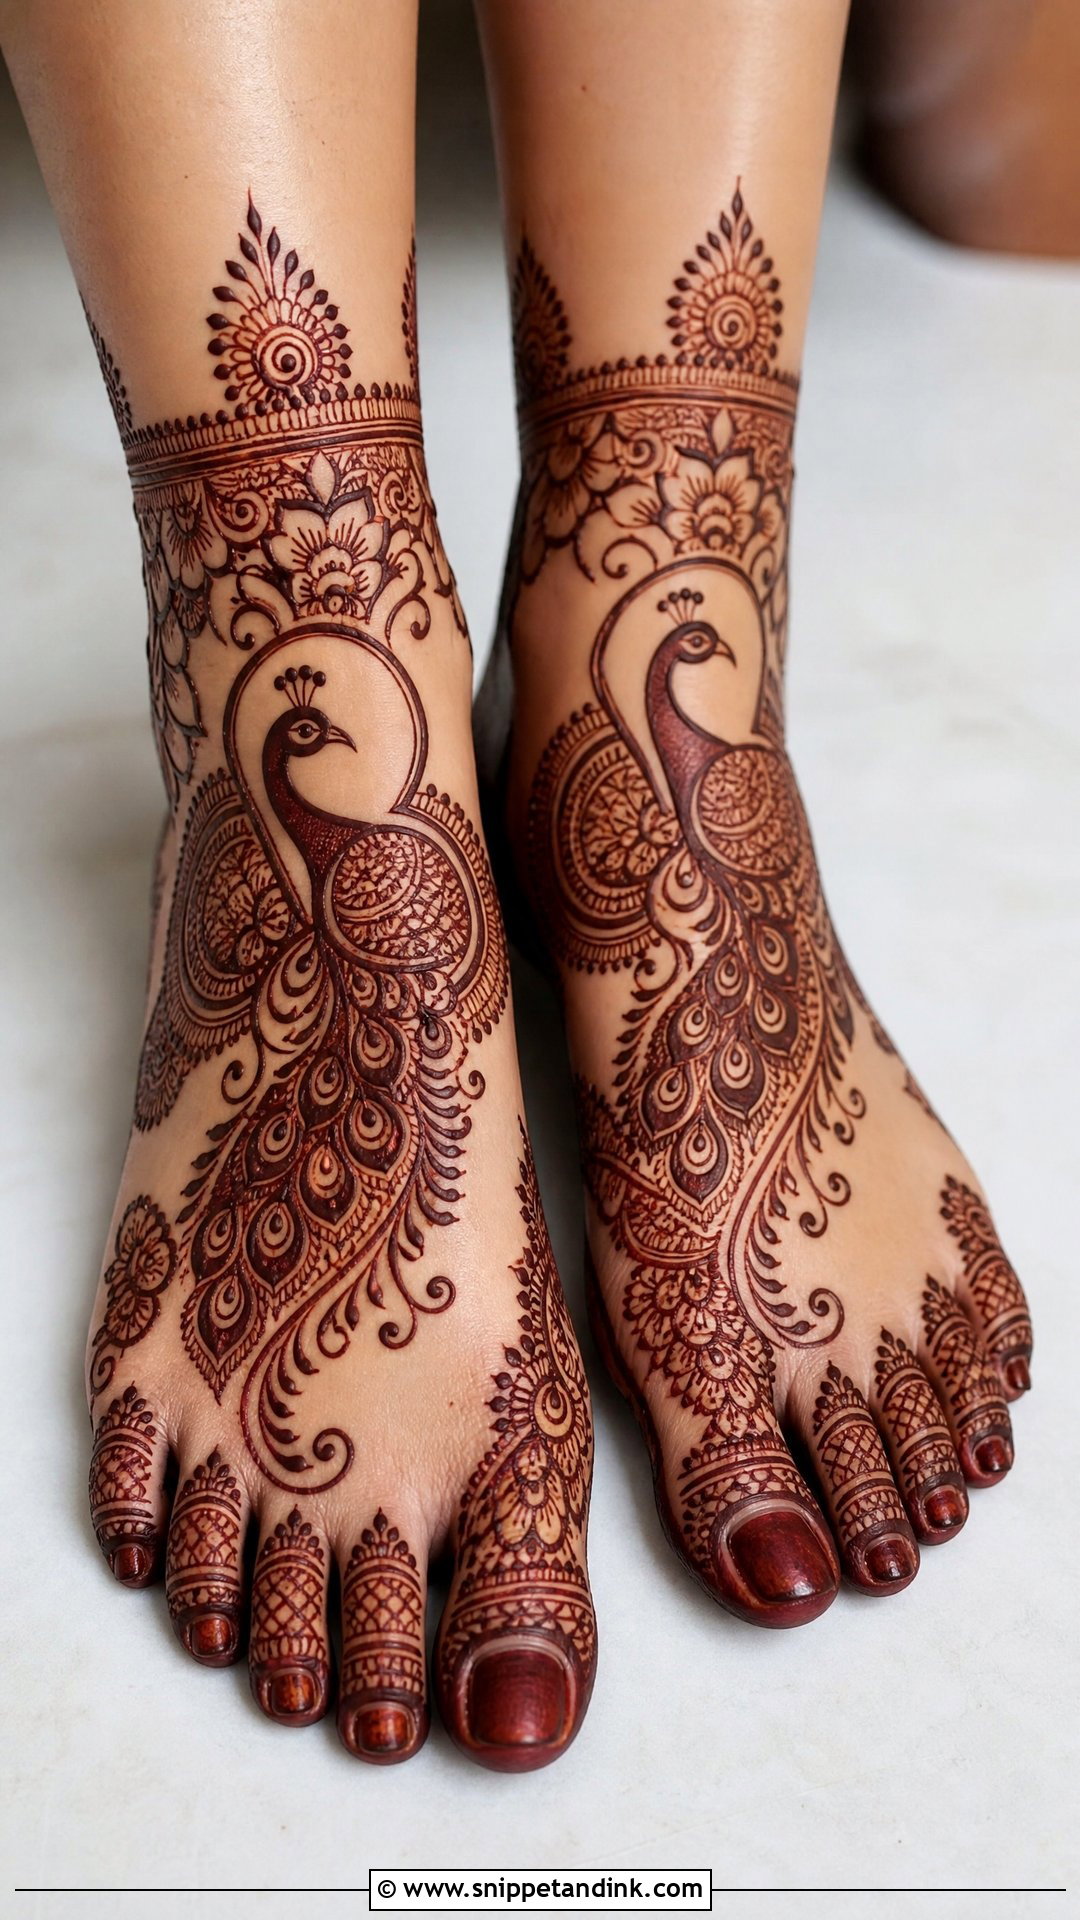
A peacock can sit on the instep, near the ankle or along the outer edge, with feathers sweeping toward the toes. It needs a steady hand because the curves are small and there’s bone right under the skin, which makes the surface uneven. I keep filler light around the bird so its outline survives. Deep maroon stain shows the feather detail best.
7. Floral Feet Mehndi Design
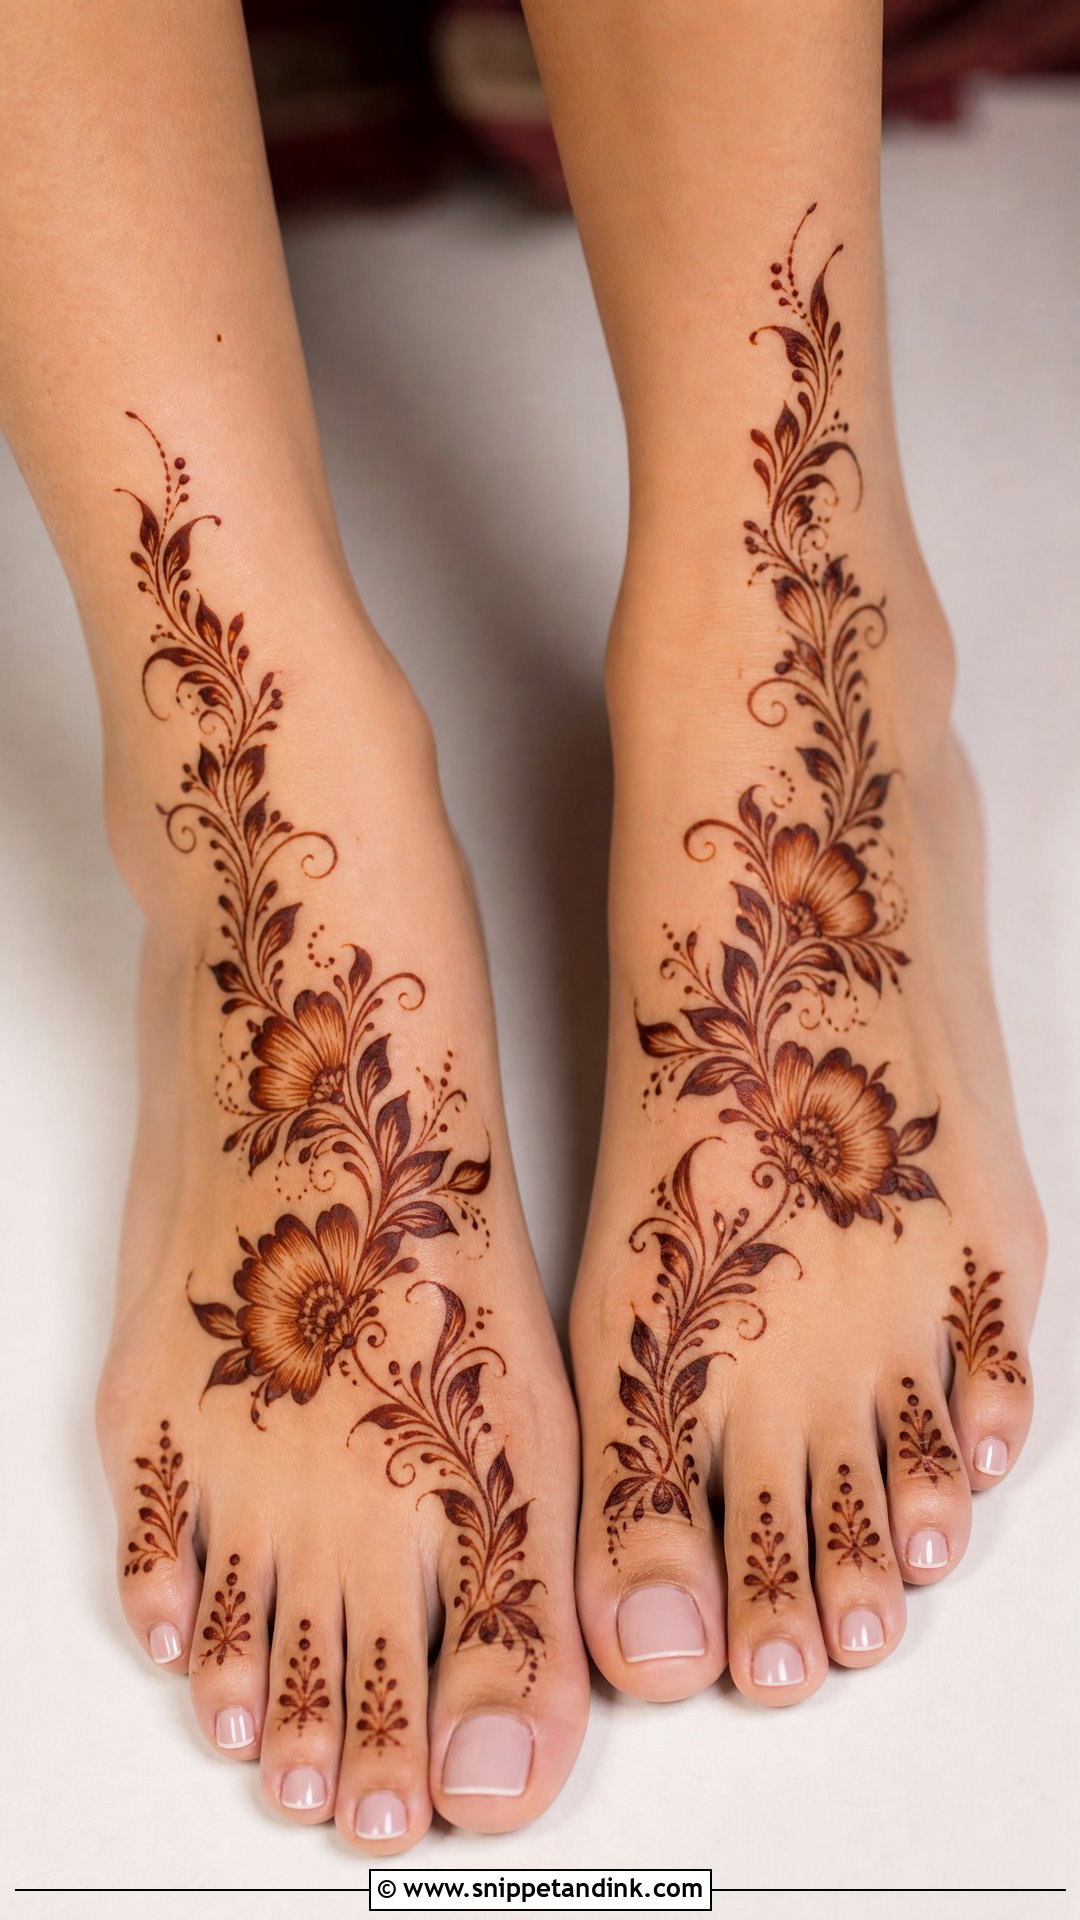
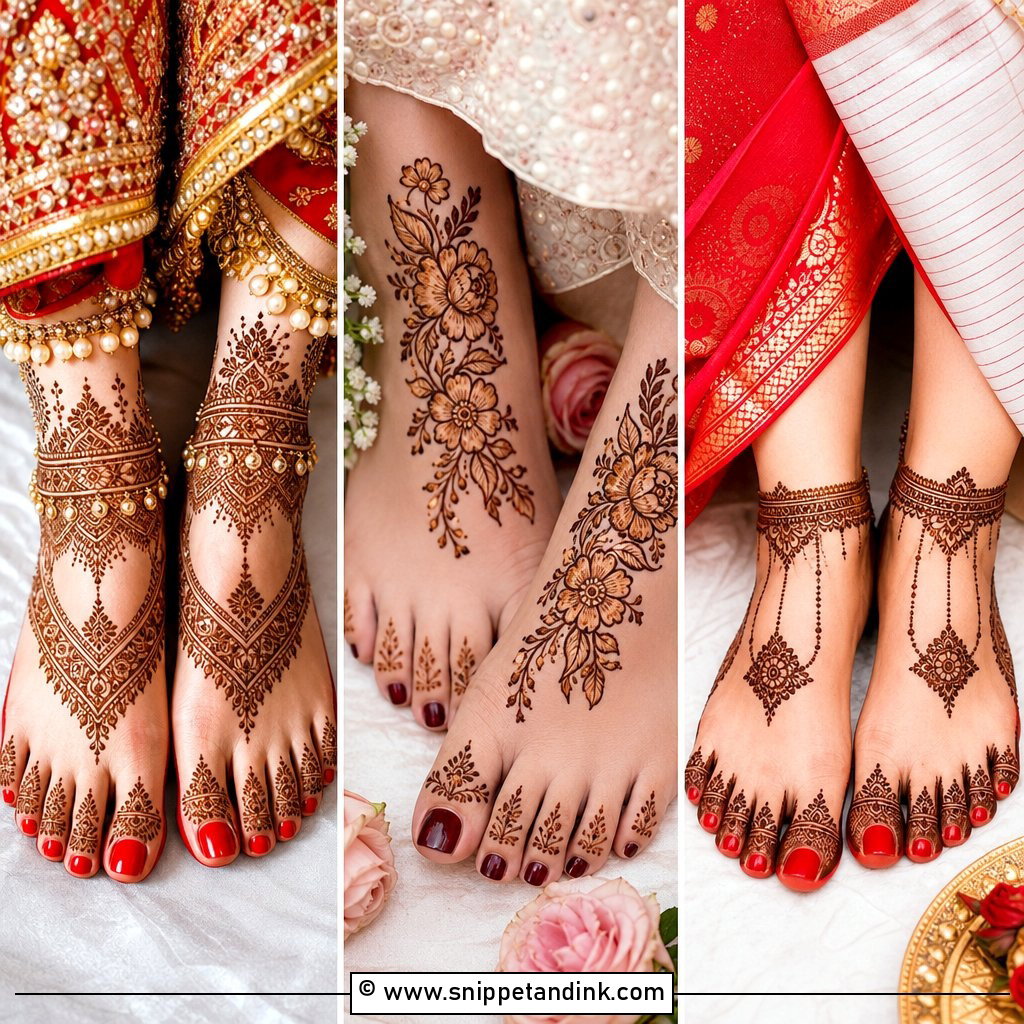
Florals are the easiest foot design to personalise. Roses, lotus petals or abstract henna flowers can be scattered in clusters or strung along a vine from toes to ankle. I shade half the petals and leave the rest open so the flowers have depth without extra density. Keep the background open for a modern look; fill it in and add borders for a bridal one.
8. Rose Feet Mehndi Design
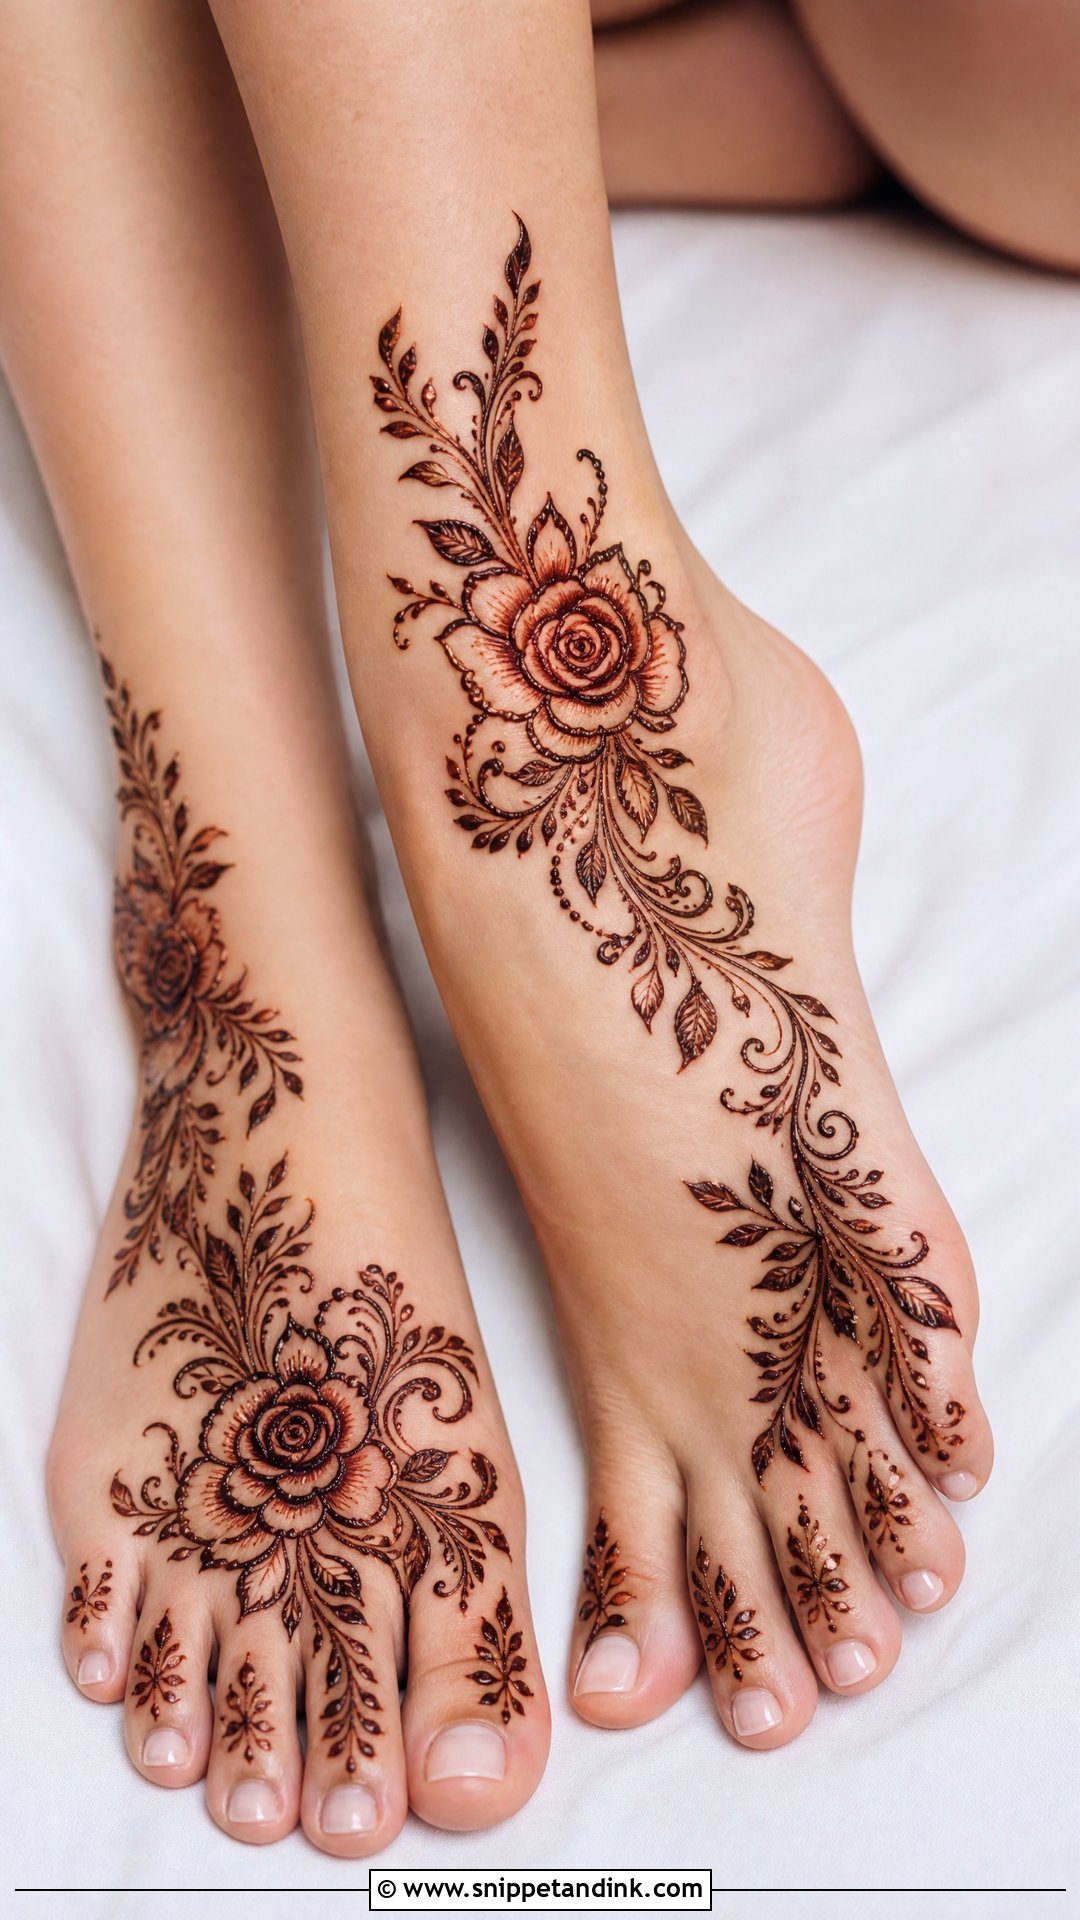
Roses work best with space around them. A dense background swallows the curled petals once the stain darkens. I place them at the centre of the foot, along the side or as a floral anklet, with leafy branches and light shading. Small toe vines stop the design looking unfinished. Engagements and Eid both suit this one.
9. Lotus Feet Mehndi Design
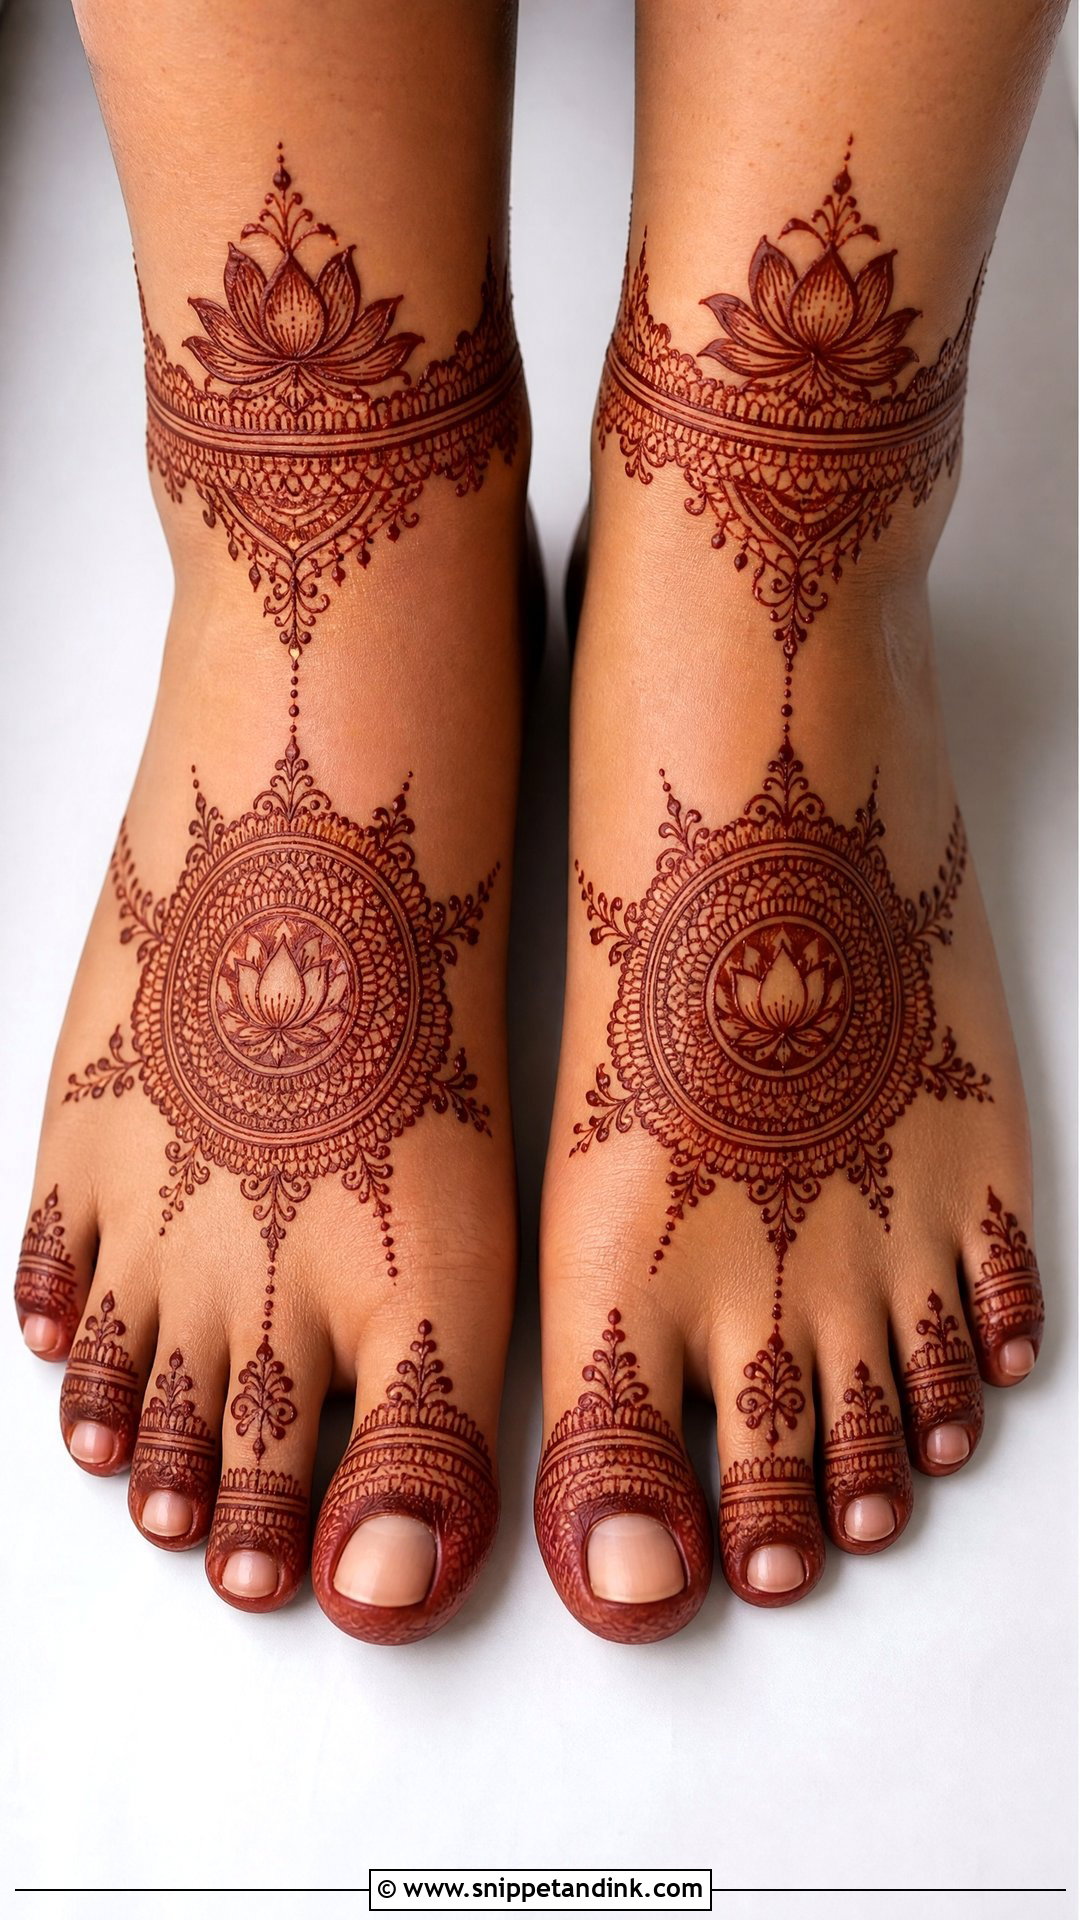
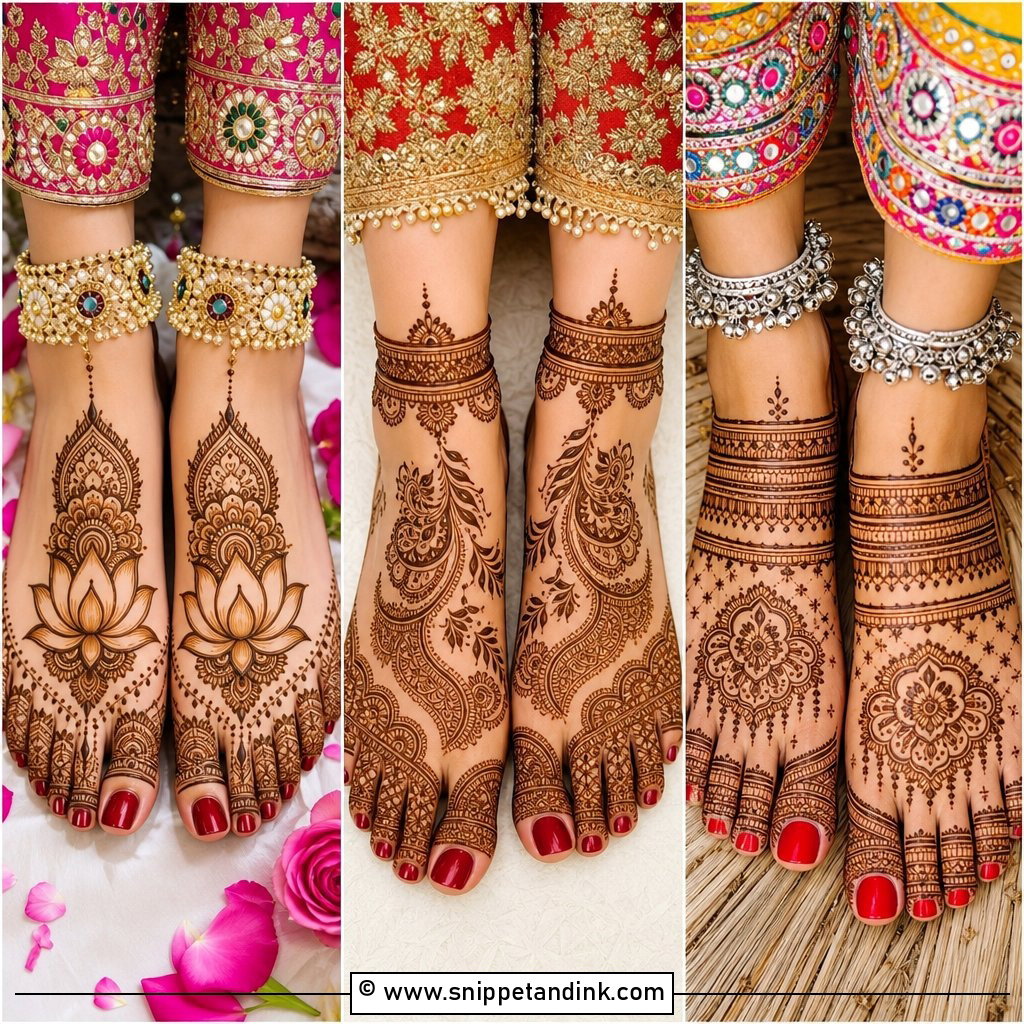
Lotus motifs open naturally toward the toes when placed on the instep. One large lotus with simple toe accents gives a clean version; layered petals, side vines and anklet bands make it bridal. I suggest lotus often for pujas and temple ceremonies, partly for the meaning and partly because the shape stays legible even after a day of walking.
10. Jaali Feet Mehndi Design
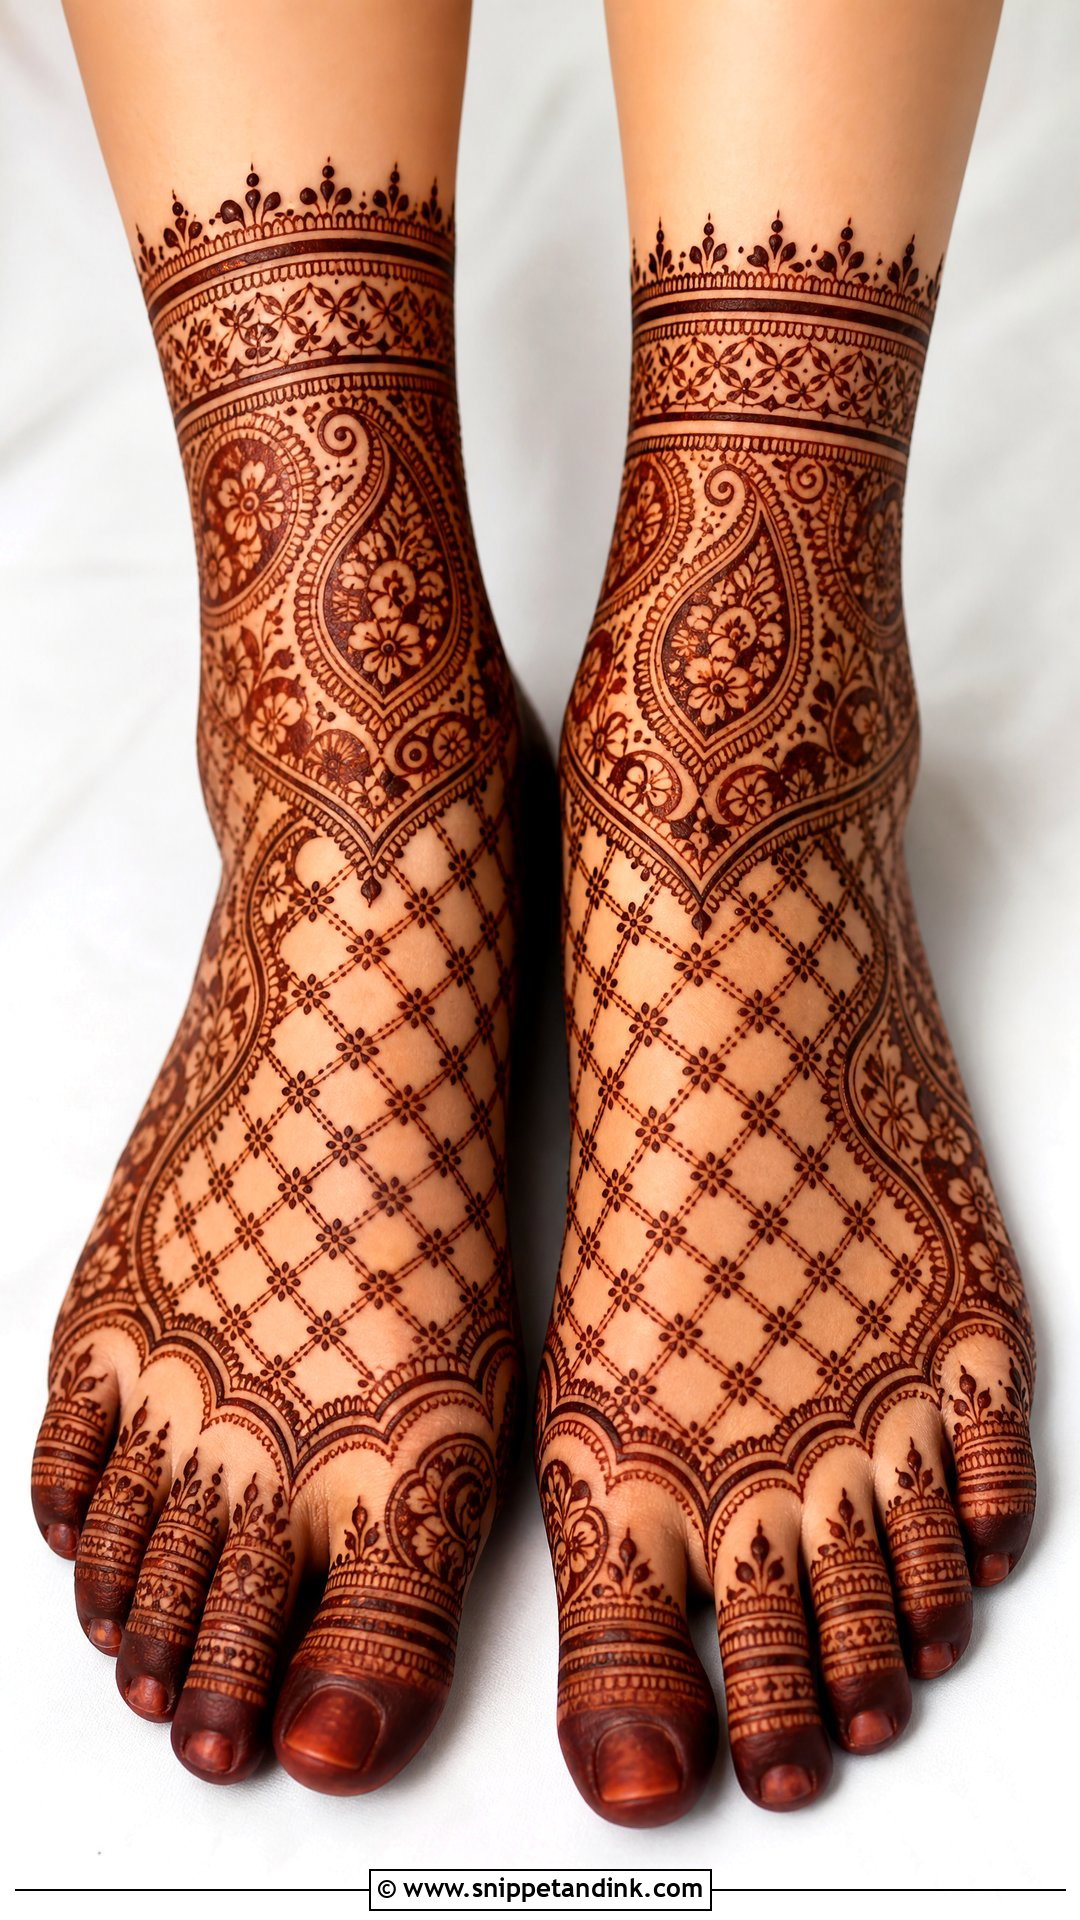
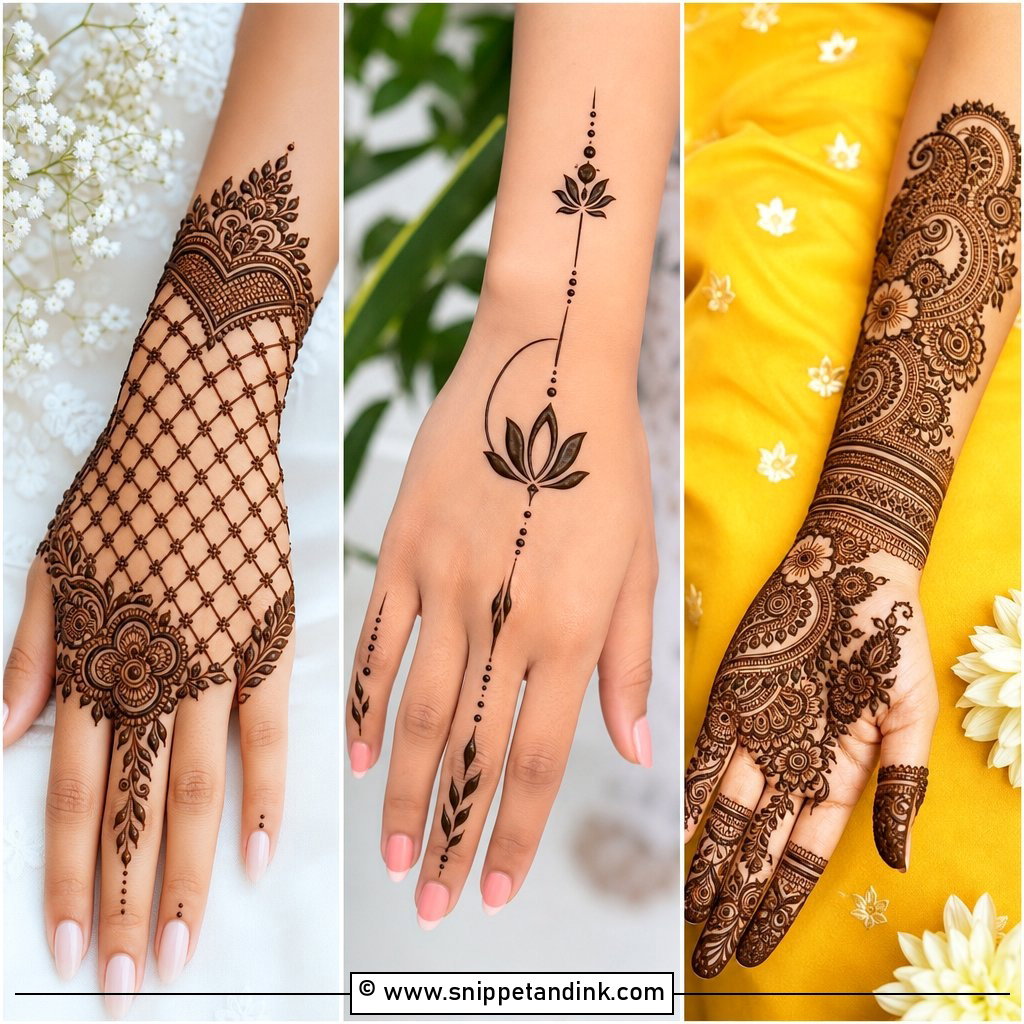
Jaali on the foot reads like a fine net sock, and the grid bends with the arch in a way that looks almost woven. The catch is that mesh needs even lines, and the bony instep makes that harder than on a palm. I keep the grid slightly wider on feet so the stain stays crisp. Small flowers or paisley borders soften the geometry.
11. Moroccan Feet Mehndi Design
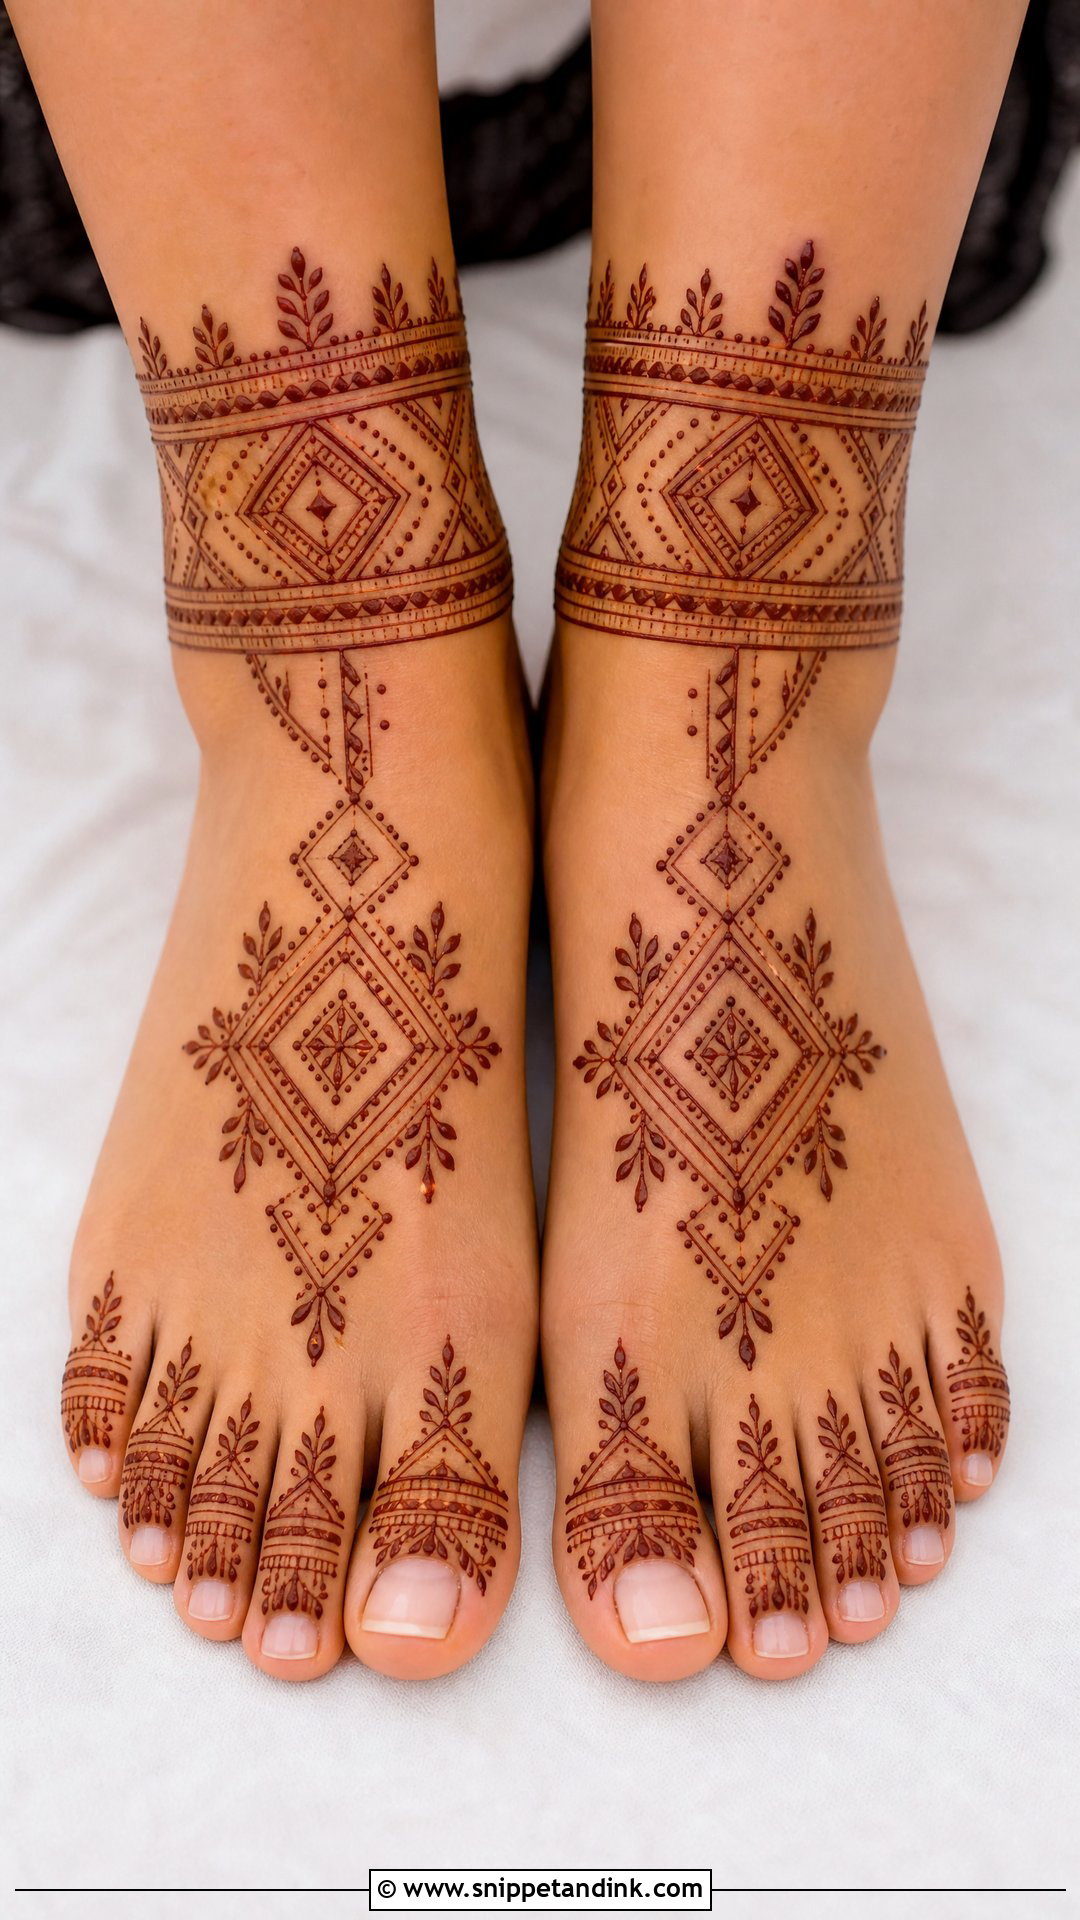
Moroccan work trades florals for diamonds, triangles, grids and straight bands. Across the instep or wrapped around the ankle like a cuff, it looks sharp and very different from Indian bridal styles. Straight lines on a curved foot are tricky, so I map the main bands lightly before committing. A few dots near the toes keep it from feeling severe.
12. Anklet Feet Mehndi Design
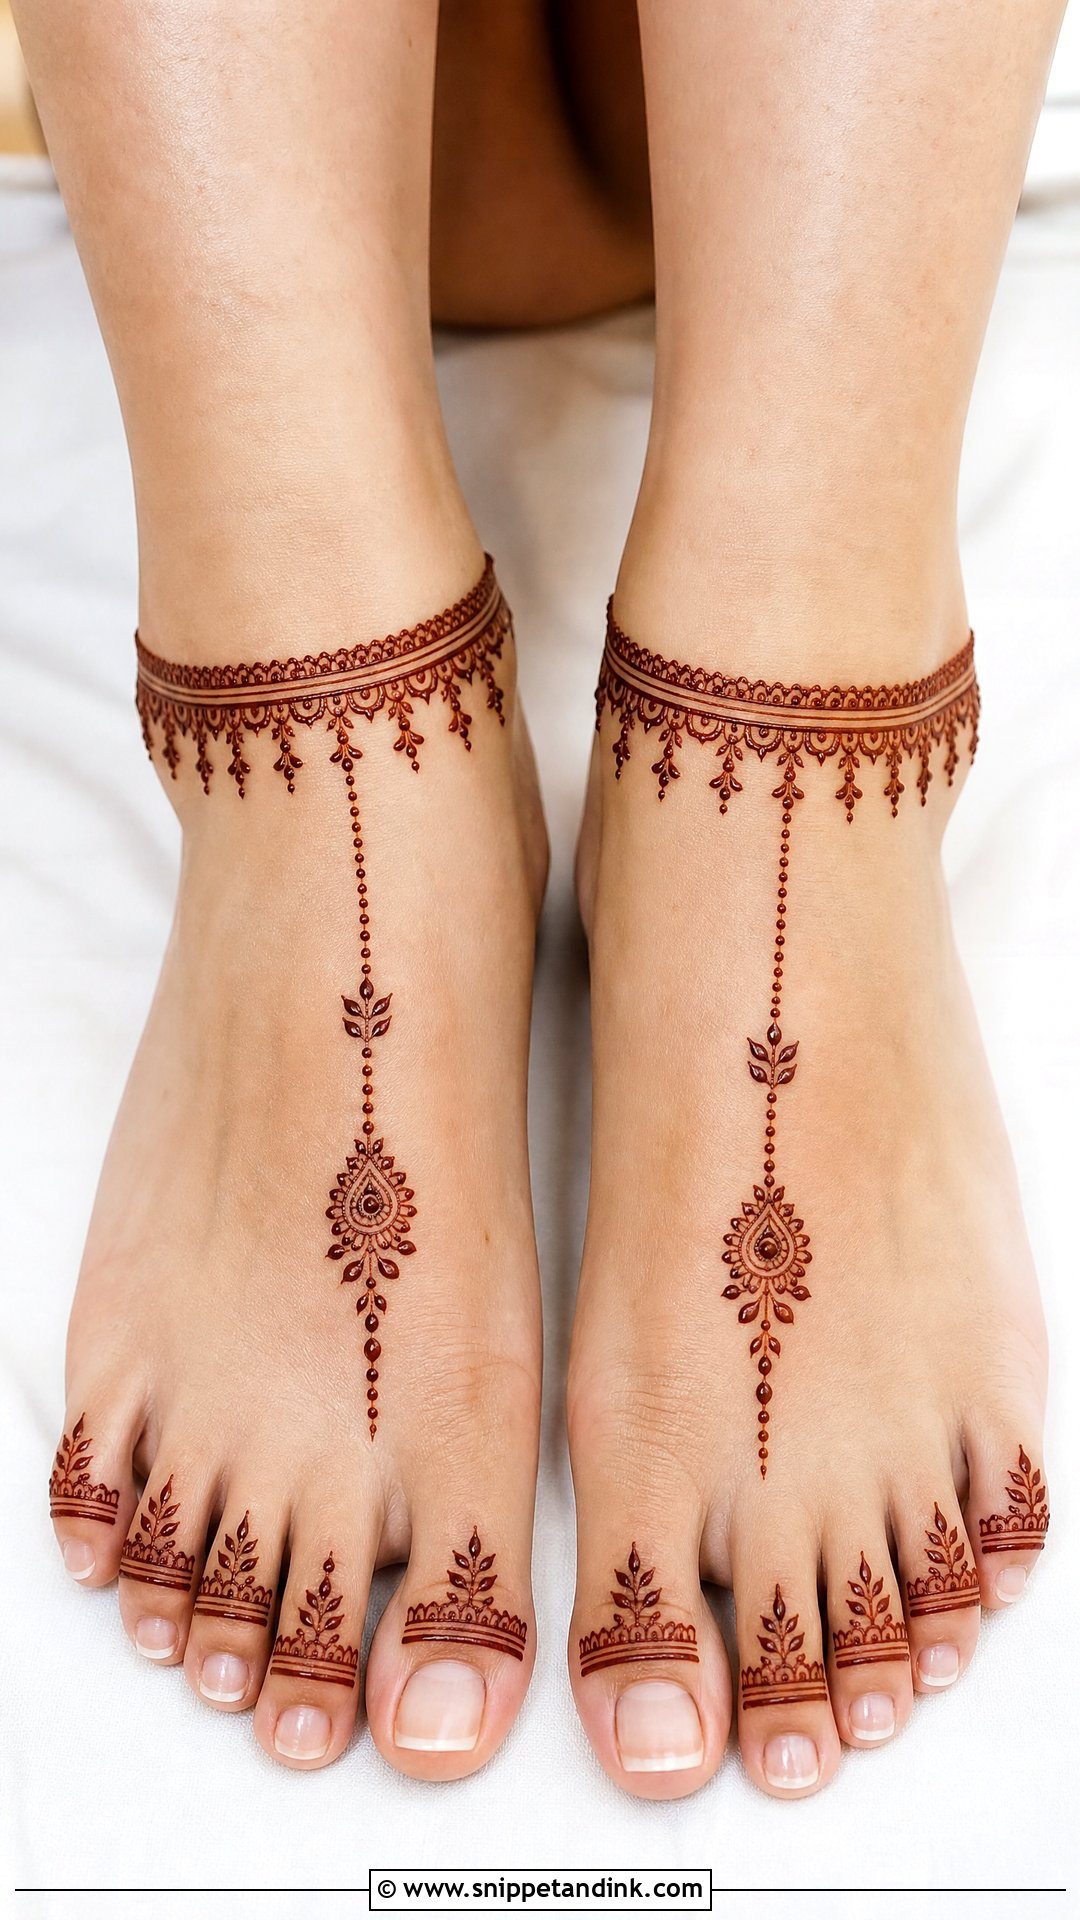
An anklet design draws jewellery on skin: a band at the ankle with hanging chains, beads and a charm dropping toward the foot. I place the band just above the ankle bone, never on it, because the bone stretches the skin and distorts the circle. Thin and delicate for a guest; thicker with jaali or paisley filling for a bride.
13. Payal Feet Mehndi Design
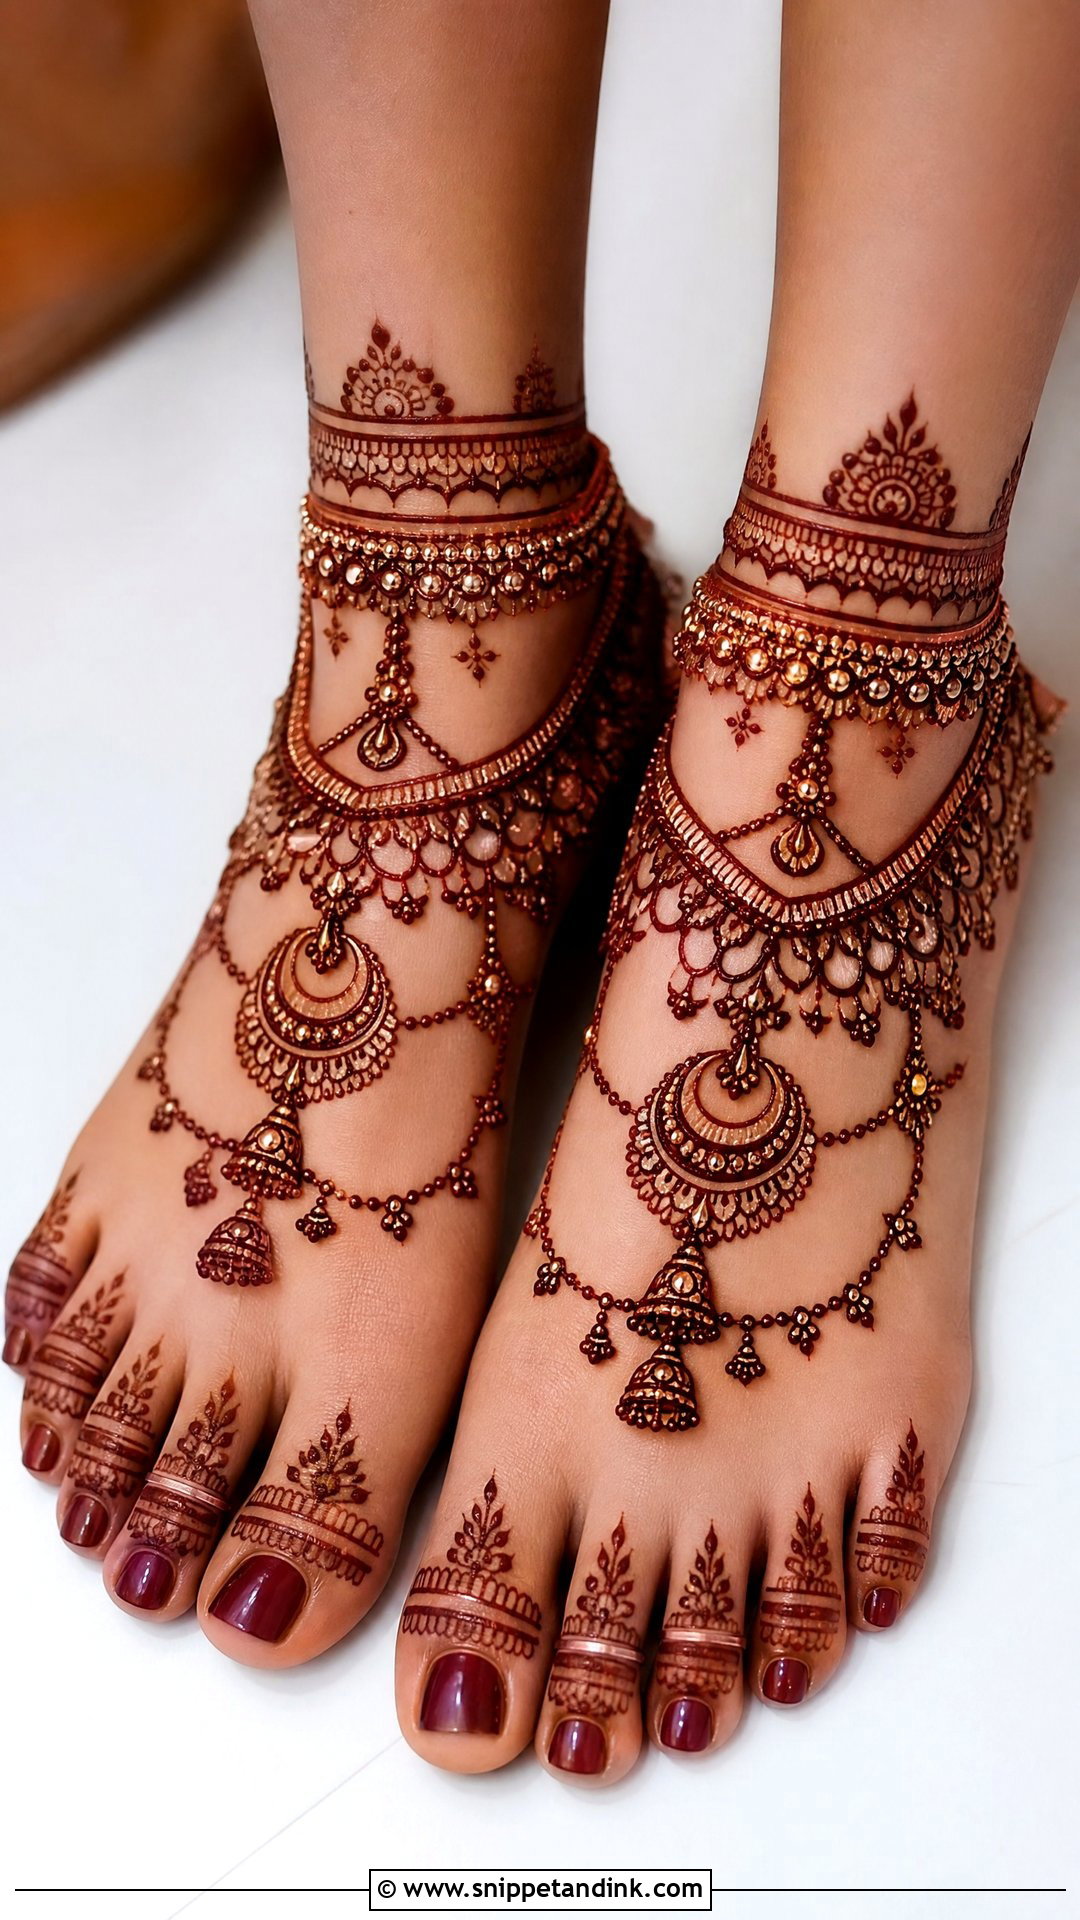
Payal feet mehndi design imitates a traditional anklet with layered bands, bead dots, bell shapes and hanging motifs. It can stay at the ankle or drop a pendant line down the centre of the foot. Evenly spaced bands are what make it convincing. If you’ll wear real payal over it, tell your artist so the drawn bands sit just below the metal and both show.
14. Side Feet Mehndi Design
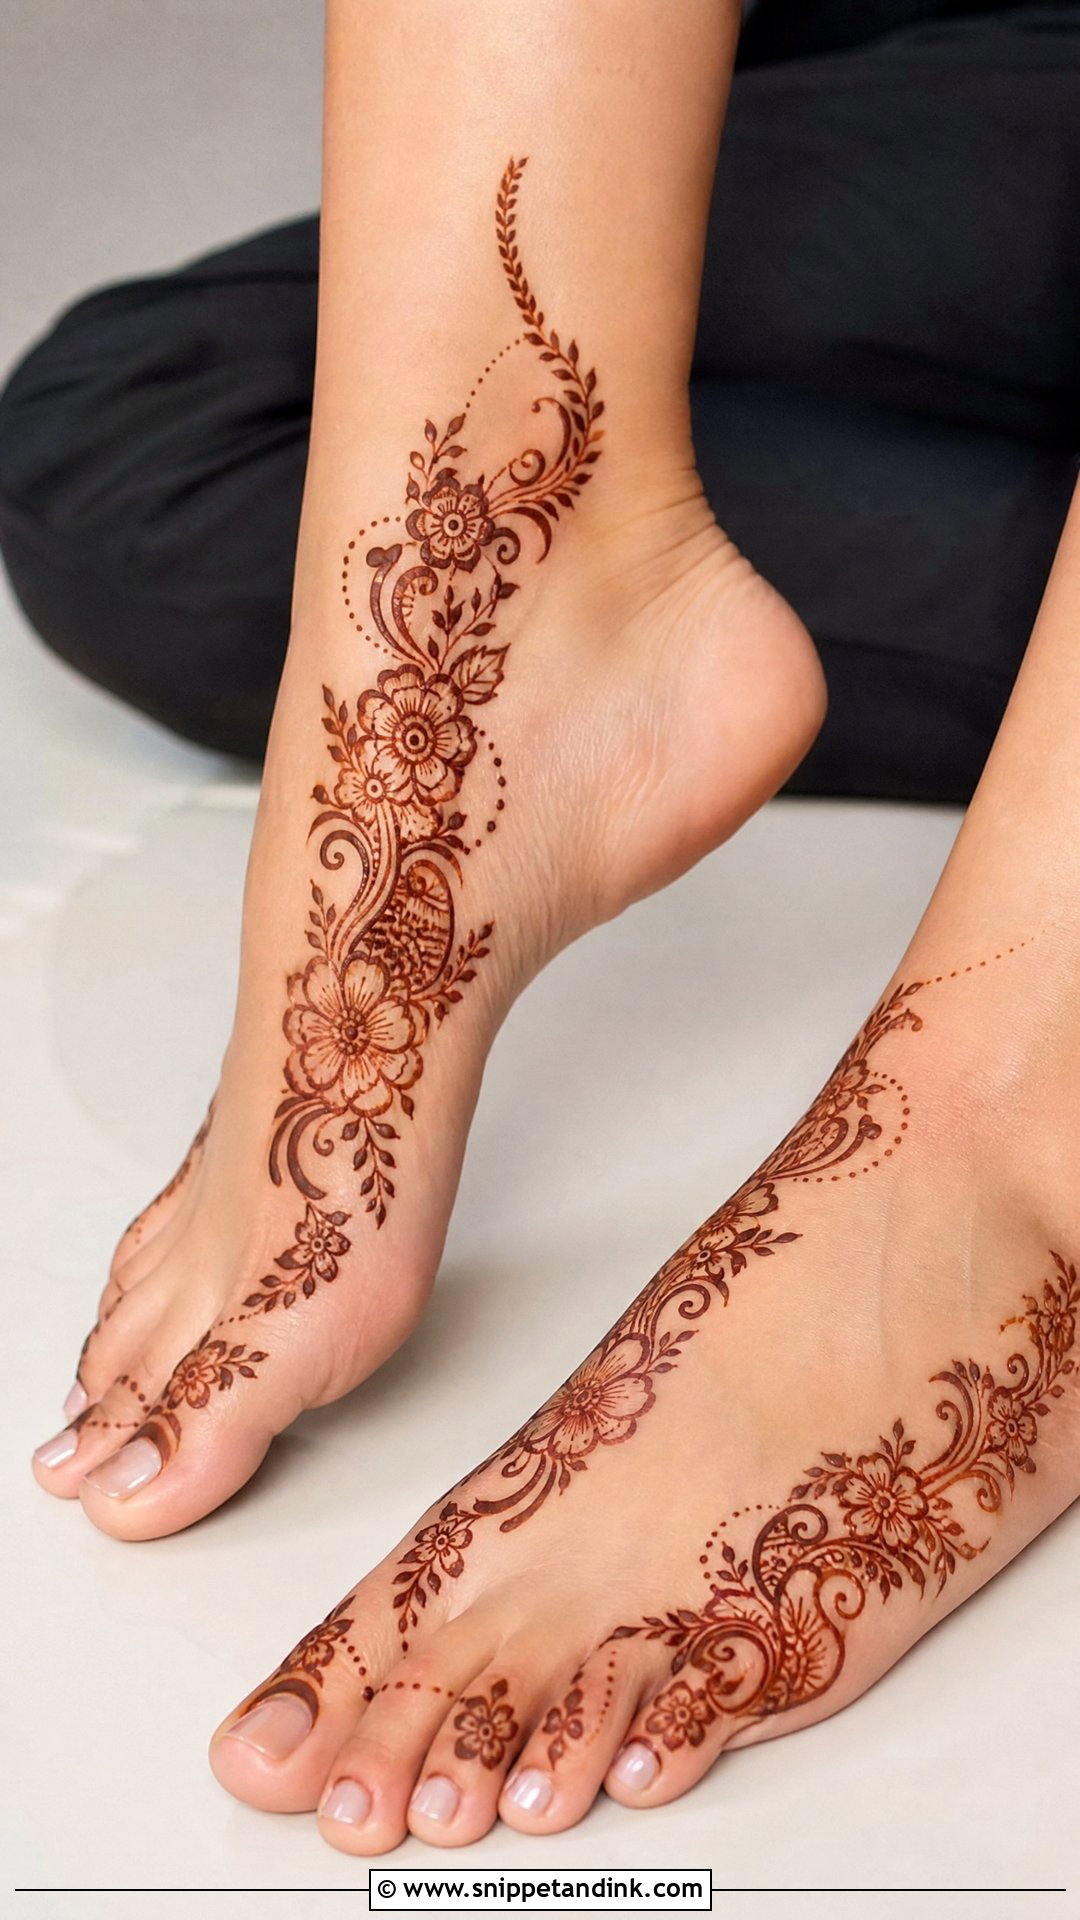
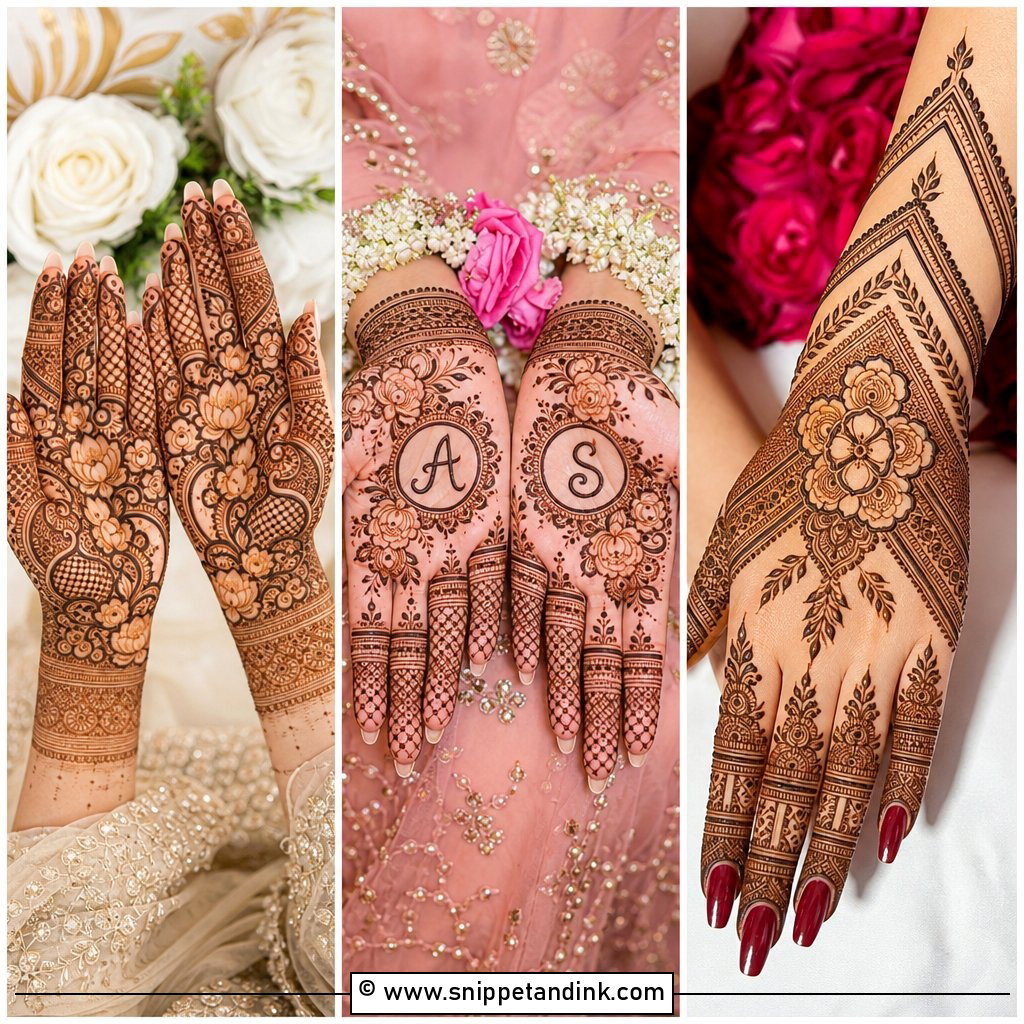
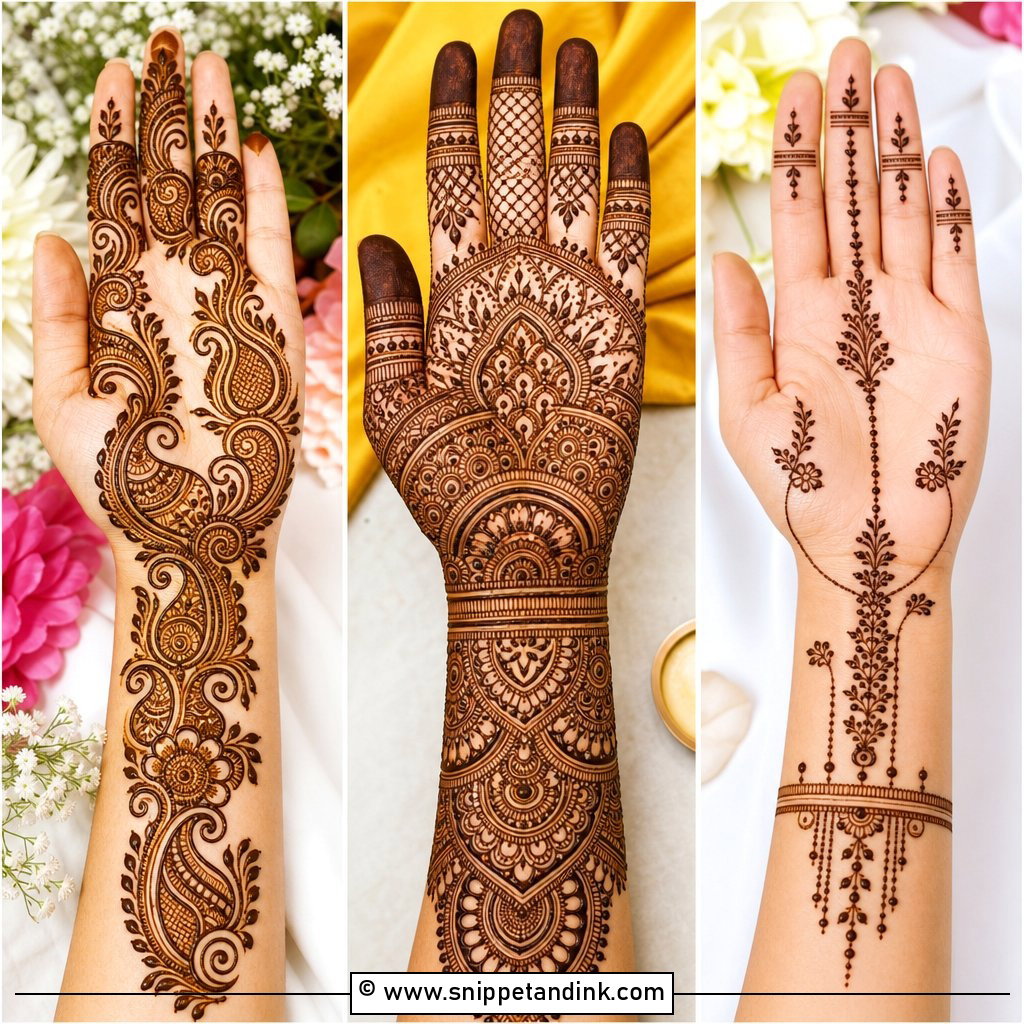
A side design runs along the outer edge of the foot from the little toe toward the ankle. It shows beautifully in open sandals because it follows the foot’s natural curve, and the top stays bare. One practical warning: the outer edge rubs against straps and shoe sides, so I keep heavy detail on the upper edge rather than right where the sole meets the shoe.
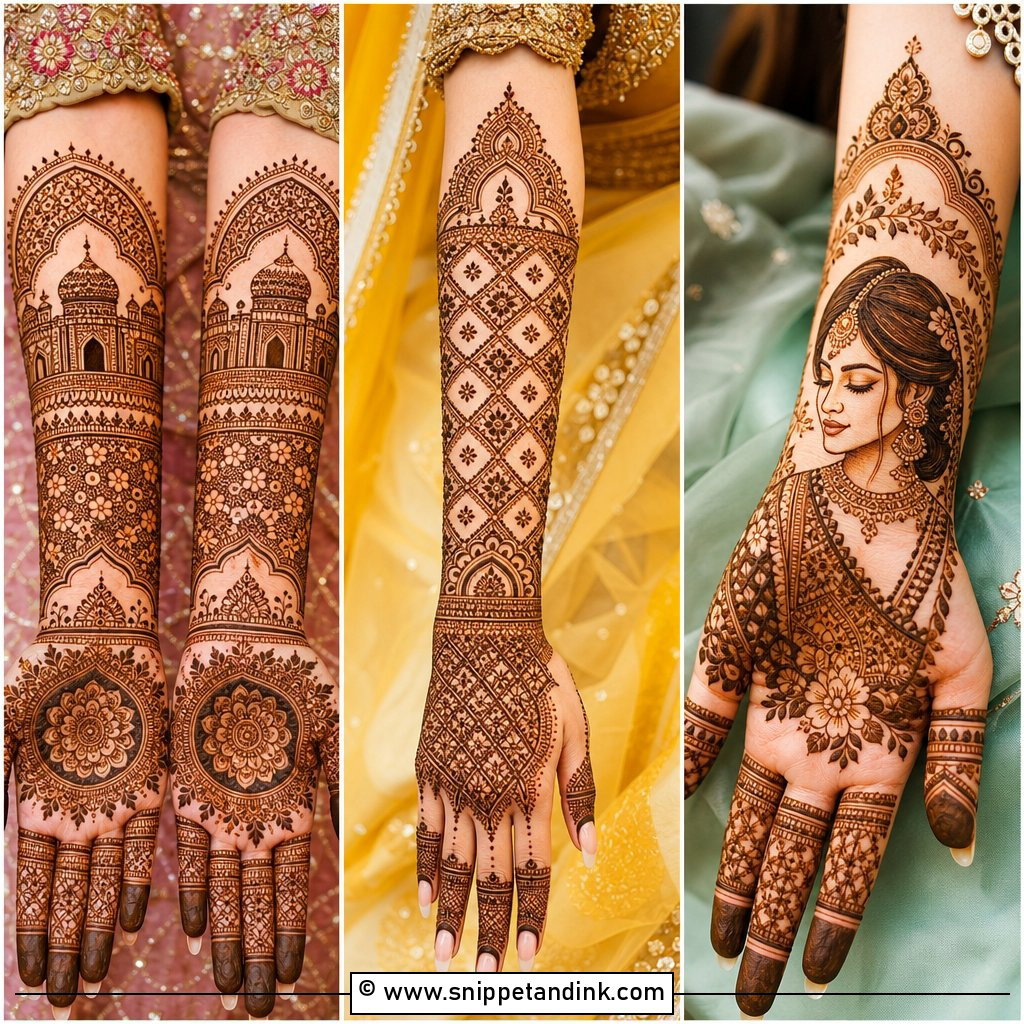
15. Front Feet Mehndi Design
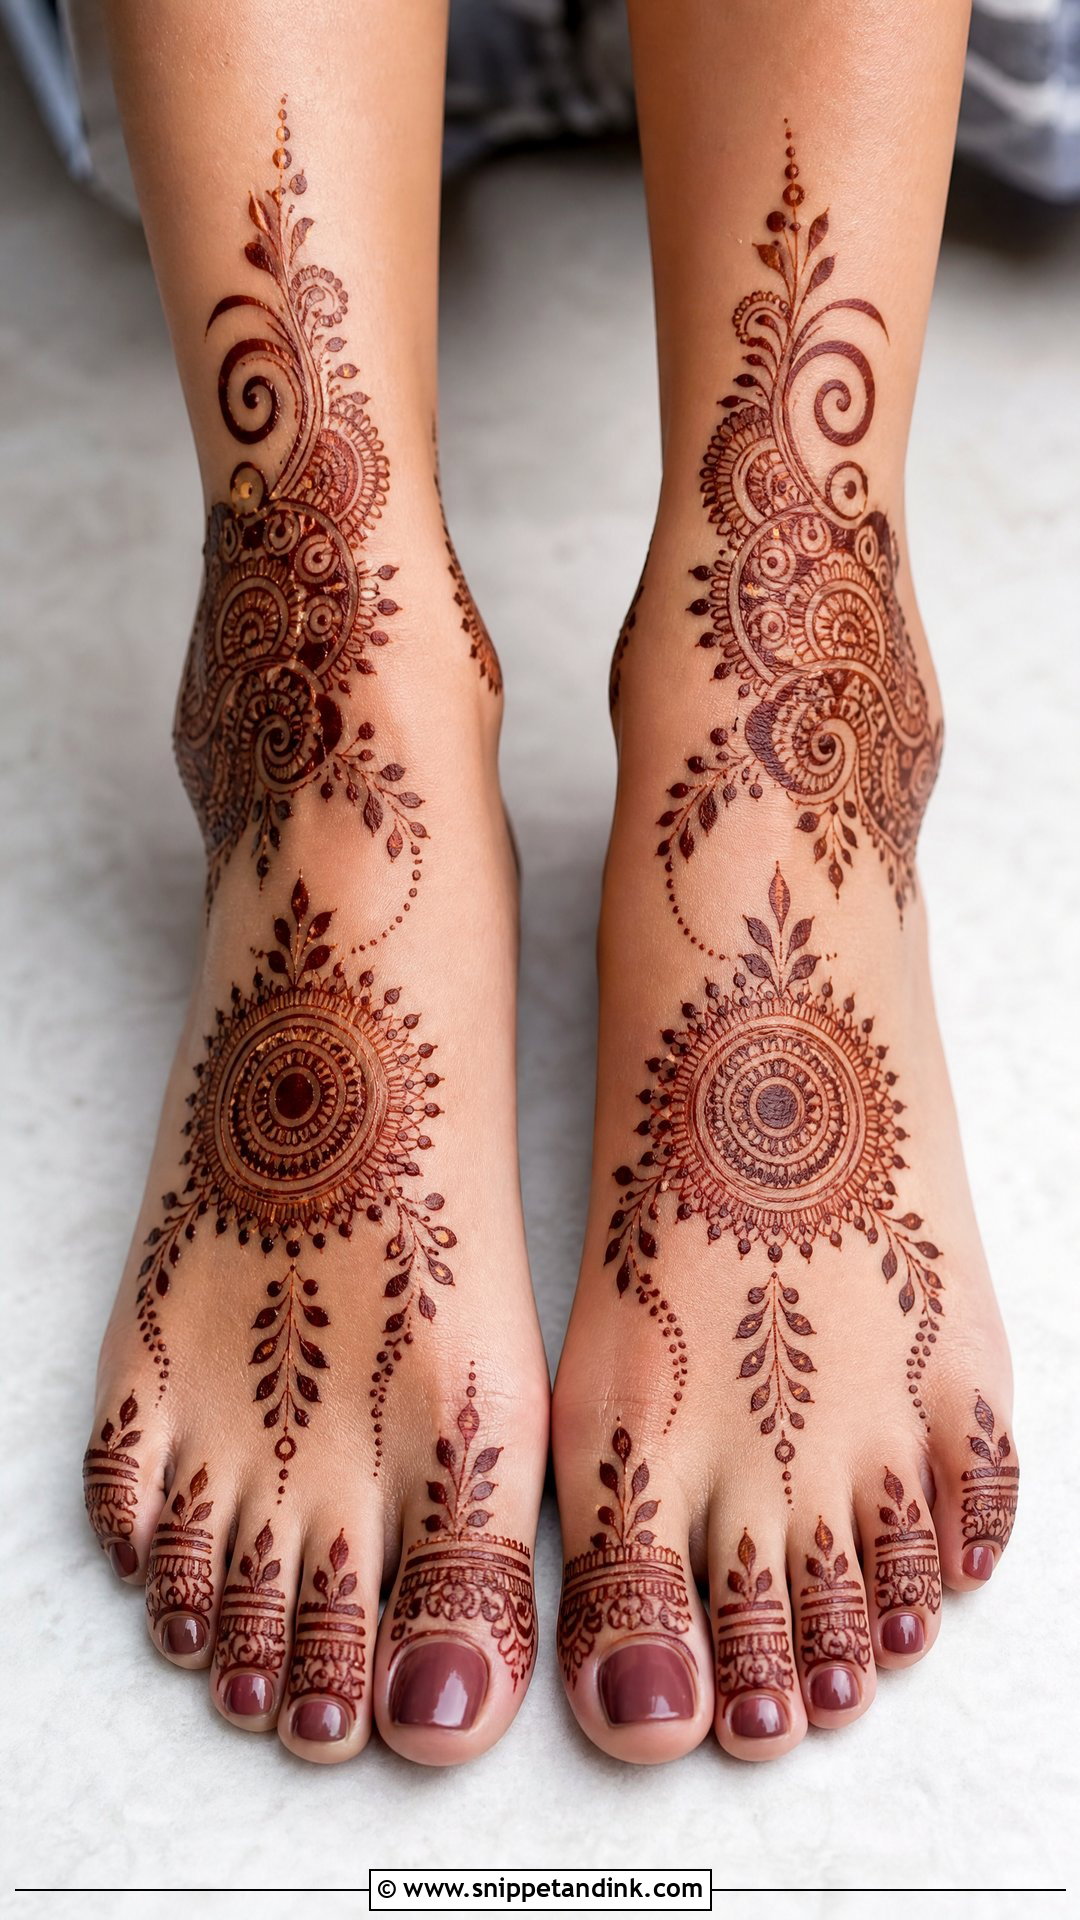
A front feet mehndi design covers the visible top of the foot from toes to ankle and is the layout I’m asked for most, simply because it’s what shows in sandals and photos. A mandala, floral trail or jaali panel sits in the middle, framed by toe bands. Keep the centre open for festive wear; fill it and add an ankle extension for a bride.
16. Toe Ring Feet Mehndi Design
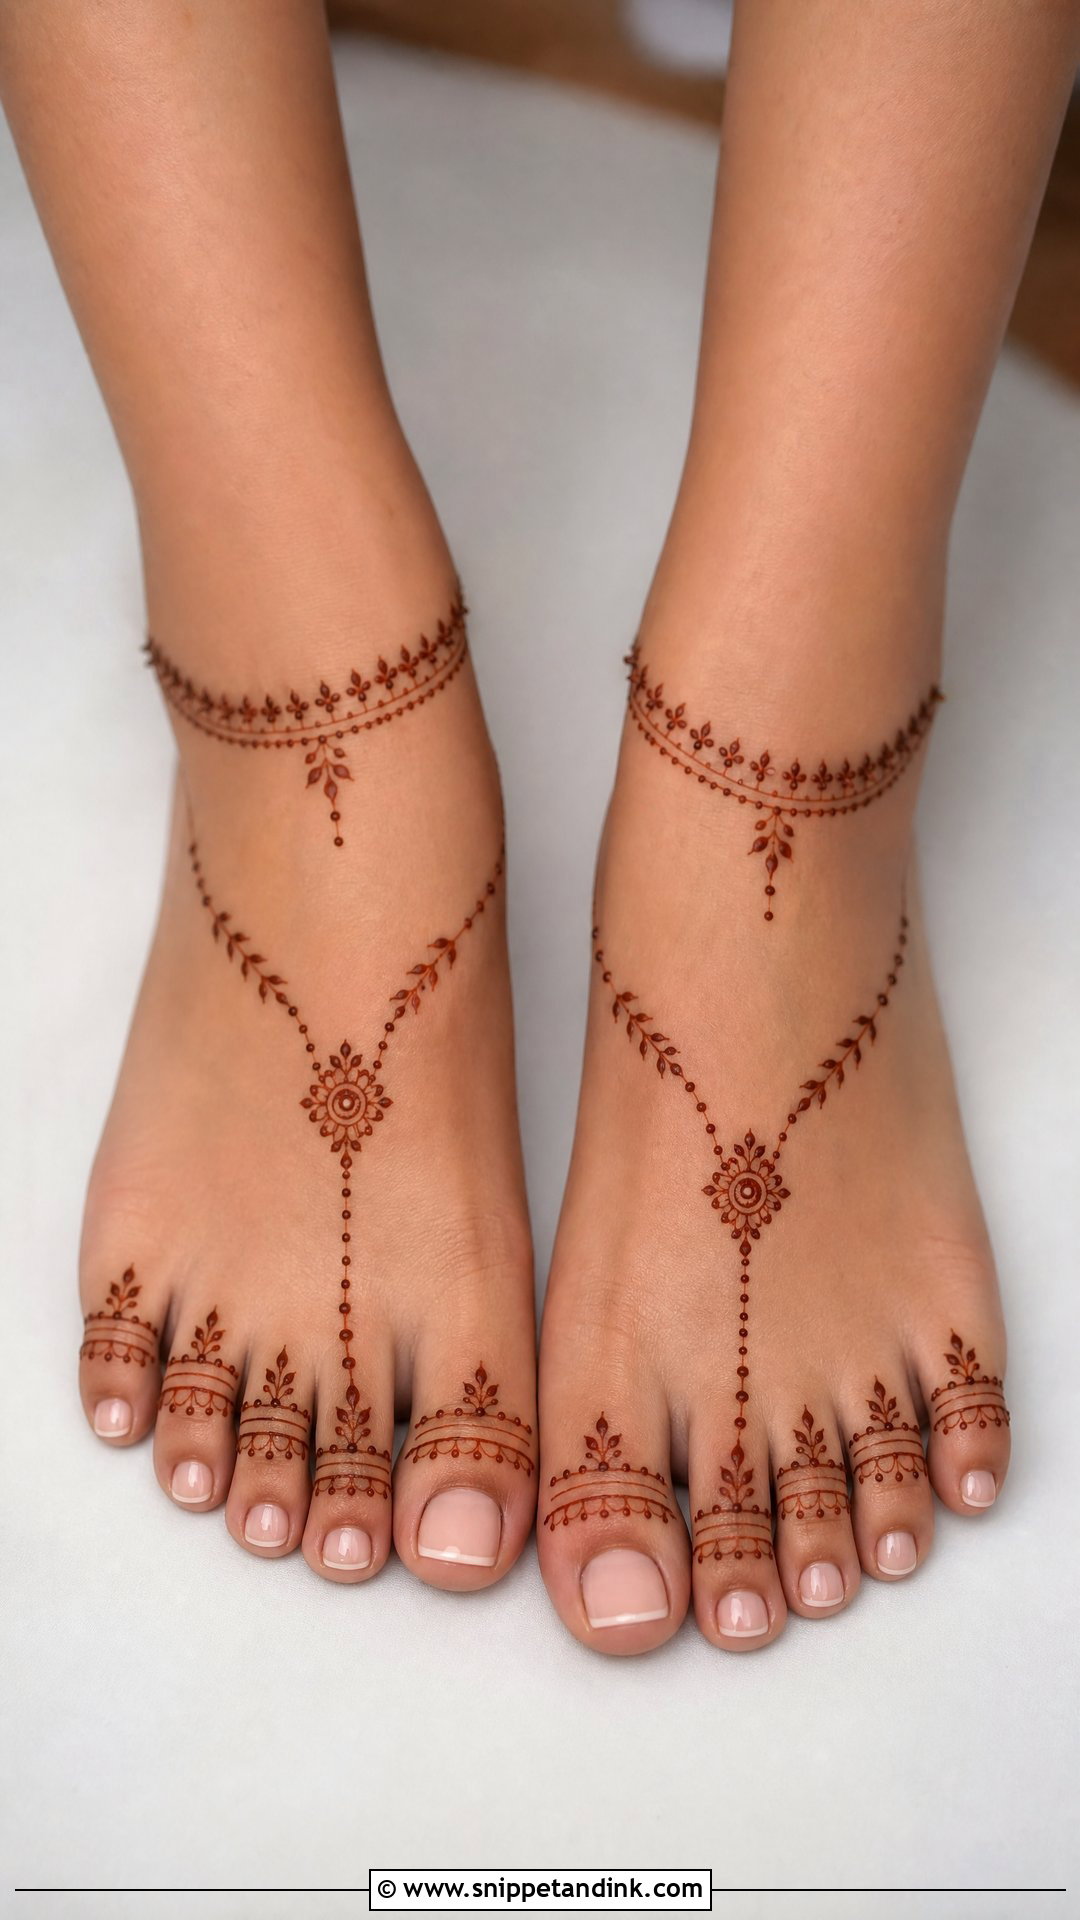
Small circles and chains around the toes imitate bichhiya, the traditional toe rings, linked to the top of the foot by dots and tiny leaves. It’s quick and suits beach weddings and open footwear. Toes have very little flat skin, so neat placement is everything. A small centre motif on the instep stops the toes looking like the only thing done.
17. Minimal Feet Mehndi Design
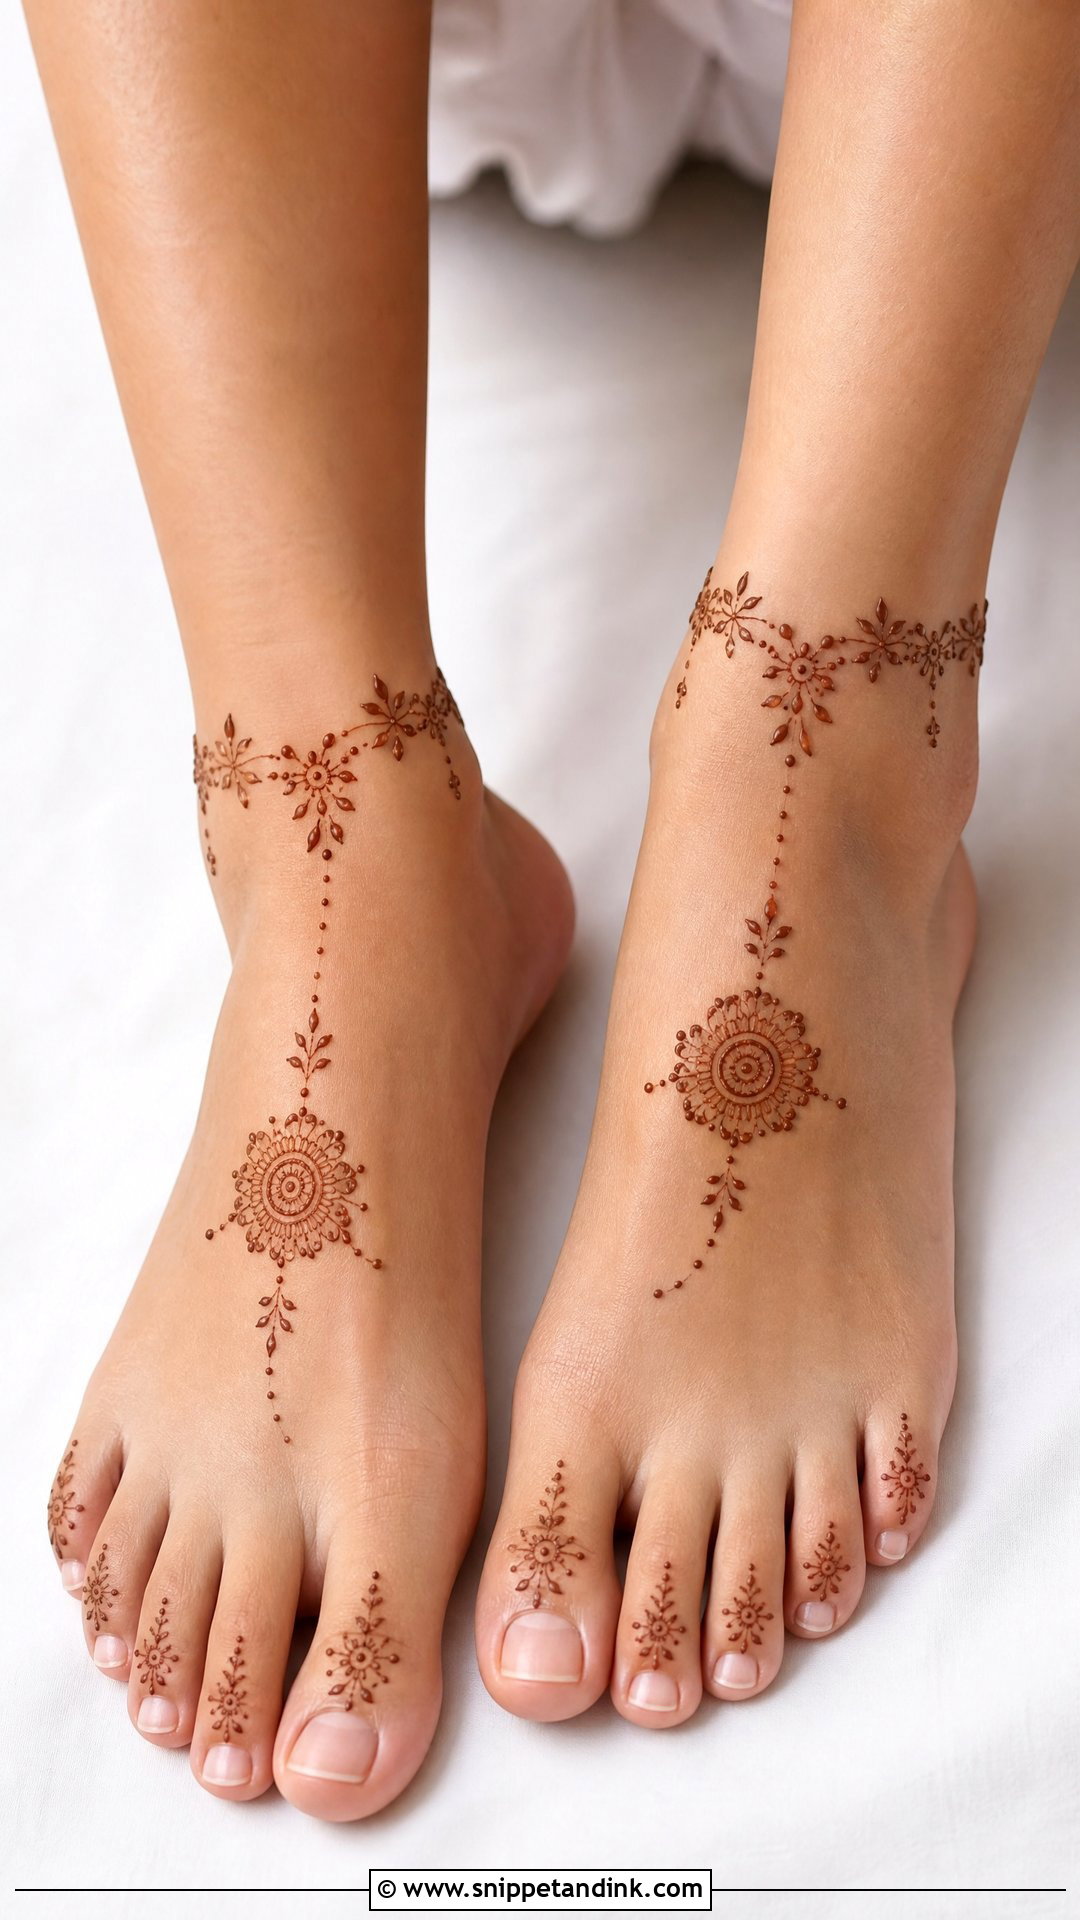
A minimal foot design picks one area, say a tiny mandala, a single trail or a slim ankle band, and connects it lightly to the toes. It dries quickly and suits anyone who’ll be back in closed shoes at work the next day. With so little on the foot, uneven lines show at once, so I take more time per stroke here, not less.
18. Heavy Feet Mehndi Design
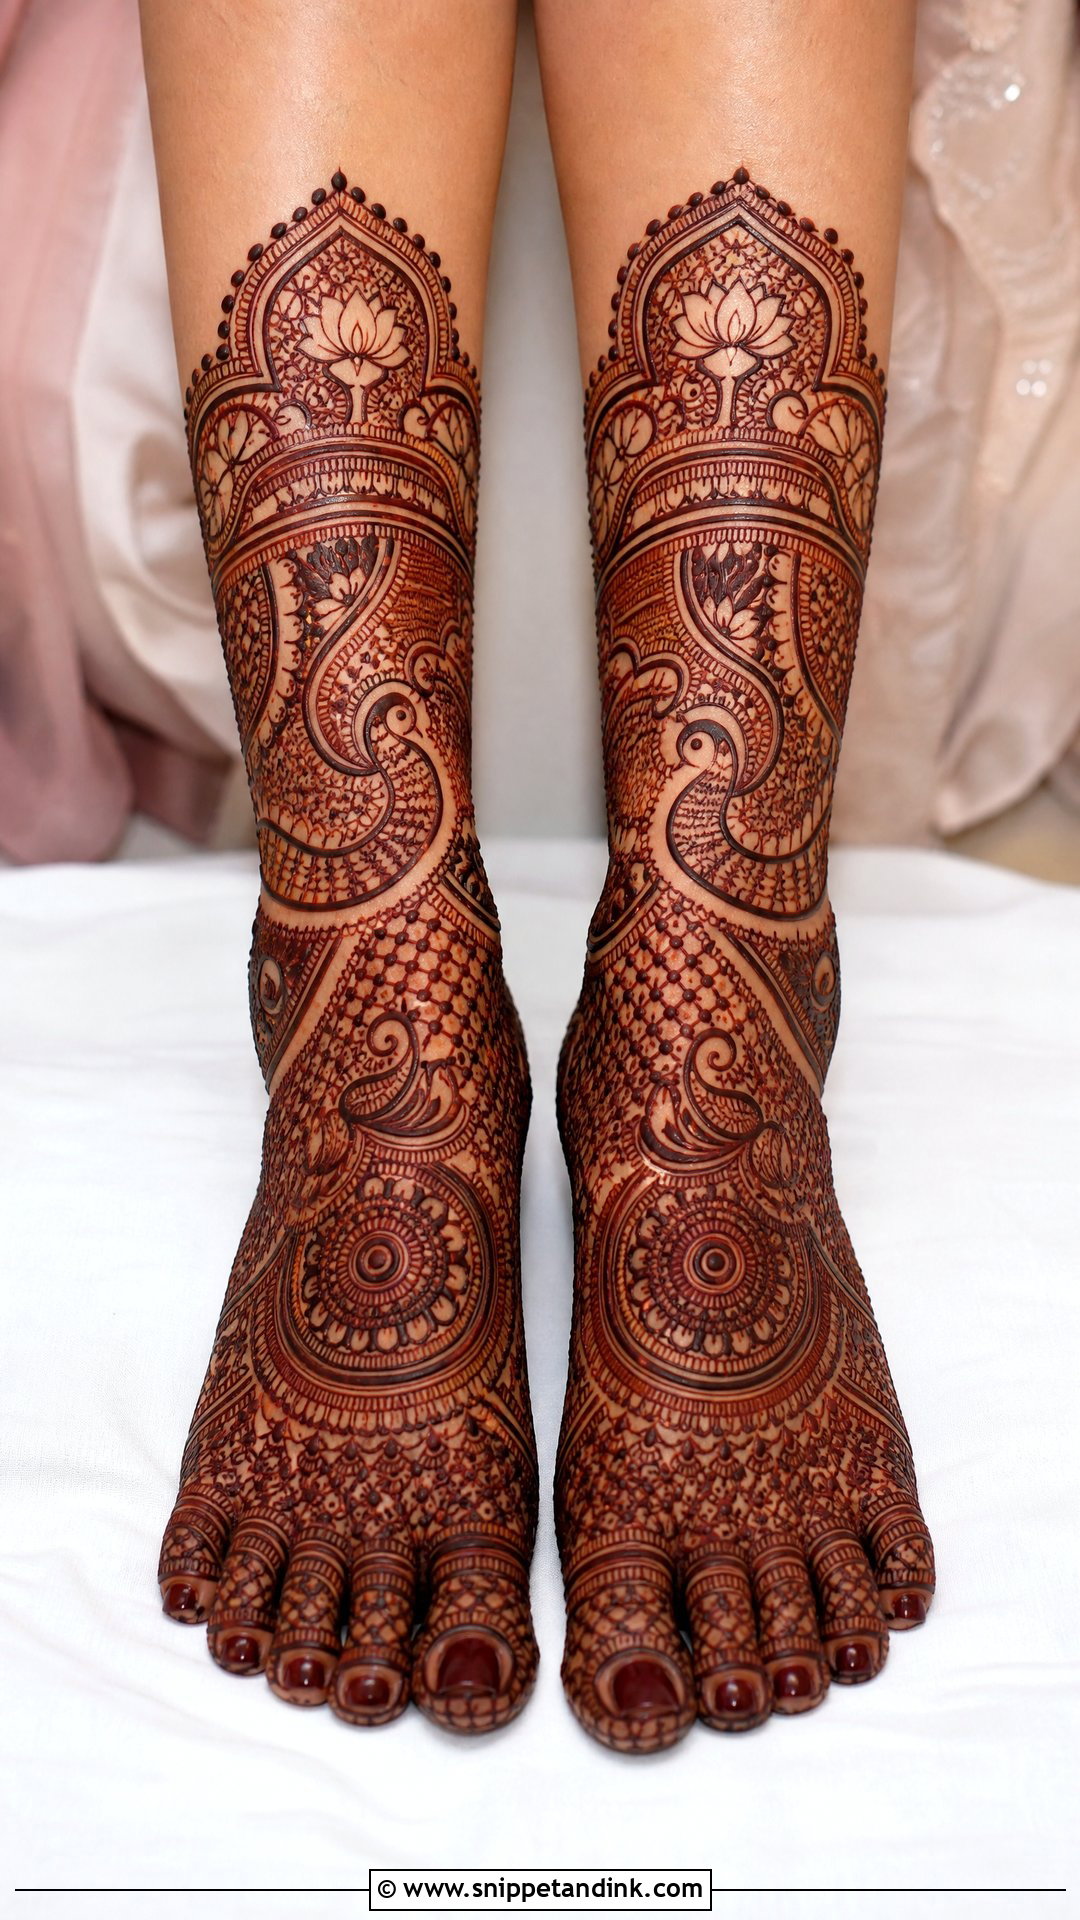
Heavy coverage fills the top of the foot, toes and ankles and can climb the shin, with peacocks, paisleys and jaali in layered borders. I plan it in clear sections so the eye can follow it, and leave small gaps so the deep stain doesn’t merge. It takes the longest of any foot design to dry, and you can’t stand on it in the meantime, so plan the evening around that.
19. Half Feet Mehndi Design
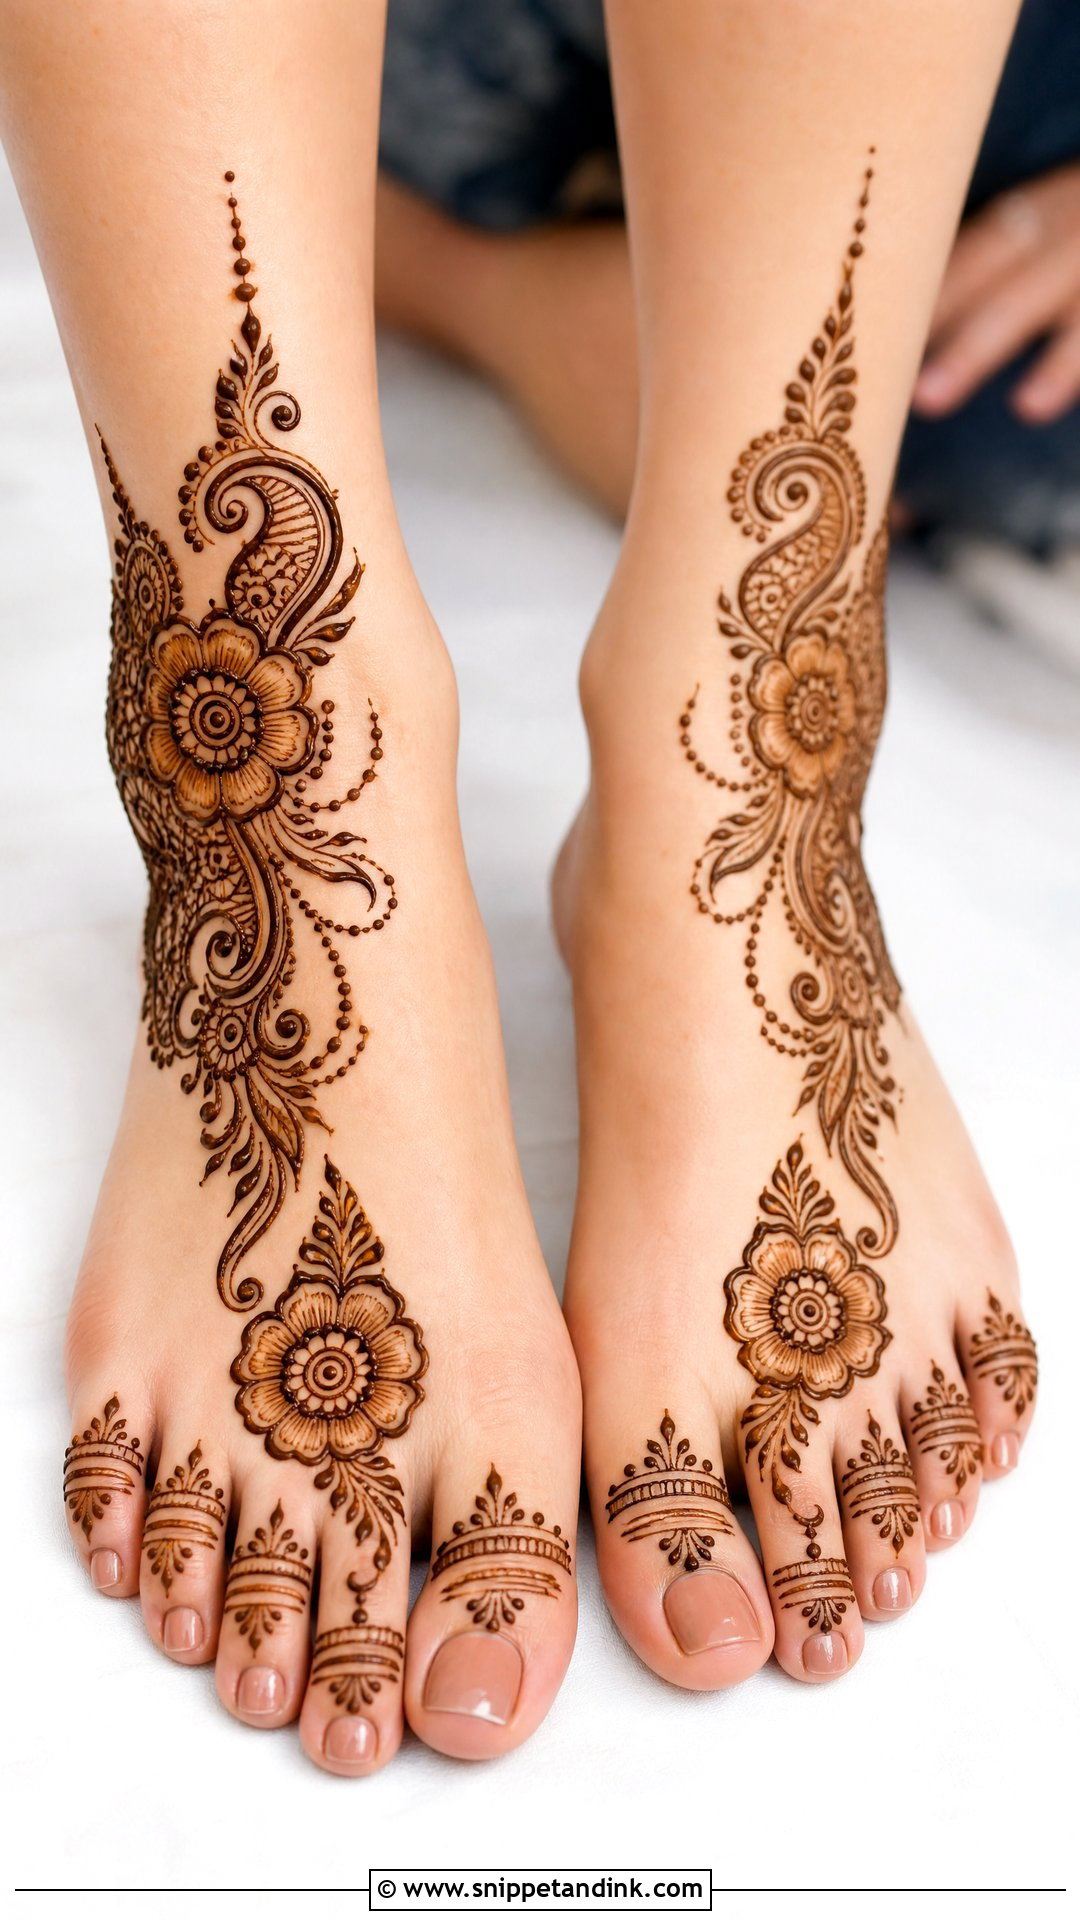
Half coverage decorates the toes and upper foot, or the ankle and side, and leaves the rest open. It gives a festive look for an engagement or Diwali without hours of sitting. What makes it look intentional is one strong focal point, a flower, mandala or paisley cluster. Without it, half coverage reads as a design someone ran out of time on.
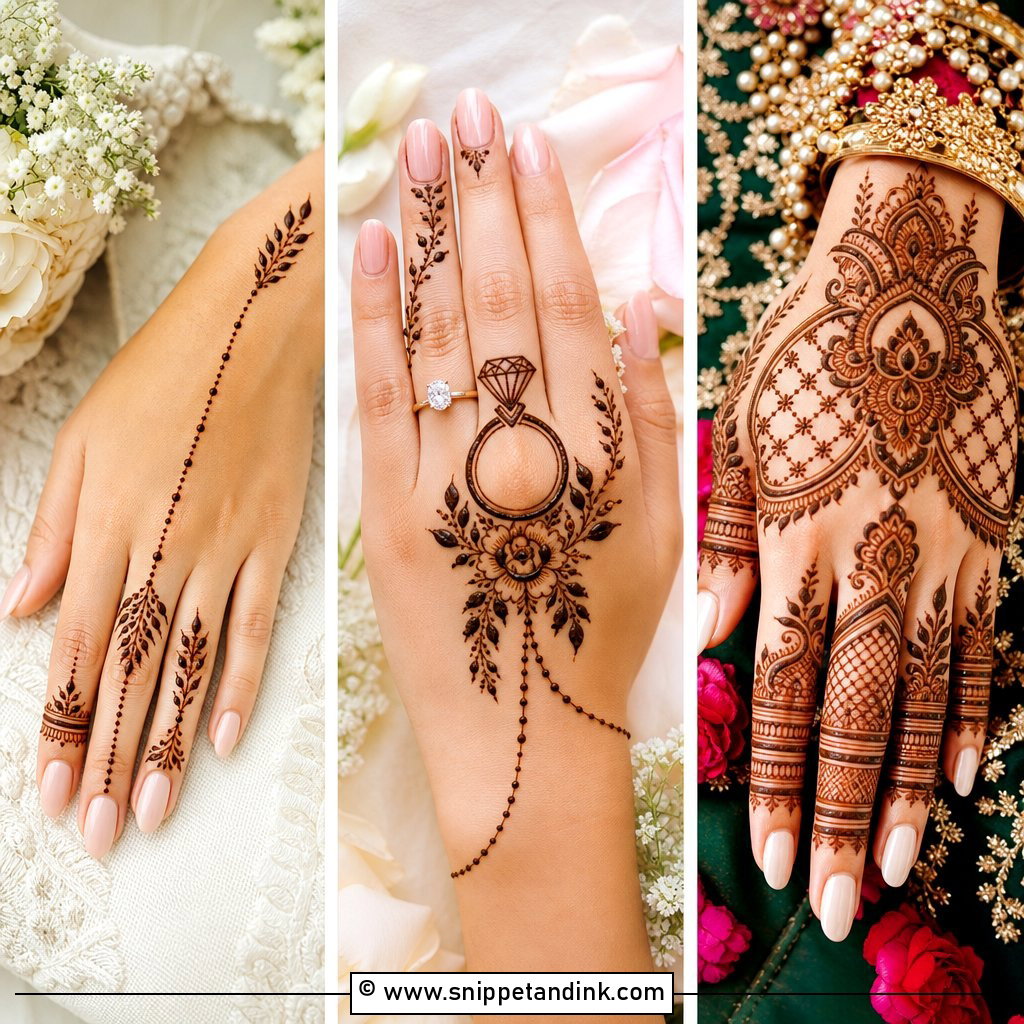
20. Finger And Feet Mehndi Design
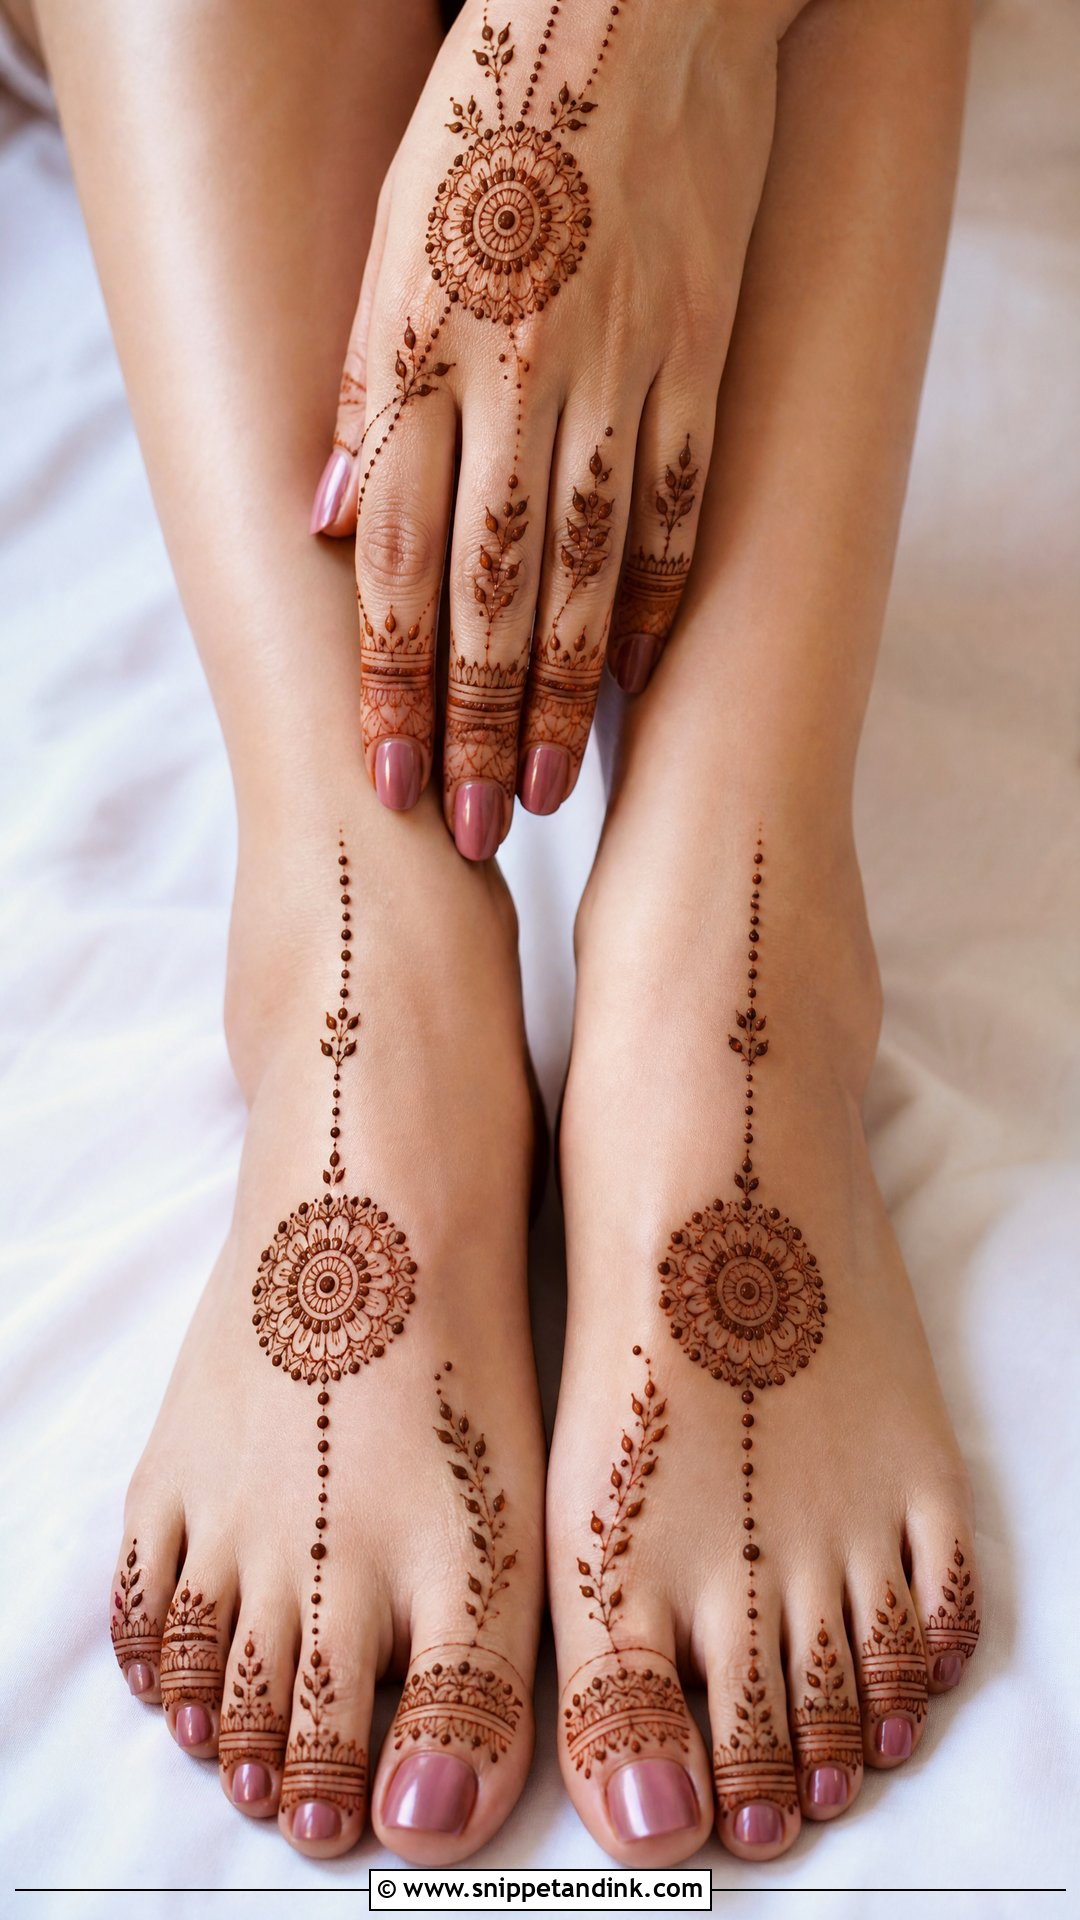
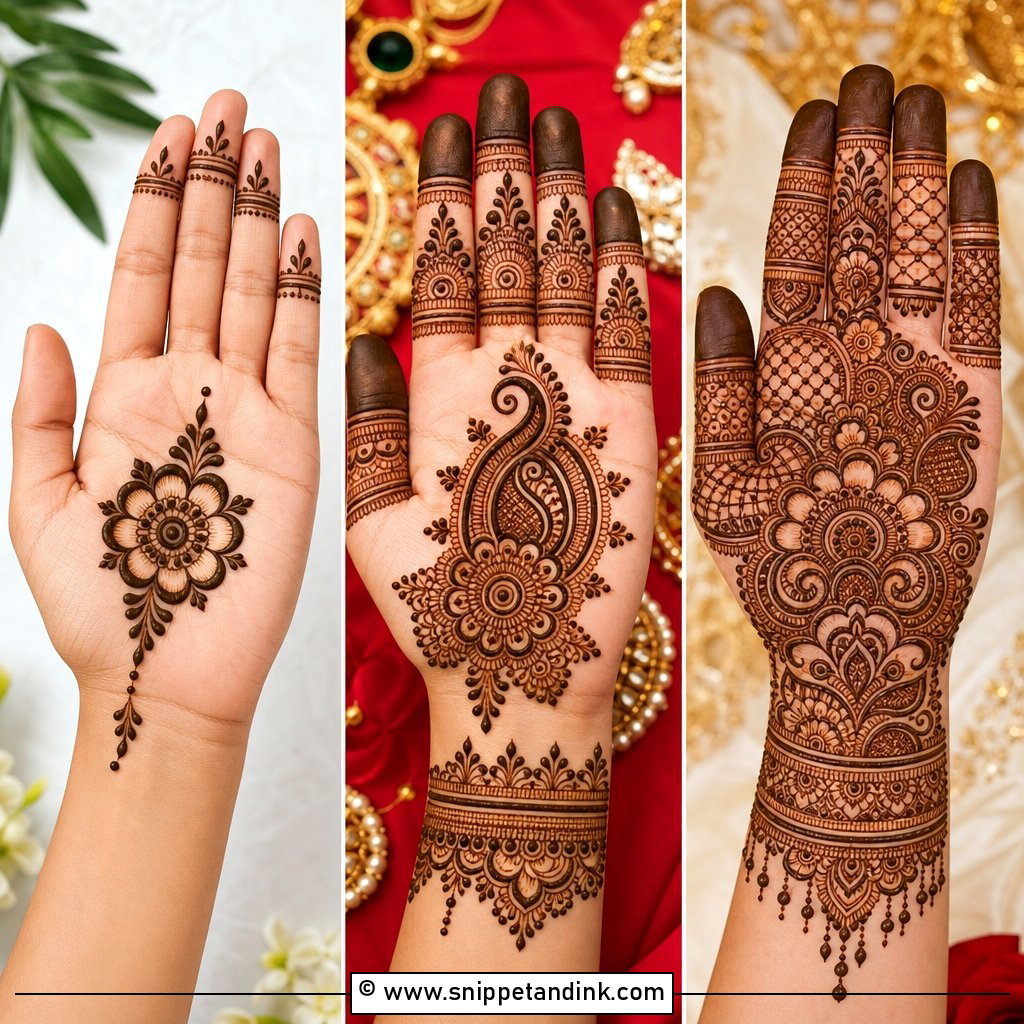
Treating the toes like fingers, with bands, dots and little nail frames, then matching a pattern on the instep, gives a coordinated look. Toe details stay visible in sandals even when the rest of the foot is hidden. I space the bands evenly across all ten toes; one crowded toe throws off the whole foot.
21. Gulf Feet Mehndi Design
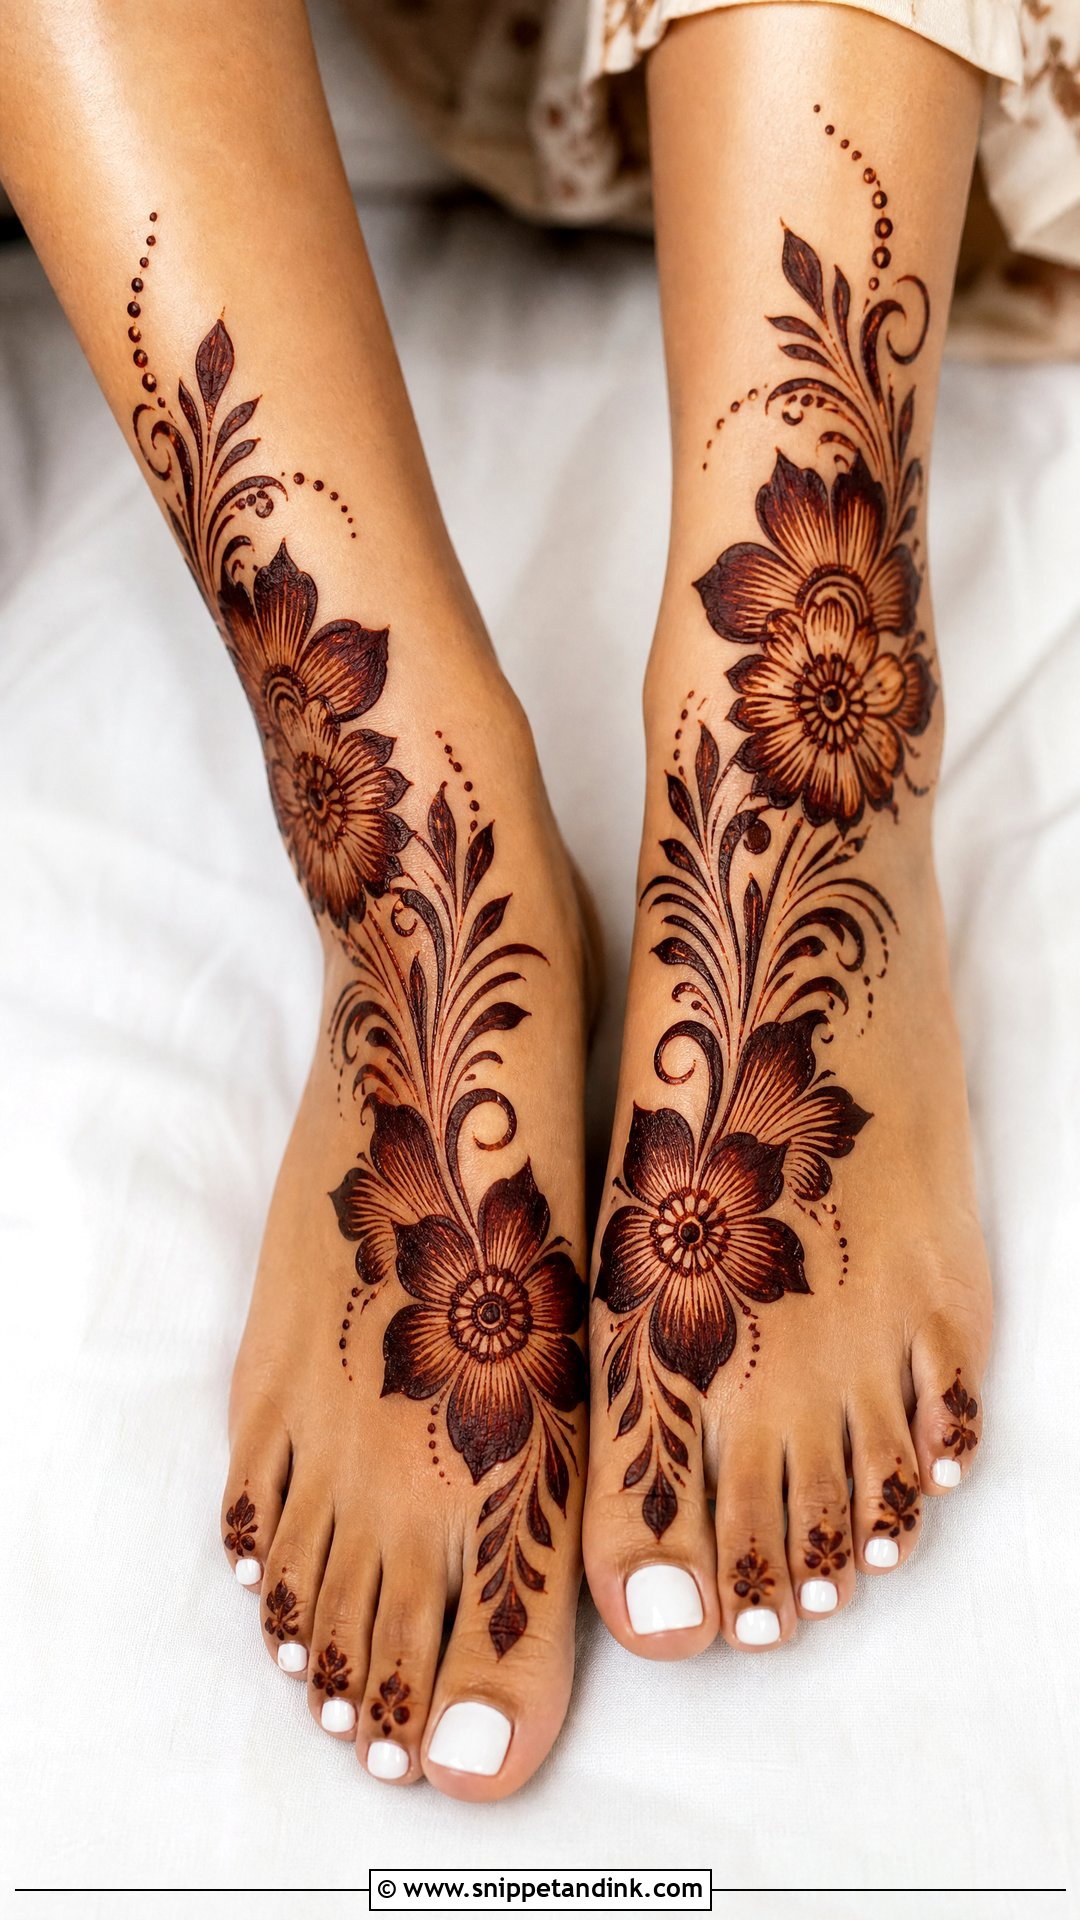
Gulf, or Khaleeji, foot work uses large flowers near the ankle or outer edge and leafy trails sweeping across the top, with plenty of bare skin. It’s fuller than minimal but lighter than Indian bridal. Thick outlines and smooth curves are the signature. I shade petals by thinning the paste line, which needs fresh, smooth henna to work.
22. Rajasthani Feet Mehndi Design
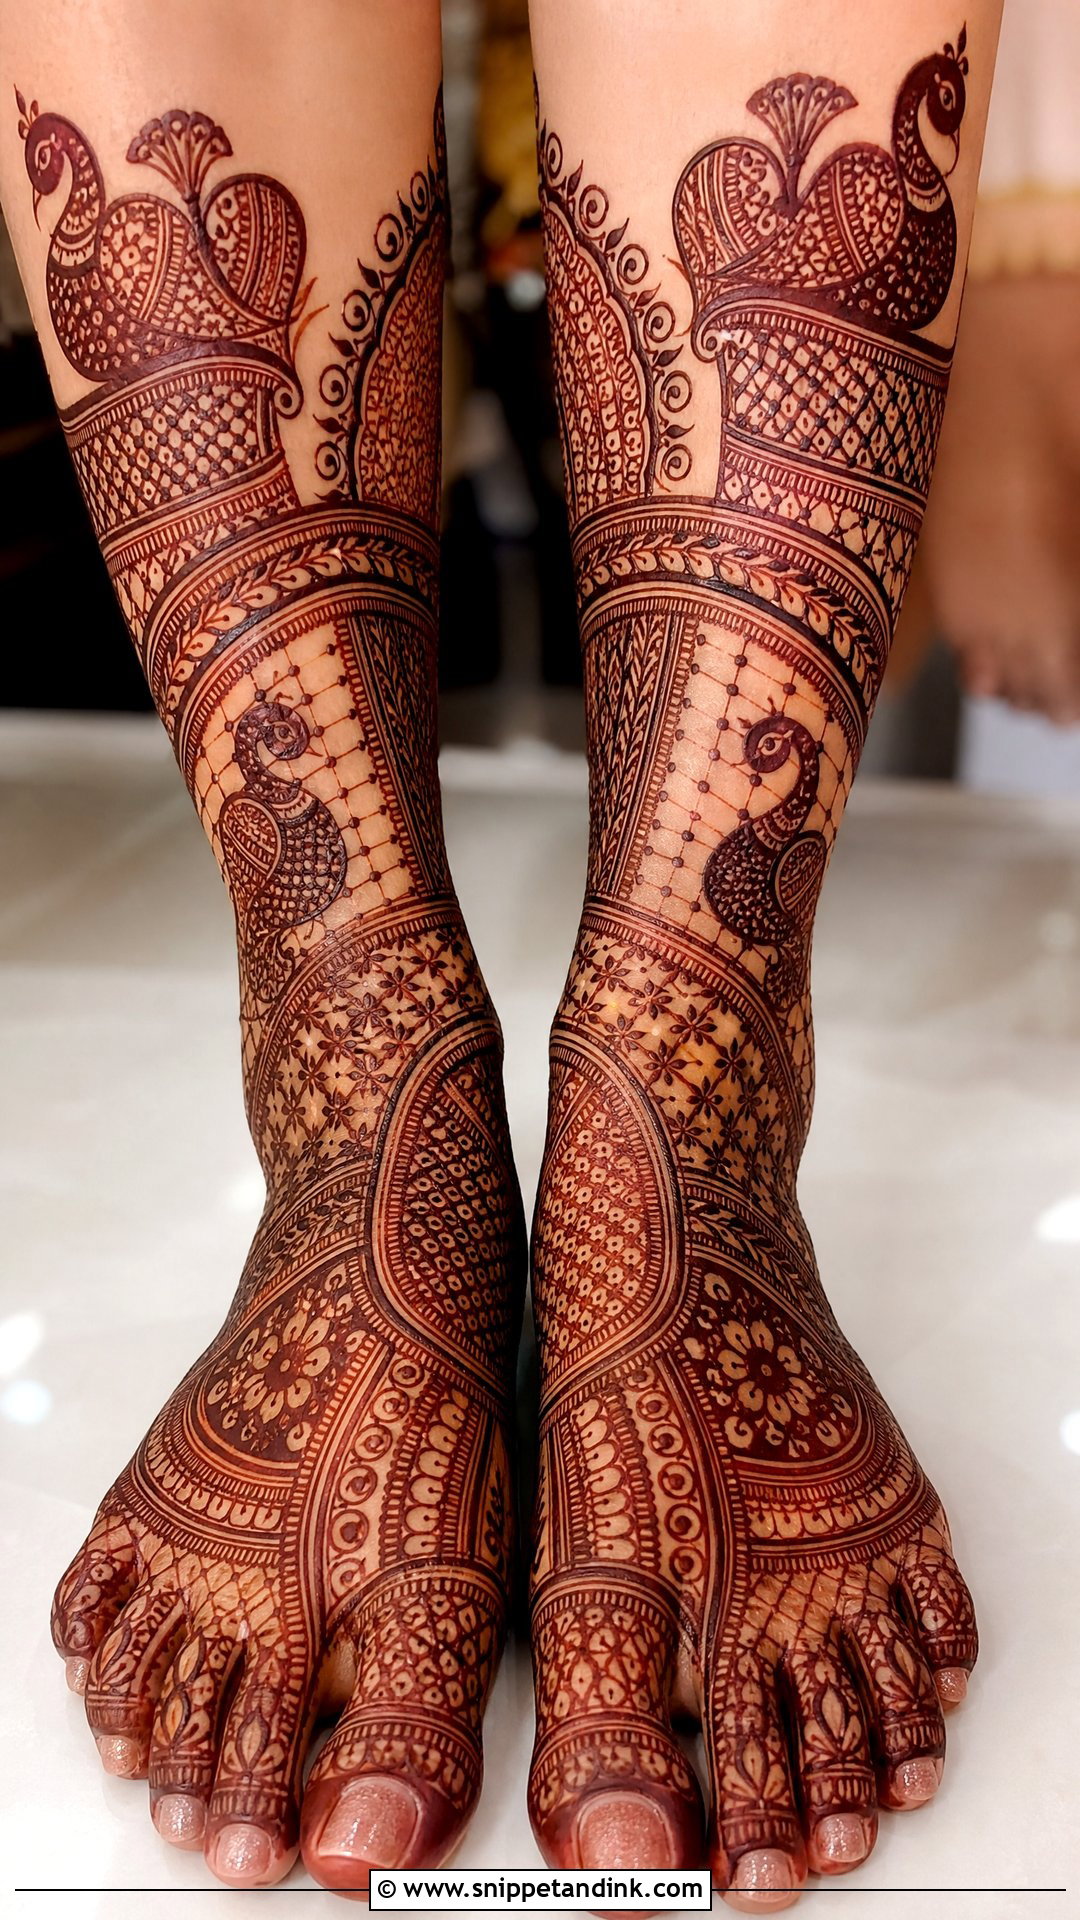
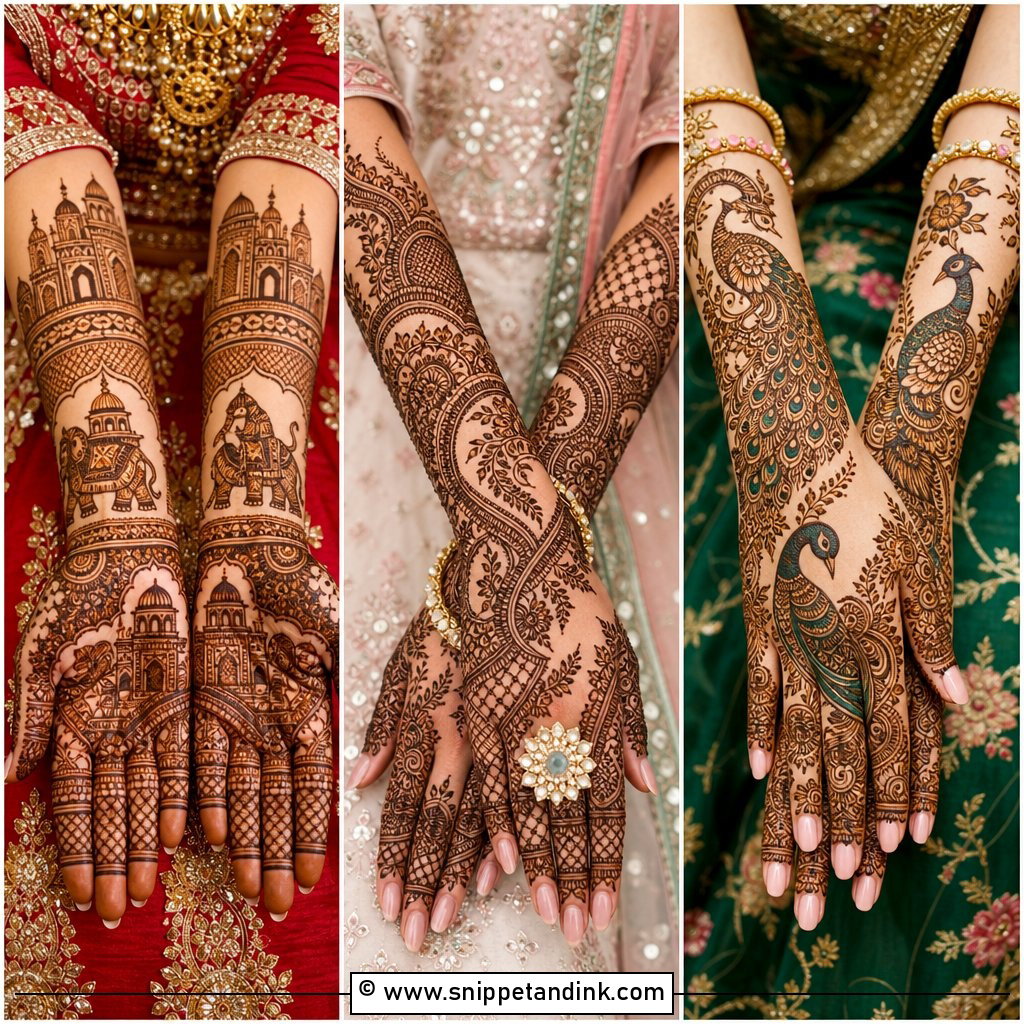
Rajasthani foot work is dense and traditional: paisleys, peacocks, checker panels, jaali and ornamental borders, sometimes from toes to mid-shin for a bride. Every section is filled with fine lines and dots, so planning matters. I divide the foot into panels before drawing anything, otherwise the stain looks chaotic. Expect a long sitting.
23. Pakistani Feet Mehndi Design
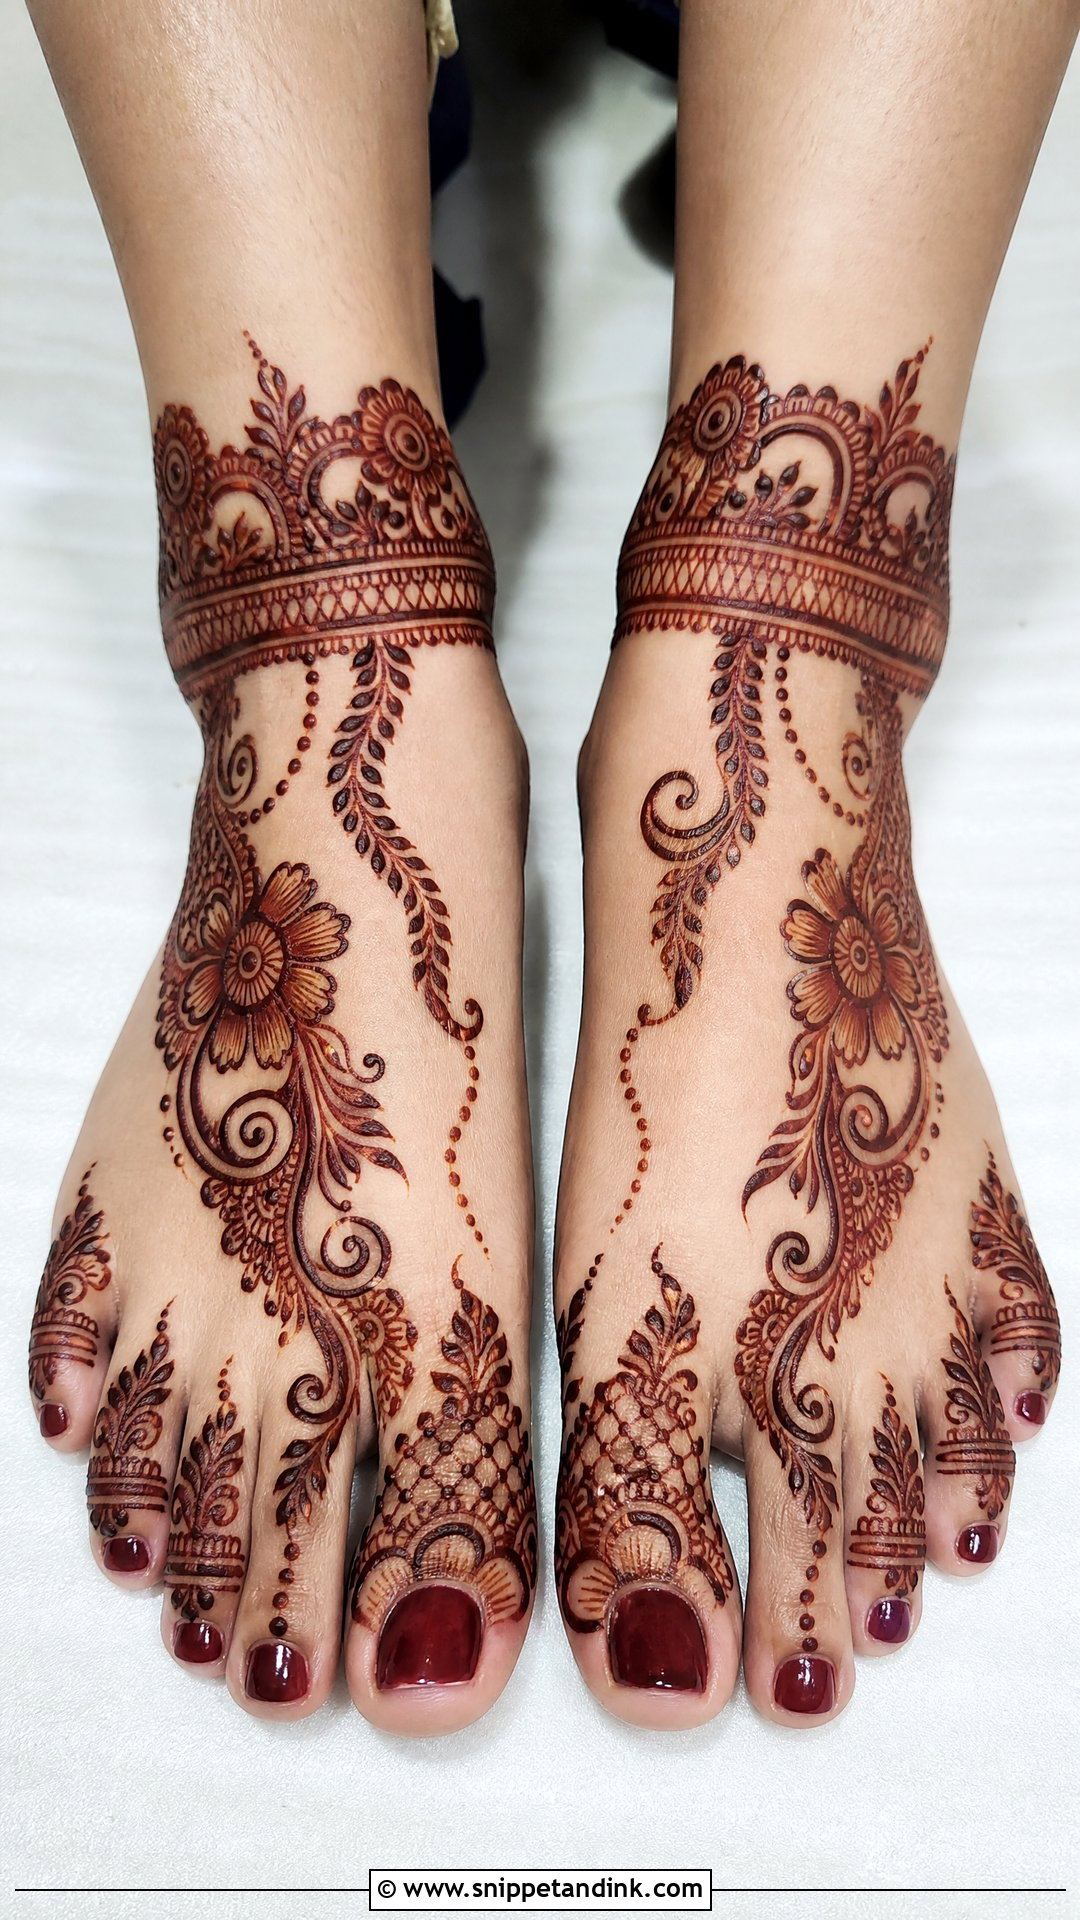
Pakistani feet mehndi design usually mixes Arabic trails with Indian filling: bold florals, shaded paisleys, fine jaali, a delicate ankle border. A favourite layout starts with detailed toes, moves into a central floral and finishes with an anklet. I mirror the two feet loosely rather than exactly; small differences look handmade in a good way.
24. South Indian Feet Mehndi Design
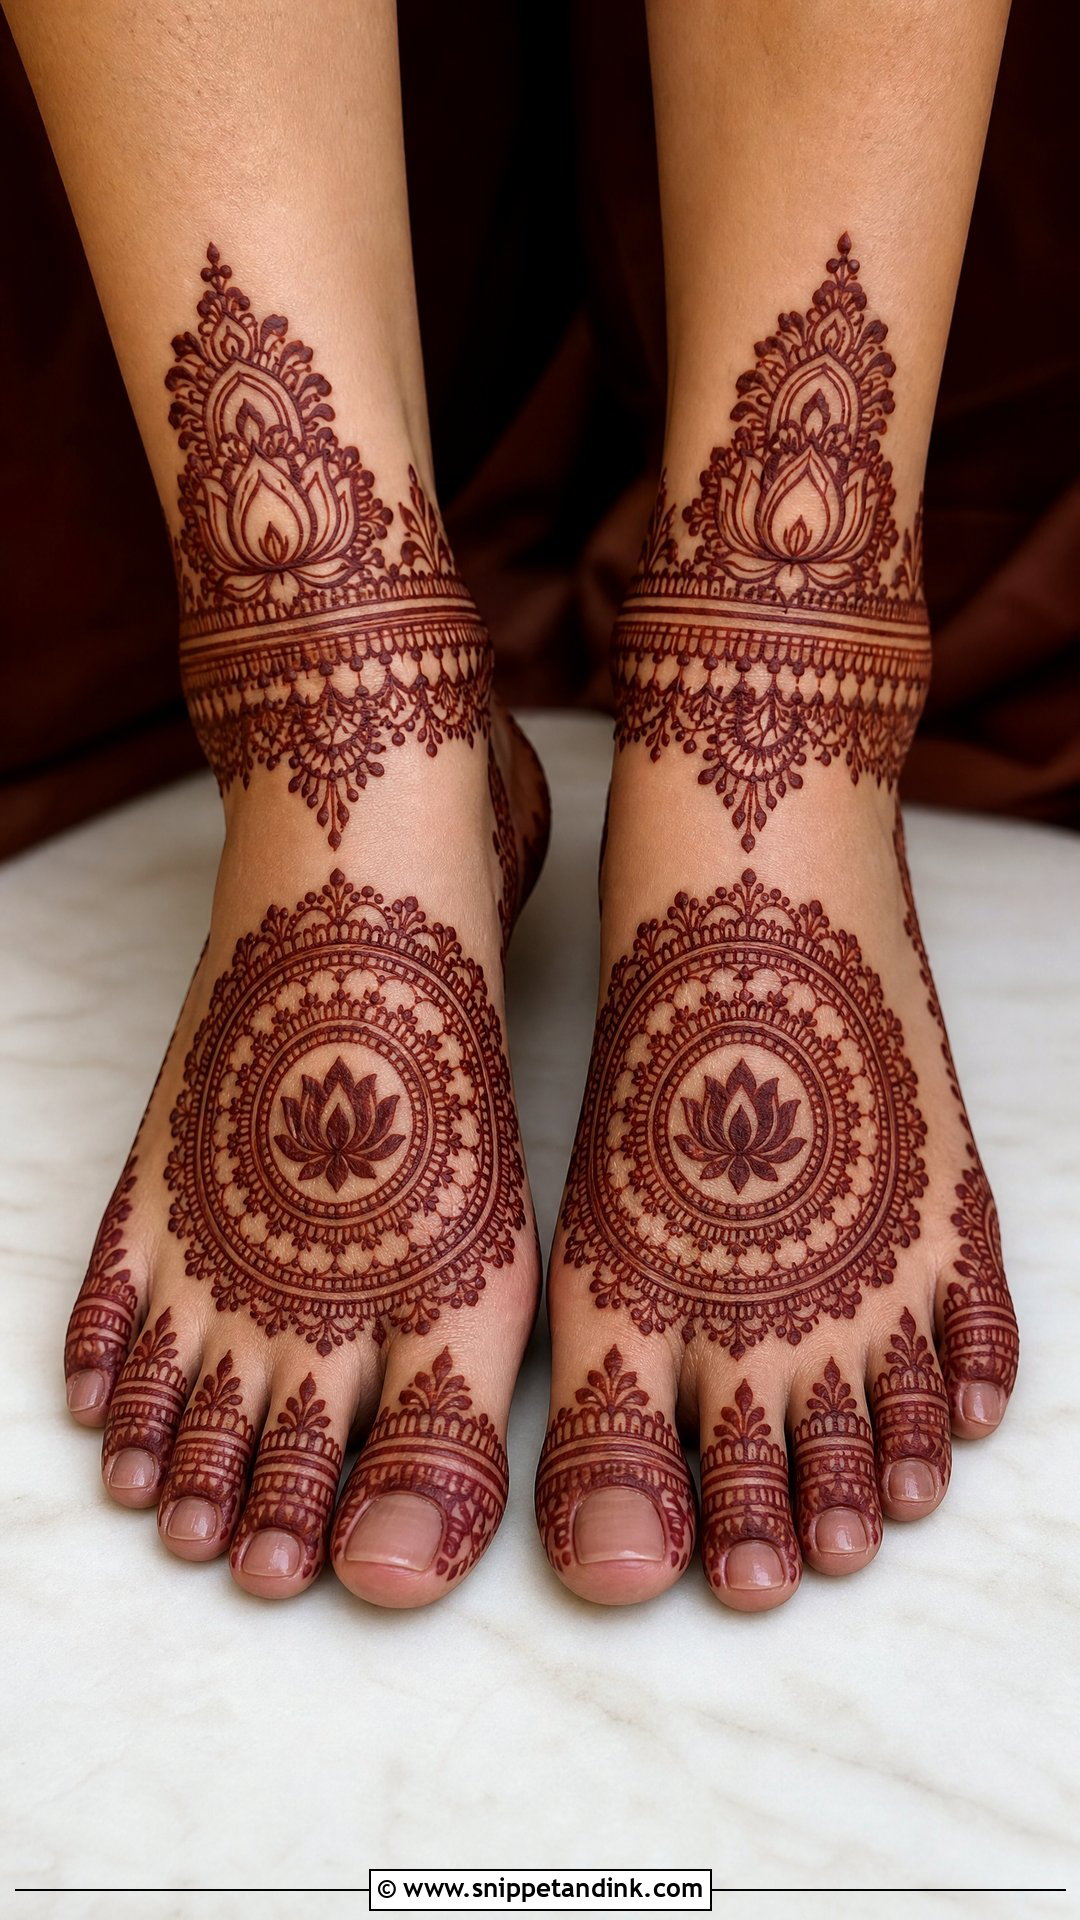
South Indian foot designs are often cleaner than North Indian bridal work: lotus motifs, temple borders, circular patterns and ankle bands. A large lotus or mandala on each instep with toe bands and an ankle border is the classic layout. Deep filled outlines read well next to gold anklets and silk sarees. Ask for symmetry; ceremonies with the feet on show reward it.
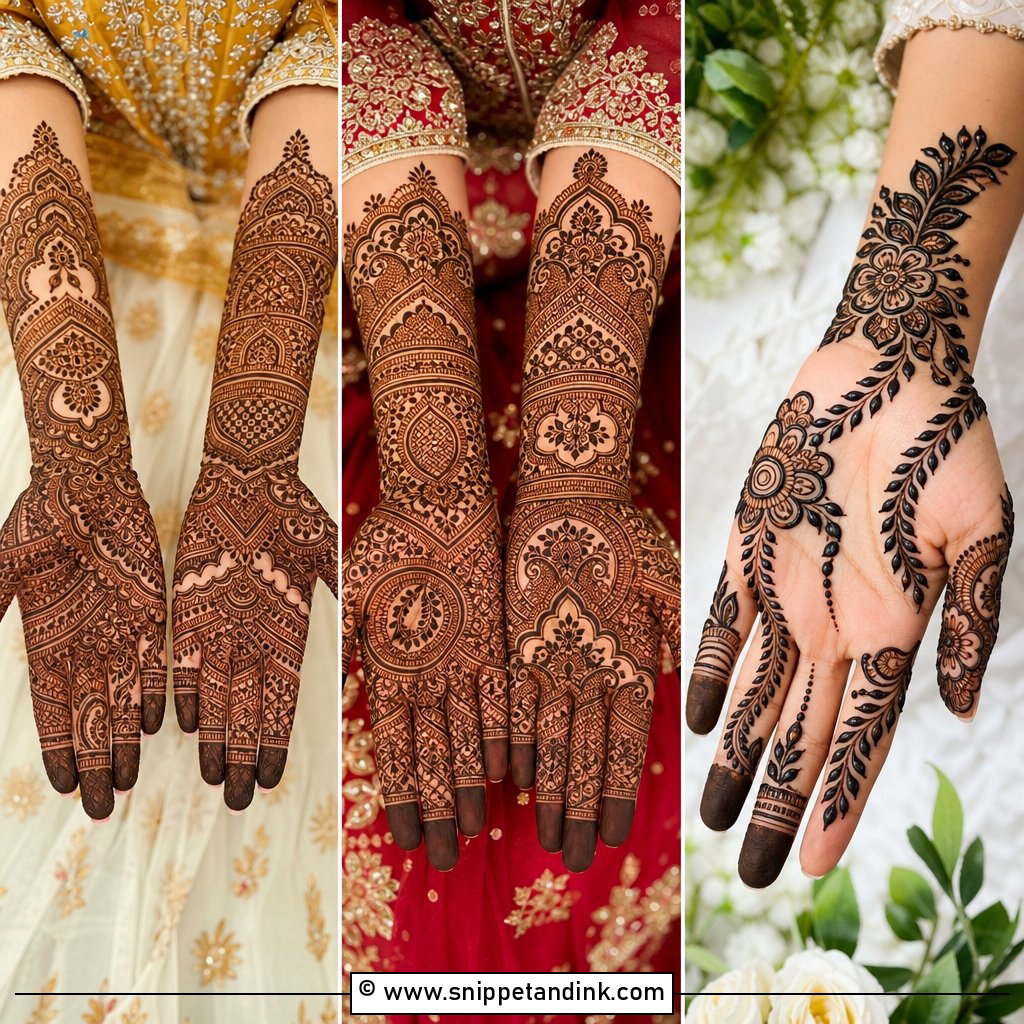
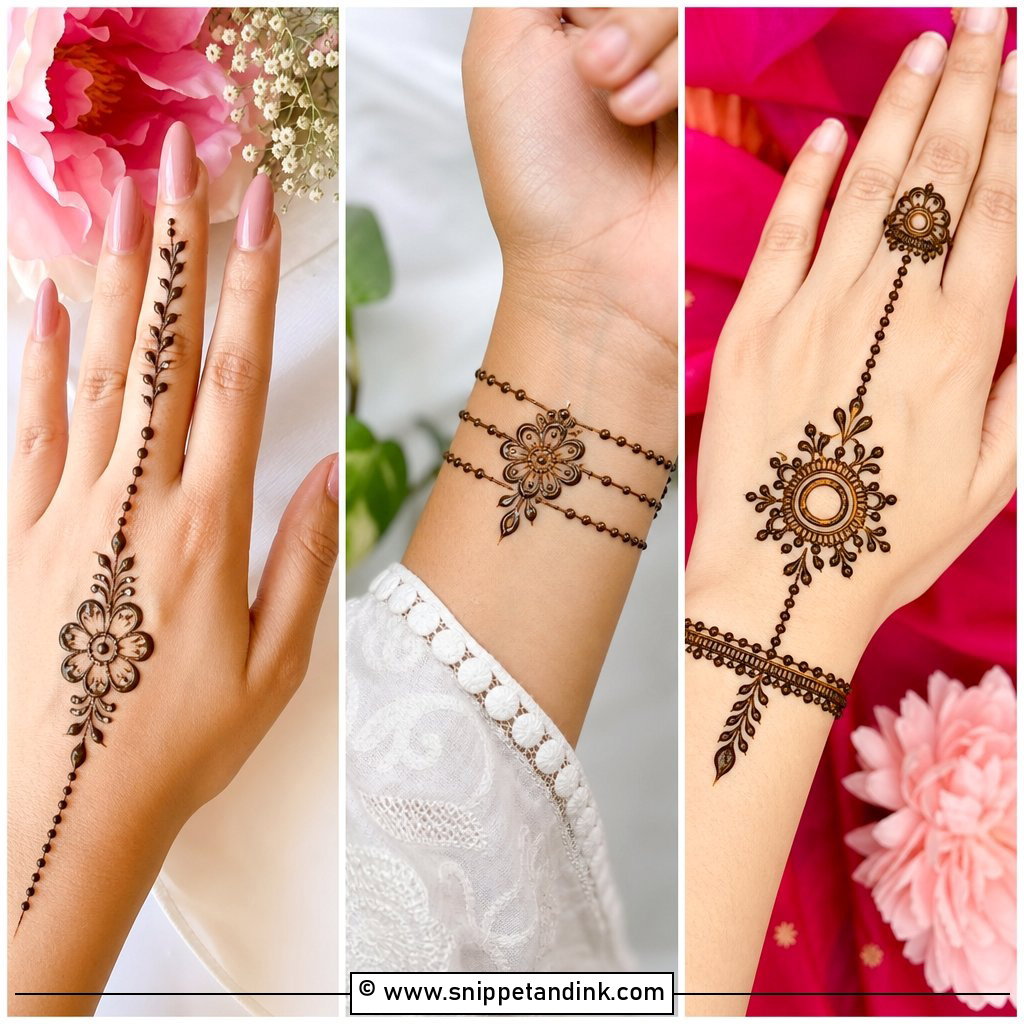
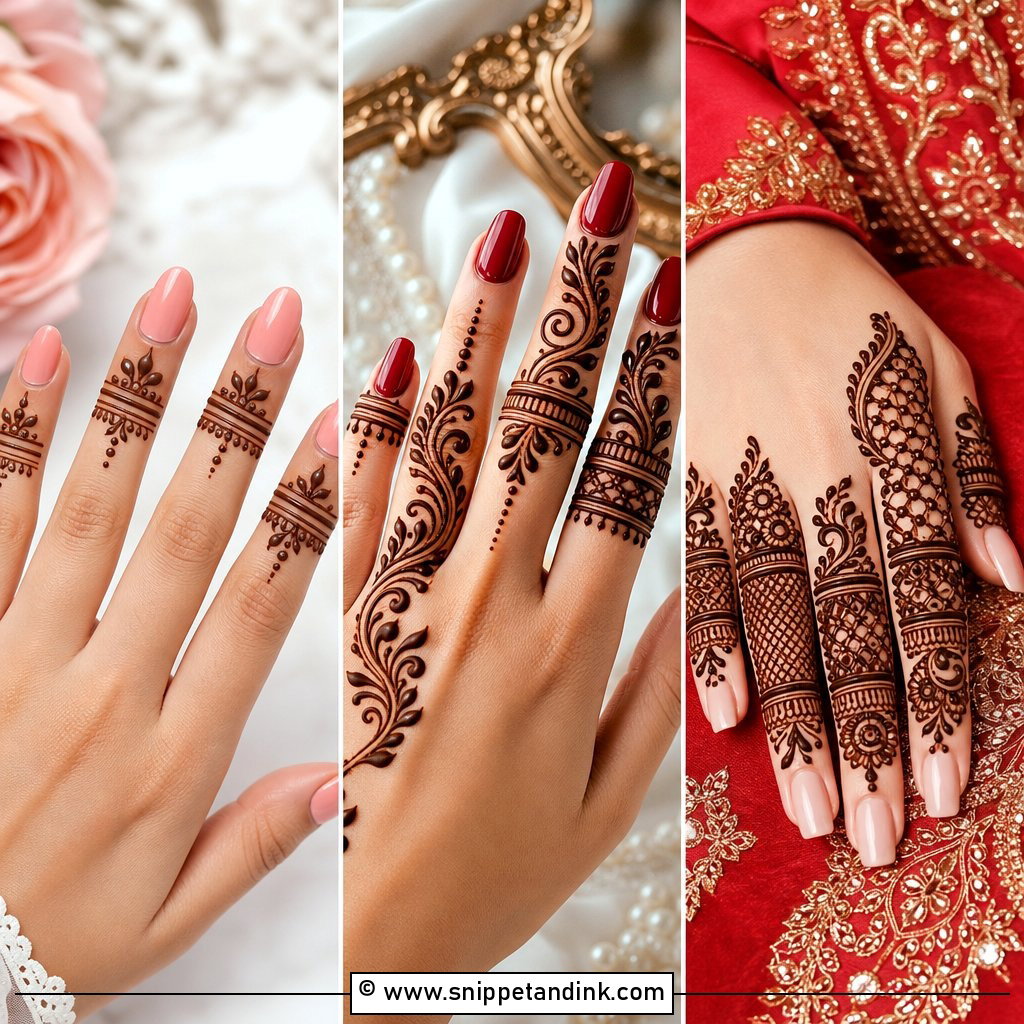
25. Modern Feet Mehndi Design
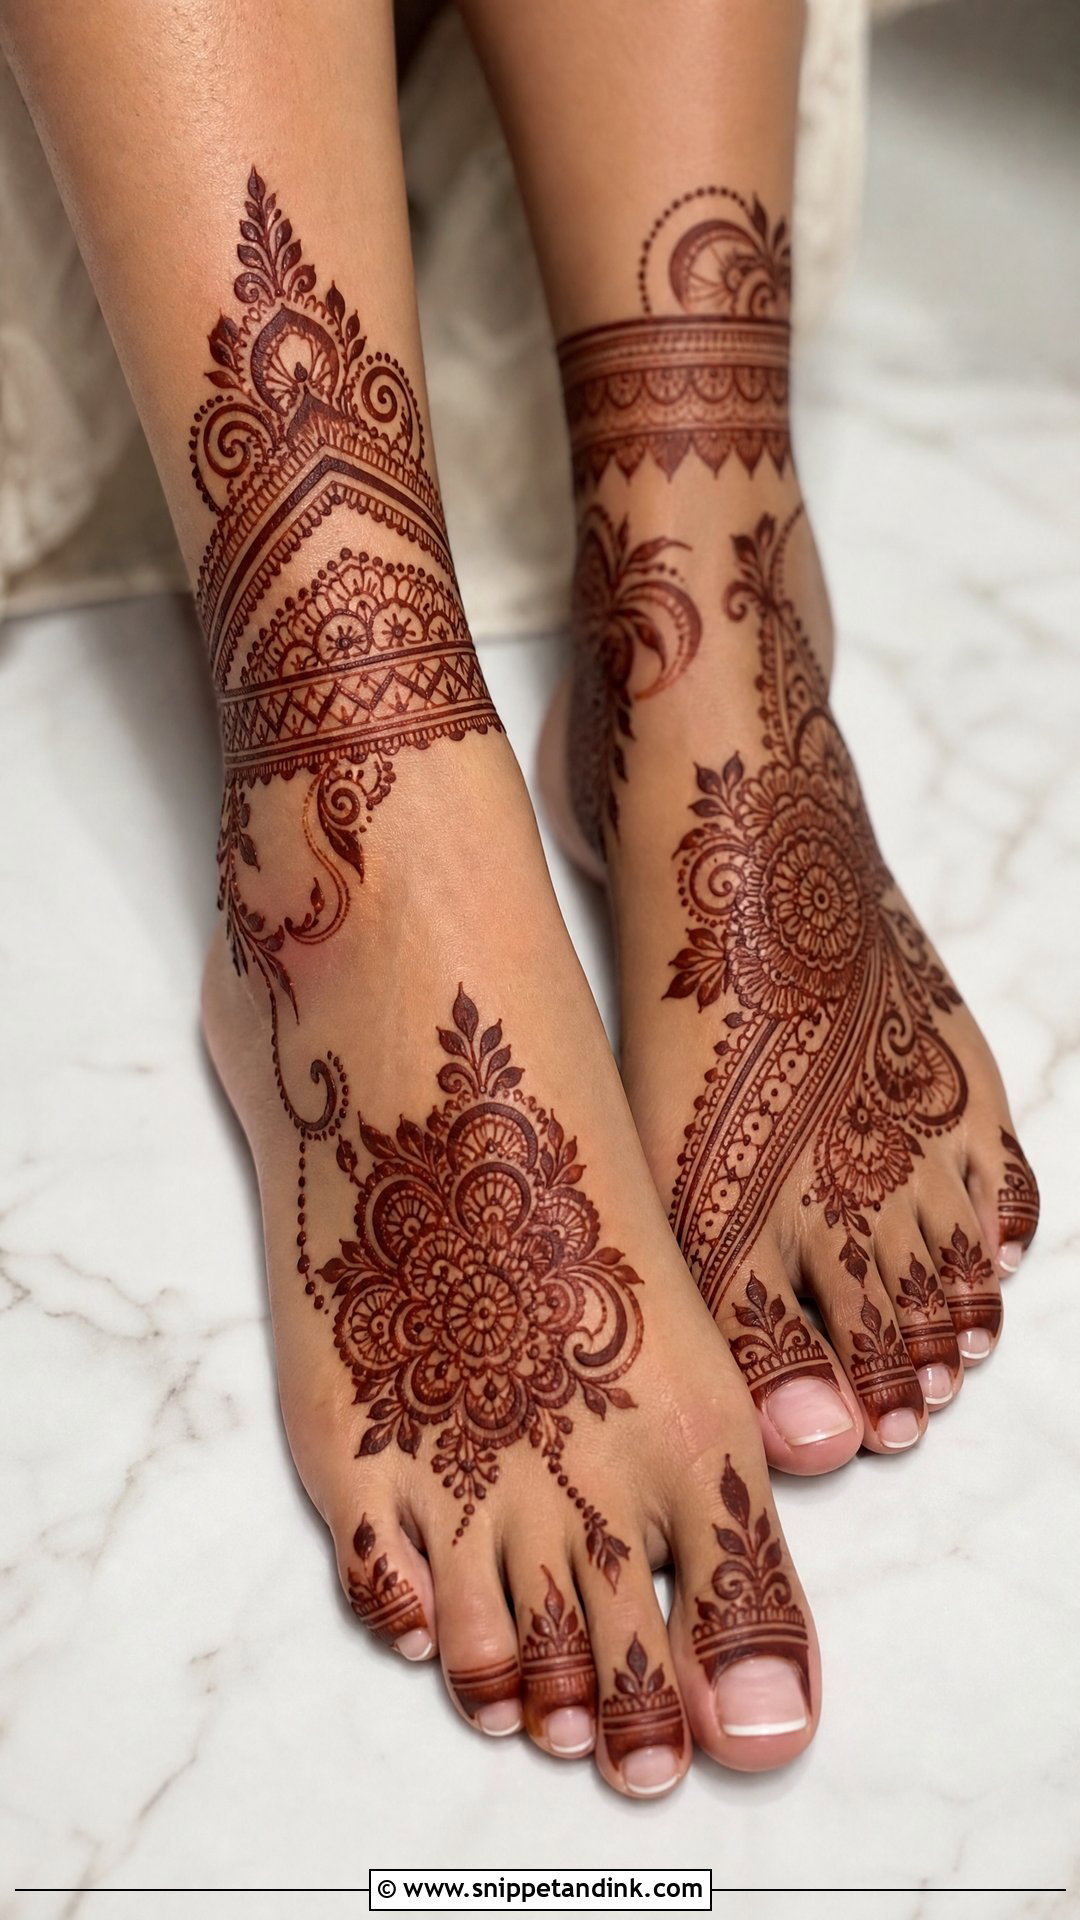
A modern feet mehndi design leans on placement and shape: abstract curves, geometric lines, anklet chains or an asymmetric side trail. It doesn’t try to cover every area. Mixing styles works here, such as a Moroccan ankle band with Arabic flowers. Neat outlines are what make sparse designs look deliberate.
26. Wedding Feet Mehndi Design
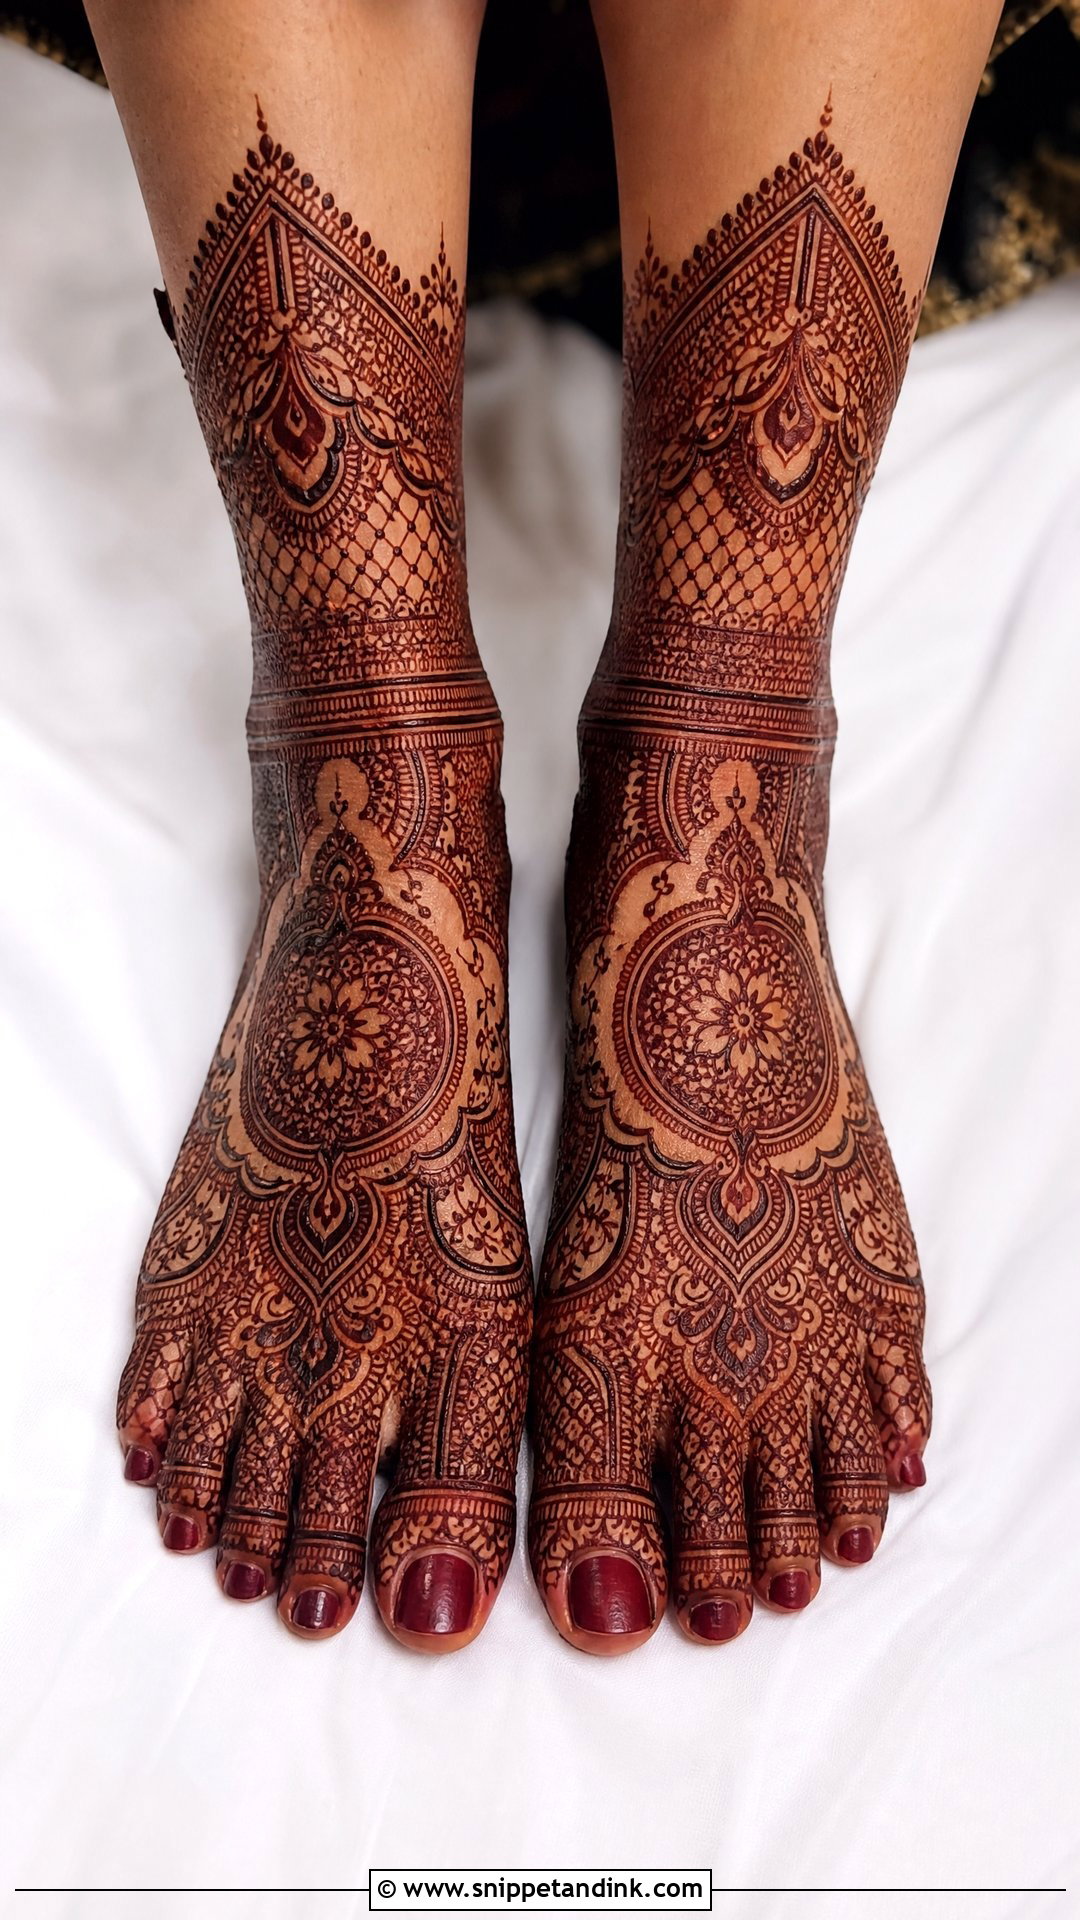
A wedding feet mehndi design is usually planned to echo the hand henna: if the hands carry peacocks or lotus, the feet pick up one of them. I avoid tiny details where straps sit, since friction fades them first. Foot henna is normally the last part applied, so it needs drying time before anyone expects you to stand for photos.
27. Eid Feet Mehndi Design
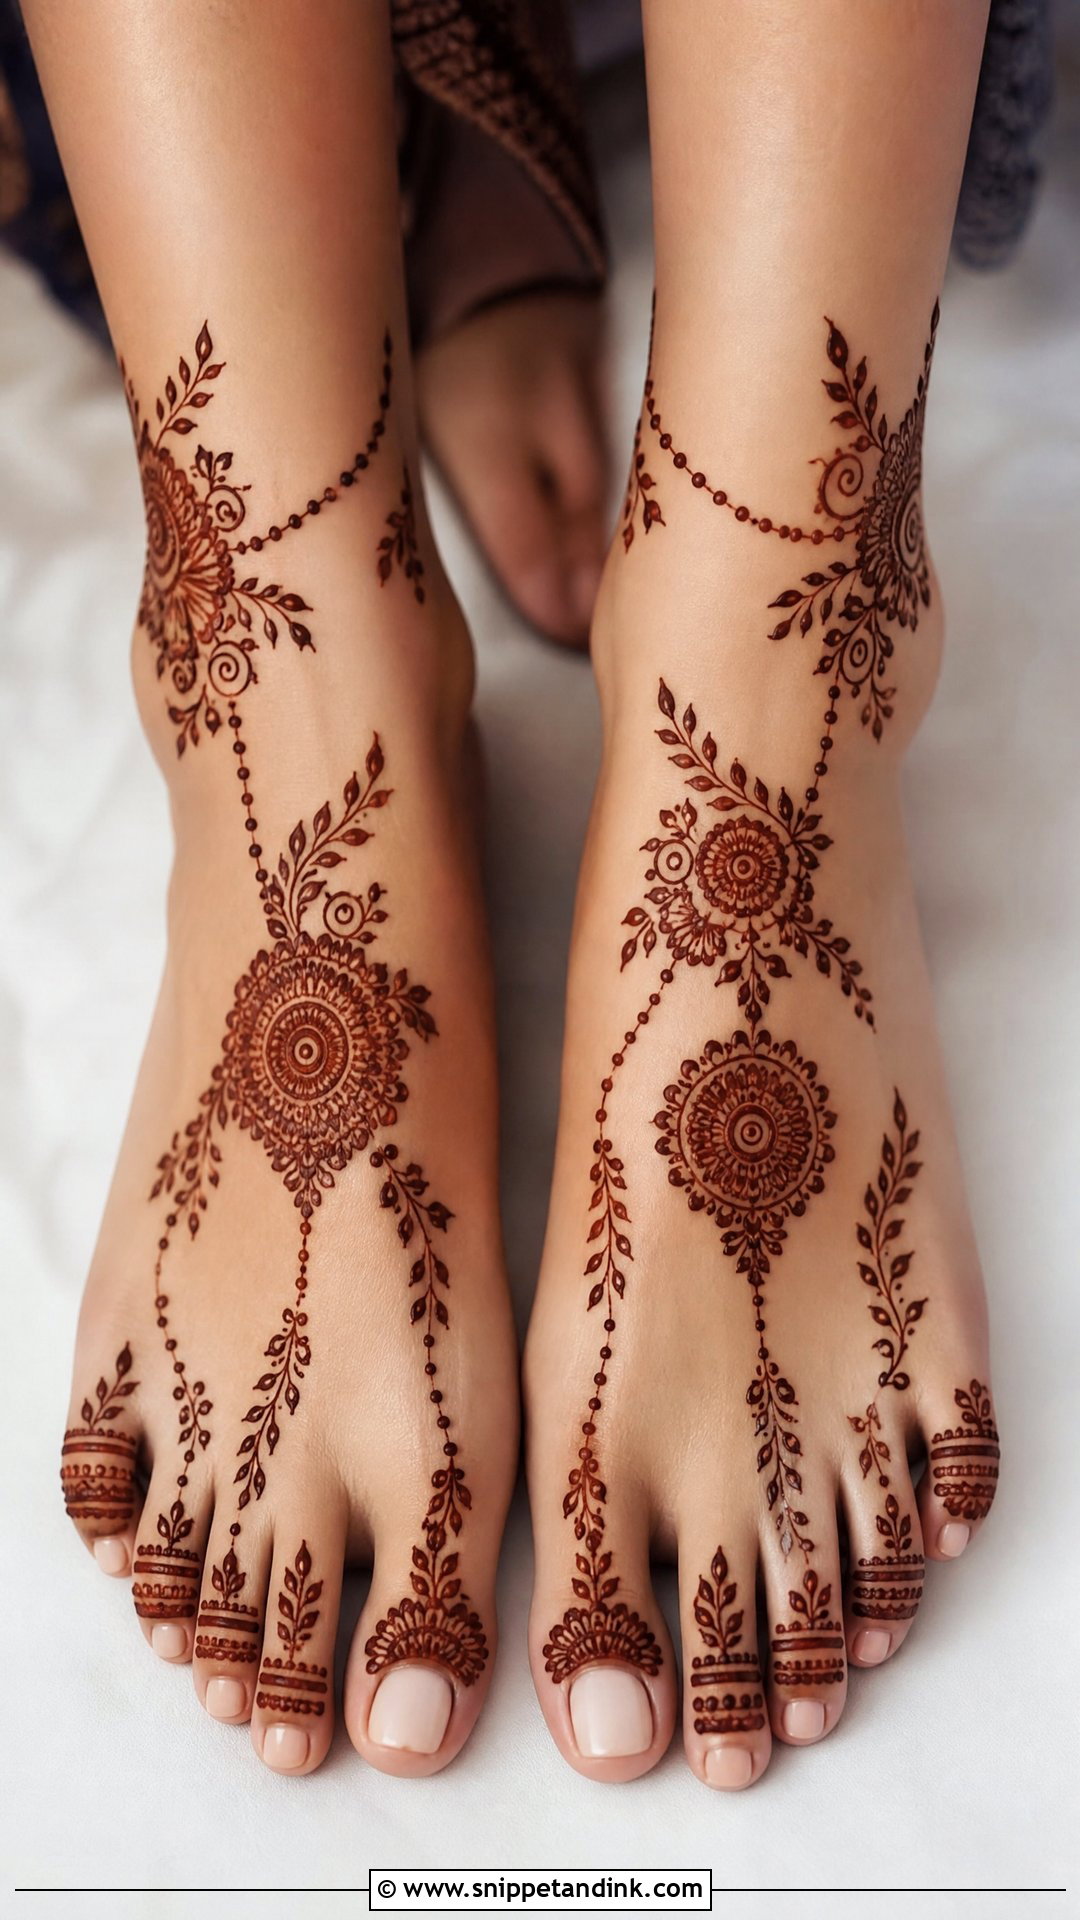
Eid days are busy, so I keep foot designs open and quick: Arabic vines, floral ankle bands, a small mandala or a side trail. Toe details matter more than you’d expect because they make light coverage look finished. Open patterns dry faster, stain clearly and survive a day of visiting relatives in sandals.
28. Diwali Feet Mehndi Design
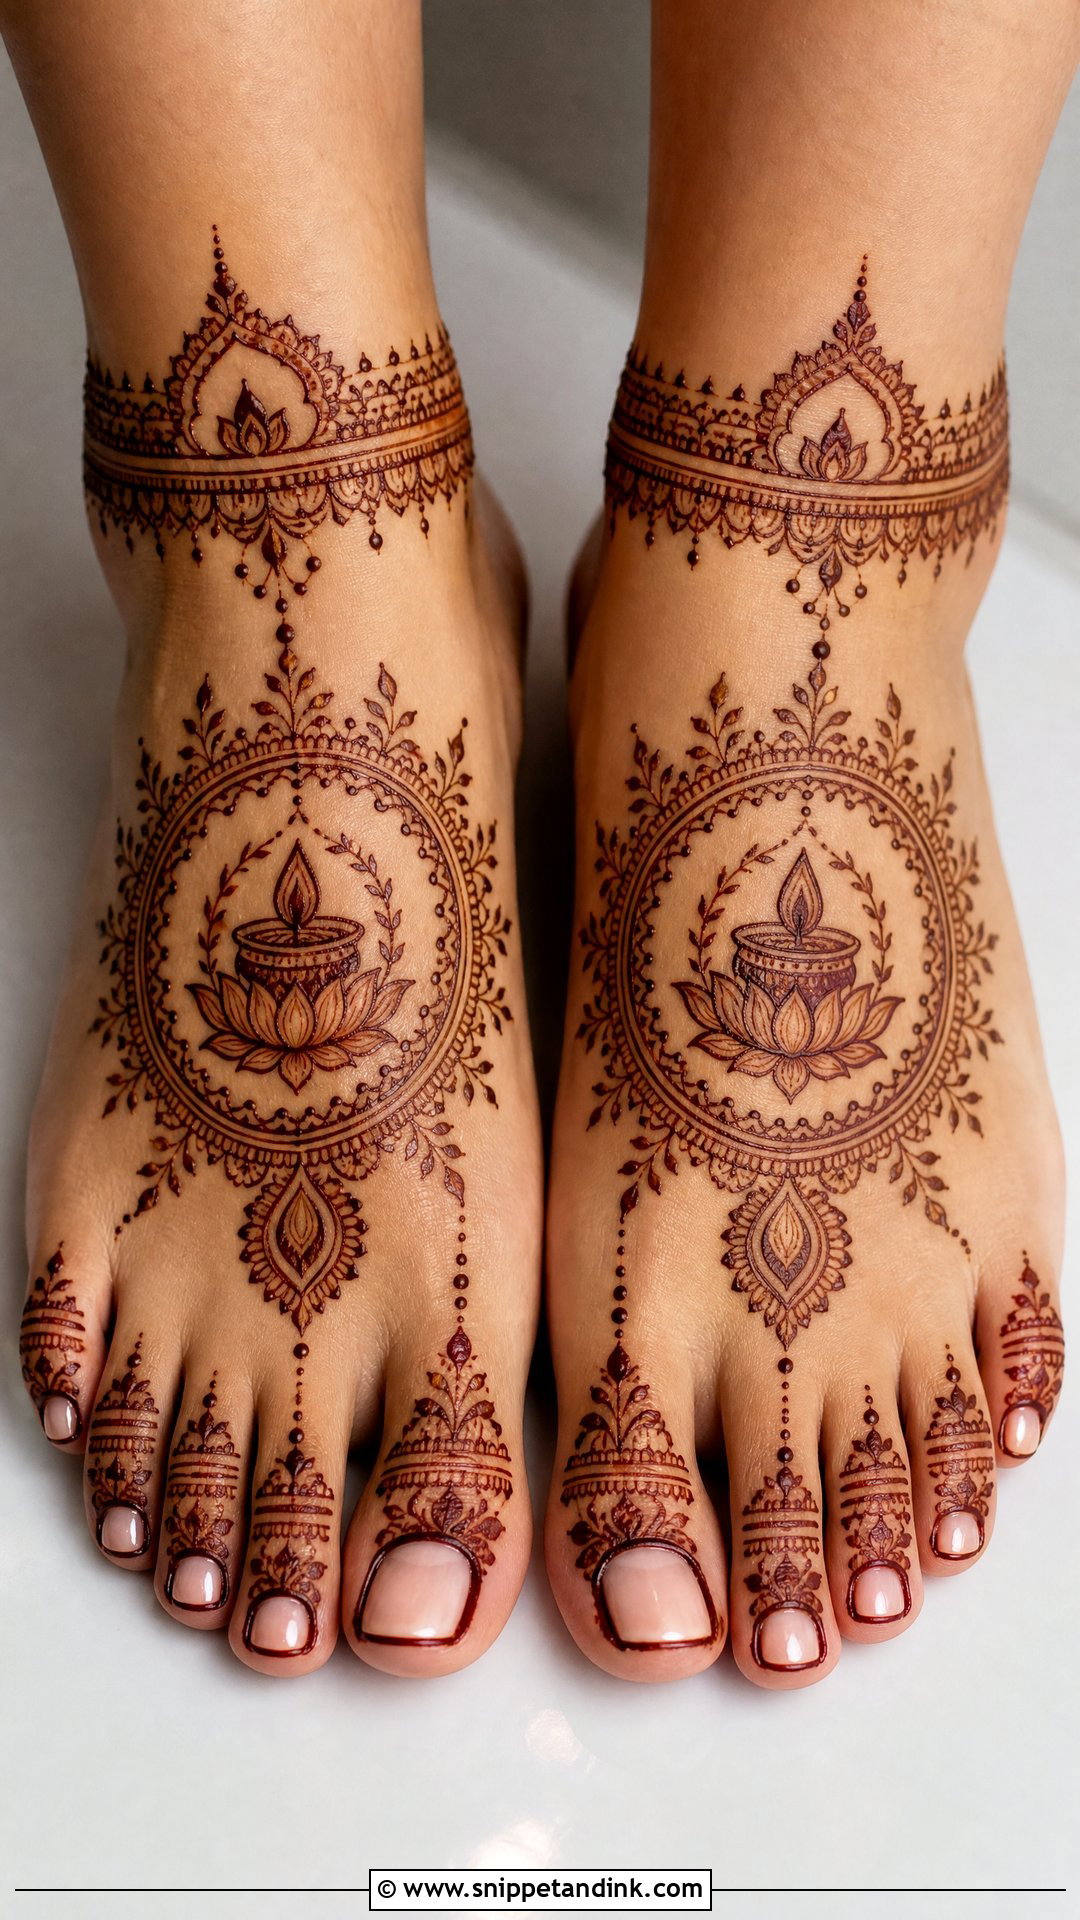
For Diwali, medium coverage is the sensible choice, since you’ll be on your feet, moving between rooms and dressing up. Lotus, mandalas, leafy borders and diya shapes all fit the festival. A mandala on each instep with toe bands and a slim ankle border is my usual suggestion. Keep it well spaced; feet near diyas and rangoli get busy enough.
29. Kids Feet Mehndi Design
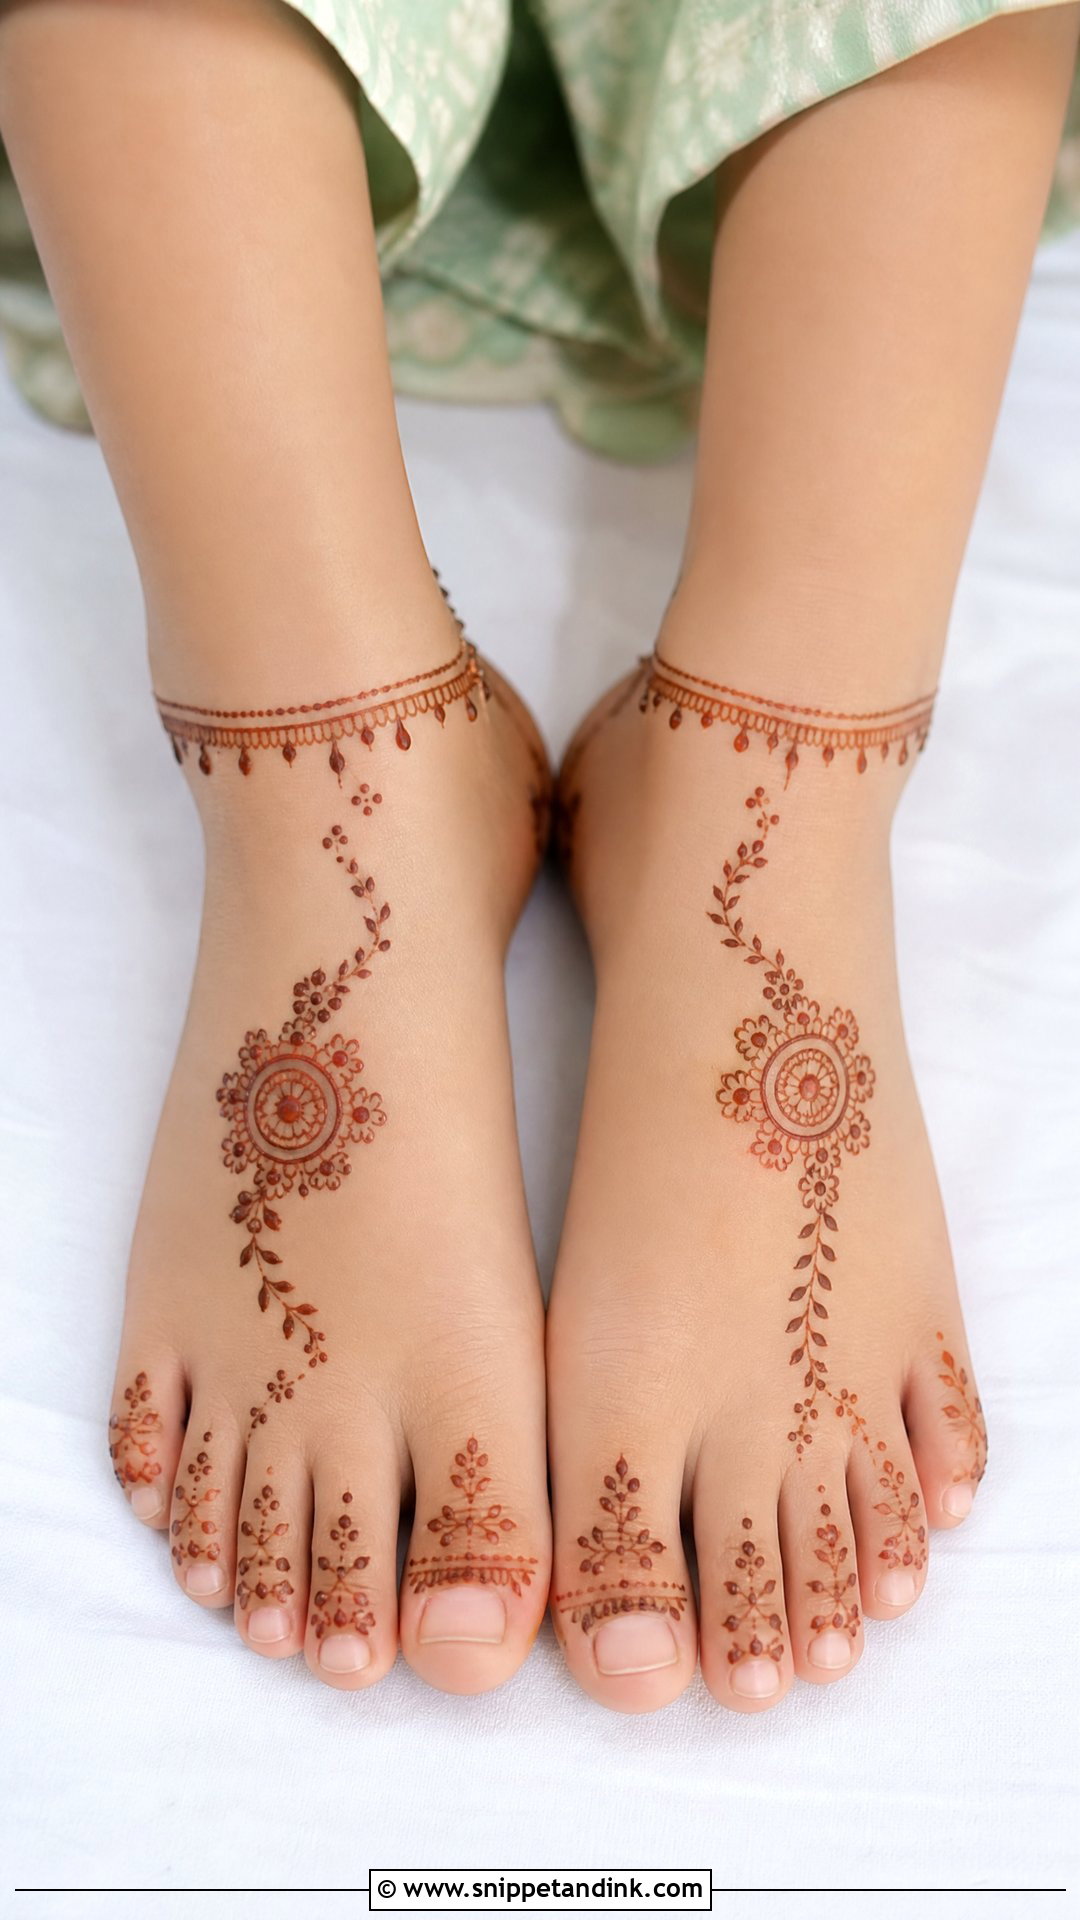
Children won’t sit still for long, so I keep their foot designs tiny: a small flower or mandala on top, a few toe dots, a light ankle line. Dense filling takes too long to dry and smudges the moment they run off. Use natural henna only, and skip feet entirely for very young children whose skin is more sensitive.
30. Unique Feet Mehndi Design
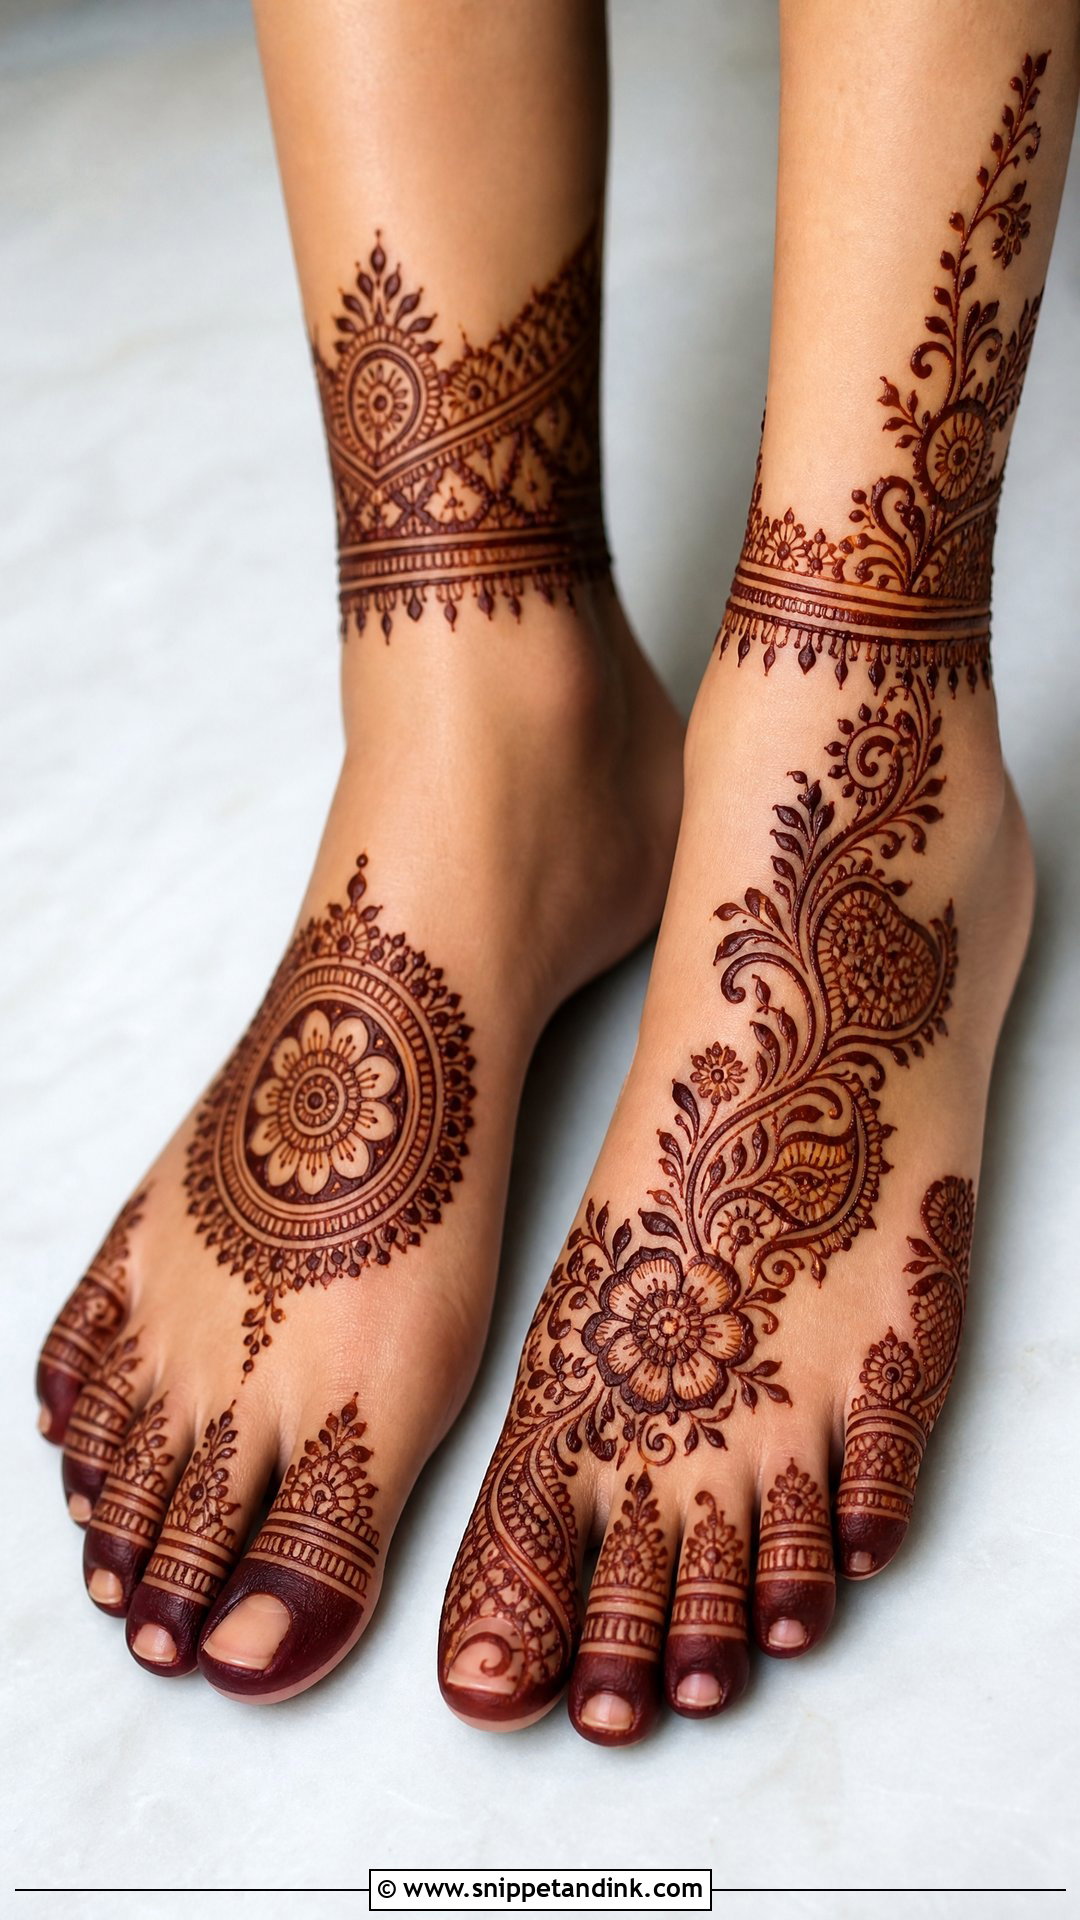
Unique foot designs come from layout more than motif: a mandala on one foot and a floral trail on the other, mirrored anklets, or Moroccan geometry filled with Indian paisleys. Both feet still need to feel related. Pick one clear theme, floral, geometric or jewellery-like, and vary the placement rather than the vocabulary.
Straps, Floors and the First Two Days
Hands lose henna to soap. Feet lose it to friction. Sandal straps, the inside edge of closed shoes and walking barefoot on rough floors all wear the top layer of stain away, and that’s usually why one foot looks patchier than the other by the wedding. Once the paste is scraped off, keep your feet out of water as long as you can and rub in a little balm or oil before you put shoes on.
Small things that protect the stain
- Wear soft, open footwear for the first day so straps don’t sit on fresh stain.
- Avoid socks overnight; they rub and soak up the oil you applied.
- Show your artist the wedding sandals beforehand so heavy detail avoids the strap lines.
- Skip pedicures and foot scrubs after application; do them a day or two before.
In some traditions brides also wear alta, the red liquid dye painted along the edges of the feet, at the ceremony itself. It sits happily over a henna stain. If you plan to wear both, let your artist know so the henna stops a little short of the sole edge and the two don’t blur into one red outline.
Start From Your Footwear, Then the Pattern
Feet ask for different decisions than hands. Think about your footwear first, then how long you can sit without walking, then how much you want showing in photos. Balanced spacing beats density every time on a curved, bony surface. Start from one layout you like, then adjust the ankle and toe details to your outfit and the occasion.
You'll Like These Ideas:


Leave a Reply