
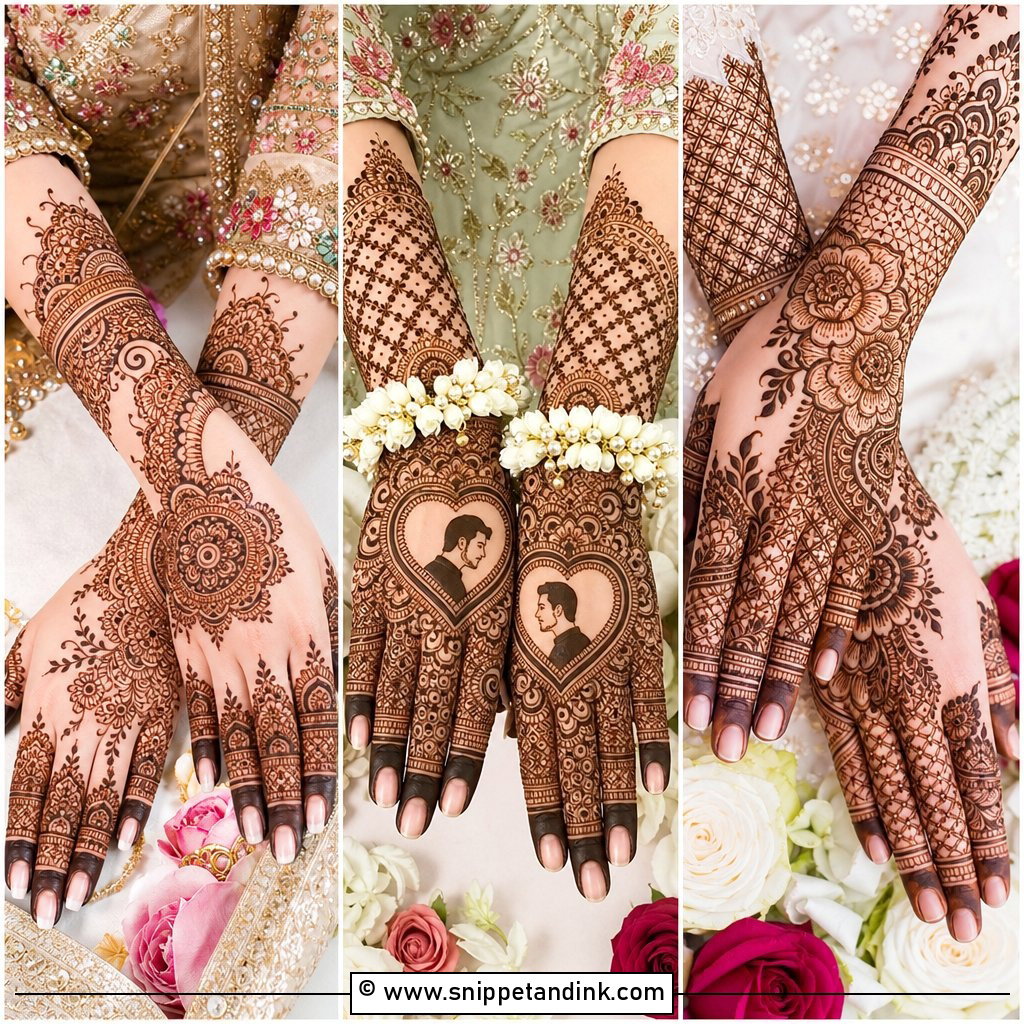
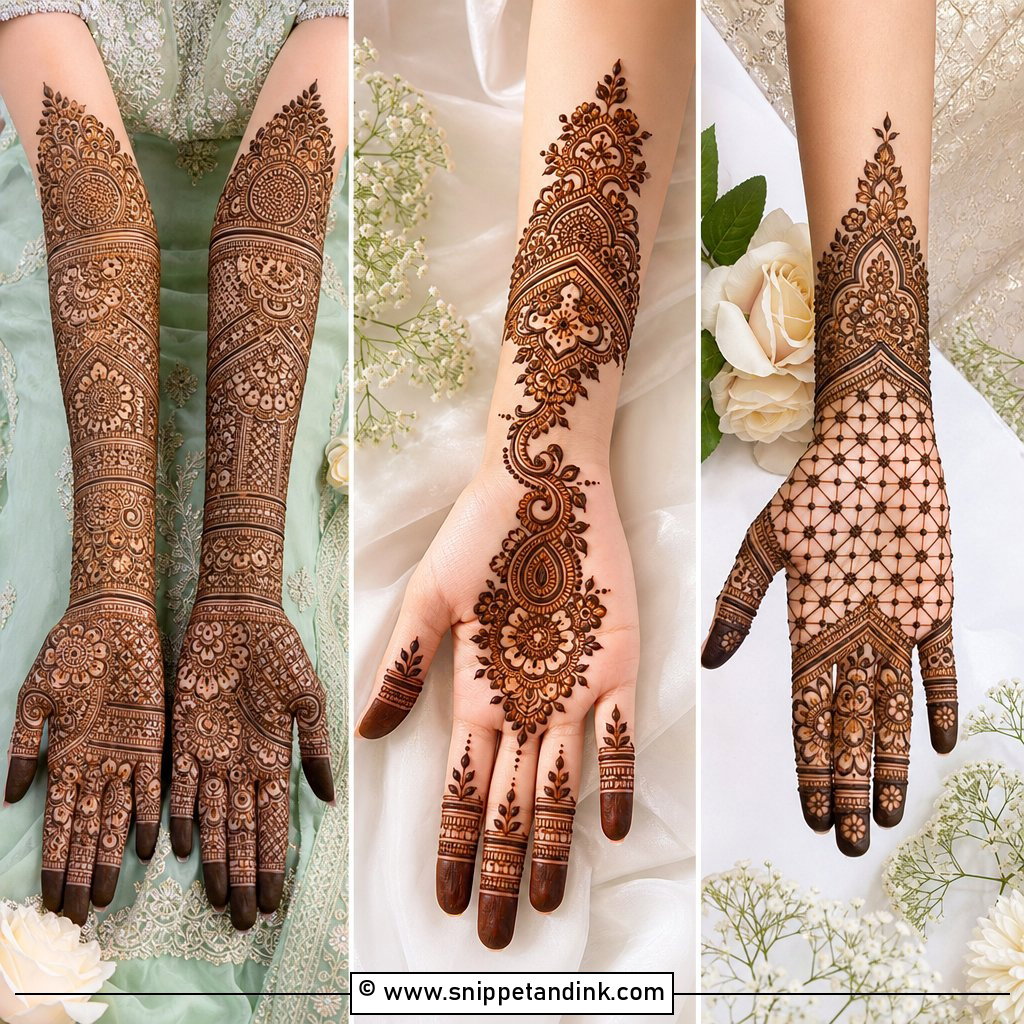
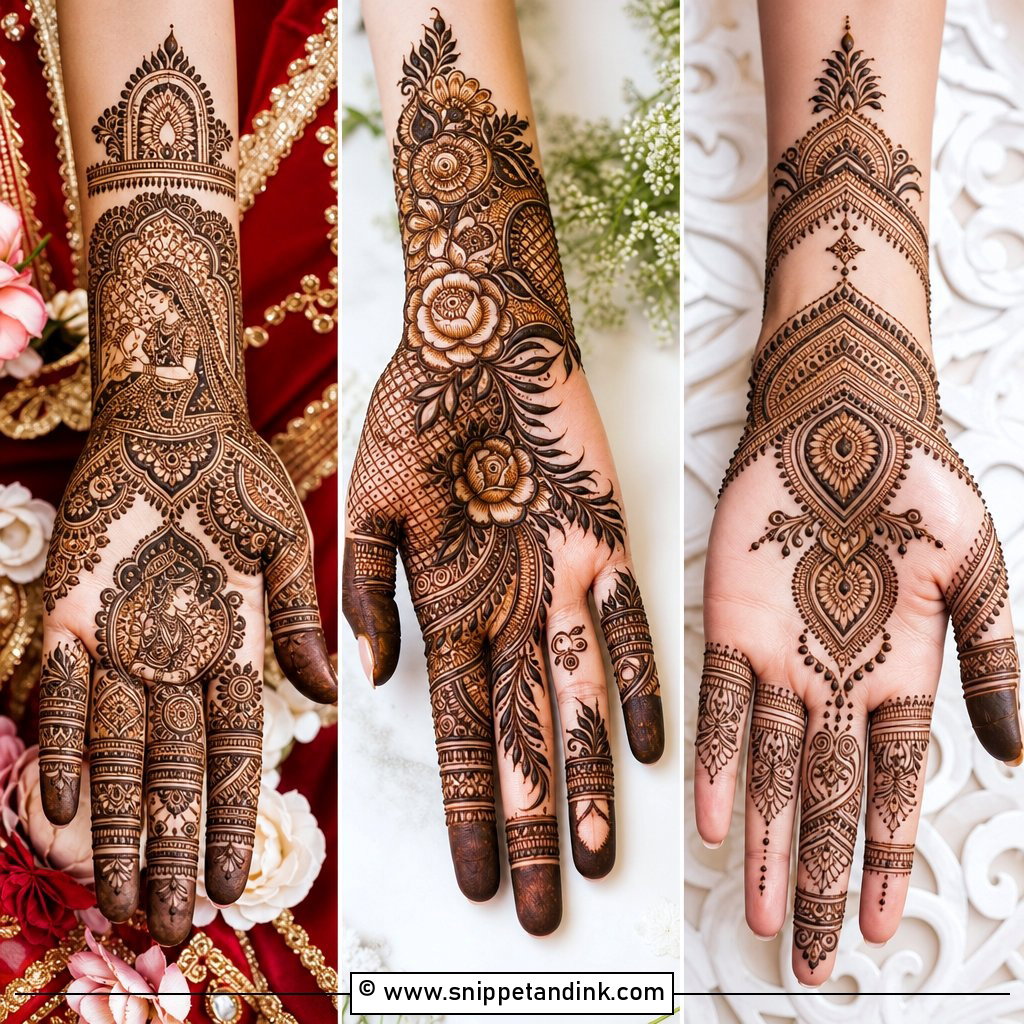
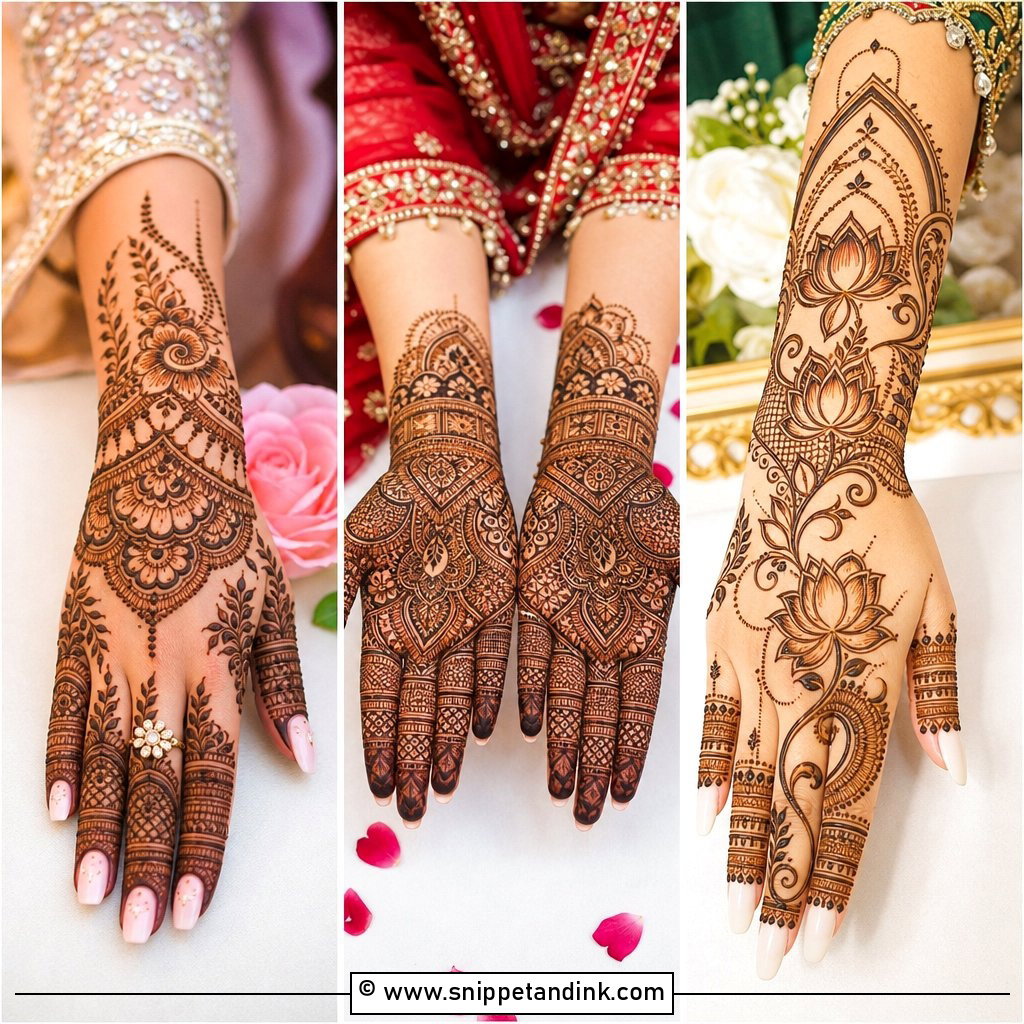
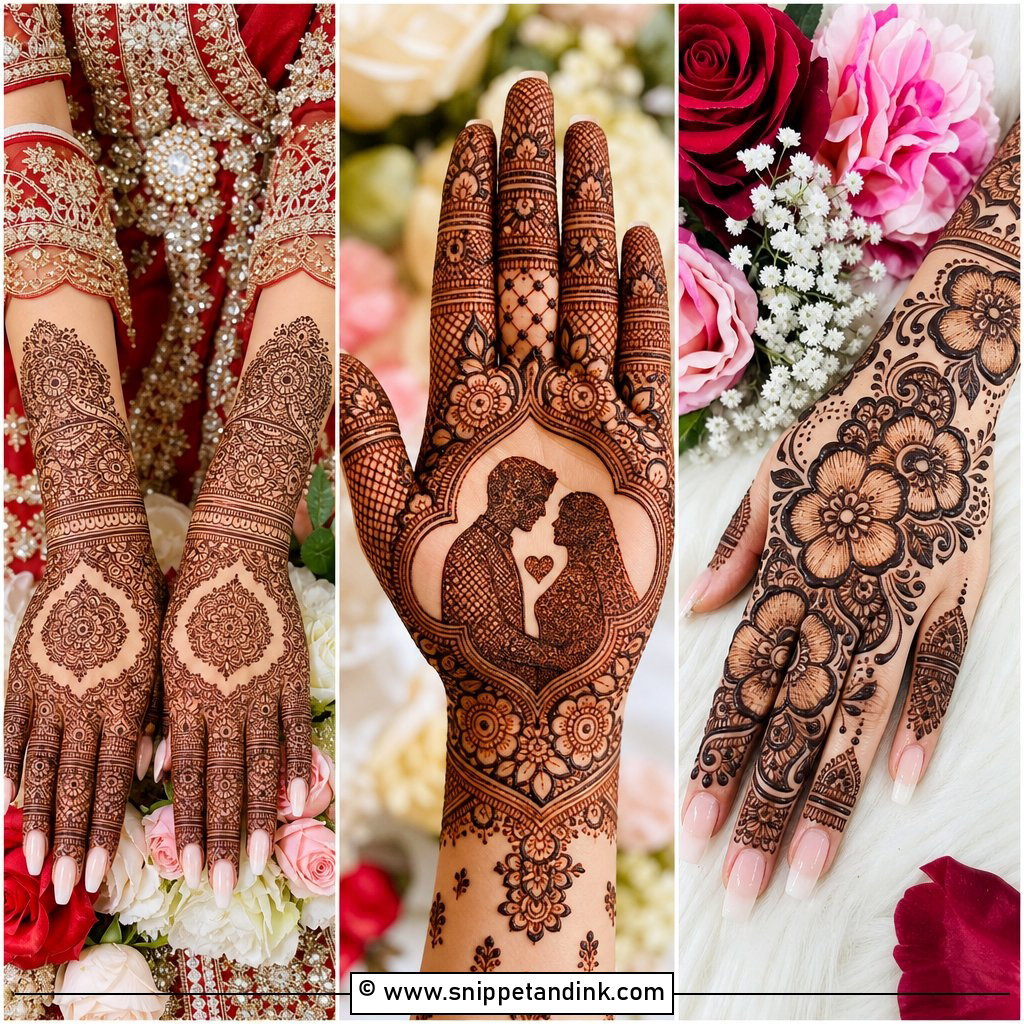
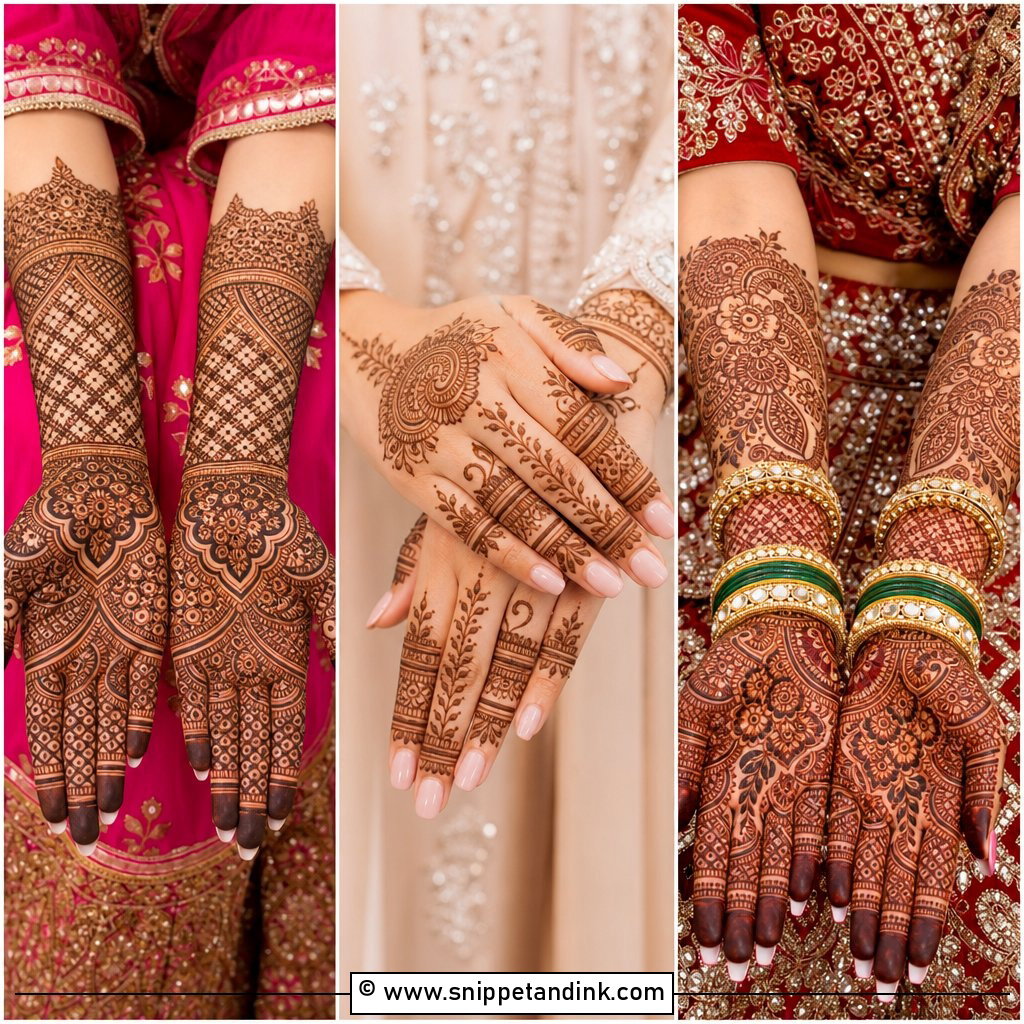
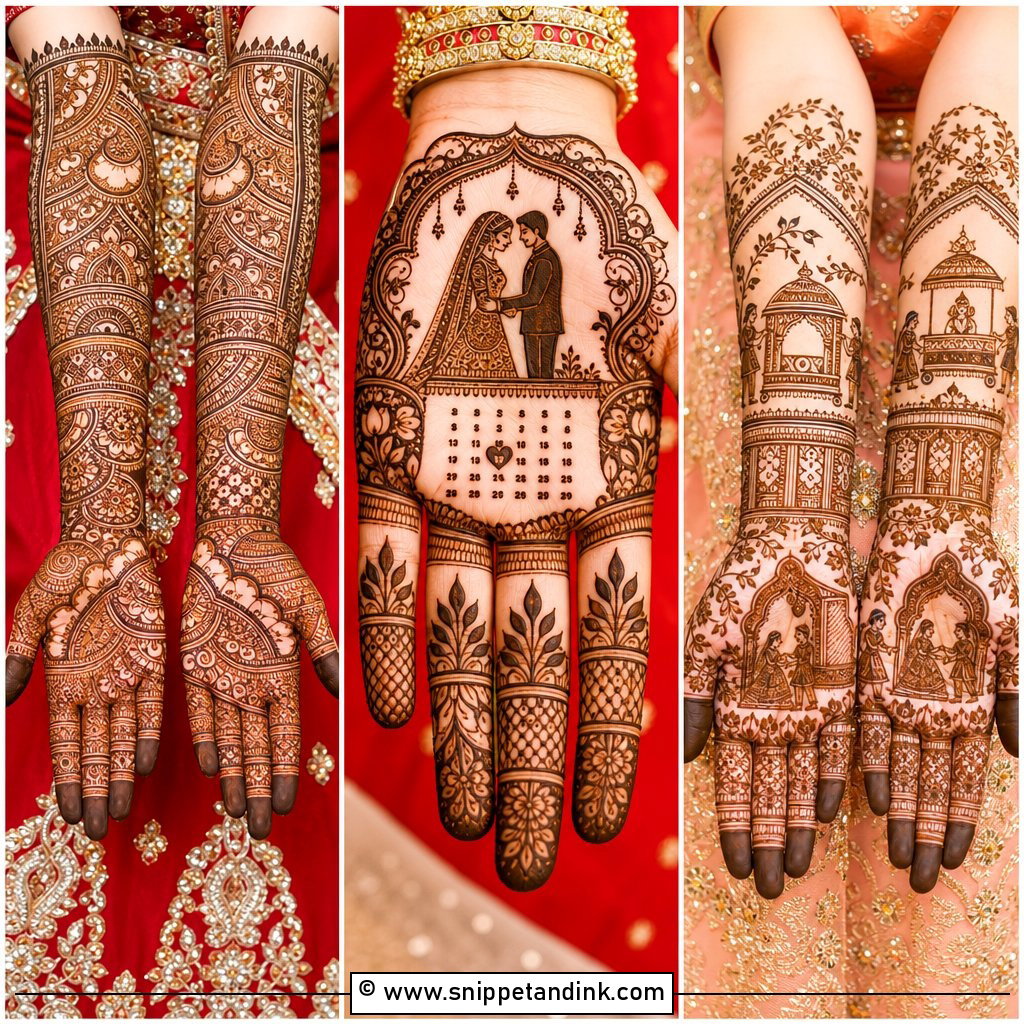
Back bridal mehndi designs end up in more wedding photographs than the palms ever do, because the back of the hand is what the camera sees during the ring exchange, the bouquet hold and every jewelry close-up. When I plan one, I treat it as a single composition running from fingertip to wrist rather than a handful of motifs dropped onto skin. The back of the hand also stains a shade or two lighter than the palm, so the layout has to read clearly at that lighter colour. Below are twenty-five layouts I’d talk through with a bride, from dense Indian coverage to open Arabic trails, with notes on how each one actually behaves once it’s on the hand.
Why the Back of Your Hand Stains Lighter Than the Palm
Almost every bride I work with notices the same thing the morning after: her palms are a deep red-brown and the backs of her hands look more orange. It’s the skin, not the paste. Henna dye binds to the outer layer of skin, and the palms and fingertips have a thicker layer than the back of the hand, so they hold more colour. The back of the hand also runs cooler. Expect it to land a shade or two lighter than your palms, and the forearm lighter again.
You can’t change your skin, but you can give the back of the hand its best chance:
- Come with clean, dry hands and no lotion or oil, so the paste sits directly on skin.
- Keep the paste on for at least six hours. Overnight is better, wrapped loosely so it doesn’t smear.
- Once the paste is dry, a light dab of lemon and sugar keeps it stuck to the skin and moist for longer.
- Stay warm. Cold hands stain weakly, which is why I ask brides not to sit under an air conditioner while it sets.
- Scrape the dried paste off with a blunt edge instead of washing it, and keep water away for the next twelve hours or so.
Design choices matter as well. Bolder lines and a little open skin read better at that lighter shade than hairline fillers packed tight, which is why I often draw the back of a bride’s hand slightly less dense than her palm.
1. Full Back Hand Bridal Mehndi Design
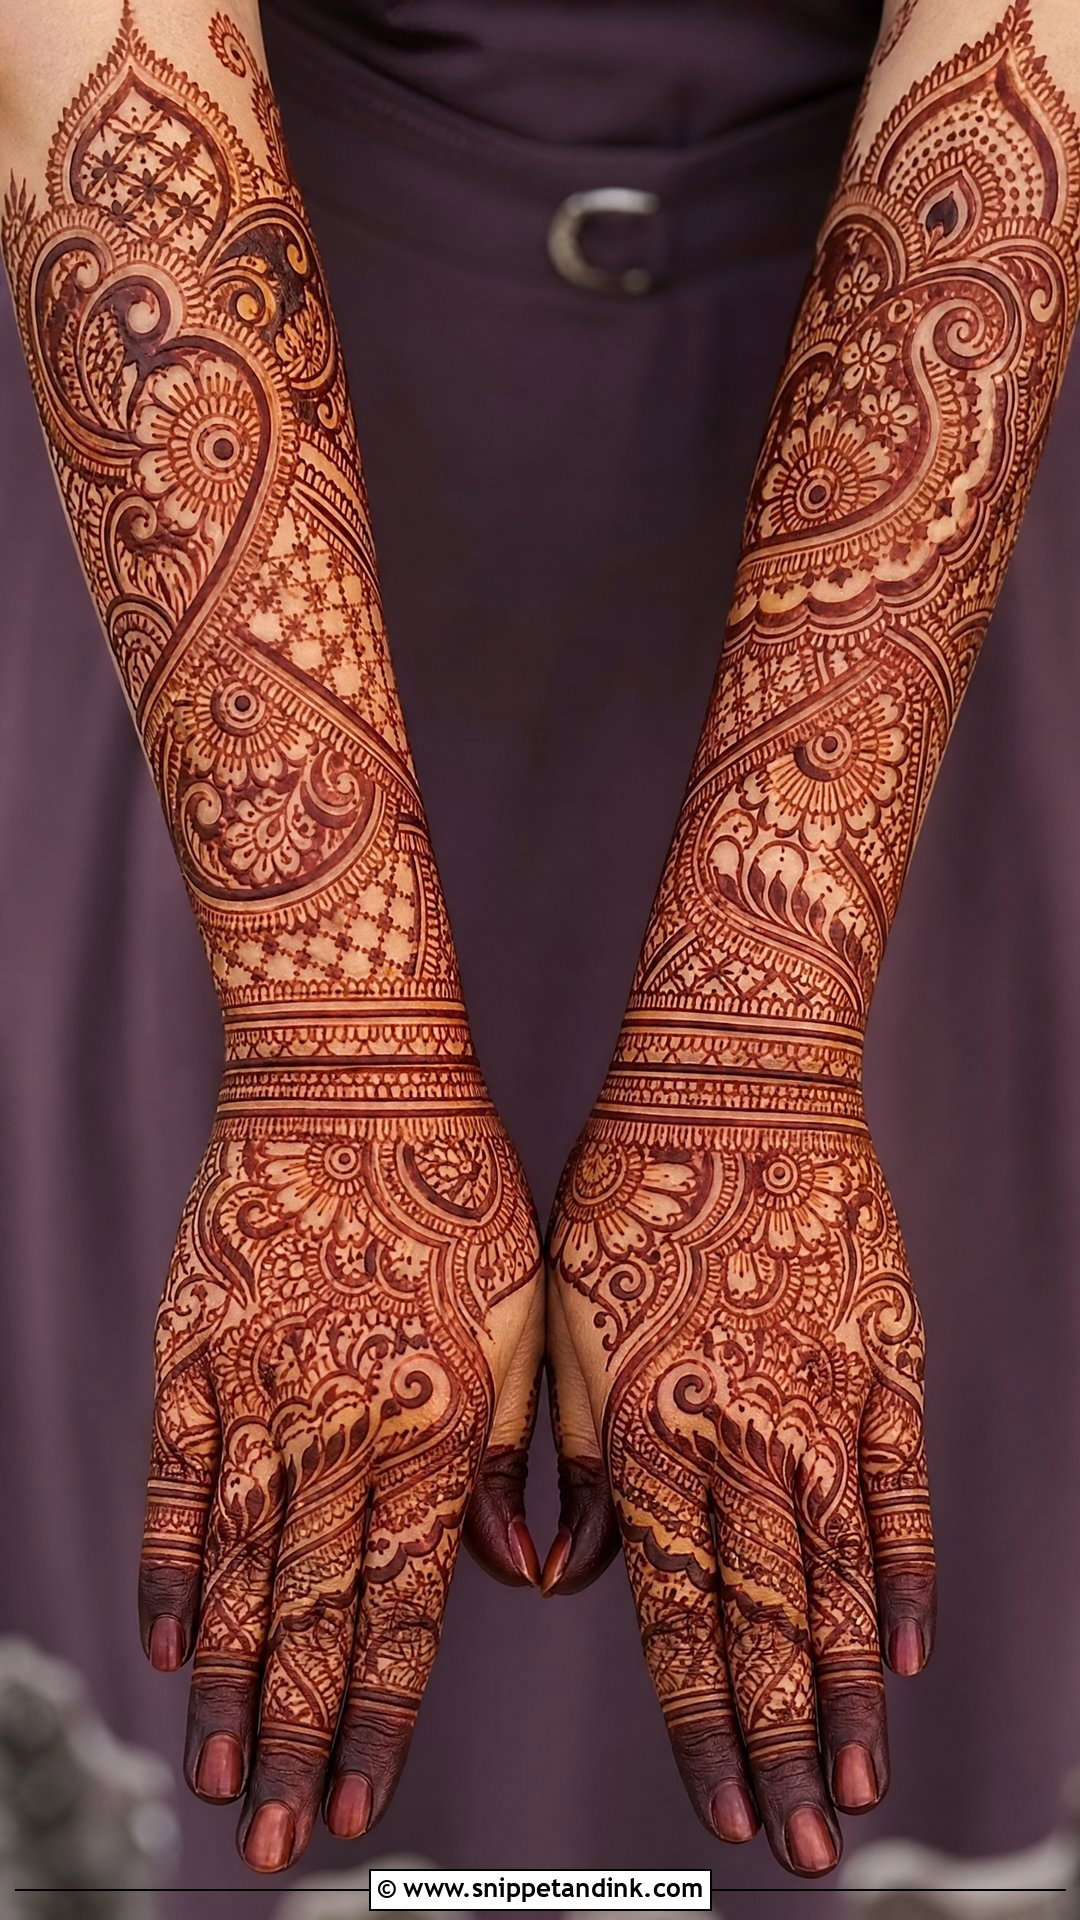
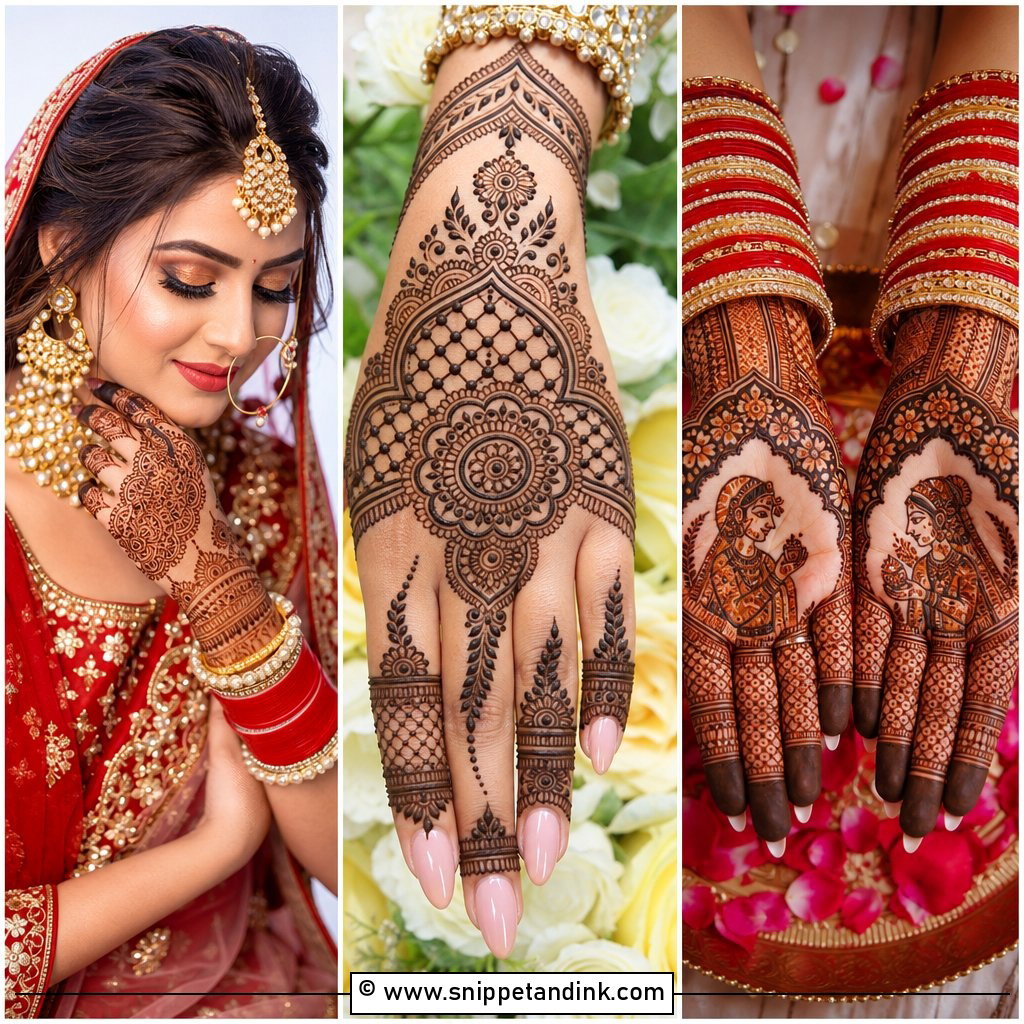
Coverage from nail bed to wrist bone is the traditional bridal choice, and it’s also the slowest to apply well. Paisleys, floral bands, leaf vines and fine dot fillers fill the hand, with a mandala, peacock or layered flower at the center. What I watch most closely is symmetry. I sketch the central motif on both hands before filling anything, because a few millimetres of drift shows instantly when the hands are photographed side by side. Next to a red lehenga and heavy gold bangles, this reads as complete rather than busy. Plan on a long sitting and keep the paste on overnight if you can.
2. Indian Back Bridal Mehndi Design
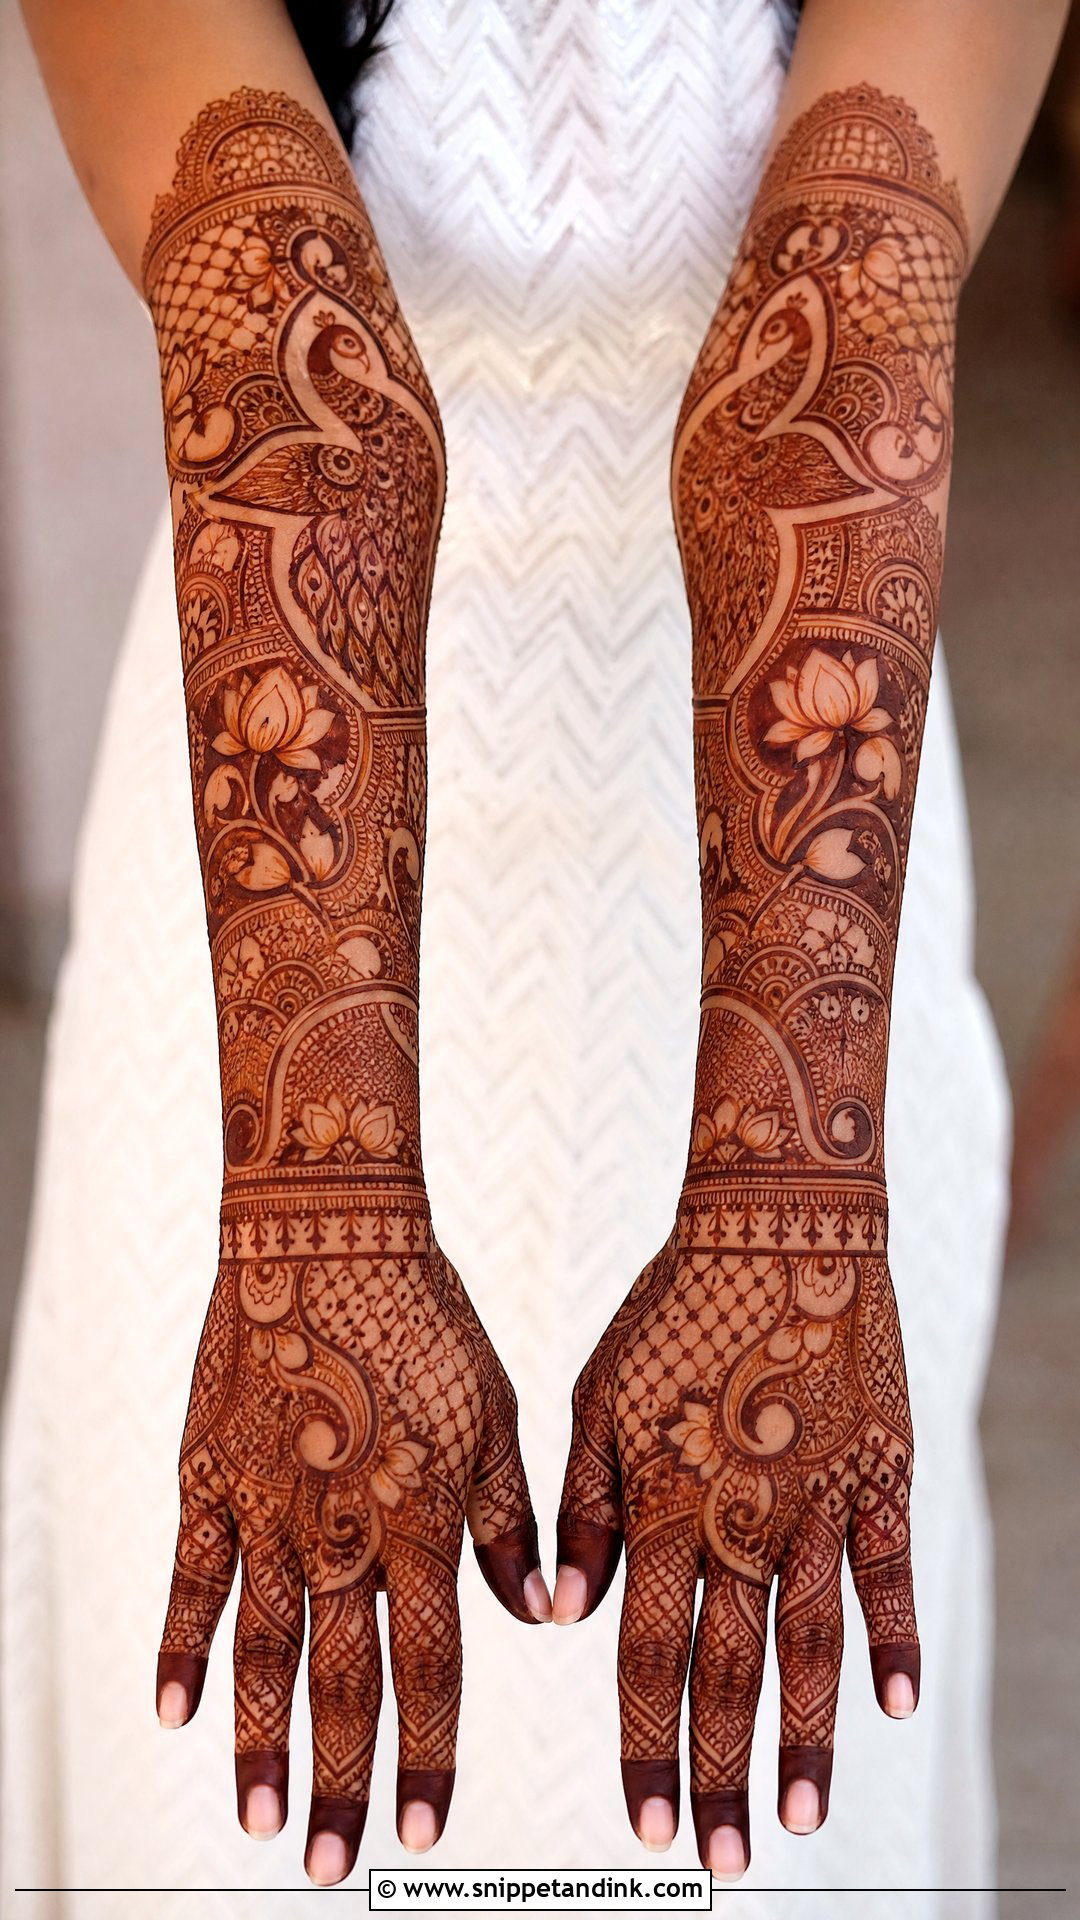
Dense Indian work leaves almost no bare skin. Paisleys, lotus flowers, peacocks, mesh sections and filled fingertips all share the hand, separated by fine lines and dots. With this much detail the danger is that everything turns into texture and nothing reads from across a room. I fix that by drawing one bold focal motif near the center first and building the fillers outward from it, so the eye has somewhere to land. On the back of the hand, very thin lines set too close can blur together as the colour develops, so I keep a hairline of skin between them.
3. Arabic Back Bridal Mehndi Design
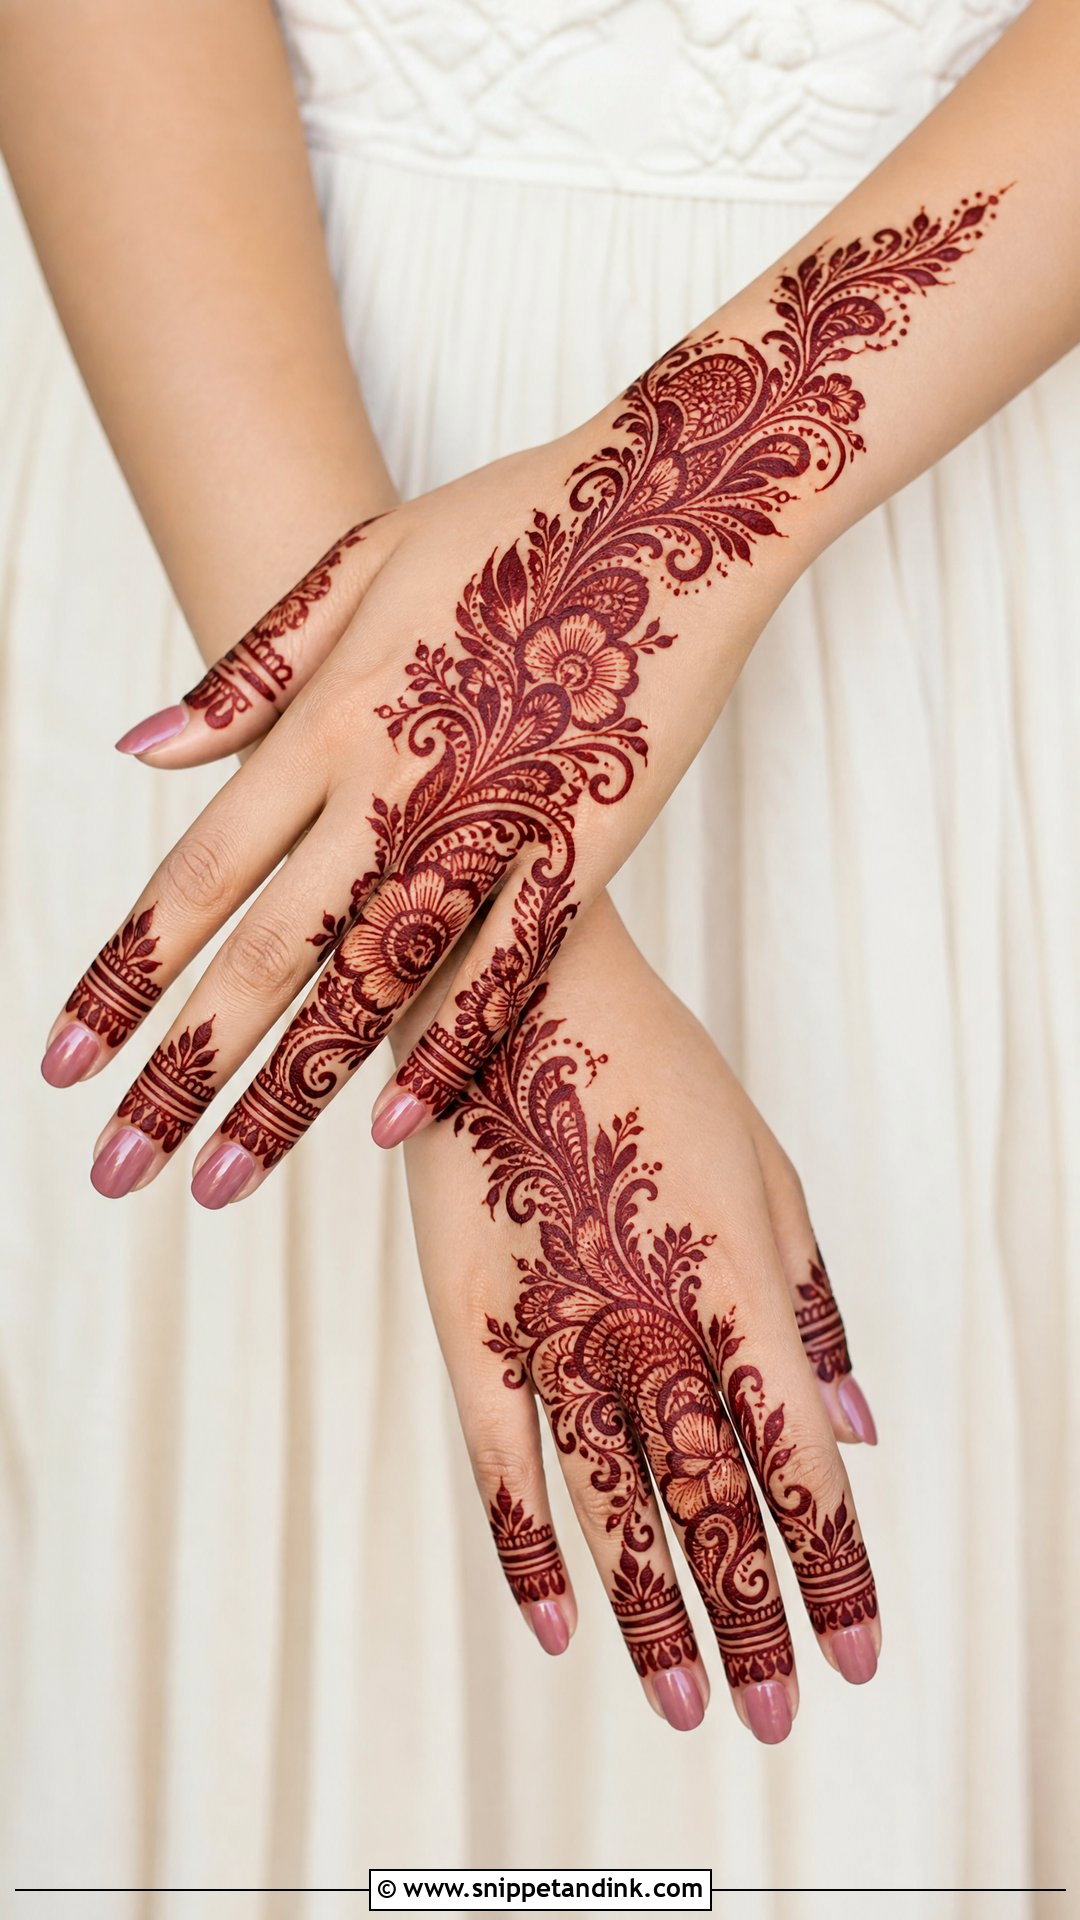
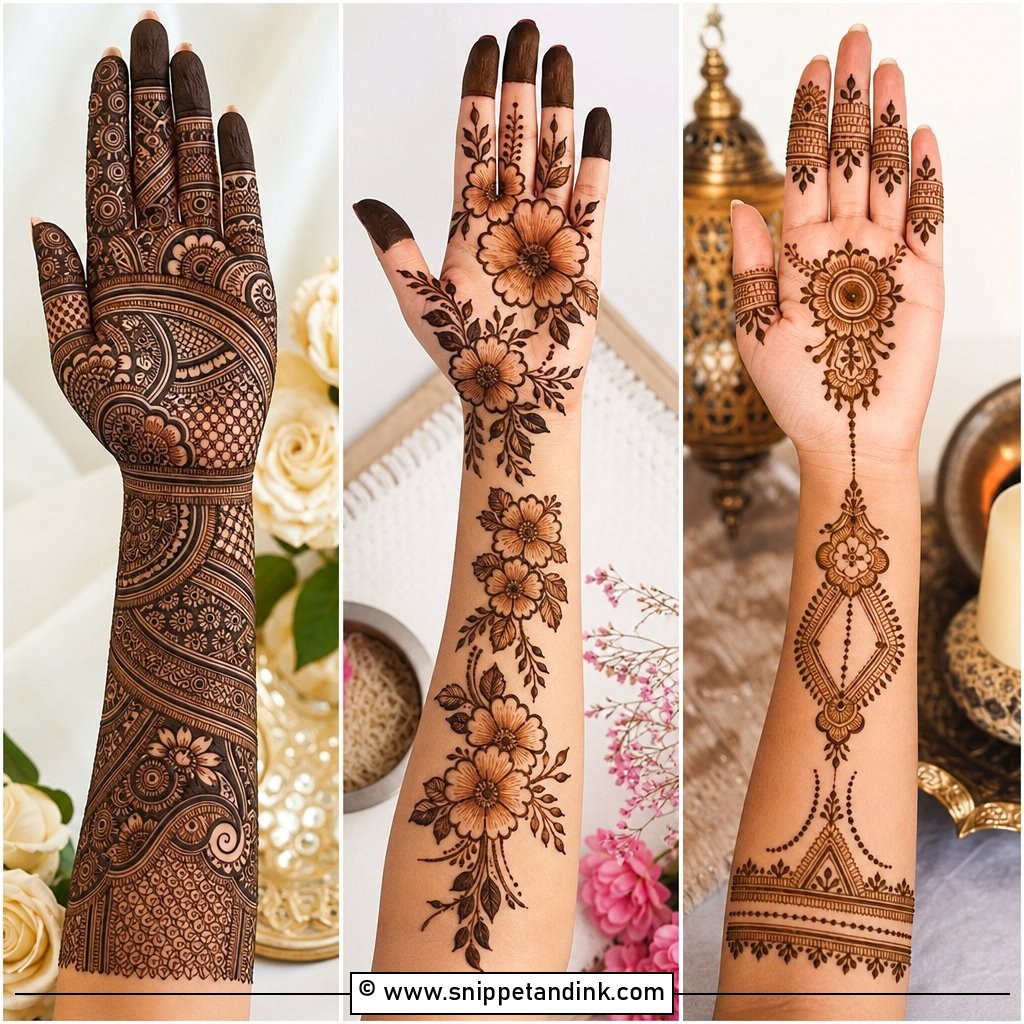
Arabic layouts run diagonally from the wrist toward the index finger, with large flowers, leafy vines and shaded petals, and the open skin around them does half the work. The thicker lines hold their shape even when the stain comes up lighter than hoped, which makes this a safe pick for the back of the hand. On its own it can feel a little casual for a bride. I usually add filled finger caps, a wrist cuff and a few fine Indian fillers tucked inside the bigger petals. The shading comes from thinning the paste line, and it needs a steady cone to look smooth rather than patchy.
4. Indo Arabic Back Bridal Mehndi Design
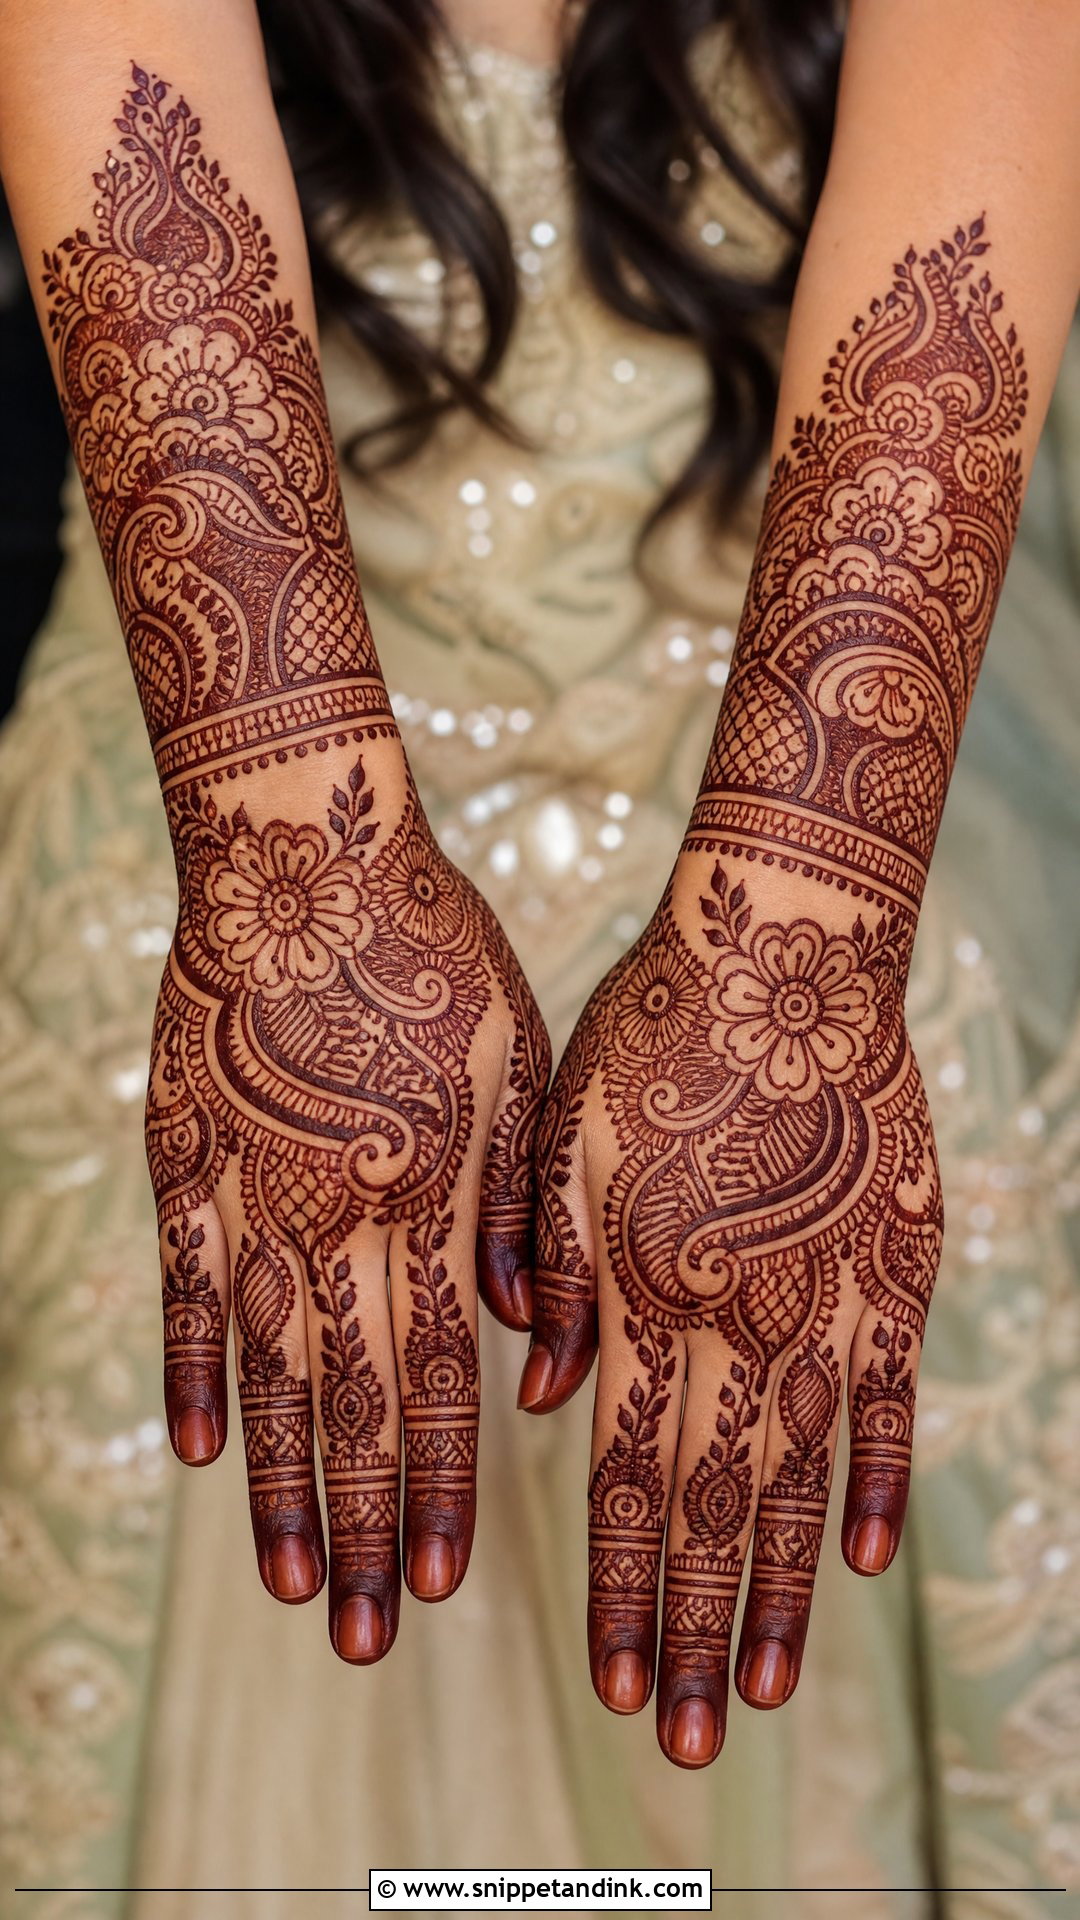
This one borrows the diagonal flow of Arabic work and the fine filling of Indian bridal patterns. Large florals or paisleys go down first across the hand, then I fill each one with lines, dots, checks and tiny petals. Brides who find full Indian coverage too heavy often settle here, since the open channels between motifs stop the hand from looking dark and crowded. I give the wrist a structured border, almost like a bracelet, so the diagonal has a clear place to stop instead of trailing off.
5. Mandala Back Bridal Mehndi Design
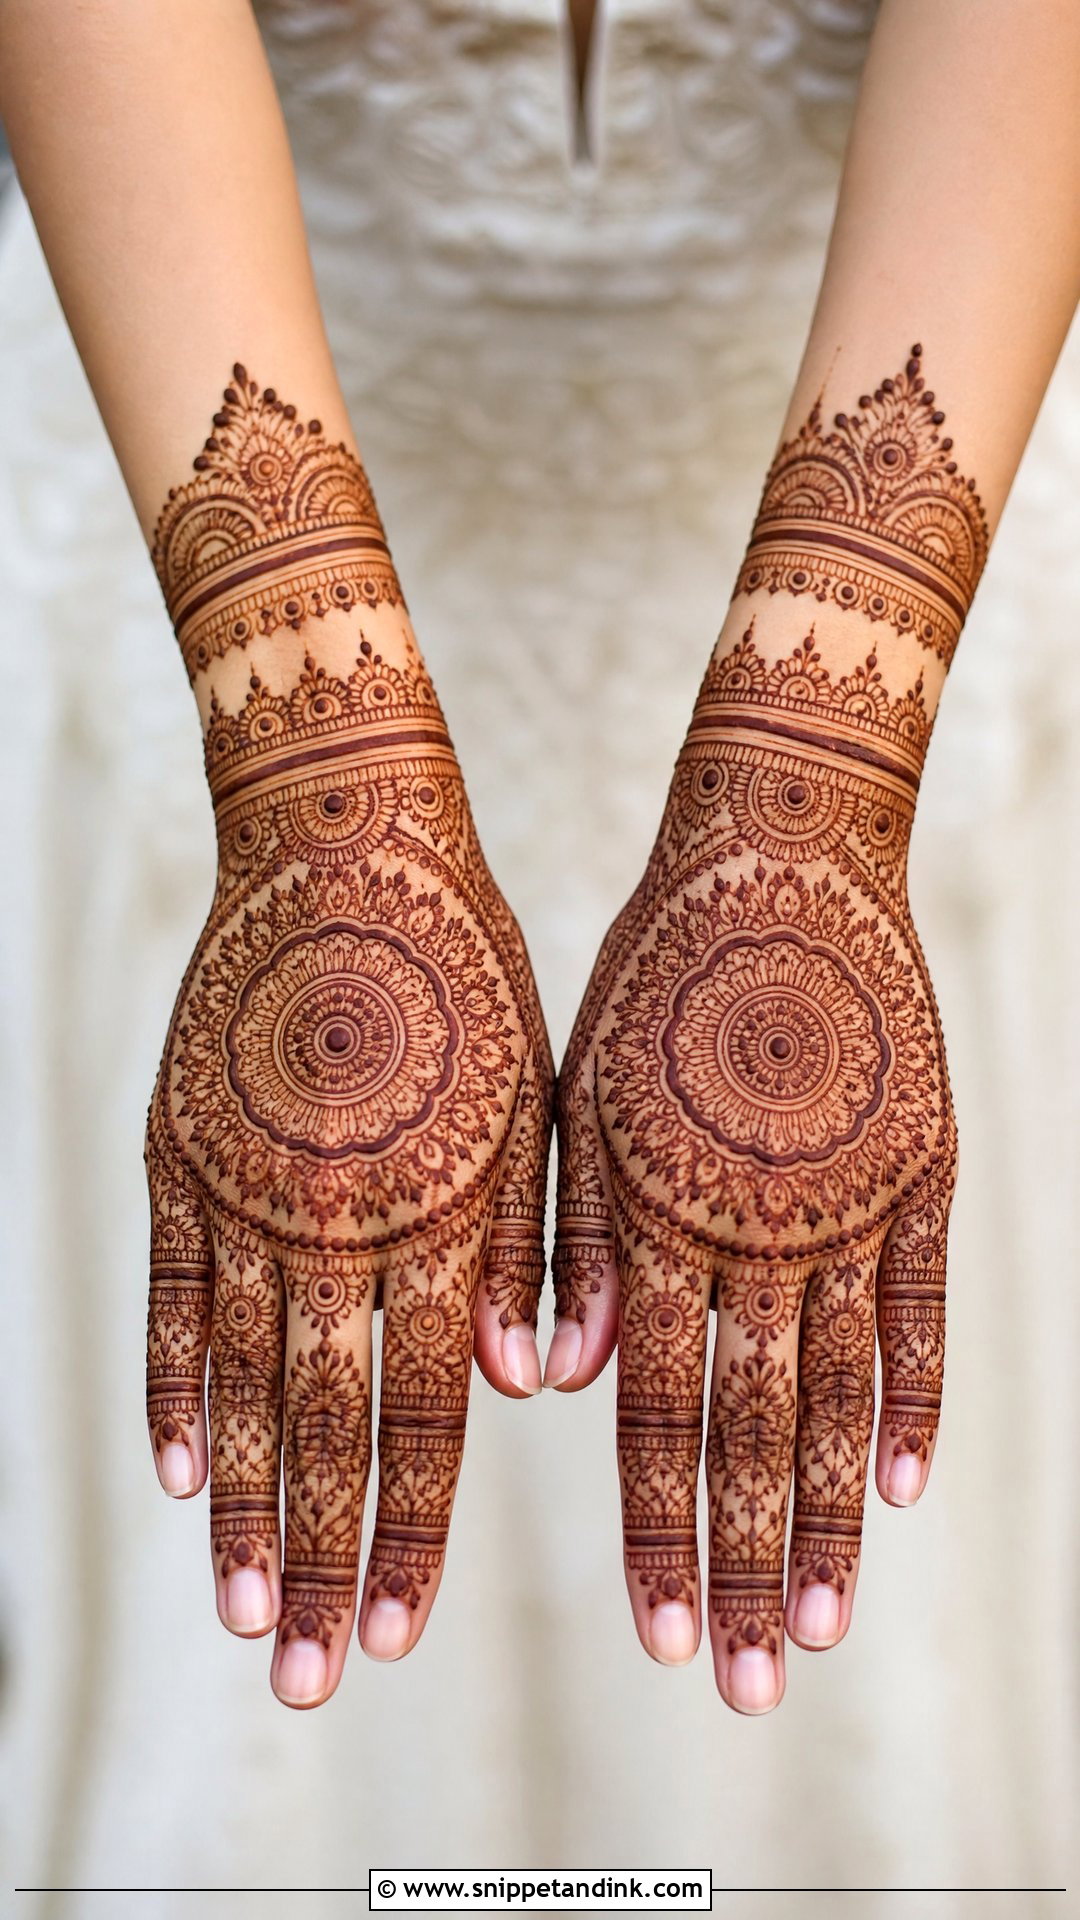
A mandala gives the hand a calm, centered structure. The main circular motif sits in the middle of the back hand, and the fingers and wrist pick up matching details. It sits naturally under a haath phool, because the jewelry’s chains radiate from that same point. The circle can be bold and plain or packed with scallops and fine inner rings. The first thing I check is where the knuckles fall: a mandala placed too high distorts when the bride curls her fingers around a bouquet. On small and medium hands the round center is very flattering, while on long, narrow hands I often stretch it into an oval.
6. Peacock Back Bridal Mehndi Design
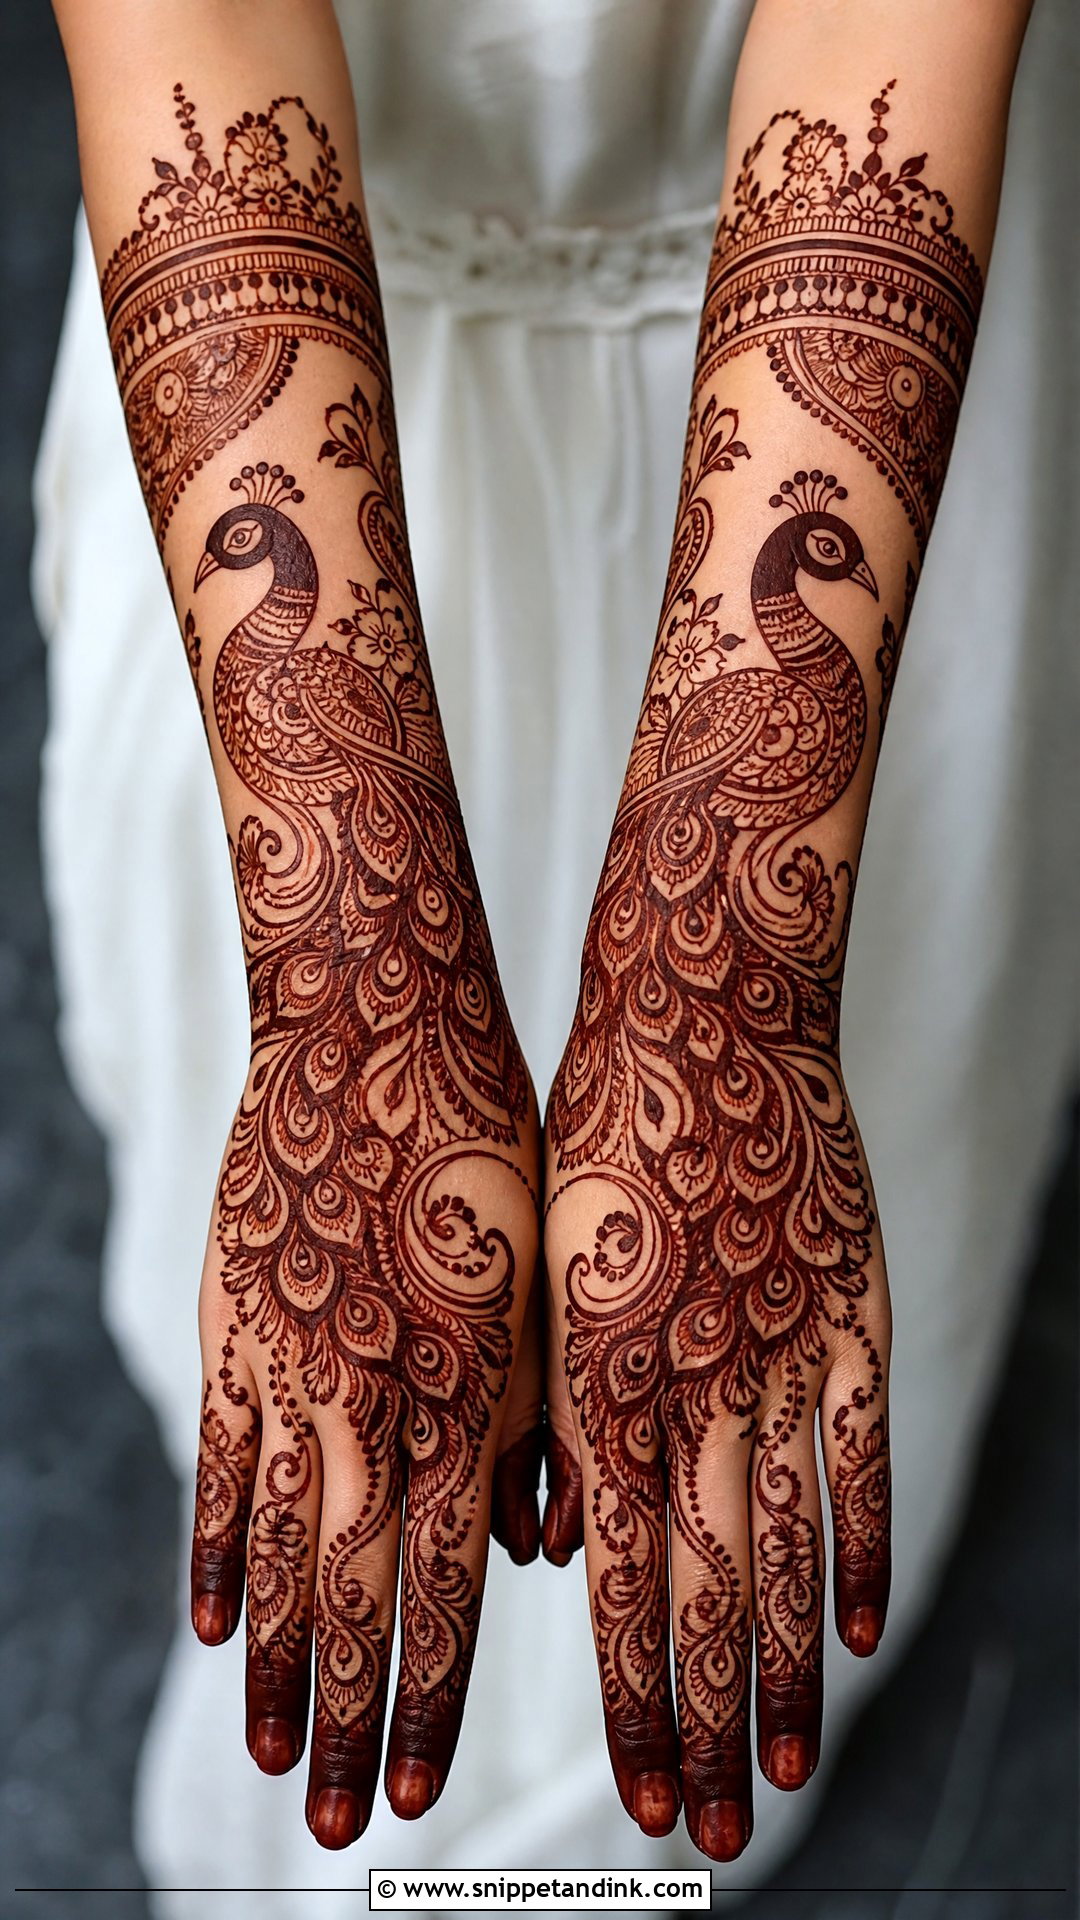
A peacock is festive and has a regal feel with classic Indian outfits, but size is where it goes wrong. Drawn too large, the bird swallows the hand and leaves the fingers with nothing. I keep the body compact near the center and let the feathers sweep toward the fingers or down to the wrist, filled with small paisleys, net and shaded curves. That fan of feathers is what ties the sections together. This pattern suits a deep maroon stain, so fresh natural paste and a long wear time matter more here than on lighter designs.
7. Floral Back Bridal Mehndi Design
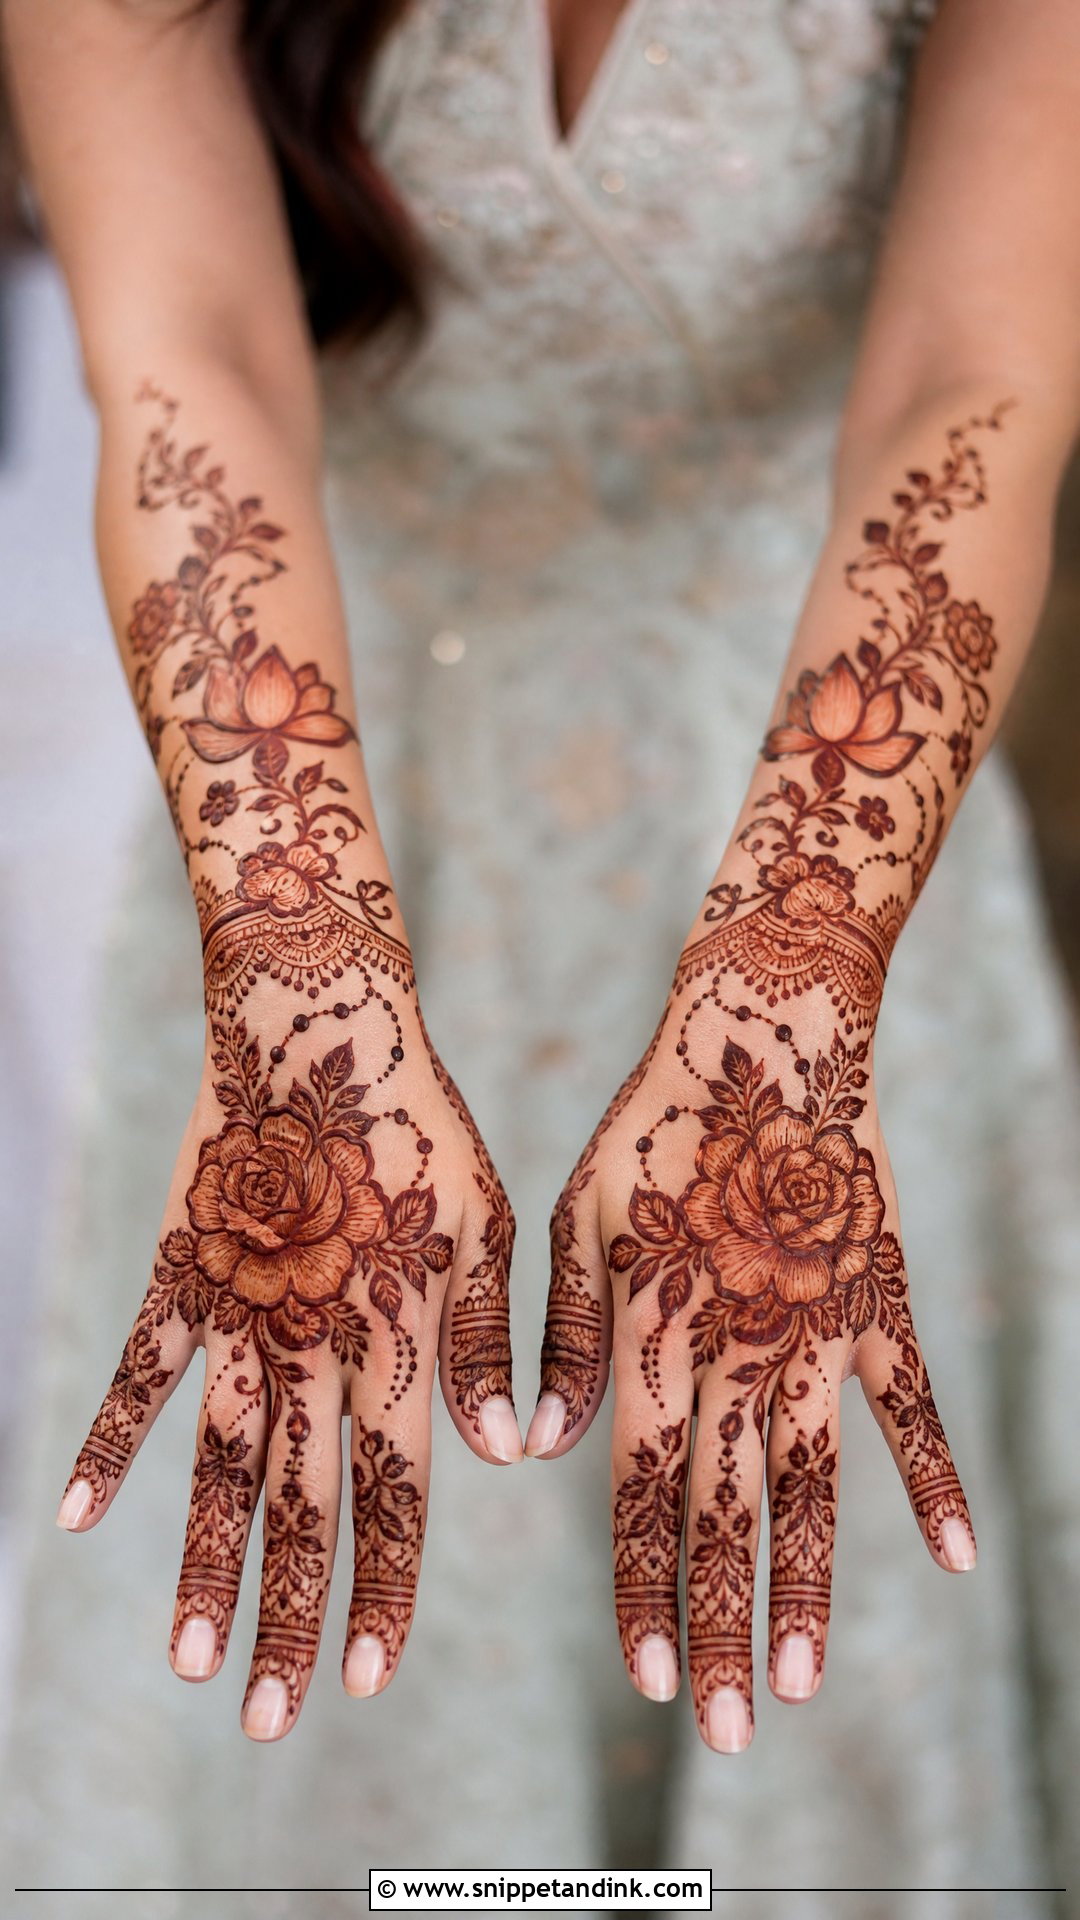
Floral work suits a bride who wants something feminine without symbolic motifs. Roses, lotus flowers, small blossoms and vines can be laid out as full coverage or left slightly open. I put the biggest flowers near the center and shrink them as they travel toward the fingertips and wrist, which keeps the scale natural. Fine line shading inside the petals and dotted trails along the vines give depth. Skip that shading and flat outline flowers start to look like a festival design rather than a bridal one.
8. Paisley Back Bridal Mehndi Design
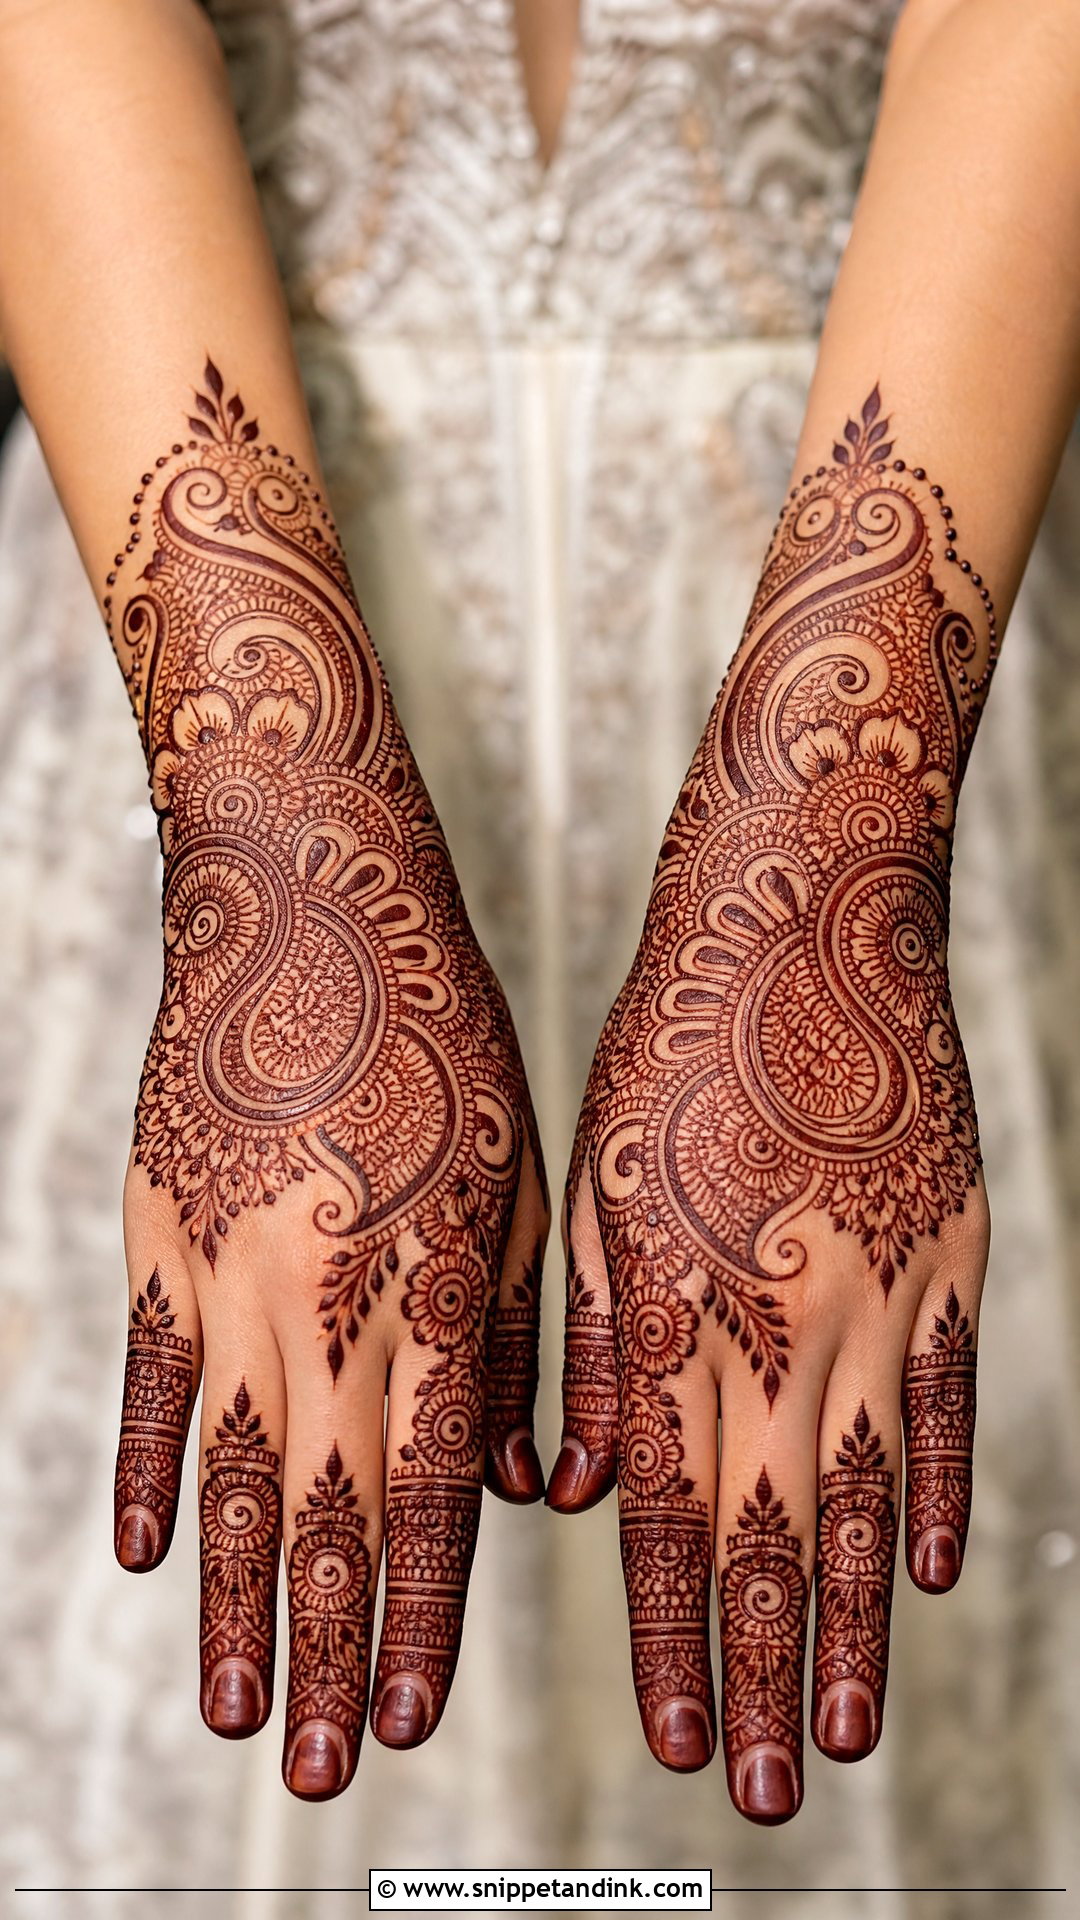
Paisleys have carried bridal henna for generations, and they still read as traditional without needing portraits or personal elements. I arrange them in rows, curves or a diagonal trail, and each one gets its own interior of tiny petals, dots, spirals and leafy details. The wrist takes a cuff; the fingers carry smaller paisley repeats or fine bands. Because the teardrop bends with the hand’s natural curve, it suits almost every hand shape, and pointing the tips toward the fingers makes them look longer.
9. Jaali Back Bridal Mehndi Design
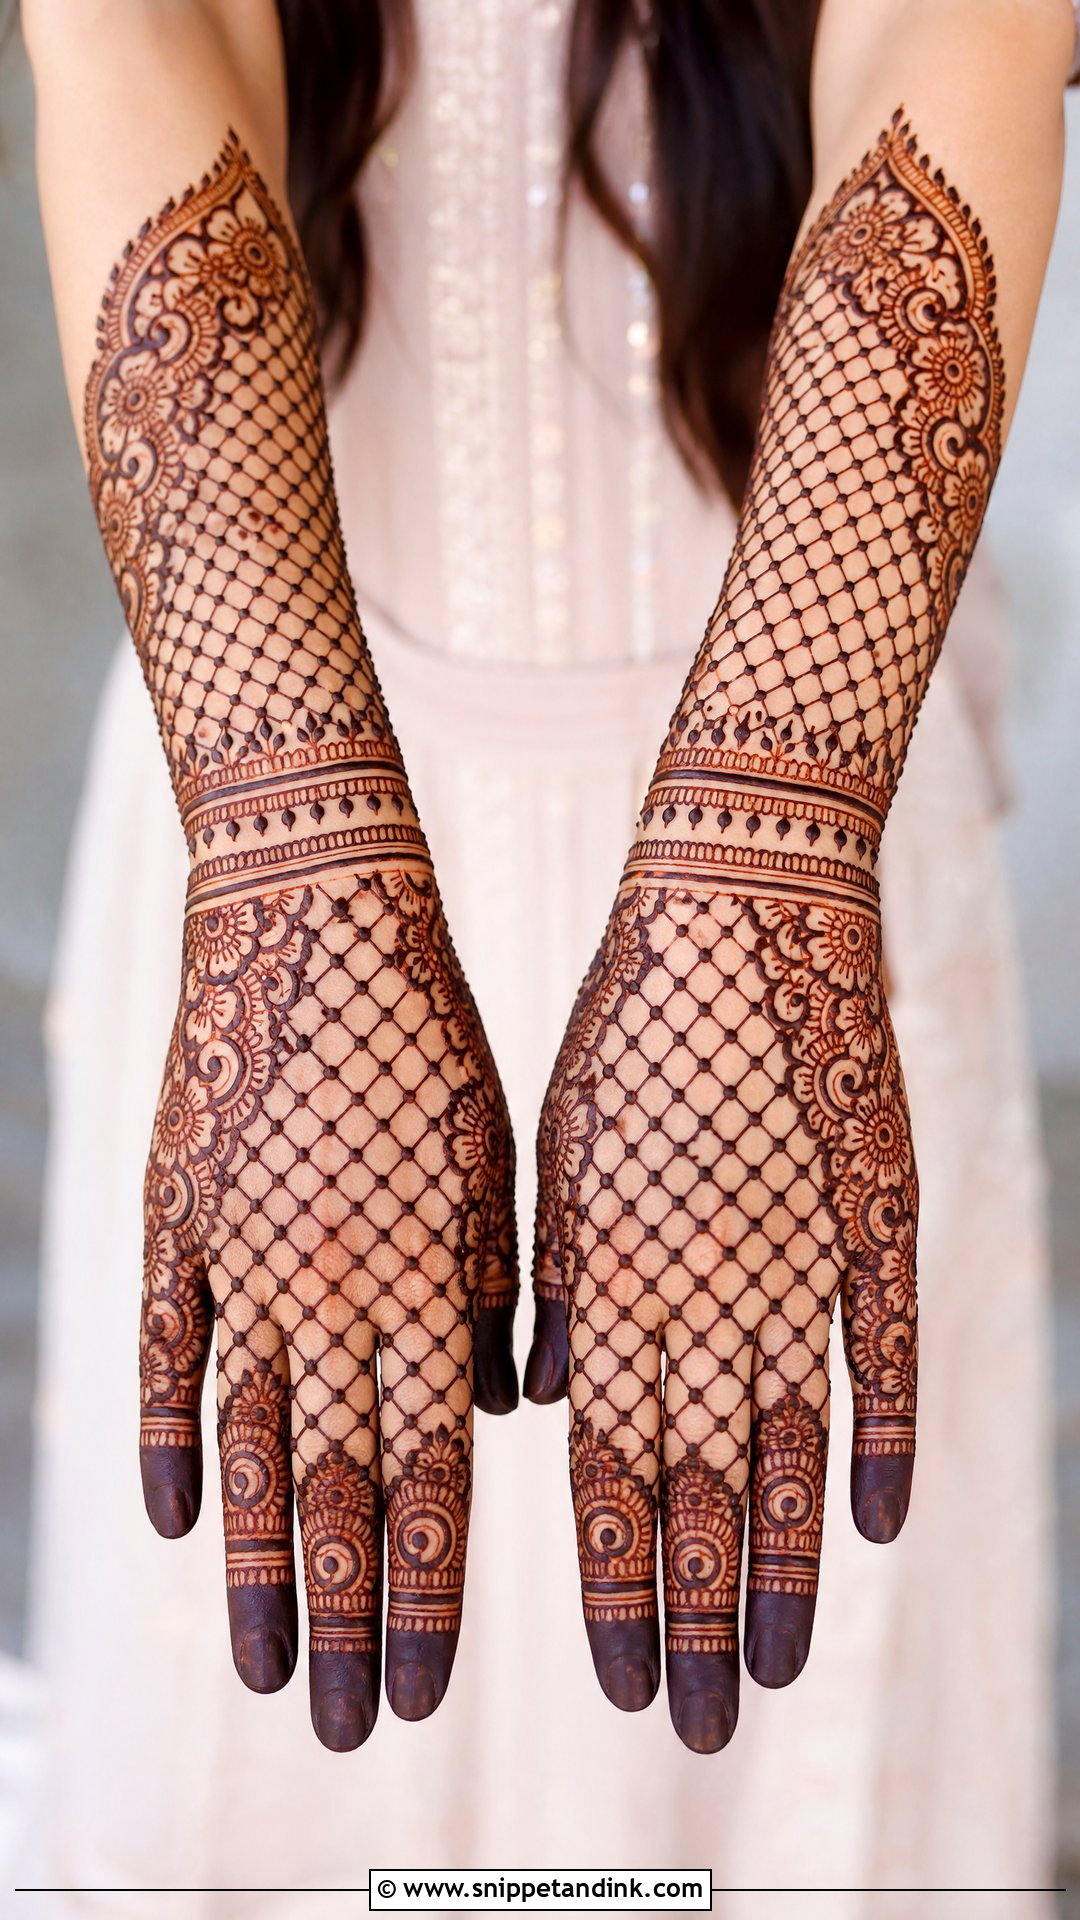
Jaali is mesh: checks and net lines that add texture without piling on heavy fillers. It can fill the center of the hand, the wrist, or the gaps between florals and paisleys. Of everything here, it’s the least forgiving. An uneven grid shows straight away in a ring close-up, so I only recommend it when the artist has a steady hand and a fine cone tip. Framed by bold floral borders and filled fingertips, a clean jaali looks refined next to rings and bangles.
10. Jewelry Back Bridal Mehndi Design
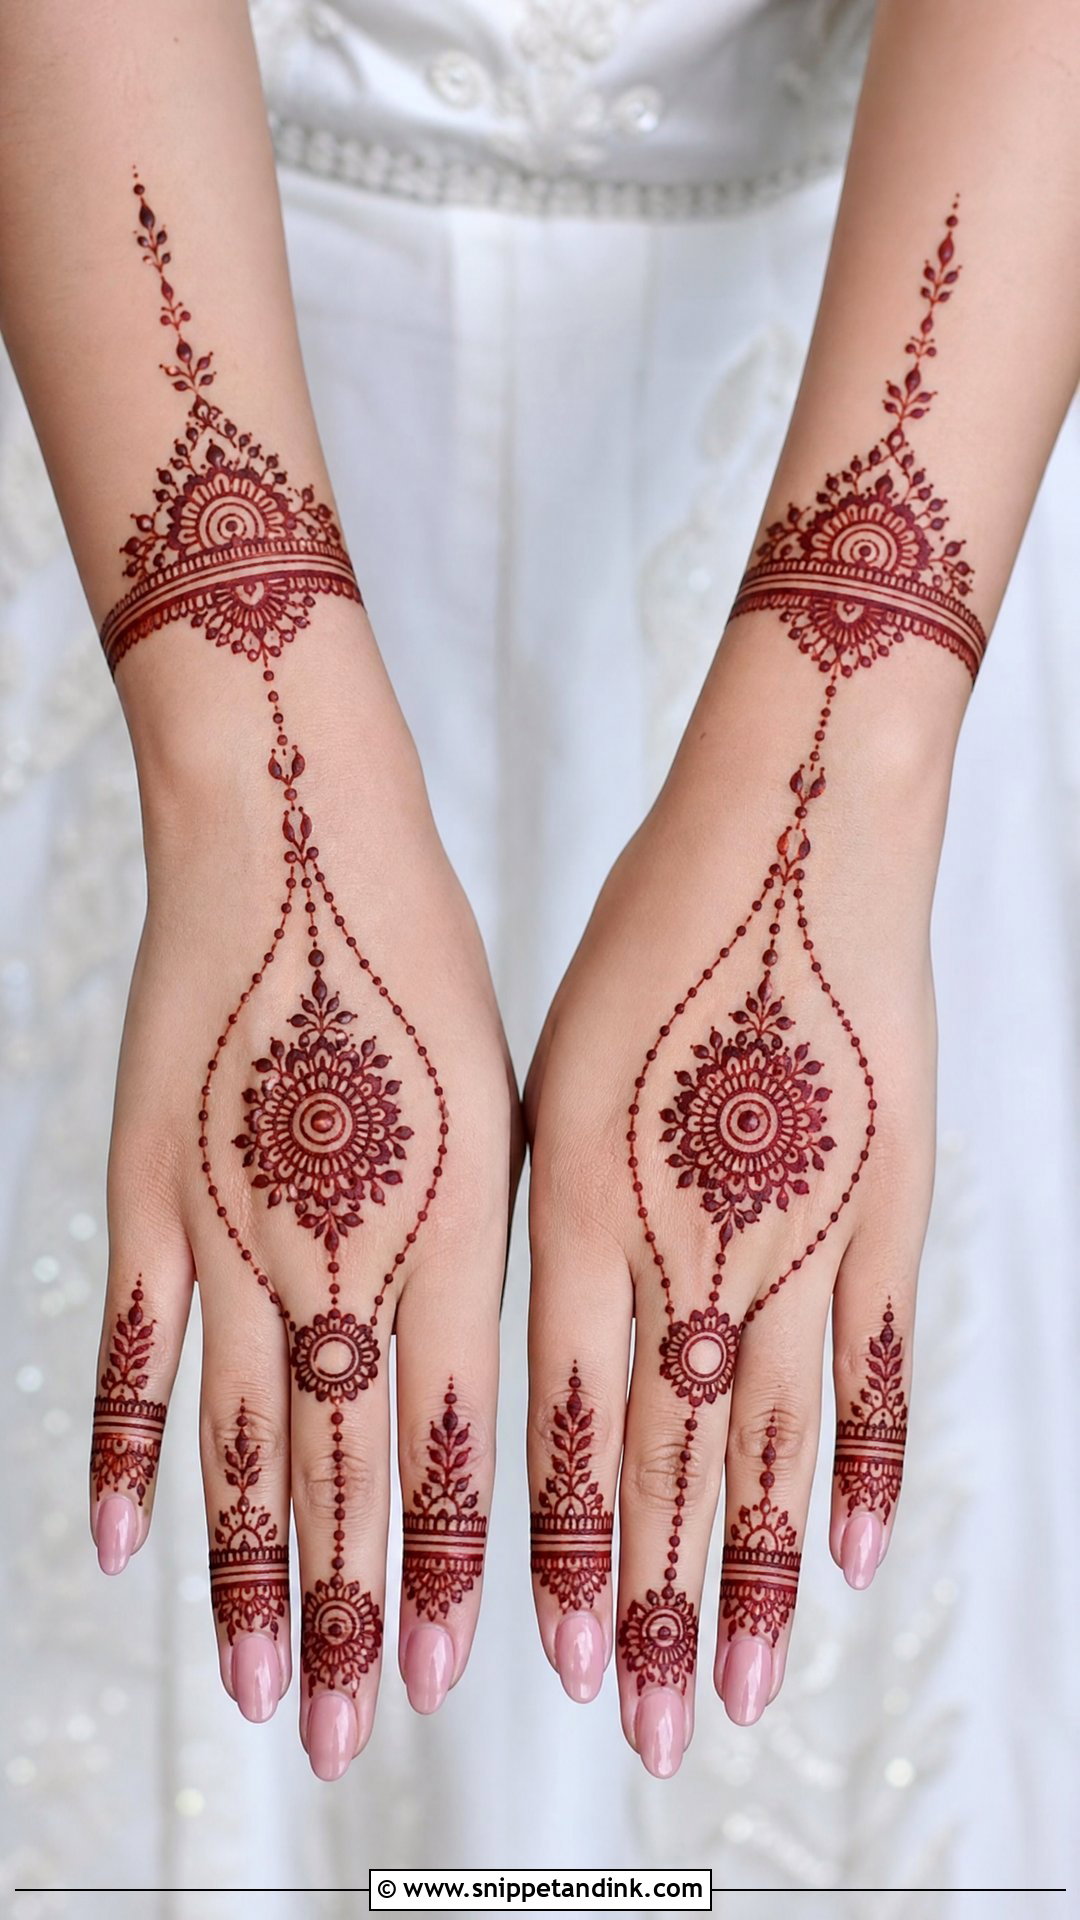
This layout imitates a haath phool: ring shapes on the fingers, fine chain lines running back to a central motif, and a bracelet-style band at the wrist. It can stand in for real hand jewelry or sit underneath it. If you’re wearing an actual haath phool, bring it to the appointment. I either line the drawn chains up with where the metal will sit or offset them on purpose so the henna shows between, because two chains running almost parallel look like a mistake. Tiny florals, leaf chains and a bold wrist cuff keep it bridal rather than dainty.
11. Royal Back Bridal Mehndi Design
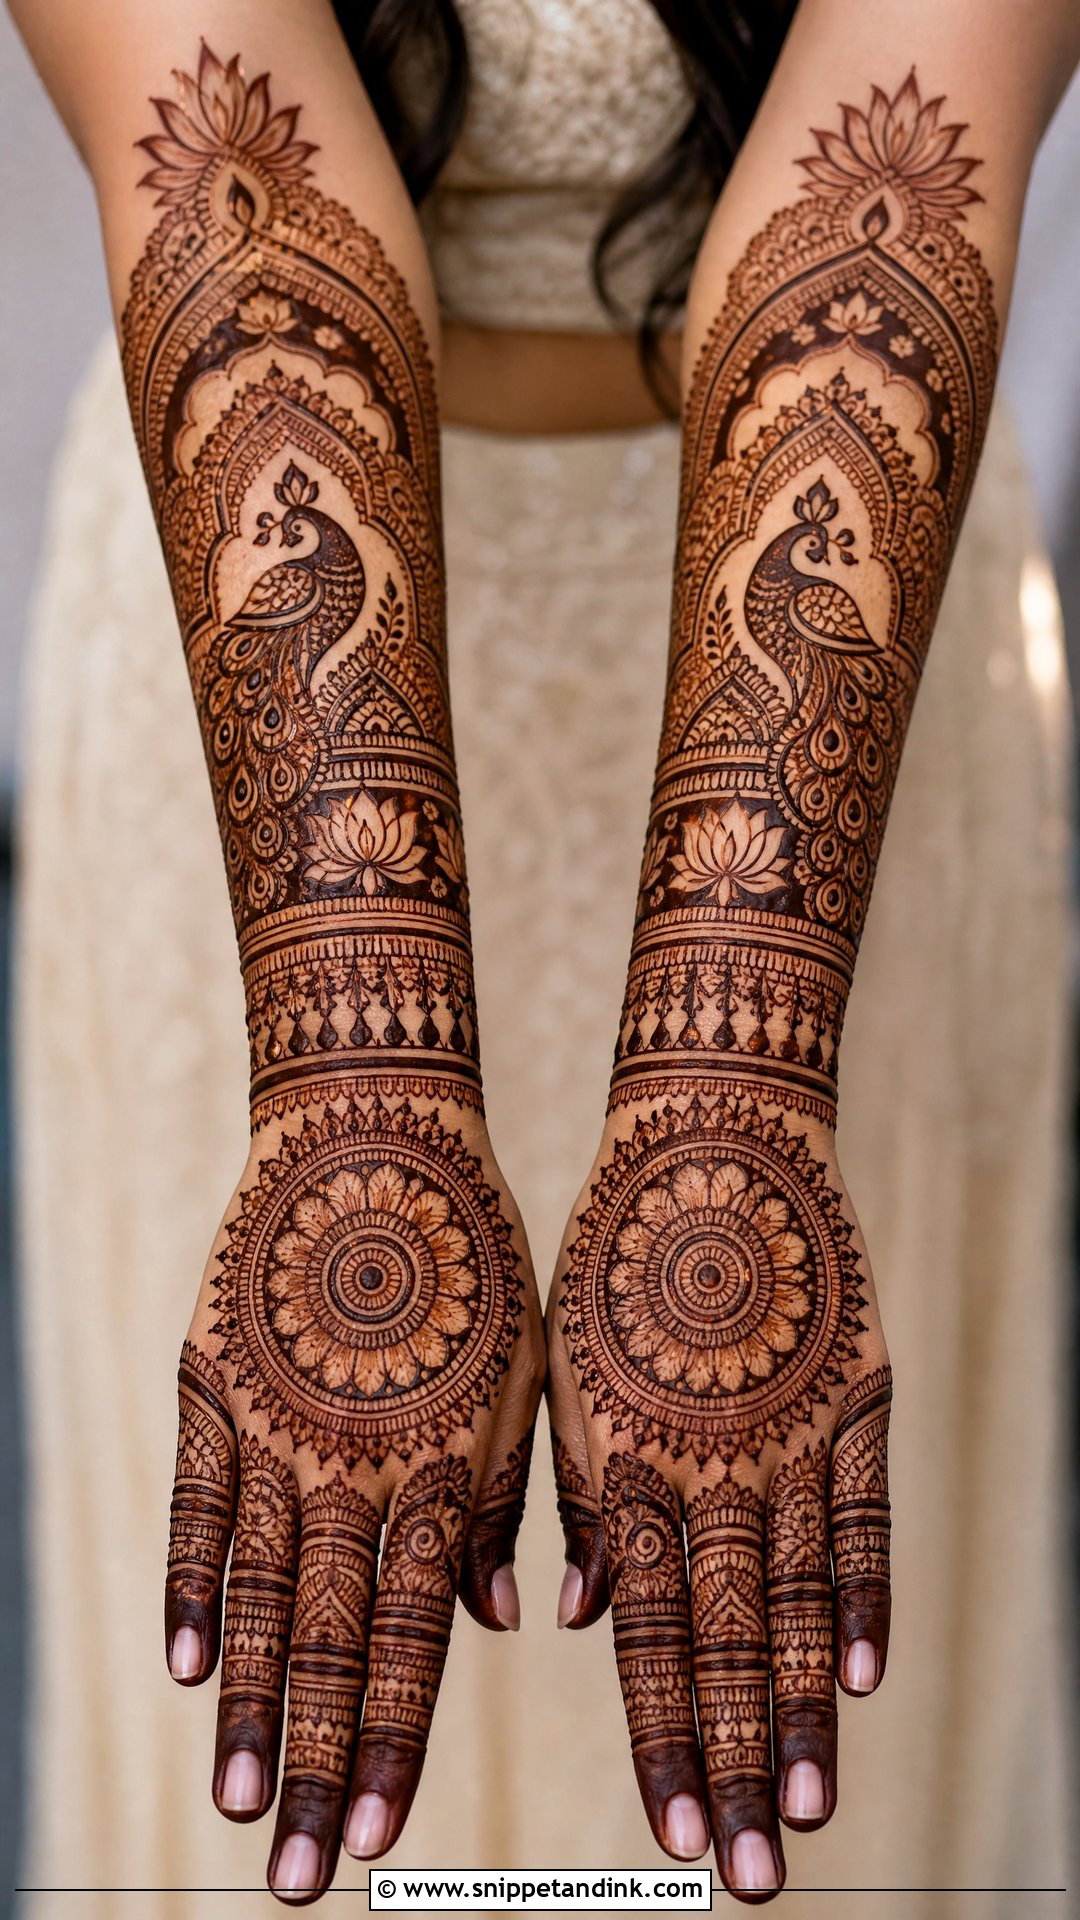
Royal layouts go big: bold central motifs, layered borders, peacocks, paisleys, lotus work and dense finger detail, often with small palace arches or ornamental bands. Done carelessly, it looks random. Done well, the hand is divided into clear sections that step from the fingers down to the wrist and forearm. I mark those section lines before anything else and keep the main shapes large enough to read from a distance, then fill. It holds up against heavy bridal outfits, temple jewelry and kundan sets, where a lighter design would disappear.
12. Simple Back Bridal Mehndi Design
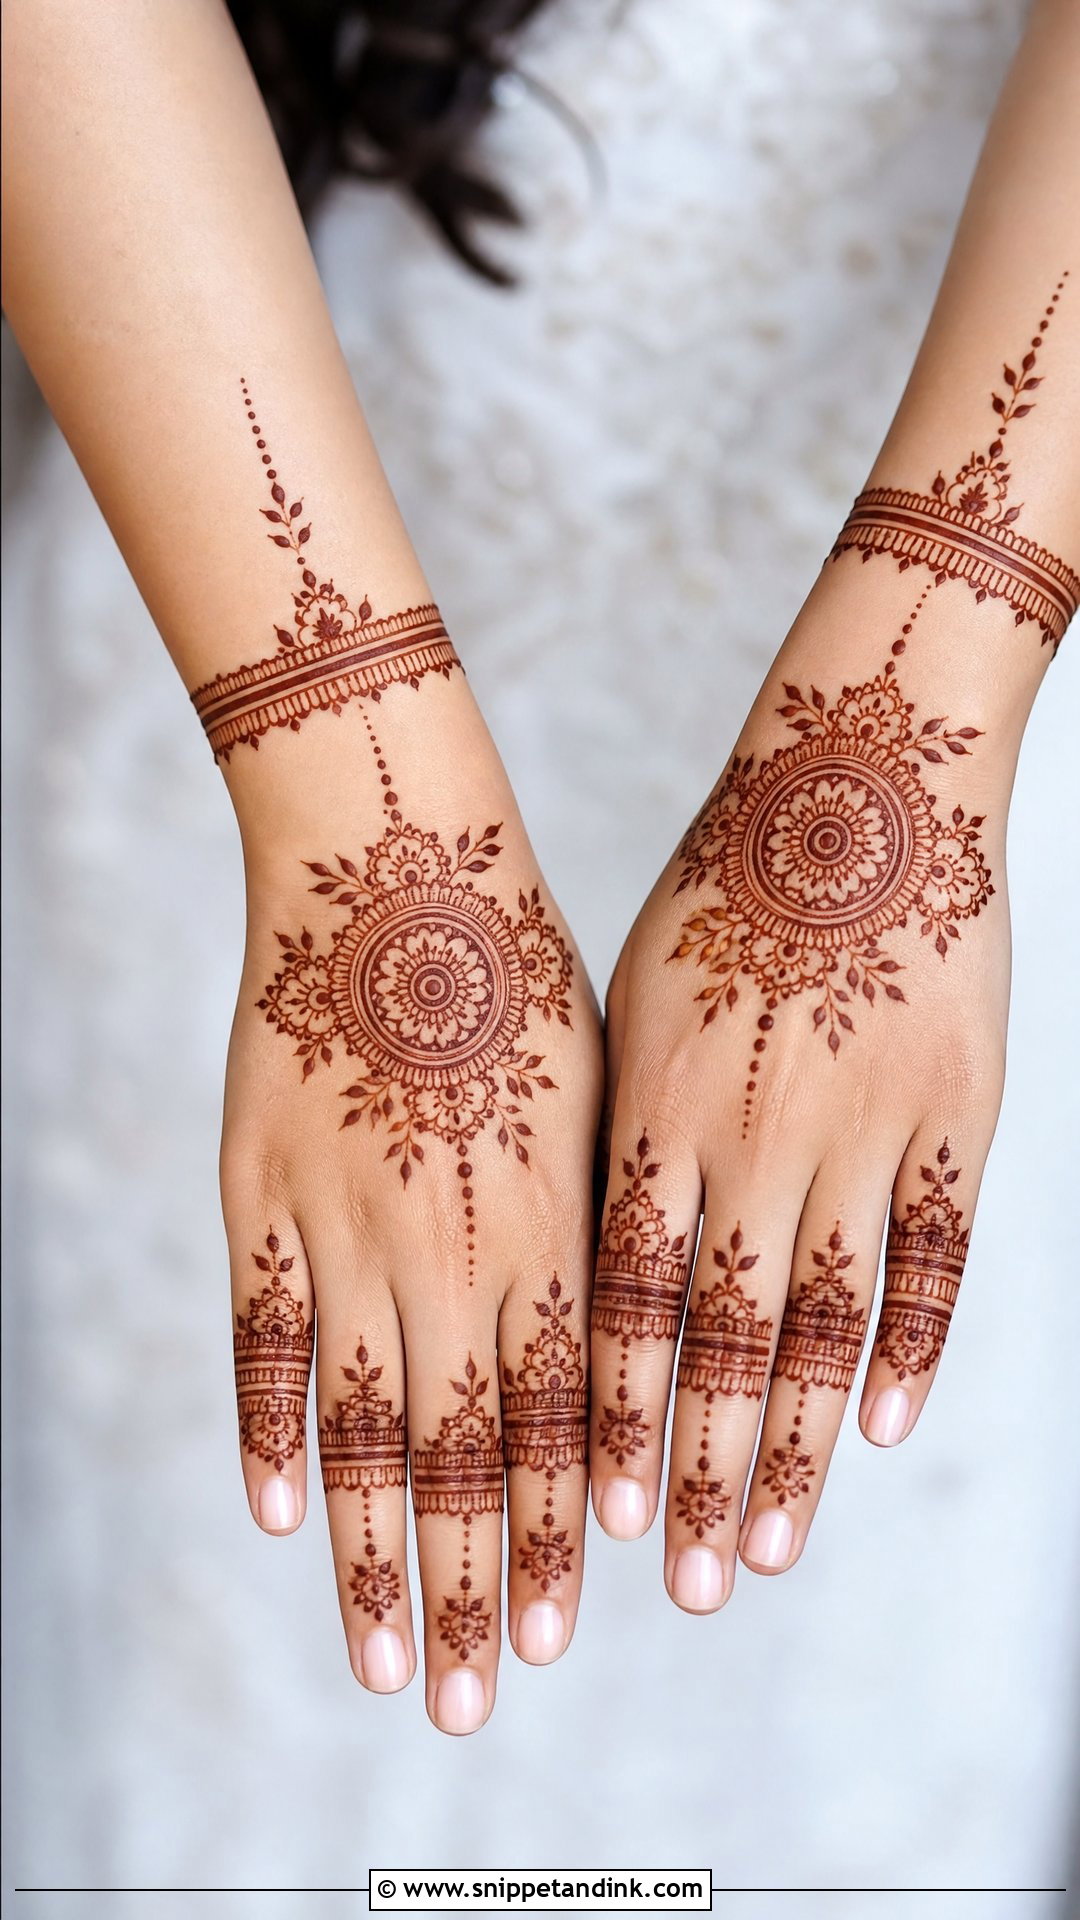
Simple can still be bridal if the placement is complete. A centered mandala, delicate finger patterns, small florals and a neat wrist band cover the essentials without heavy coverage. I suggest it for engagements, court weddings and small functions, or for a bride who doesn’t want to sit for hours. What stops it looking casual is precision: crisp outlines, even spacing and slightly detailed fingertips. With more bare skin showing, the stain colour becomes part of the design, so a warm reddish-brown result looks especially good.
13. Modern Back Bridal Mehndi Design
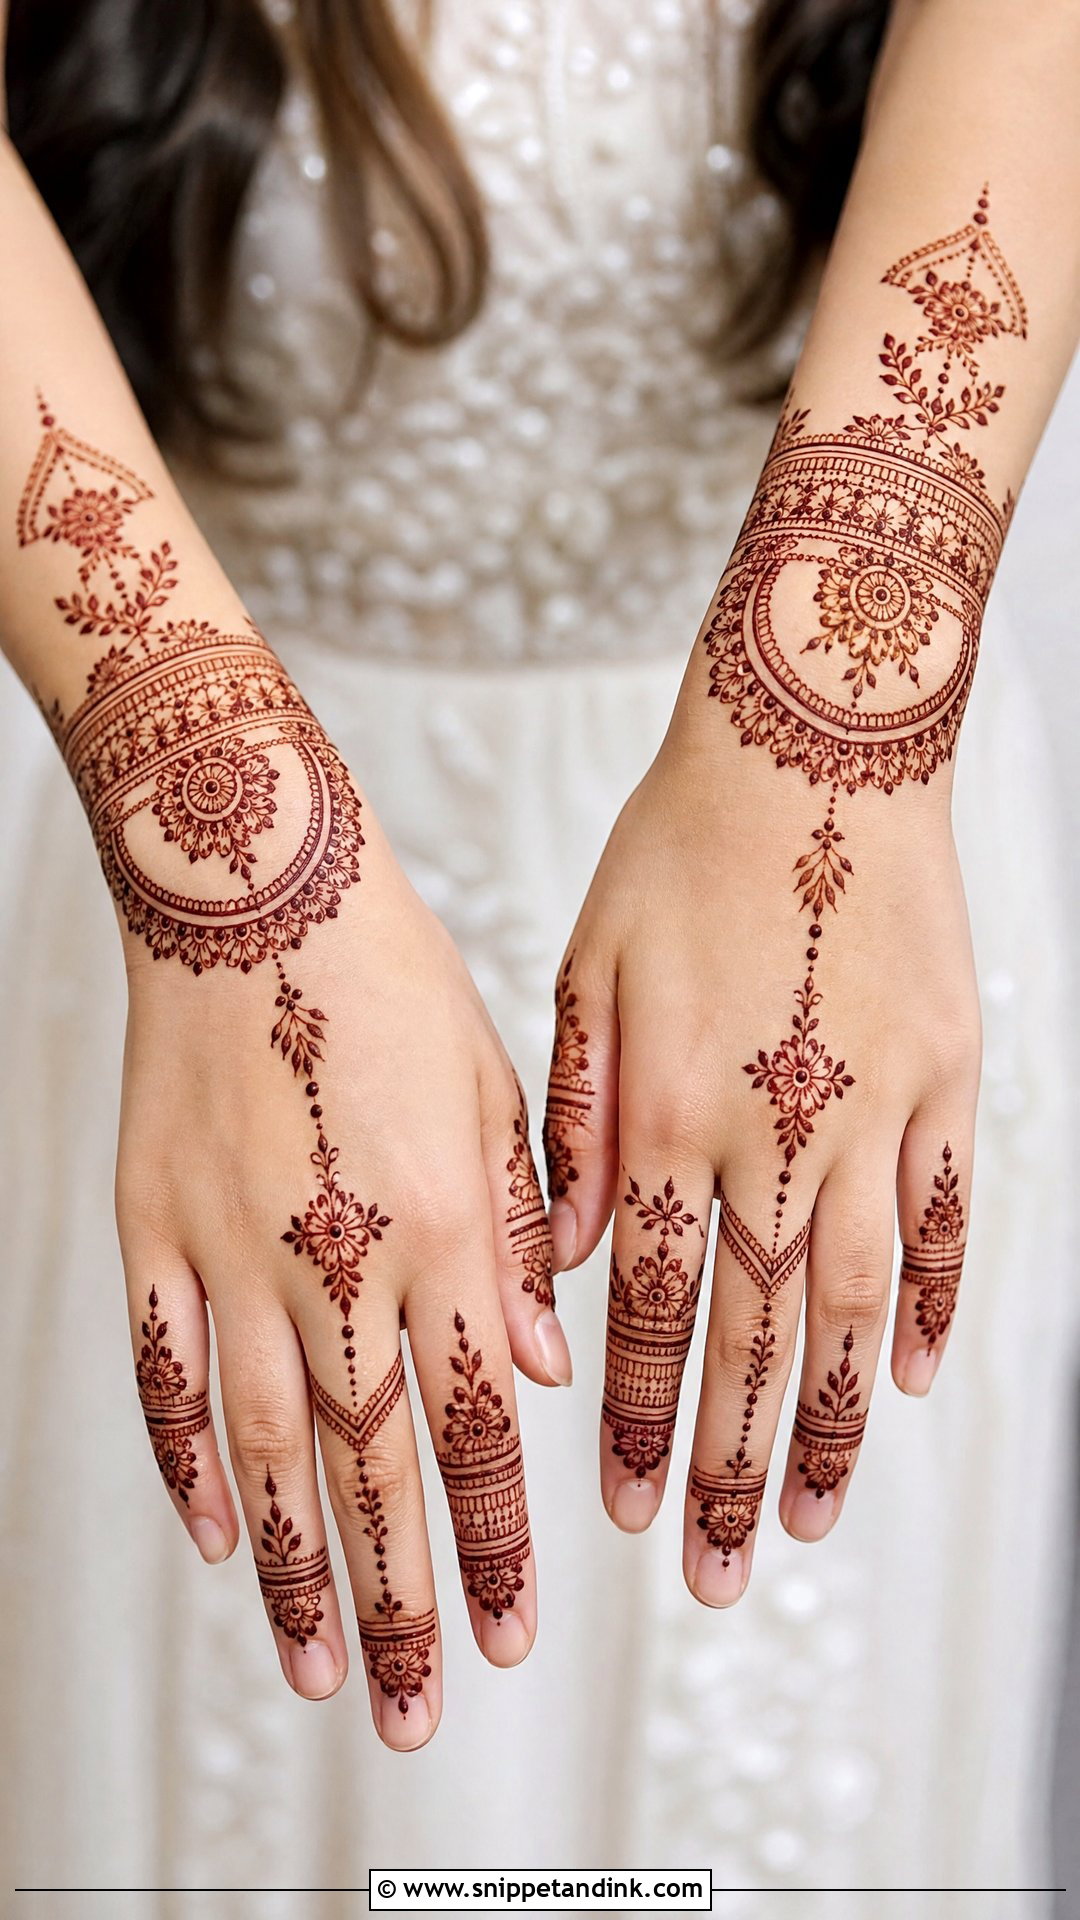
Modern bridal work leaves skin open on purpose. Bold motifs, fine linework and geometric accents sit in a half-mandala, a diagonal floral trail or a finger-focused layout with a cuff. Against pastel lehengas, contemporary sarees and minimal jewelry it looks fresh, where full traditional coverage can feel heavy on light fabric. The trap is a design that reads unfinished rather than modern. I avoid that by connecting the wrist section to everything else and giving the borders real detail, so the open areas look planned.
14. Minimal Back Bridal Mehndi Design
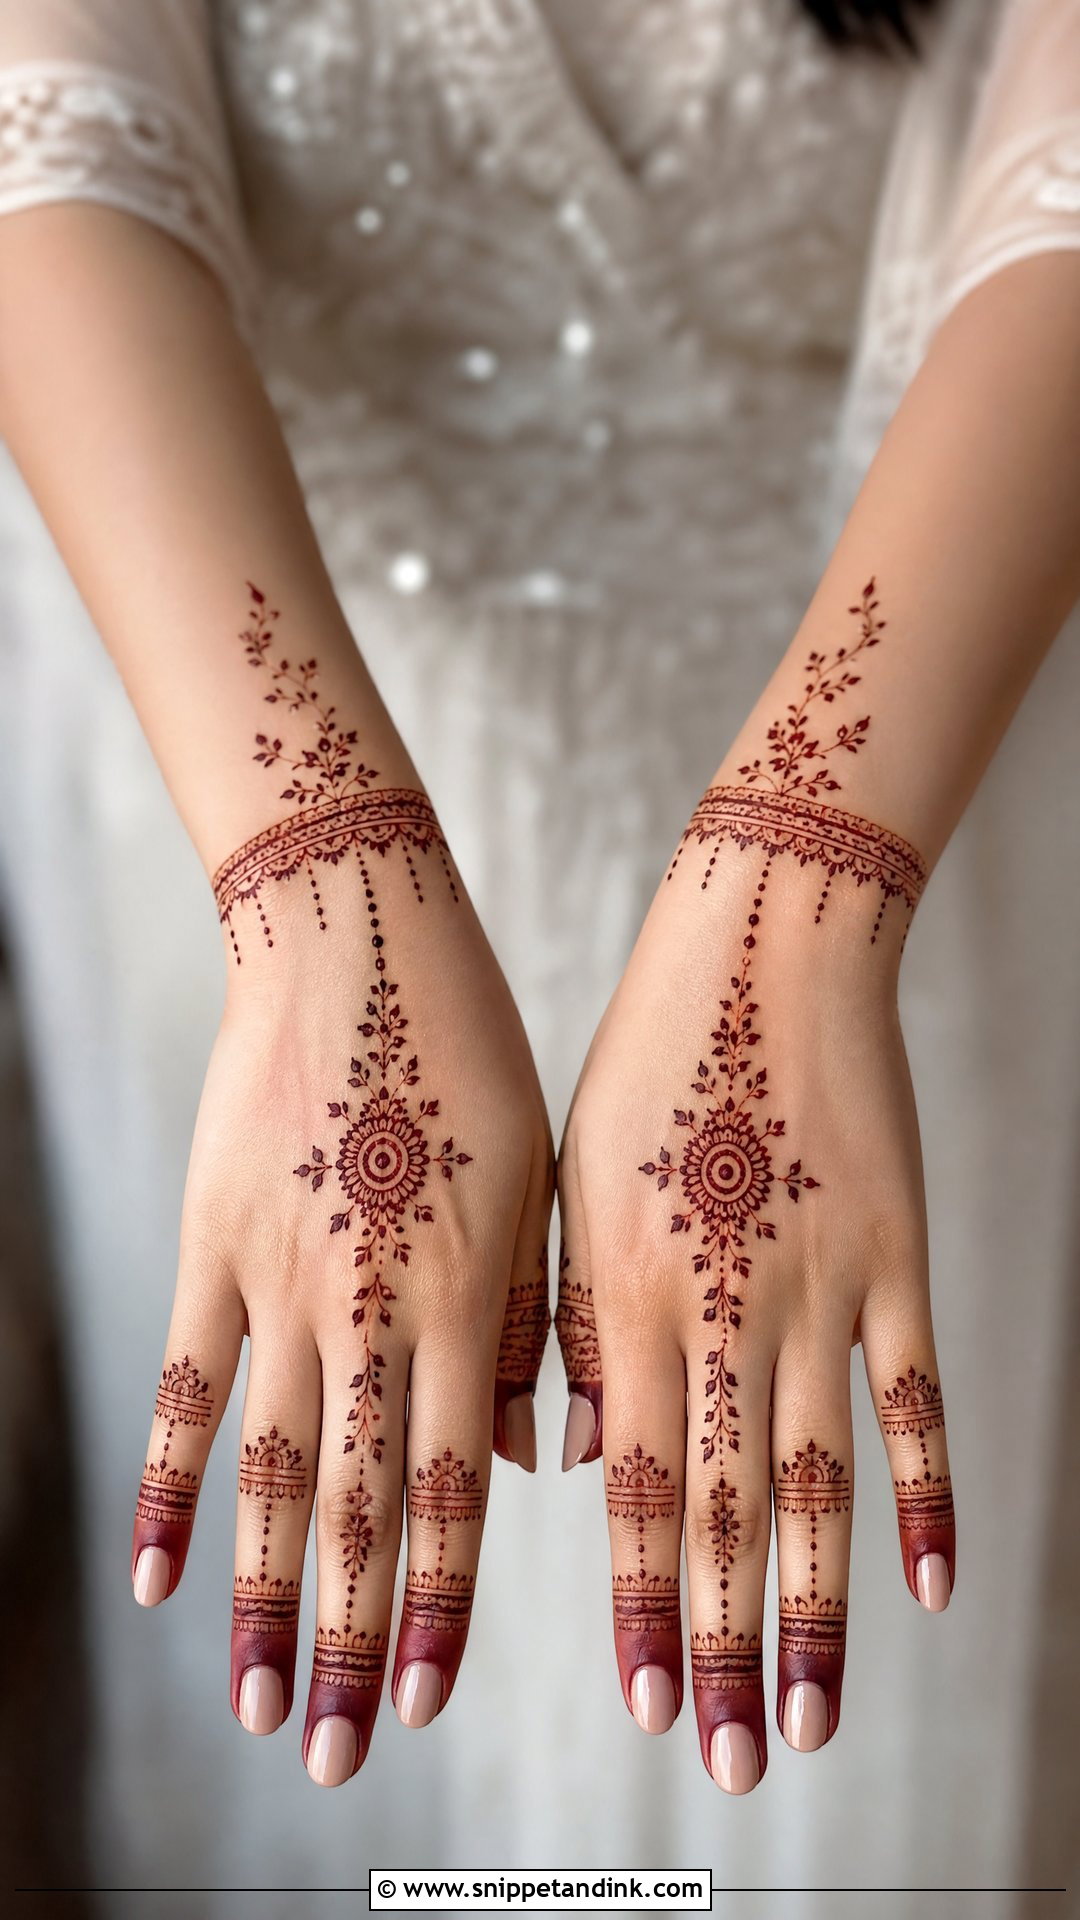
Minimal designs use slim finger bands, tiny floral trails, a small central motif and a fine bracelet line. They’re quick to apply and easy to sit through, which matters if your mehndi night is also a party you’d like to enjoy. With so few elements, spacing decides everything, and any mismatch between the hands is obvious. I draw the second hand while looking straight at the first. Pearl bangles and diamond rings suit this level of detail. I’d steer you toward something fuller with a heavily embroidered red outfit, though, since the hands can look bare against it.
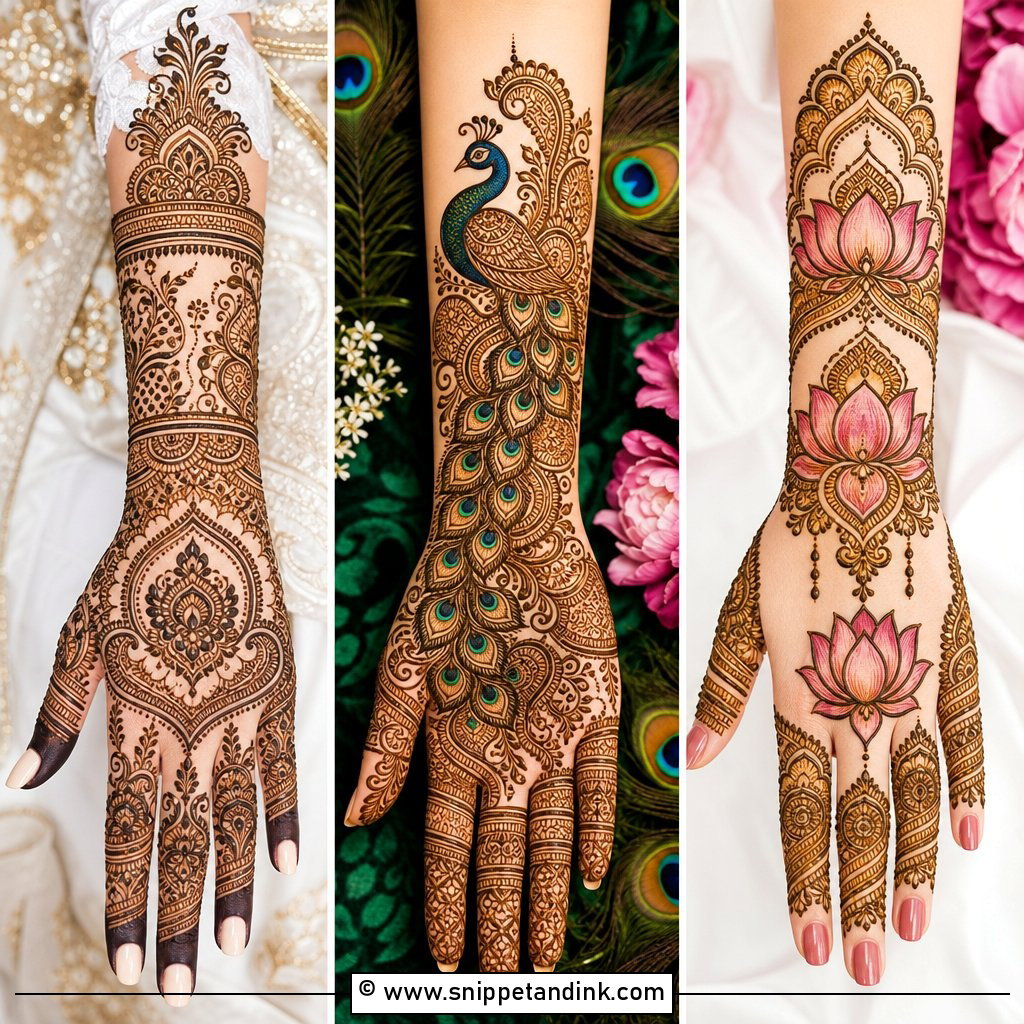
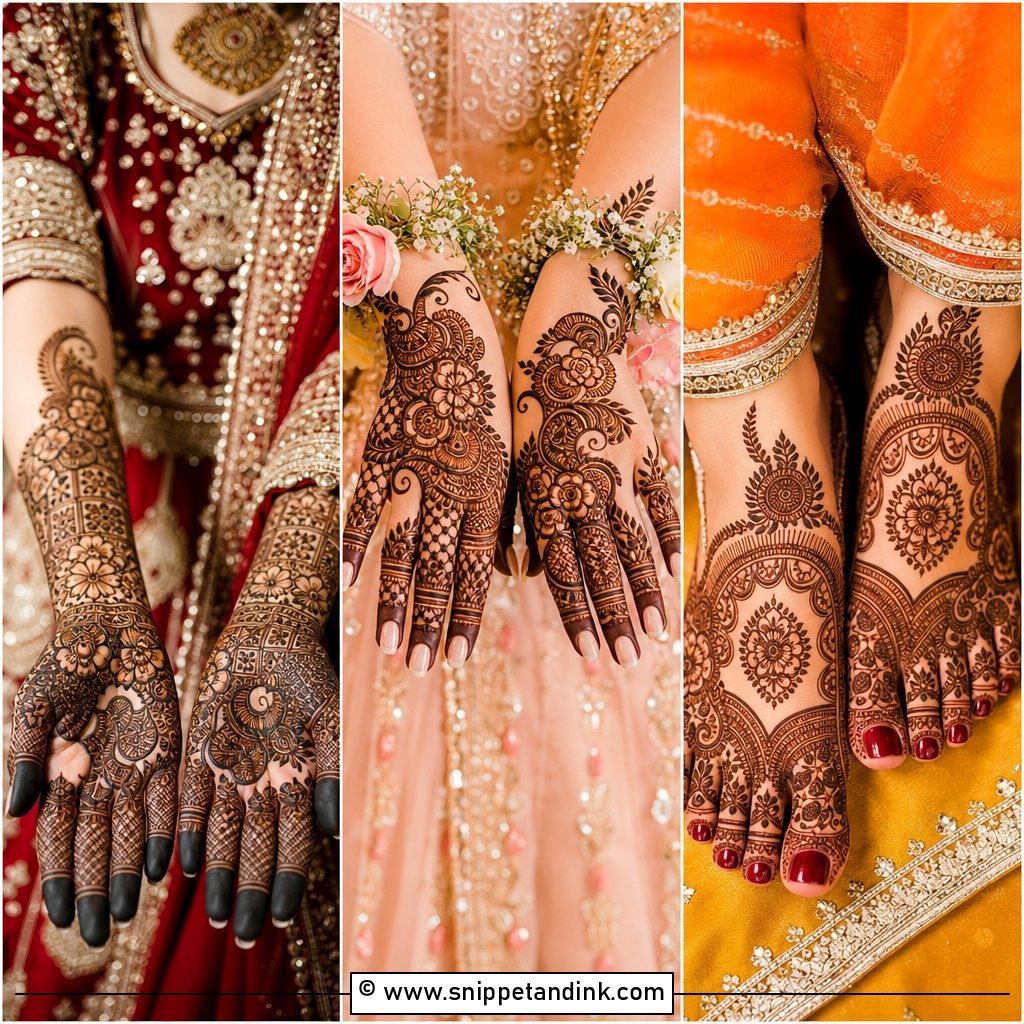
15. Full Finger Back Bridal Mehndi Design
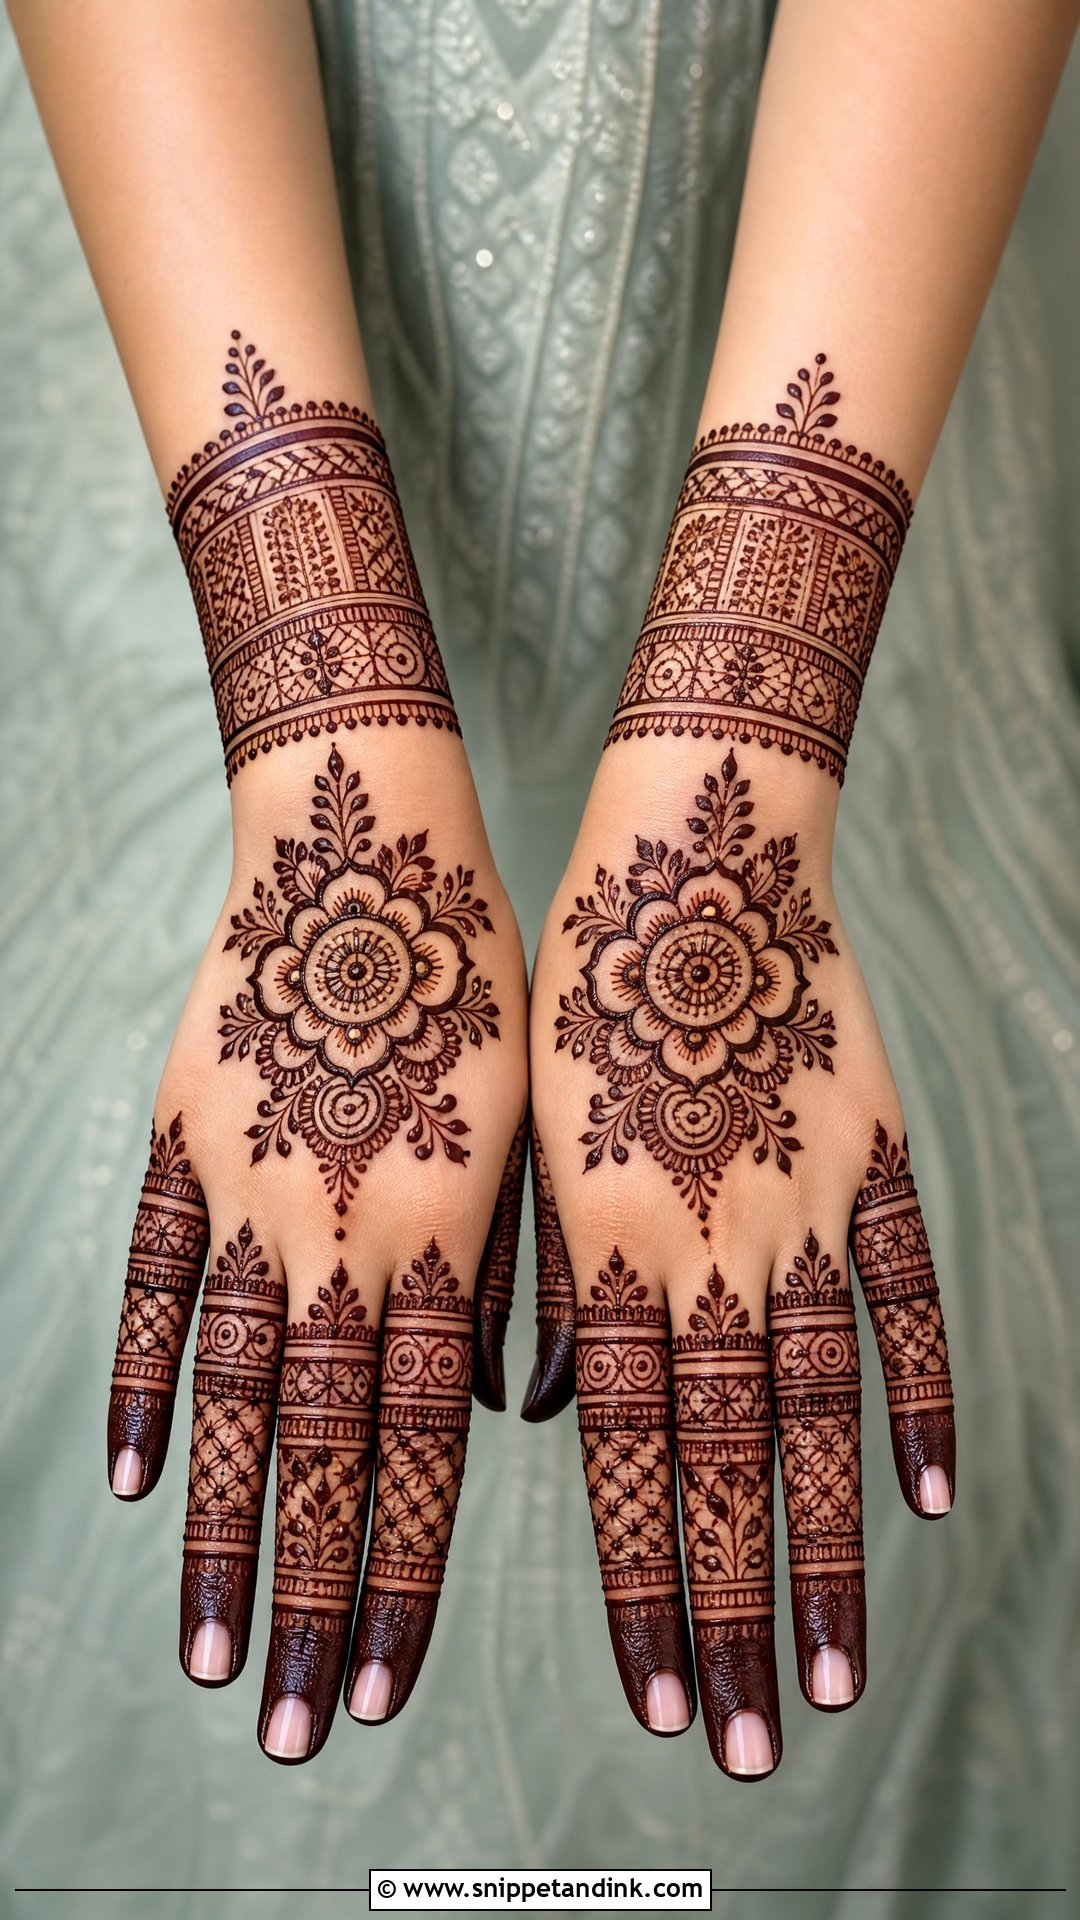
Here the fingers get the attention: bands, leaf lines, dots, mini florals and net sections from tip to knuckle, while the center of the hand stays more open with a mandala, floral cluster or chain. Ring shots are where this layout earns its place, because detailed fingers look longer on camera and statement rings sit inside the pattern rather than covering it. Don’t make all the finger patterns identical unless you want a very uniform look; small variations give the hand more depth. Fingertips also stain darker than anywhere else on the back of the hand, so they’ll lead the eye.
16. Wrist To Forearm Back Bridal Mehndi Design
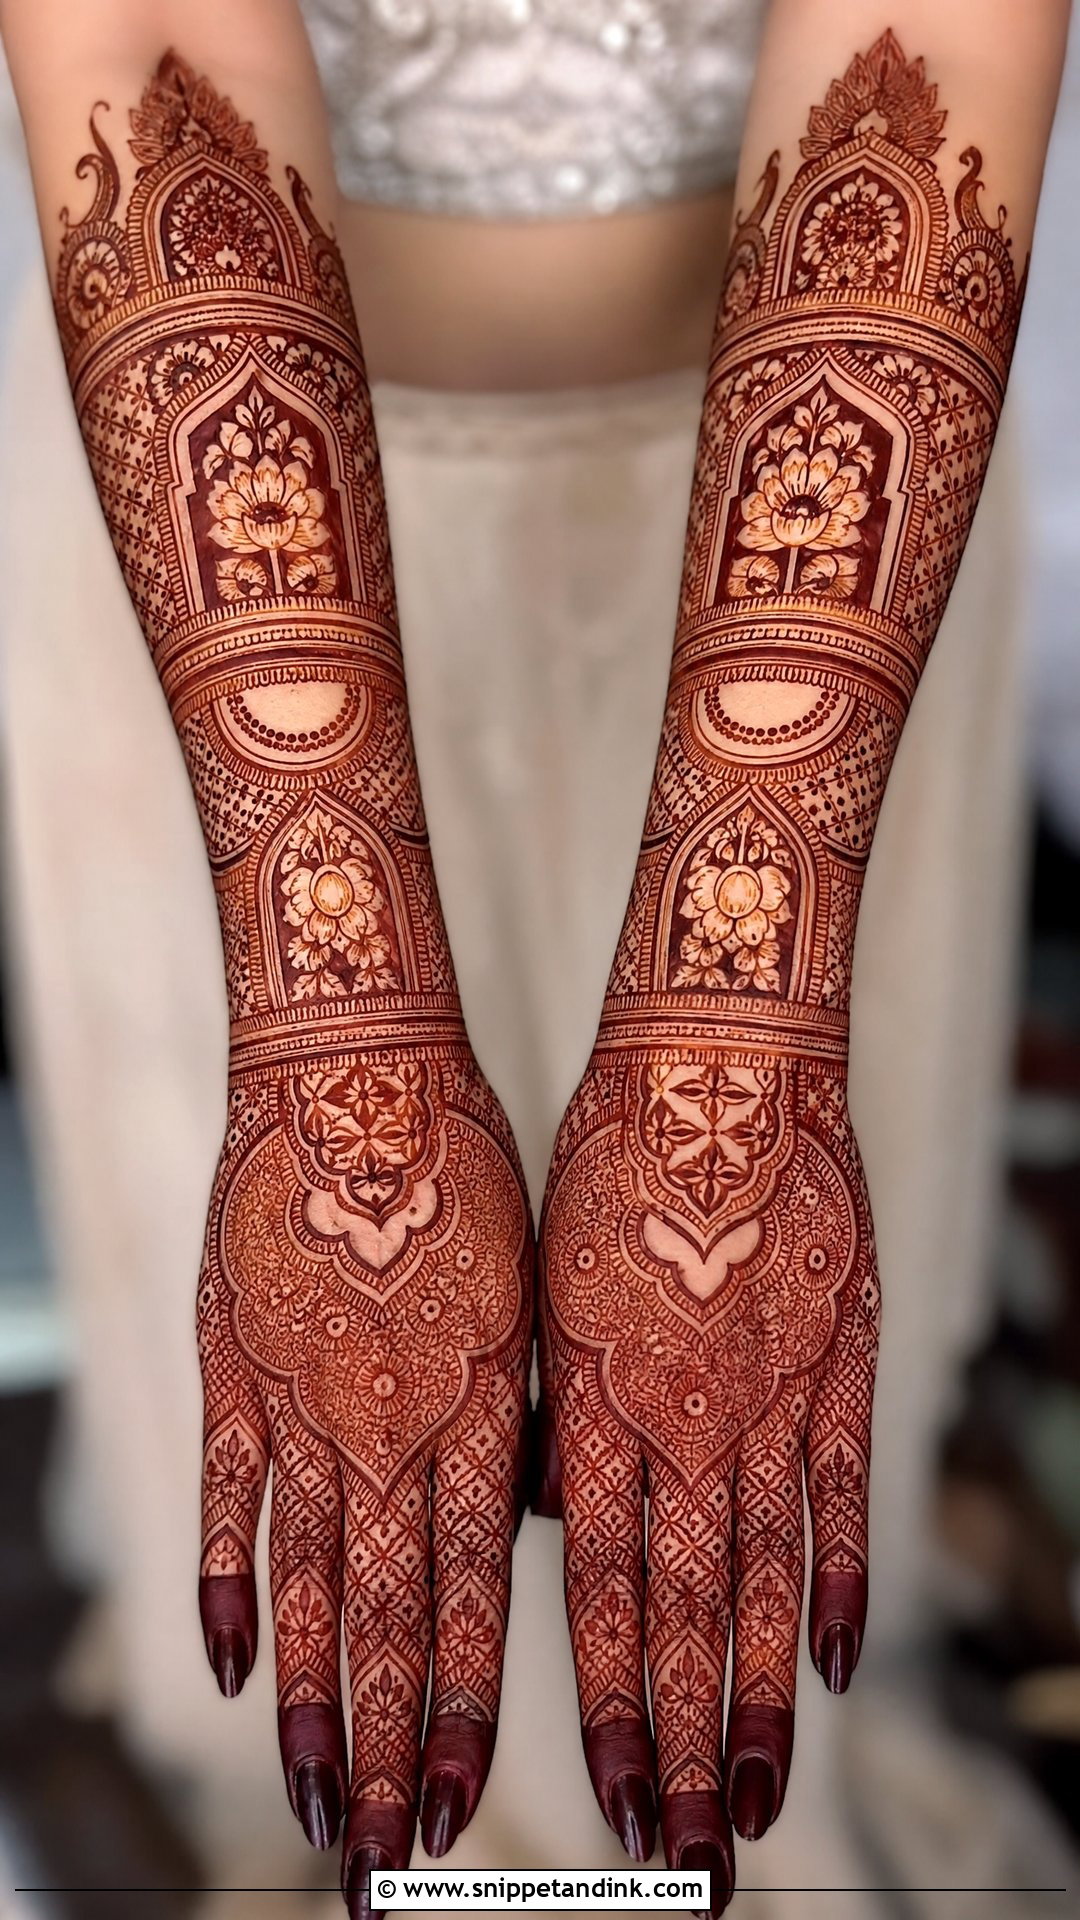
Going past the wrist turns a hand design into an arm design. The pattern starts at the fingers, covers the back of the hand and continues toward the elbow with bracelet bands, floral panels, paisley trails, jaali and ornamental borders. It looks very bridal with chooda and bangles, and it peeks out under sheer sleeves. The wrist is the hard part. A hard line there makes the forearm look like a separate piece, so I bridge it with vines or layered cuffs. The forearm also stains lighter than the hand, so I make the lines there a little bolder.
17. Lotus Back Bridal Mehndi Design
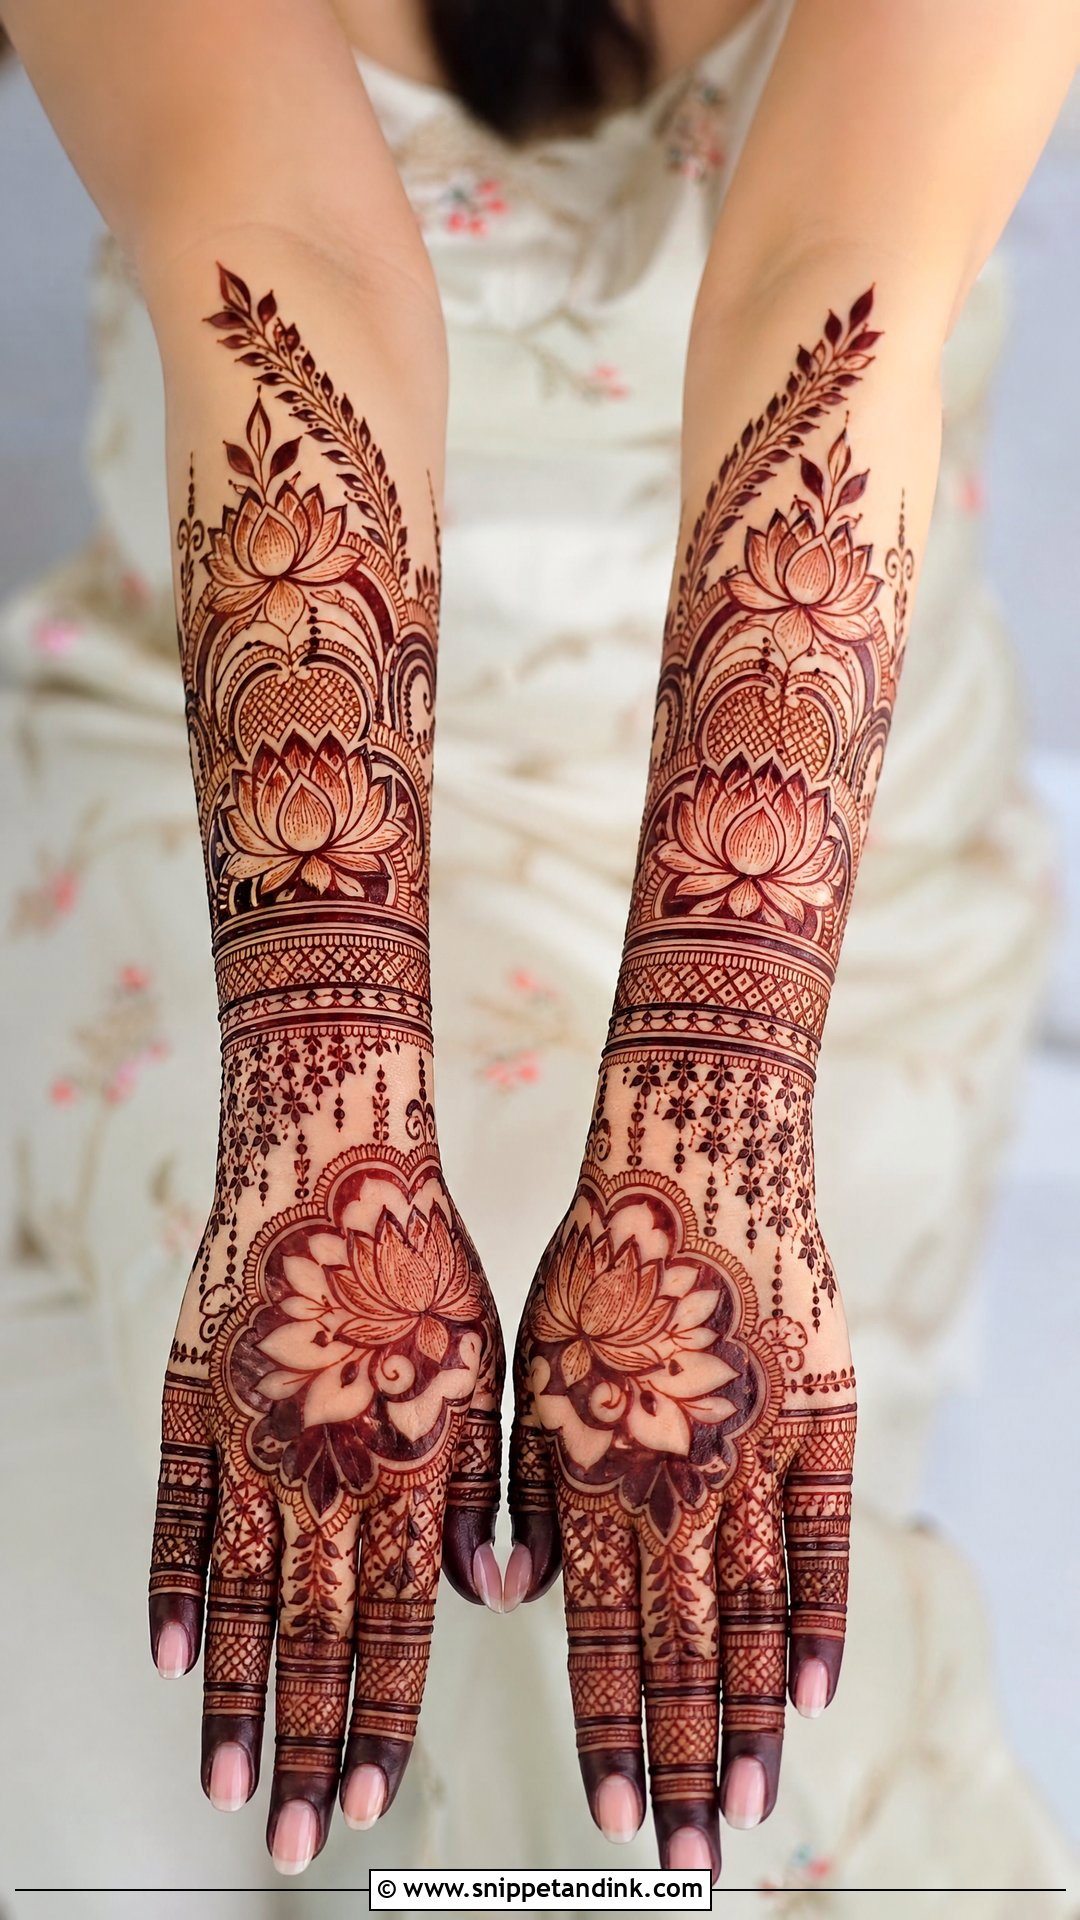
The lotus can sit at the center of the back hand, near the wrist or inside a larger mandala, surrounded by layered petals, fine dots, leafy vines and curved borders. Its meaning makes it a natural choice for many brides, and the shape helps too: petals opening outward fill the hand evenly without crowding the knuckles. It sits comfortably in Indian, Indo-Arabic and temple-inspired looks. When a bride wants more richness, I pair the lotus with jaali panels and filled fingertips.
18. Rose Back Bridal Mehndi Design
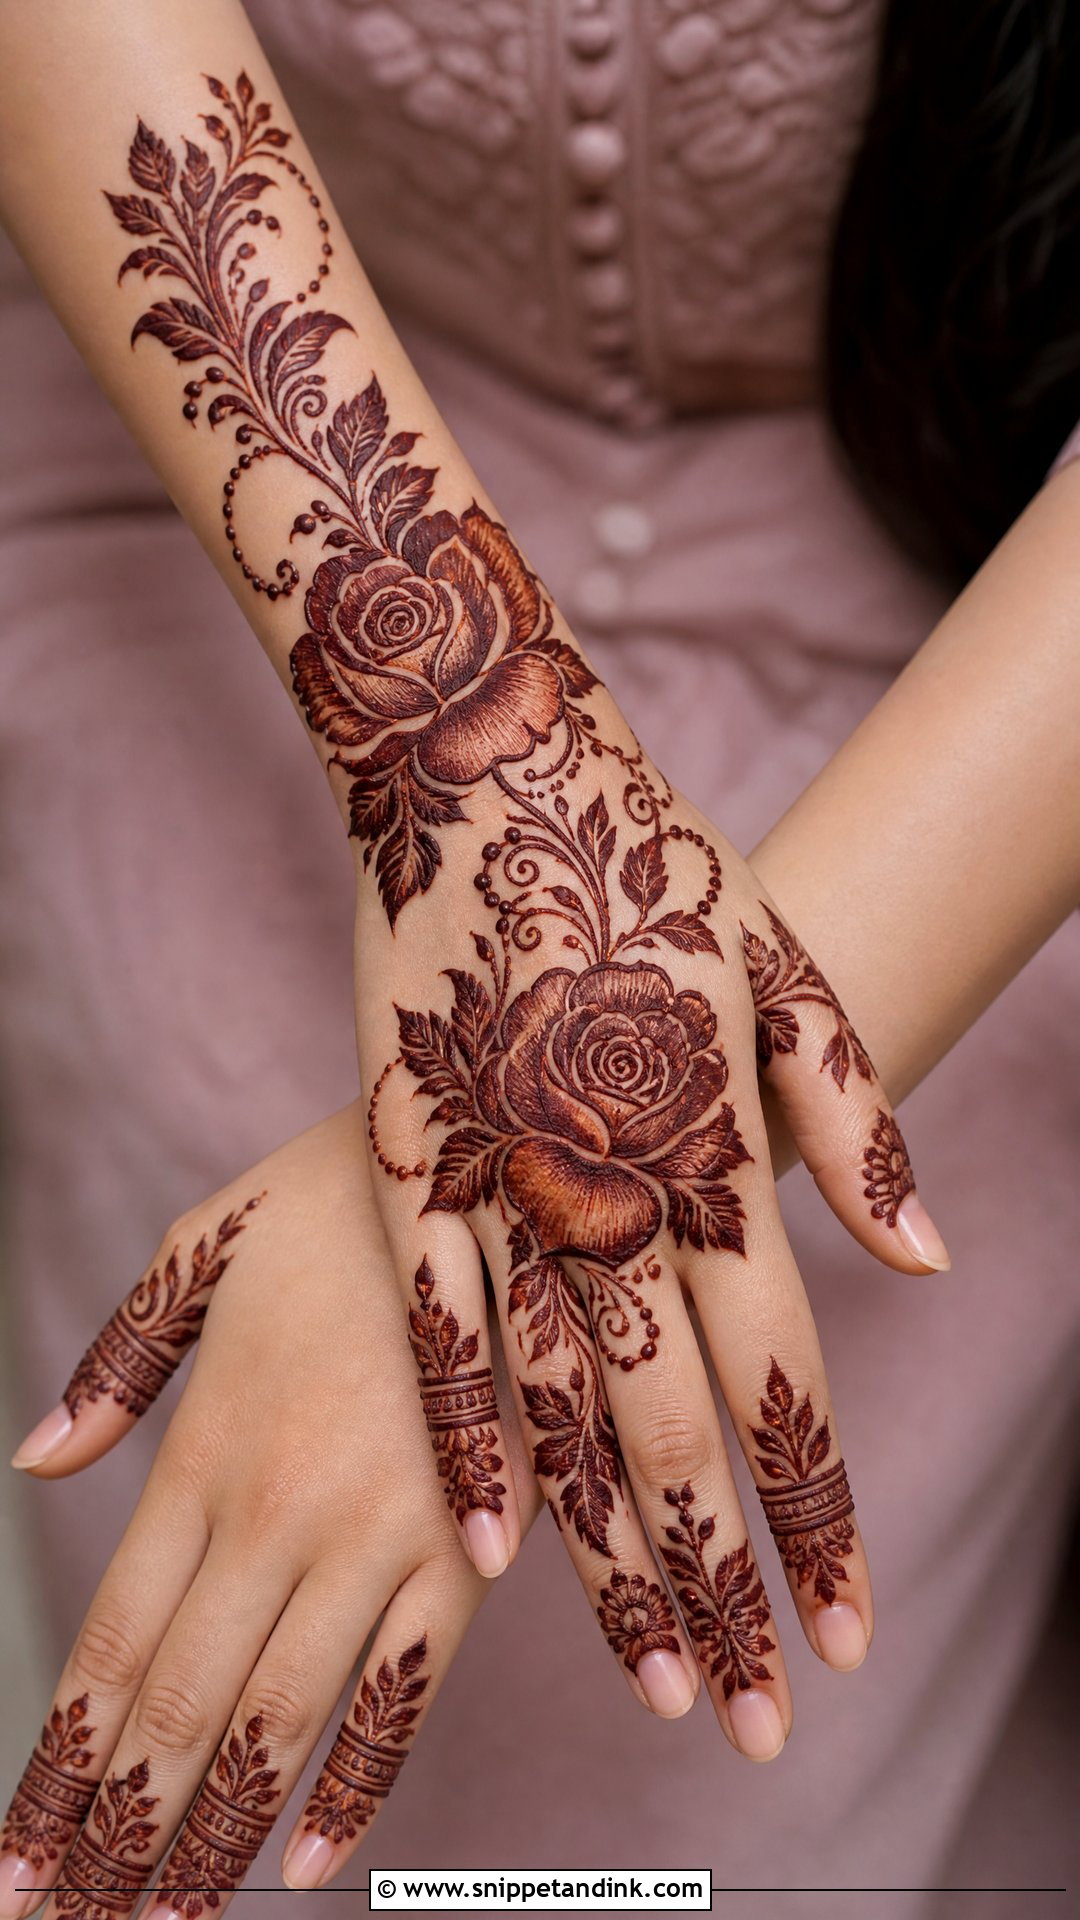
Roses read as romantic and slightly modern, even inside a traditional layout. I place them along a diagonal trail, around a central mandala or near the wrist as part of a bracelet layout, with leafy vines, small buds and finger bands around them. The petals need curved outlines and fine inner strokes, or they flatten into blobs. Leave a margin of bare skin around the larger blooms. As the colour deepens over the next two days, tightly packed petals can merge and the rose shape gets lost.
19. Rajasthani Back Bridal Mehndi Design
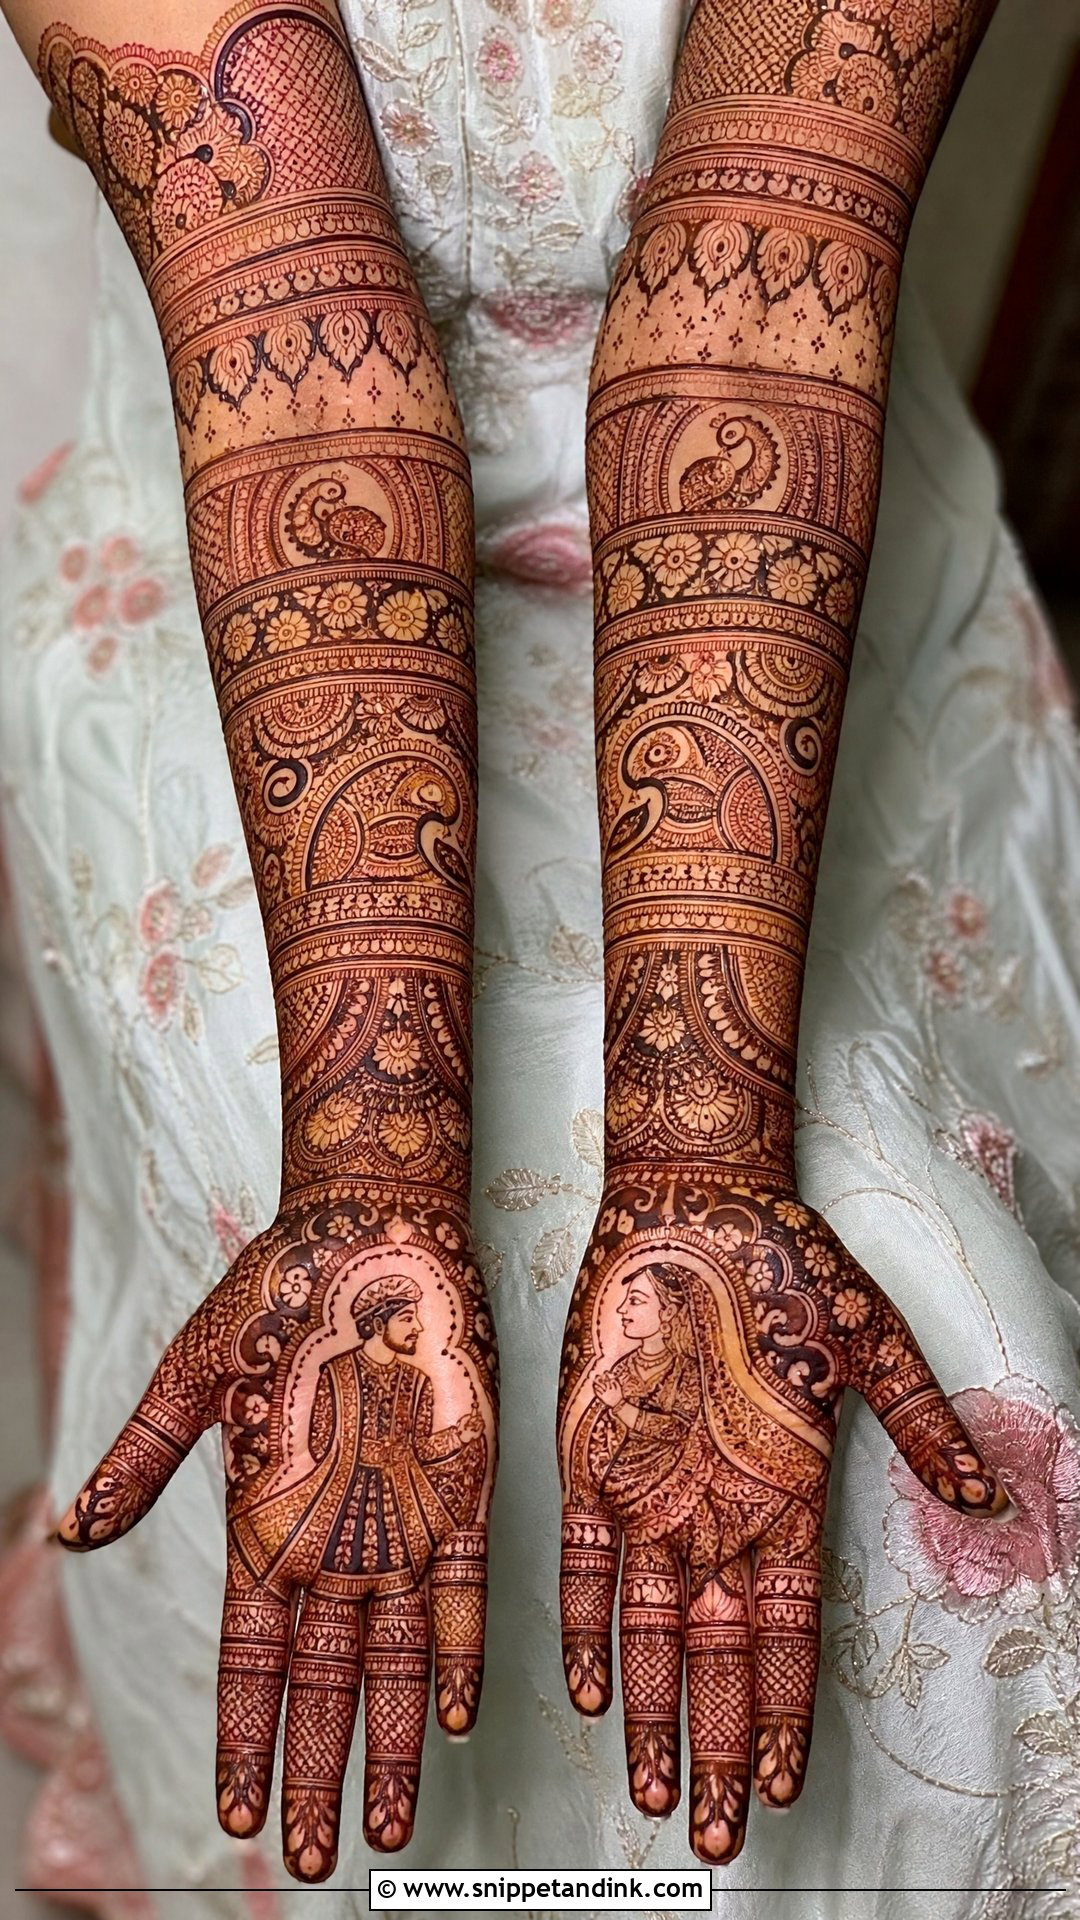
Rajasthani mehndi tells stories: peacocks, paisleys, bride-and-groom figures, floral borders and mandalas, packed into full coverage. It needs an artist with real line control, and I’d ask to see her finished Rajasthani work specifically before booking. The back of the hand can carry one large motif while the wrist and forearm hold layered bands. The usual mistake is squeezing too many small figures into one panel until none of them can be read. Clear separation between panels keeps it legible.
20. Marwari Back Bridal Mehndi Design
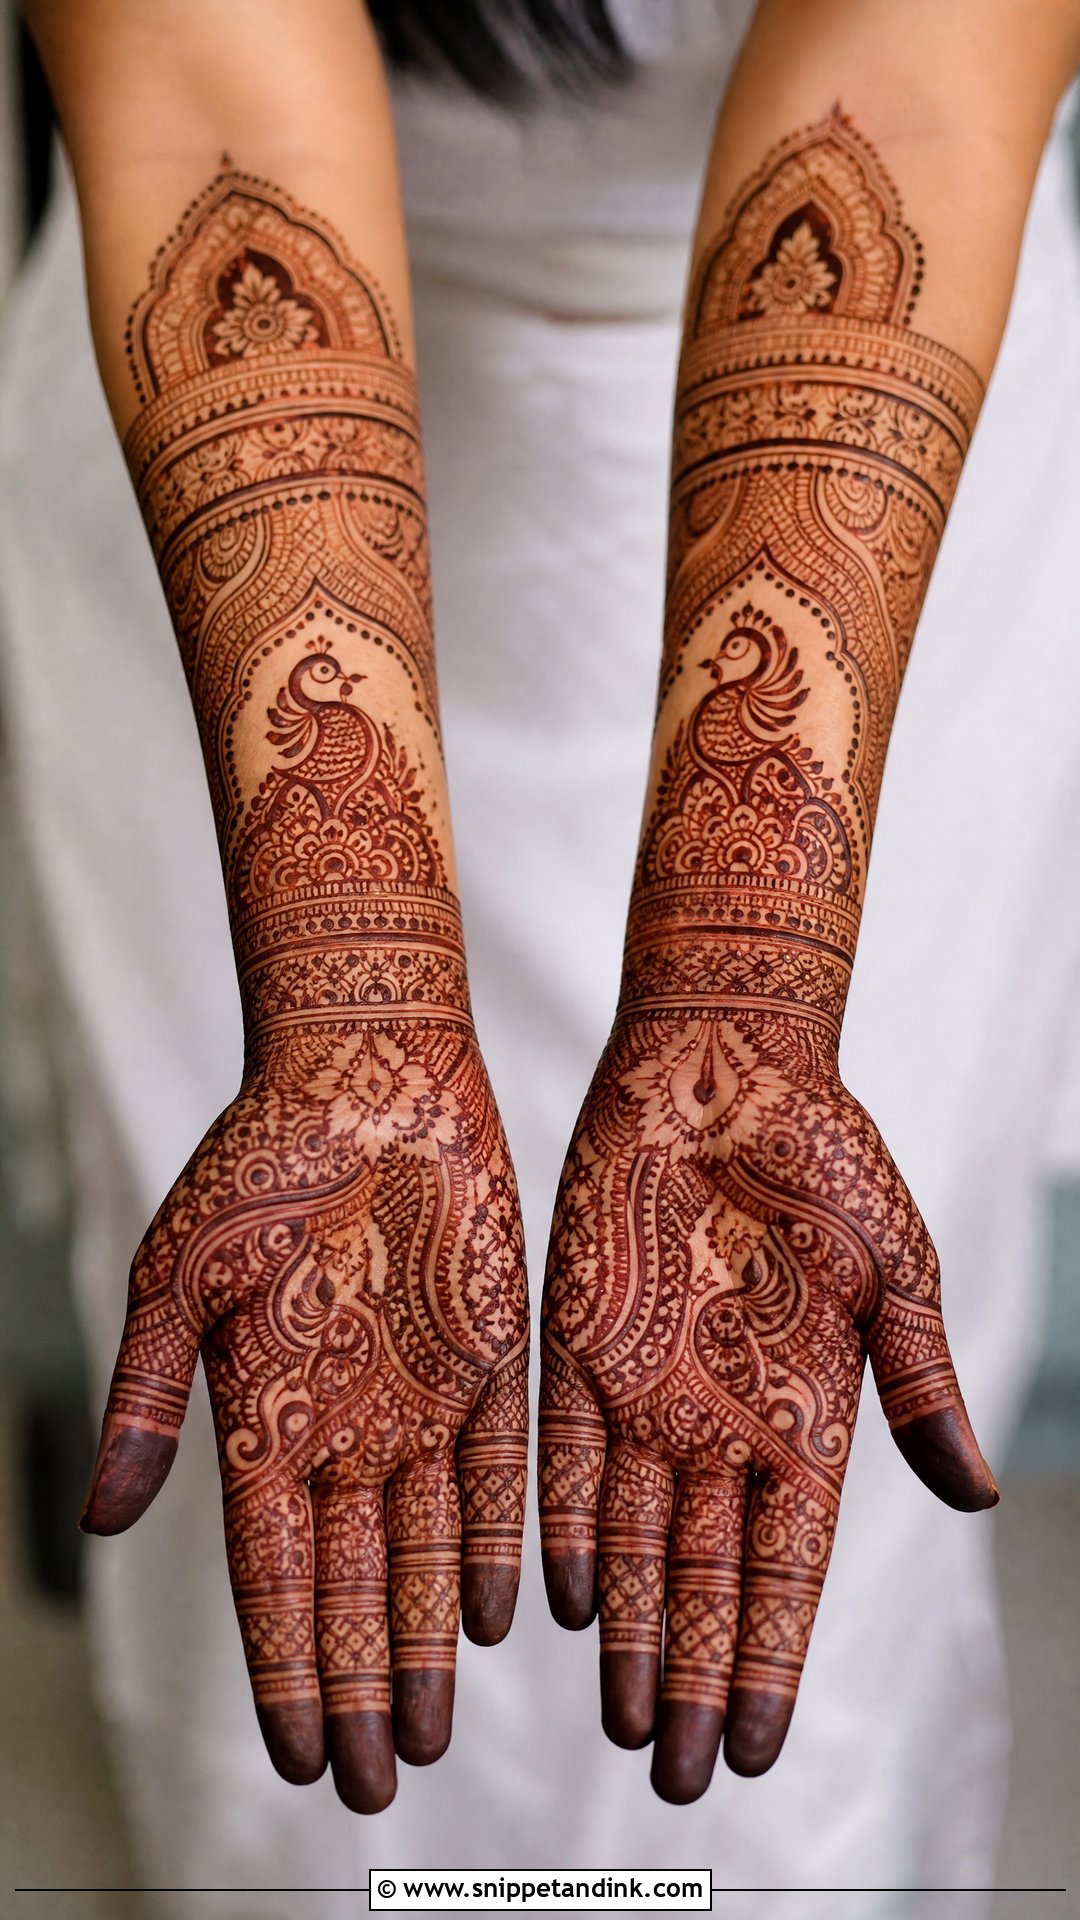
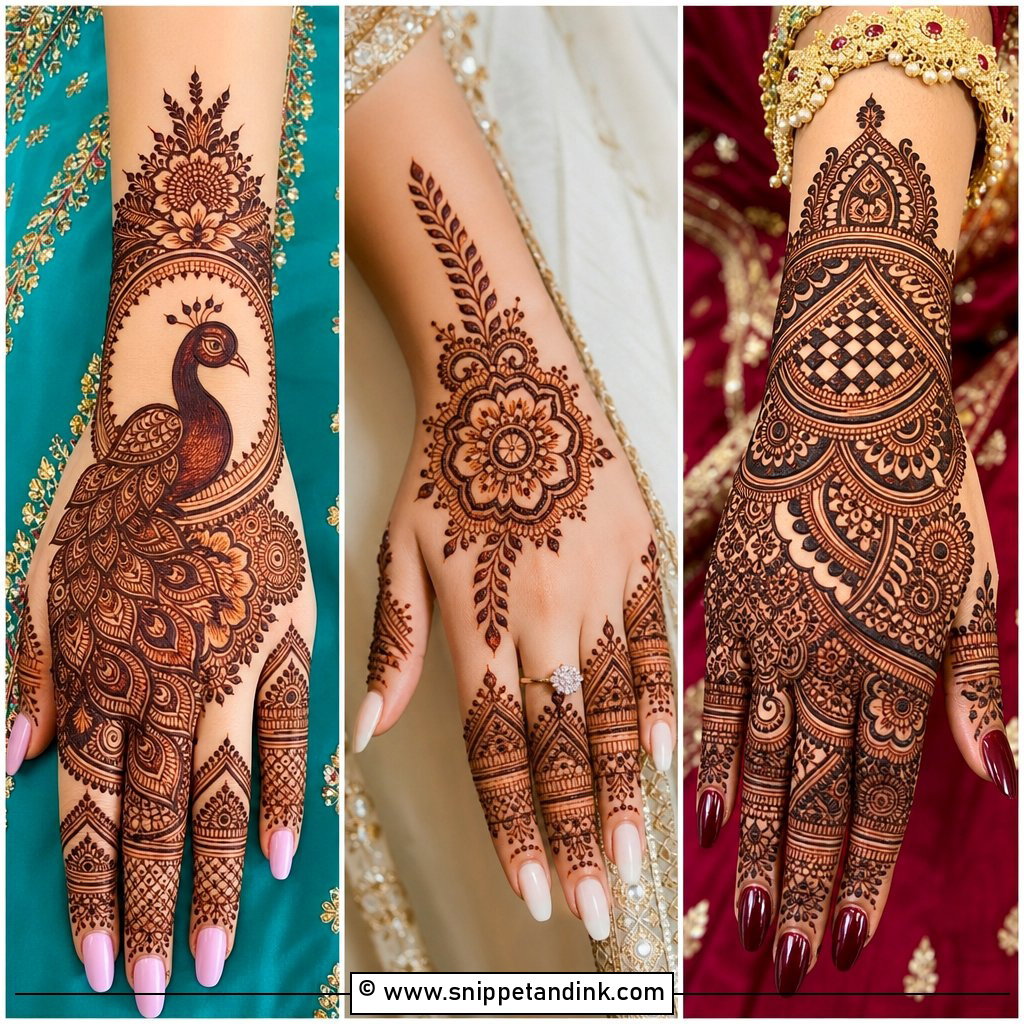
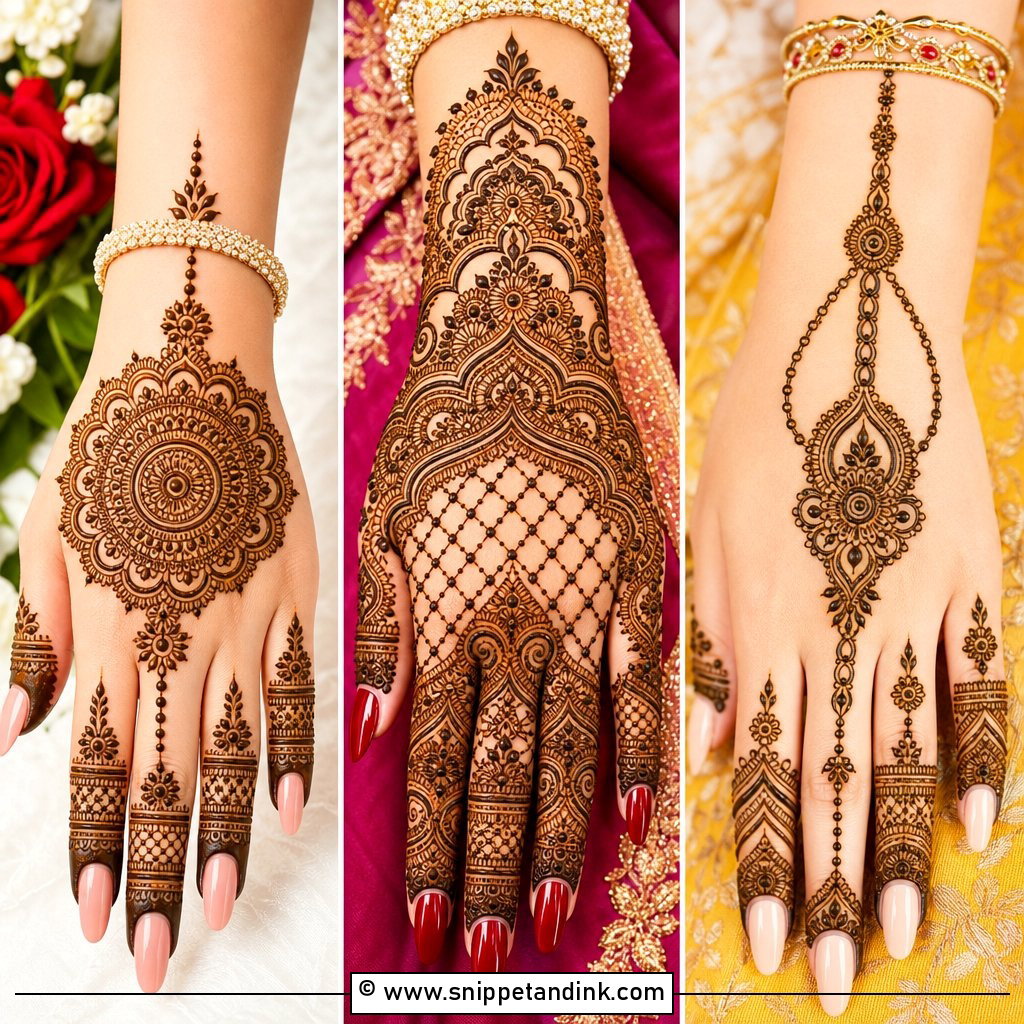
Marwari work is festive and densely detailed, with paisleys, peacocks, floral vines, dotted borders and symmetrical sections across the back of the hand. The fingers are filled with close patterns and the center carries a bold motif or layered flower. It holds its own beside bangles and heavy traditional jewelry, and it extends naturally toward the forearm. I always pair the fine fill with confident outlines. Fine lines on their own soften slightly as the stain matures, and a strong outline keeps each section crisp.
21. Pakistani Back Bridal Mehndi Design
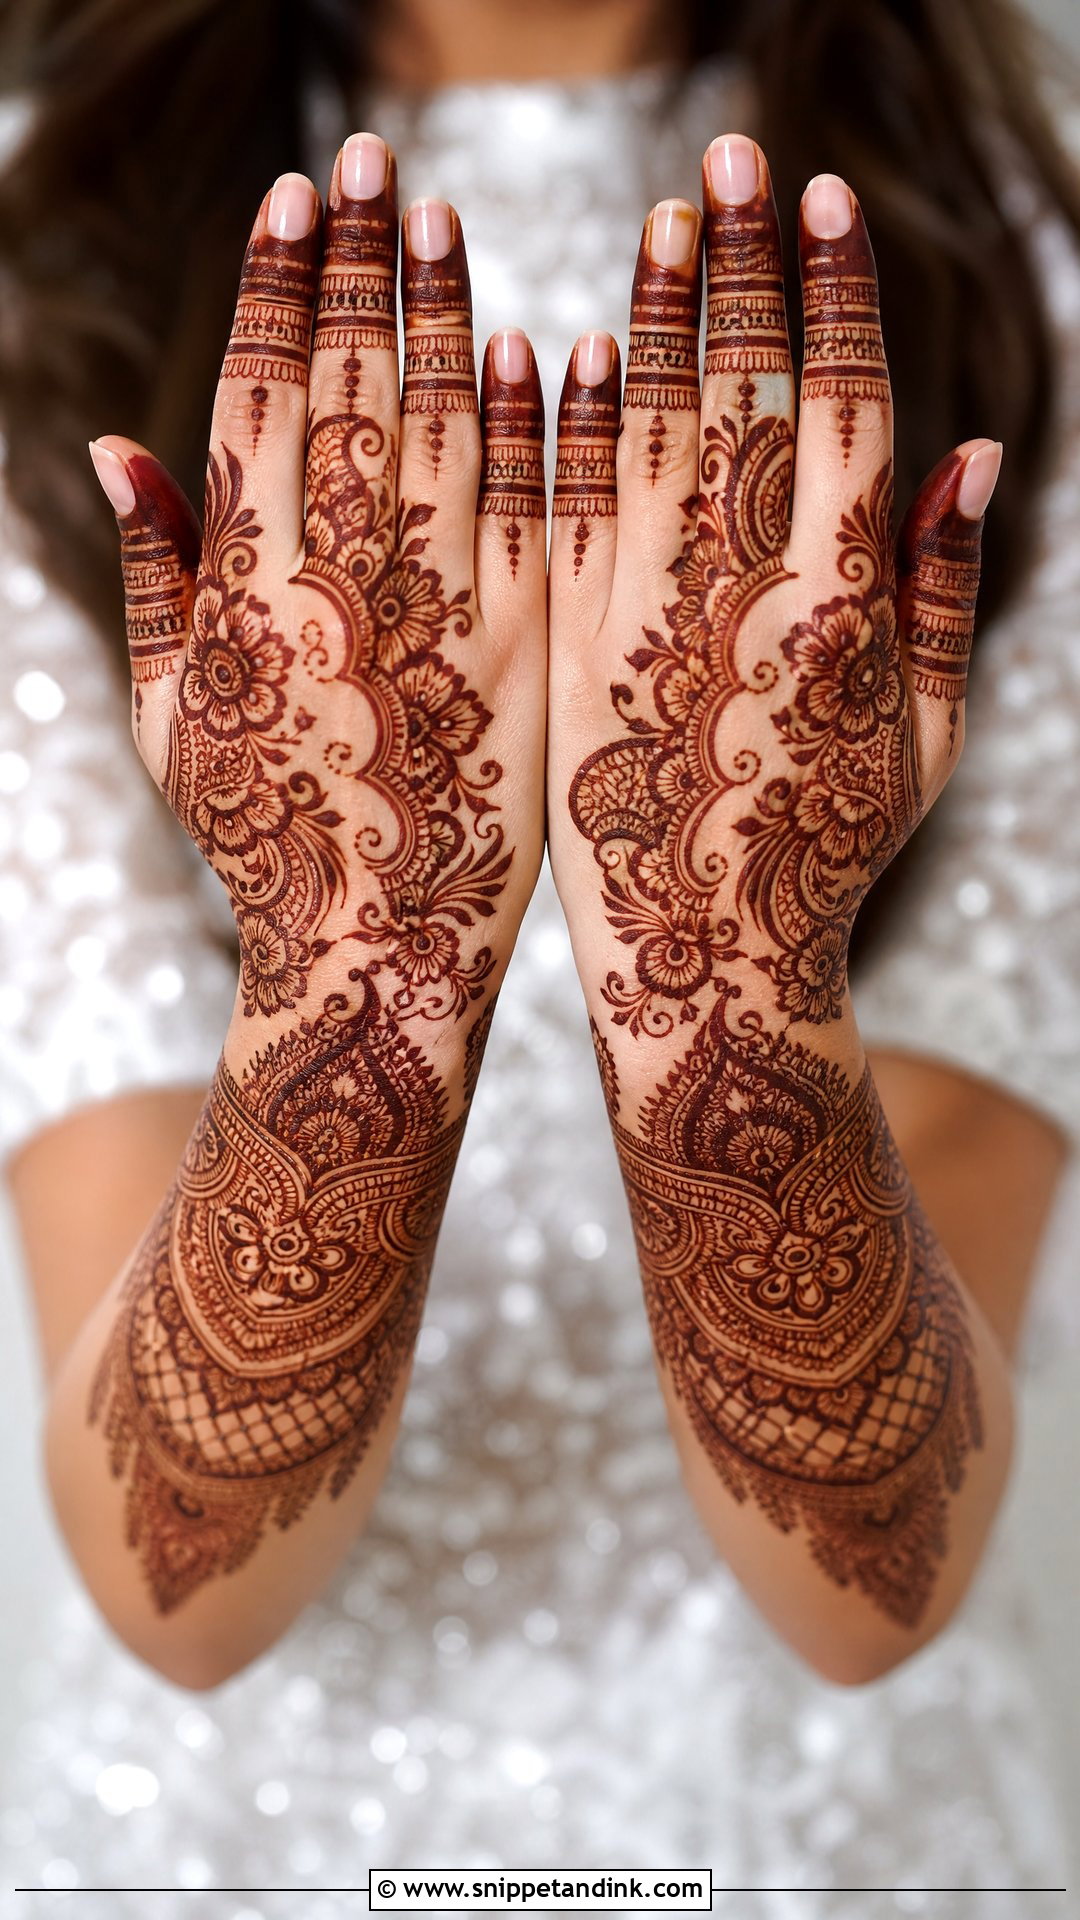
Pakistani back bridal mehndi design tends to blend Indian-style filling with Arabic flow and carefully planned spacing. Florals, paisleys, leafy vines, mandalas, cuffs and finger bands are common, usually dense near the wrist and fingers with deliberate open areas across the back of the hand. That density at the edges keeps it rich without heaviness. It sits well with a gharara, sharara or embroidered lehenga. My approach is to keep the overall layout symmetrical across both hands while letting the inner fillers vary a little, so the pair looks coordinated without being a mirror copy.
22. Moroccan Back Bridal Mehndi Design
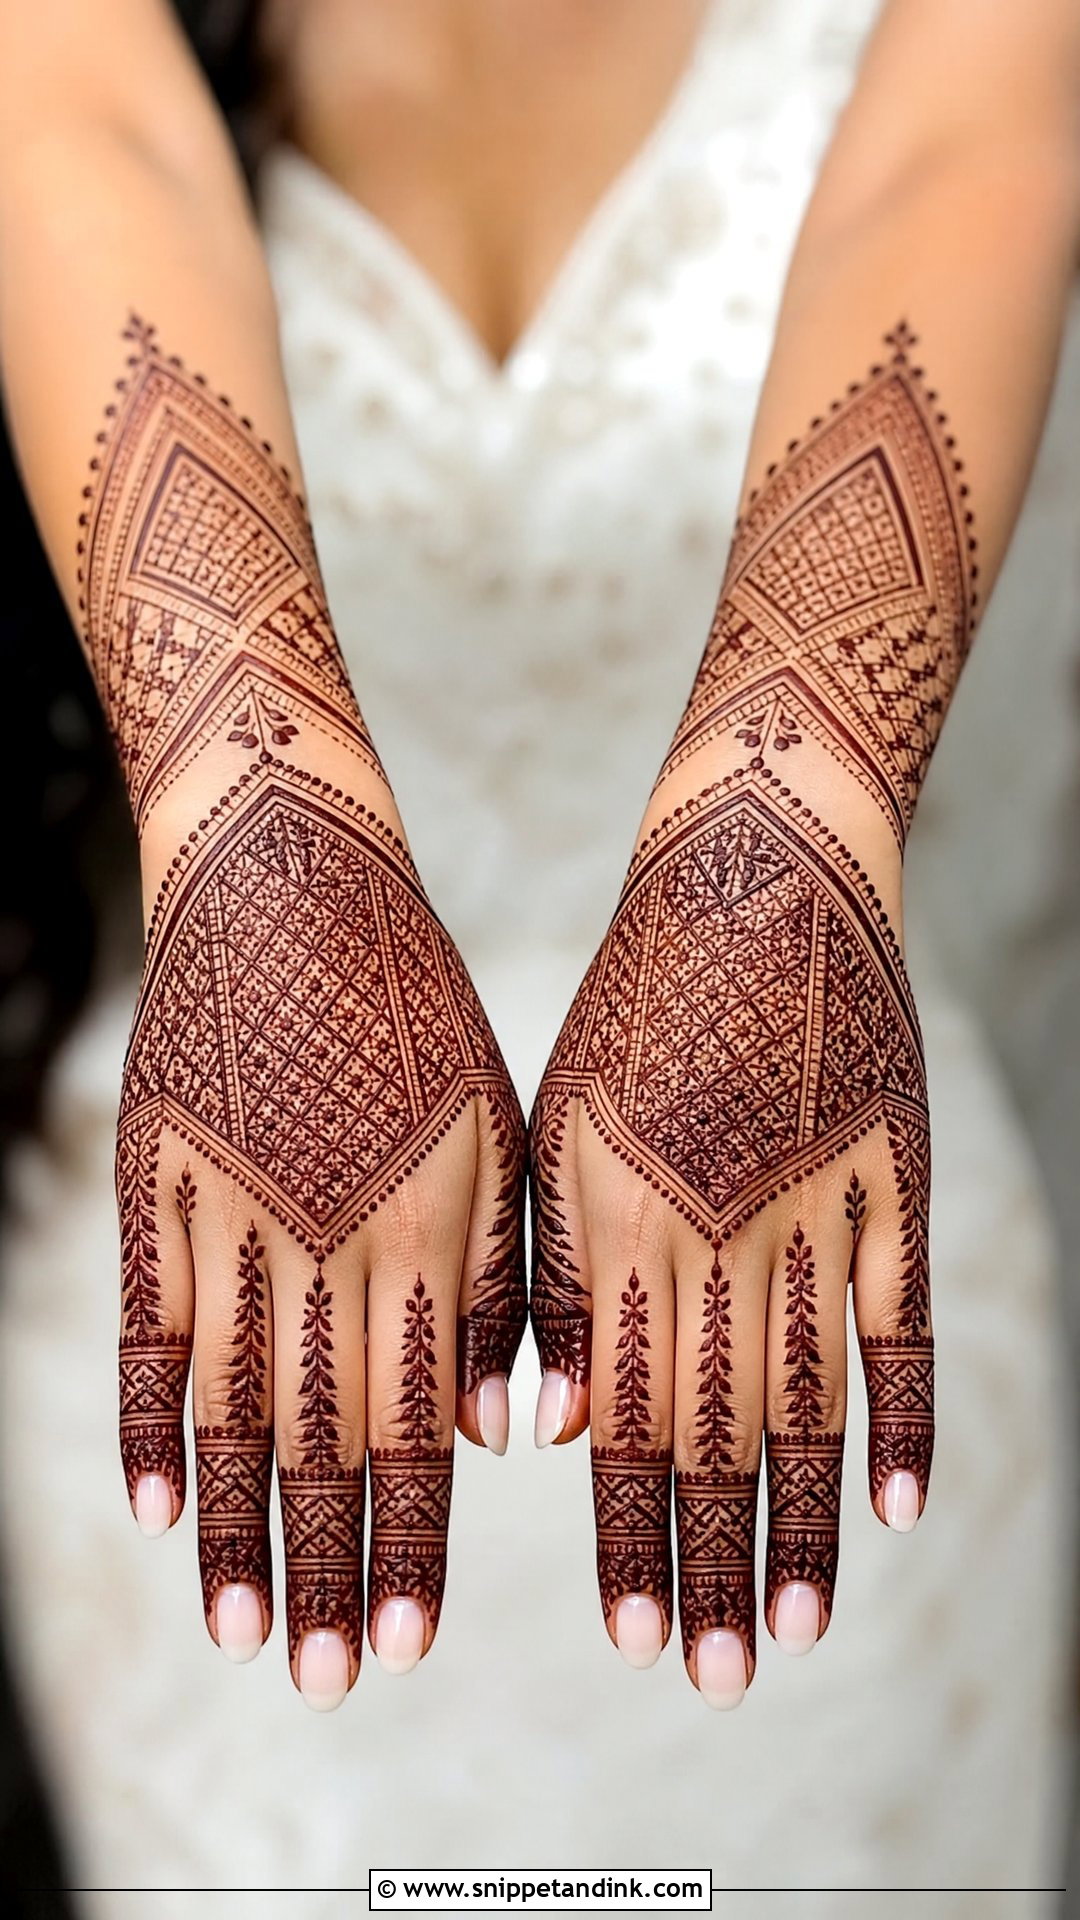
Moroccan-style work swaps flowers for geometry: diamonds, triangles, grids, dots and angular borders. For a bride, I soften the corners with small florals and add a wrist cuff and fine finger detail. It’s a good pick if you want something clearly different from curved traditional patterns. Geometry is unforgiving, though. Every line has to run straight and evenly spaced, and a hand that shifts during application will show it. I build outward from a central panel and check the spacing against the knuckle line as I go.
23. Gulf Back Bridal Mehndi Design
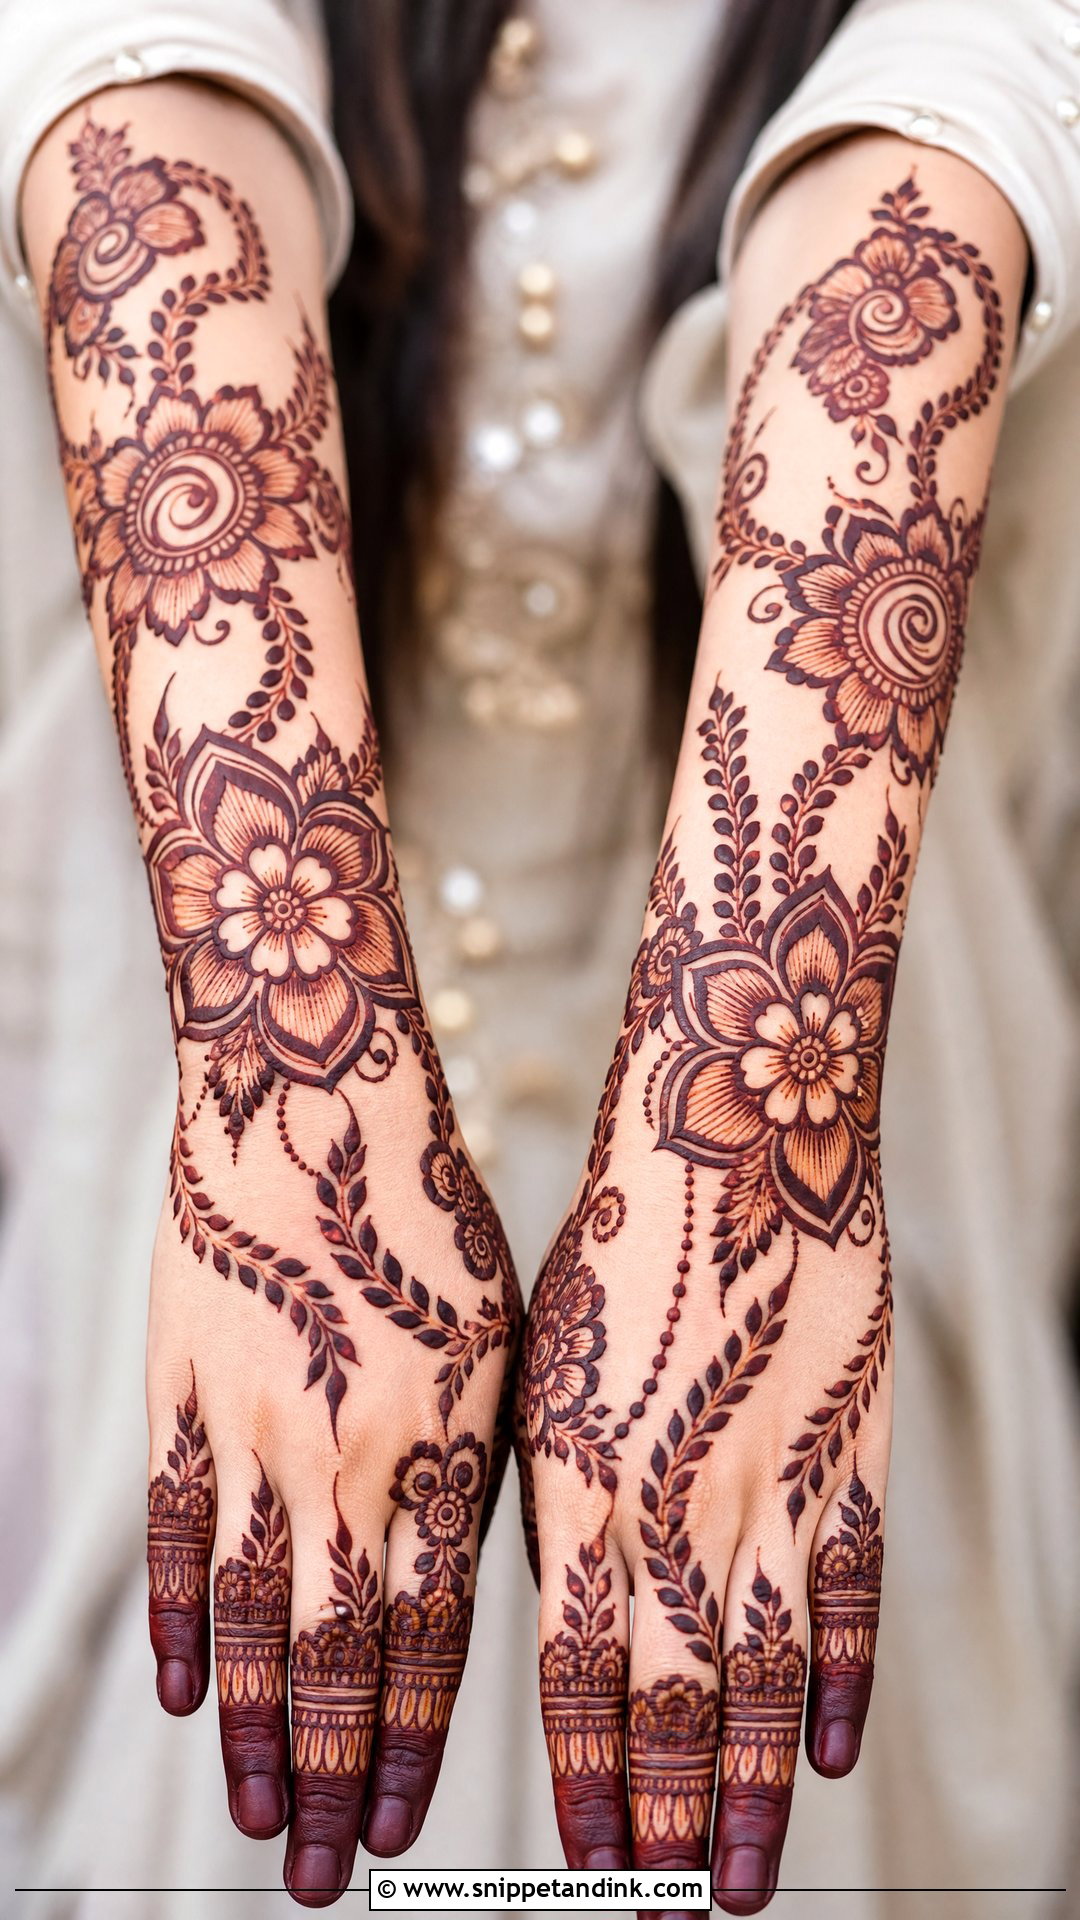
Gulf or Khaleeji-inspired henna uses bolder florals, leafy trails and generous open spacing, so it reads easily from a distance. It may flow across one side of the back hand or cover it with spaced floral clusters. The fingers get thick bands, leafy tips and dots, and a detailed wrist cuff makes it bridal. It’s also quicker to apply than dense Indian work, which helps during a crowded wedding week. Brides who dislike the weight of full coverage tend to find it comfortable to wear.
24. Personalized Back Bridal Mehndi Design
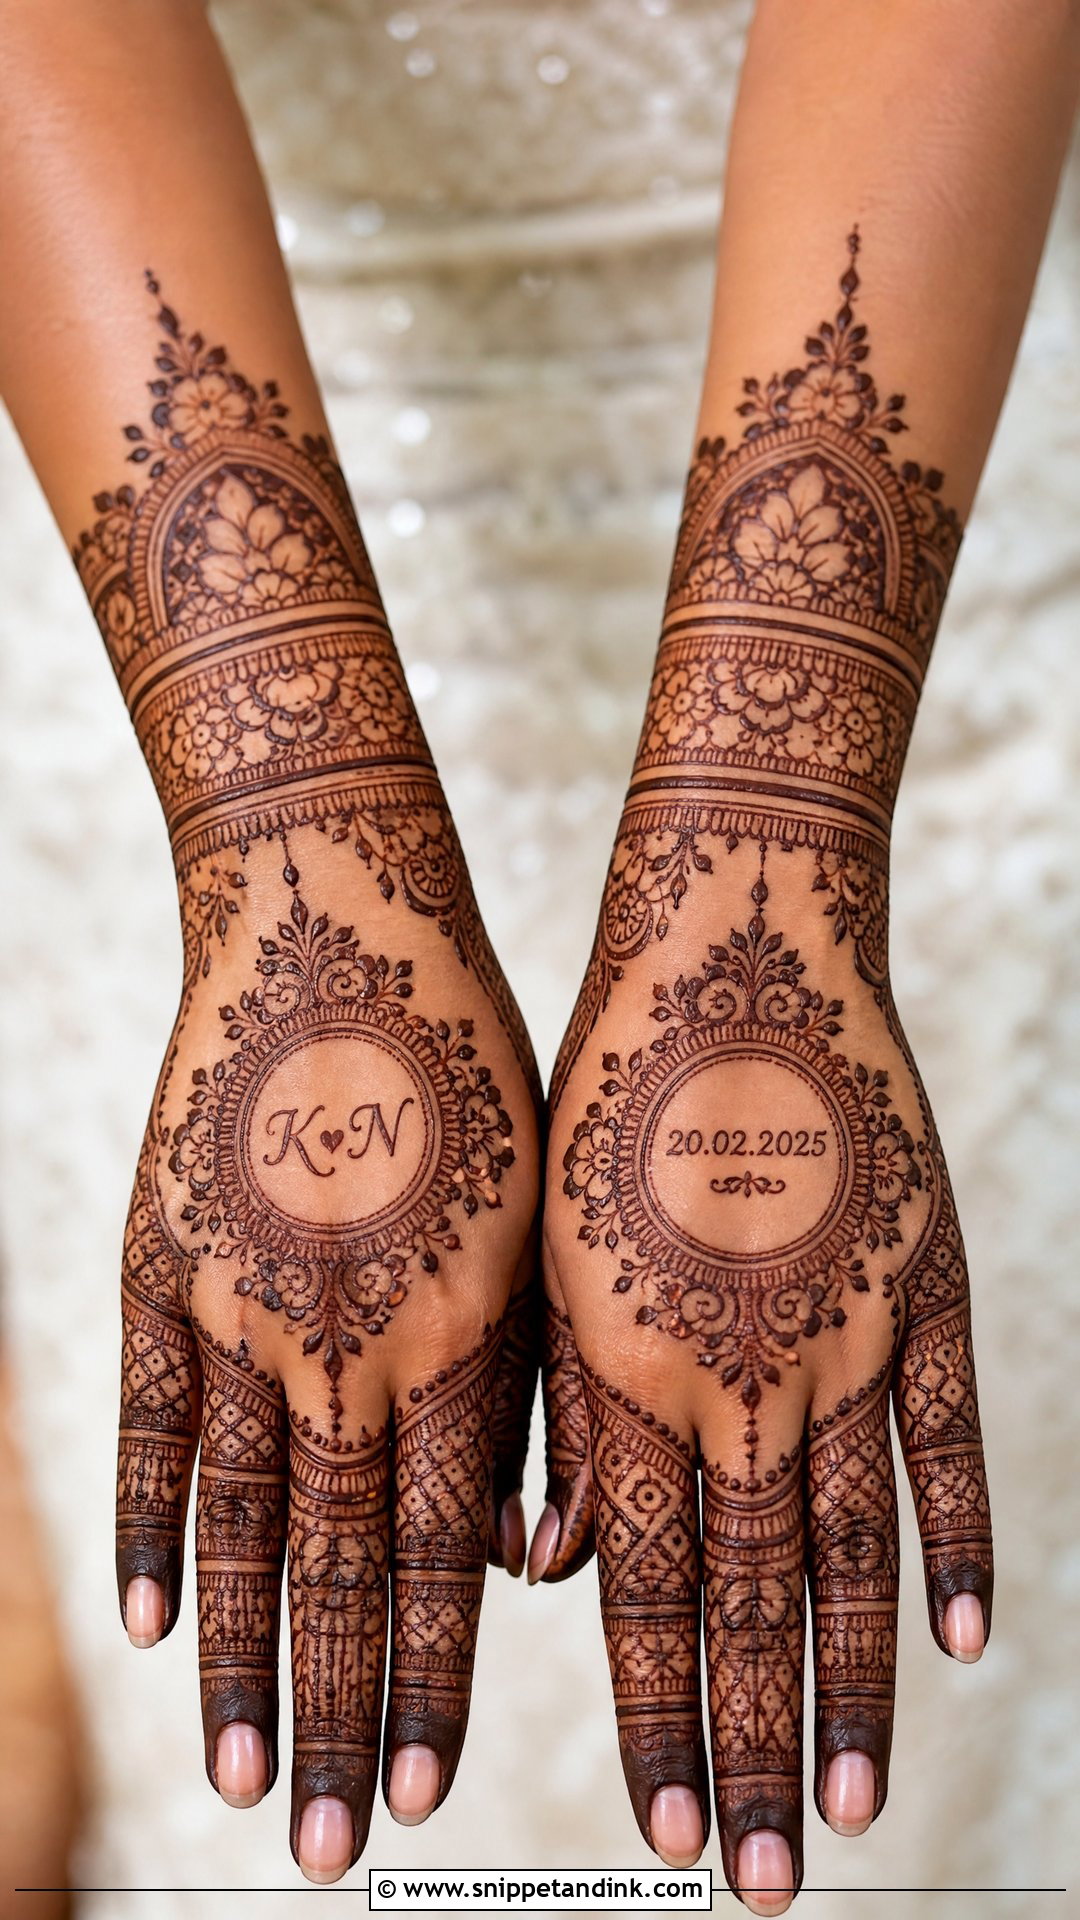
Initials, a wedding date, a couple motif or a flower that means something to you can all be worked into the back of the hand. The skill lies in hiding them inside the design so they don’t sit there like stickers. I surround the personal element with florals, paisleys, jaali or mandala work, and keep letters small enough to stay elegant but clear enough for a close-up. Bring the exact spelling and date written down. Once paste has sat on skin for a minute it leaves a mark, so there’s very little room to fix a wrong letter.
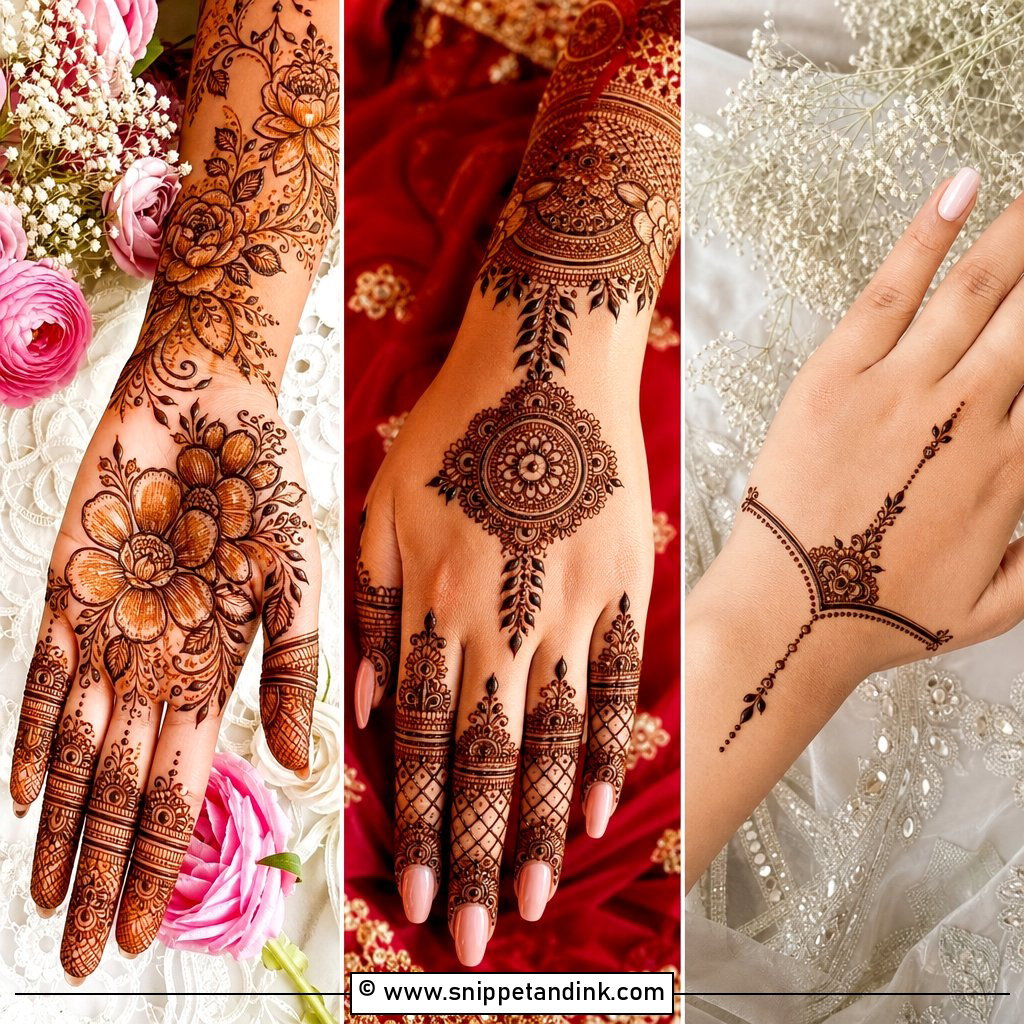
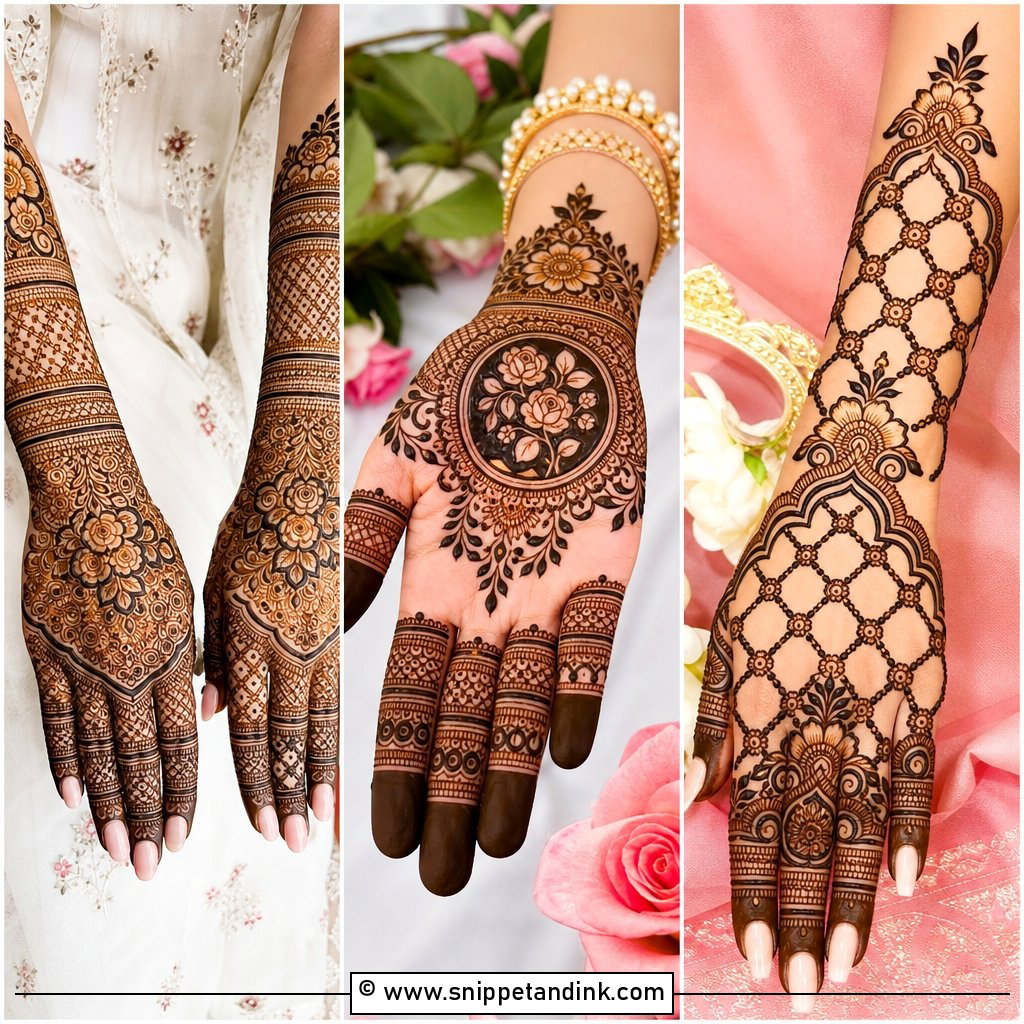
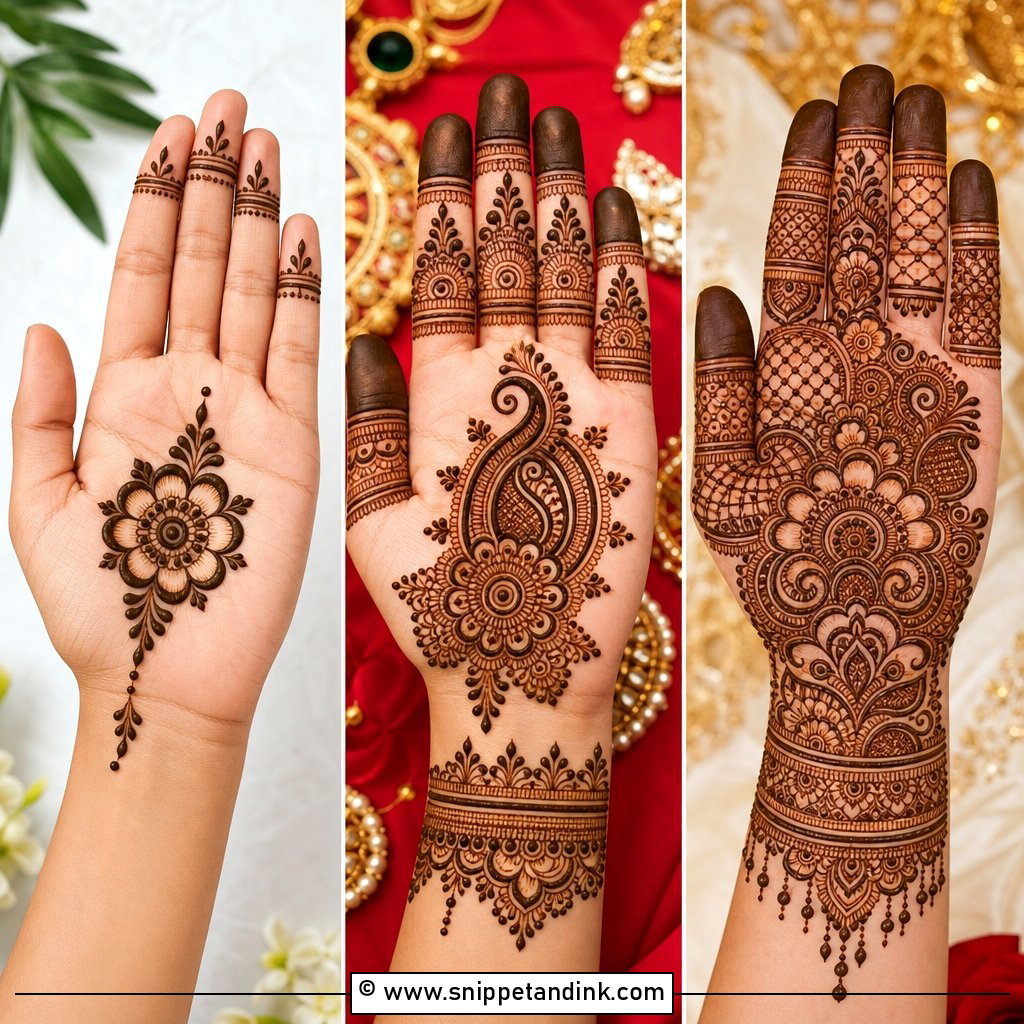
25. Heavy Back Bridal Mehndi Design
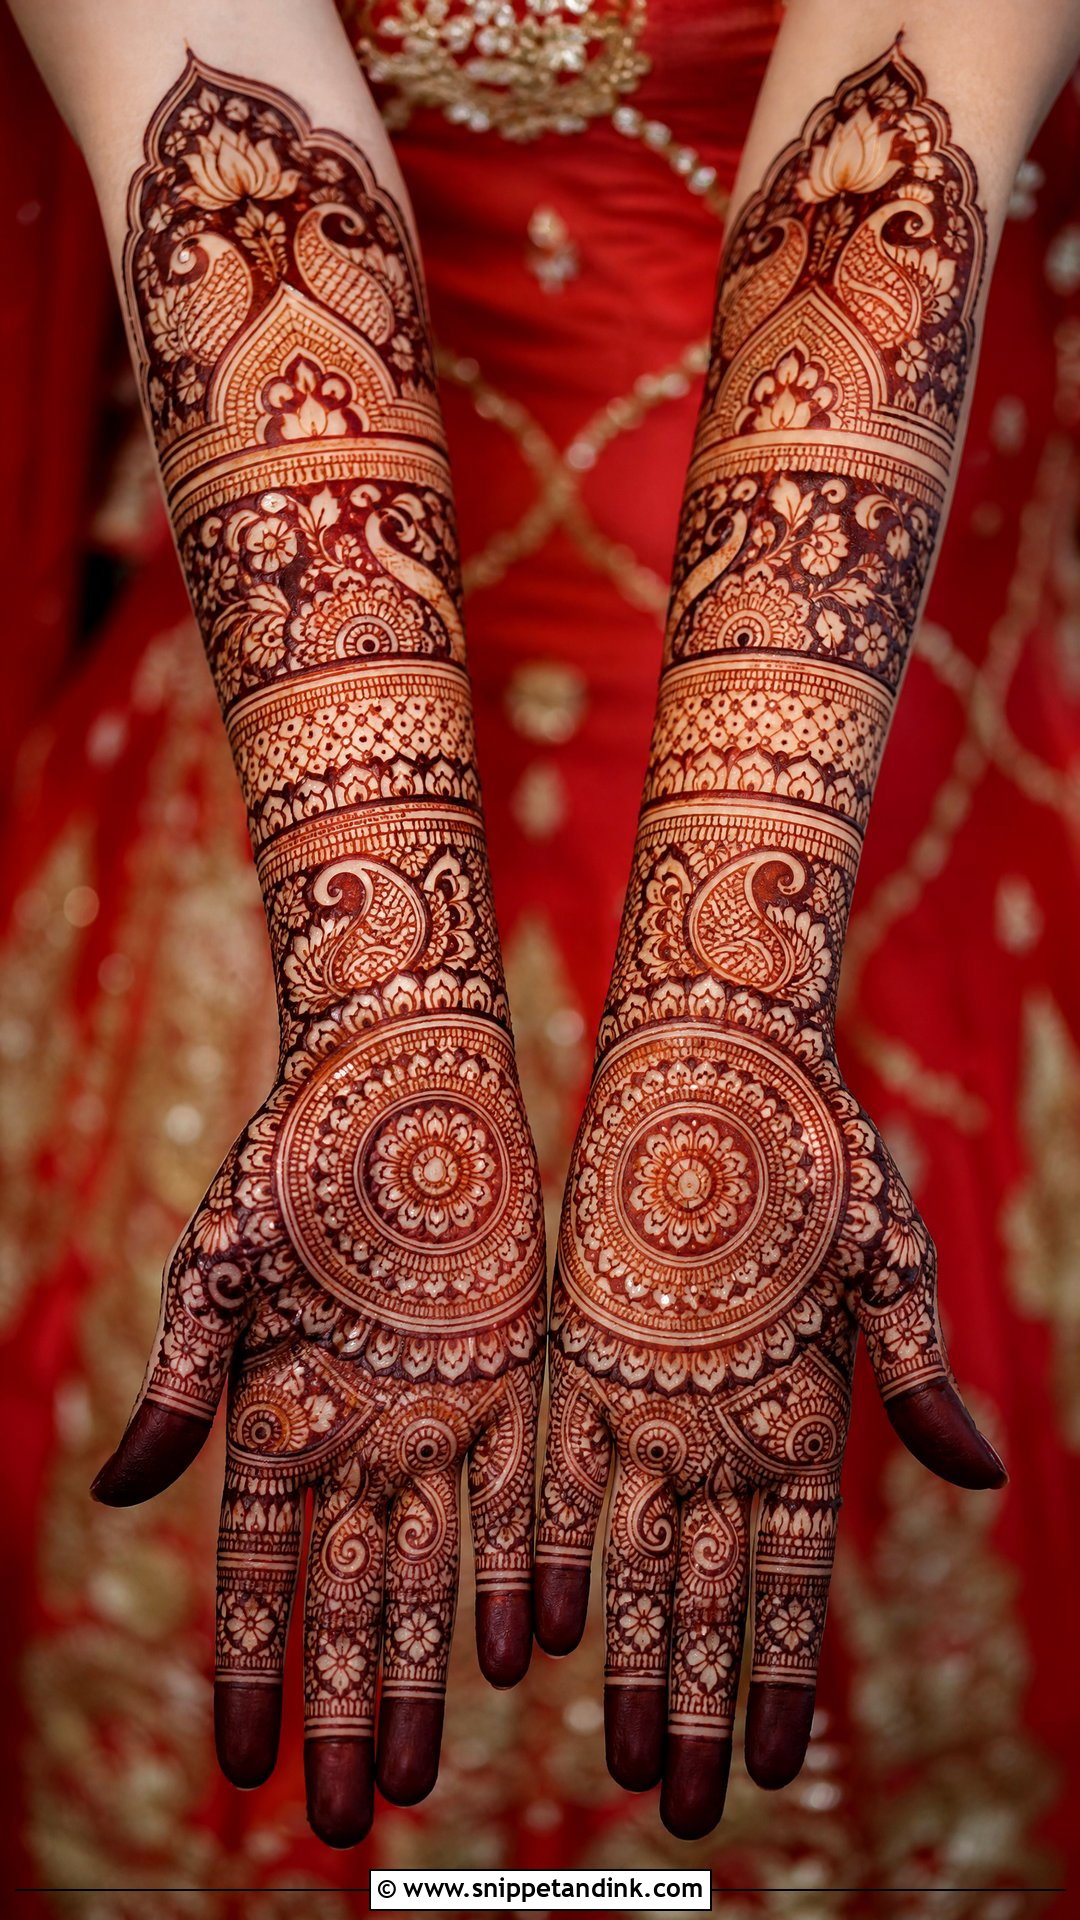
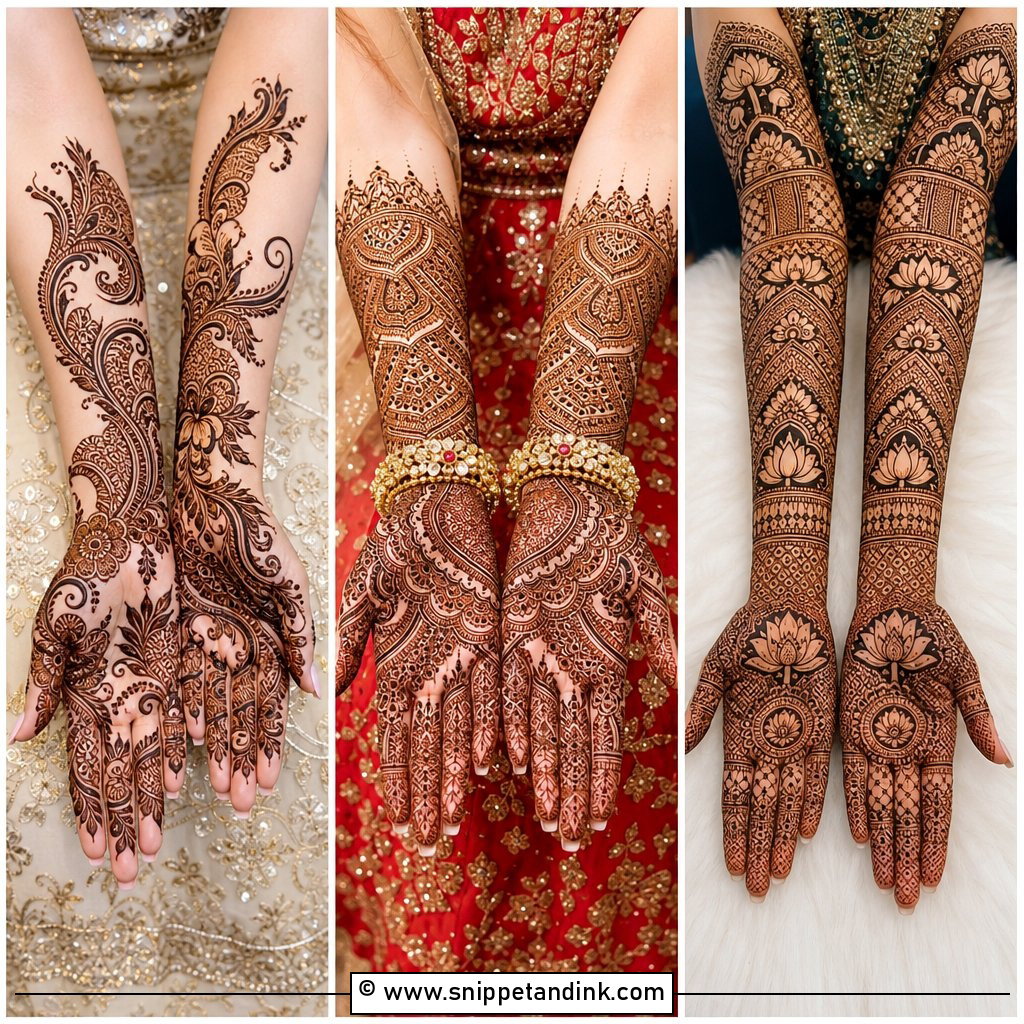
Heavy work covers the whole back of the hand, the fingers, the wrist and often part of the forearm, with mandalas, peacocks, paisleys, jaali, florals and layered borders, finished with fully filled fingertips. Expect a long sitting, and plan your evening around it, because your hands are out of action until the paste dries. The common problem is a packed, muddy result. I avoid it by placing large anchor motifs first and adding fine fillers around them, so the hand stays clear even at full density.
Getting the Colour to Peak on the Wedding Day Itself
Natural henna doesn’t show its final colour when the paste comes off. It starts pale orange and darkens toward red-brown over roughly 24 to 48 hours as the dye oxidises. That’s why I schedule bridal applications one to two days before the ceremony, not the morning of. Go much earlier than that and the design will already be fading at the edges as your skin naturally renews itself.
The first two days after application
- Rub a thin layer of natural balm or coconut oil over the design before you shower.
- Avoid hand sanitizer, chlorine, scrubs and long dishwashing sessions.
- Book waxing, manicures and hand exfoliation for before the mehndi, never after.
- Don’t panic at the orange colour on day one. Give it until the next evening before judging.
Ask what’s in the cone
Bridal paste should be natural henna powder mixed with lemon juice or water, sugar and essential oils, and it smells earthy rather than chemical. Steer clear of anything sold as black henna or promising a jet-black result within an hour. Those products often contain PPD, a hair-dye chemical that can cause serious skin reactions. If you’ve never worn henna before, a small patch test a week or two ahead is a sensible precaution.
How Far Up the Arm Should Your Mehndi Go?
Your outfit, your jewelry, the shape of your hands and how long you can sit still will narrow this list faster than anything else. Full Indian work feels traditional, Arabic trails stay open, and Indo-Arabic sits between the two. Mandalas, jaali, jewelry layouts and personal motifs all work when they’re planned as one composition from fingertip to wrist. Before the appointment, save three or four references, decide how far up the arm you want to go, and talk coverage through with your artist. Then protect the stain for those first two days and let it reach its full colour.
You'll Like These Ideas:


Leave a Reply