
The palm is where henna does its best work. Skin there is thicker and warmer than on the back of the hand, so the dye has more to bind to and the stain usually settles a shade or two deeper. That is exactly why I plan front hand work more carefully than any other placement: a shaky line or a crowded corner shows up clearly once the color darkens. The 35 layouts below run from a single palm motif to full bridal coverage, each with notes on how it behaves on the skin, who it suits and where it tends to go wrong.
How I Read a Palm Before the Cone Comes Out
Before I draw anything, I look at the hand itself. Palm creases, finger length and where you wear rings all change which layout will work. A deep crease running through the middle of the palm can break a mandala ring in half once you bend your hand, so I either size the mandala to sit inside the creases or let a floral trail cross them instead. Flowers hide a kink far better than circles do.
What I ask at the start of every appointment
- The occasion and how long you can sit. A small palm motif takes minutes; a full bridal front can take hours per hand.
- Whether you’ll wear rings, bangles or a watch, so I can keep those areas lighter.
- How deep you want the color. Palms stain dark, so if you prefer a softer result, choose an open layout over dense filling.
- Any skin sensitivity, cuts or recent waxing on the hands, since broken skin can sting under paste.
It’s also fair to ask what your artist puts in her cones. Fresh natural paste is a greenish brown, smells faintly of essential oil and leaves an orange stain when it first comes off. Paste that leaves a black mark straight away is not plain henna, and I would not let it near your skin.
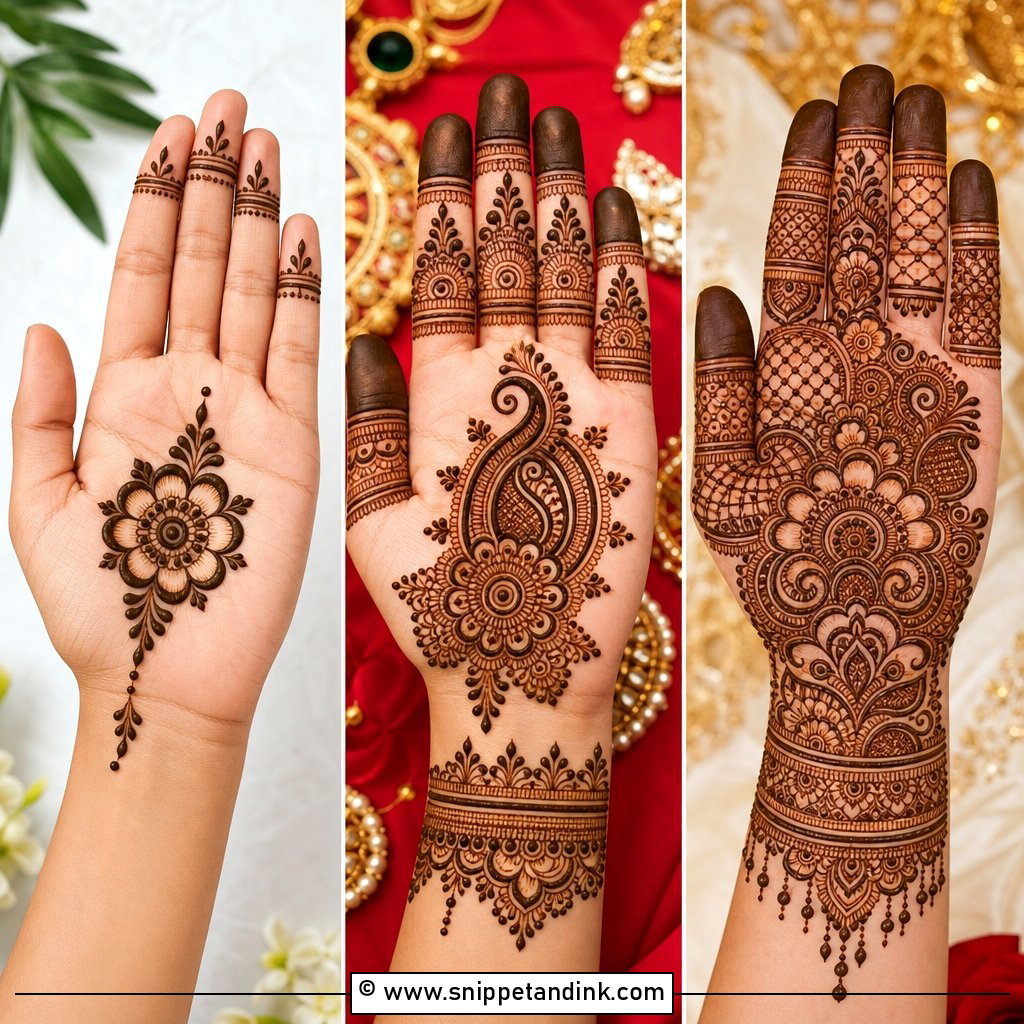
1. Simple Front Hand Mehndi Design
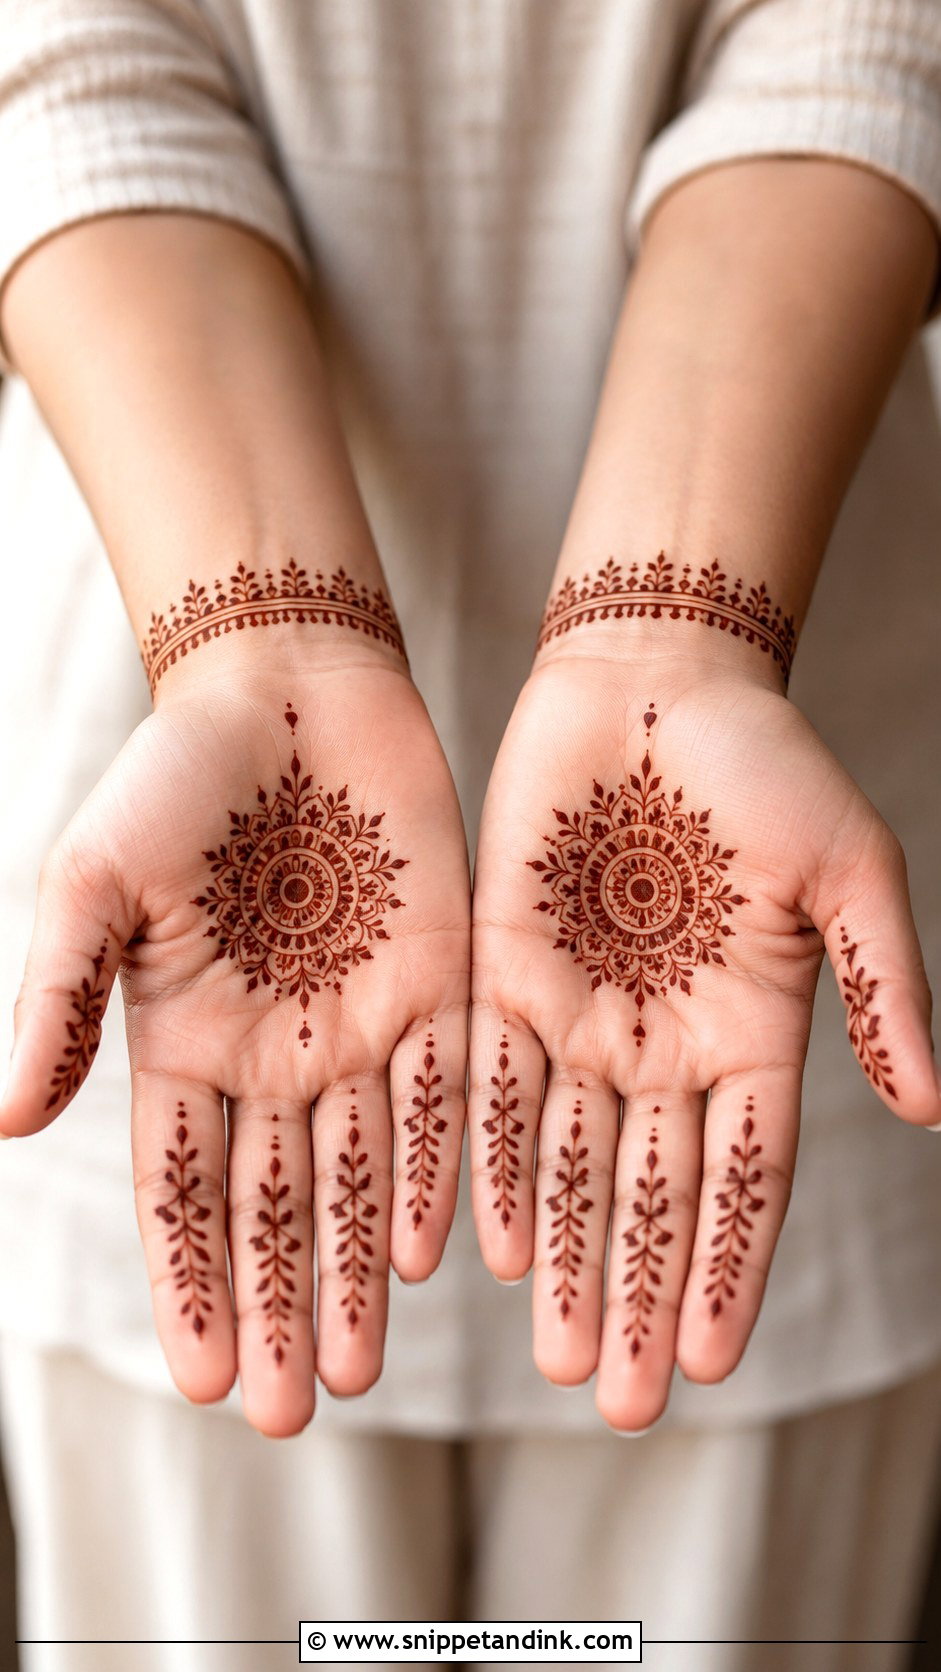
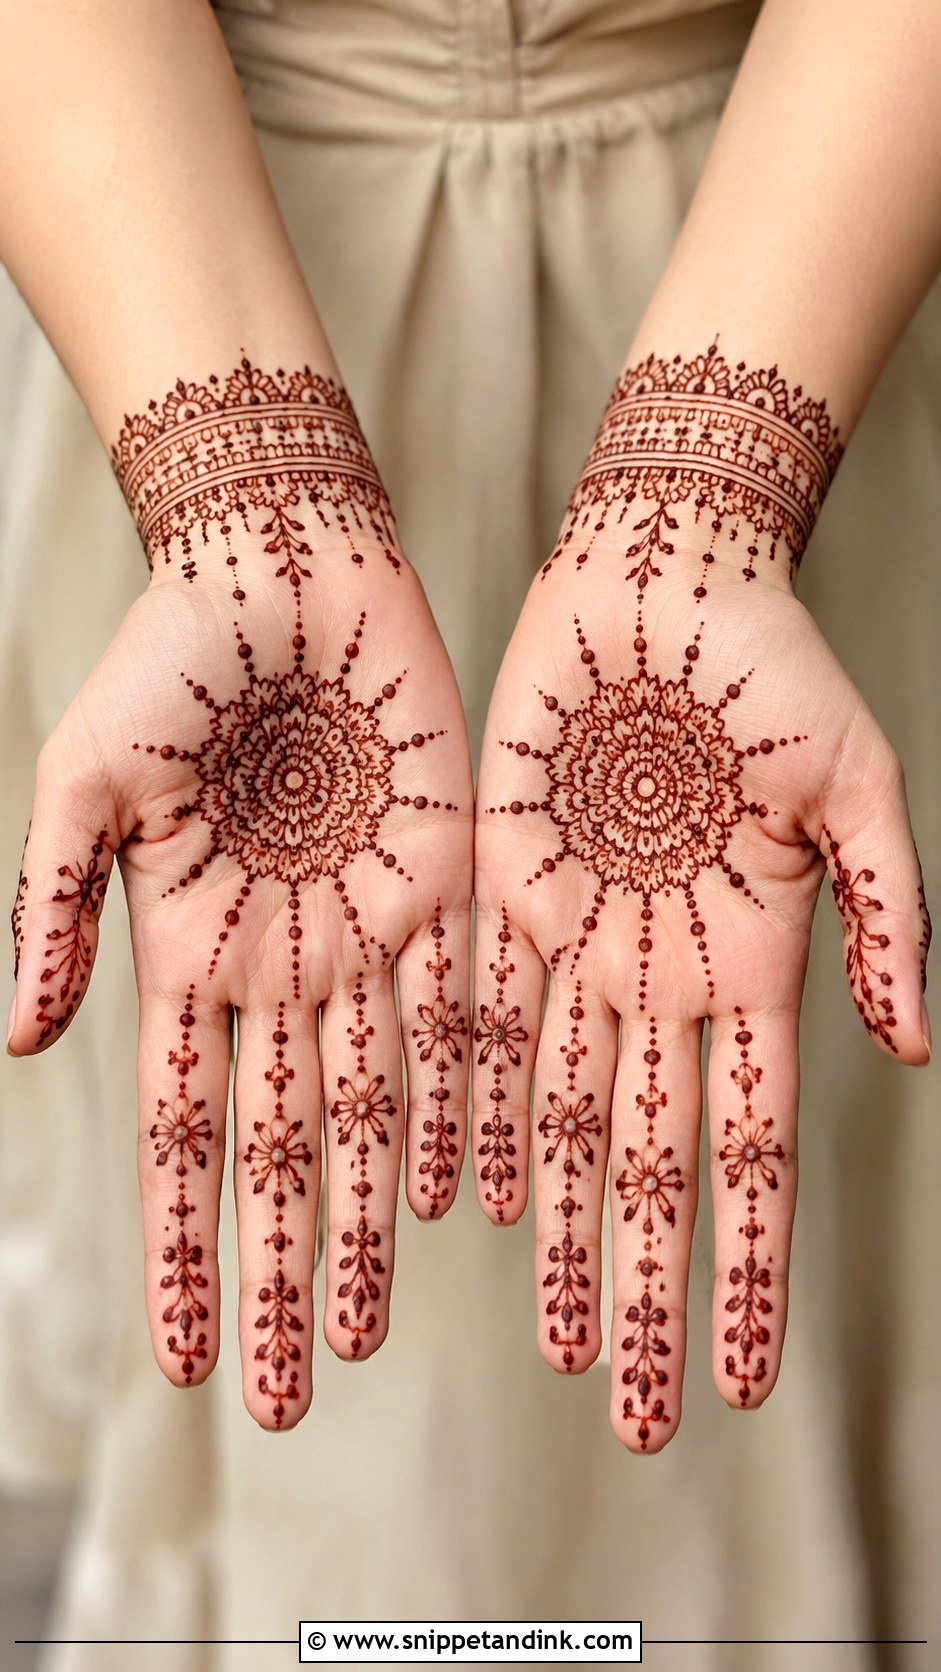
Most first-timers who sit down with me ask for something like this, and it’s a sensible place to start. A small floral circle in the middle of the palm, a few vines and dots up the fingers and a slim wrist band leave plenty of bare skin, so the hand looks clean. The part people underestimate is the finger lines. On a simple layout there is nothing to hide a wobble behind, so I keep cone pressure even and pull each line in one stroke instead of stopping halfway.
2. Arabic Front Hand Mehndi Design
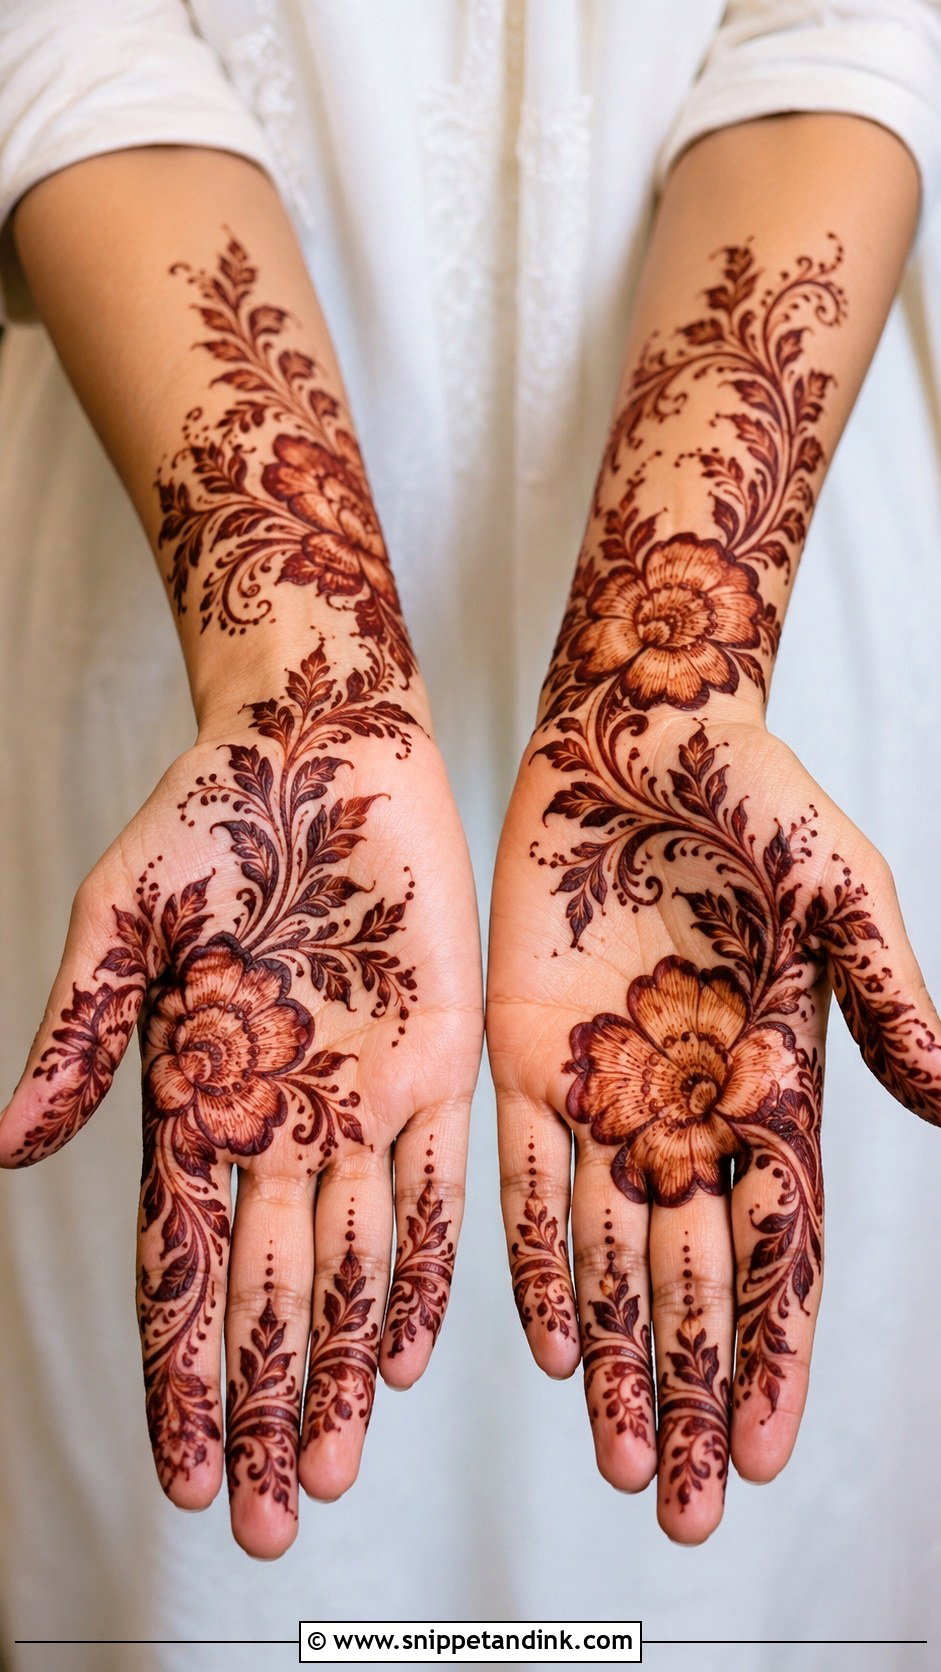
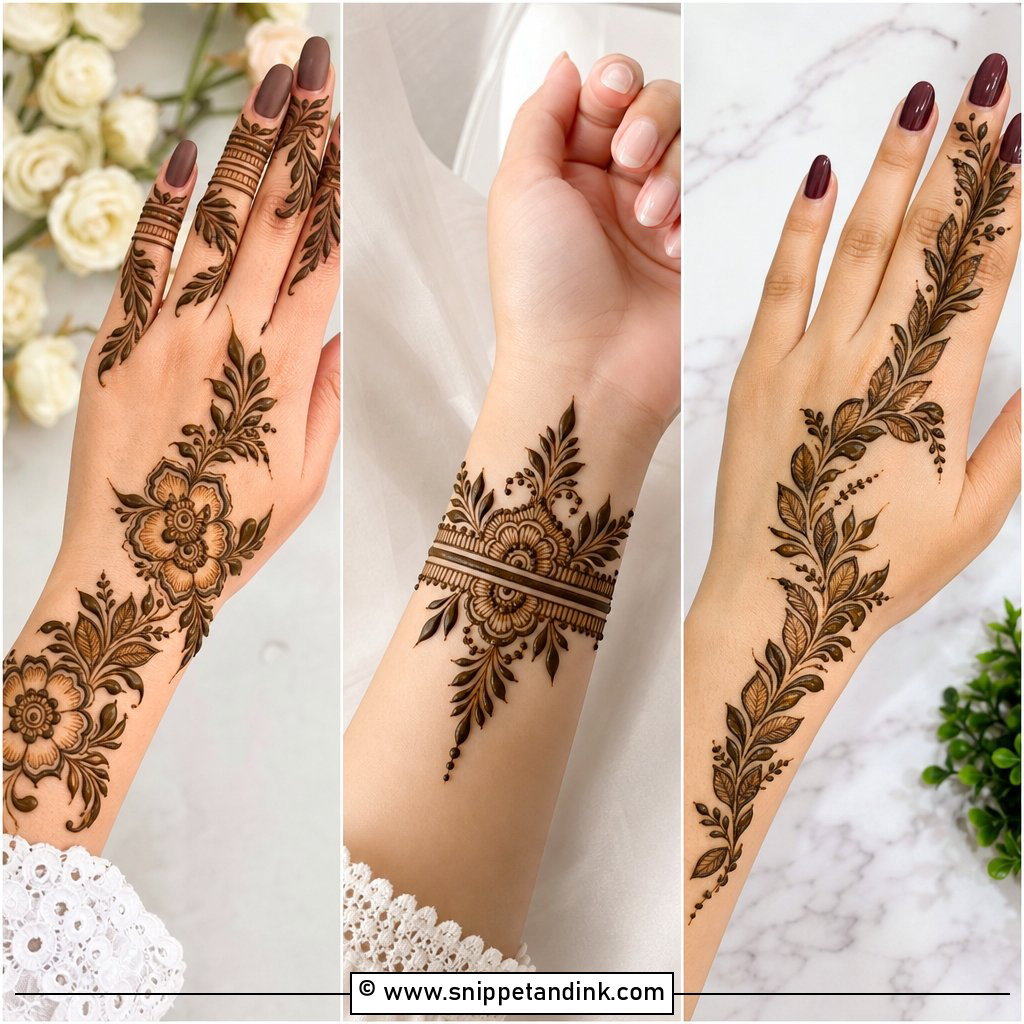
Arabic placement runs diagonally from the wrist up to one finger, usually the index, with big flowers, shaded petals and curling vines. The open gaps are the design, so resist the urge to fill them. I shade by thinning the paste inside a petal rather than adding more lines, and I keep that shading lighter than it looks while wet, because on the palm it stains far darker than on the back of the hand. Load one or two fingers fully and give the rest simple bands. That imbalance is what makes Arabic work move.
3. Full Front Hand Mehndi Design
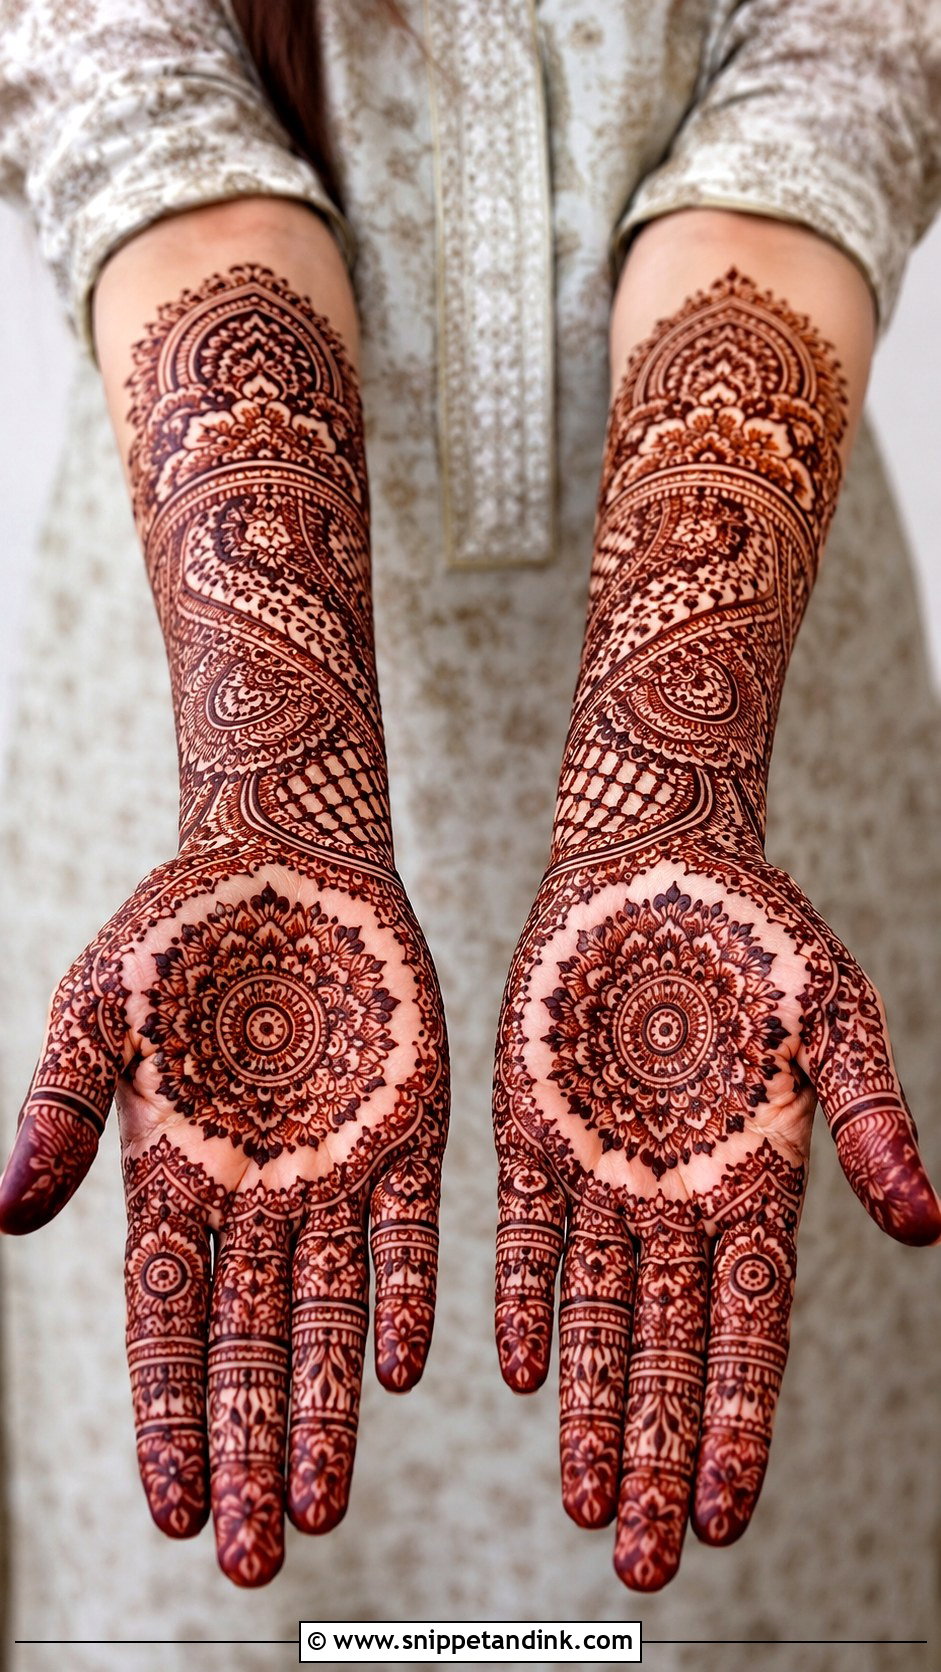
Full coverage takes the palm, all five fingers and the wrist. Before I start, I divide the hand into zones: a central palm motif, finger panels, a wrist border, then filler in between. Skip that map and filler creeps everywhere until the stain reads as one dark patch. Give yourself real time for this one. You’ll be sitting still through the drawing and then holding the hand steady while it dries, so eat first.
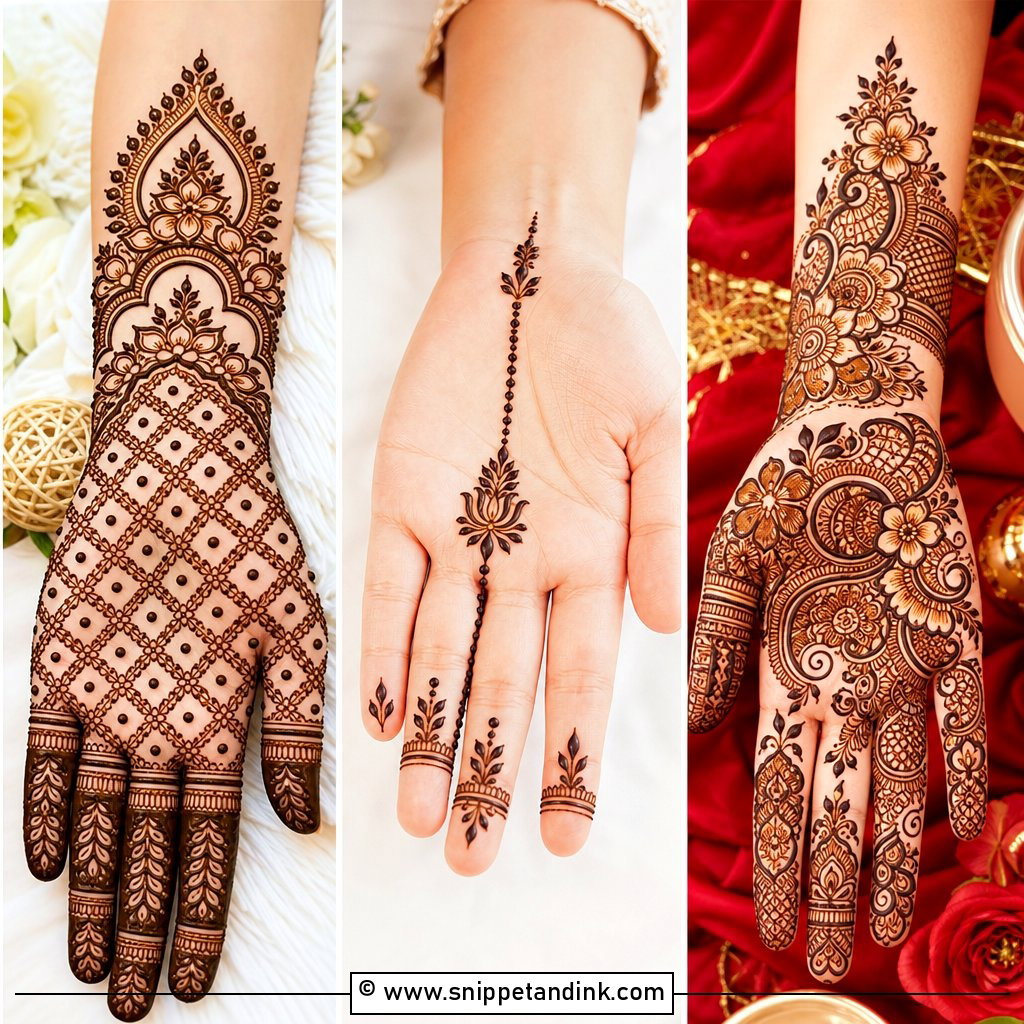
4. Bridal Front Hand Mehndi Design
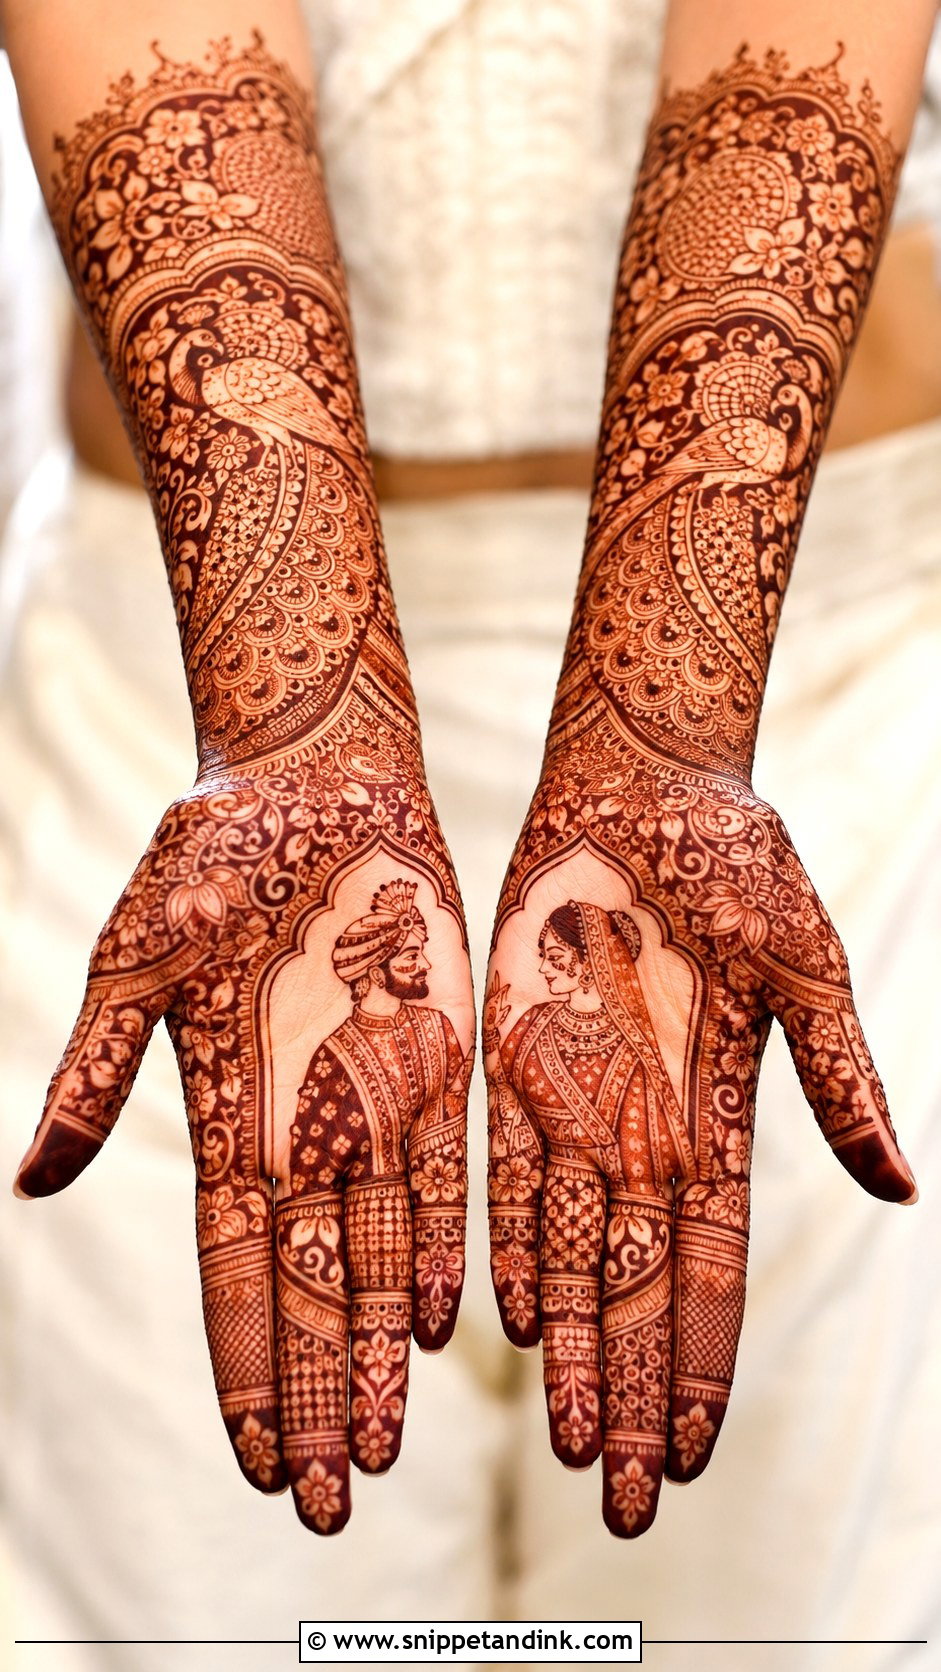
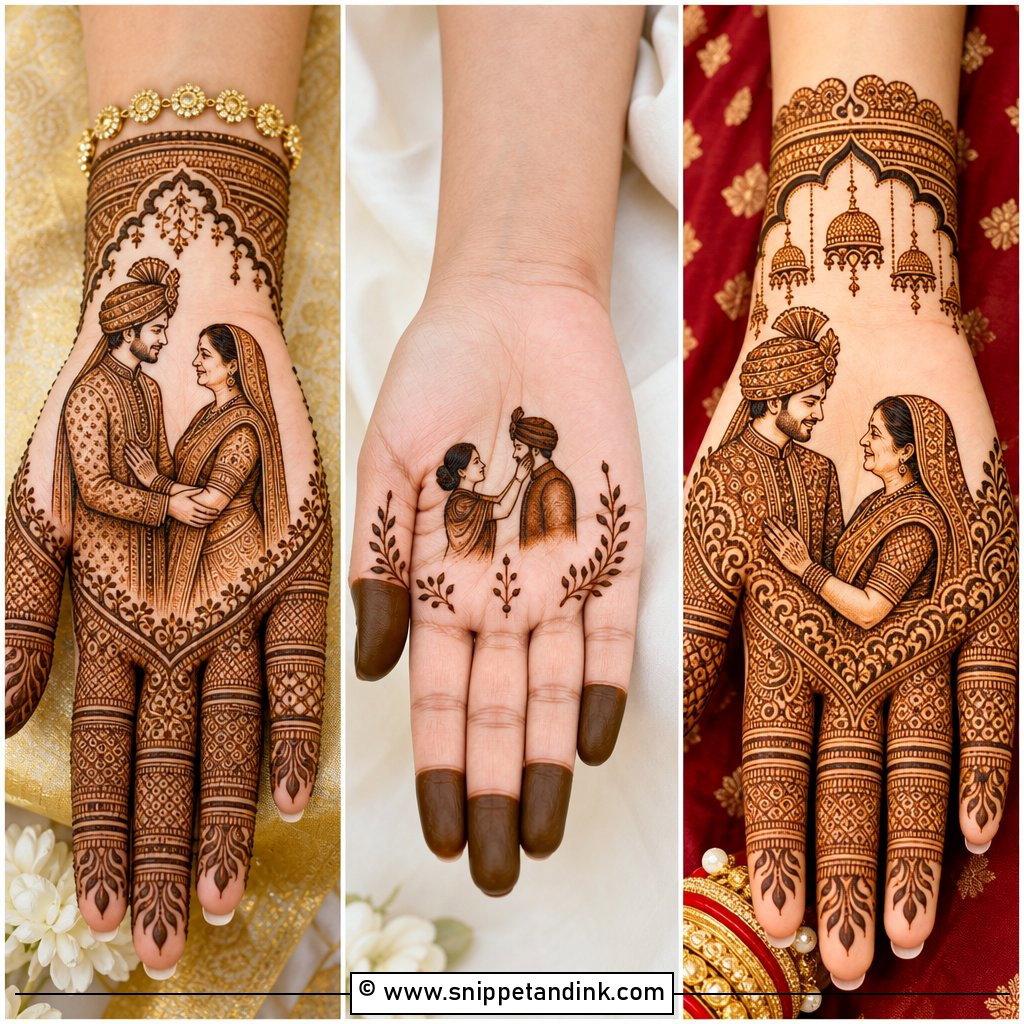
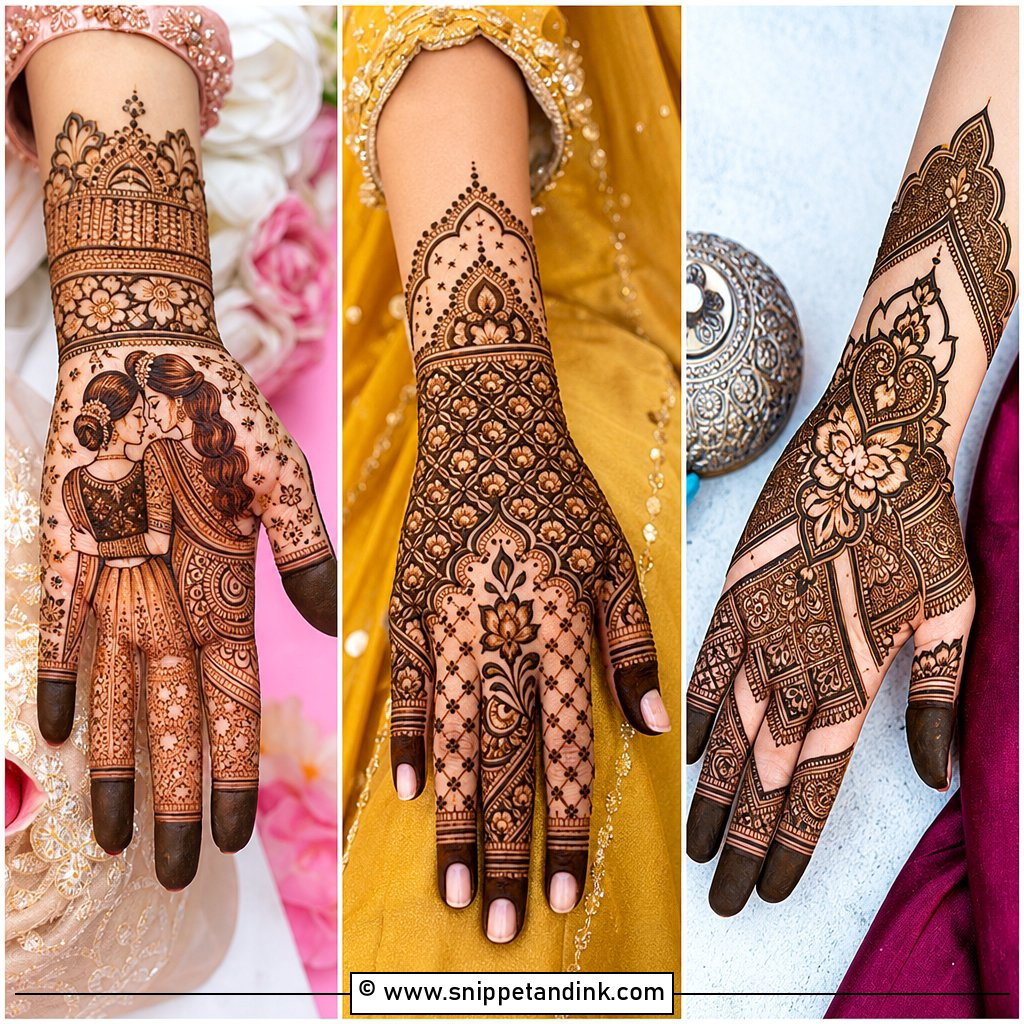
Bridal fronts usually run past the wrist toward the elbow, packed with paisleys, peacocks, lotus panels, jaali, bride-groom elements and small personal details hidden in the pattern. Because the palms appear in nearly every ritual photo, I sketch both hands as a pair before any paste goes on, so the figures face each other when the palms are held together. Fine lines are not optional on a bride. A thick cone on dense work produces lines that merge as the stain deepens. If she wants some air, I borrow Arabic gaps for the forearm and keep the palm traditional.
5. Mandala Front Hand Mehndi Design
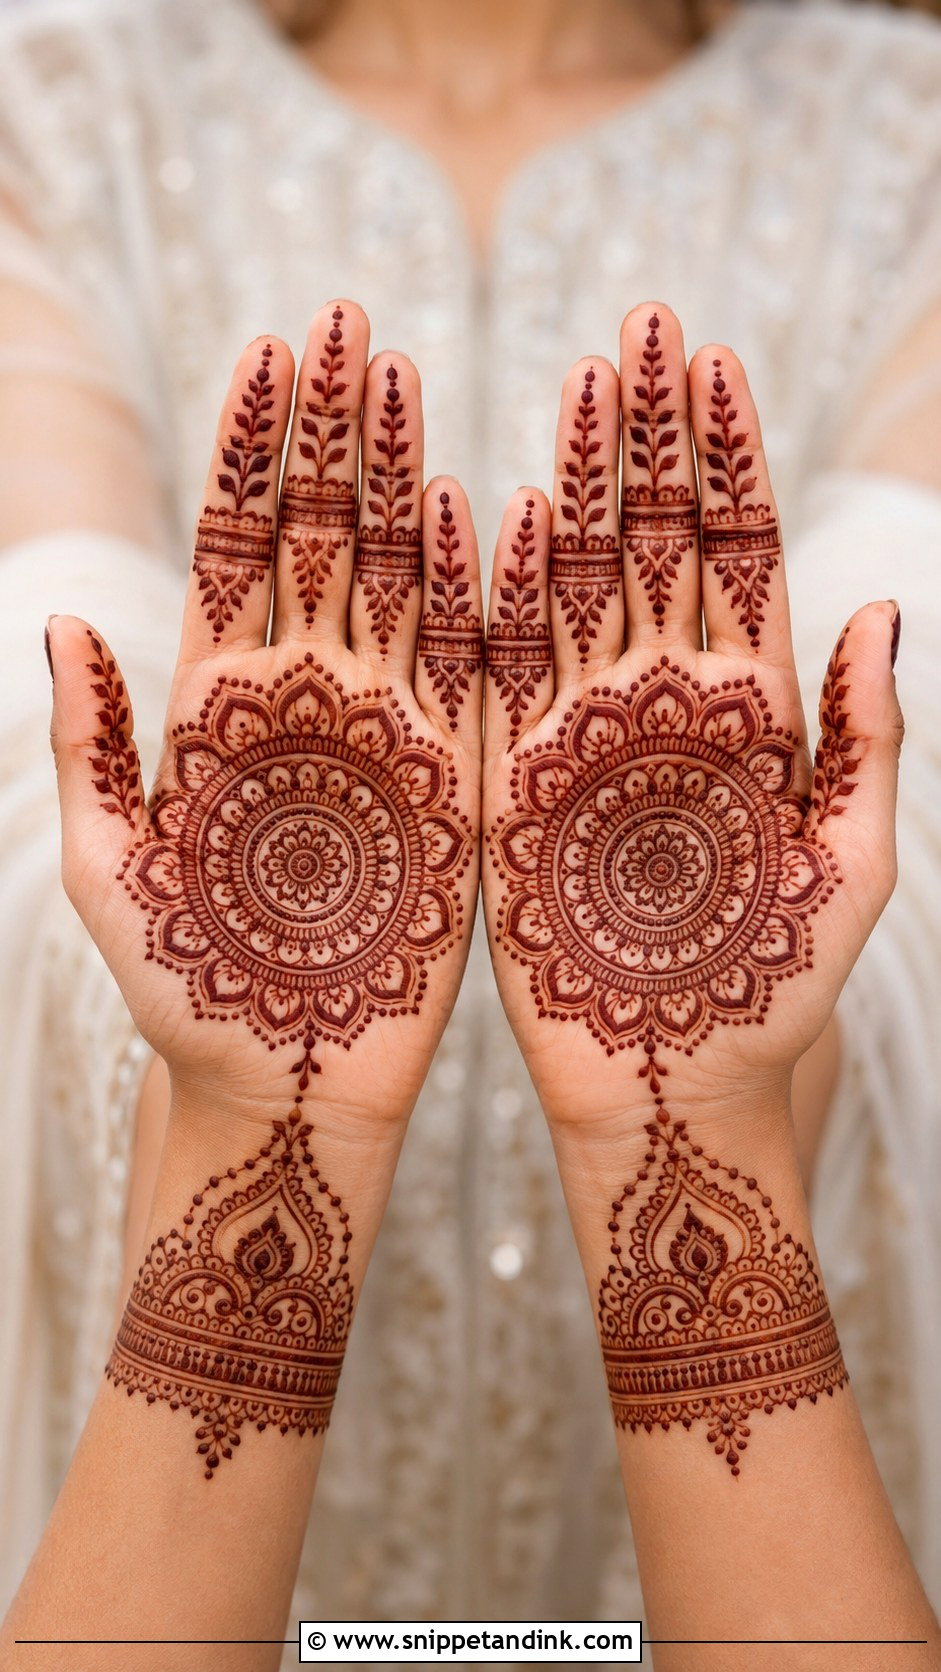
A mandala grows outward from the middle of the palm in rings of petals, scallops and dots. Placing the center is the real skill. When your hand relaxes into a natural cup, its true middle sits a little lower than it looks with the palm stretched flat, so I mark it with a single dot while your hand is soft. A mandala drawn on a stretched palm looks off-center the moment you curl your fingers. Leave a clear margin around the outer ring, and the circle will read crisply against bare skin.
6. Floral Front Hand Mehndi Design
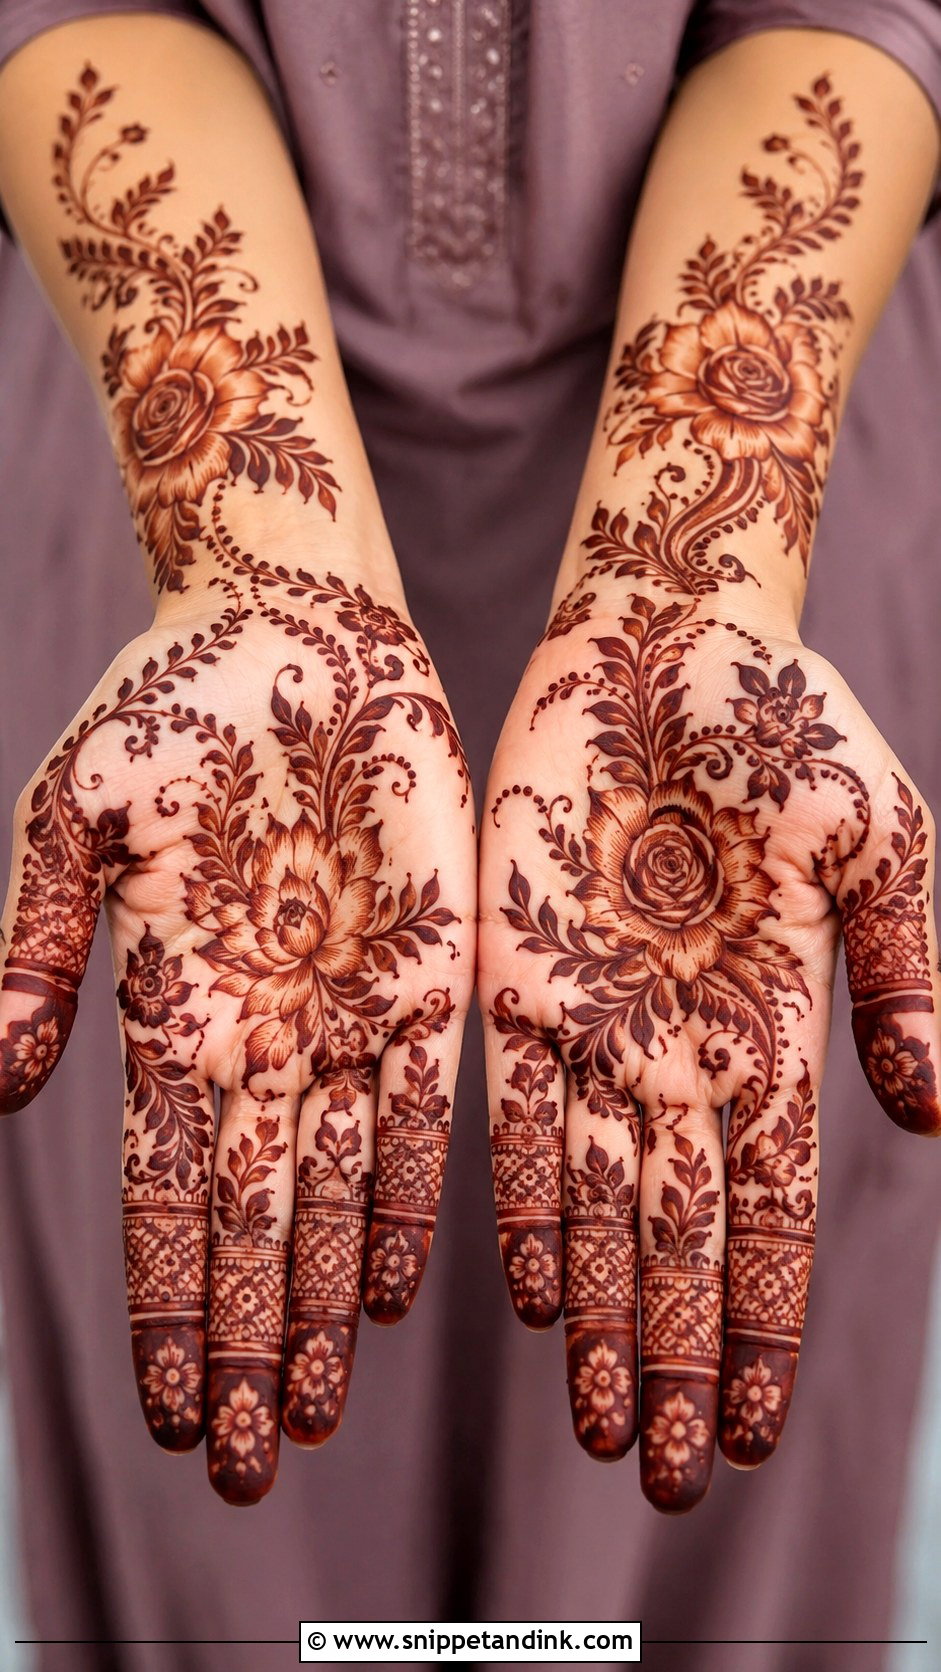
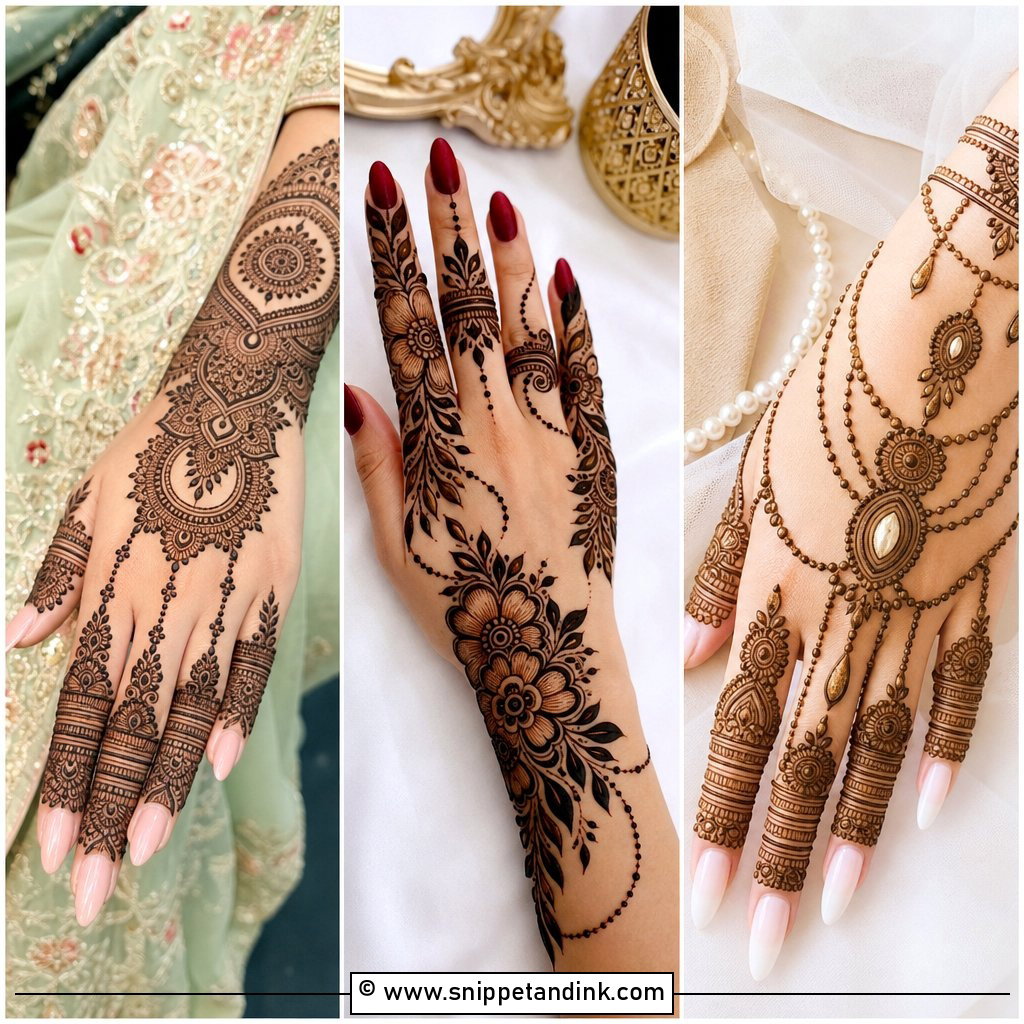
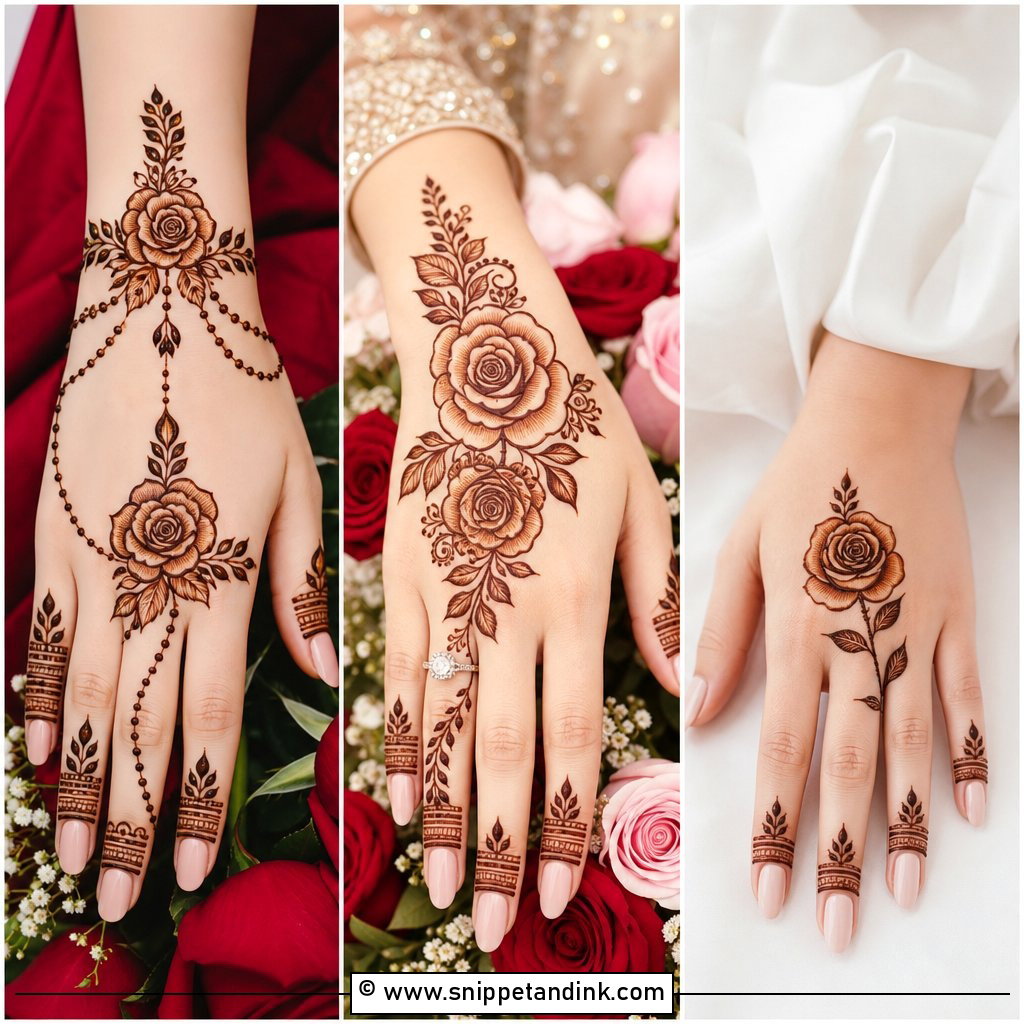
Flowers are the most forgiving motif I draw. A petal that comes out slightly uneven still looks like a petal, which is why I often steer nervous first-timers toward florals. One large bloom near the center with a vine trailing to the index finger is plenty for a light event; layered flowers across wrist and fingers suit a heavier one. Use a bold outline with fine veins inside. Without that contrast in line weight, roses and lotus petals flatten into blobs once the stain develops.
7. Paisley Front Hand Mehndi Design
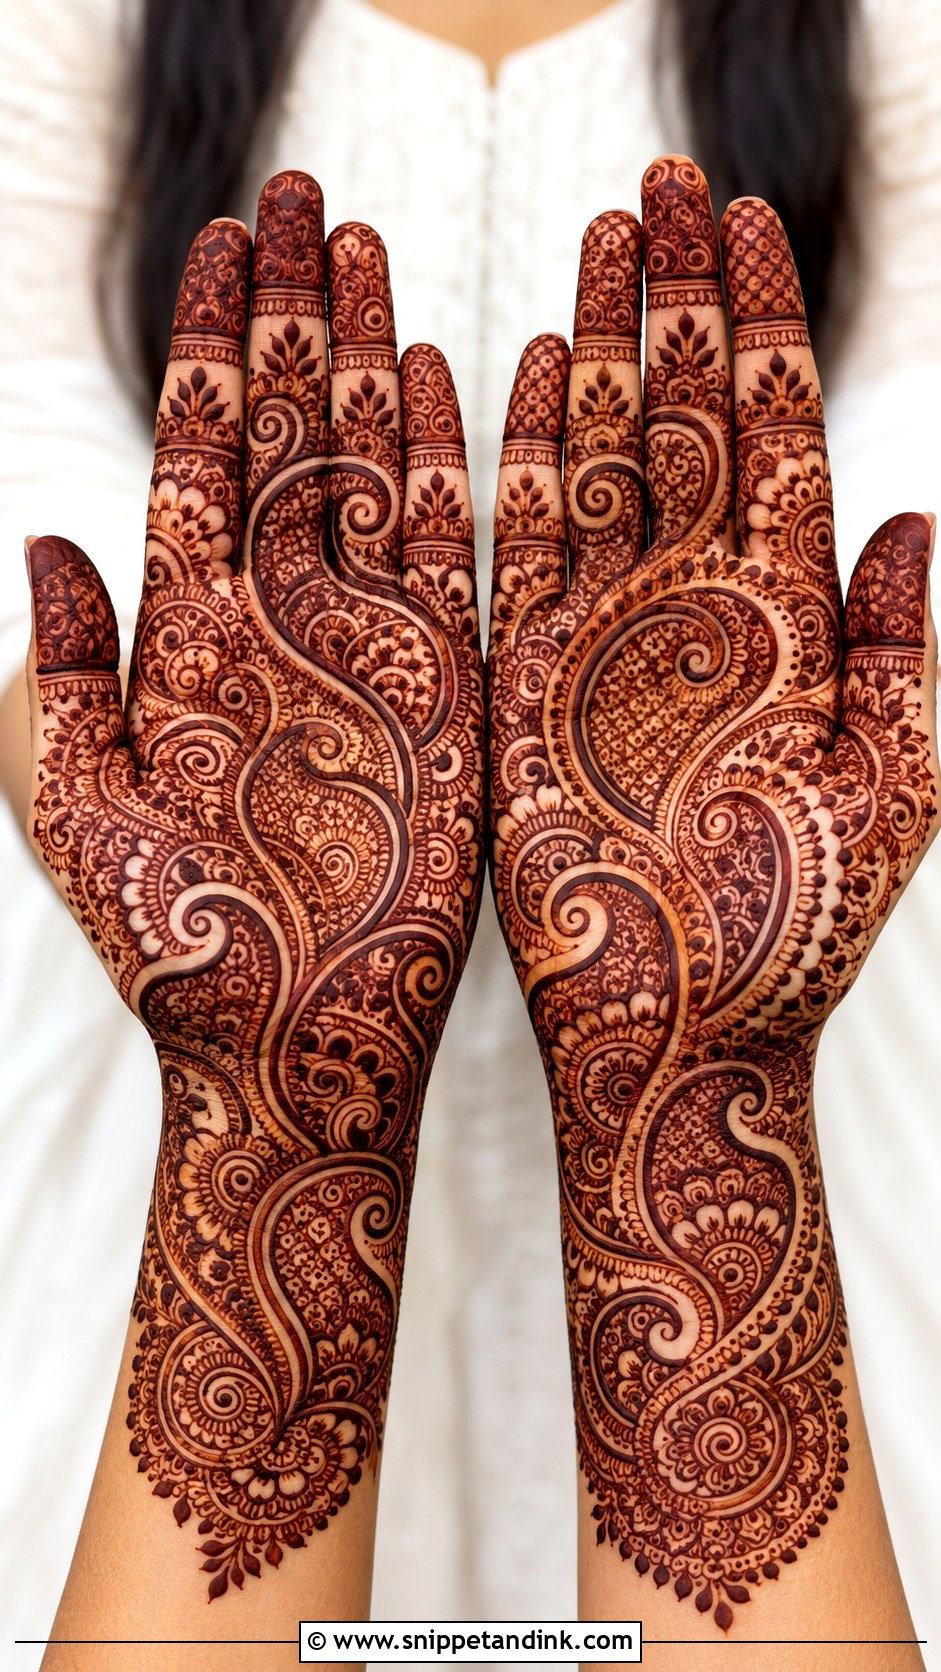
Paisley, the curved mango shape at the heart of traditional mehndi, will carry almost any filling: dots, spirals, petals, small checks. My rule is one filling per paisley family. When every paisley gets a different interior, the palm looks busy rather than rich. Big, spaced paisleys read simple and tightly stacked ones read heavy, so the same motif can dress a guest or a bride. I join them with leafy vines so the eye travels from wrist to fingertip.
8. Indo-Arabic Front Hand Mehndi Design
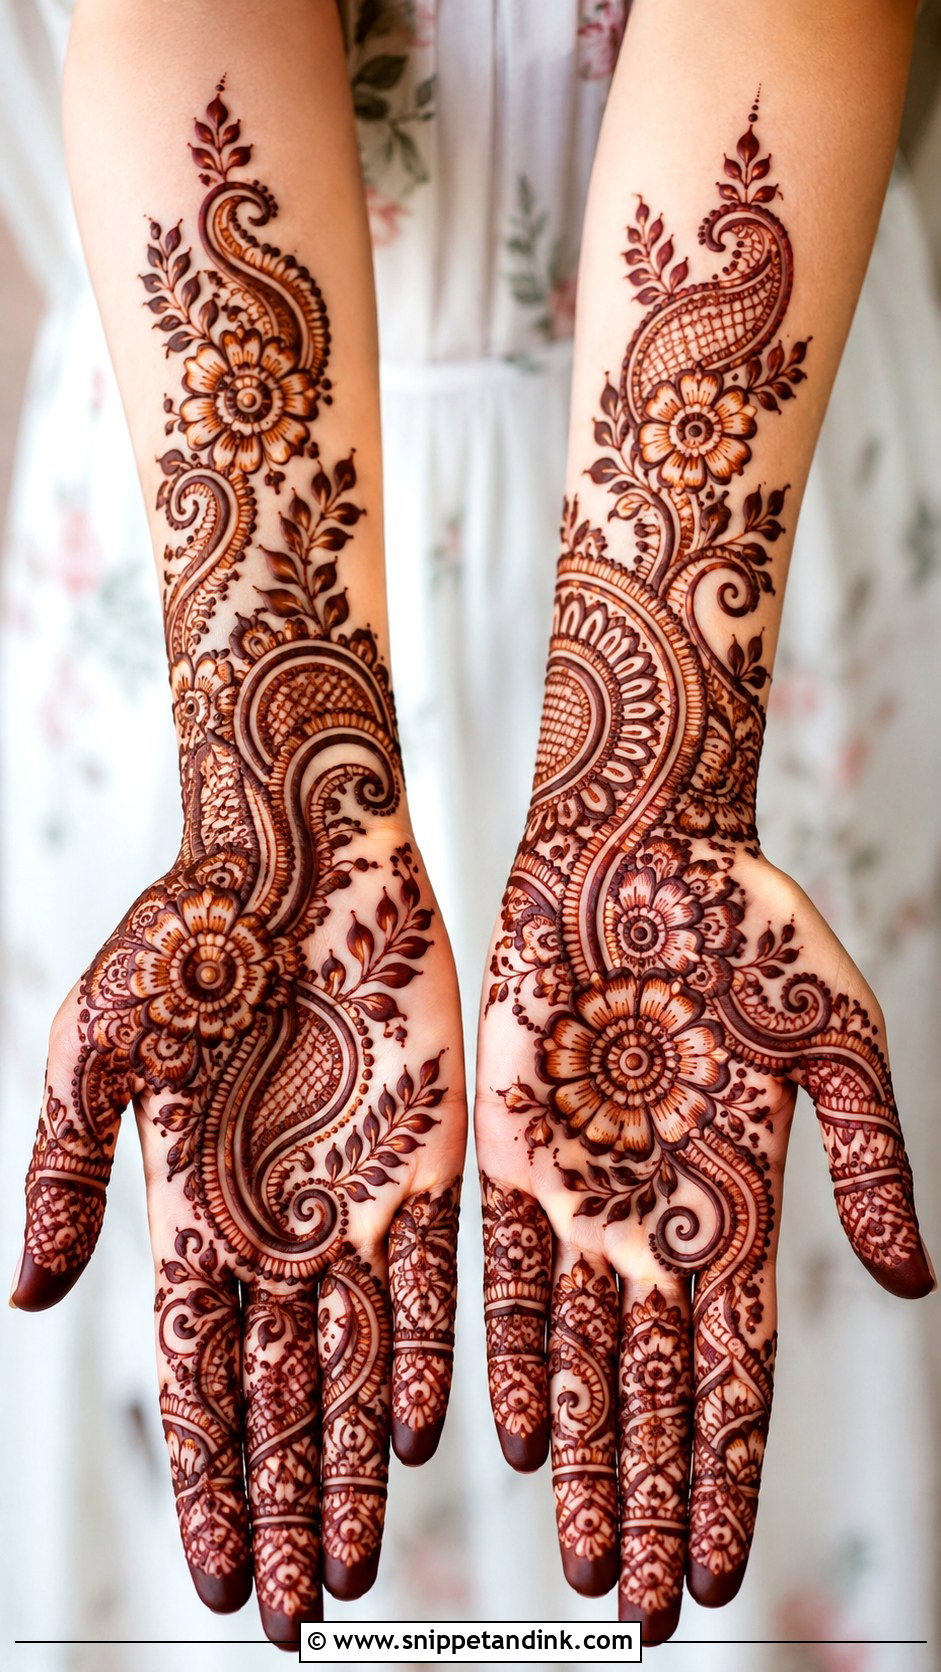
Indo-Arabic sets the fine filling of Indian work inside the open, diagonal flow of Arabic. Bold outlined flowers carry the trail, while paisleys and small mandala segments inside them get the delicate detail. It’s the layout I suggest most often to guests who want to look dressed up in photos without hours in the chair. Where it goes wrong is when the gaps get filled “just a little”. Keep a few clear channels of skin across the palm, or you’ve drawn a crowded Indian design instead.
9. Modern Front Hand Mehndi Design
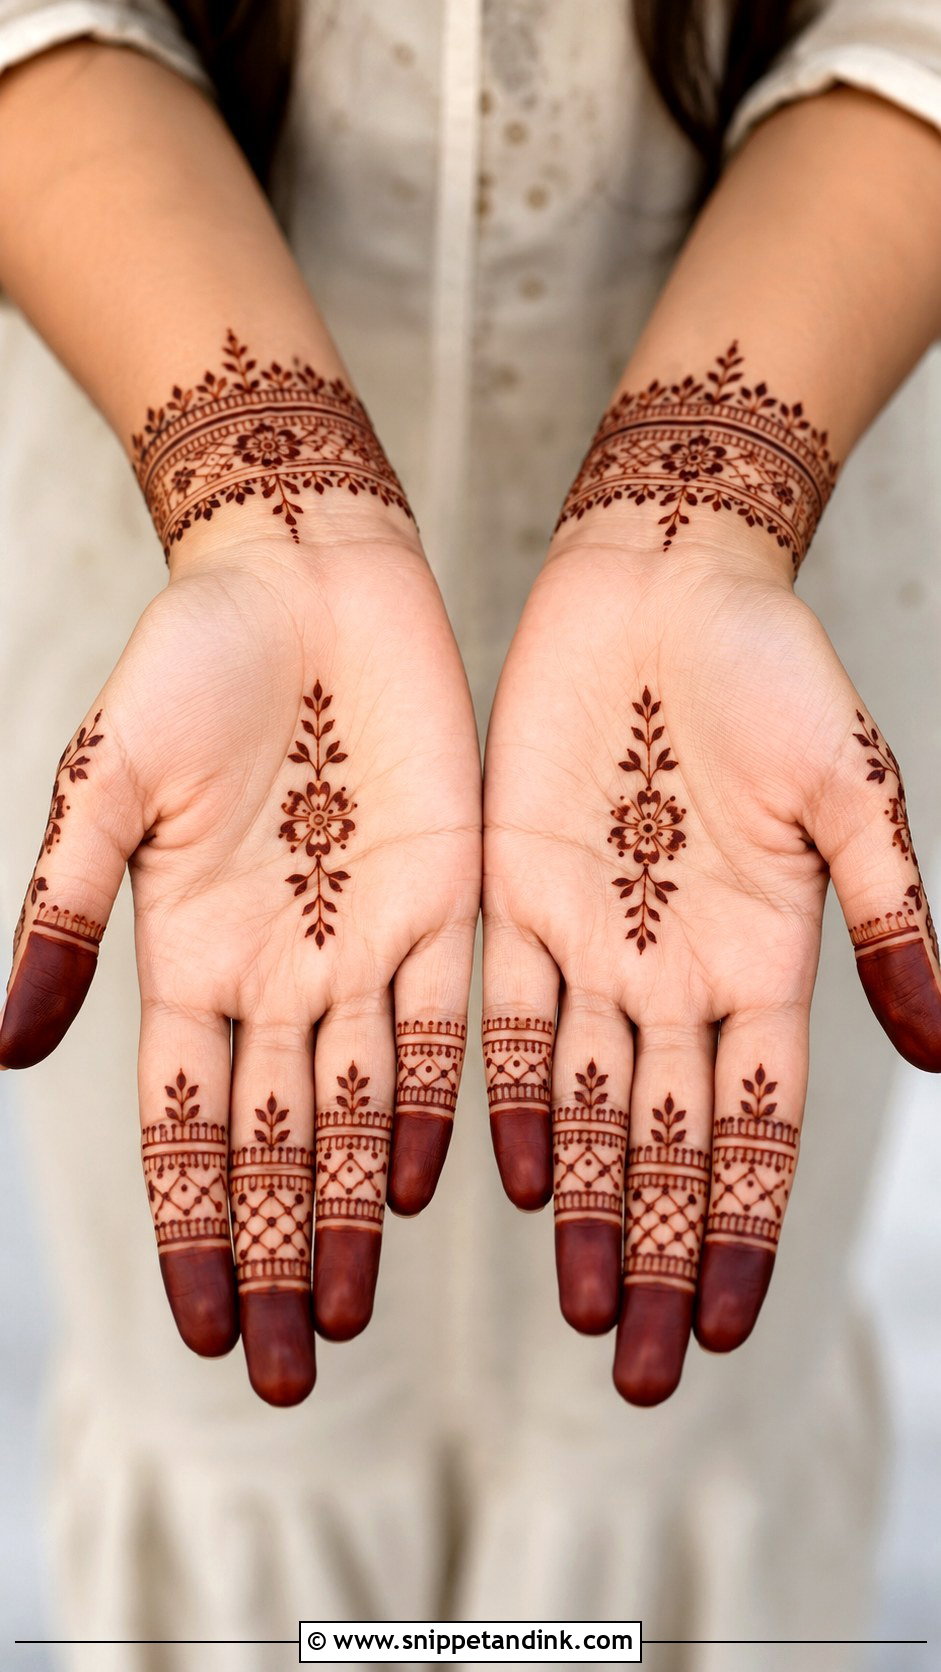
Modern layouts lean on negative space, geometric bands, small florals and bracelet-like wrist pieces. Oddly, I plan these harder than heavy designs, because every line is visible and an uneven gap jumps out. Pick one direction, either mirrored symmetry or a single diagonal, and commit to it. Modern work also sits well with everyday rings and watches, since there’s little filling for the metal to fight with.
10. Finger Front Hand Mehndi Design
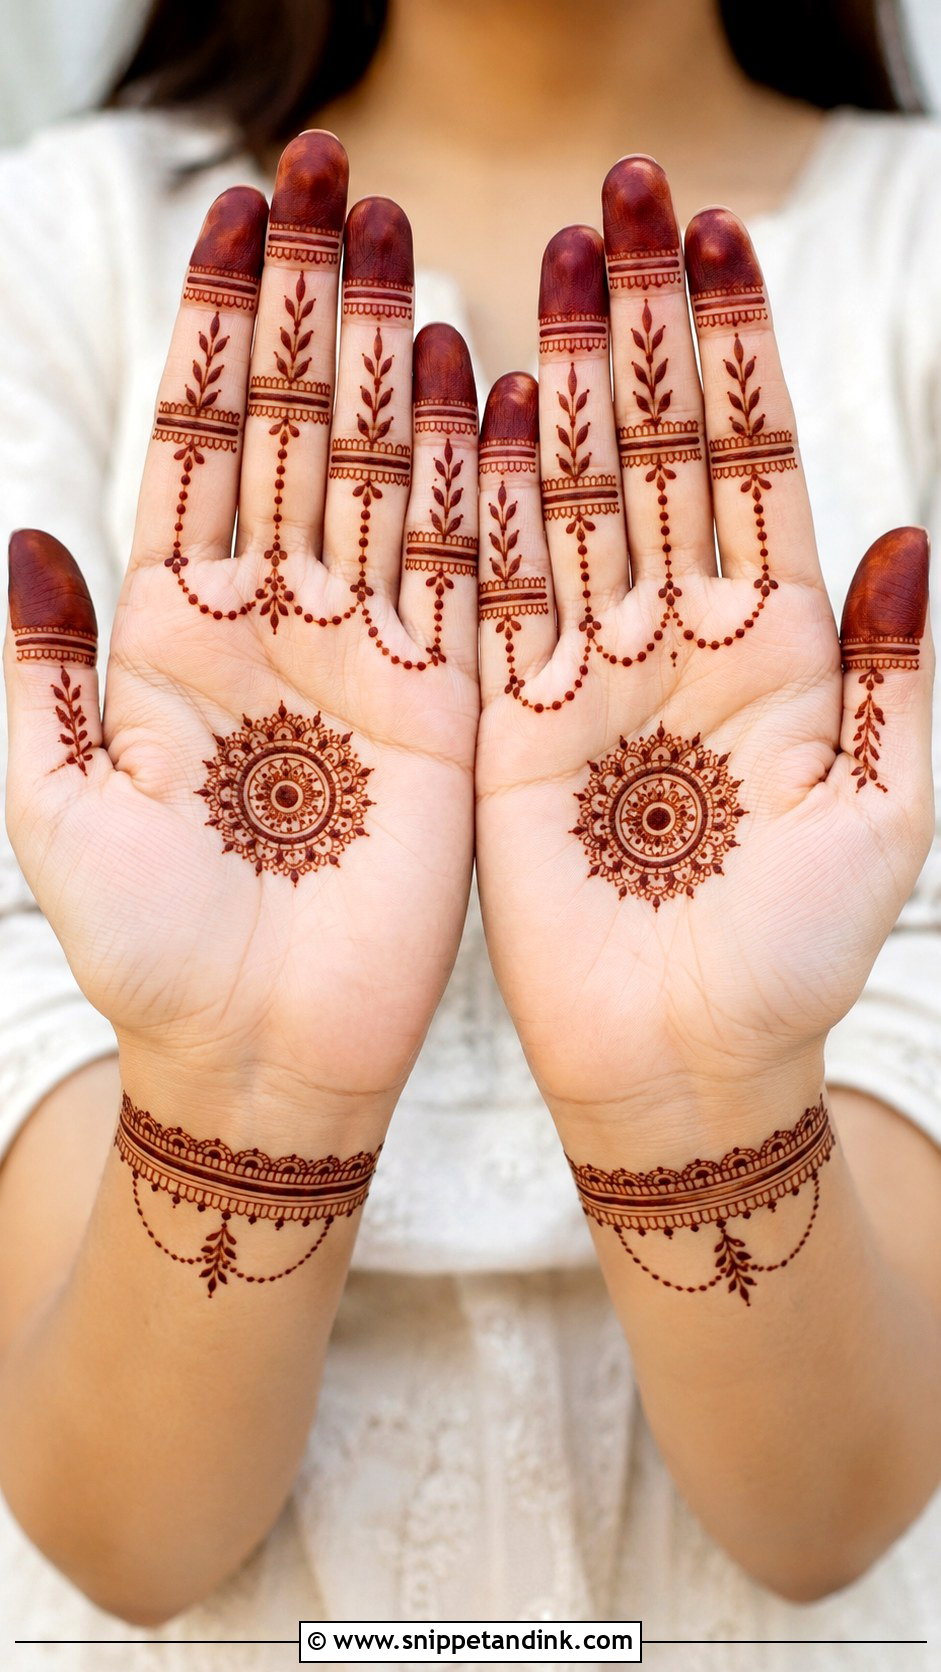
Here the fingers carry the design and the palm stays mostly bare: ring bands, leaf chains, dotted links and filled tips. Fingertips stain darker than anywhere else on the hand, so those filled tips come out a deep maroon even if the rest stays soft. I change the pattern from finger to finger but use one cone and one line weight throughout, which is what holds it together. If the empty palm feels unfinished to you, a small flower in the middle fixes it.
11. Palm Front Hand Mehndi Design
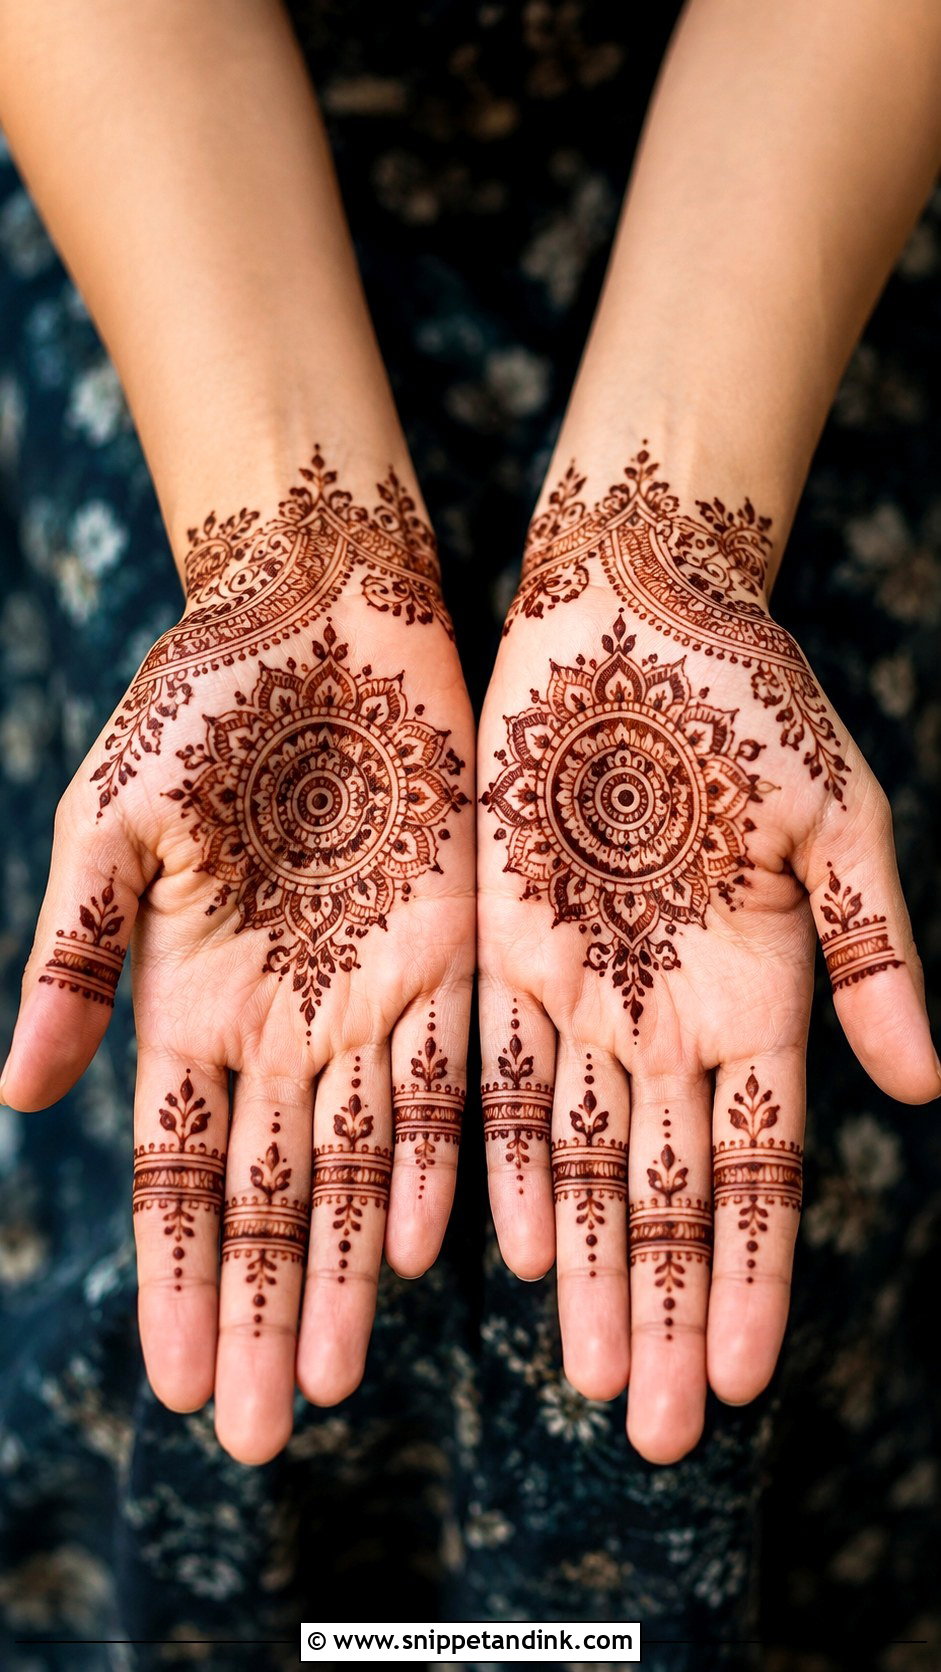
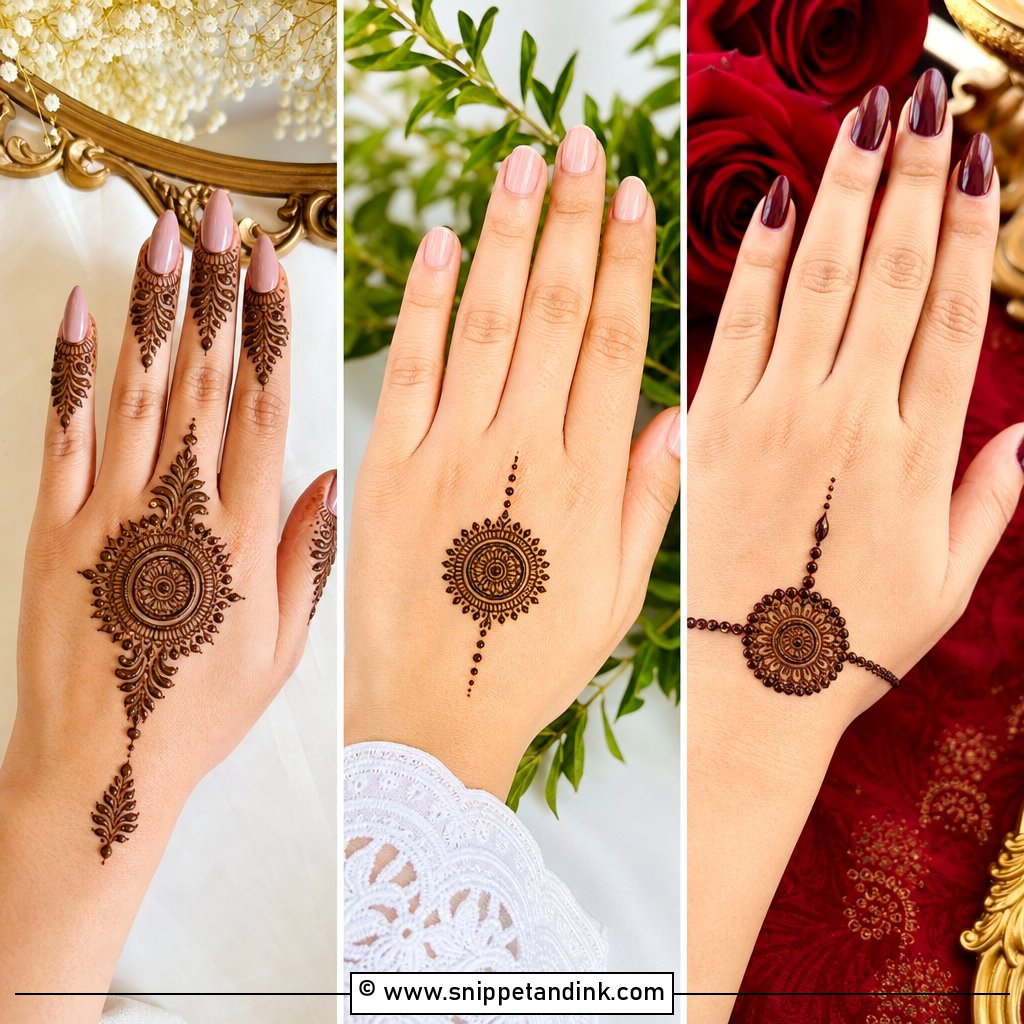
One medallion in the center of the palm, a mandala, lotus or paisley cluster, with the fingers kept to dots and lines. It’s quick to draw, and because palm skin takes color so readily, it reads strongly with very little paste. I outline the medallion first and look at it from arm’s length before filling anything, since that single shape is the whole design. A thin bracelet border is optional; on a short wrist I’d leave it off.
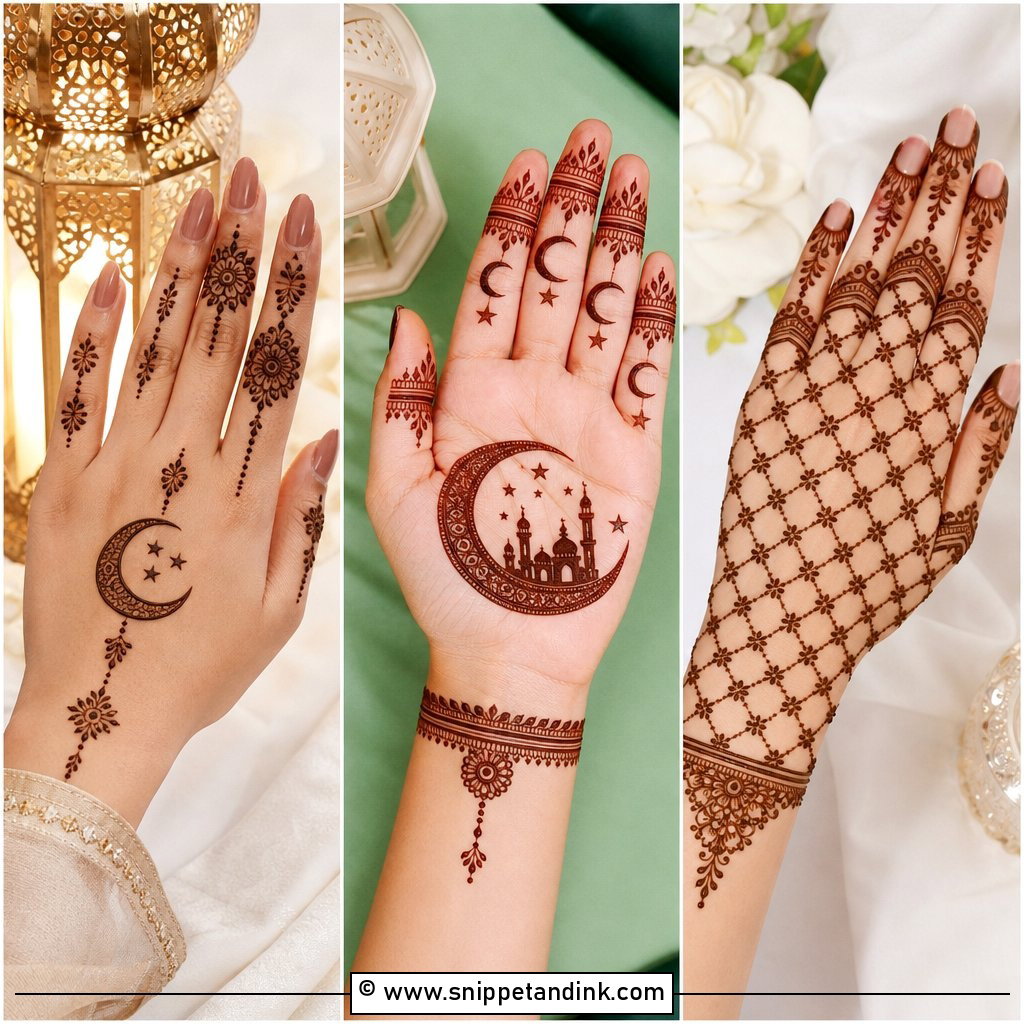
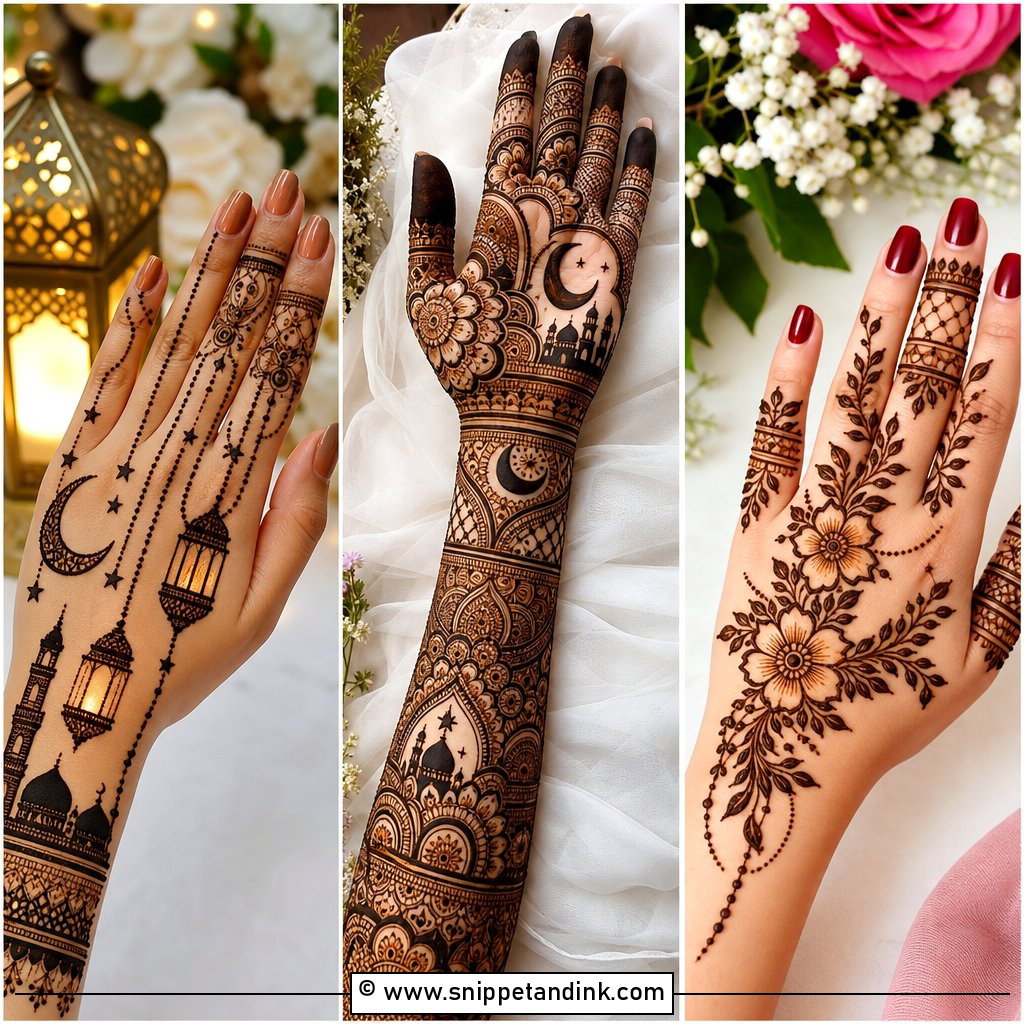
12. Front Hand Mehndi Design For Eid
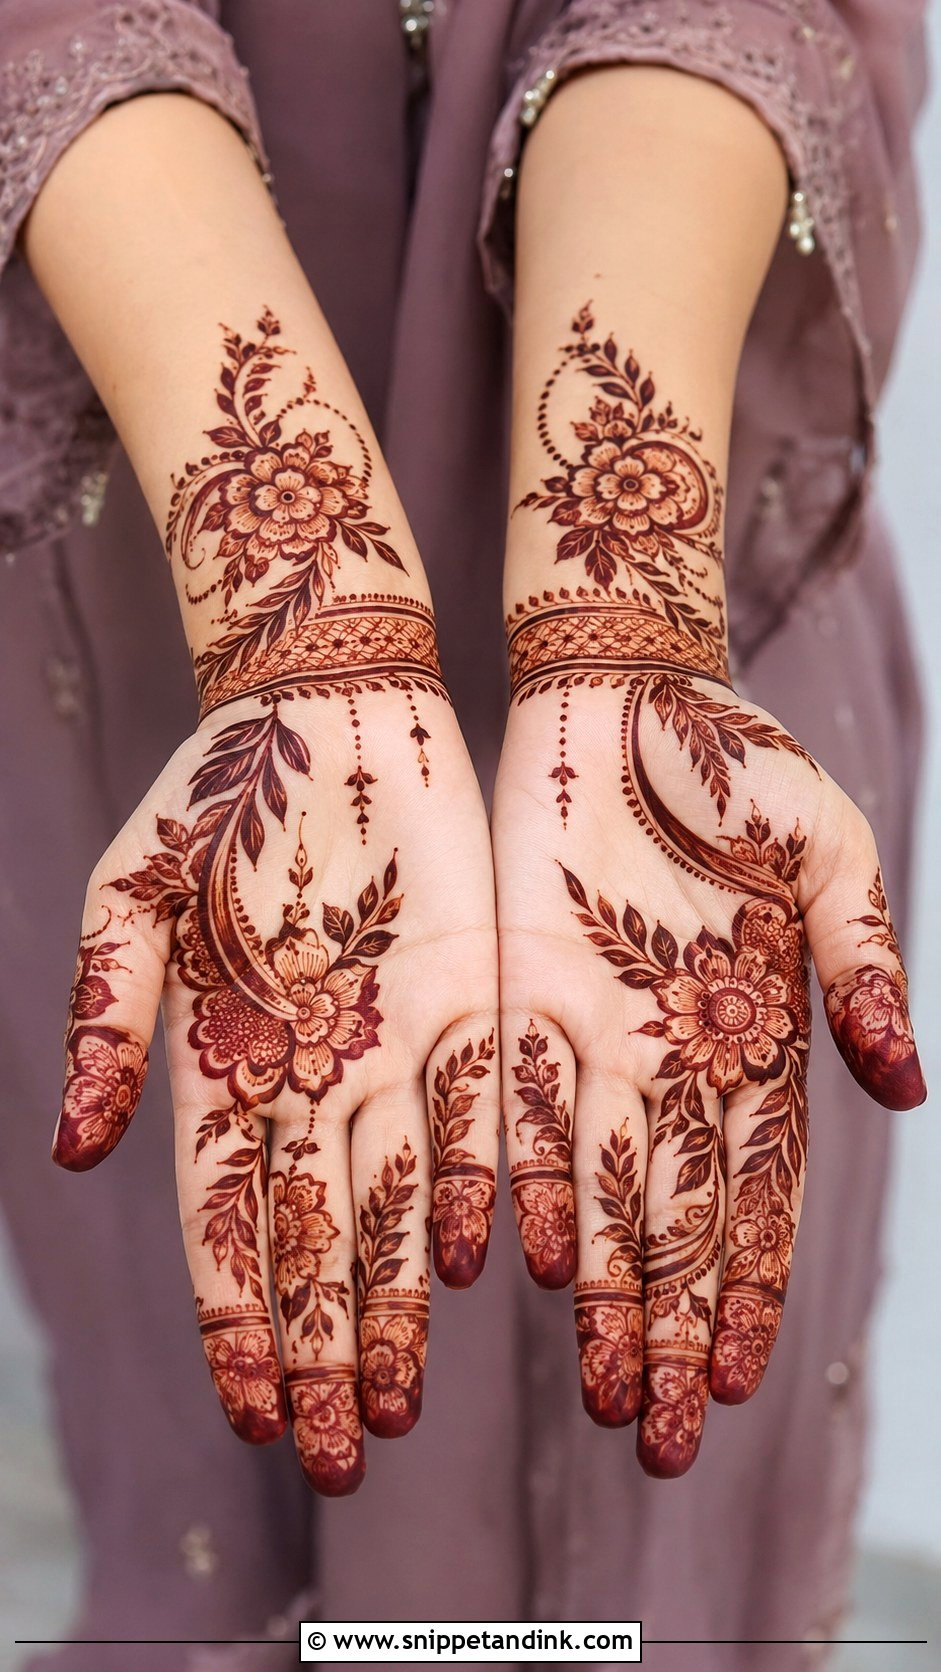
Eid mehndi usually goes on the night before, often with the whole family waiting their turn, so speed counts. A diagonal Arabic trail is the fastest route to a full-looking hand, while a palm mandala with decorated fingers takes longer and feels more traditional. Crescent curves and dotted chains slot in naturally. If you’re done late at night, sleep with the paste on, loosely wrapped, and scrape it off in the morning. The color keeps deepening through Eid day itself.
13. Front Hand Mehndi Design For Wedding
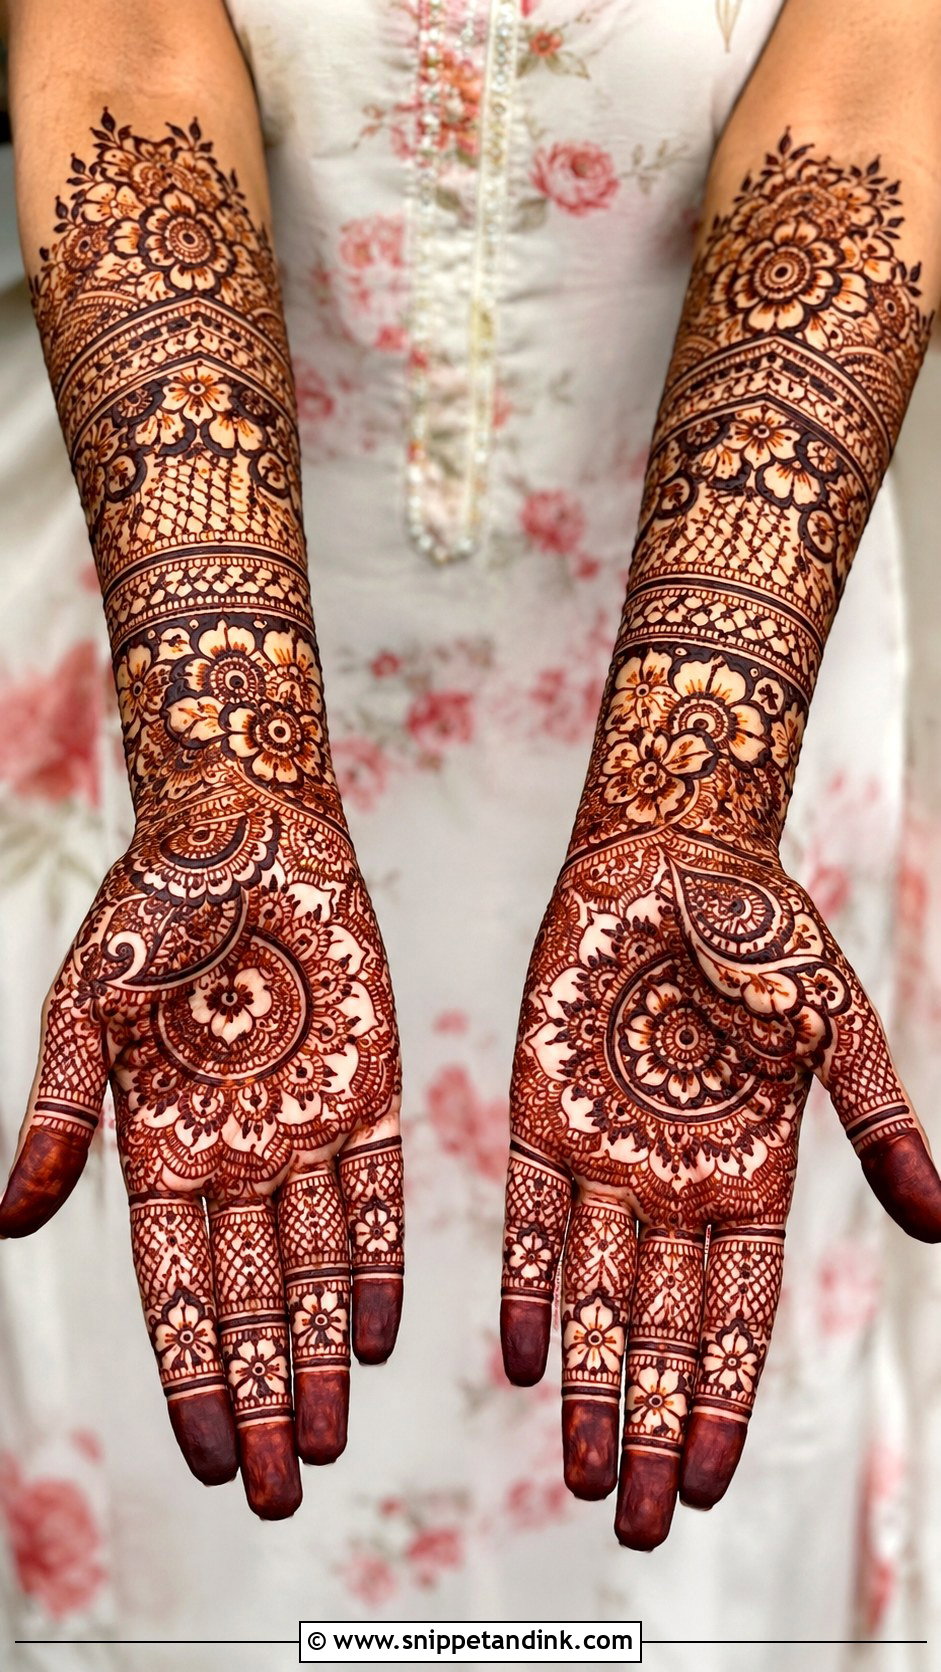
At weddings I think about the camera before anything else. Ring shots, jewelry close-ups and hands resting on a lehenga all show the fingers, so finger work deserves as much attention as the palm. A full Indian palm, a bold Arabic trail or an Indo-Arabic mix all hold up well; for guests a medium layout with a wrist cuff is enough. For the bride, extend toward the forearm with layered borders. I check every wedding hand from a couple of steps back before calling it done. It should read as one clear shape first, then reward a closer look.
14. Front Hand Mehndi Design For Engagement
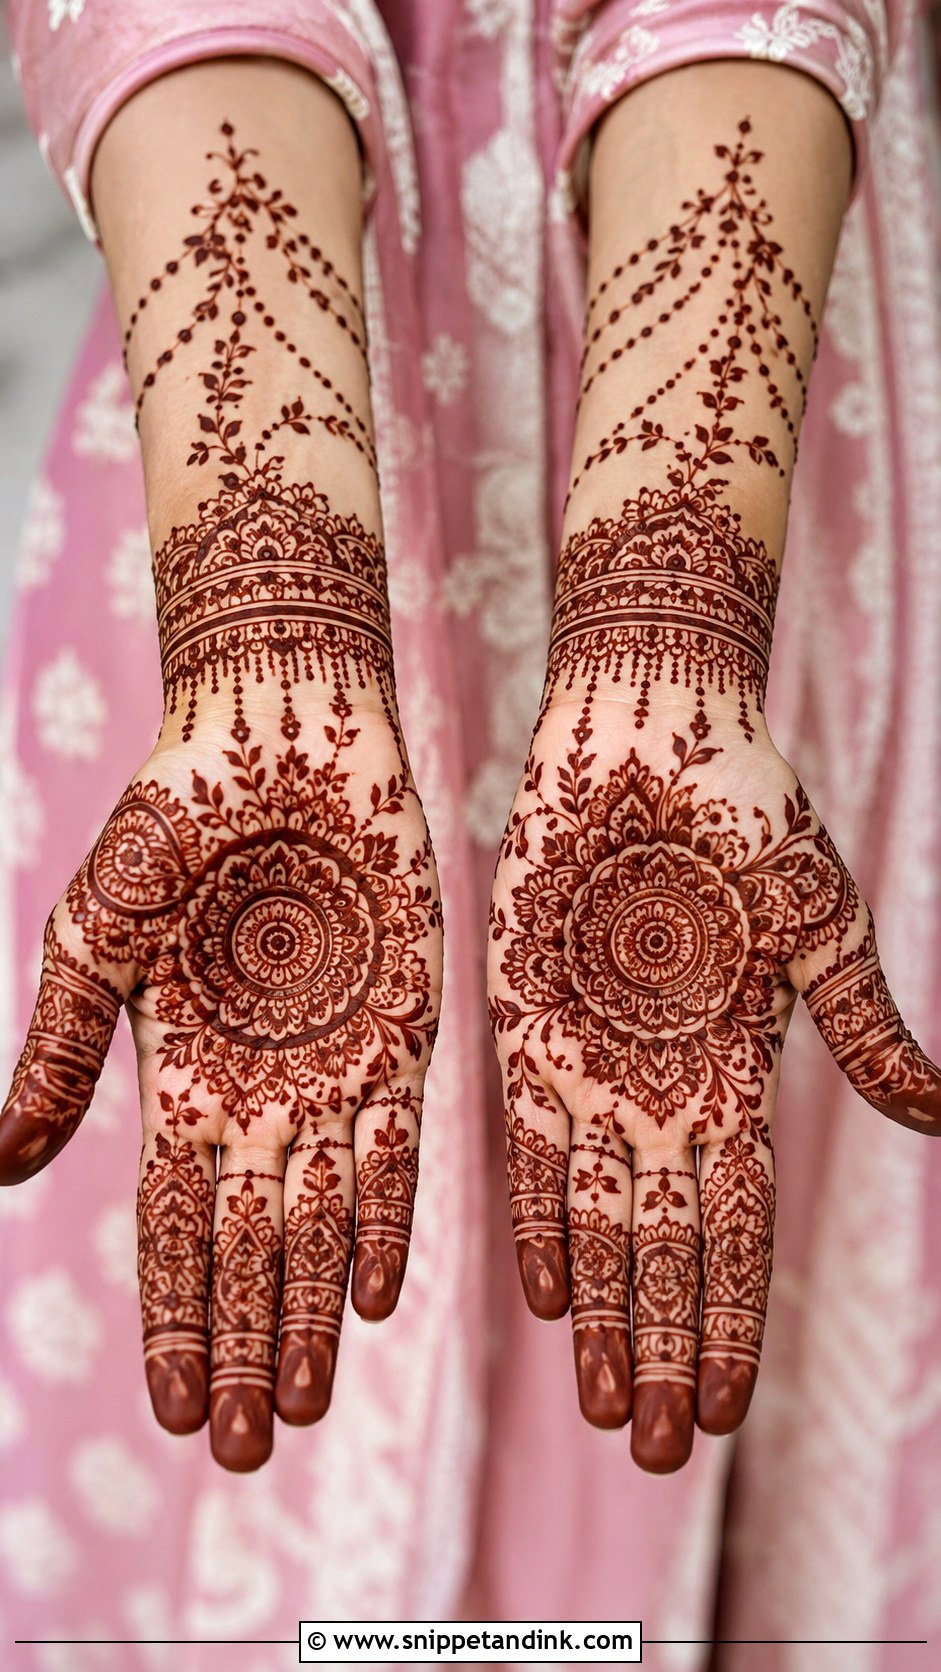
An engagement front hand mehndi design has a job most others don’t: framing a ring. I keep the base of the ring finger light, a fine band or a few dots at most, so the band and stone sit on clean skin instead of on top of heavy filling. A floral mandala on the palm and a bracelet border near the wrist balance the rest. Tiny initials are fine if they sit where someone will find them later, not in the middle of the mandala competing with it.
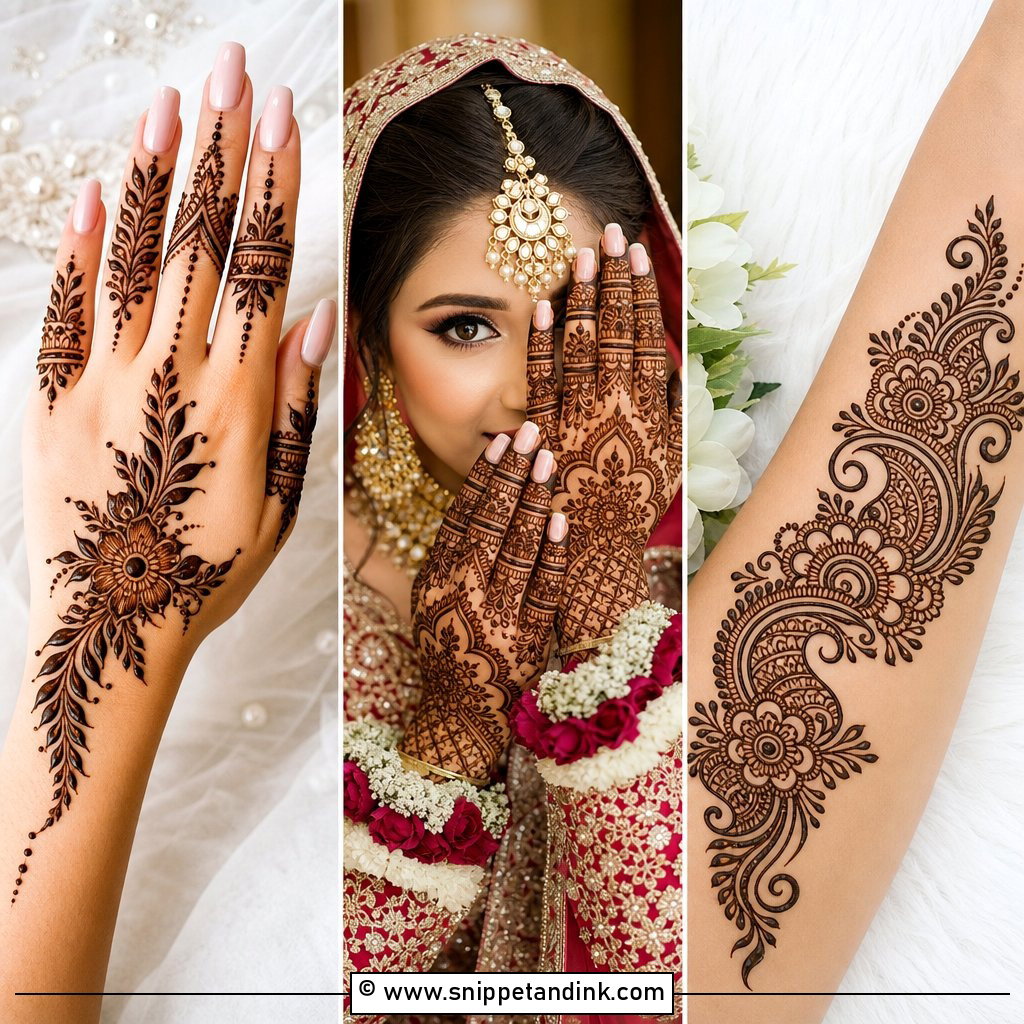
15. Front Hand Mehndi Design For Beginners
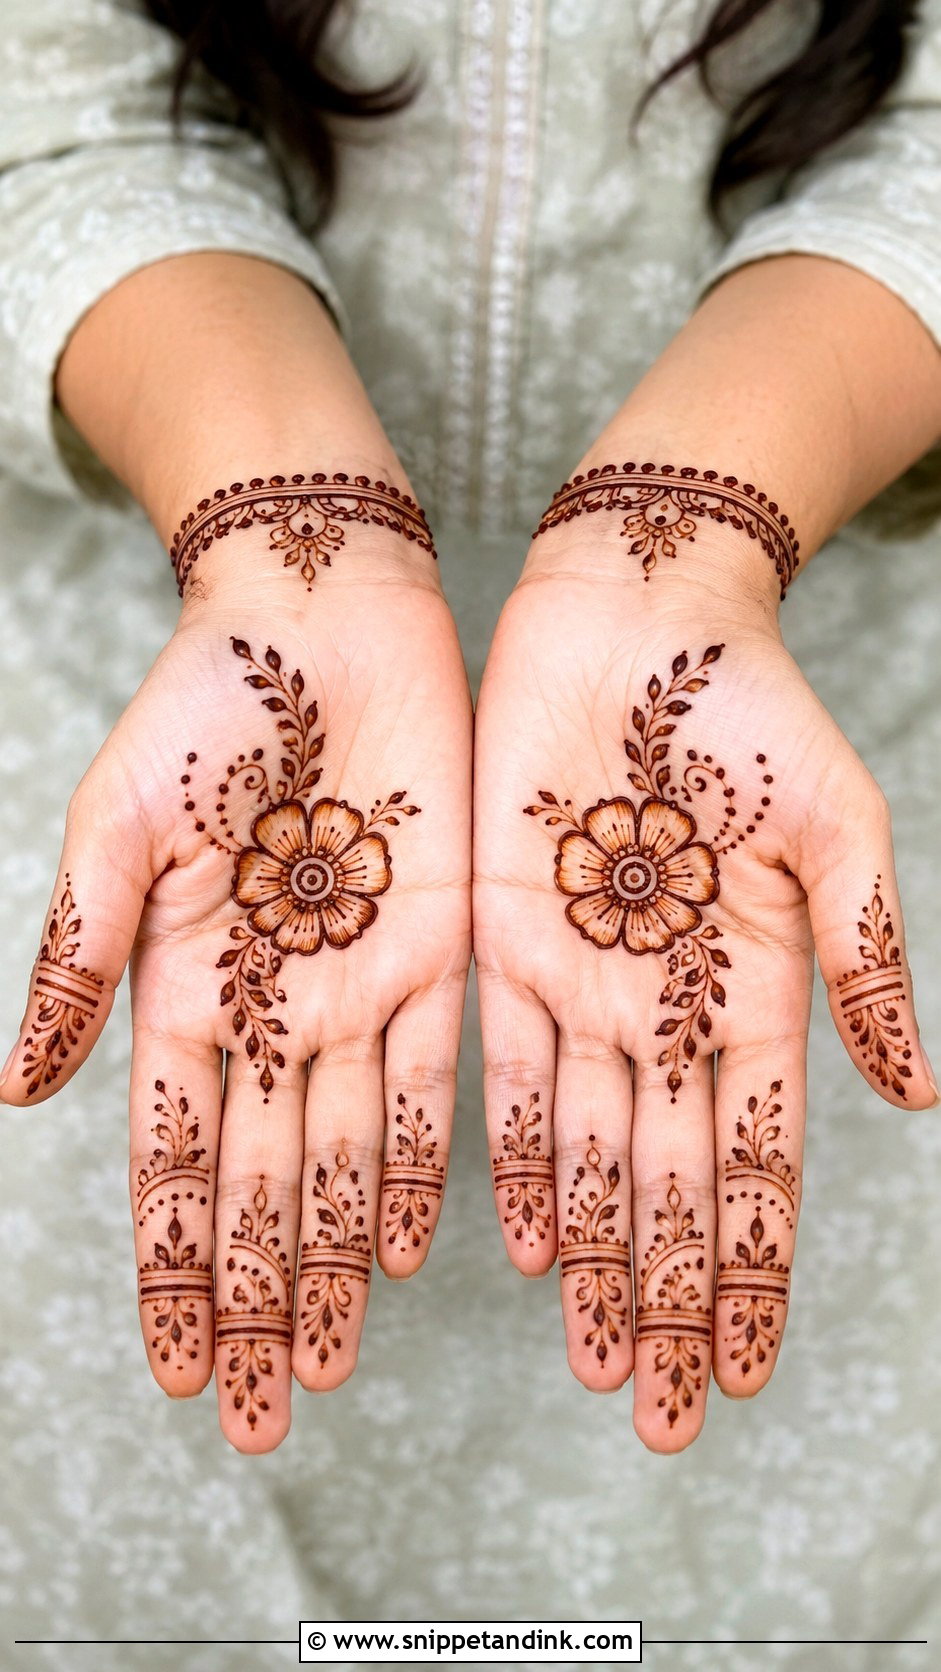
Learning? Build from shapes that forgive you. A center circle with petals, simple finger lines, leaf chains and a thin wrist border look complete without any shading. Practice on paper first until your dots come out round instead of tailed. A tail means you’re lifting the cone too slowly, so squeeze, stop, then lift. Leave open spaces generously; they give you room to wipe away a wobble with a cotton bud while the paste is still wet.
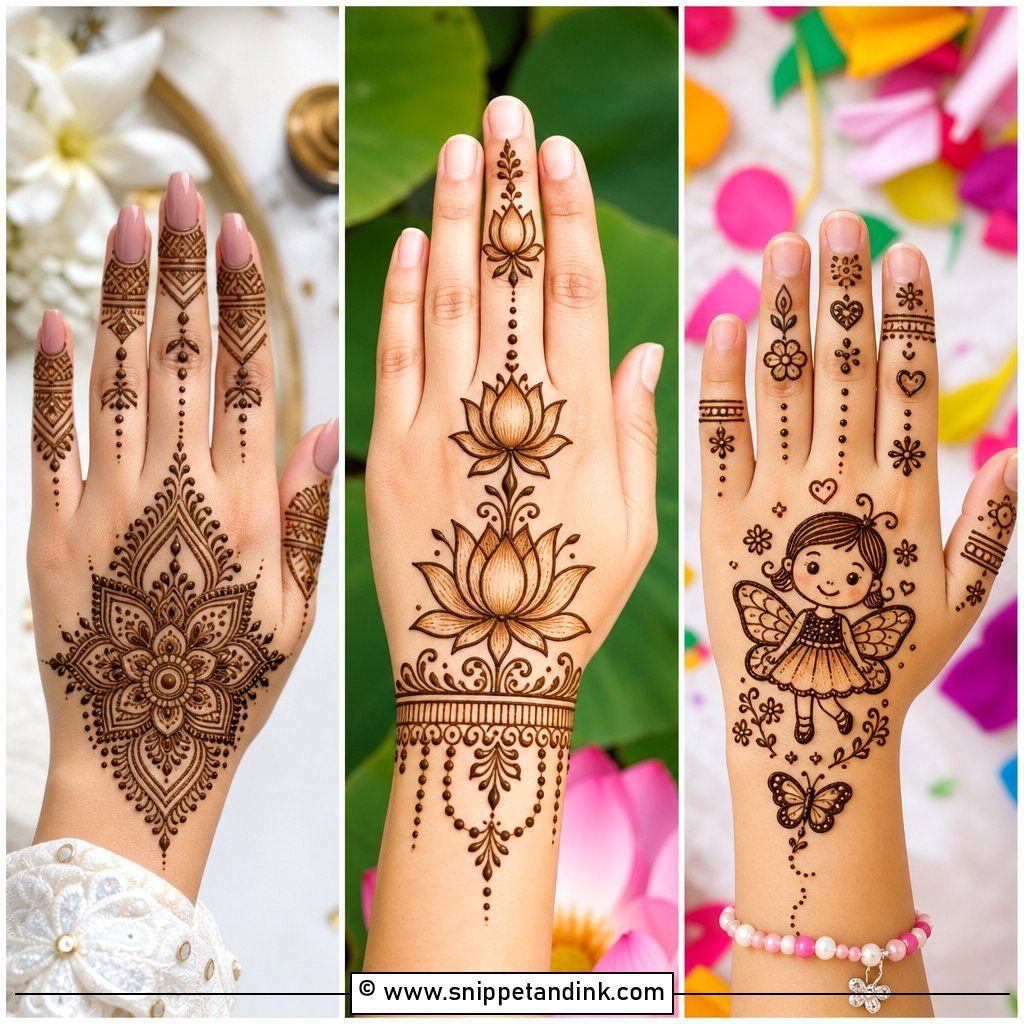
16. Front Hand Mehndi Design For Kids
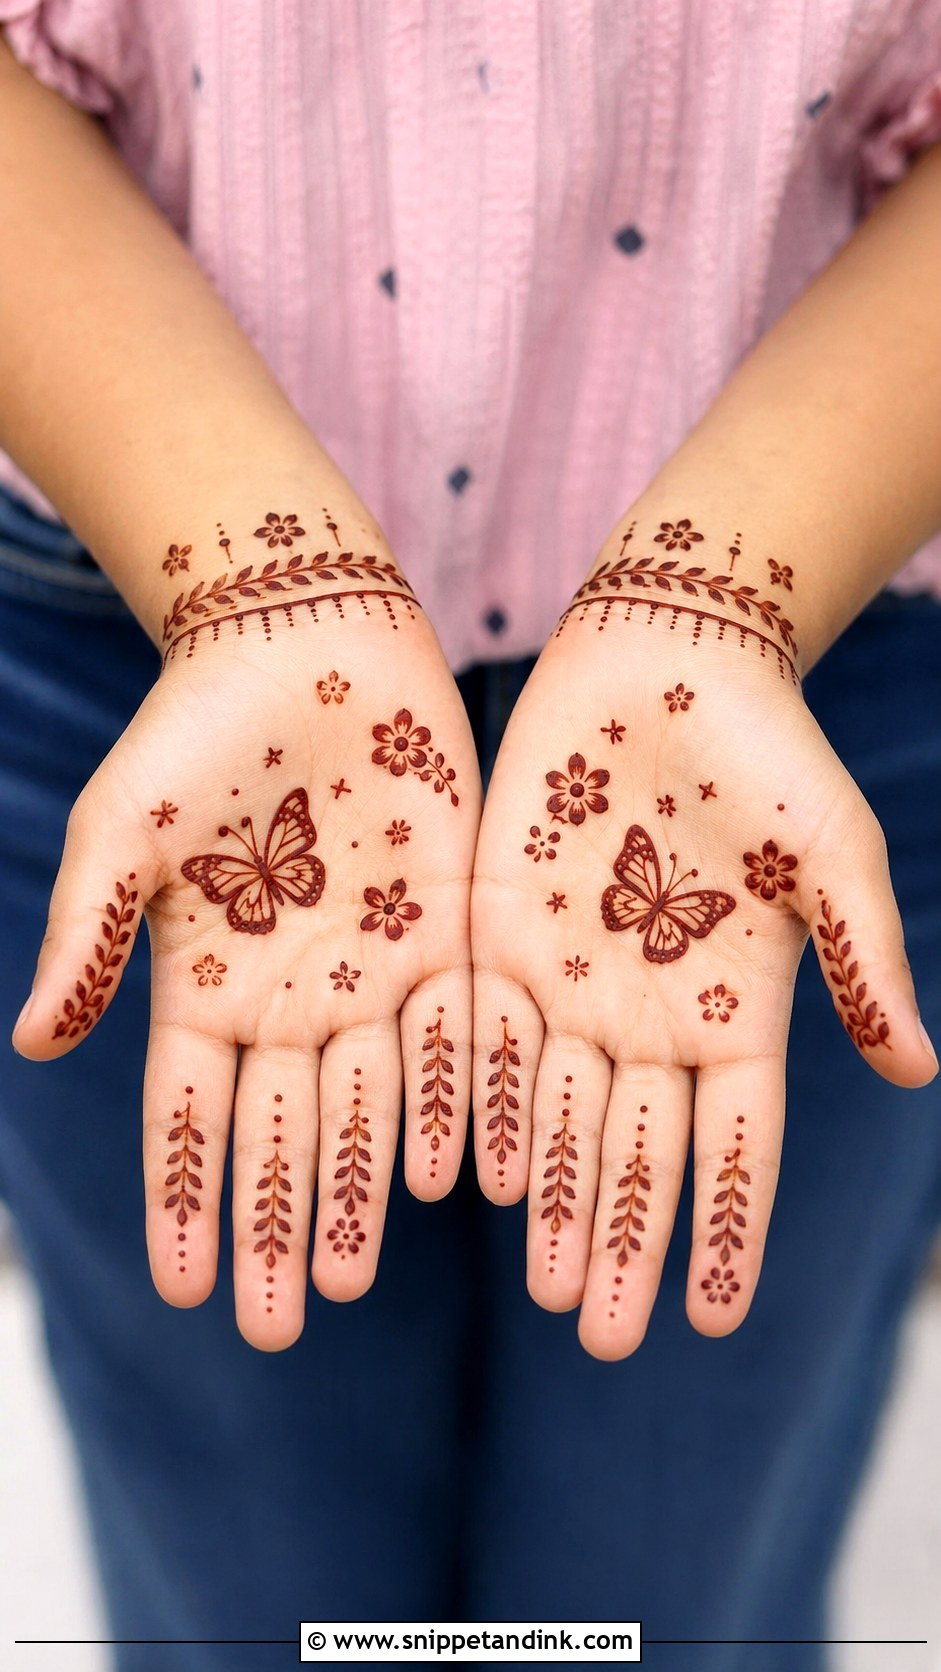
Children give you as long as their patience lasts, so I keep kids’ designs small and fast: one palm flower, leafy fingers, a few stars or a butterfly. Thin lines dry sooner and are less likely to smear when a small hand inevitably grabs something. Skip dense filling entirely. And use only natural henna on children. Anything sold as black henna can contain PPD, a hair-dye chemical that can cause serious skin reactions.
17. Royal Front Hand Mehndi Design
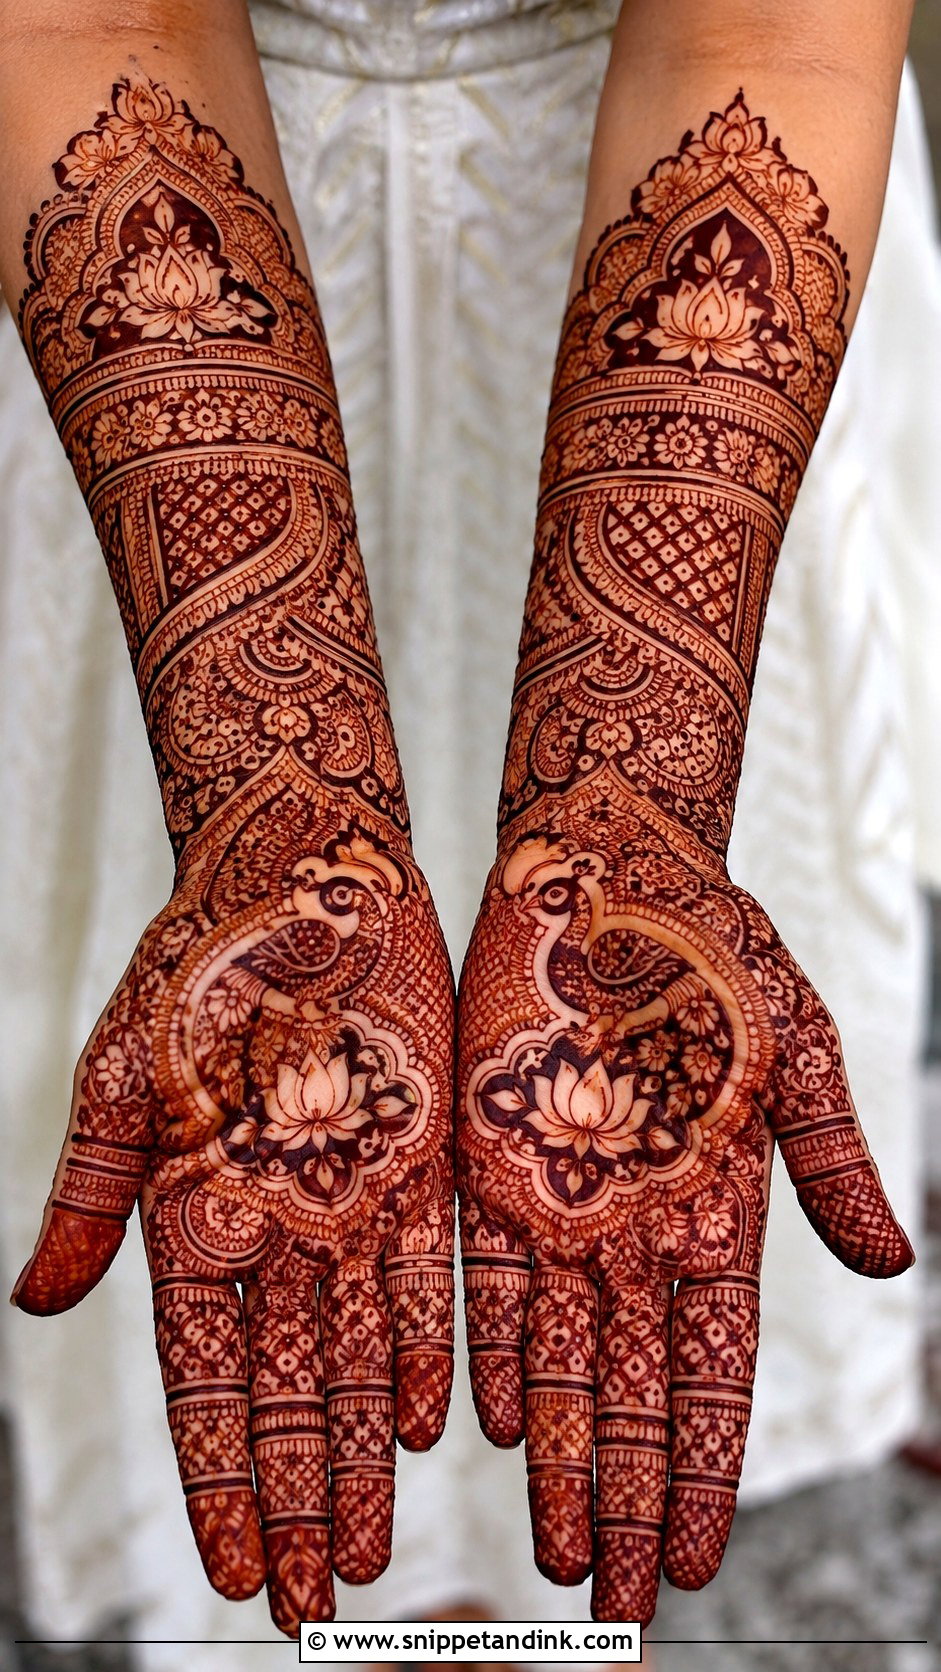
Royal work borrows the grandeur of bridal mehndi: peacocks, lotus panels, jaali, layered cuffs and bold palm centers. It only looks regal if it’s organized. I set the large motifs down first as anchors and fill around them afterward, never the reverse, because filler drawn first leaves no room for a peacock to sit properly. Layered wrist borders give it weight. Mirror the structure on both hands so they match when held up together.
18. Front Hand Mehndi Design With Bracelet
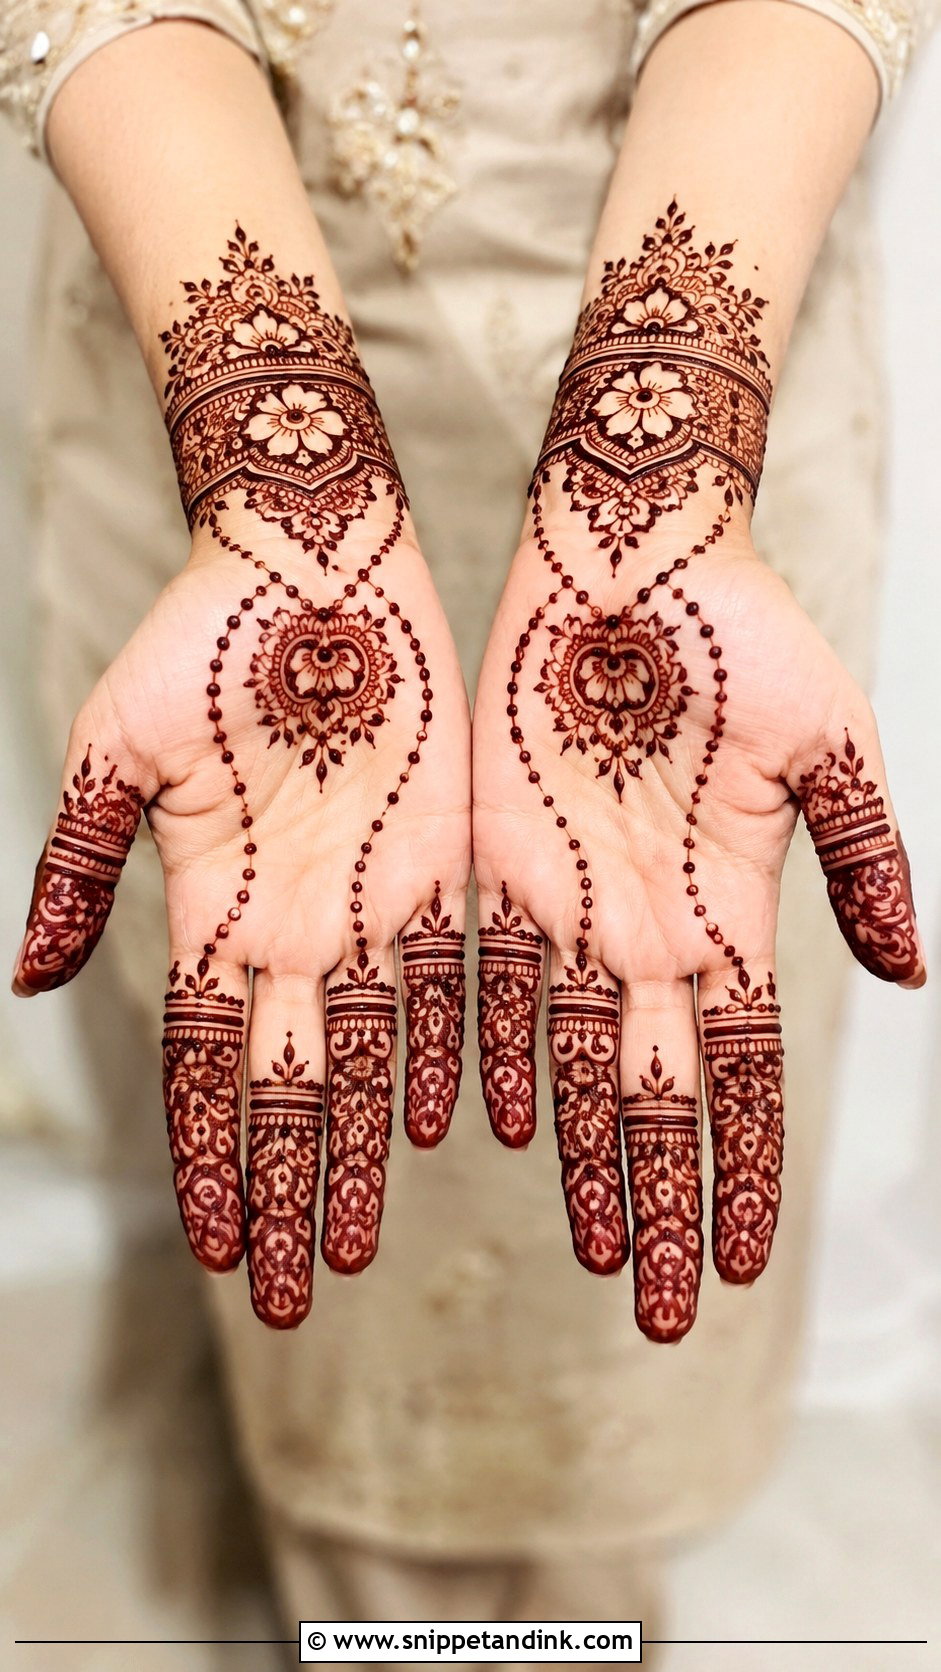
The henna plays jewelry here: a wrist cuff, chains, ring bands and a line linking them, close to a hand harness. I mark the spacing of the chain links with tiny dots first so they come out even. One practical warning. If you plan to wear real bangles or a bracelet the same evening, place the henna cuff slightly above or below where the metal will sit, because metal rubbing on fresh paste smudges it and can dull the stain in that spot.
19. Front Hand Mehndi Design With Jaali
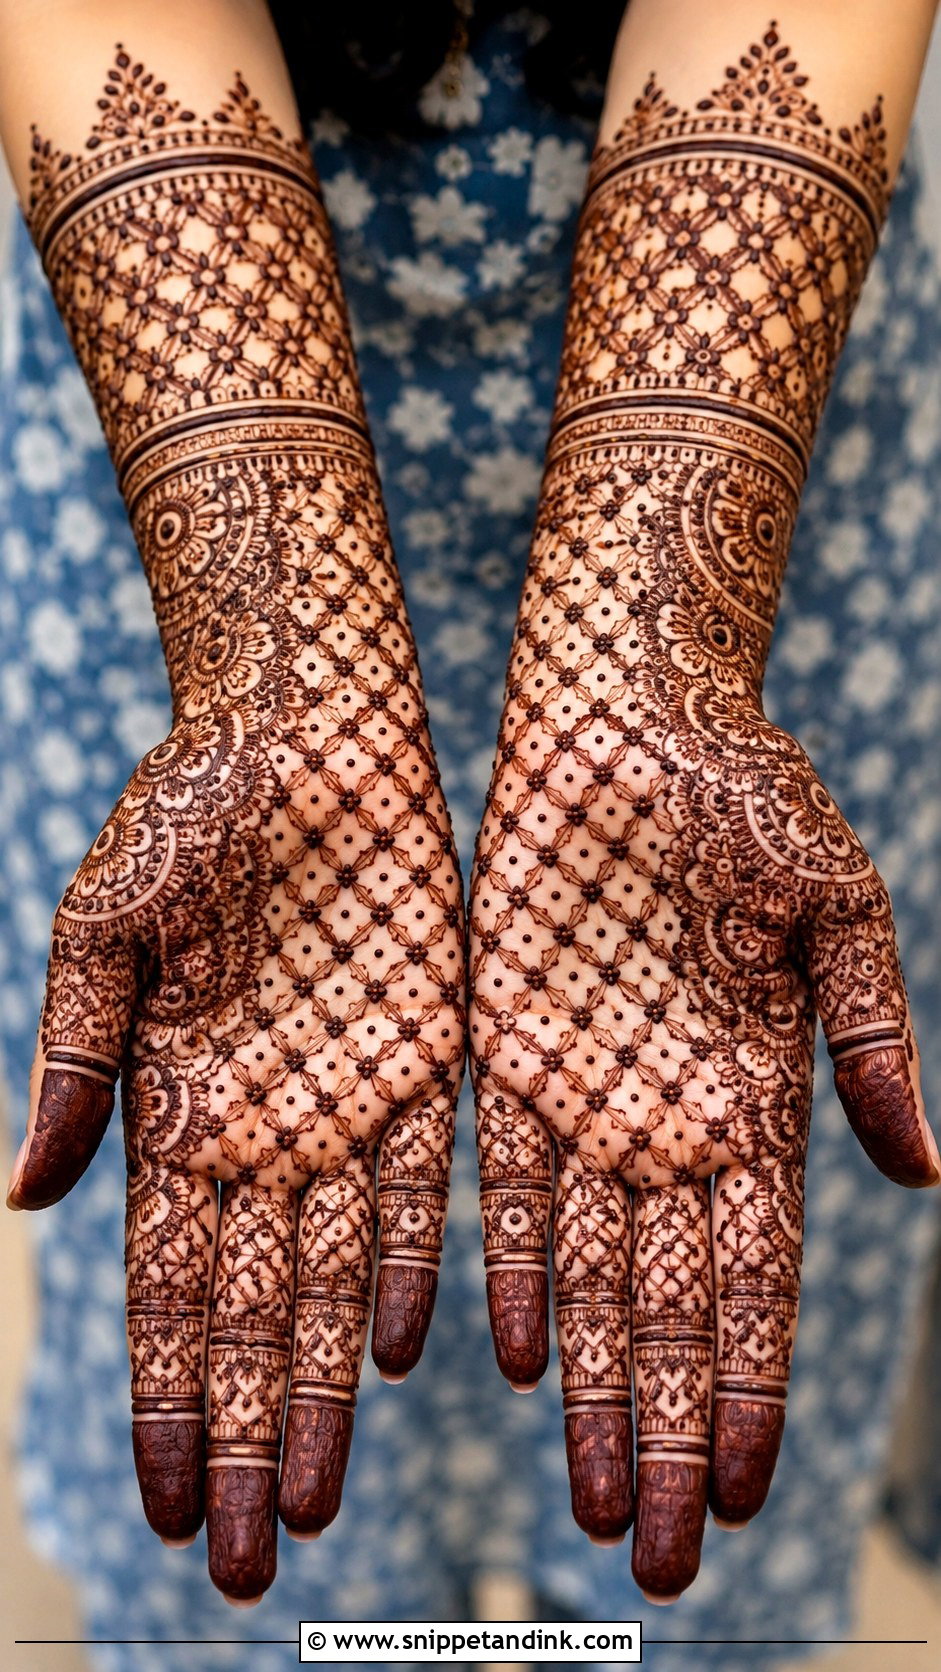
Jaali is the net: crisscross lines and diamond grids with little dots at the crossings. On the palm the grid has to stay thin and evenly spaced, since palm stains darken so much that thick grid lines close up and the mesh disappears. I place jaali on one side of the palm and balance it with flowers or leaves on the other. Draw every line in one direction across the panel, then the opposite direction, instead of building it square by square; the grid stays straighter that way.
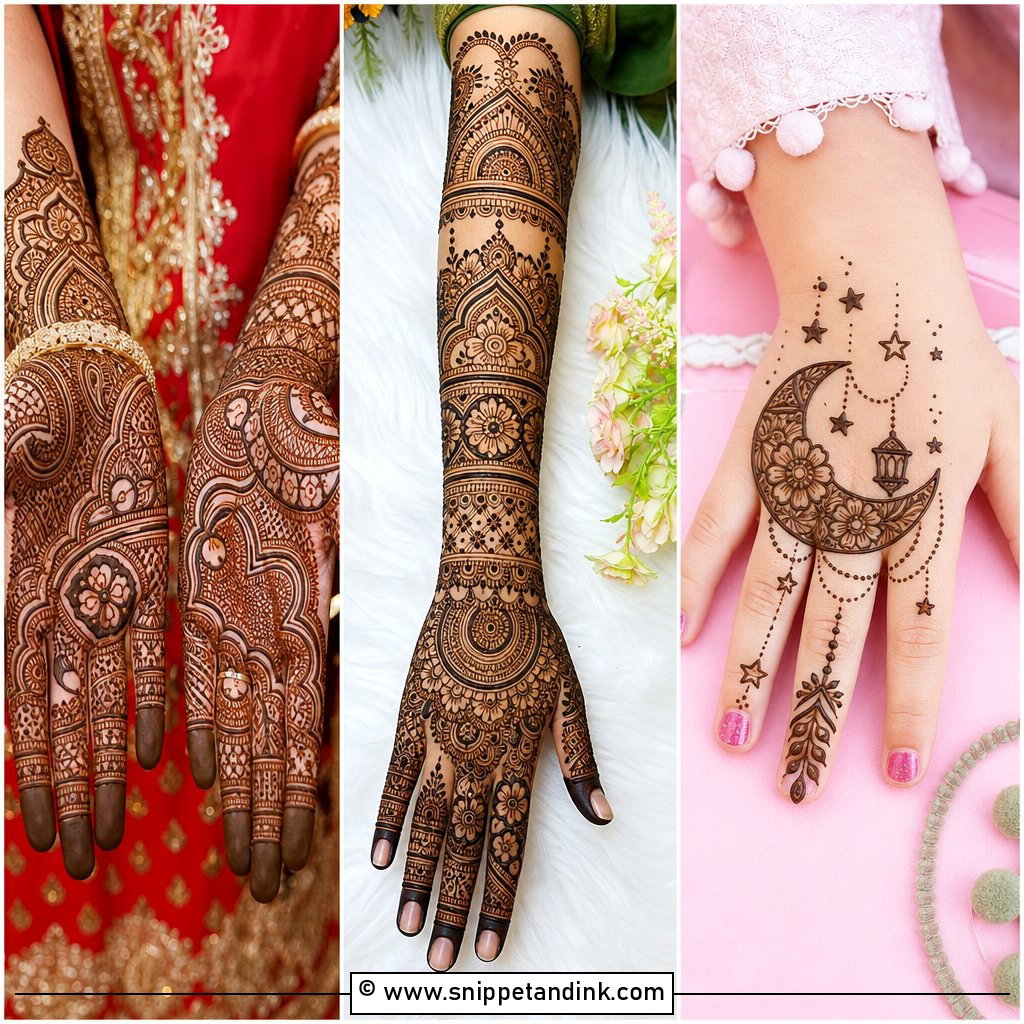
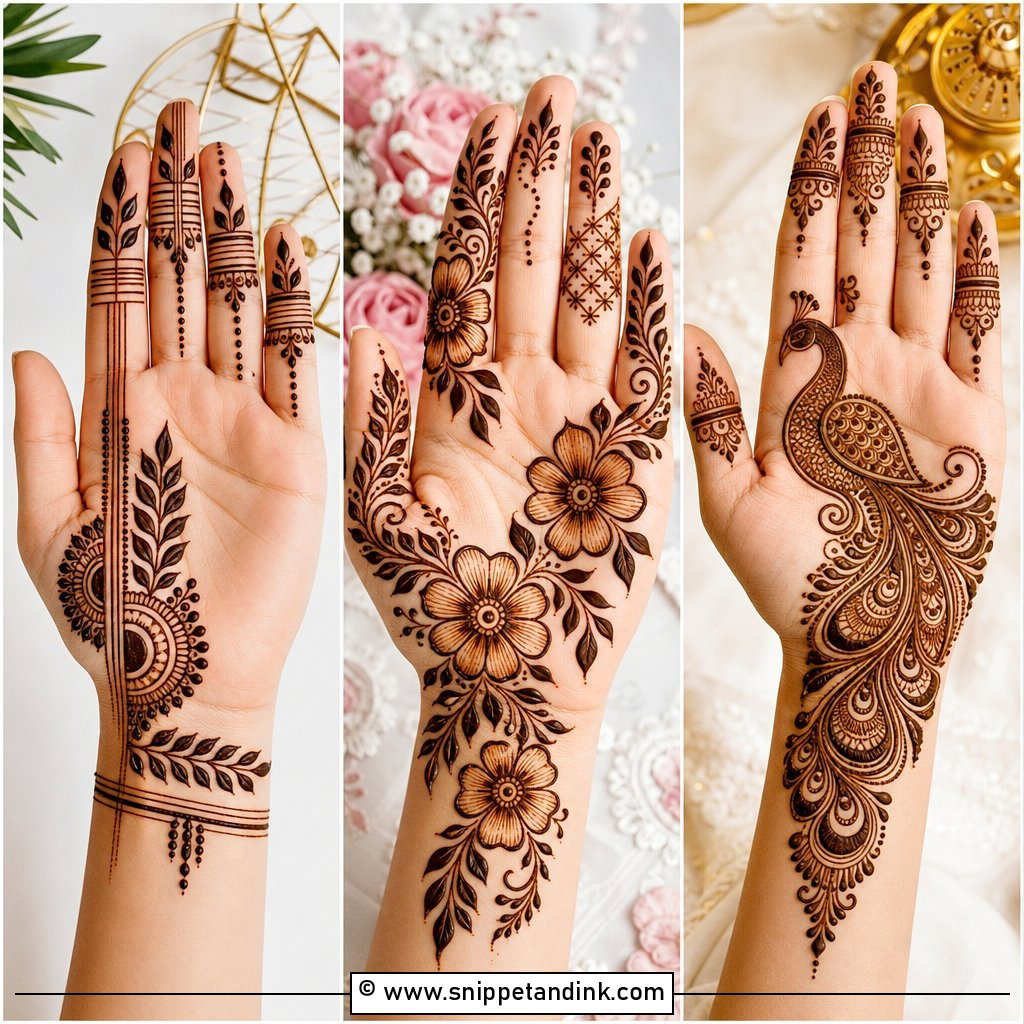
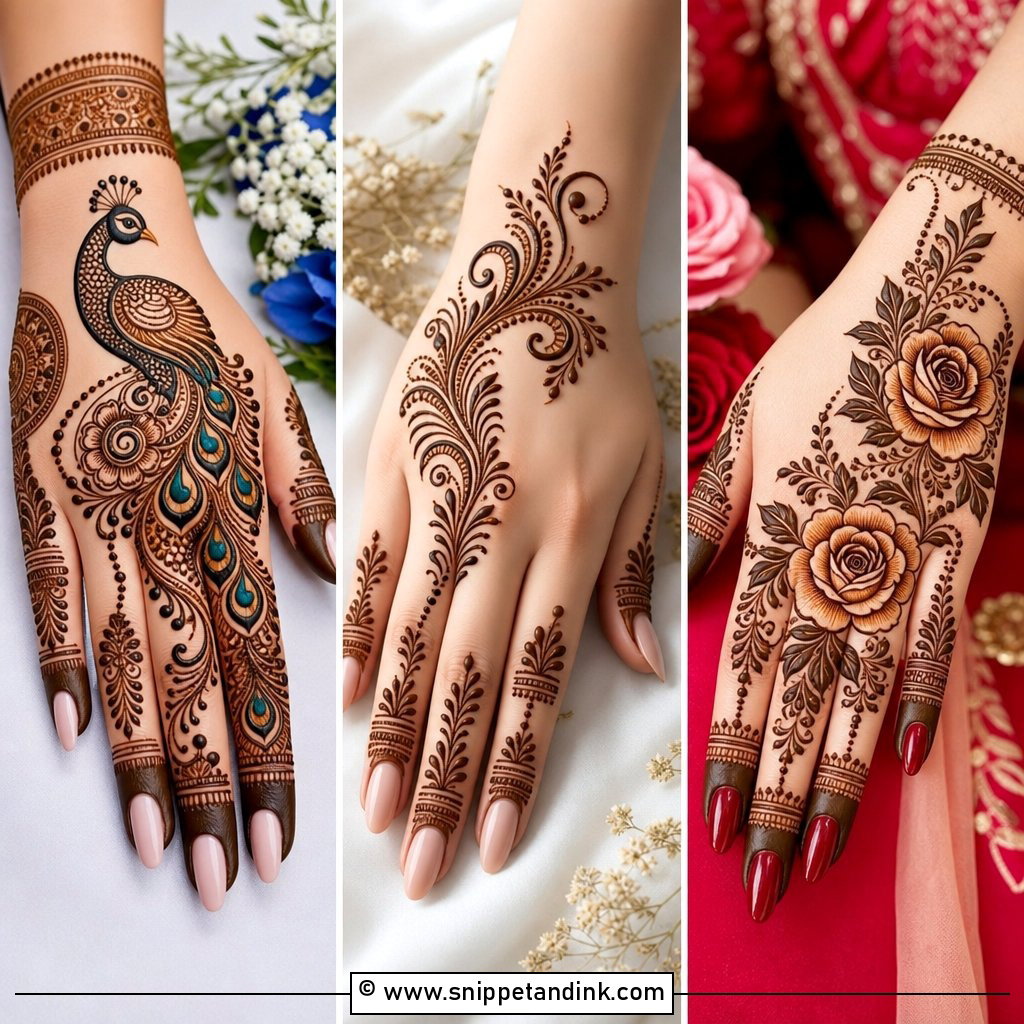
20. Front Hand Mehndi Design With Peacock
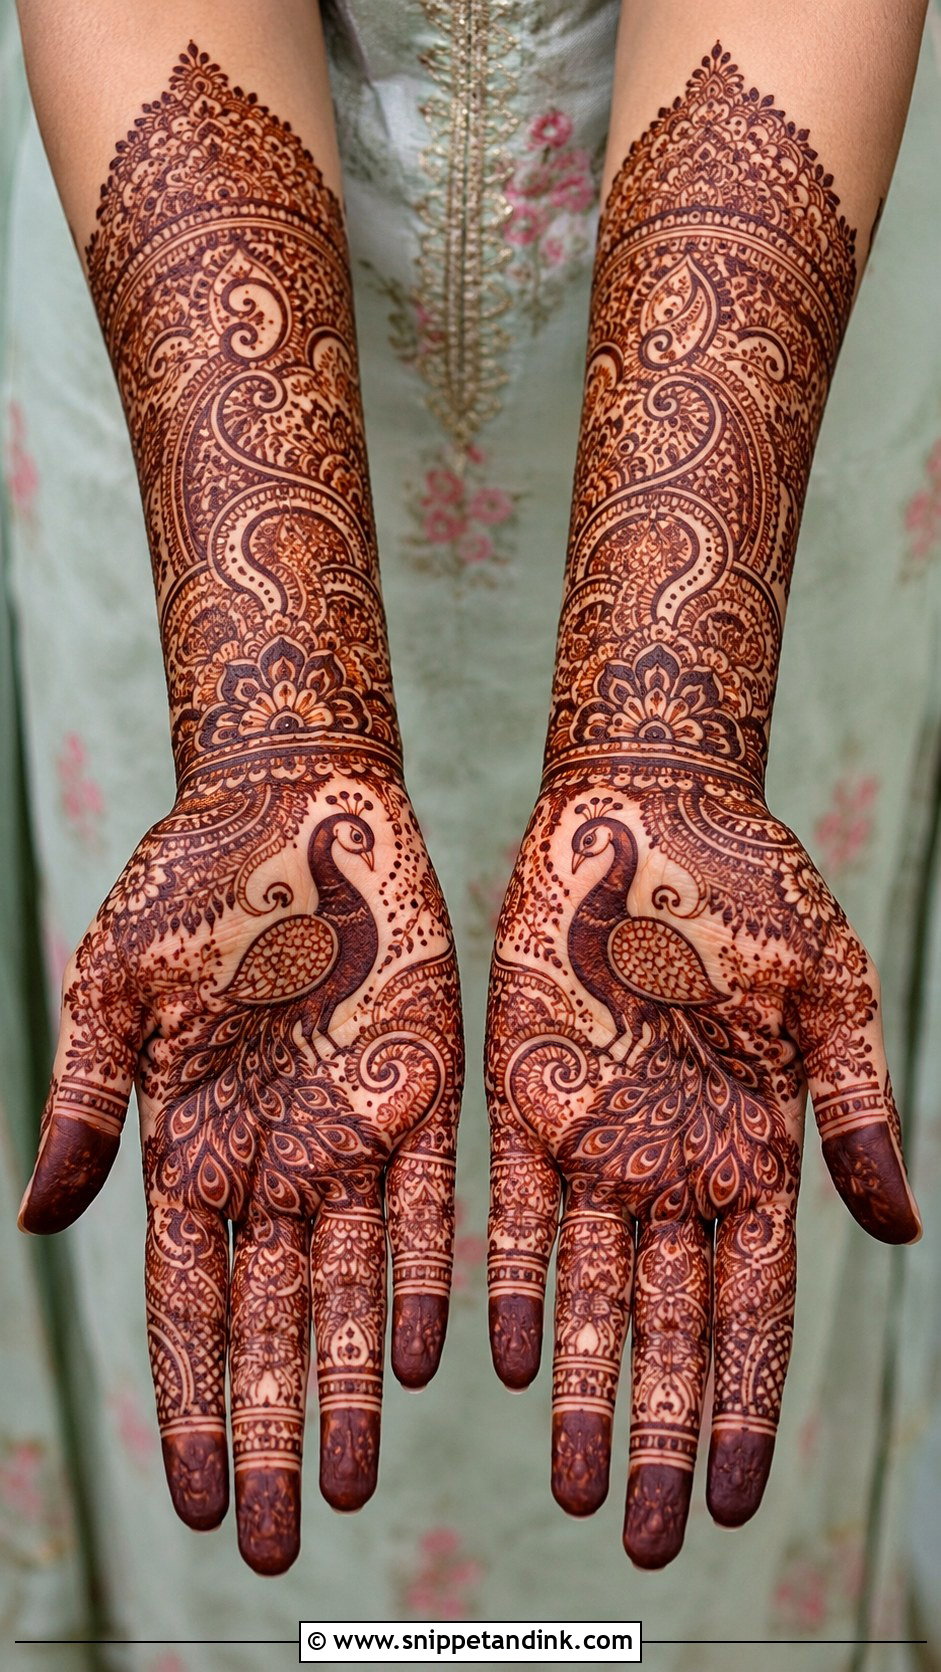
A peacock can sit in the palm center, curve along the wrist or melt into a paisley trail. The bird has to stay readable, so I draw its neck and head with a slightly heavier line and keep fillers well away from them. Otherwise the shape vanishes under detail. The feathers are where you can indulge in dots and swirls. For a bride the tail sweeps toward the forearm; for a guest, one peacock with plain finger bands is plenty.
21. Front Hand Mehndi Design With Lotus
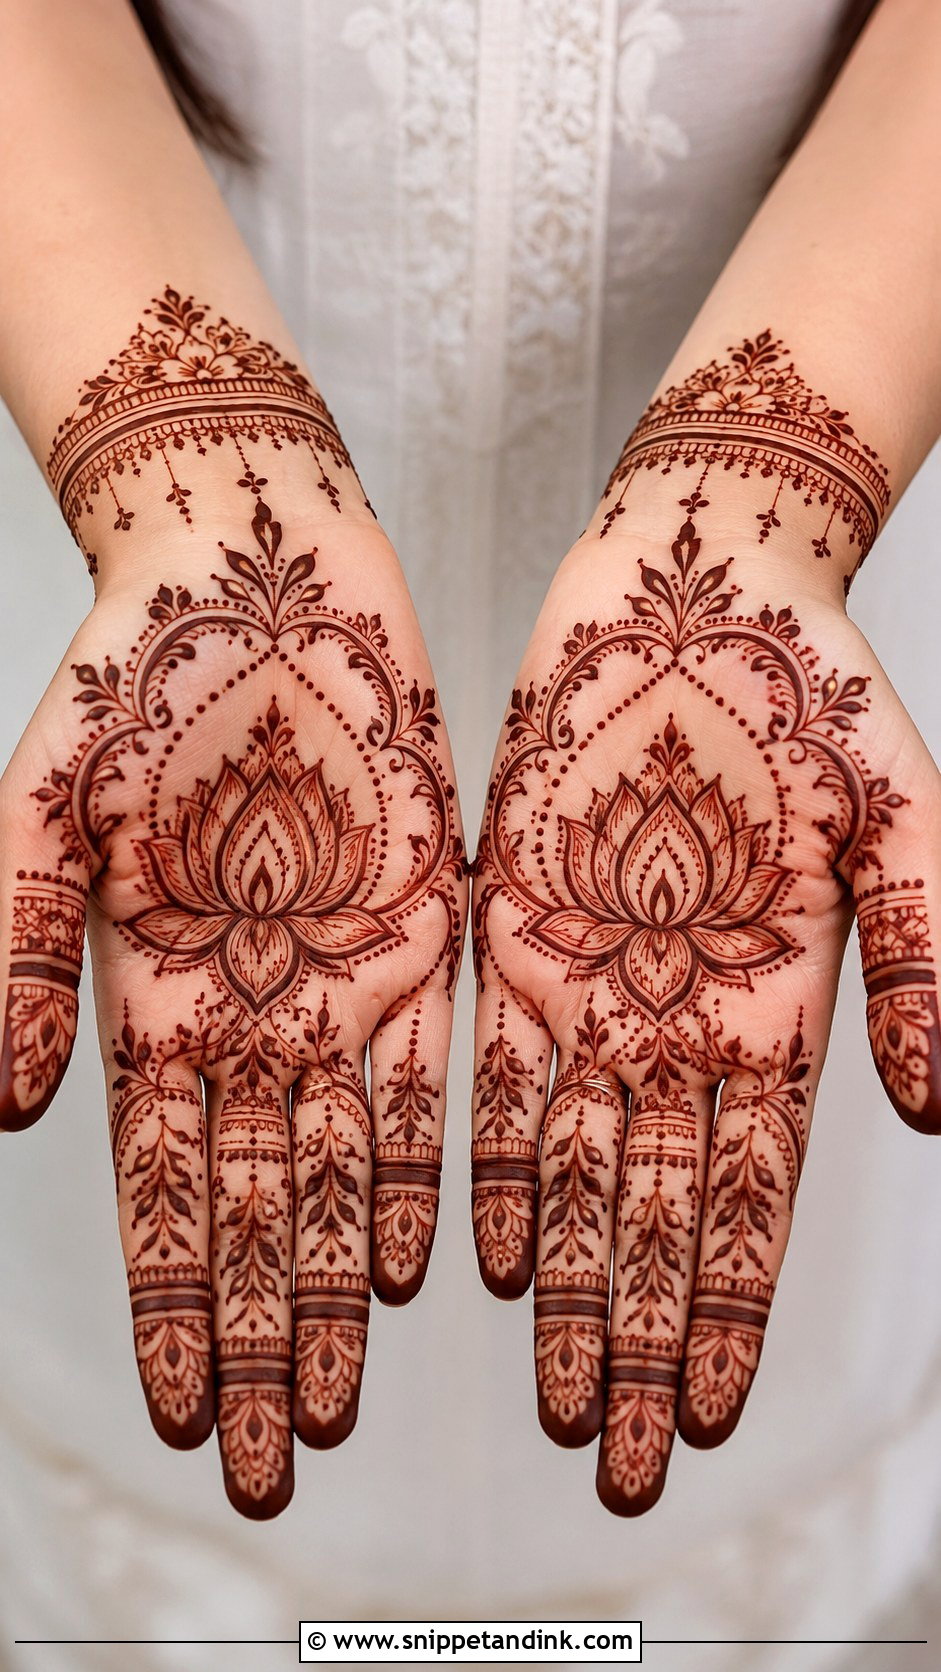
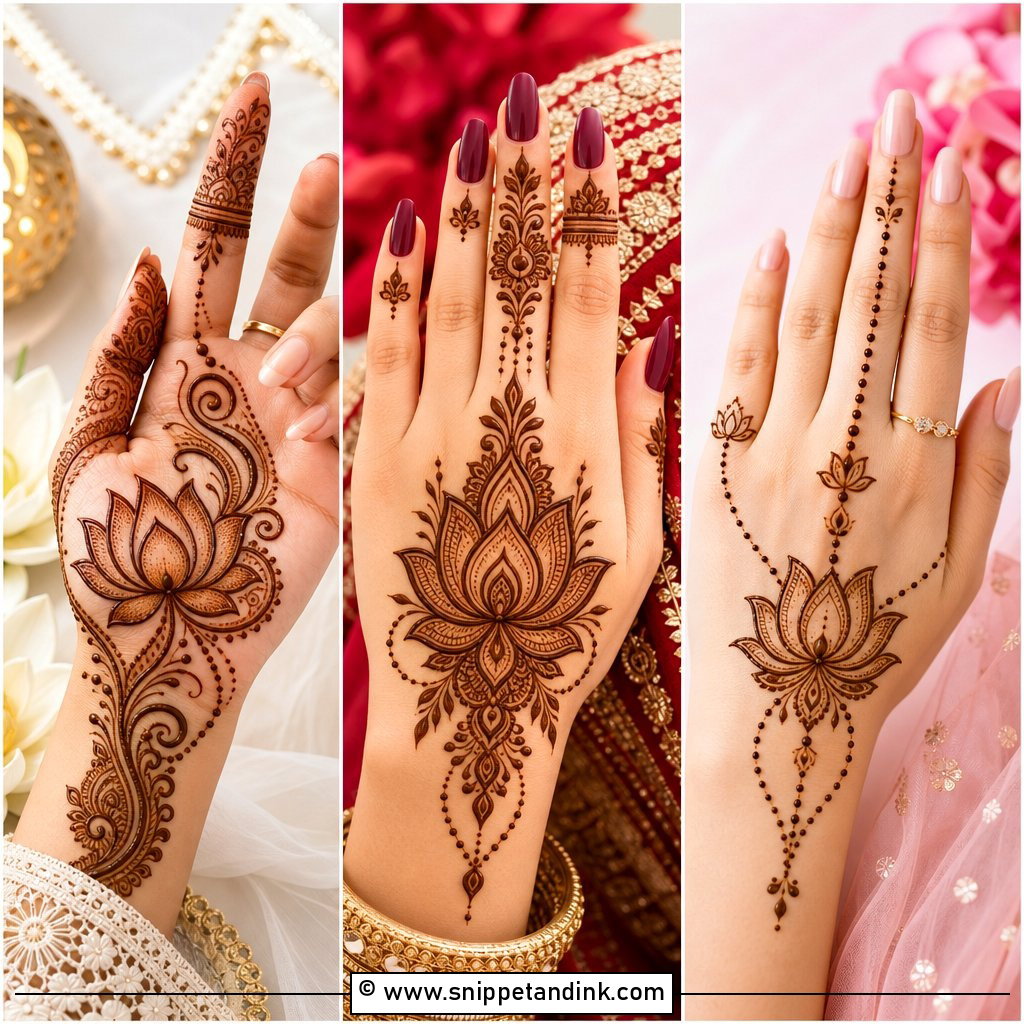
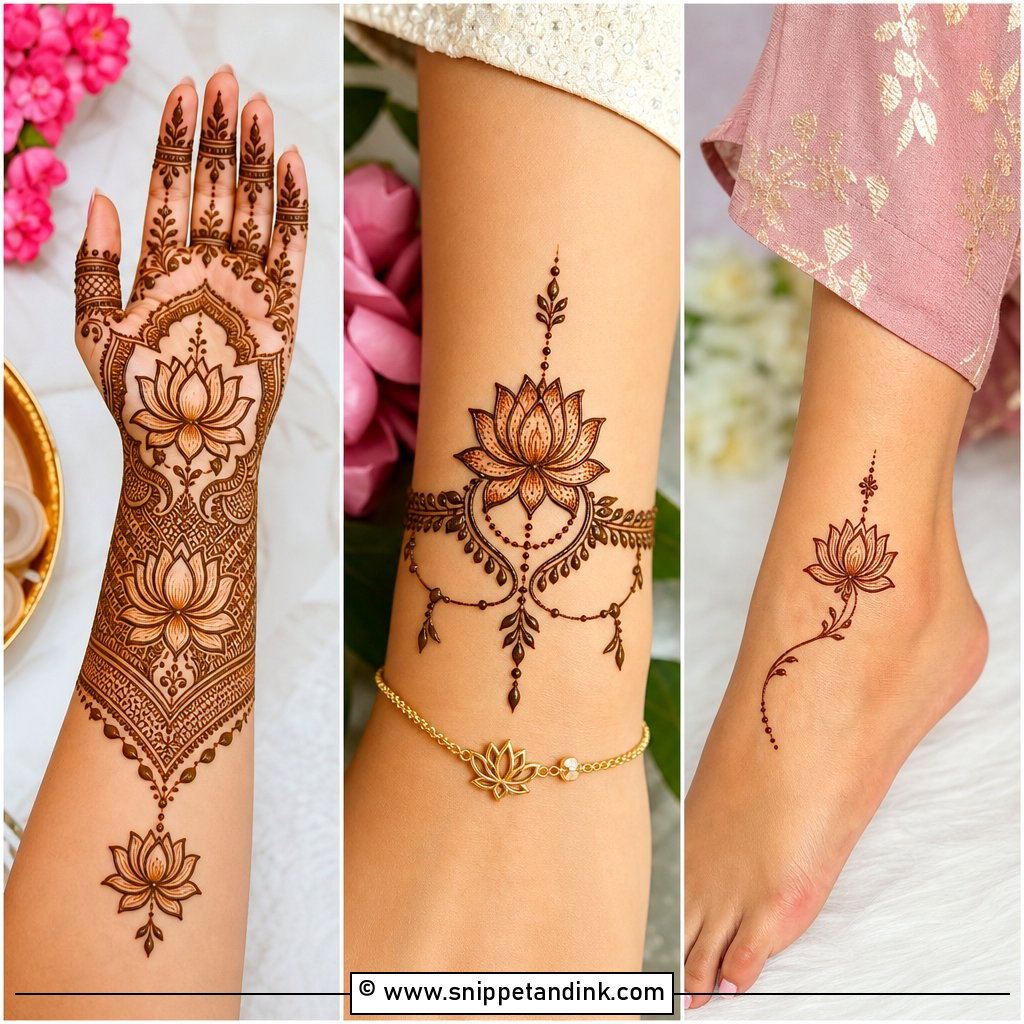
Lotus front hand mehndi design can sit as a center motif, a wrist border or a trail rising toward the fingers, and because the lotus carries religious meaning for many families, it fits poojas and weddings naturally. The petals must be even. I draw the center petal first and then add pairs on either side, which keeps the flower symmetrical. A bold lotus surrounded by open skin reads modern; pair it with jaali and paisleys when you want weight.
22. Front Hand Mehndi Design With Roses
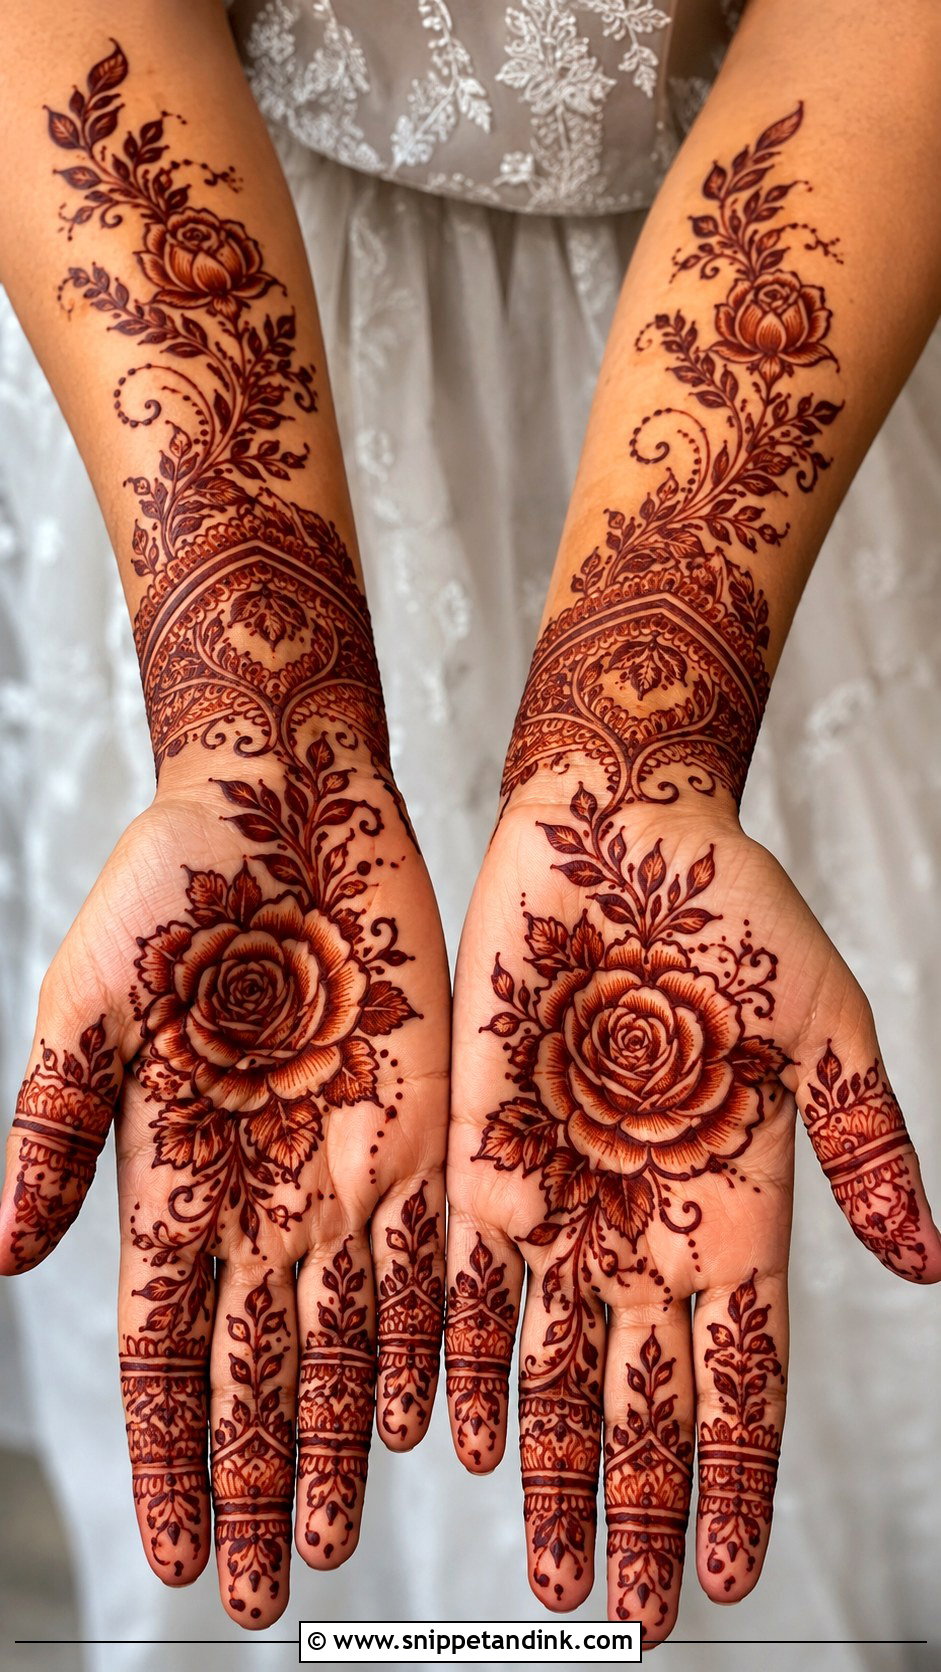
Roses fill space with their round petals, so they need fewer extras around them. They sit well along an Arabic diagonal, around a palm mandala or as a wrist cuff. I draw the spiral from the center outward in one movement, then add the petal edges. Keep the outline bold, or the rose dries into an anonymous swirl. On a small hand, one large rose and two buds beat five full roses squeezed together.
23. Front Hand Mehndi Design With Leaves
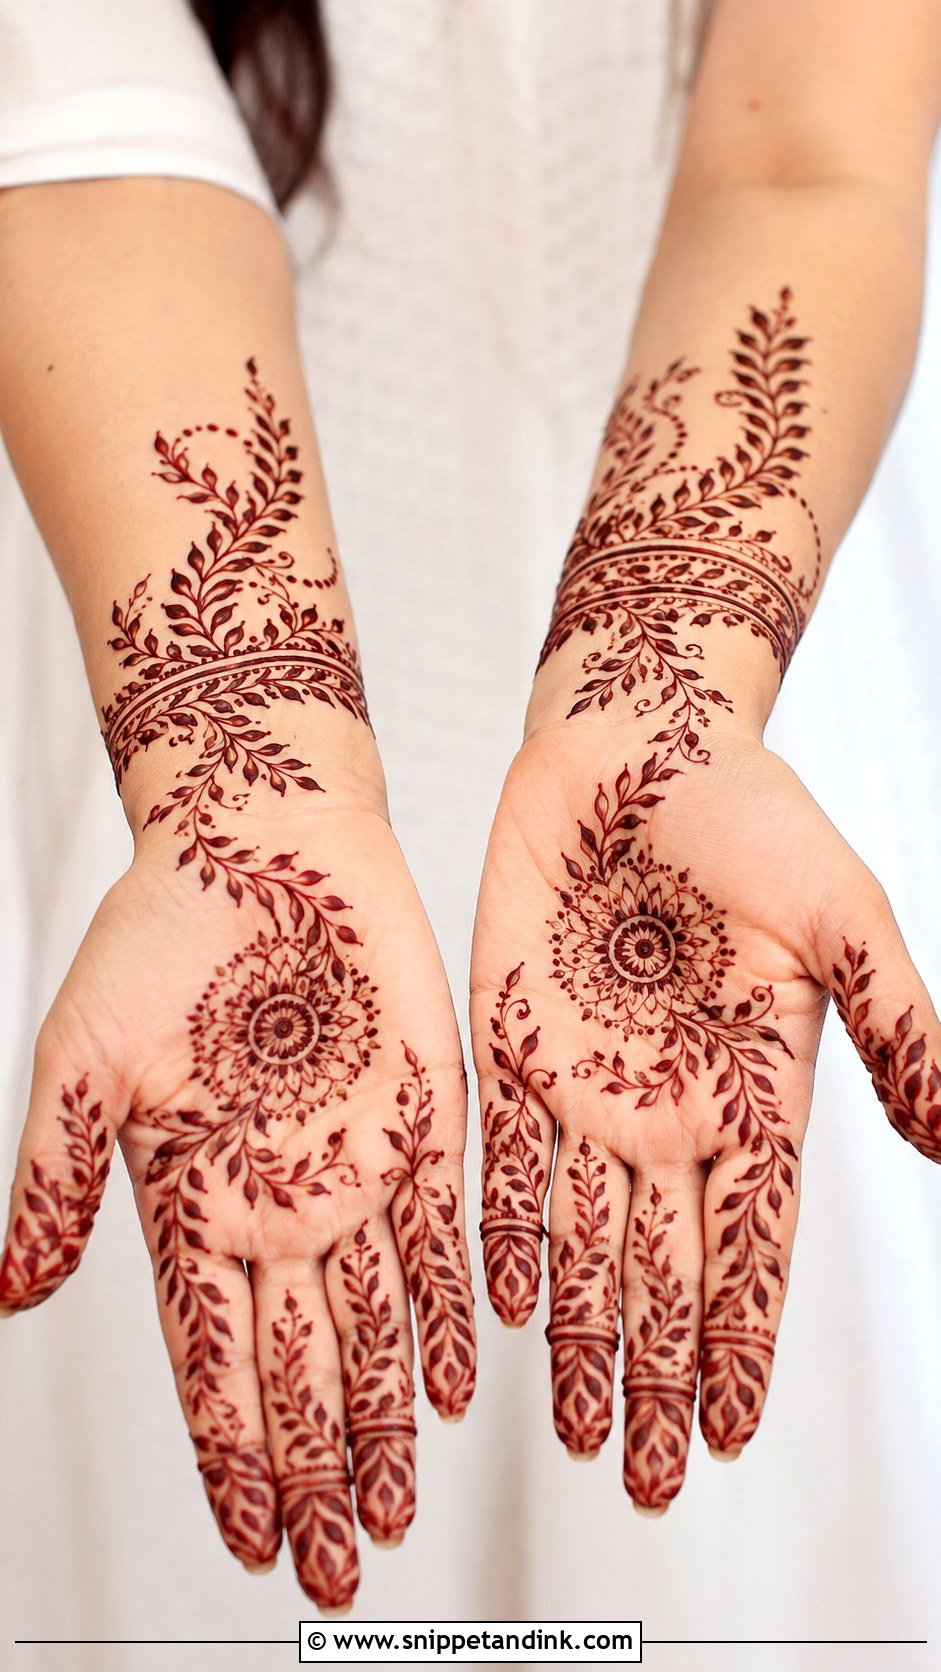
Leaves are the quickest motif in my kit and probably the most underrated. A vine from the wrist to the middle finger follows the hand’s own line; leaves framing a central mandala make it feel more traditional. Vary the leaf sizes along a vine so it looks grown rather than stamped. A double outline on each leaf adds depth without slowing you down, and leaving skin between the vines keeps it from crowding.
24. Front Hand Mehndi Design With Dots
Dots look easy and aren’t. Uneven sizes or little tails show more than you’d expect once stained. Hold the cone upright, give one short squeeze and lift straight up. I use them for chains, mandala outlines, finishing finger trails and filling Arabic gaps without weighing them down. Think of dots as punctuation: a few lines of them, never a whole page.
25. Geometric Front Hand Mehndi Design
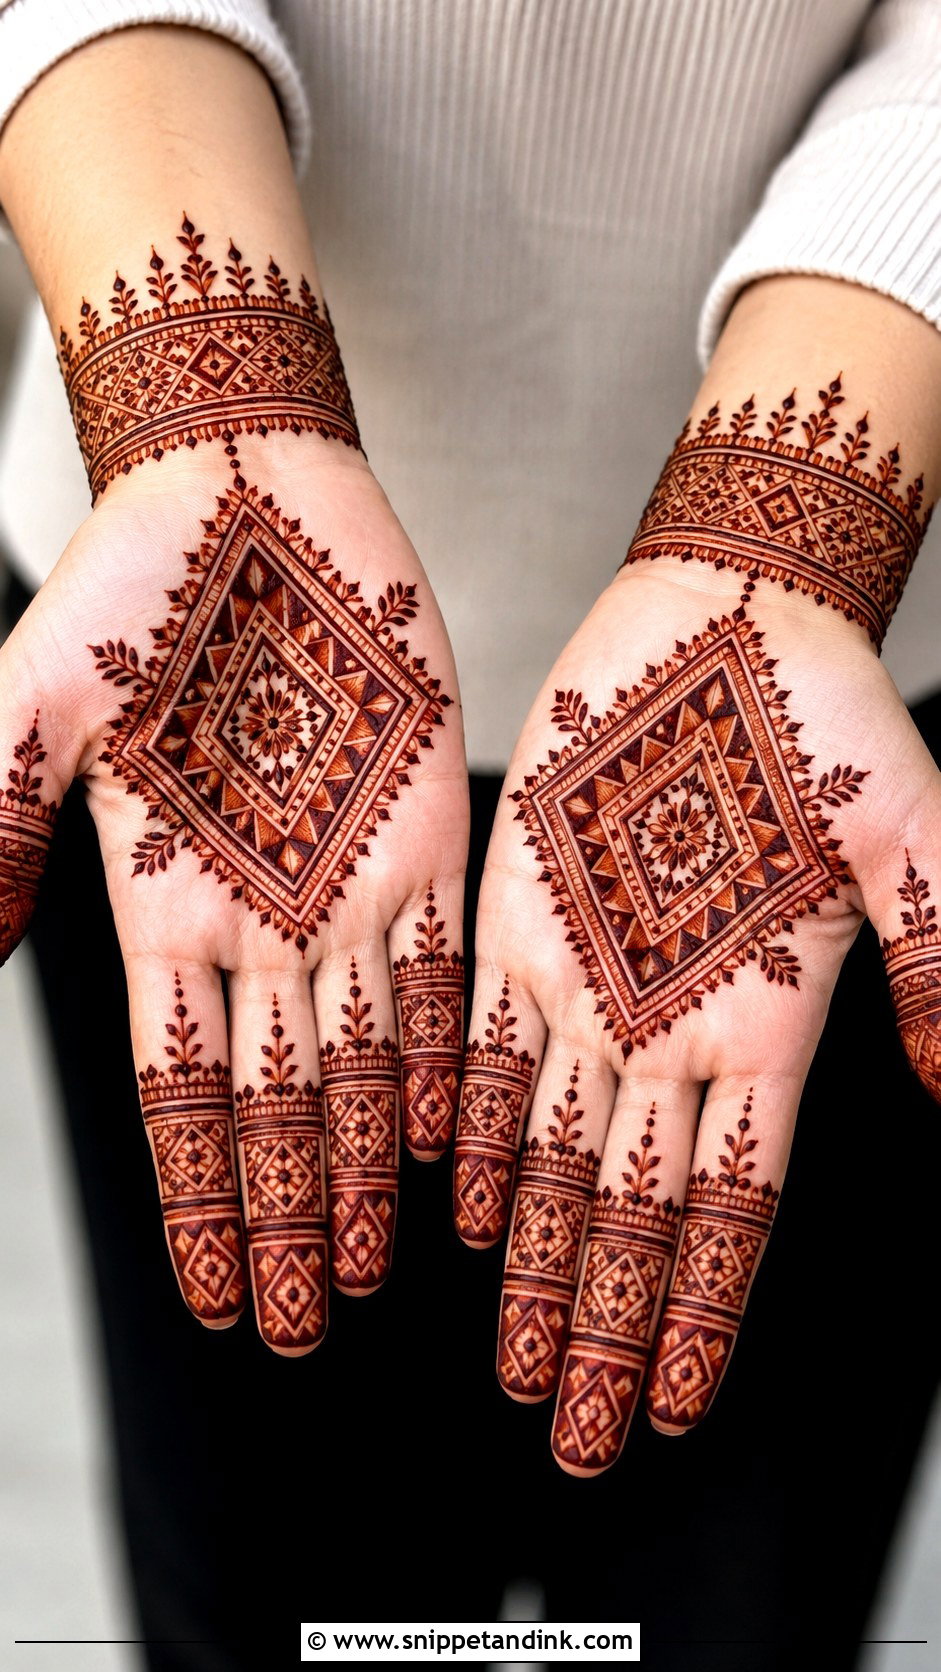
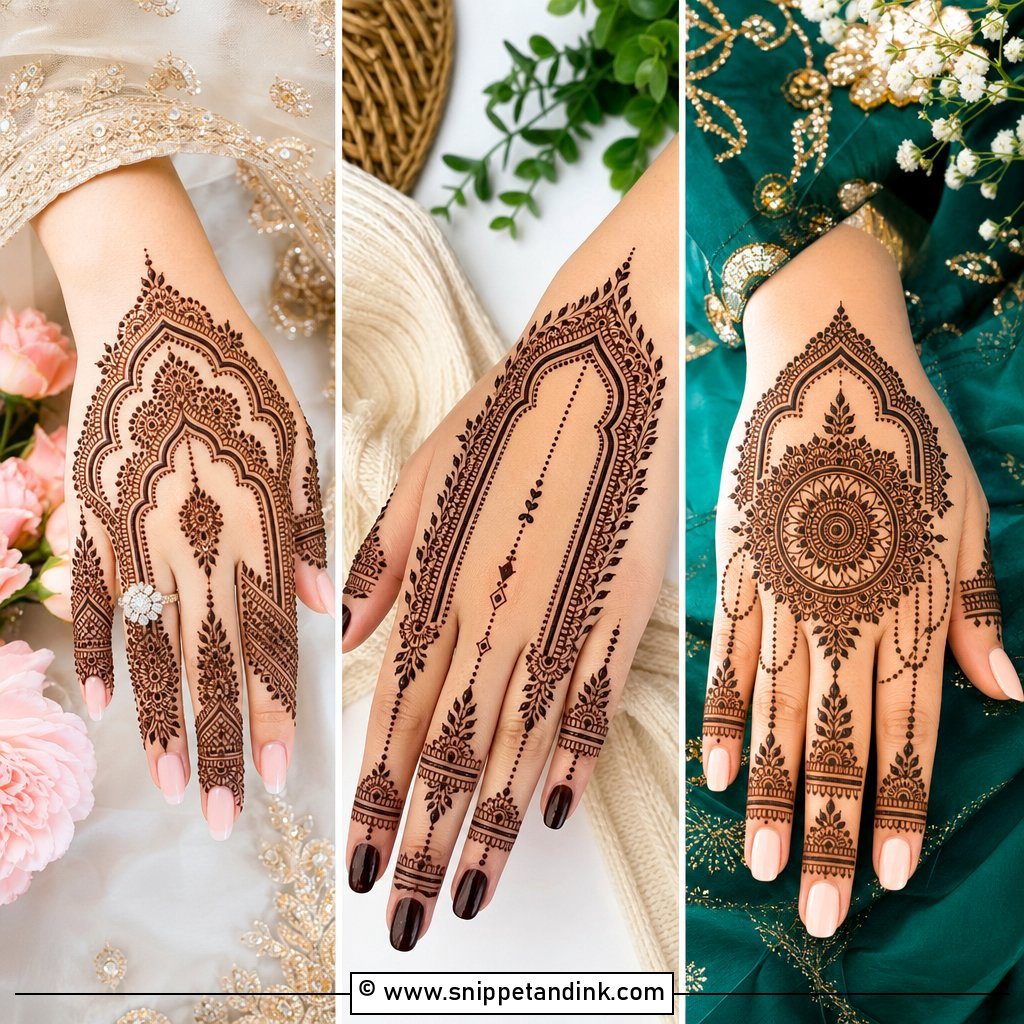
Geometric work uses triangles, diamonds, grids and mirrored bands, often around a structured mandala or a diamond center. Straight lines on a curved palm are the hard part. I ask clients to rest the hand flat on a firm cushion while I pull the longer lines, then let it relax again for the fingers. It suits people who prefer sharp shapes to florals, and a couple of small leaves will soften it if the result starts to feel rigid.
26. Moroccan Front Hand Mehndi Design
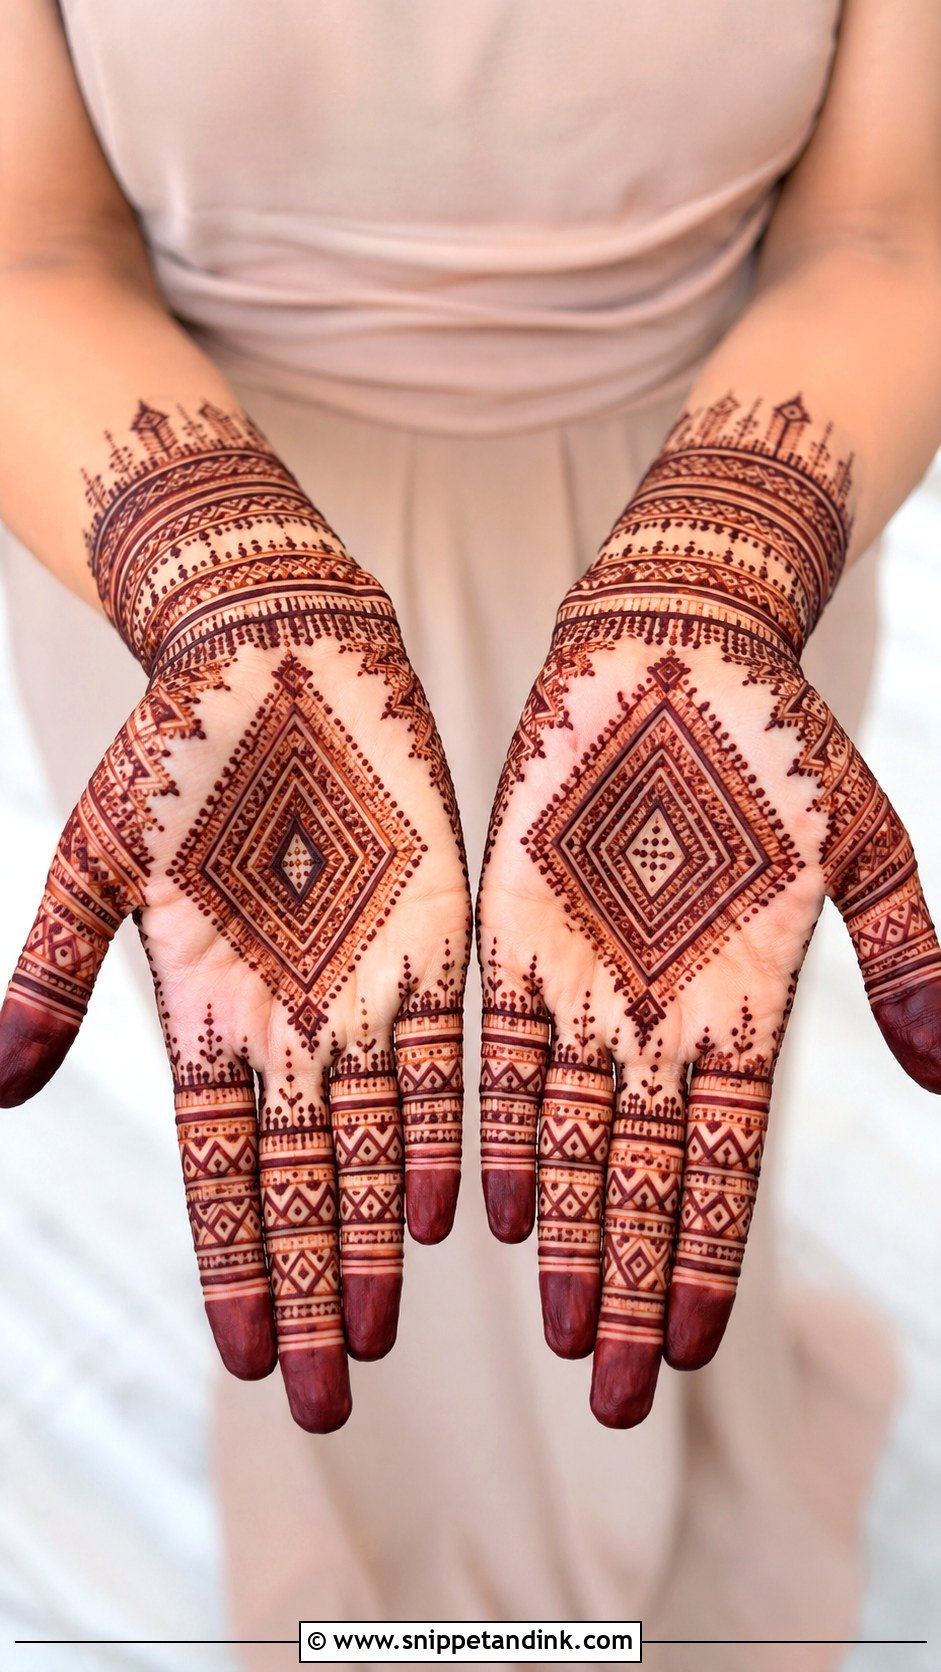
Moroccan-inspired designs are angular: diamond grids, tribal-style bands, dots and repeating shapes, with very little floral detail. Their strength is bold, clear structure, so I switch to a slightly wider cone tip than I’d use for fine Indian work. It can cover the palm and fingers in mirrored panels or stay light with one geometric center and a wrist band. A good pick if you’re tired of flowers.
27. Gulf Front Hand Mehndi Design
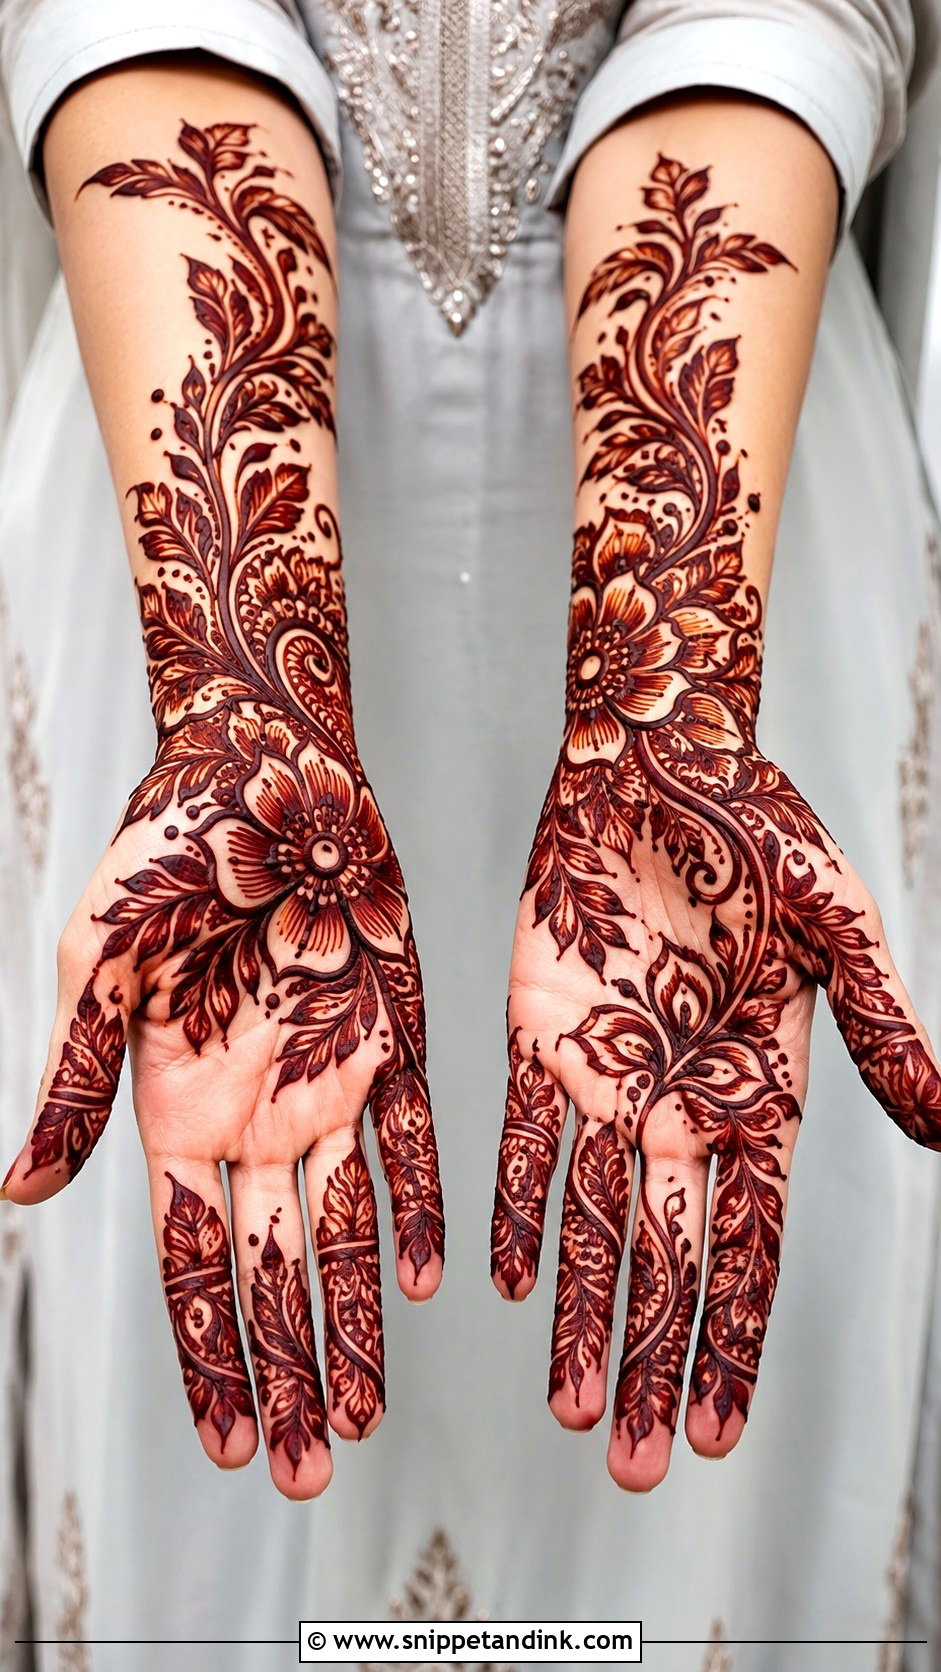
Khaleeji, or Gulf, style uses big flowers, leafy vines and heavily shaded petals flowing from wrist to fingers, with open skin between motifs. That shading is the signature: a thin film of paste smoothed inside each petal. On the palm the film stains surprisingly dark, so I keep it to the petal bases rather than the whole petal. Bold fingertips are typical. It looks dressed up without full coverage, which is why it’s so popular for Eid and parties.
28. Indian Front Hand Mehndi Design
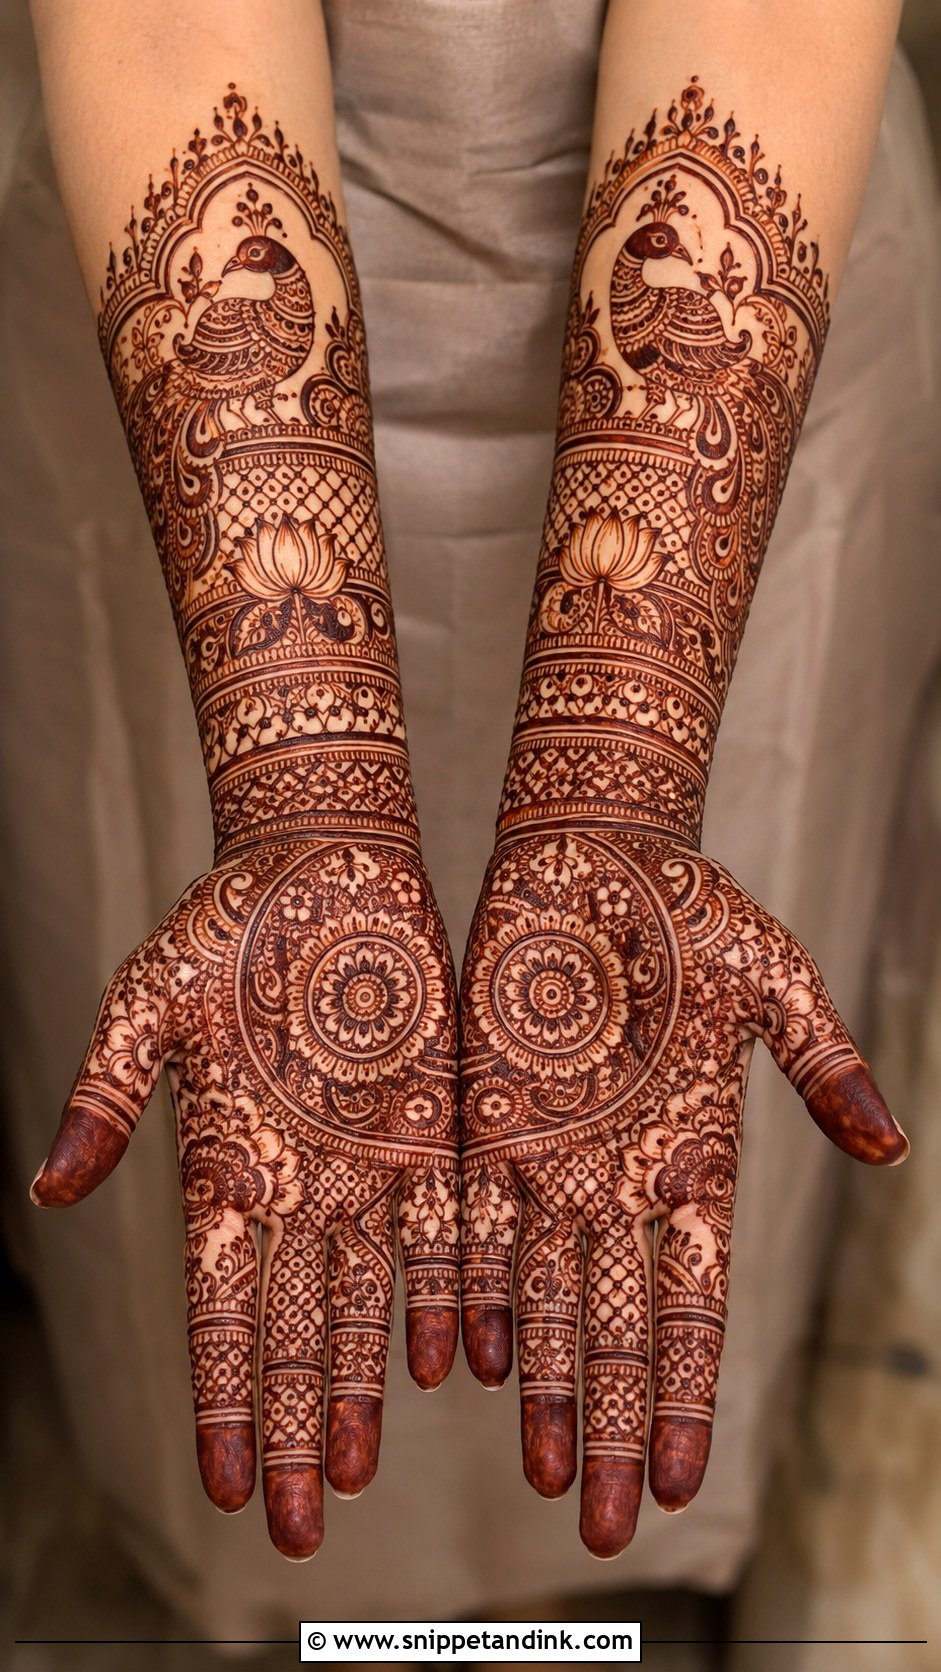
Indian front hand work is dense and traditional: mandalas, paisleys, peacocks, lotus, jaali, leafy borders and fully filled fingers. It’s the slowest style I do and the one most likely to look messy when rushed. I build it in layers, the main palm shape first, then borders, then fingers, then wrist. Fine lines matter more here than anywhere, because in a dense design the gaps between lines are what keep it readable after the stain darkens.
29. Minimal Front Hand Mehndi Design
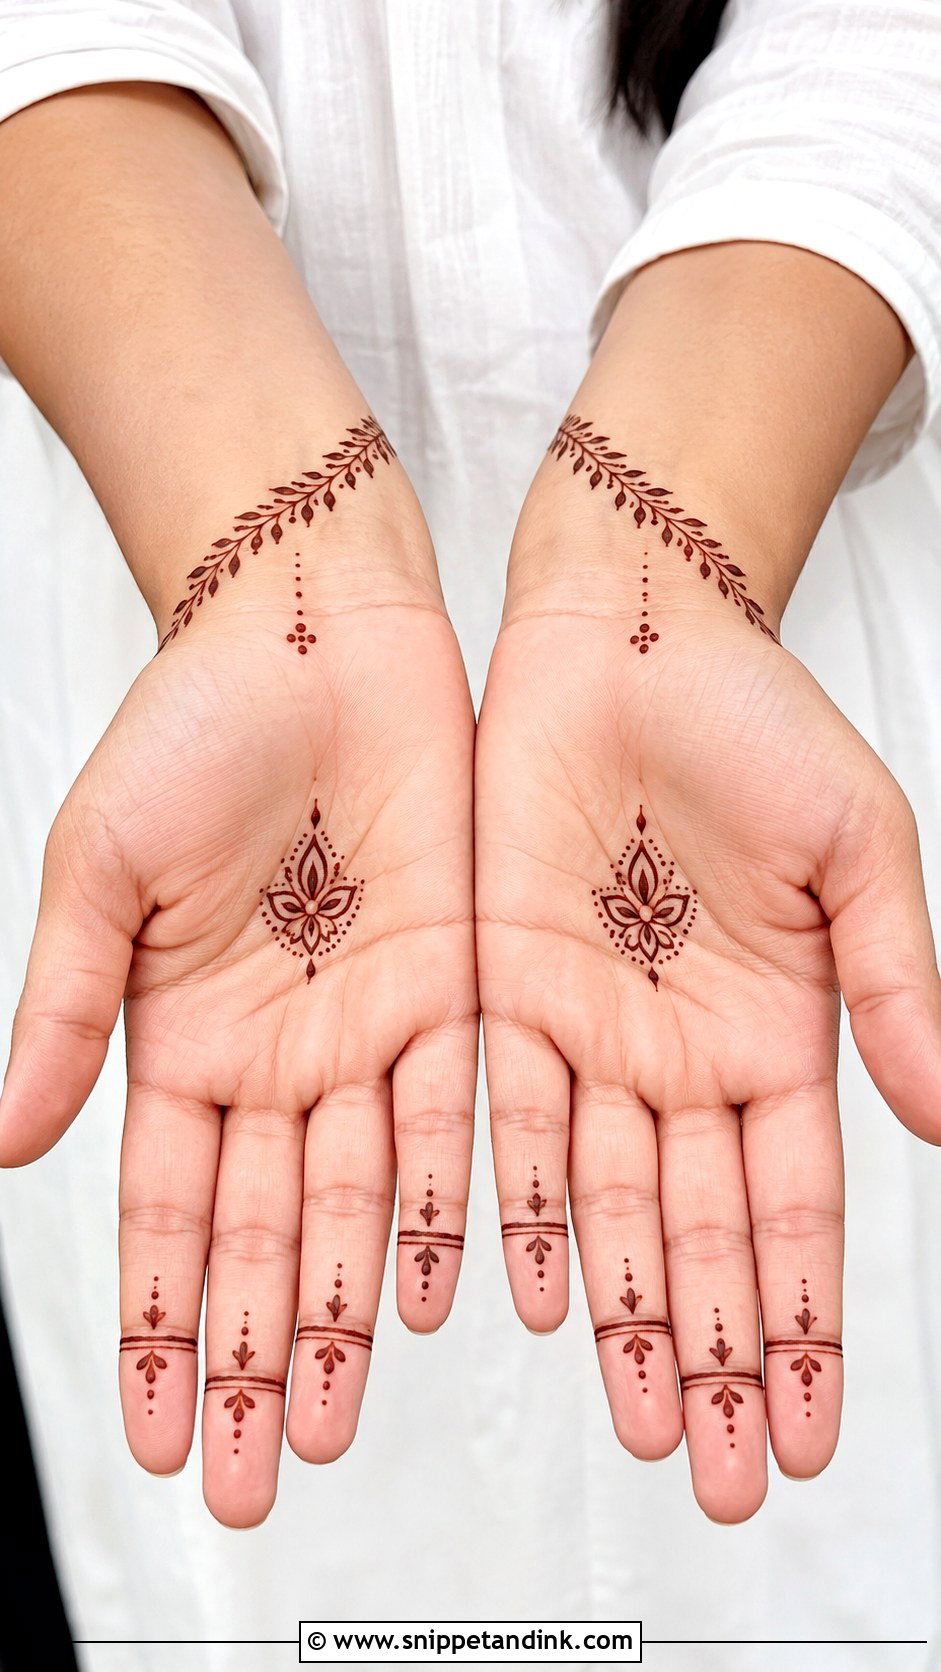
A tiny palm mandala, a few finger bands, a dotted line, maybe a thin bracelet. Minimal work suits people who dislike heavy color or need to look office-ready the following week, since it fades without leaving a patchy half-design behind. Every line is on display, so I actually slow down for minimal more than for busy work. Fewer fillers, cleaner shapes.
30. Stylish Front Hand Mehndi Design
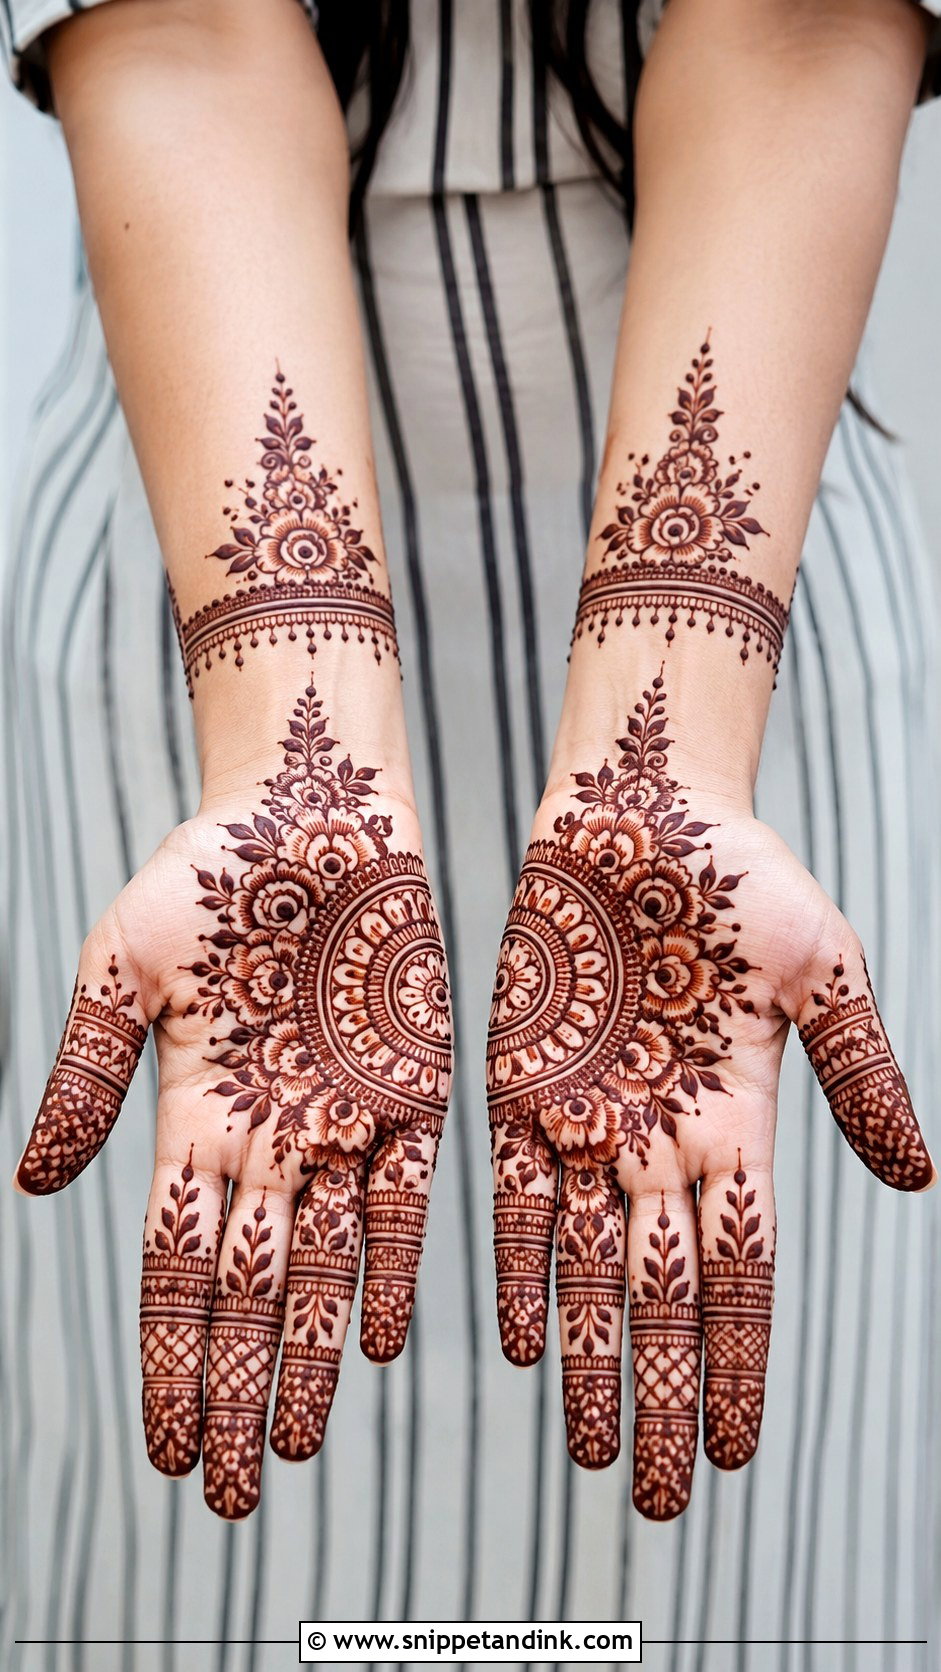
This style takes one bold feature, a large flower or half mandala, and lets it lead, with finger panels, a wrist bracelet and negative space following behind. I ask clients to pick that one feature before we begin. When two features compete, the hand loses its focus and starts to look crowded. Built around space rather than filling, it reads current at parties and engagements.
31. Front Hand Mehndi Design For Small Hands
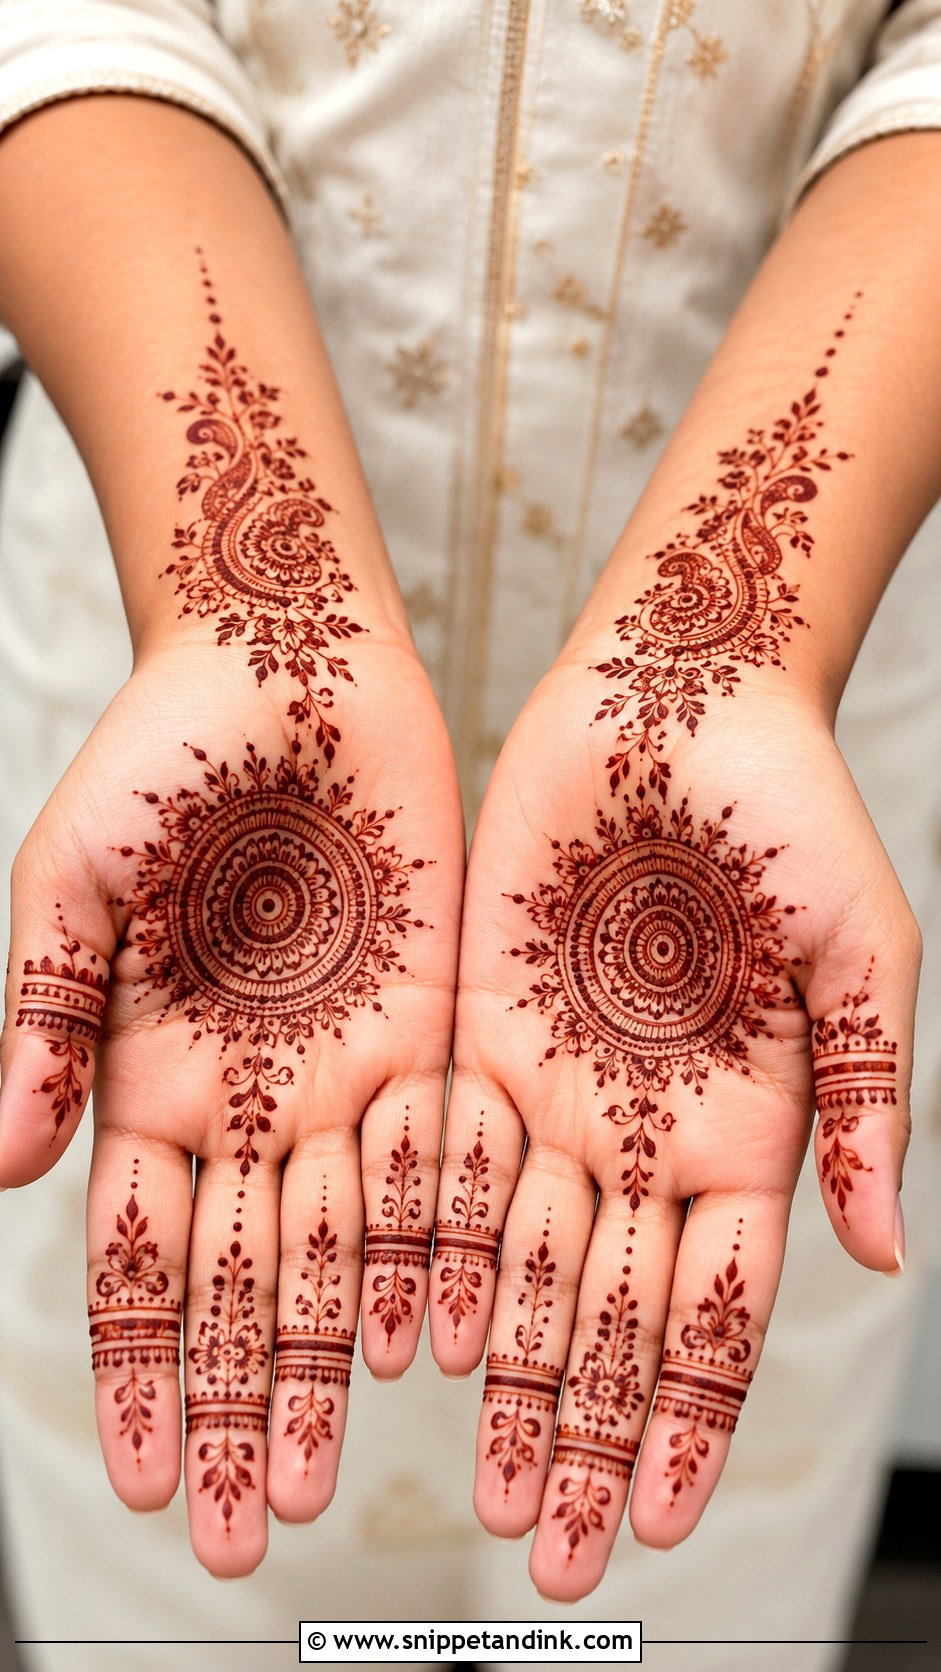
On a small hand, medium motifs beat large ones. I’d use a central mandala, a slim floral trail or a small paisley cluster, with thin finger lines rather than thick panels. A diagonal trail makes the hand look longer, and so does a neatly placed wrist band. Dense full patterns tend to swallow small palms, partly because the finished stain always looks heavier than the wet paste did.
32. Front Hand Mehndi Design For Long Fingers
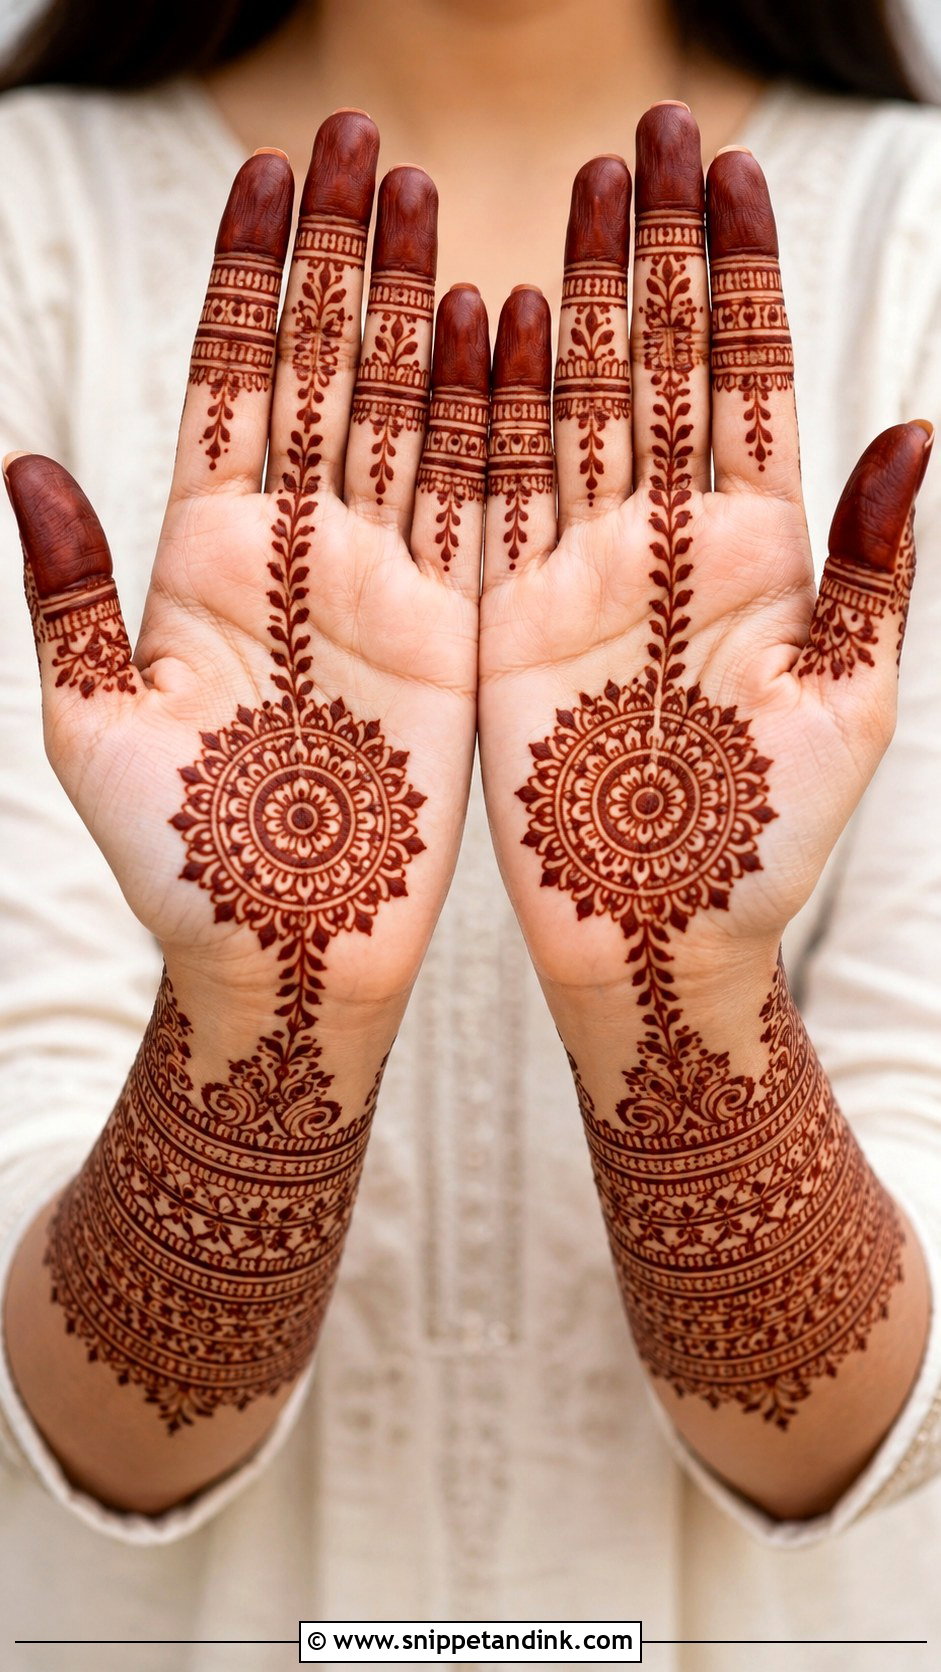
Long fingers have room for stacked bands, leafy chains, filled tips and vertical line work. Because they already draw the eye, I connect each finger’s pattern back to the palm instead of treating them as separate pieces. A wrist-to-middle-finger trail follows the length of the hand naturally. If the palm is heavily filled, don’t leave long fingers plain; the hand looks unfinished at the top.
33. Front Hand Mehndi Design For Festivals
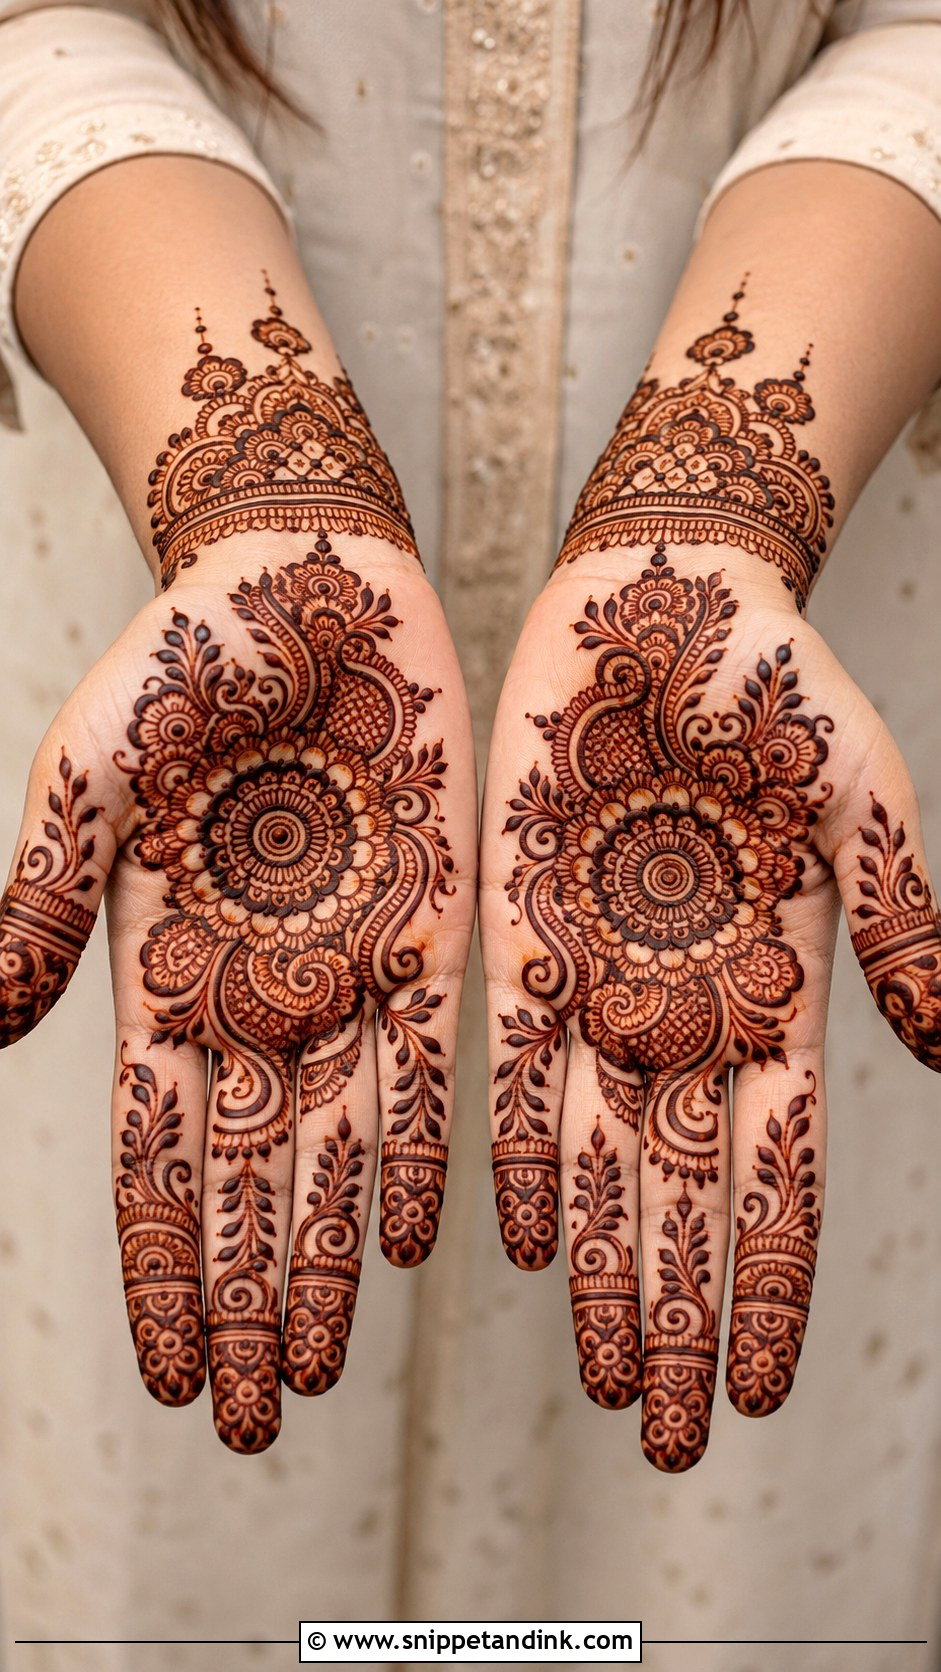
Diwali, Eid and Teej mean long days in heavy clothes, so for festivals I lean toward medium coverage you can live in for hours. A palm mandala with decorated fingertips is quick; wrist borders and side florals make it richer. Have it done the day before if you can. Fresh paste and getting dressed don’t mix, and the stain looks best on its second day anyway.
34. Front Hand Mehndi Design For Bridesmaids
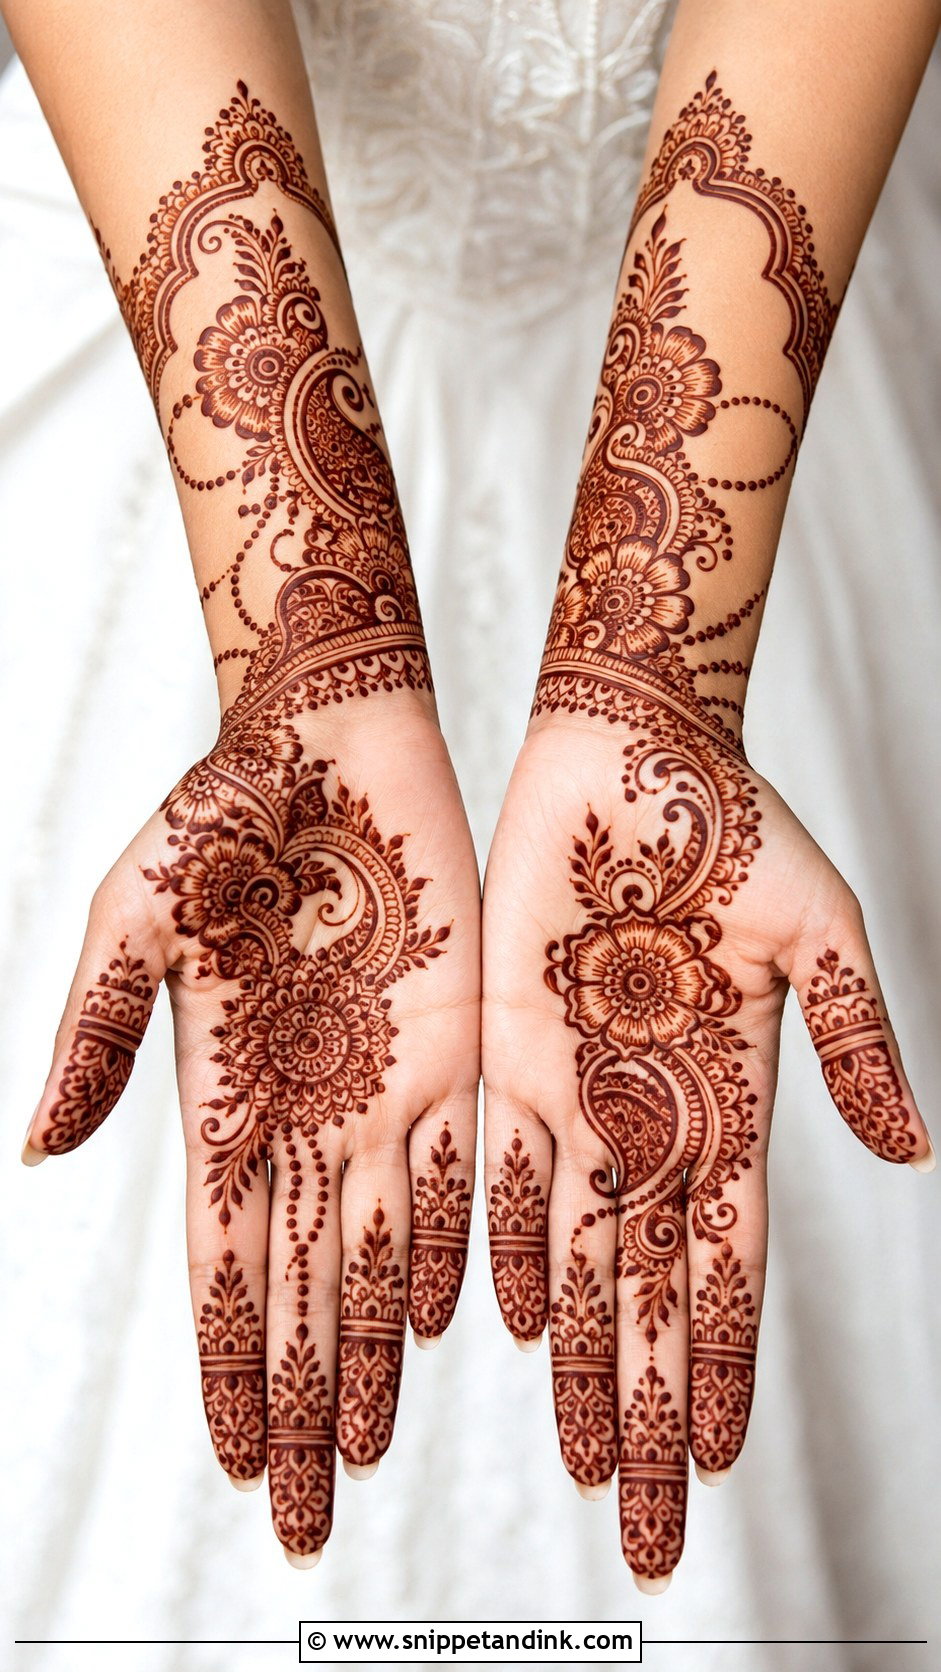
Bridesmaids should look festive without matching the bride’s weight of coverage. A medium Indo-Arabic layout has enough detail and room to breathe. I avoid bride-groom figures and story panels on bridesmaids unless the bride asks for them. A wrist-to-palm trail with neat finger work shows clearly in group photos and while dancing. Think about sleeves as well. A long sleeve hides the wrist, so move more of the detail onto the palm.
35. Easy Front Hand Mehndi Design
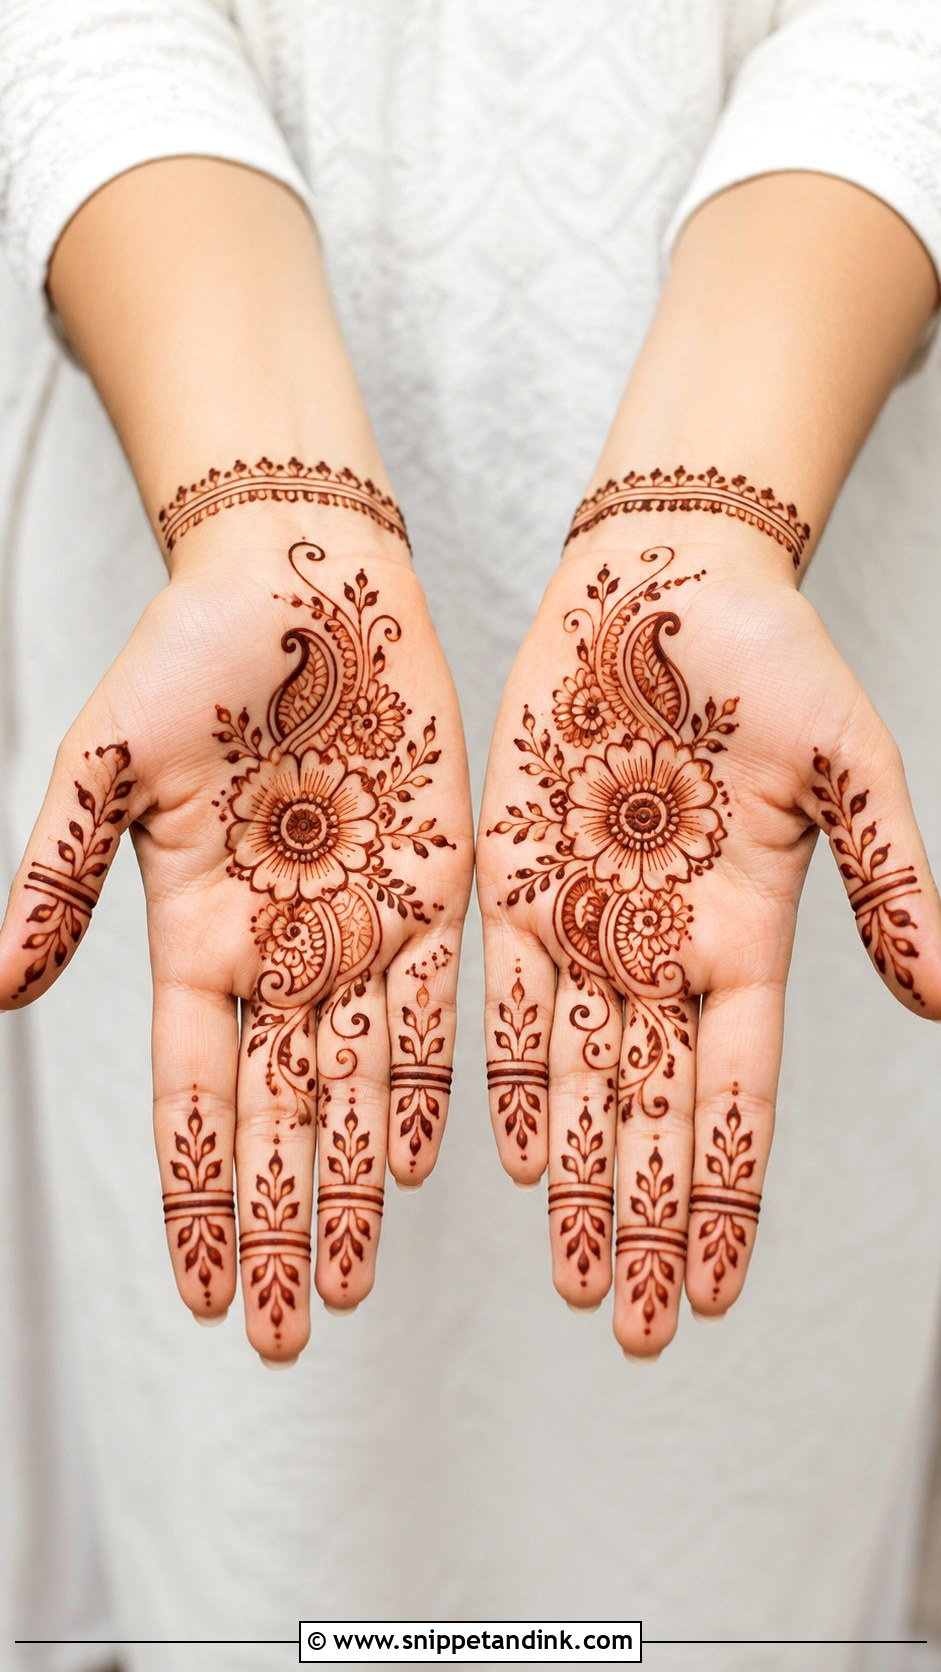
Quick but complete: one flower or mandala in the palm center, curved vines toward the fingers, dots around the motif, a thin wrist border and simple bands on the fingertips. Repeating easy shapes neatly matters more than adding detail. I’d always choose a clean easy design over a rushed heavy one, because hurried lines drawn too close together tend to bleed into each other as the paste settles.
The First Two Days After the Paste Comes Off
Most of the color happens after I’ve packed up my cones. A fresh stain looks bright orange when the paste is removed, then oxidizes through reddish brown to a deep maroon over the next day or two. What you do during that window decides how dark it gets.
- Keep the paste on as long as you can, ideally six hours or overnight. Dab a little sugar and lemon mixture on once it’s dry so it stays stuck instead of flaking.
- Scrape the dried paste off with a blunt edge or rub it away with your fingers. Don’t wash it off.
- Keep water off your hands for several hours afterward, and longer if you can manage it.
- Stay warm. Warm hands develop the stain better, so a heated room or a hot cup helps more than people expect.
- Before washing your hands later, rub on a little balm or oil to shield the stain from soap.
If your palm comes out pale
Old paste, short wear time, cold hands and early washing are the usual culprits. Palms rarely disappoint when the paste is fresh, so a pale result almost always points to taking it off too soon. For a wedding, I book mehndi about two days before so the stain peaks on the day itself, not on the evening it was applied.
If your skin itches, burns or blisters under the paste, take it off and get it looked at. Natural henna reactions are uncommon, so a strong reaction usually means something was added to the mix.
Scaling a Design Up or Down for Your Occasion
Most of these layouts can be turned up or down. A palm mandala becomes bridal with a forearm extension; a full Indian design becomes a guest look once you drop the filler and open up a few gaps. Start with your occasion and how long you can sit still, then think about rings, sleeves and how dark you want the stain to be. Bring a couple of saved pictures to your artist and let her adjust the scale to your hand, since a design drawn for a long palm rarely fits a small one exactly.
You'll Like These Ideas:


Leave a Reply